How to connect and test a drop in bath
Important points
Making sure there is no small leaks is super important for built in baths as they’re not waterproofed underneath so any small leak can cause massive water damage.
You need to slow this process down to make sure you’re thorough.
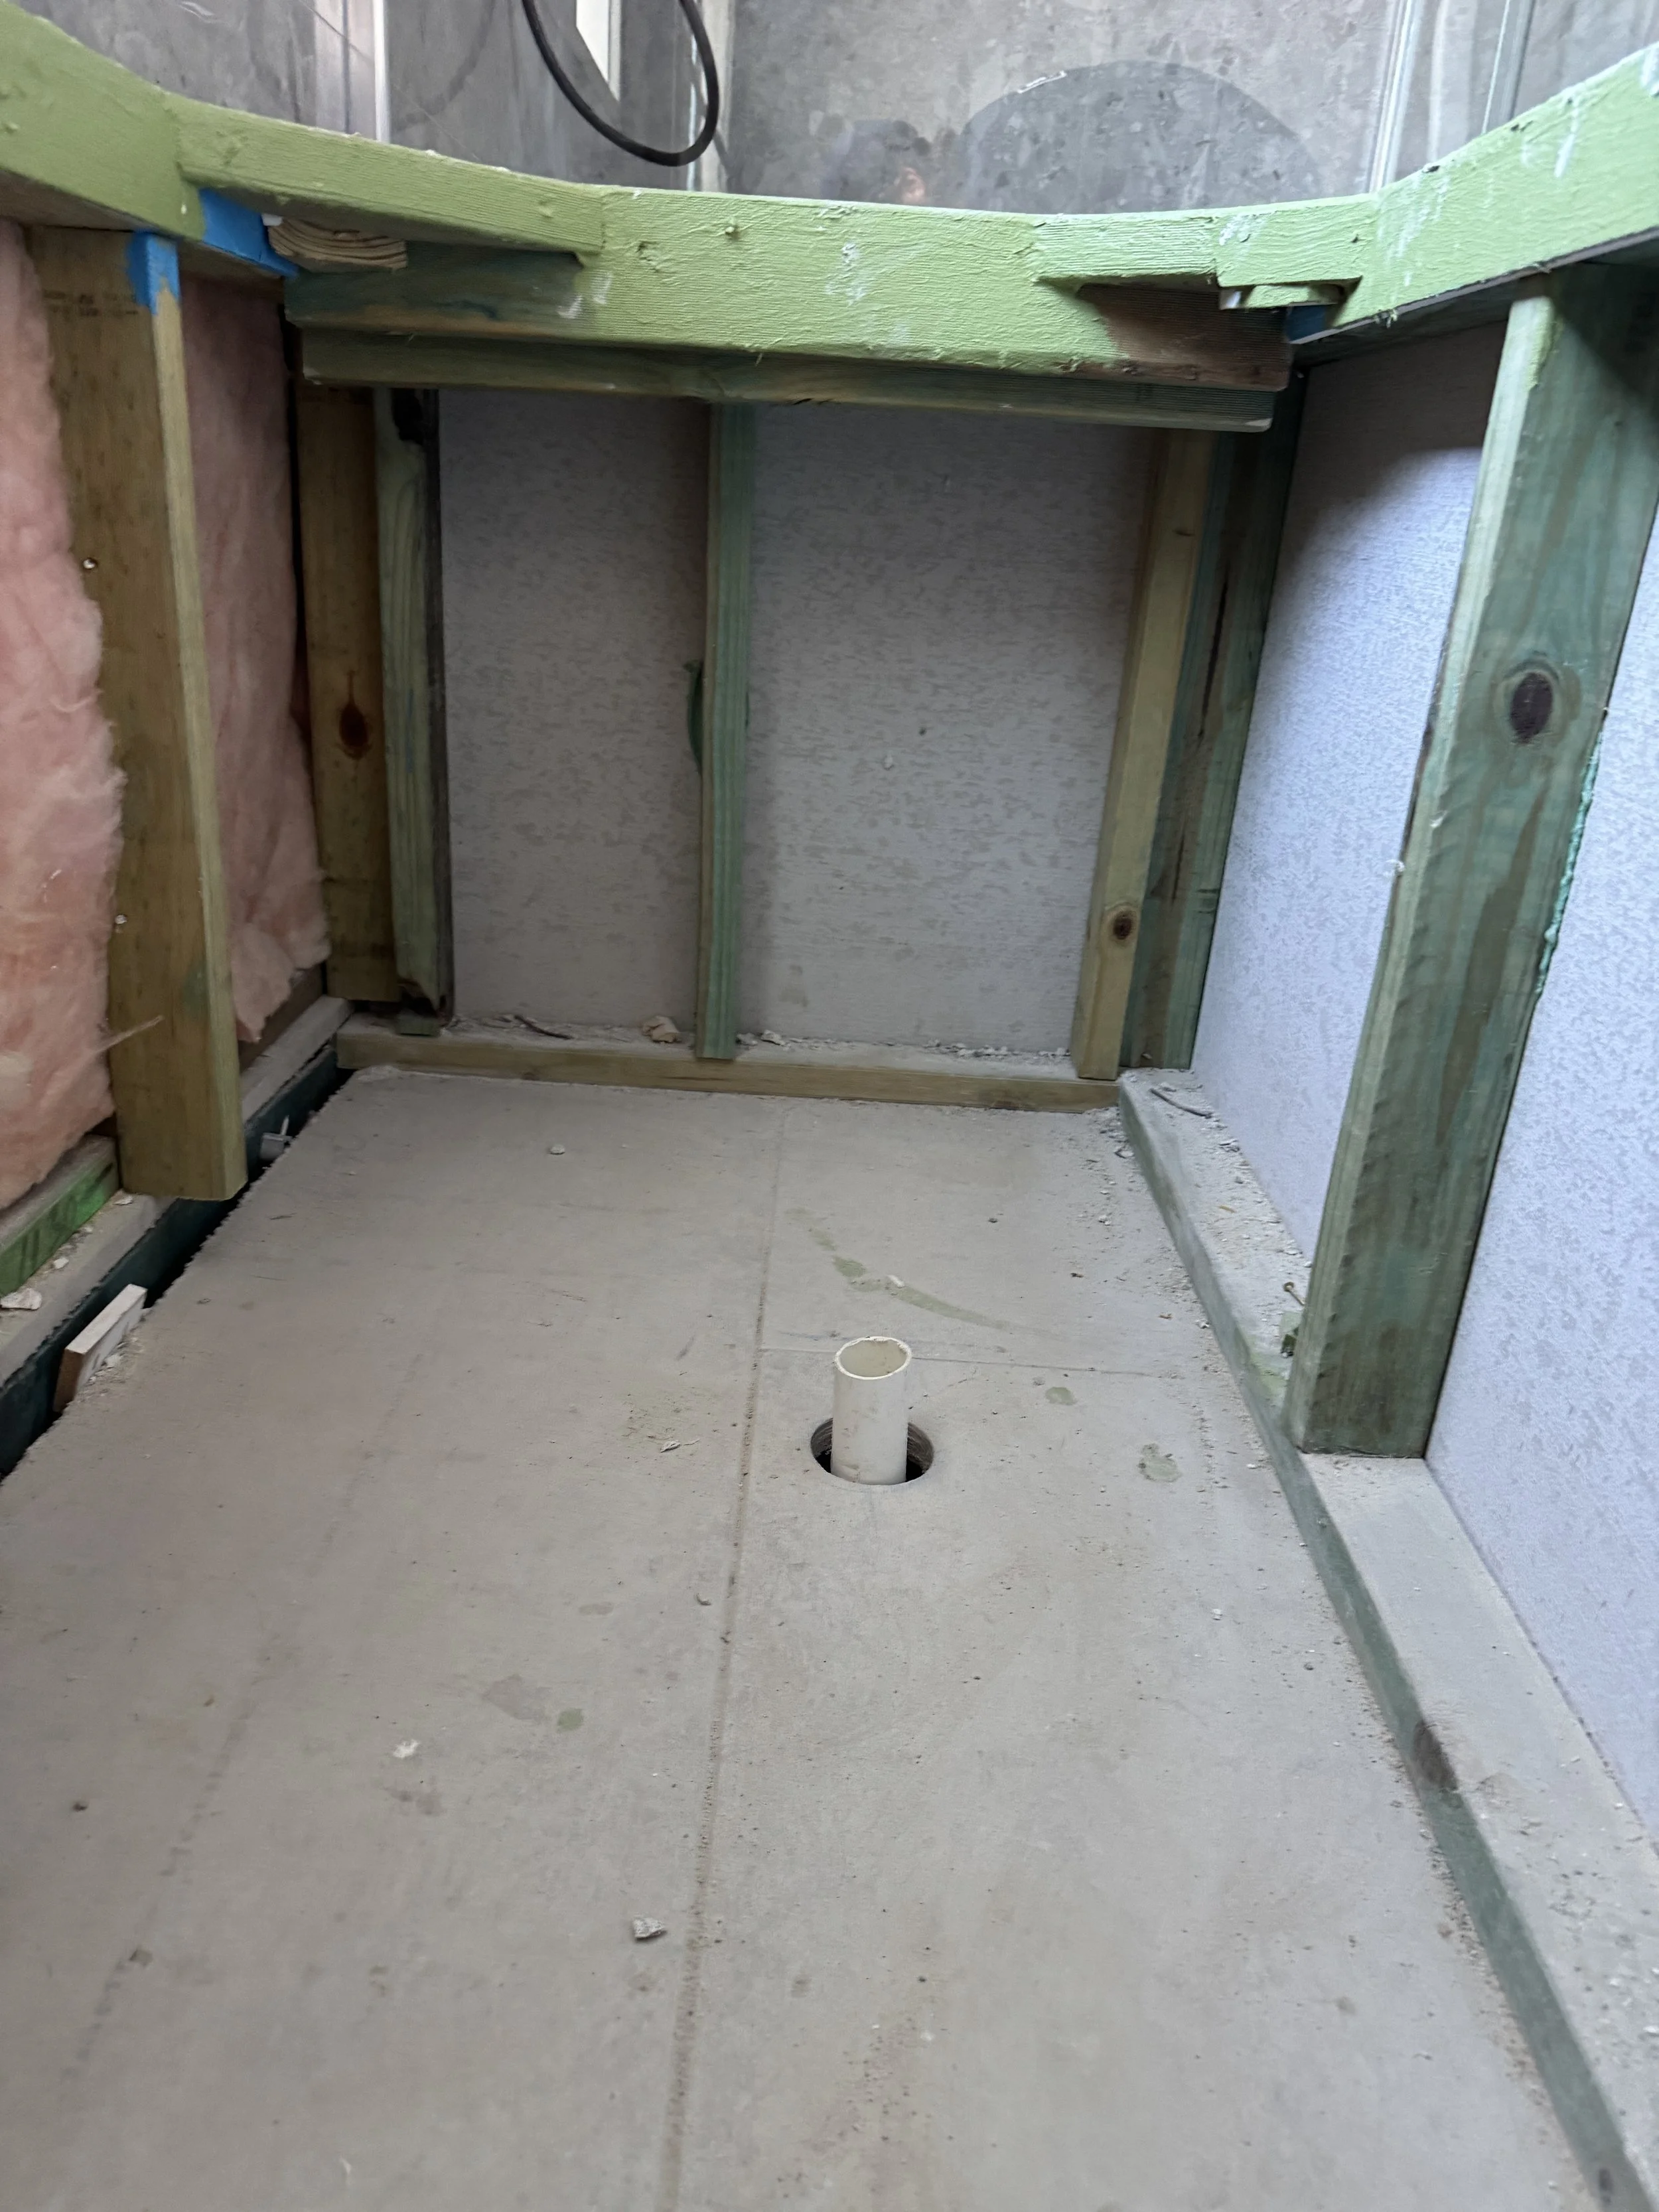
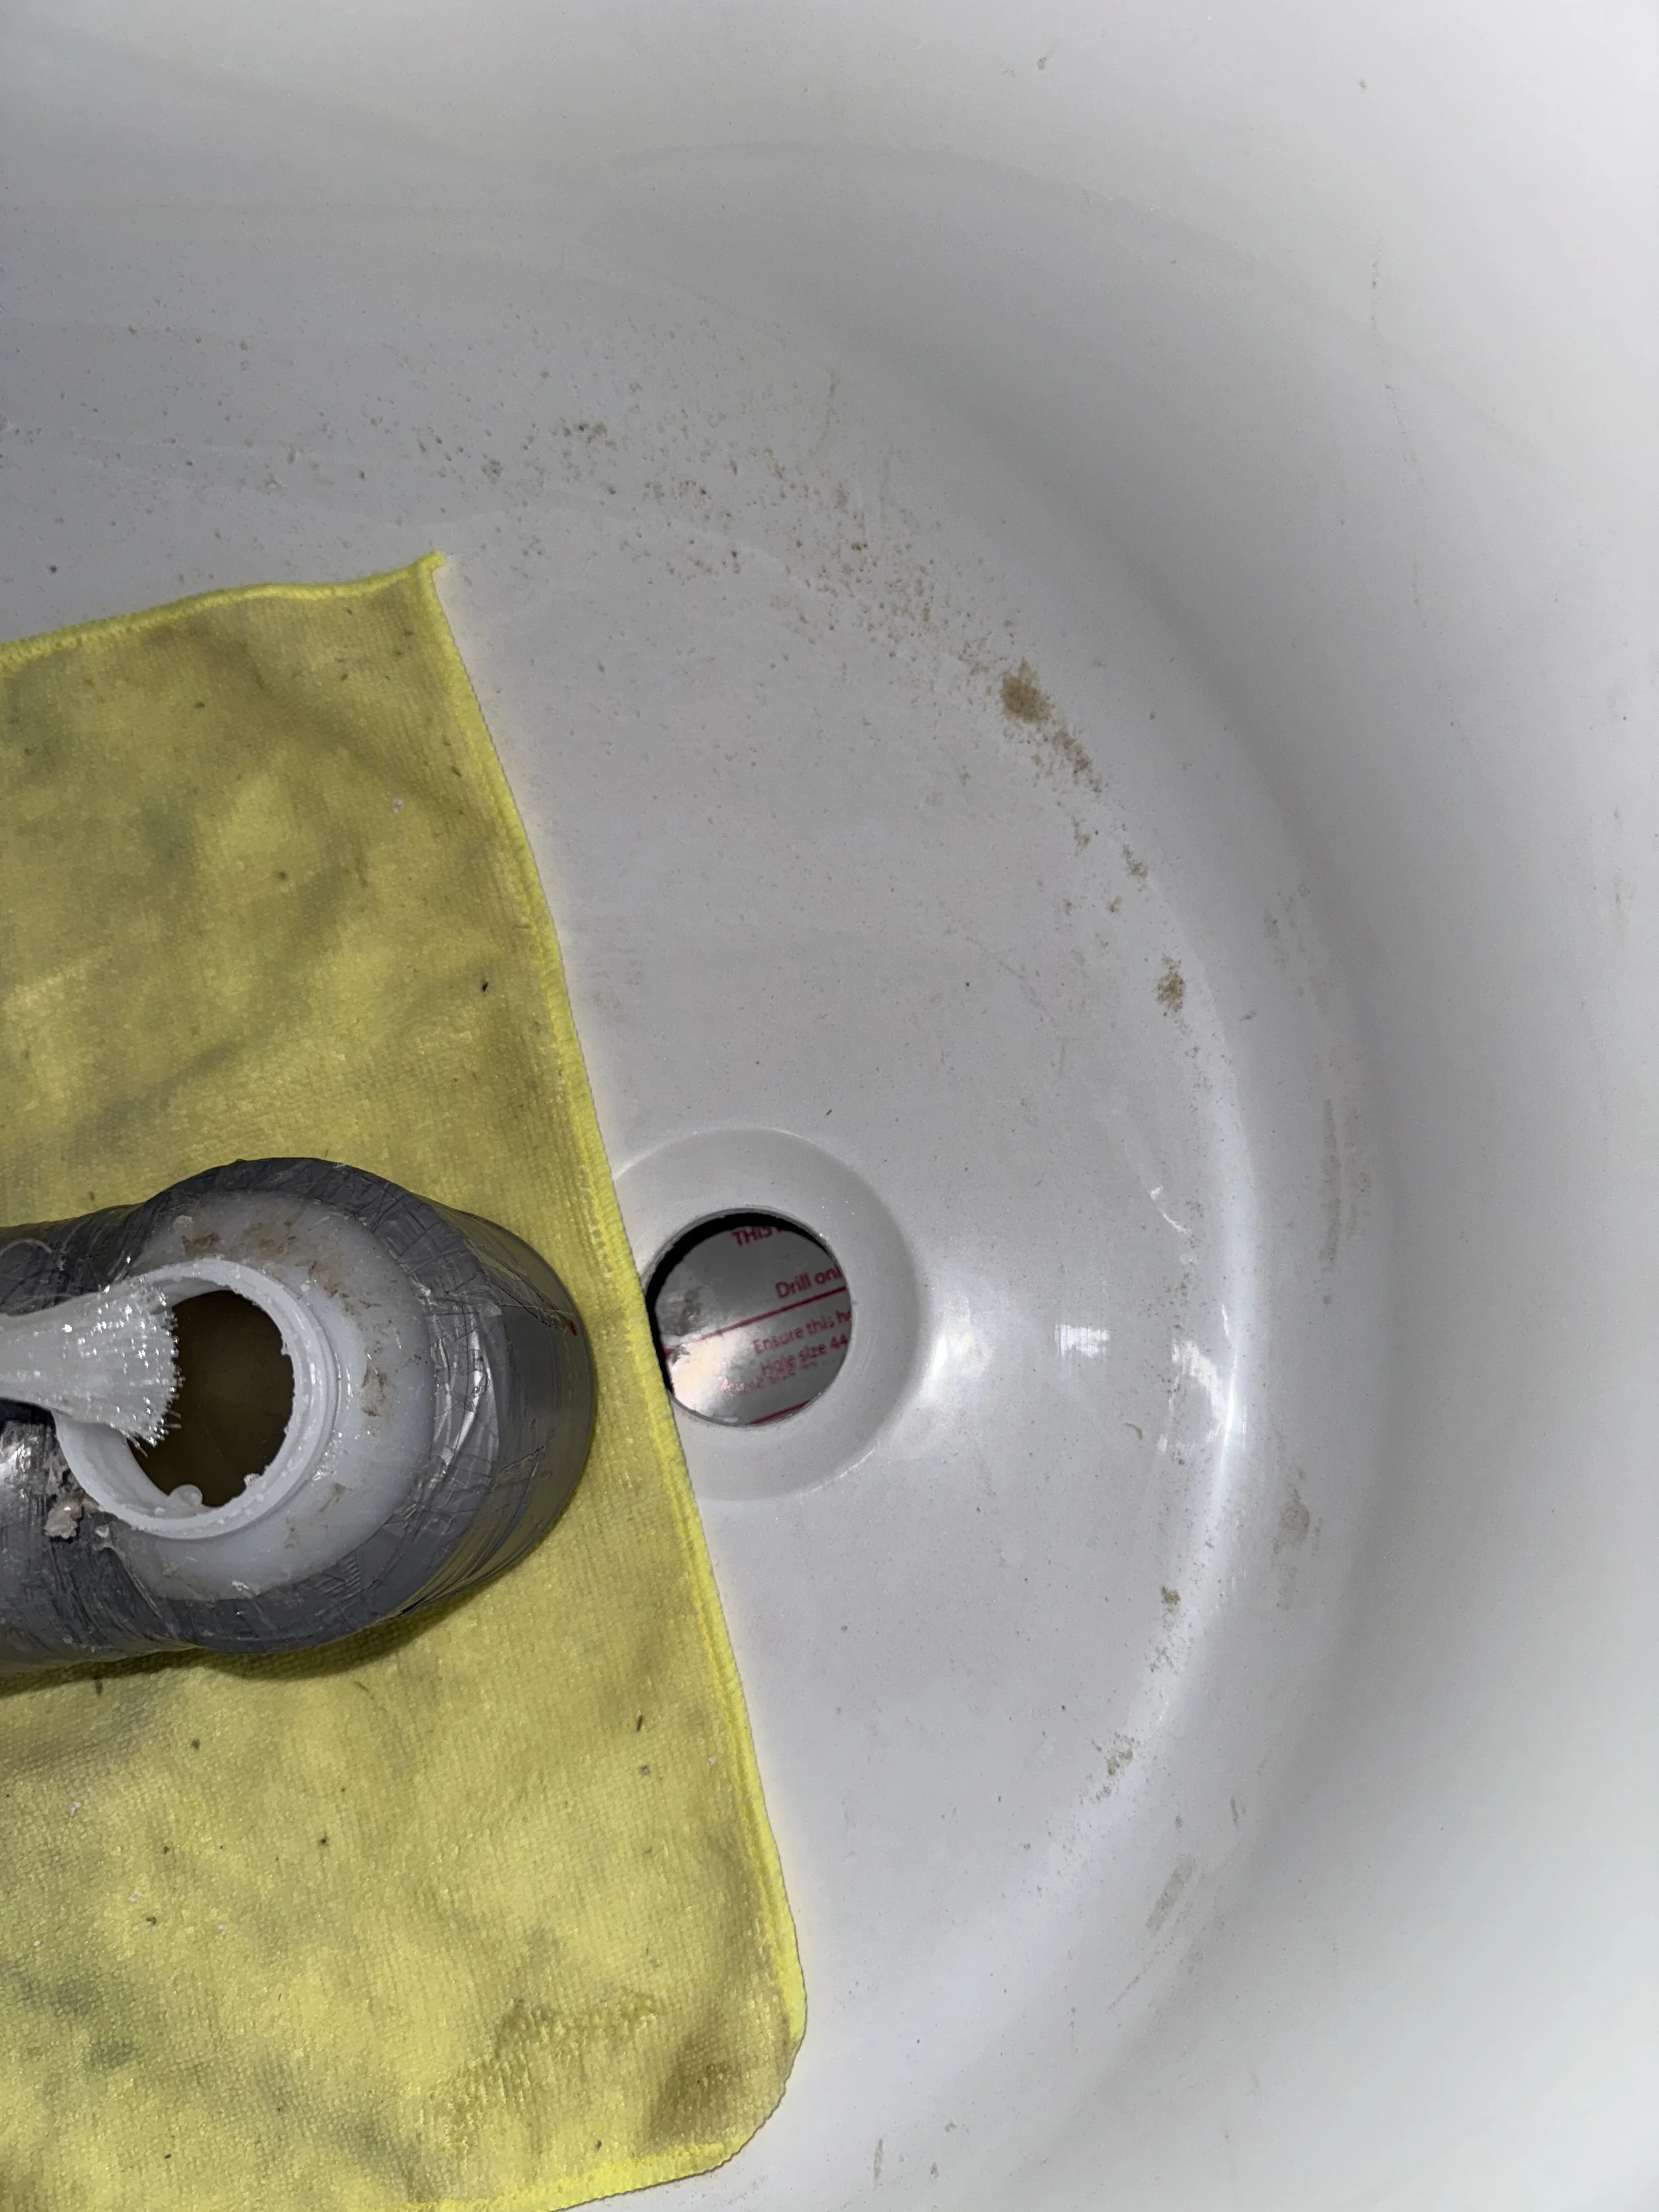
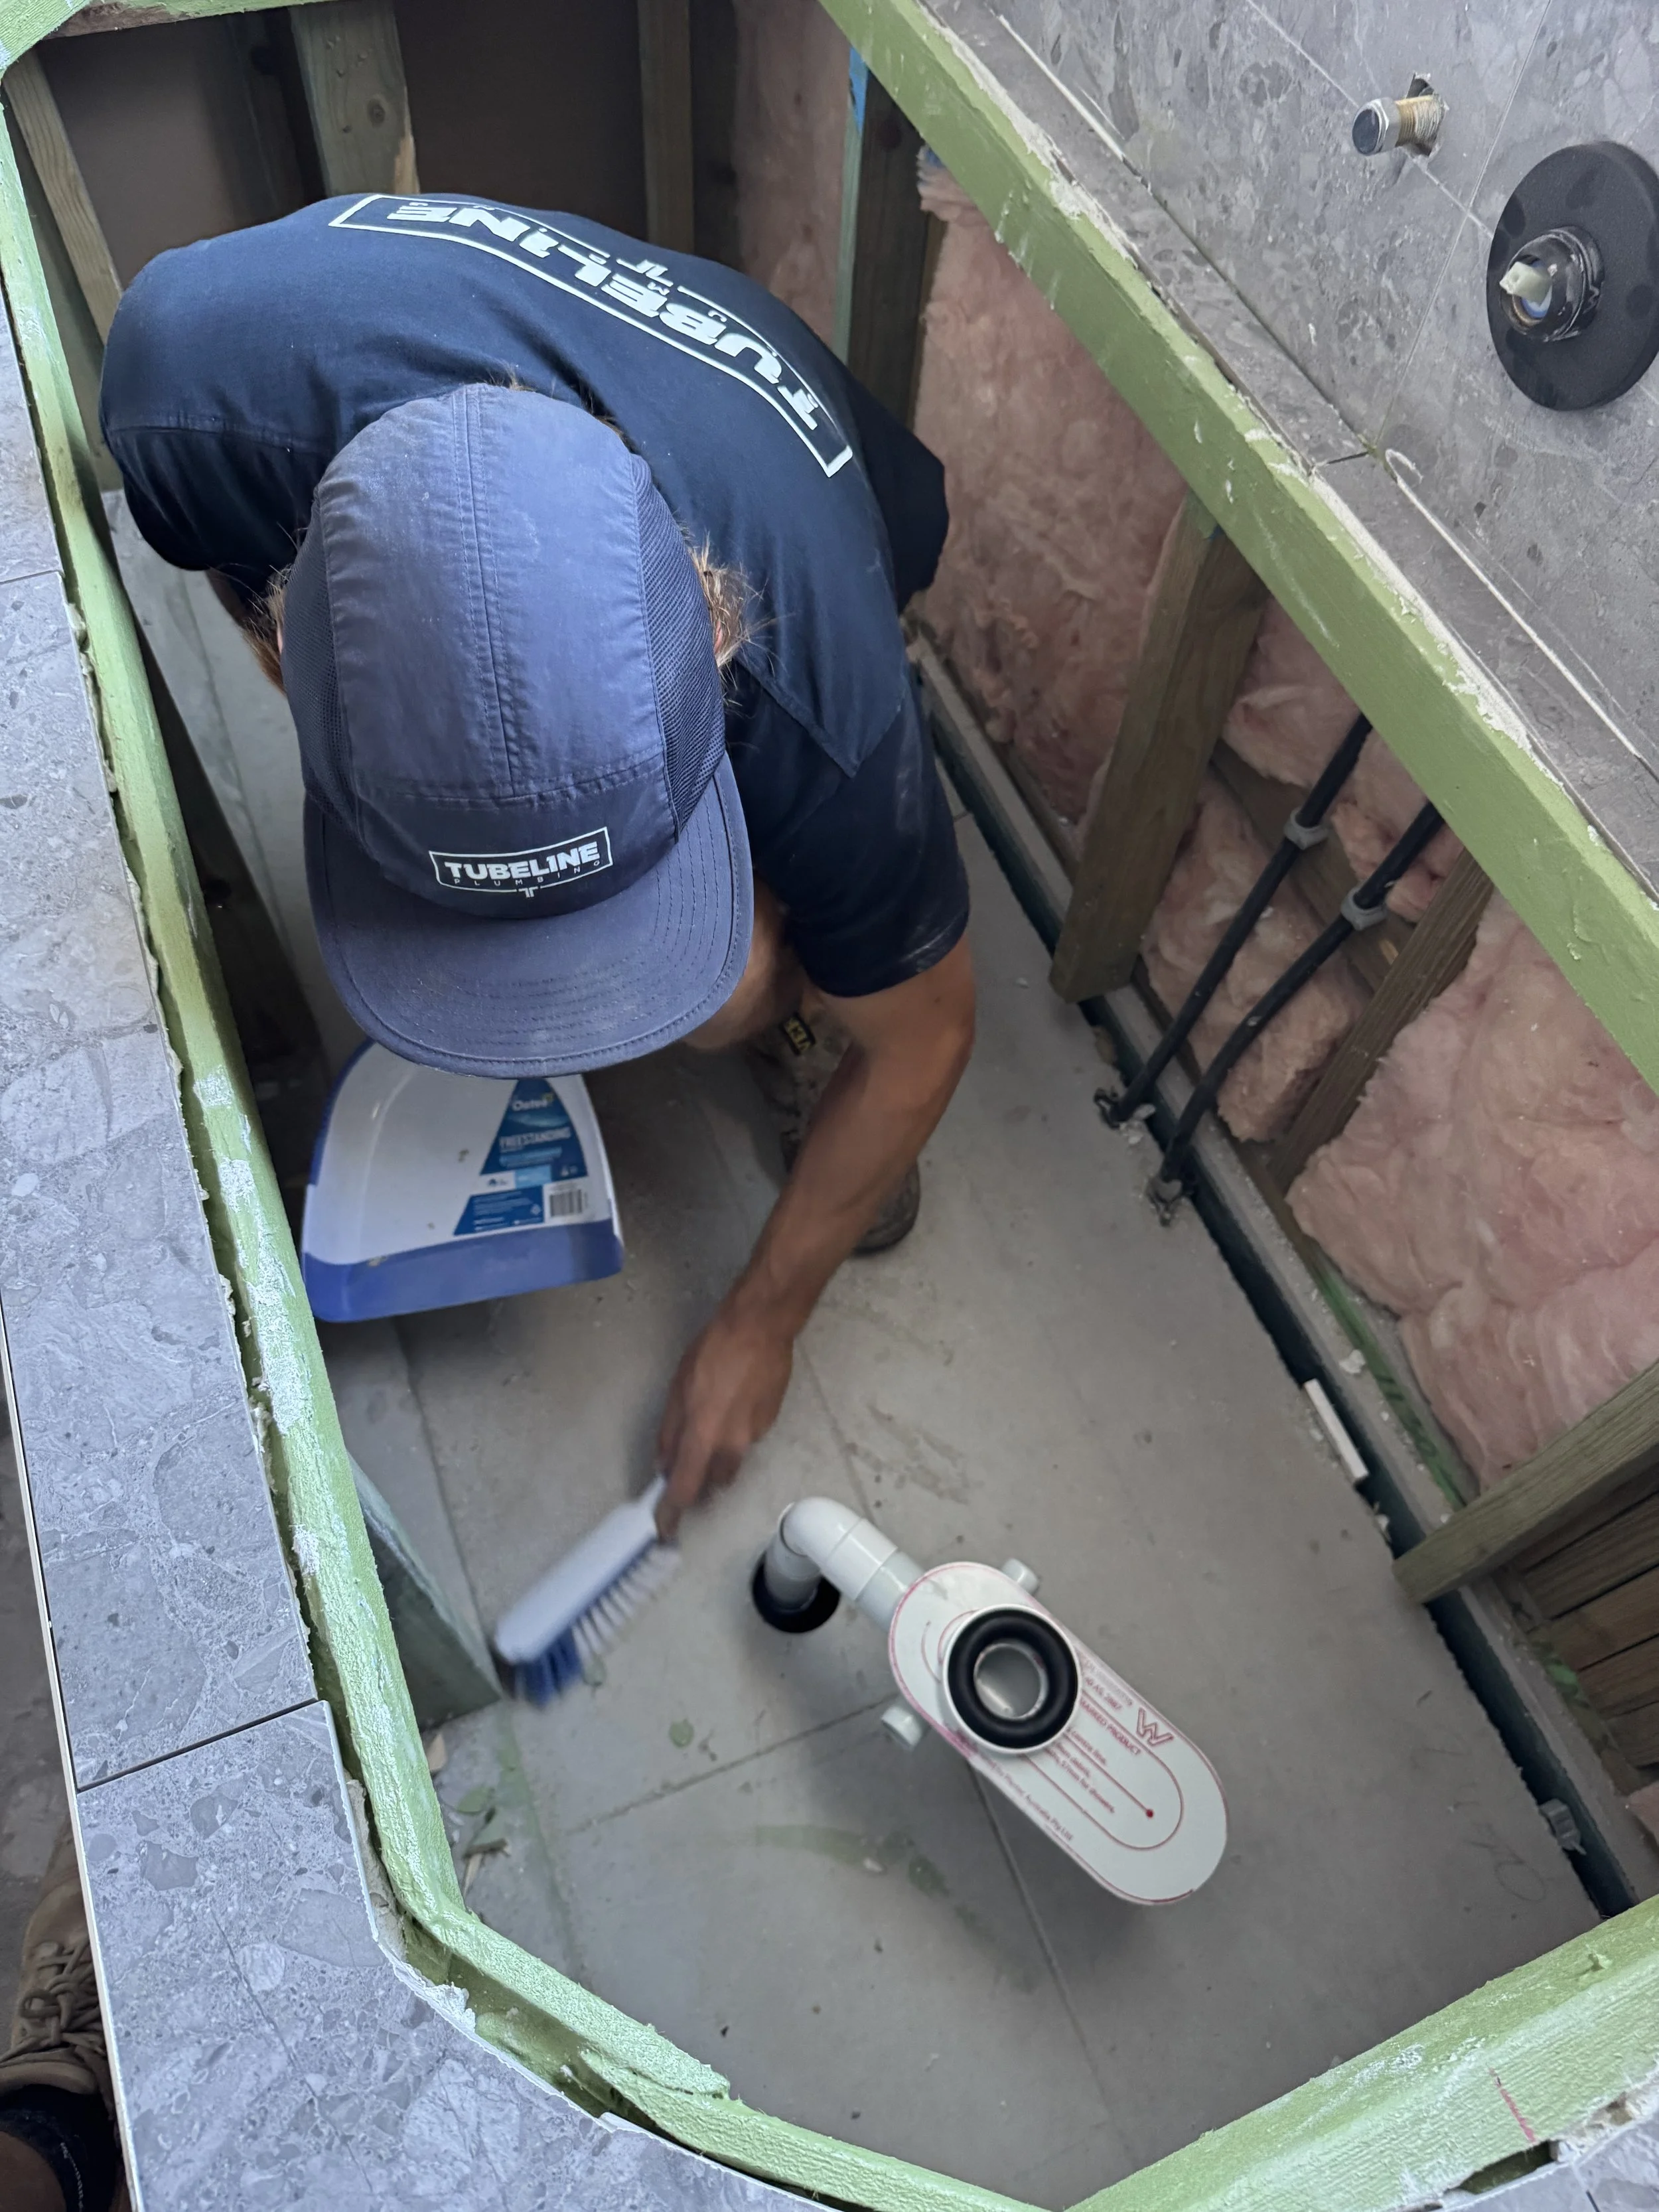
Clean out the bath cavity, dustpan and brush first, then clean it with a vacuum.
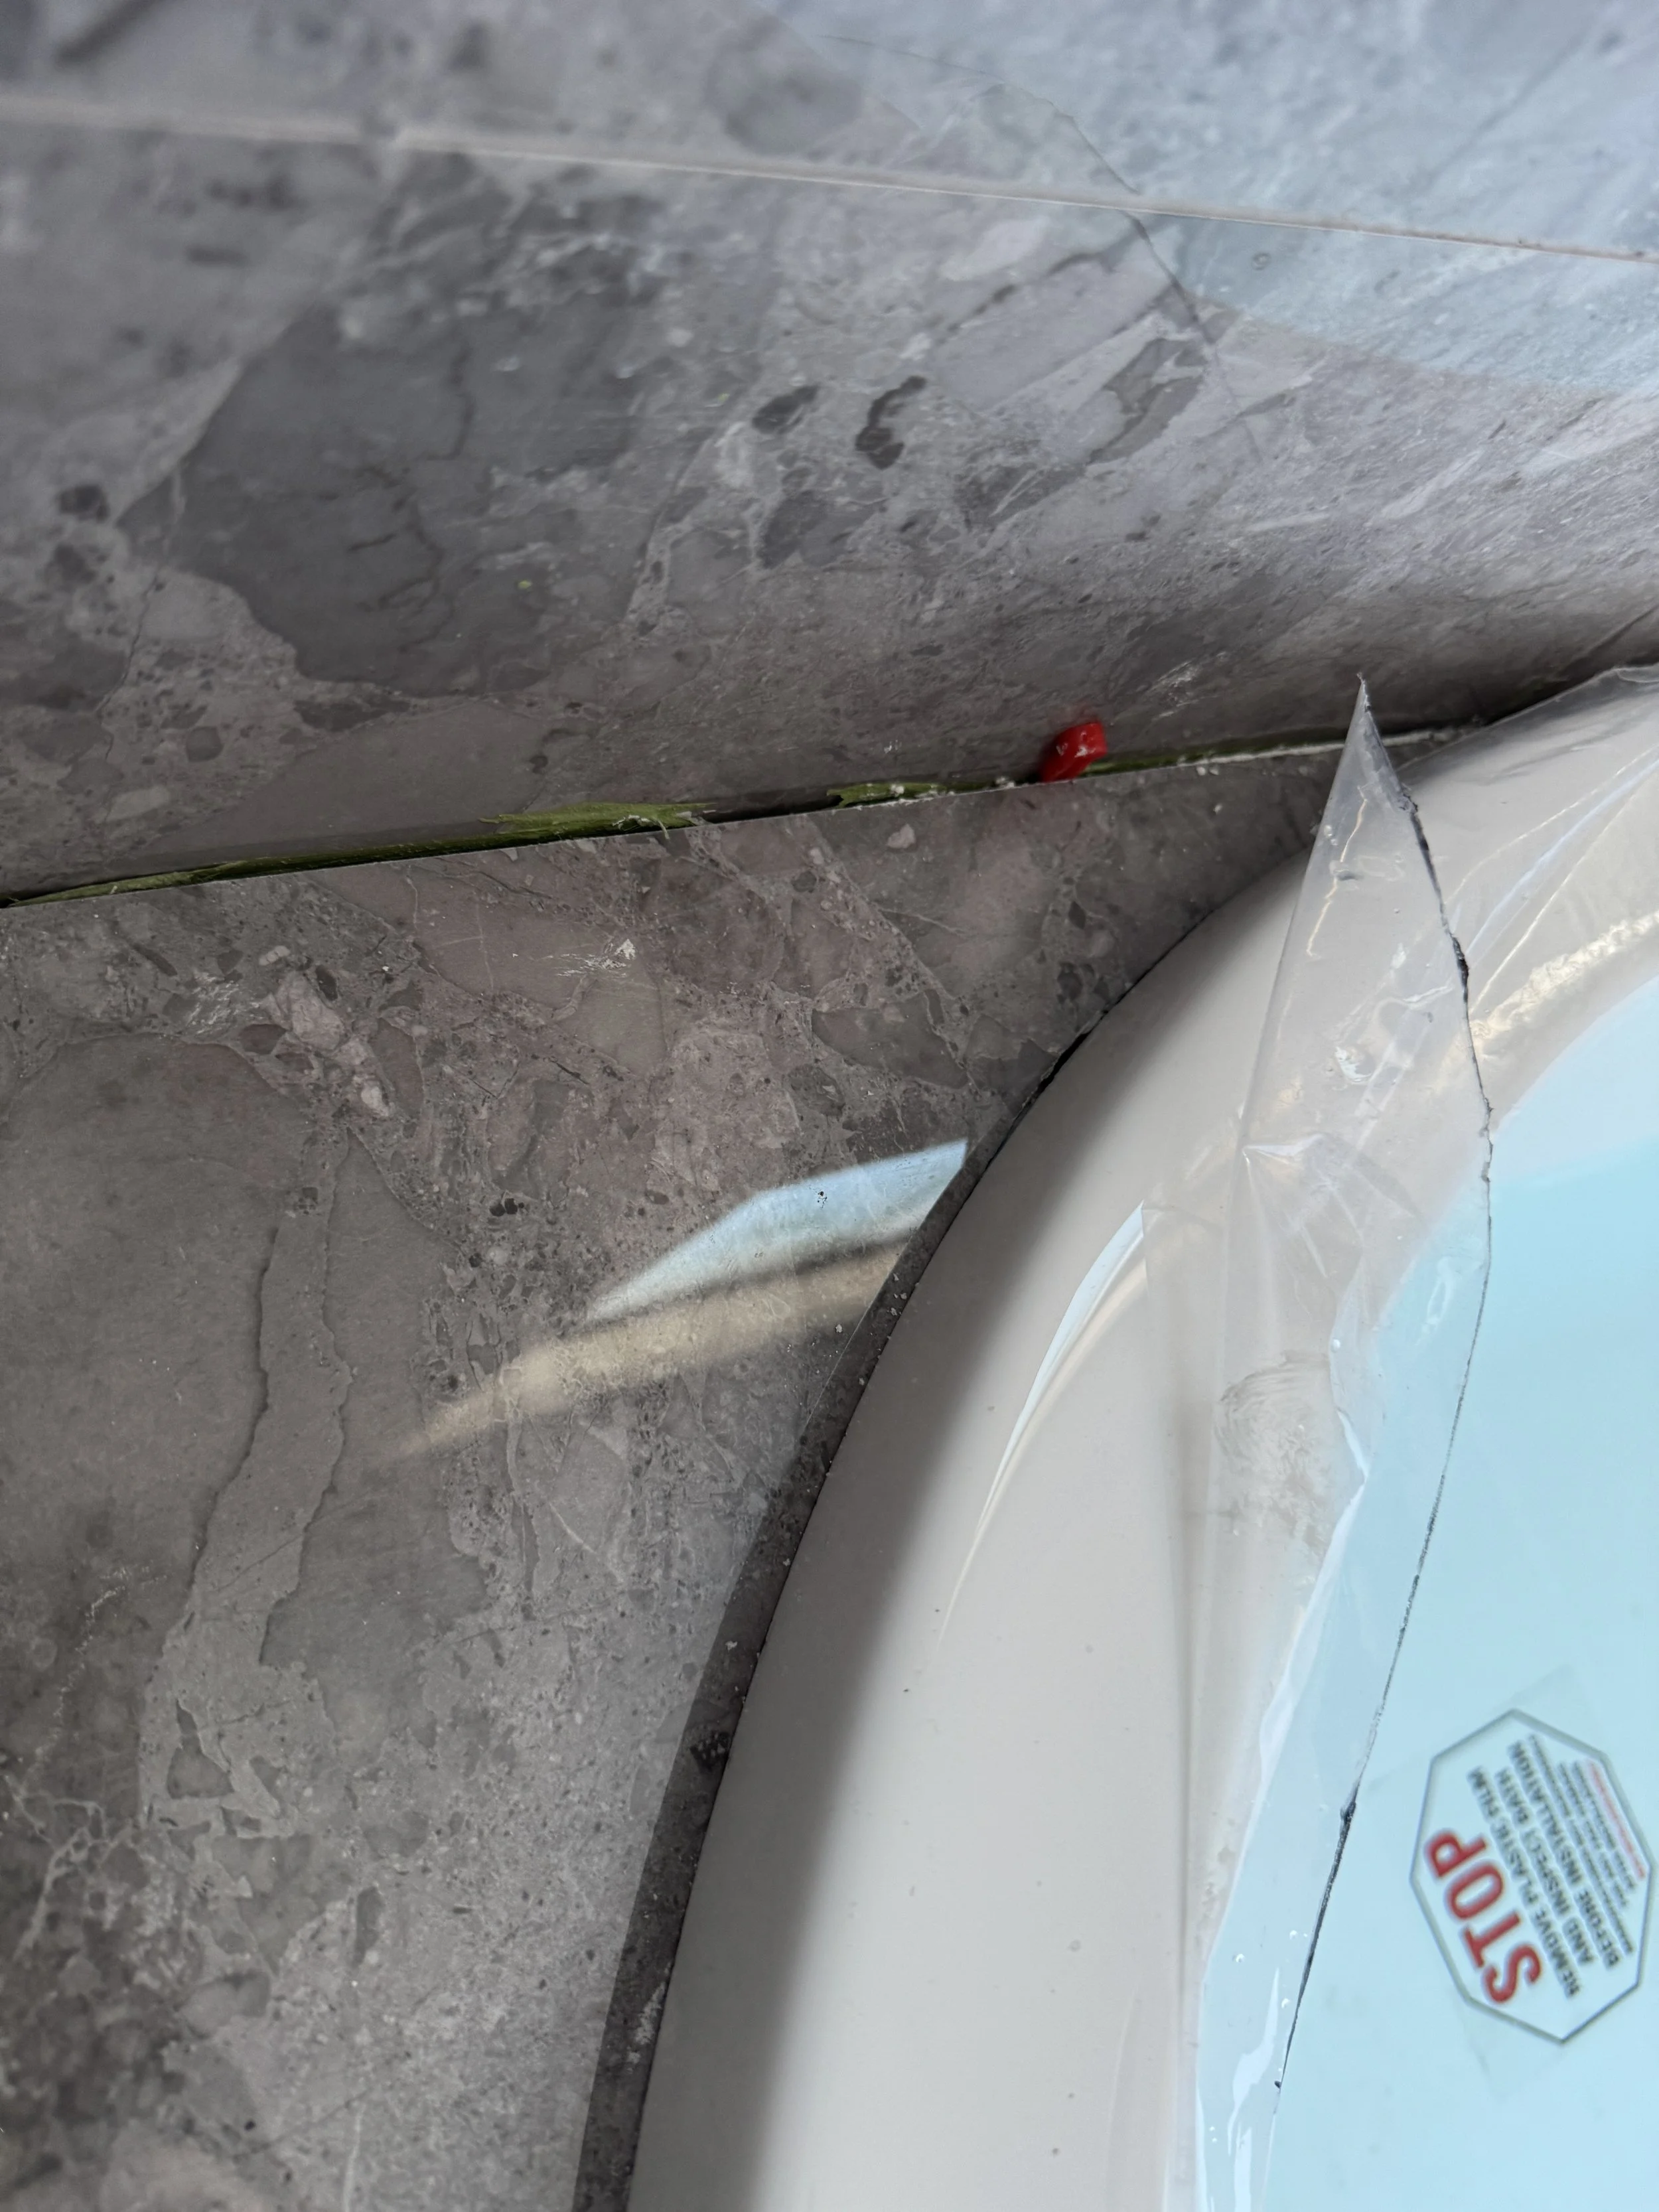
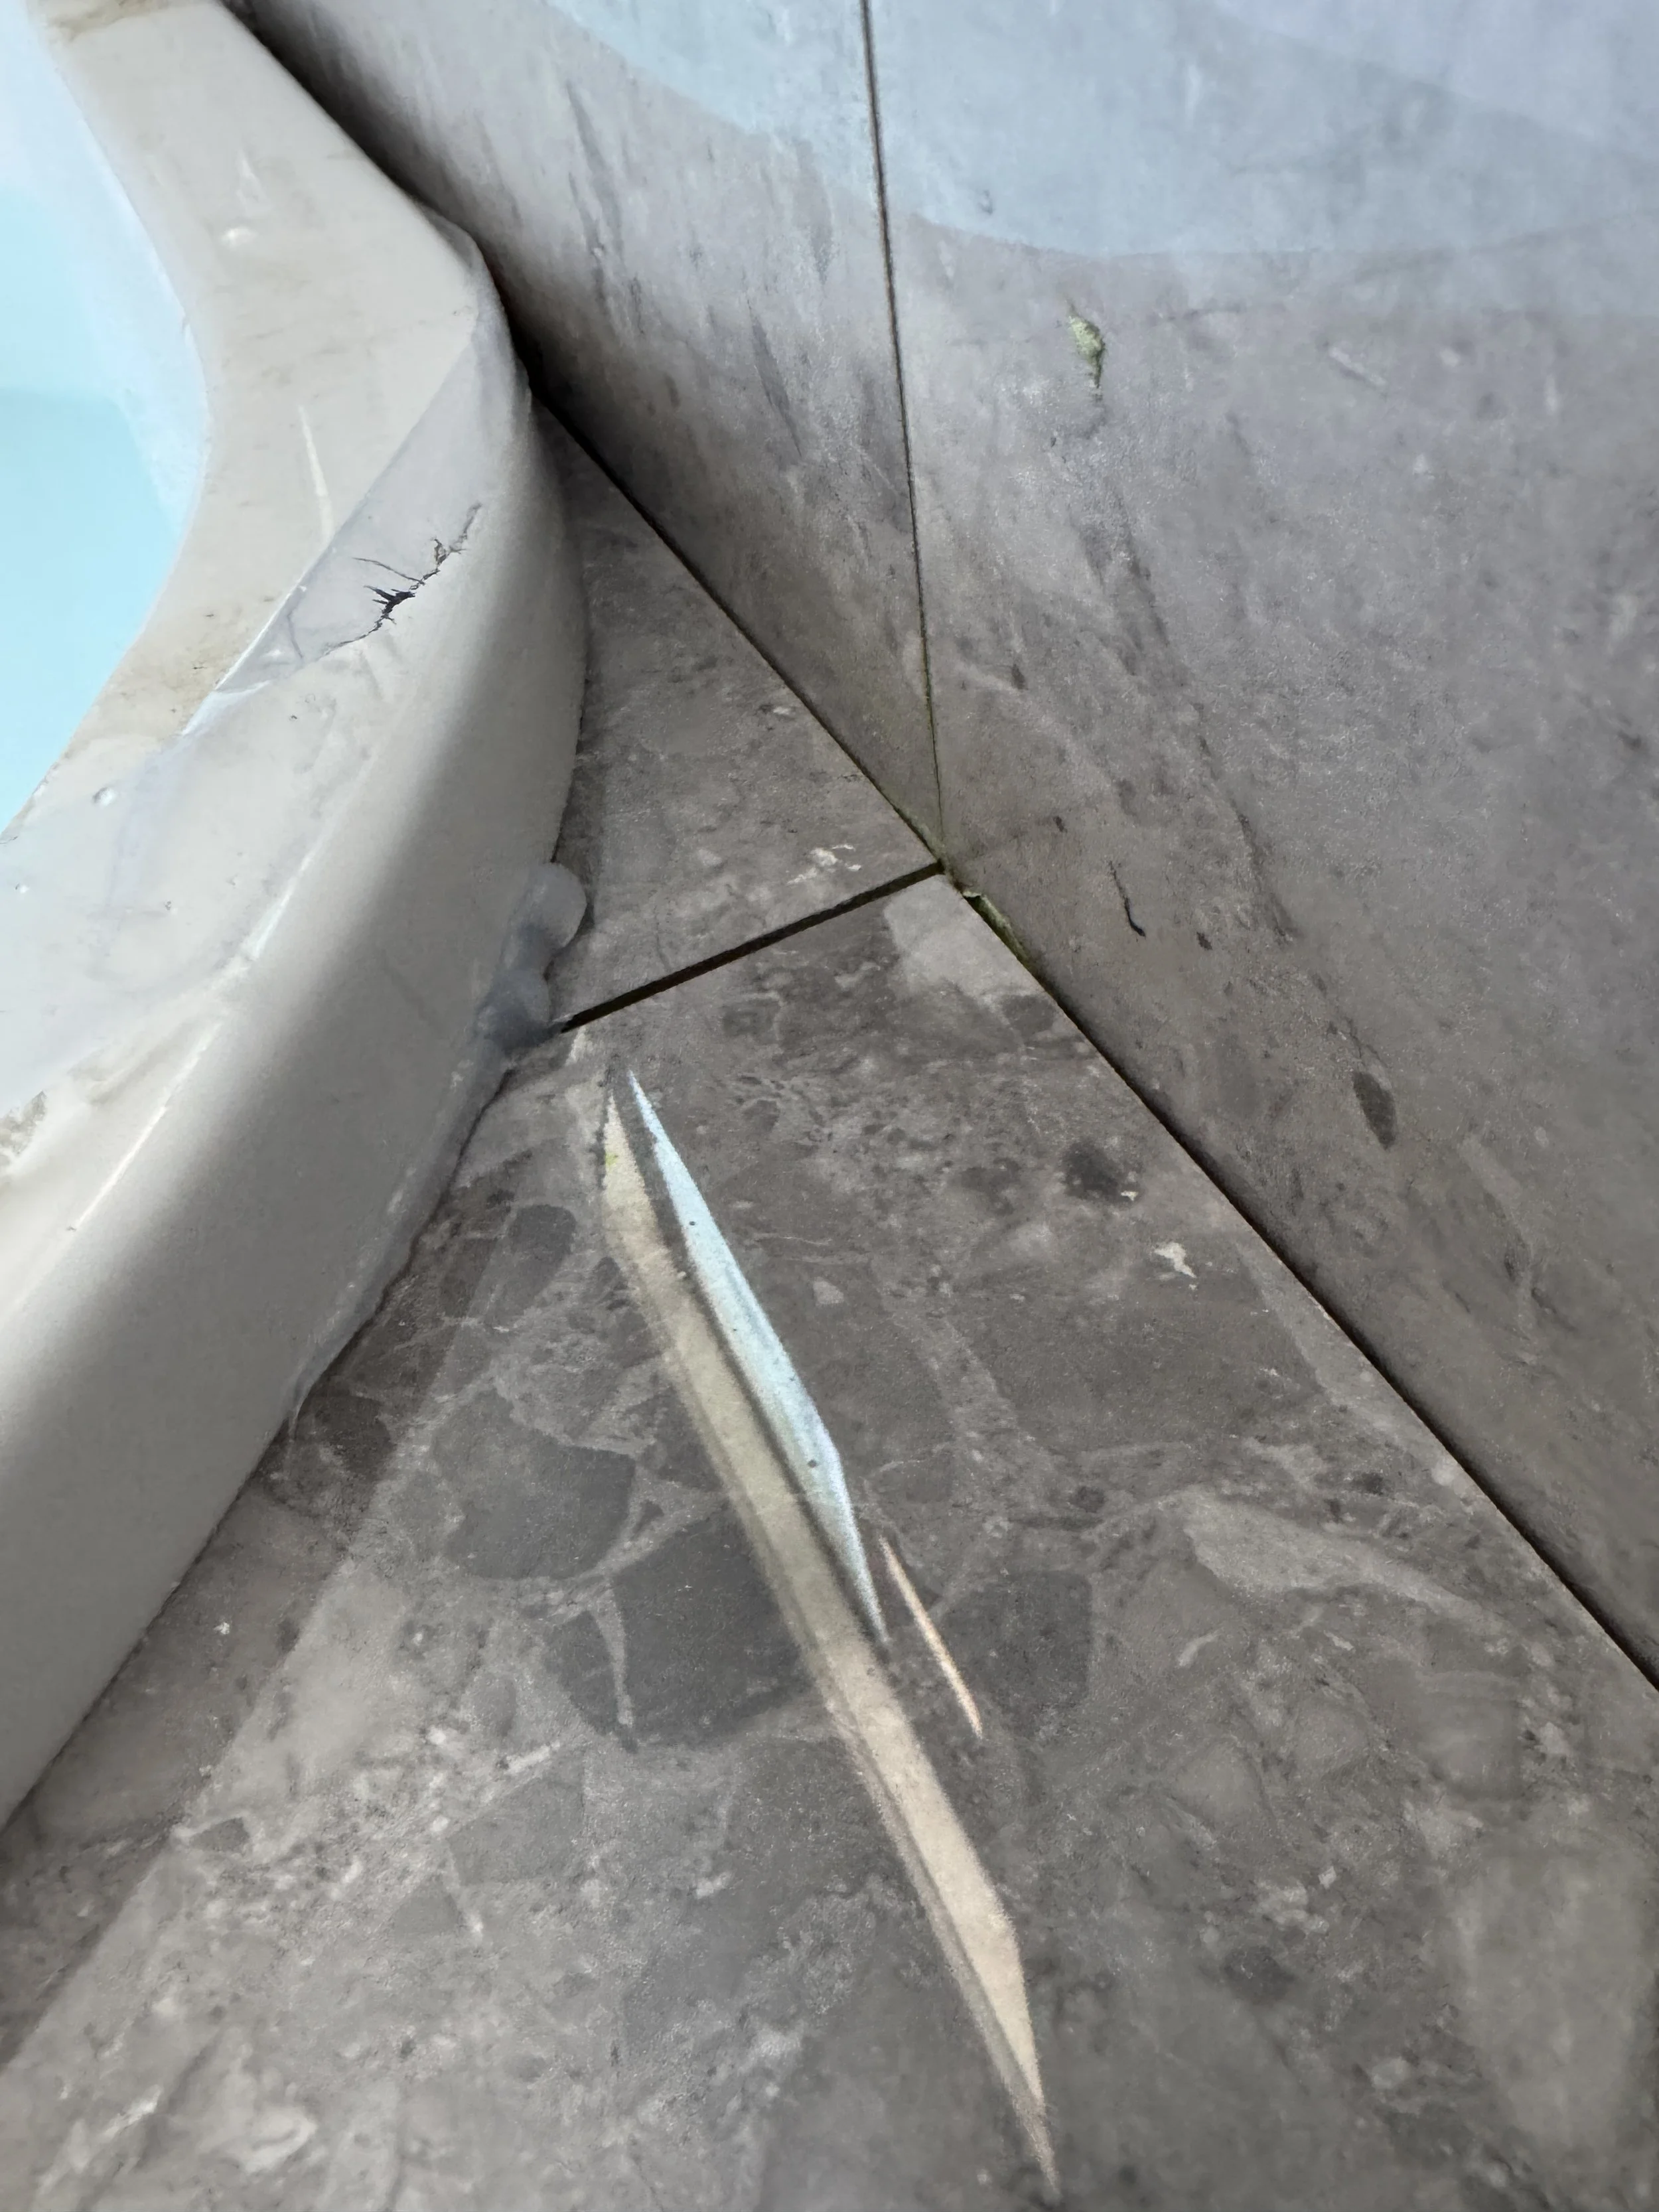
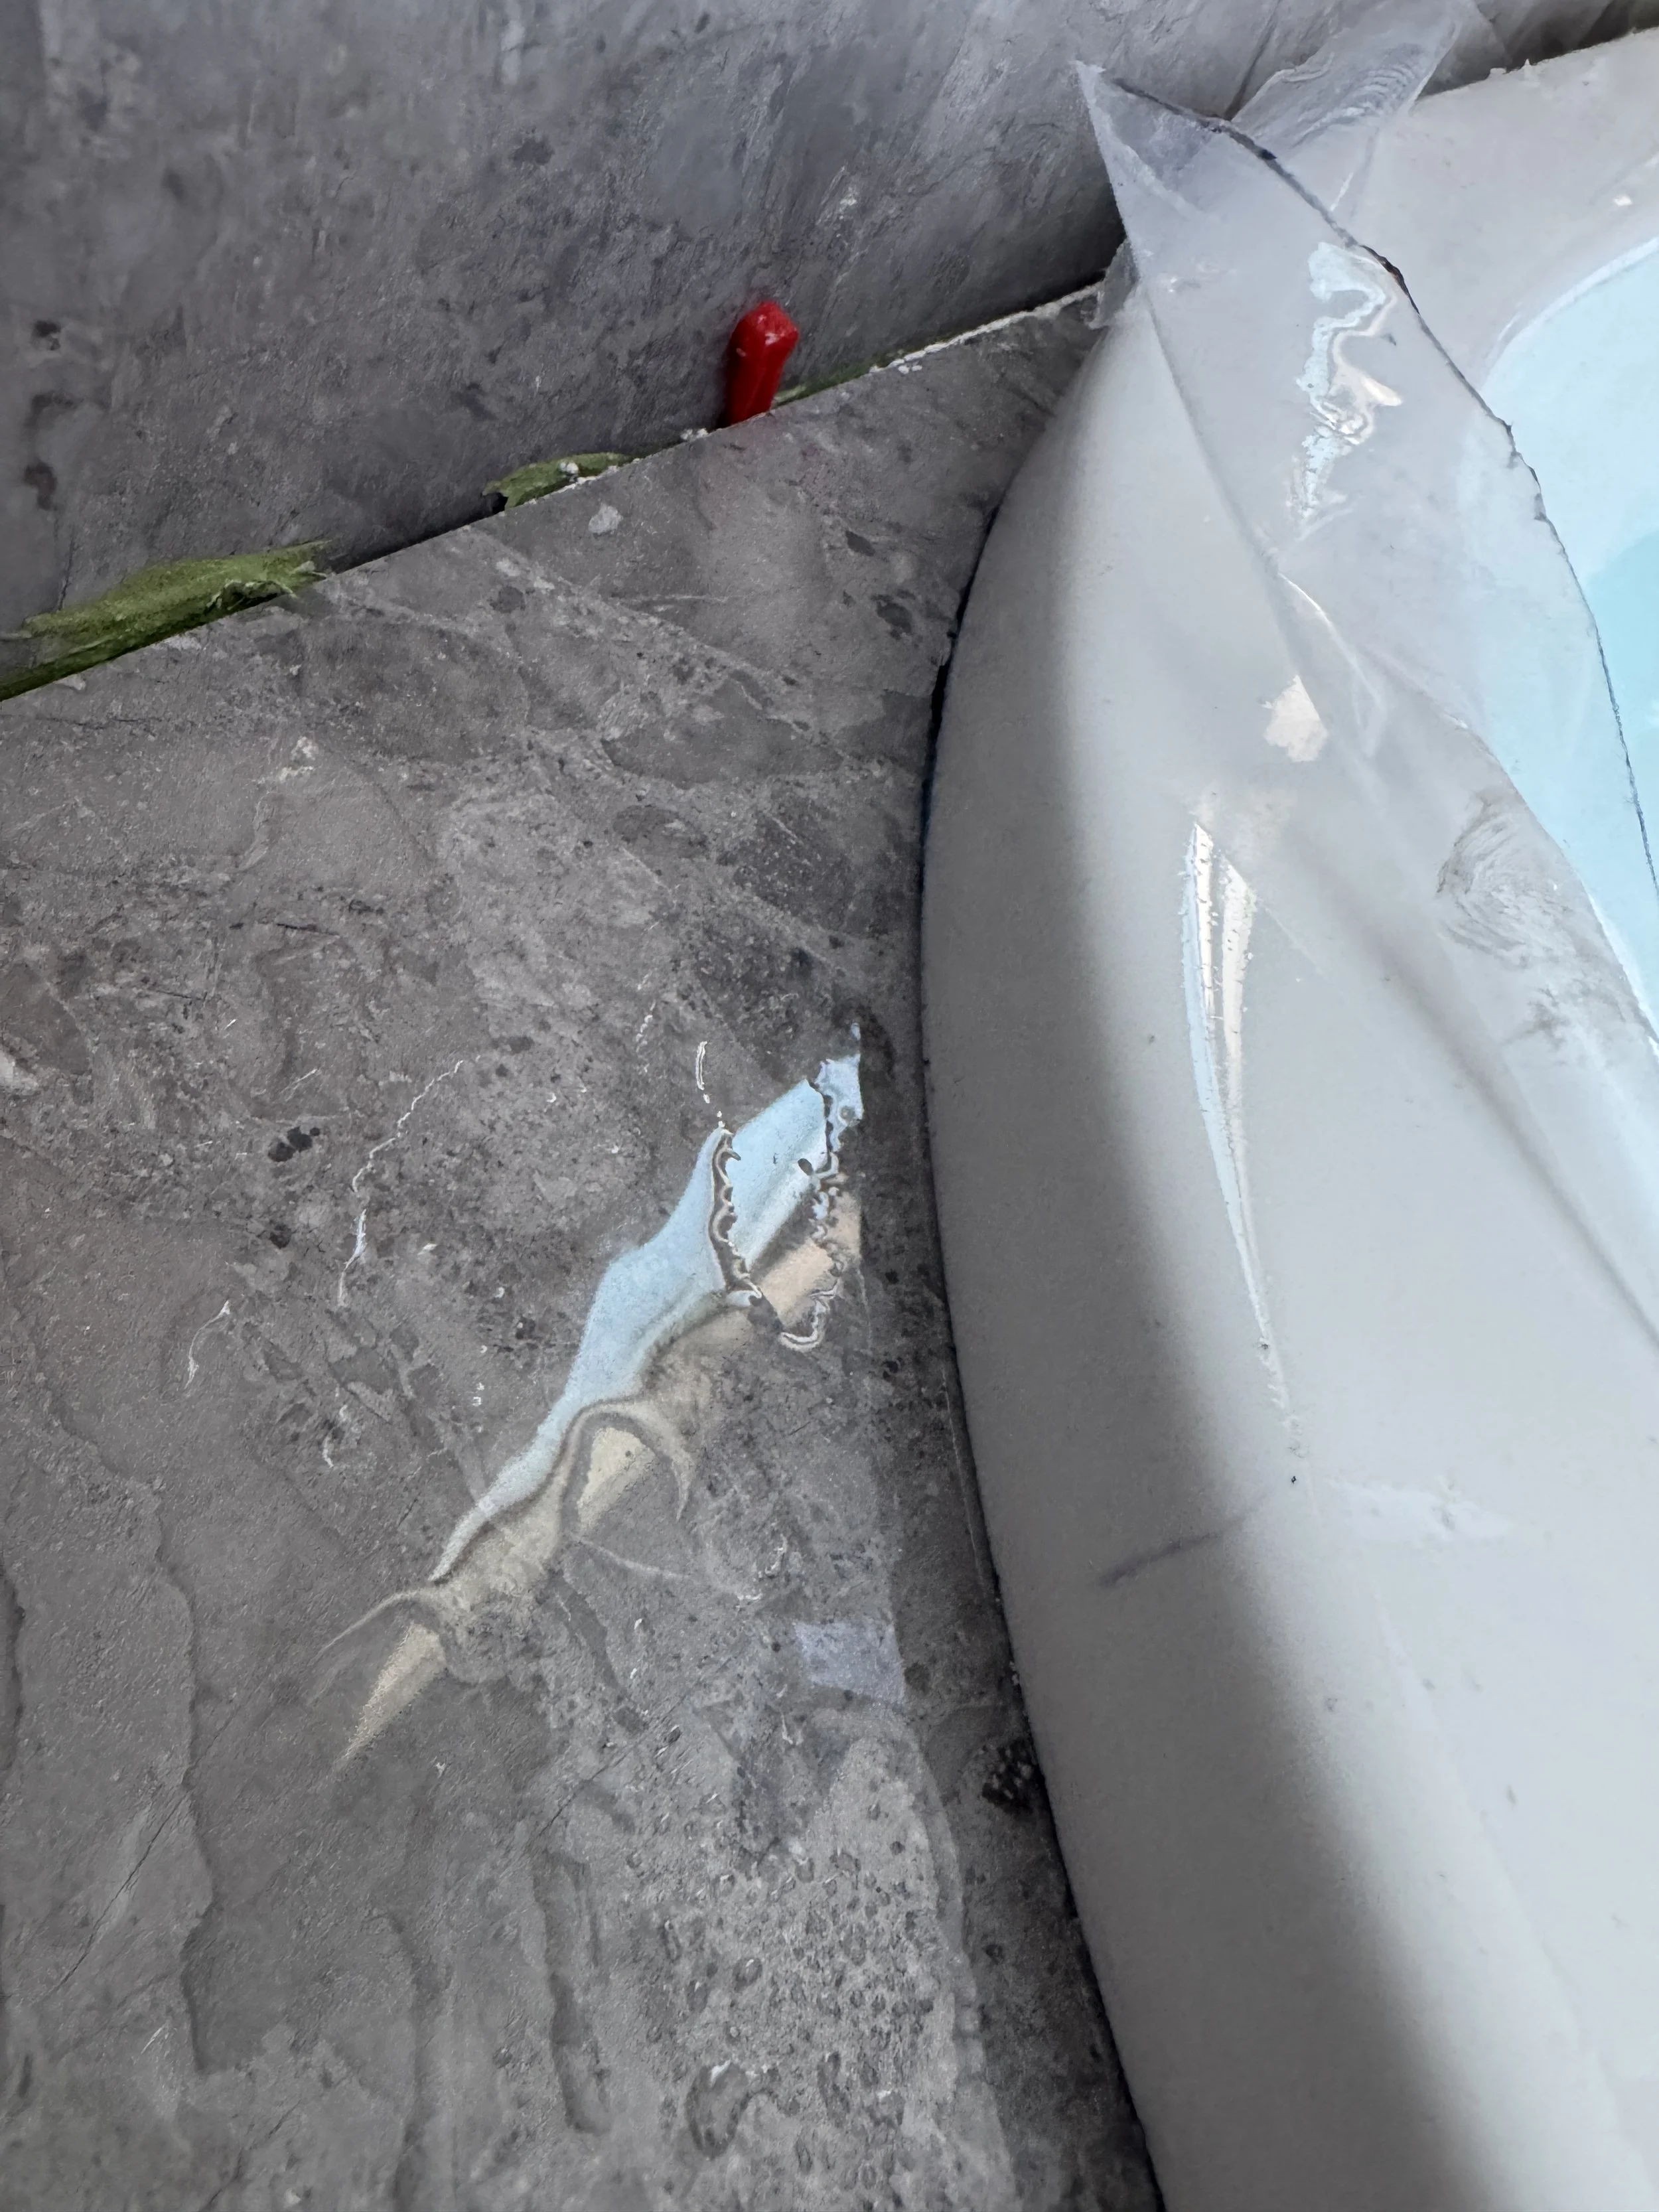
Make sure the bath sits in place evenly spaced covering all gaps in the tiles. If there’s gaps, take photos, upload to the job file and call a supervisor who will make the call on whether to install or not.
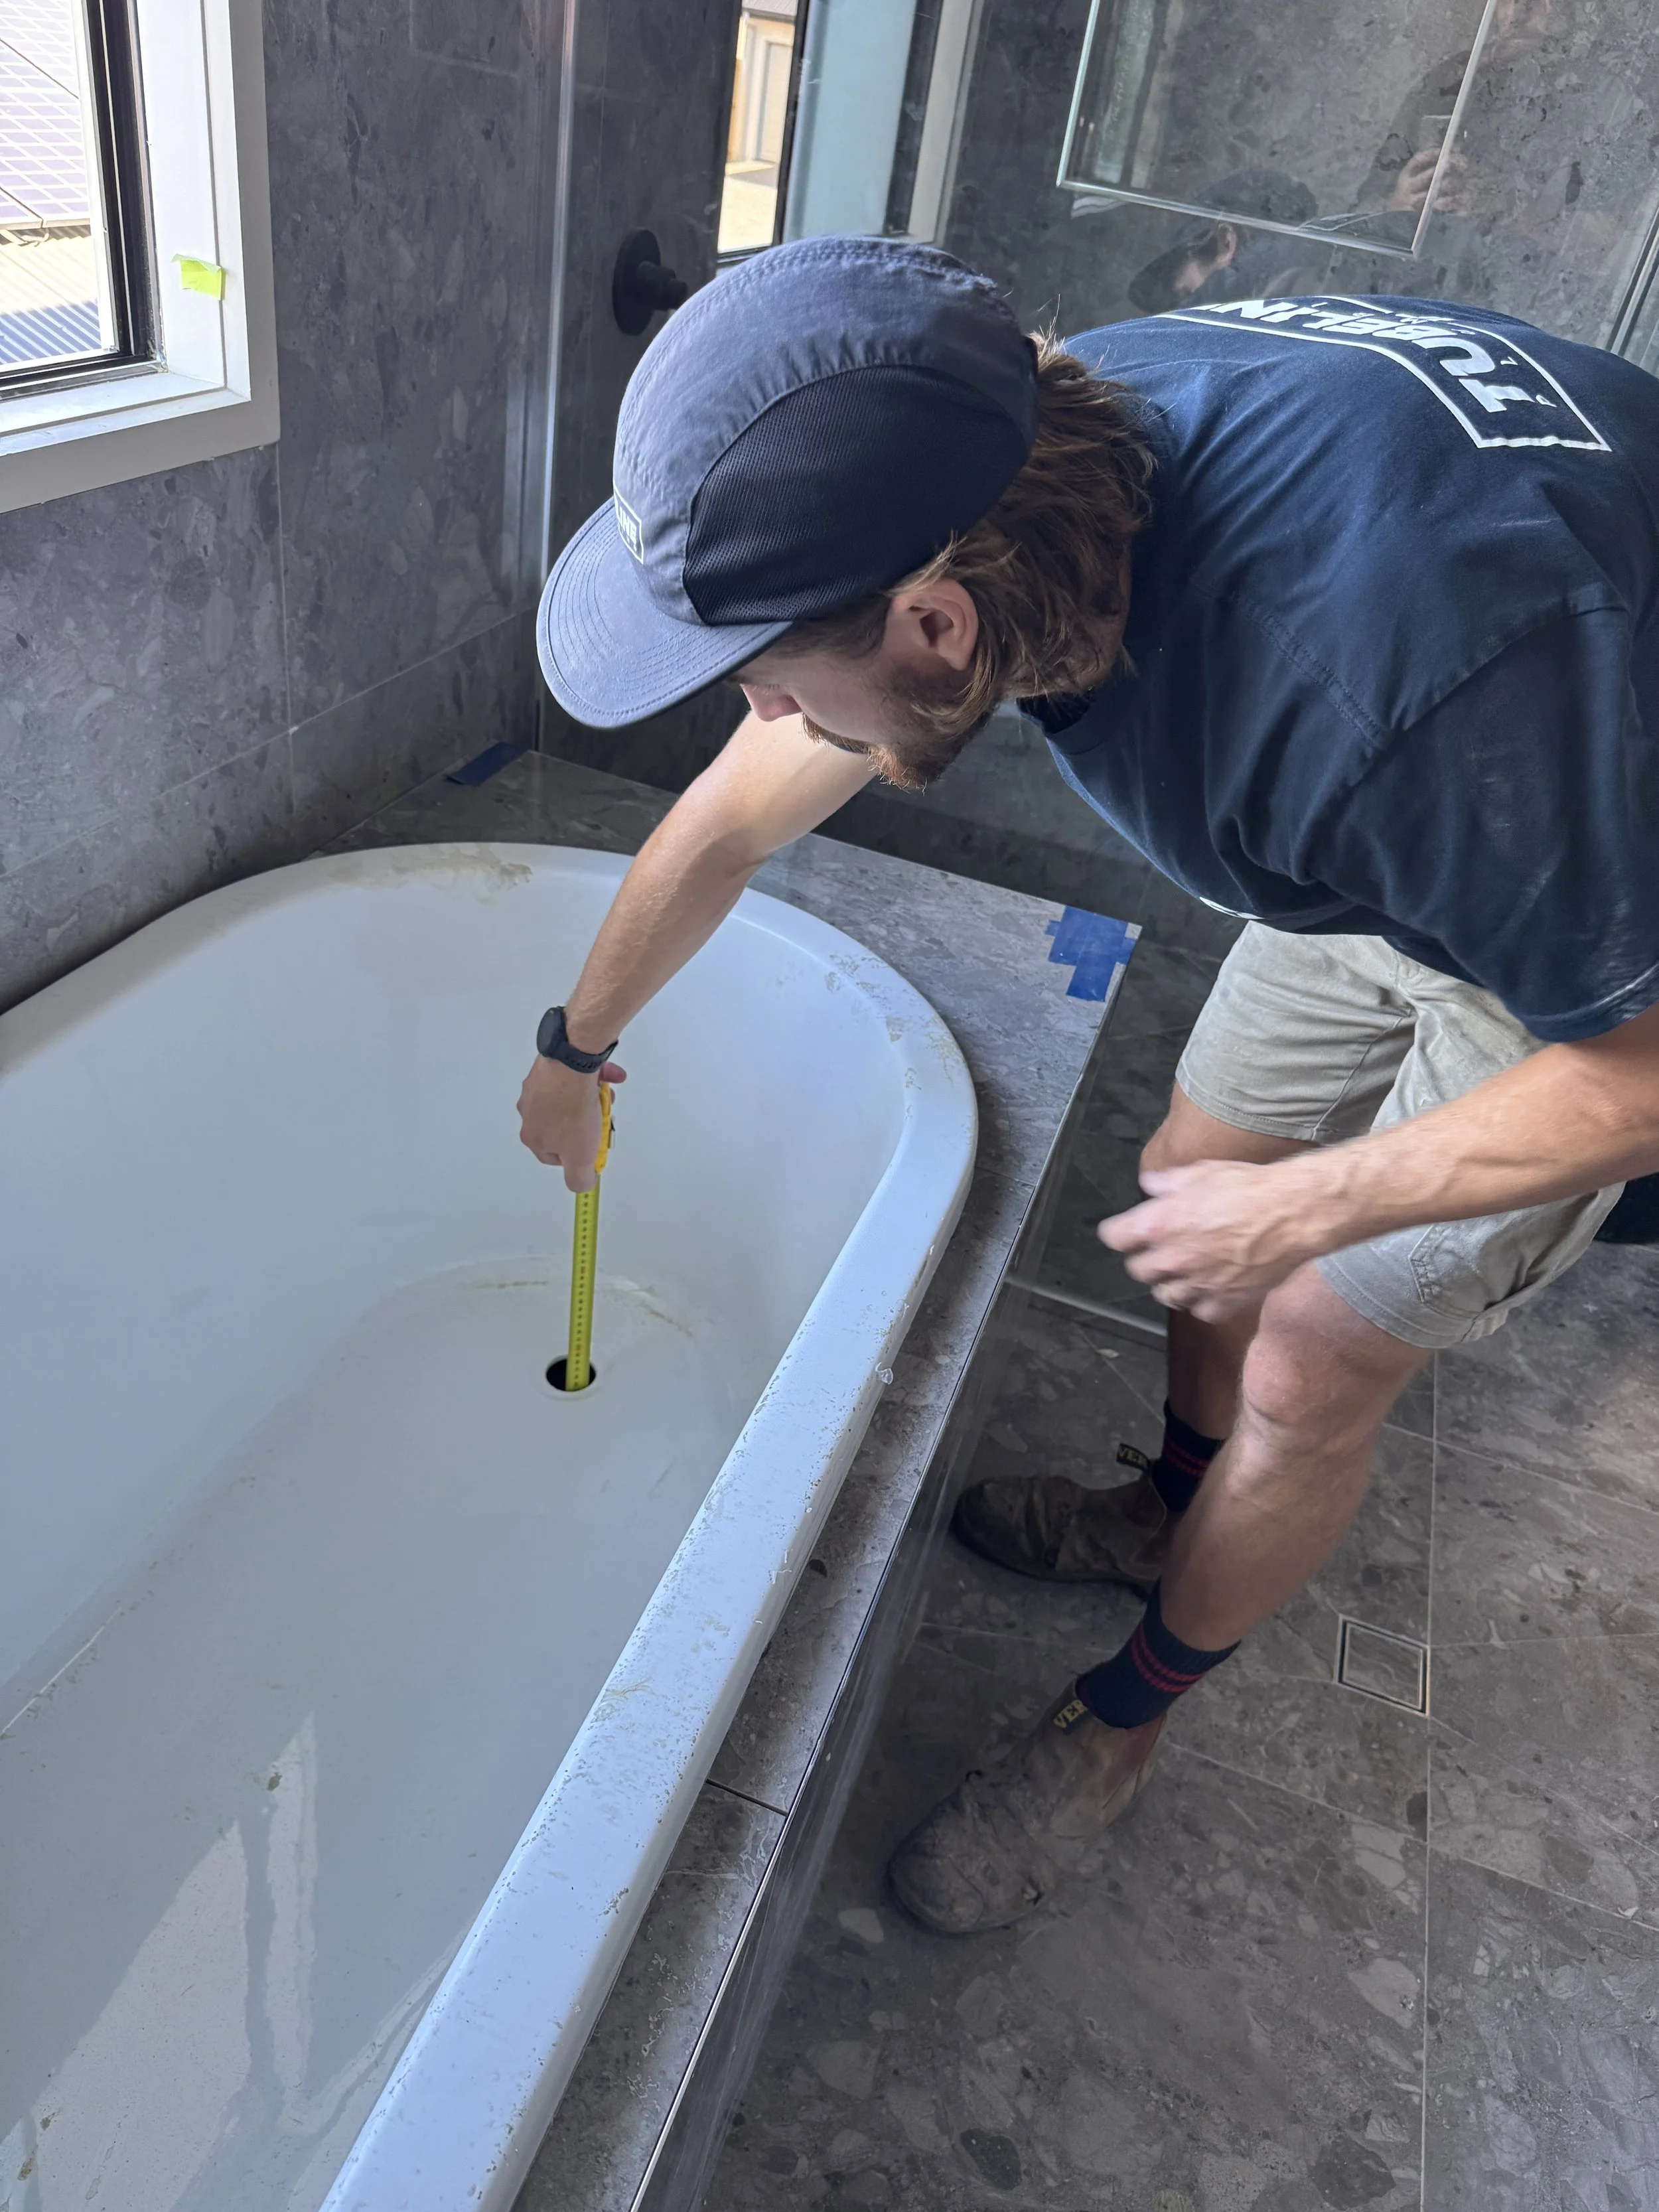
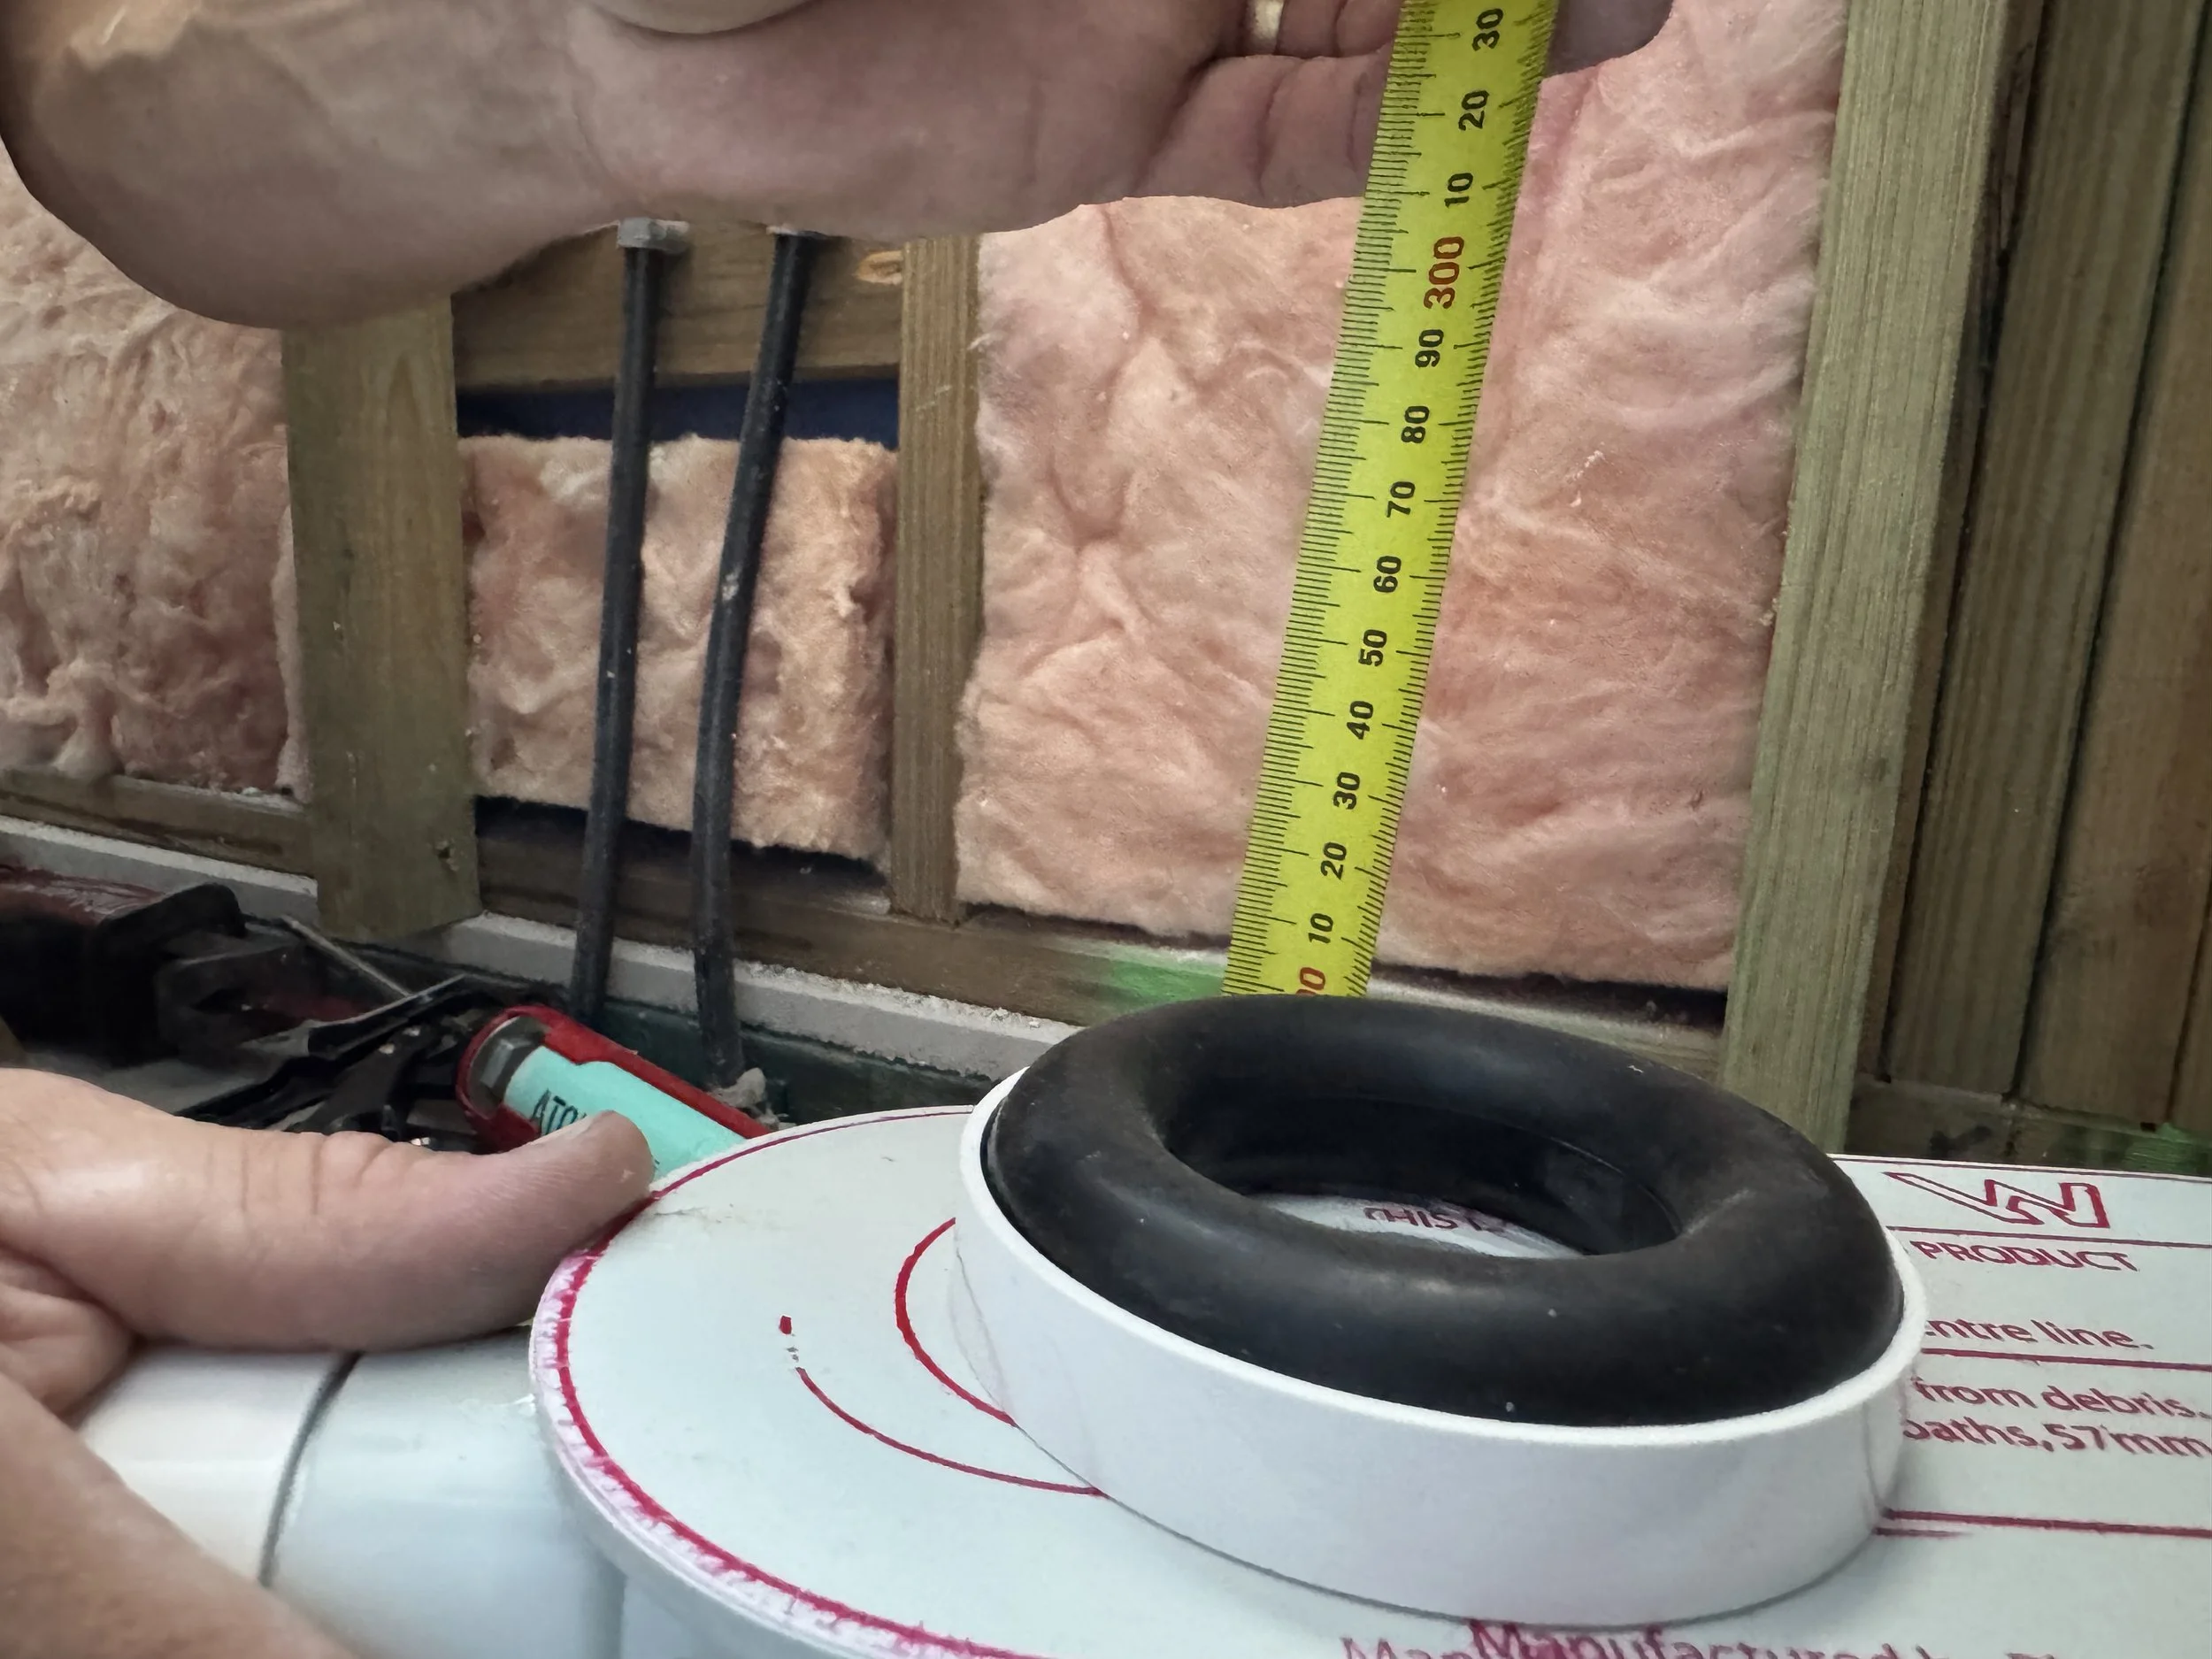
Measure the gap between the floor and the bottom of the bath.
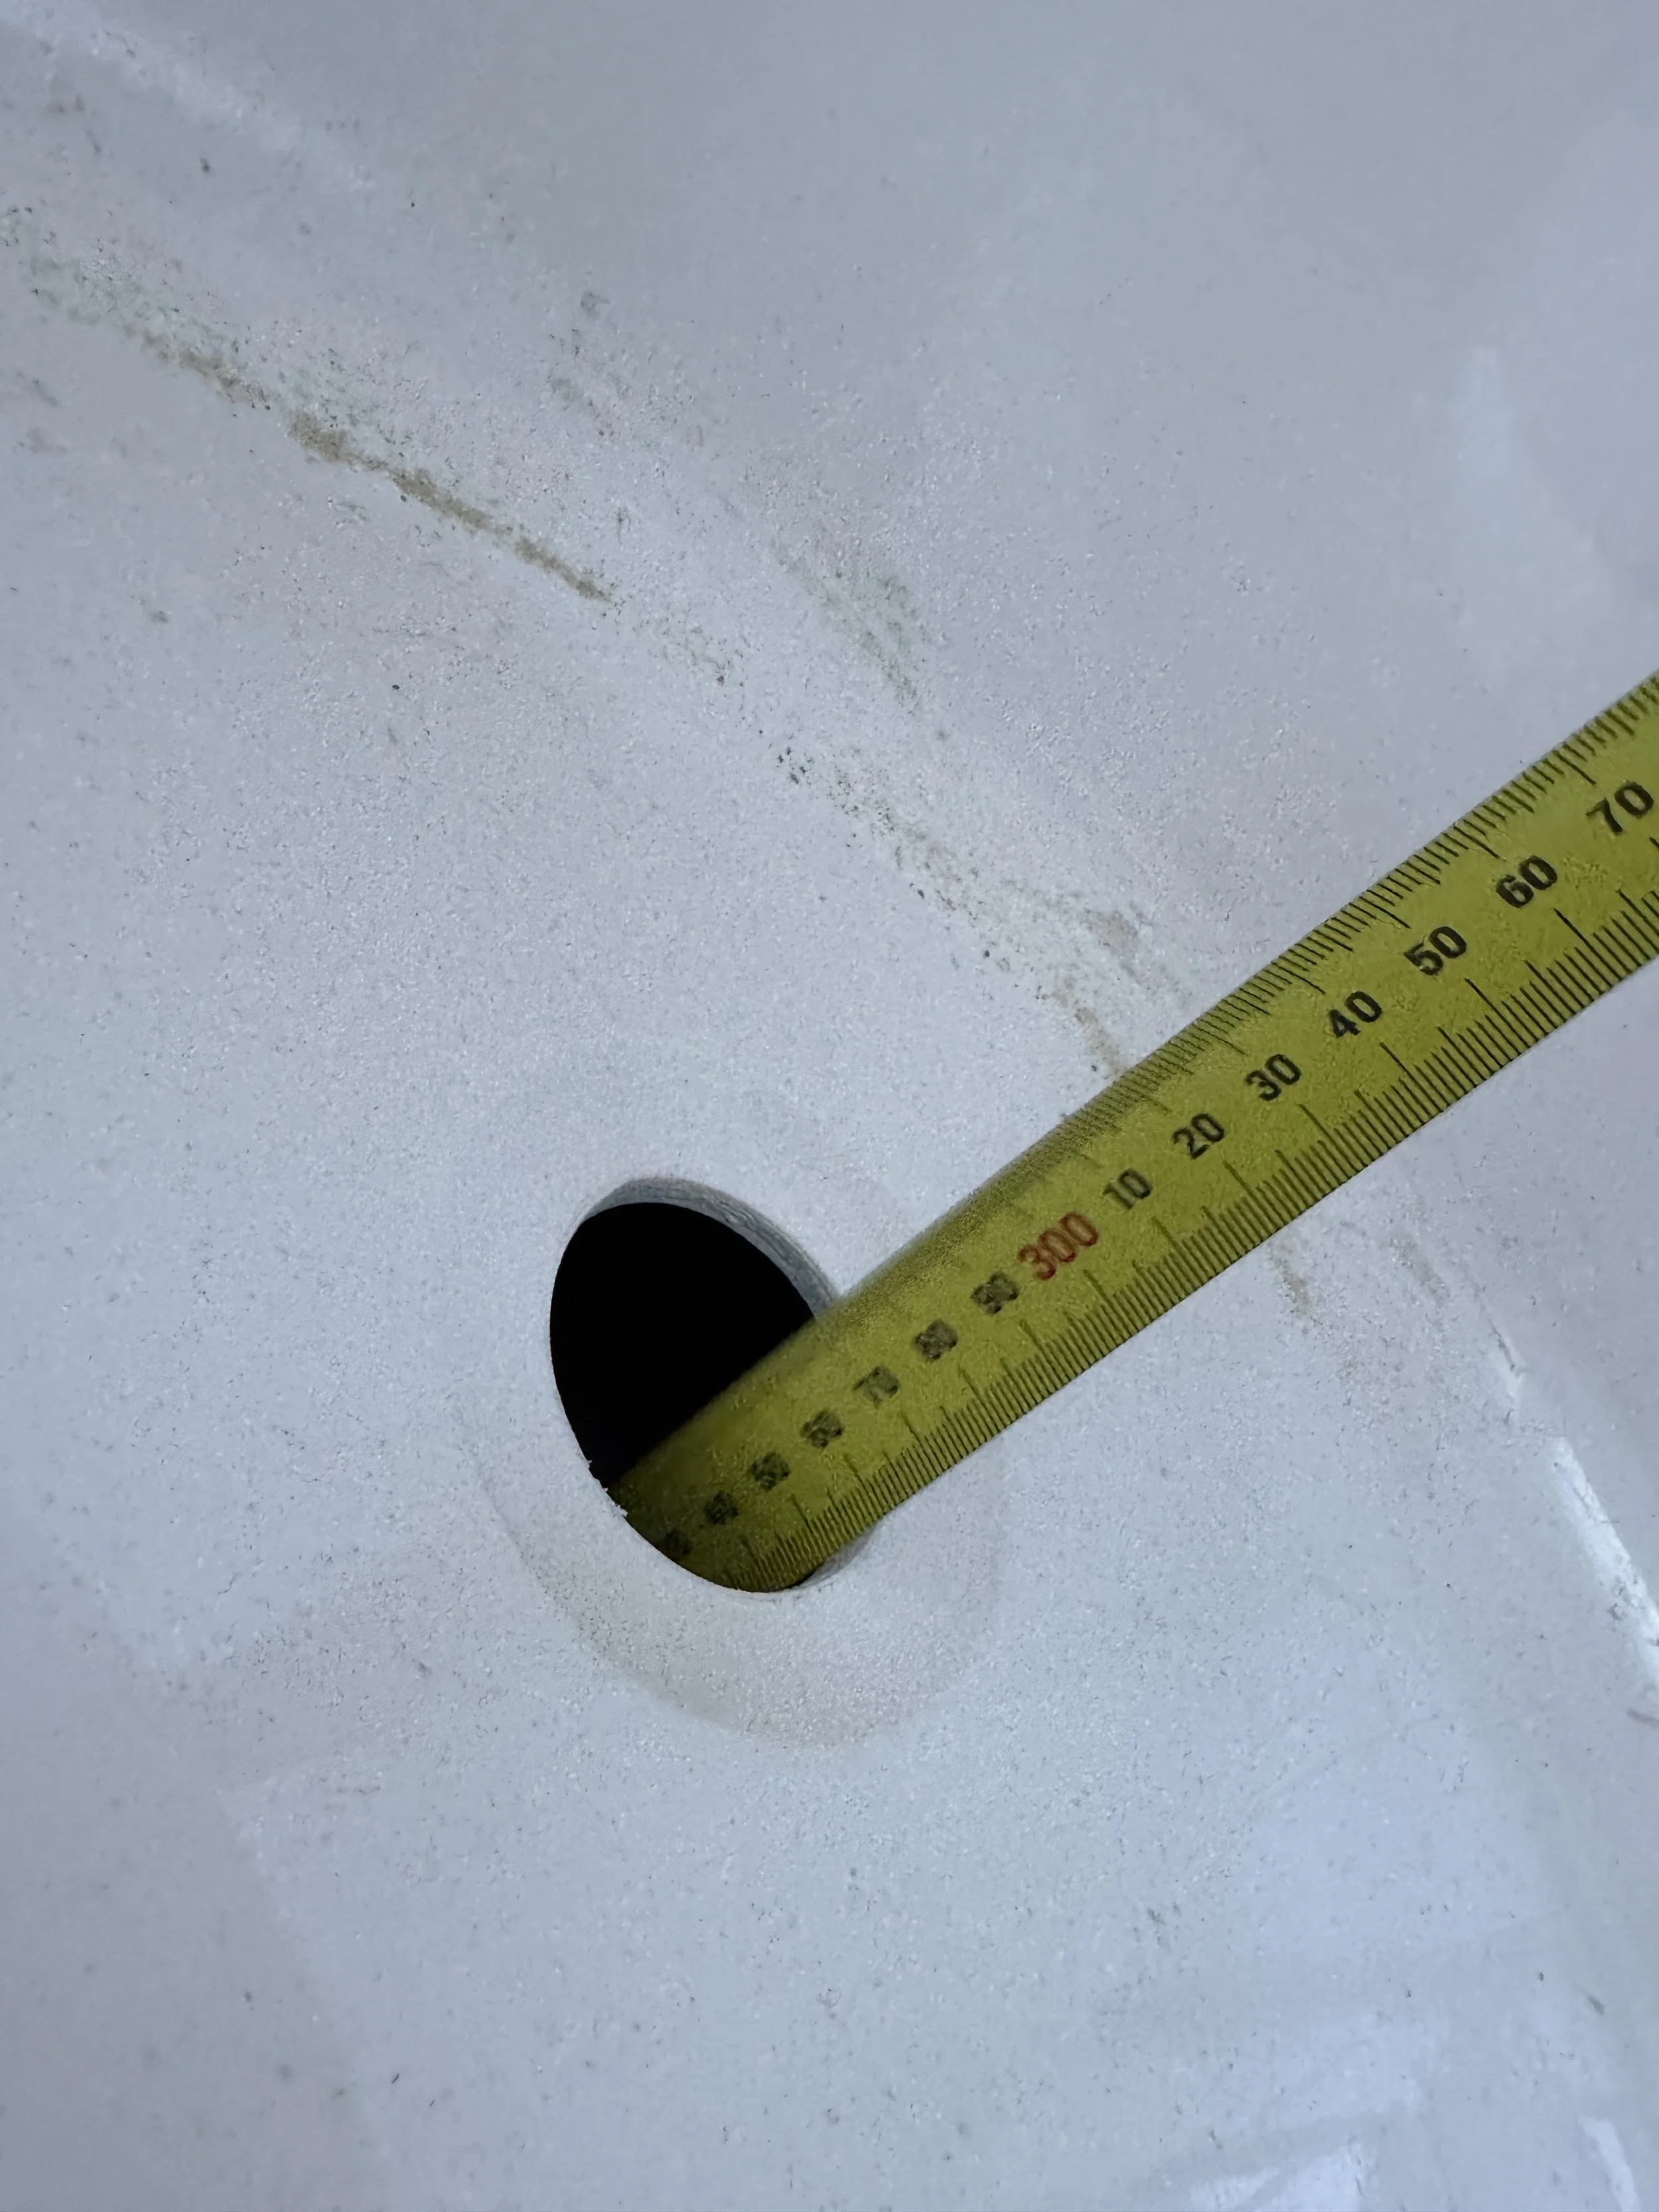
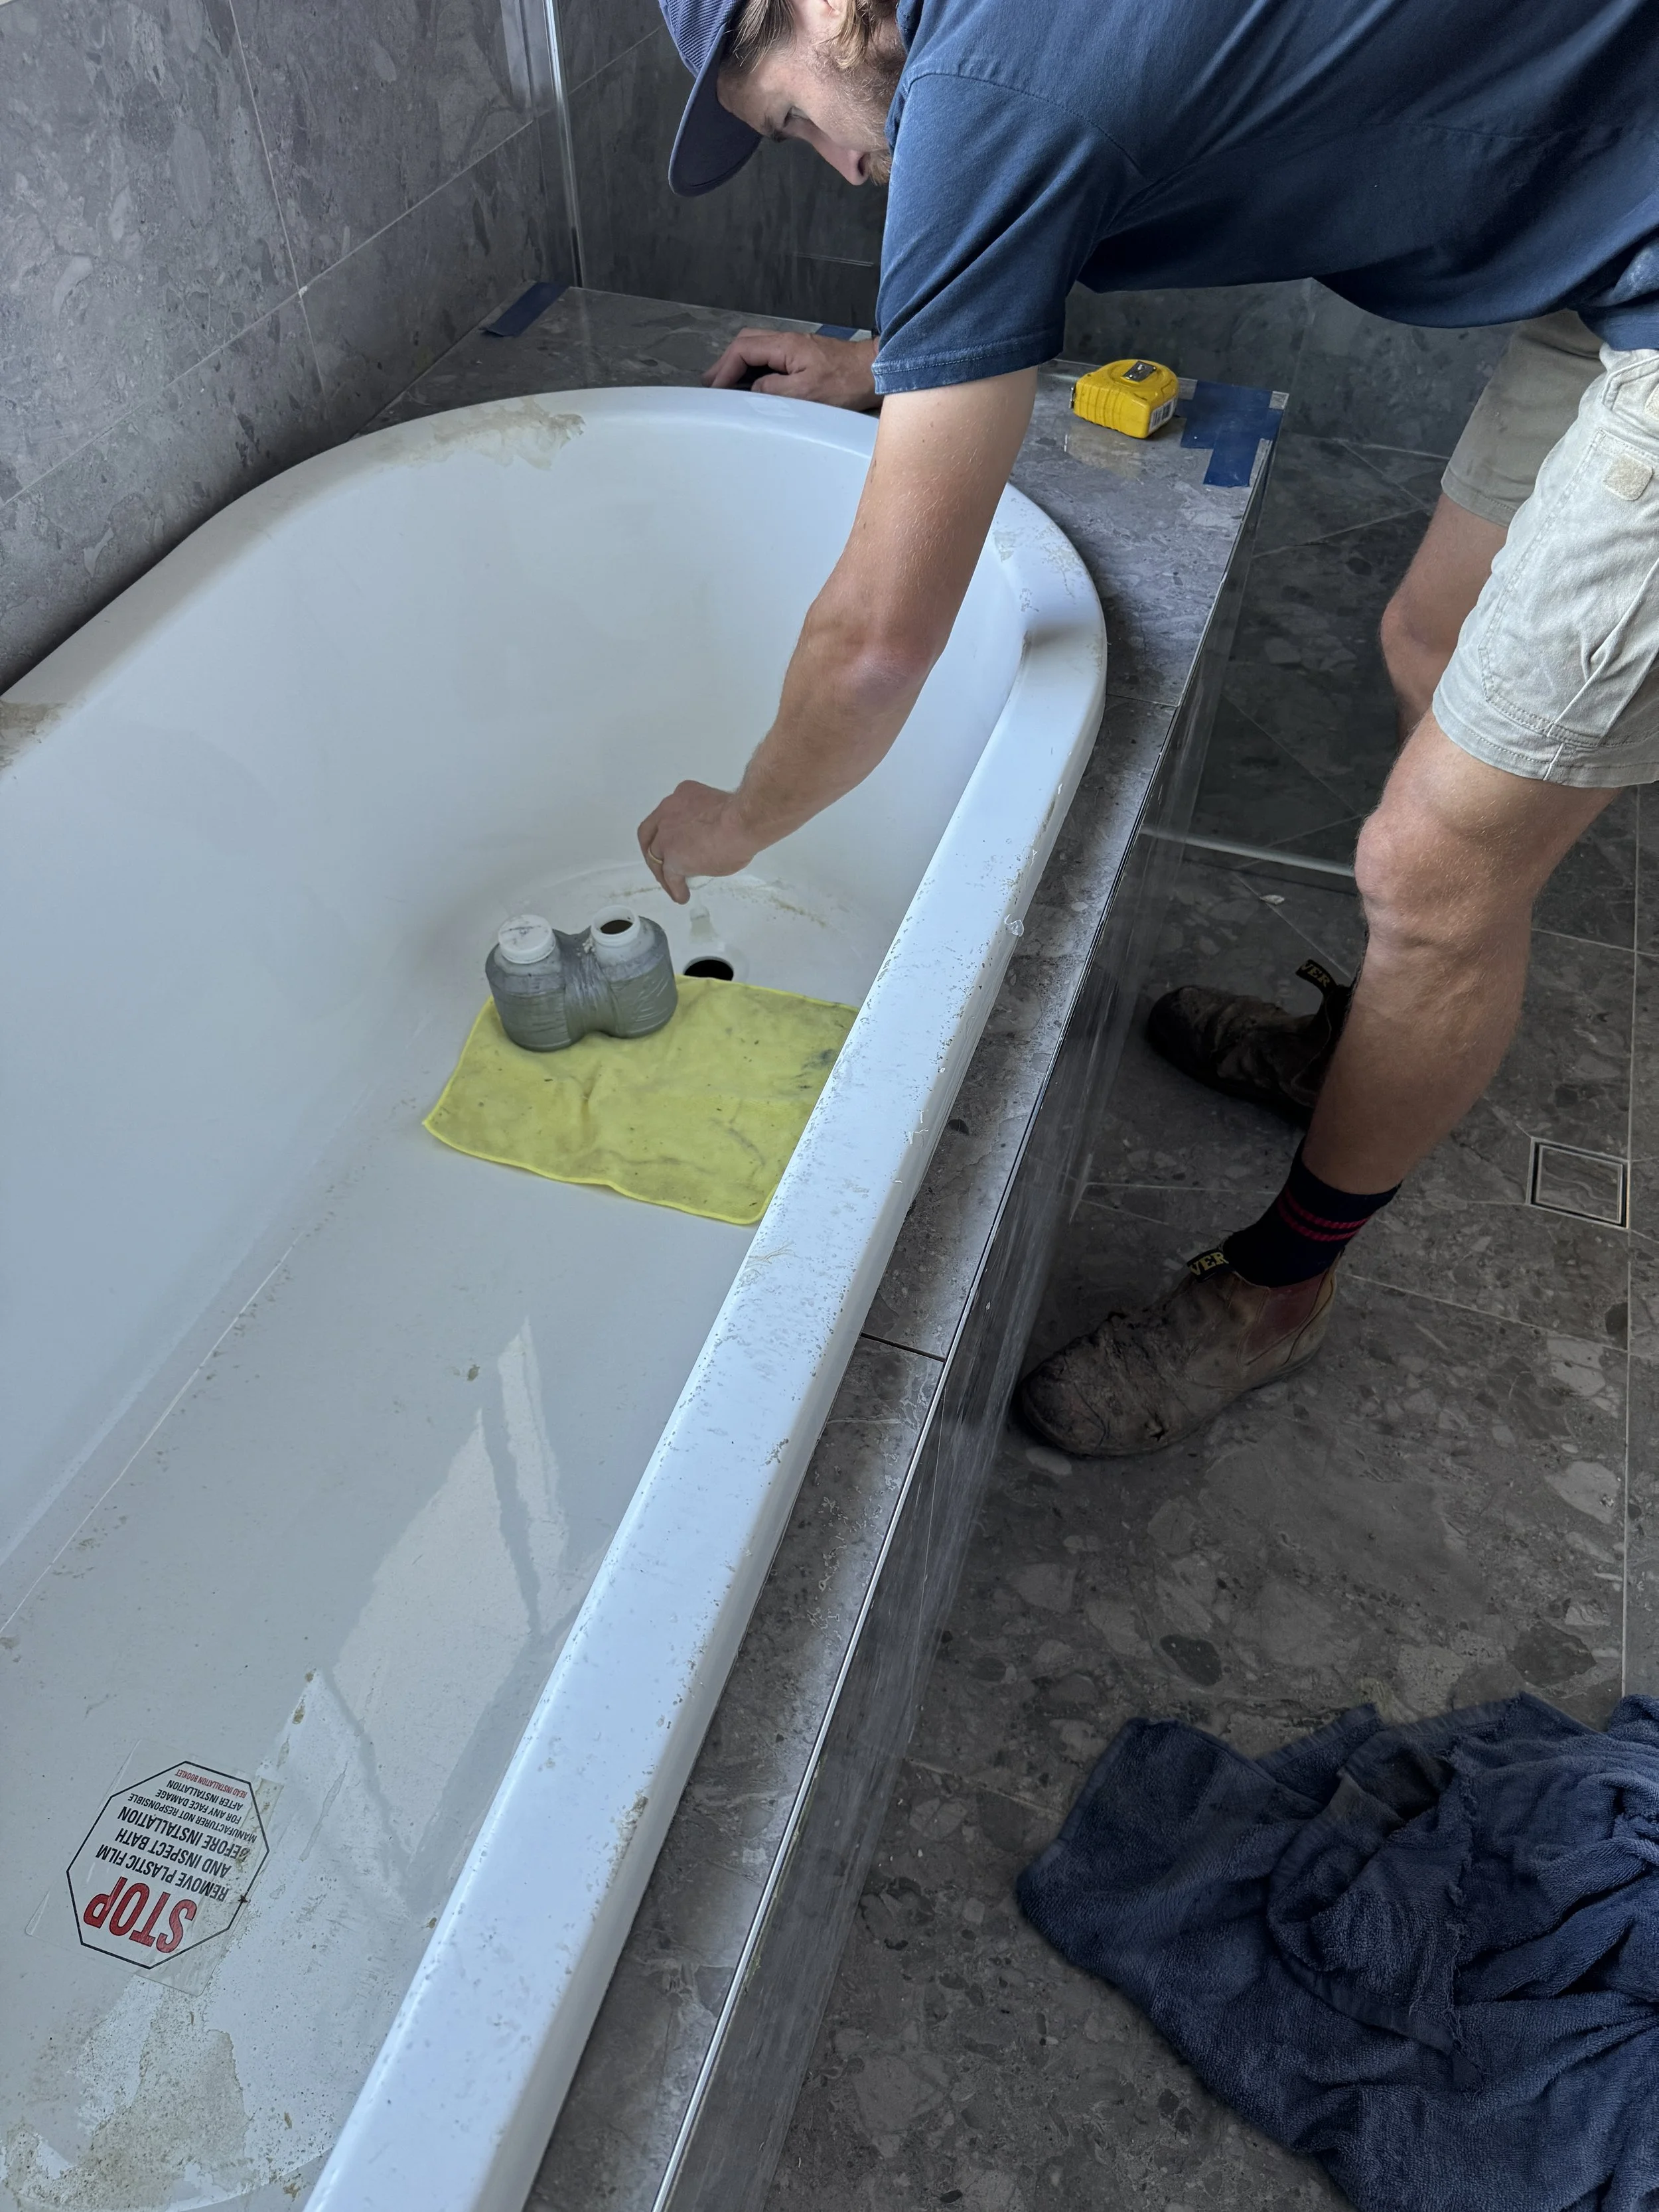
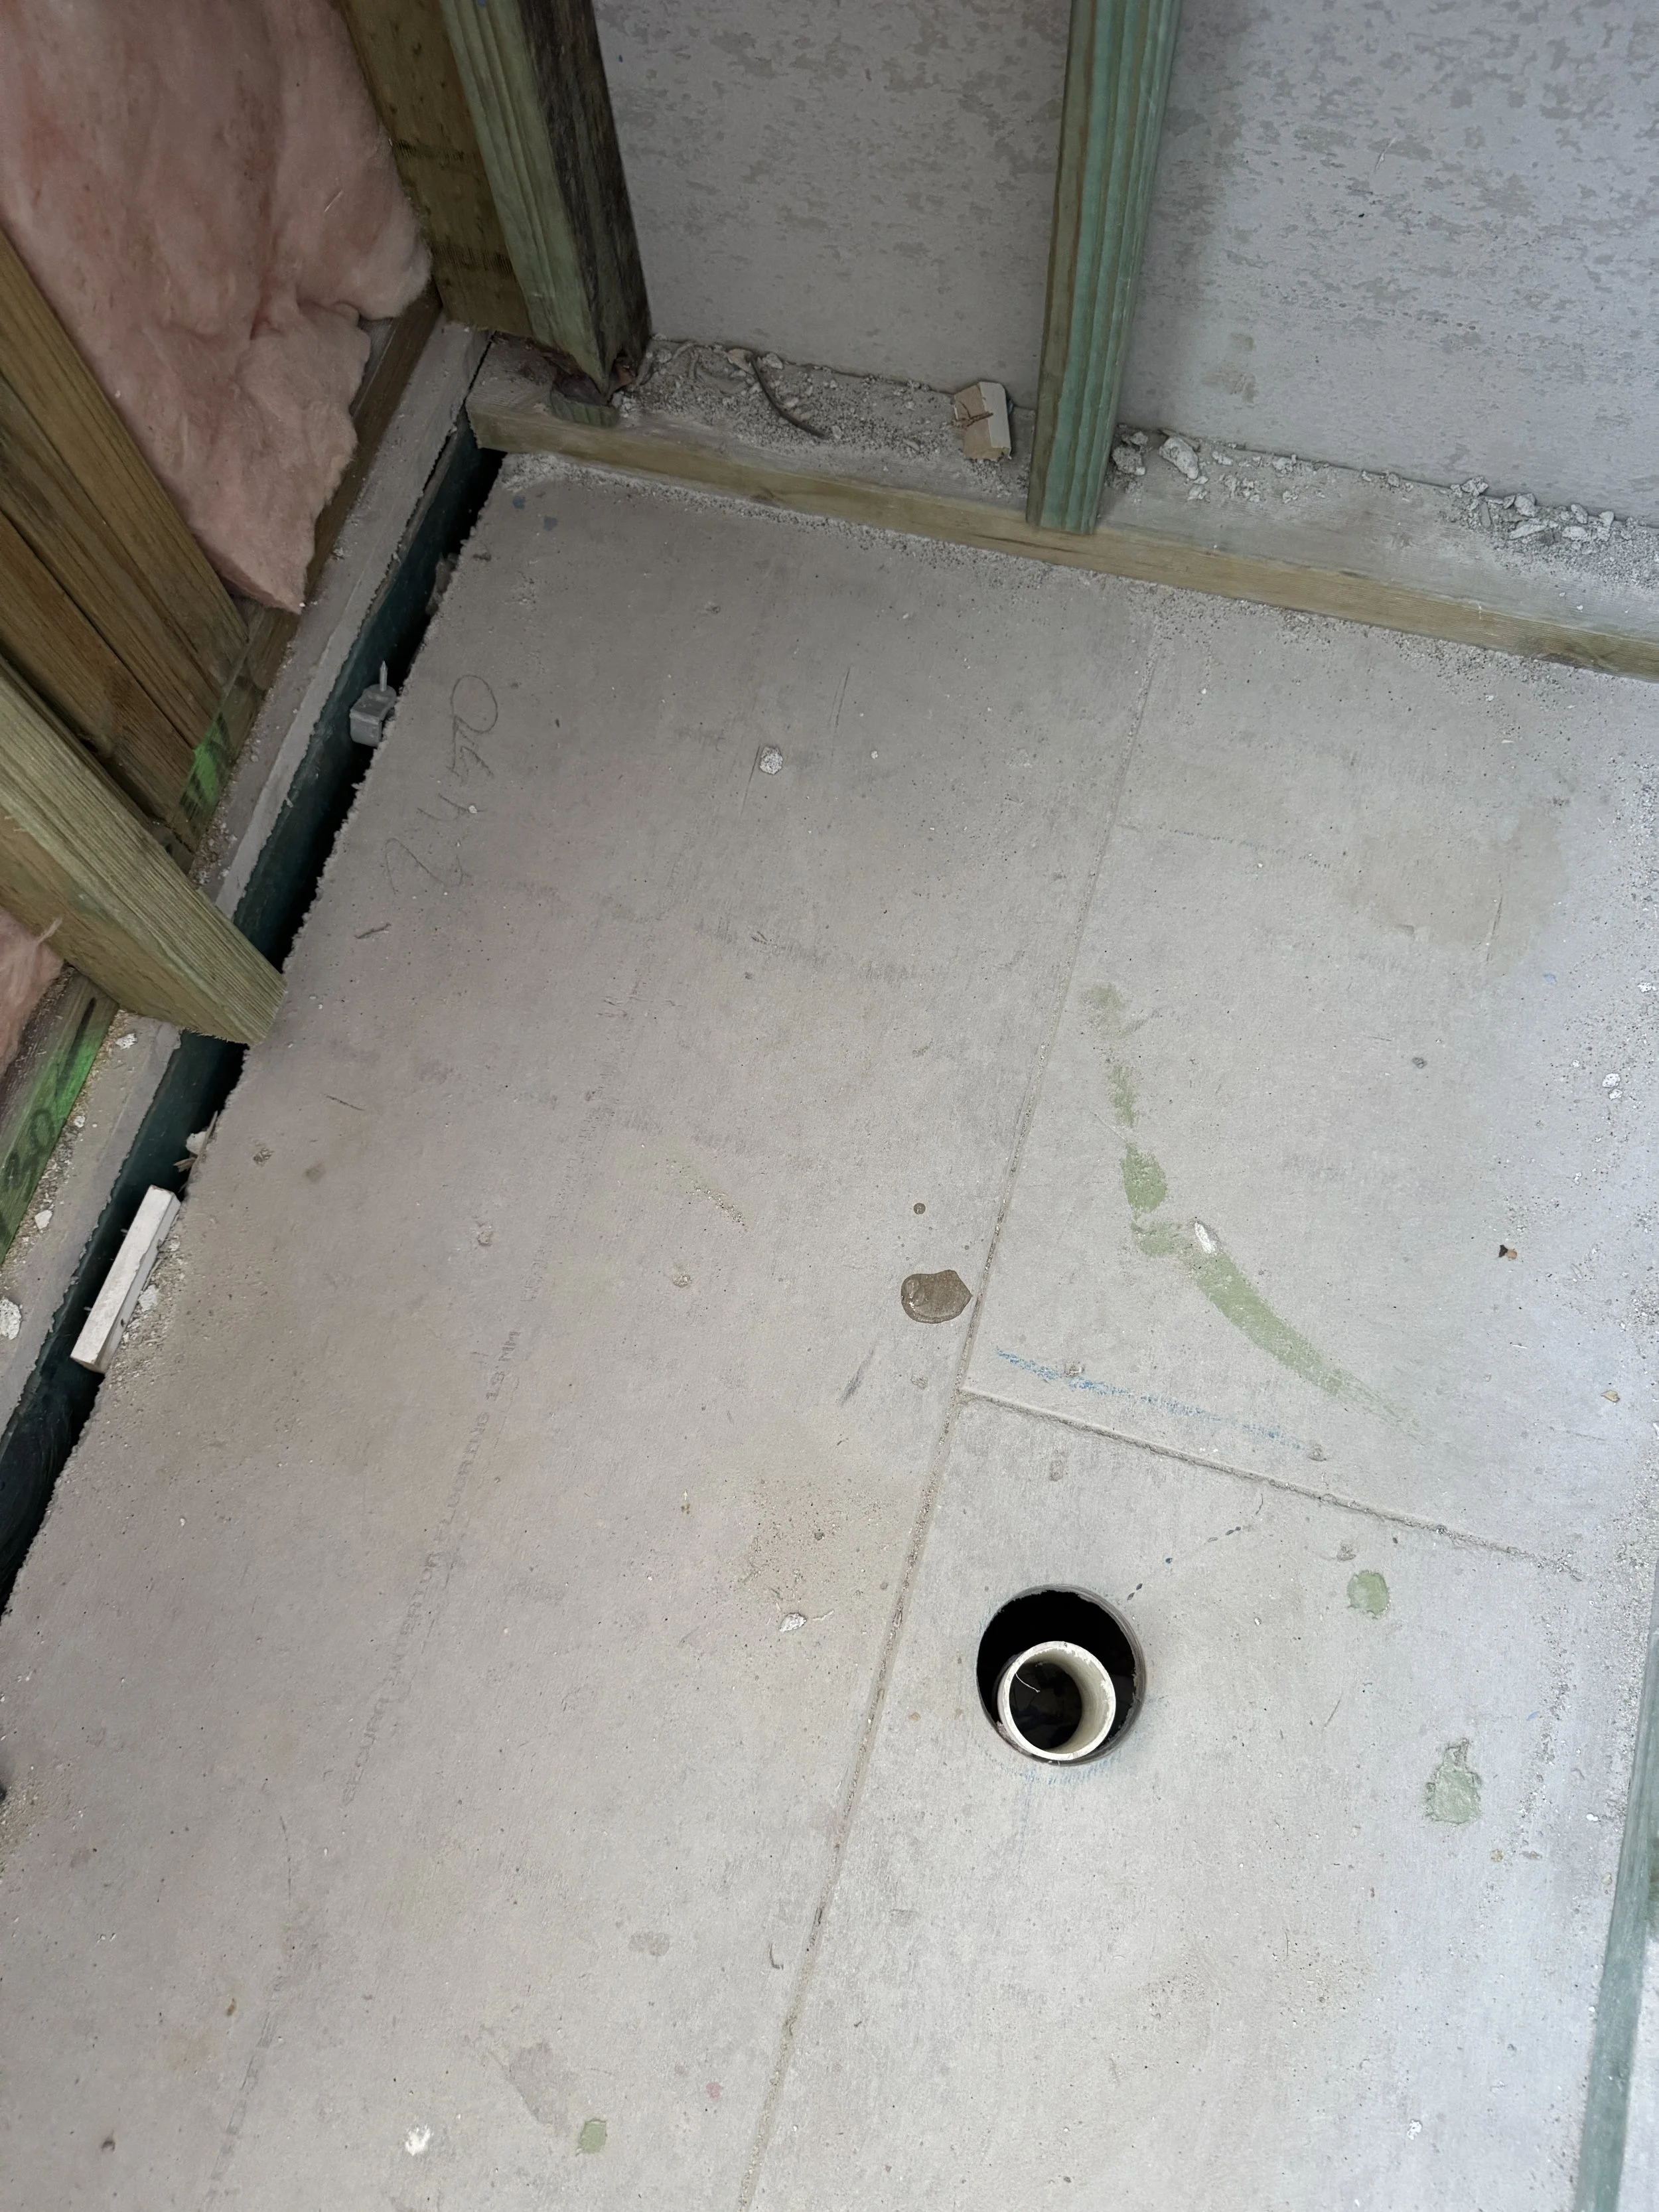
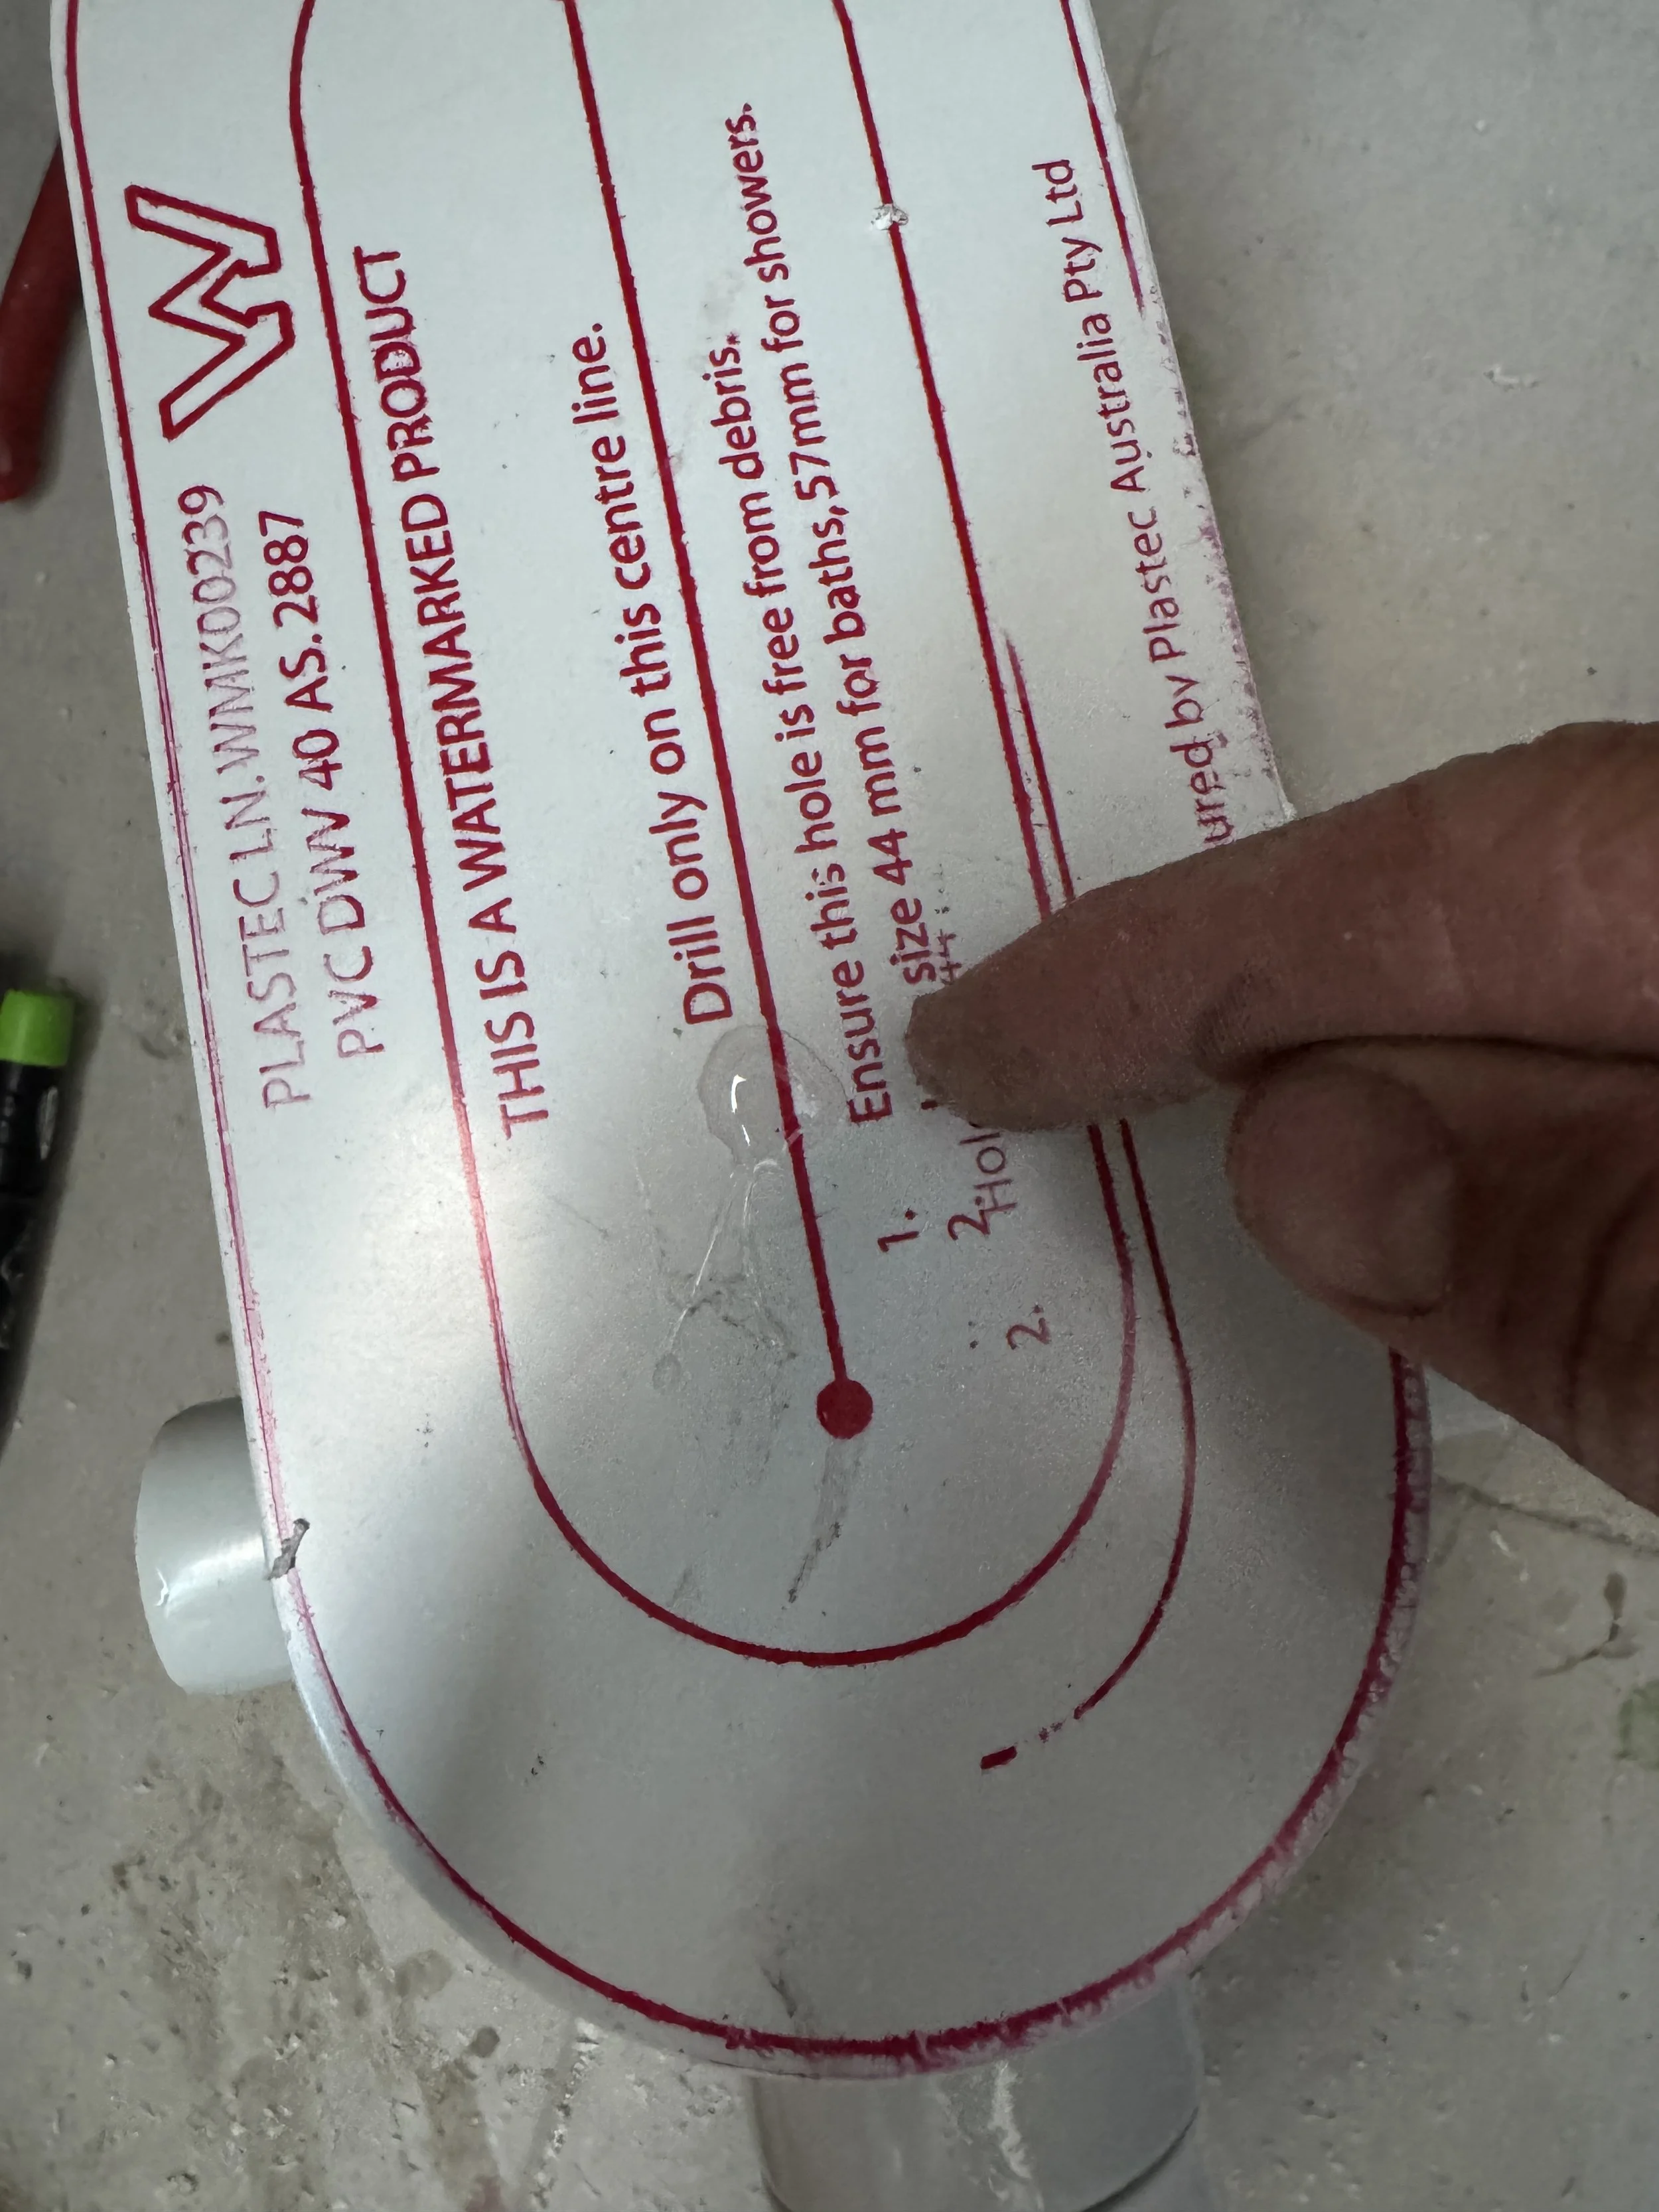
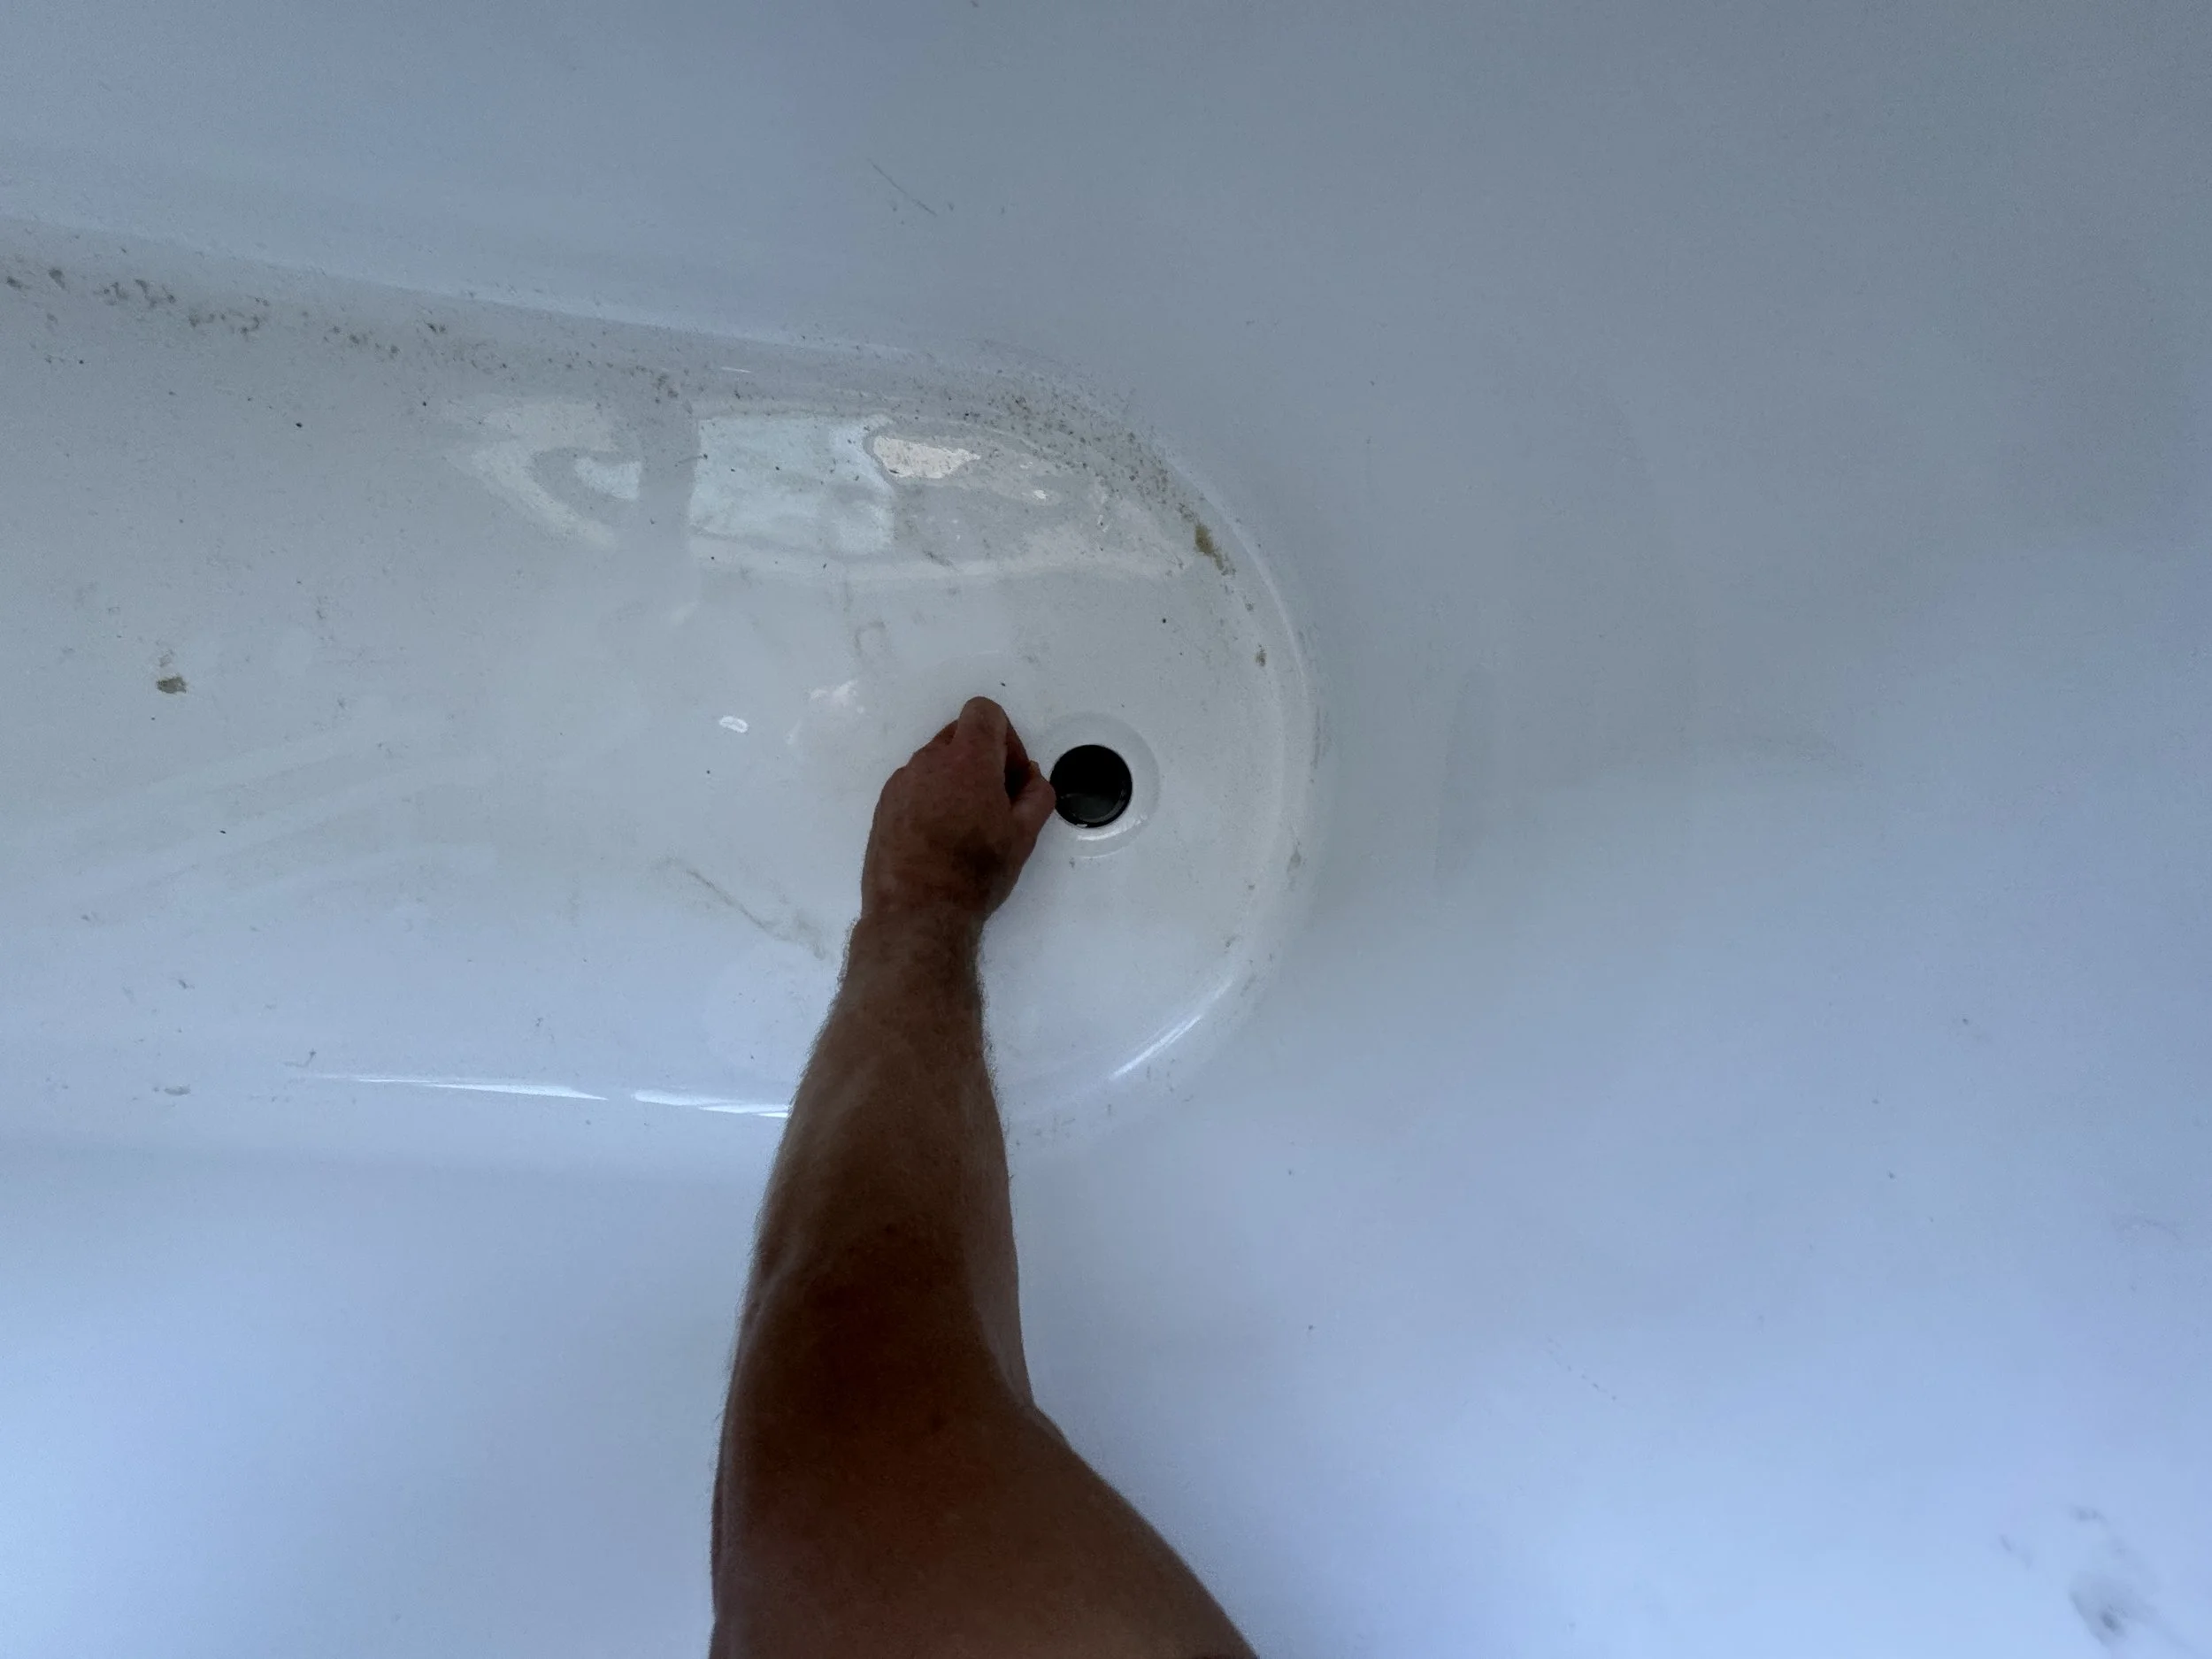
Use clear glue and drip a few drops of glue to mark the centre of the bath waste.
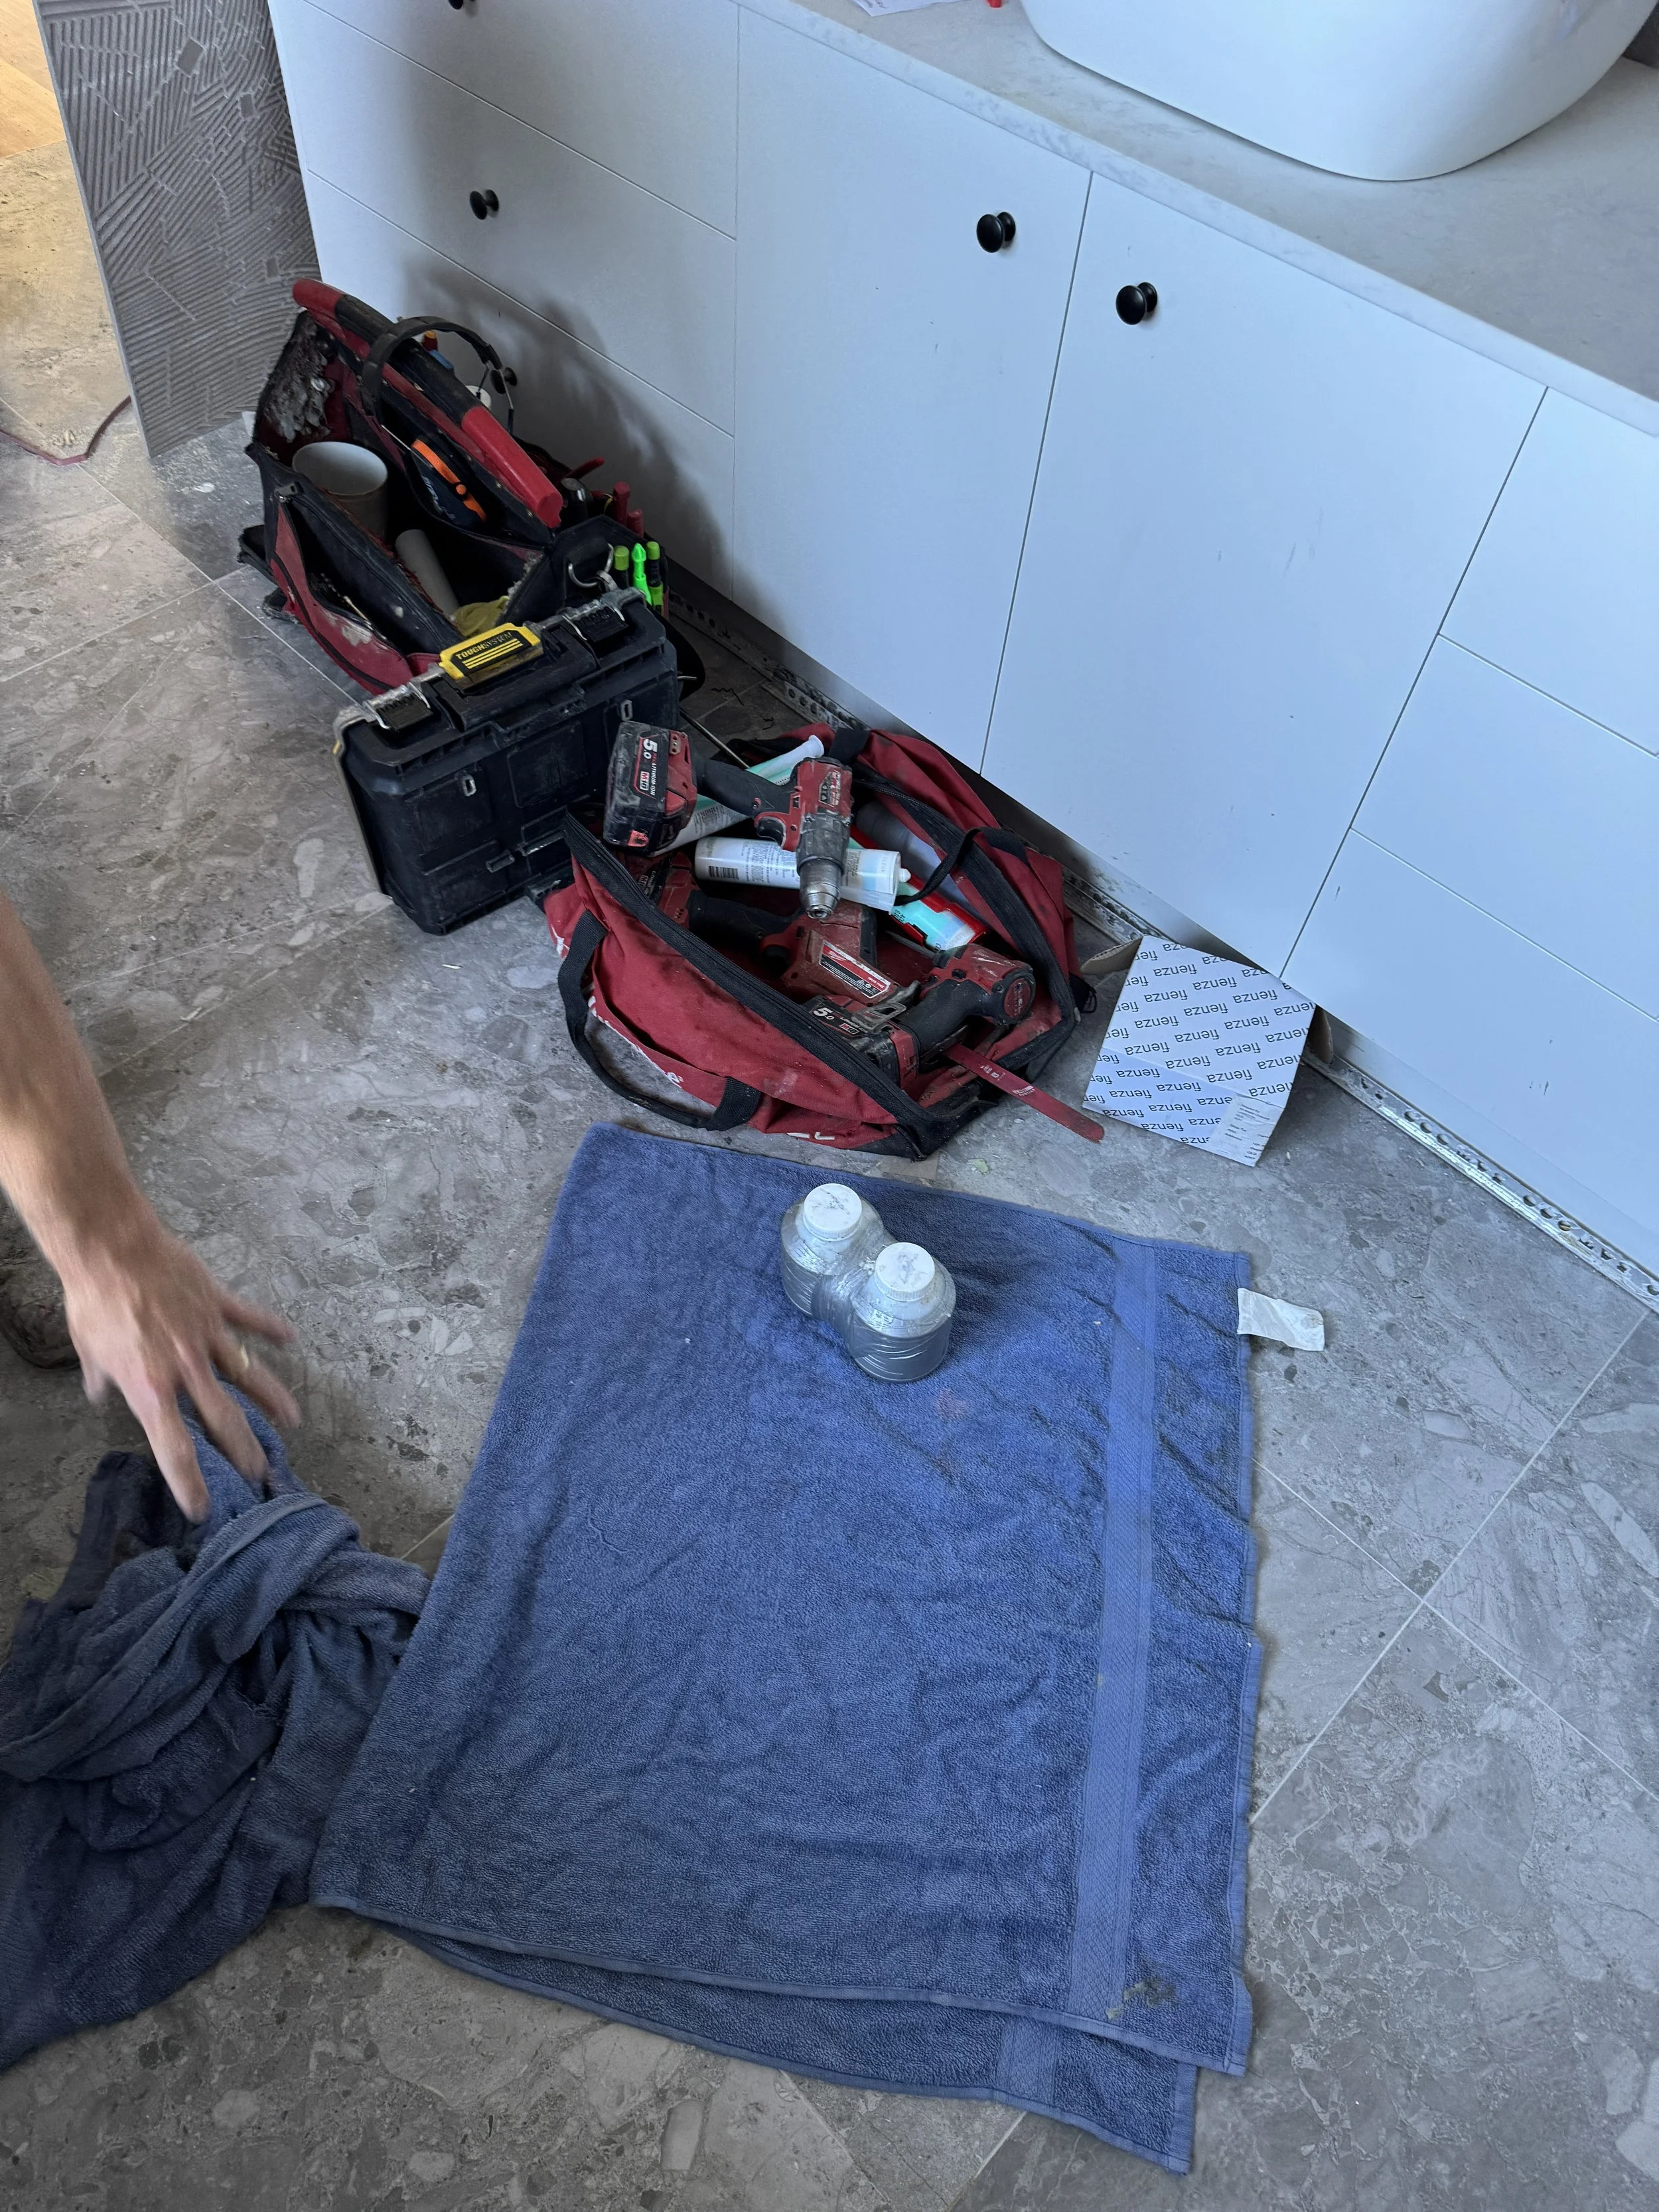
Always sit your tools and materials on towels, dropsheets or rags.
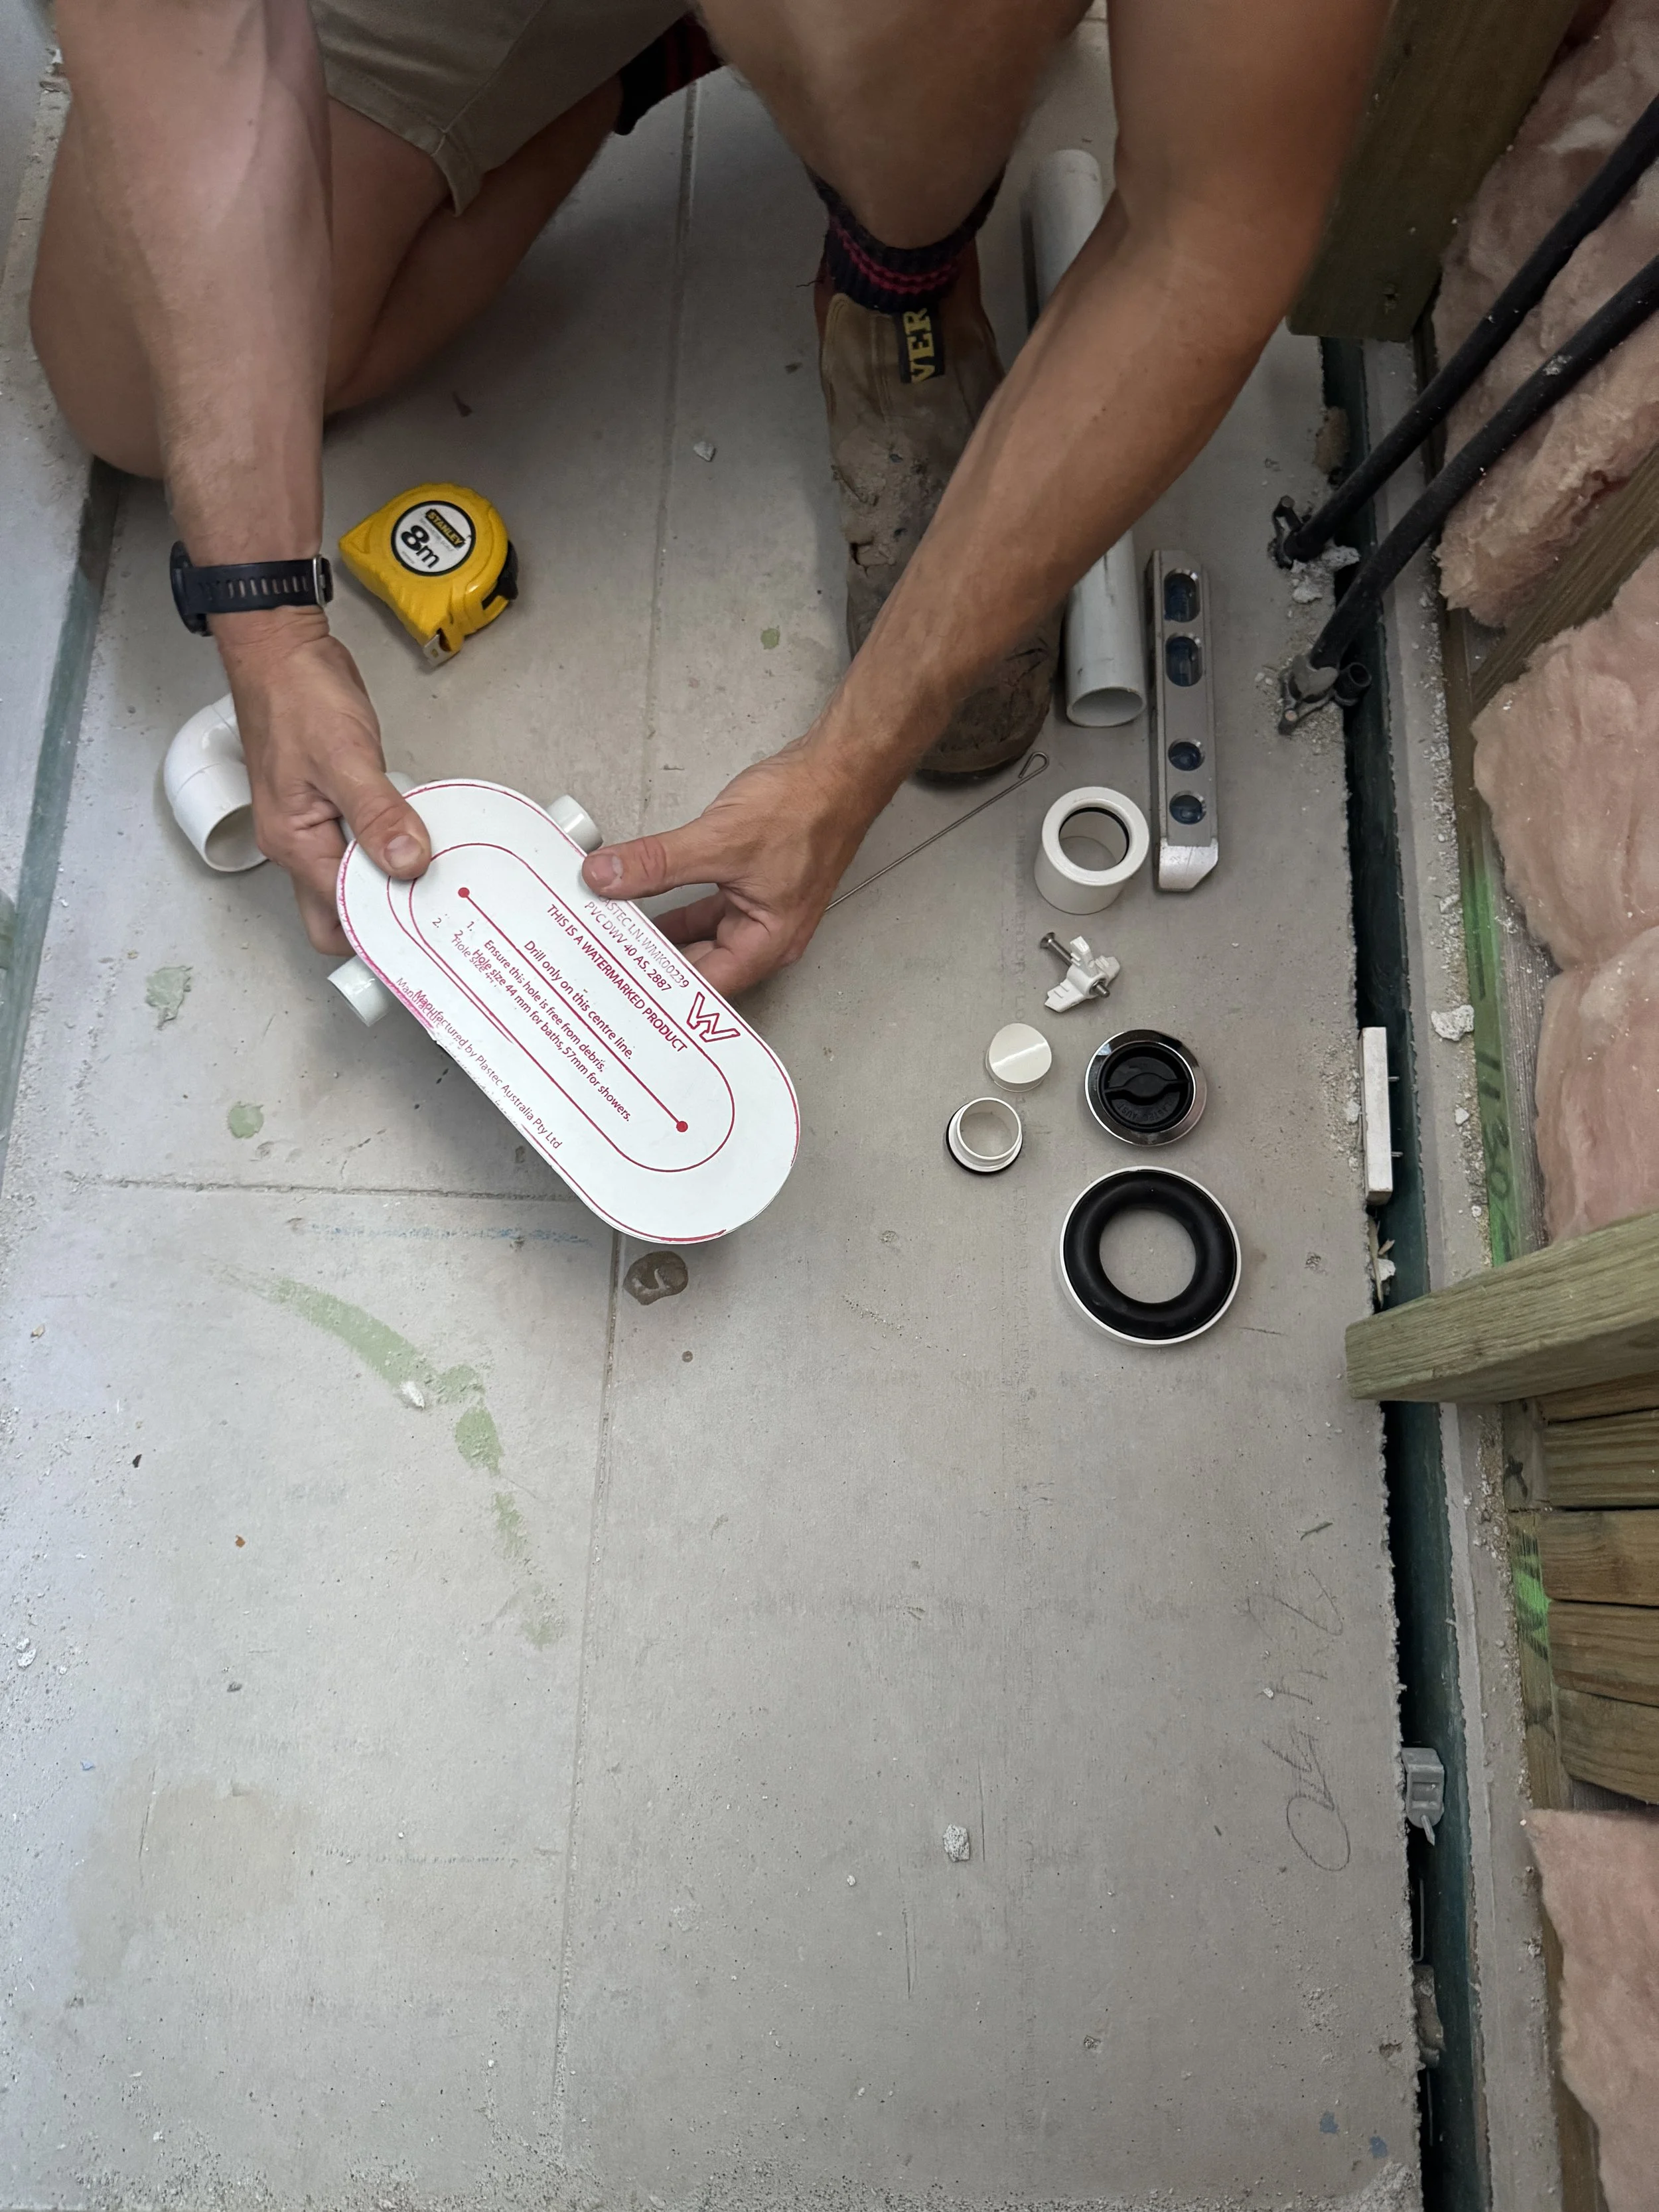
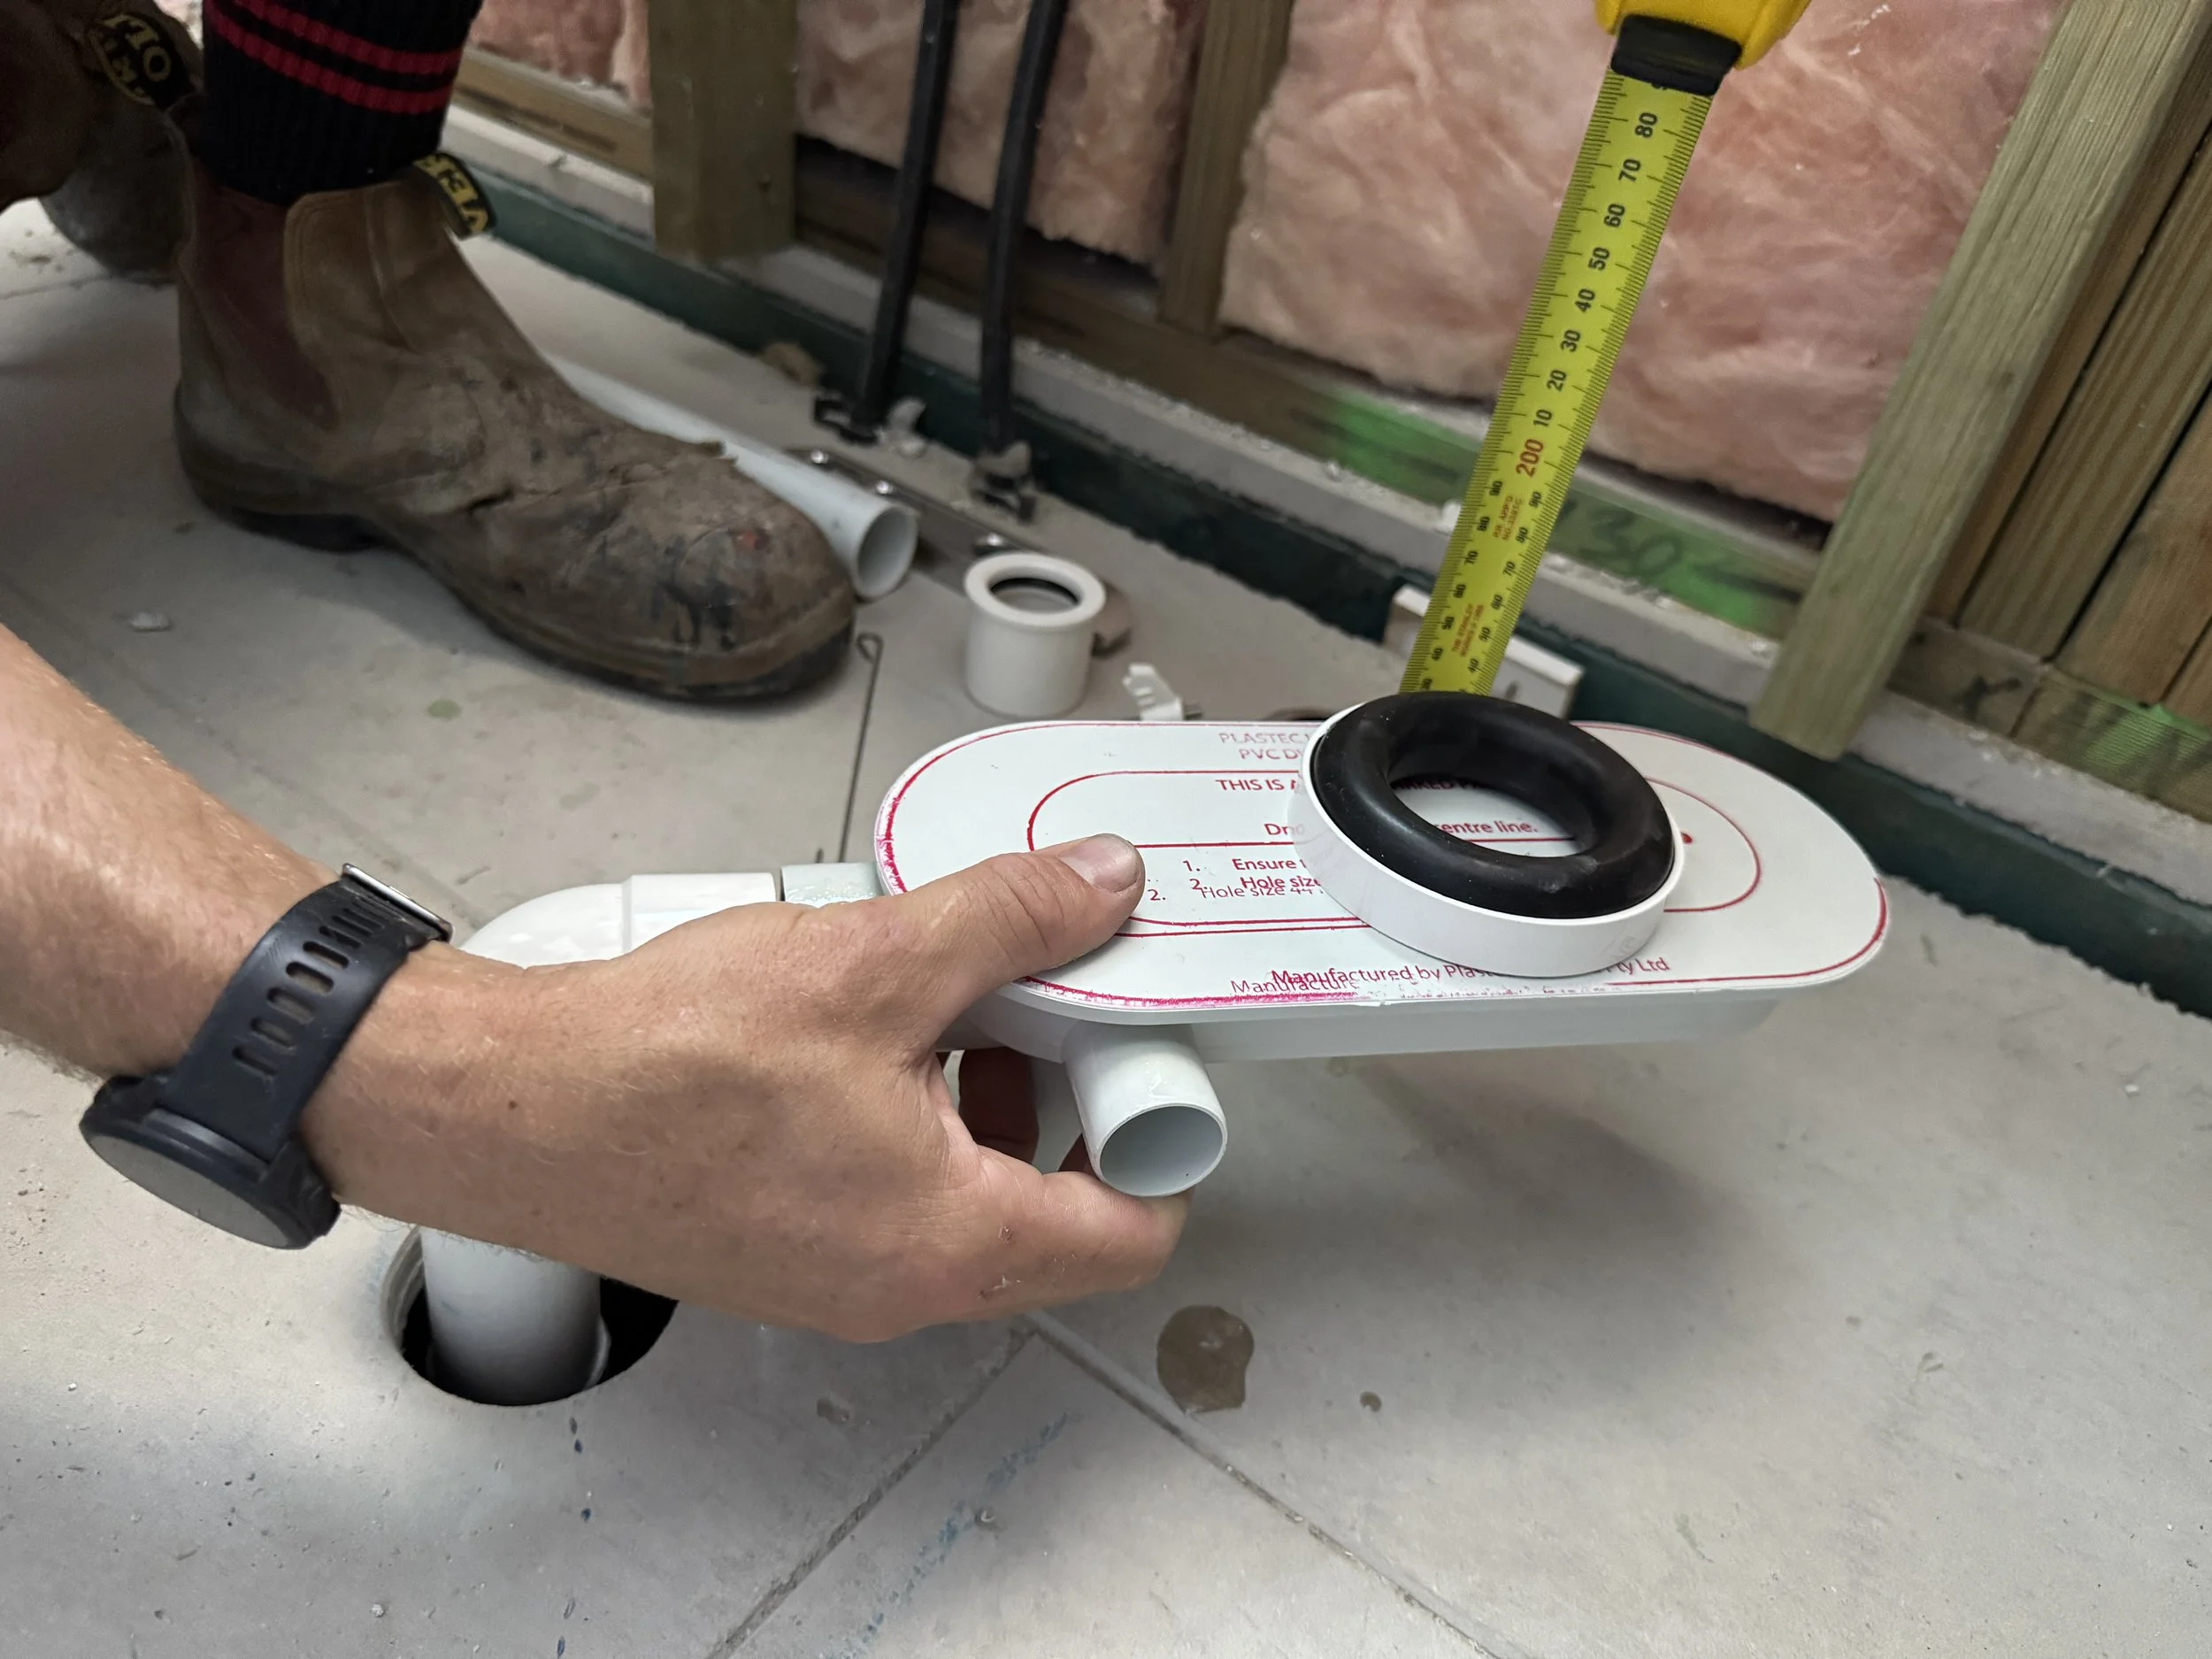
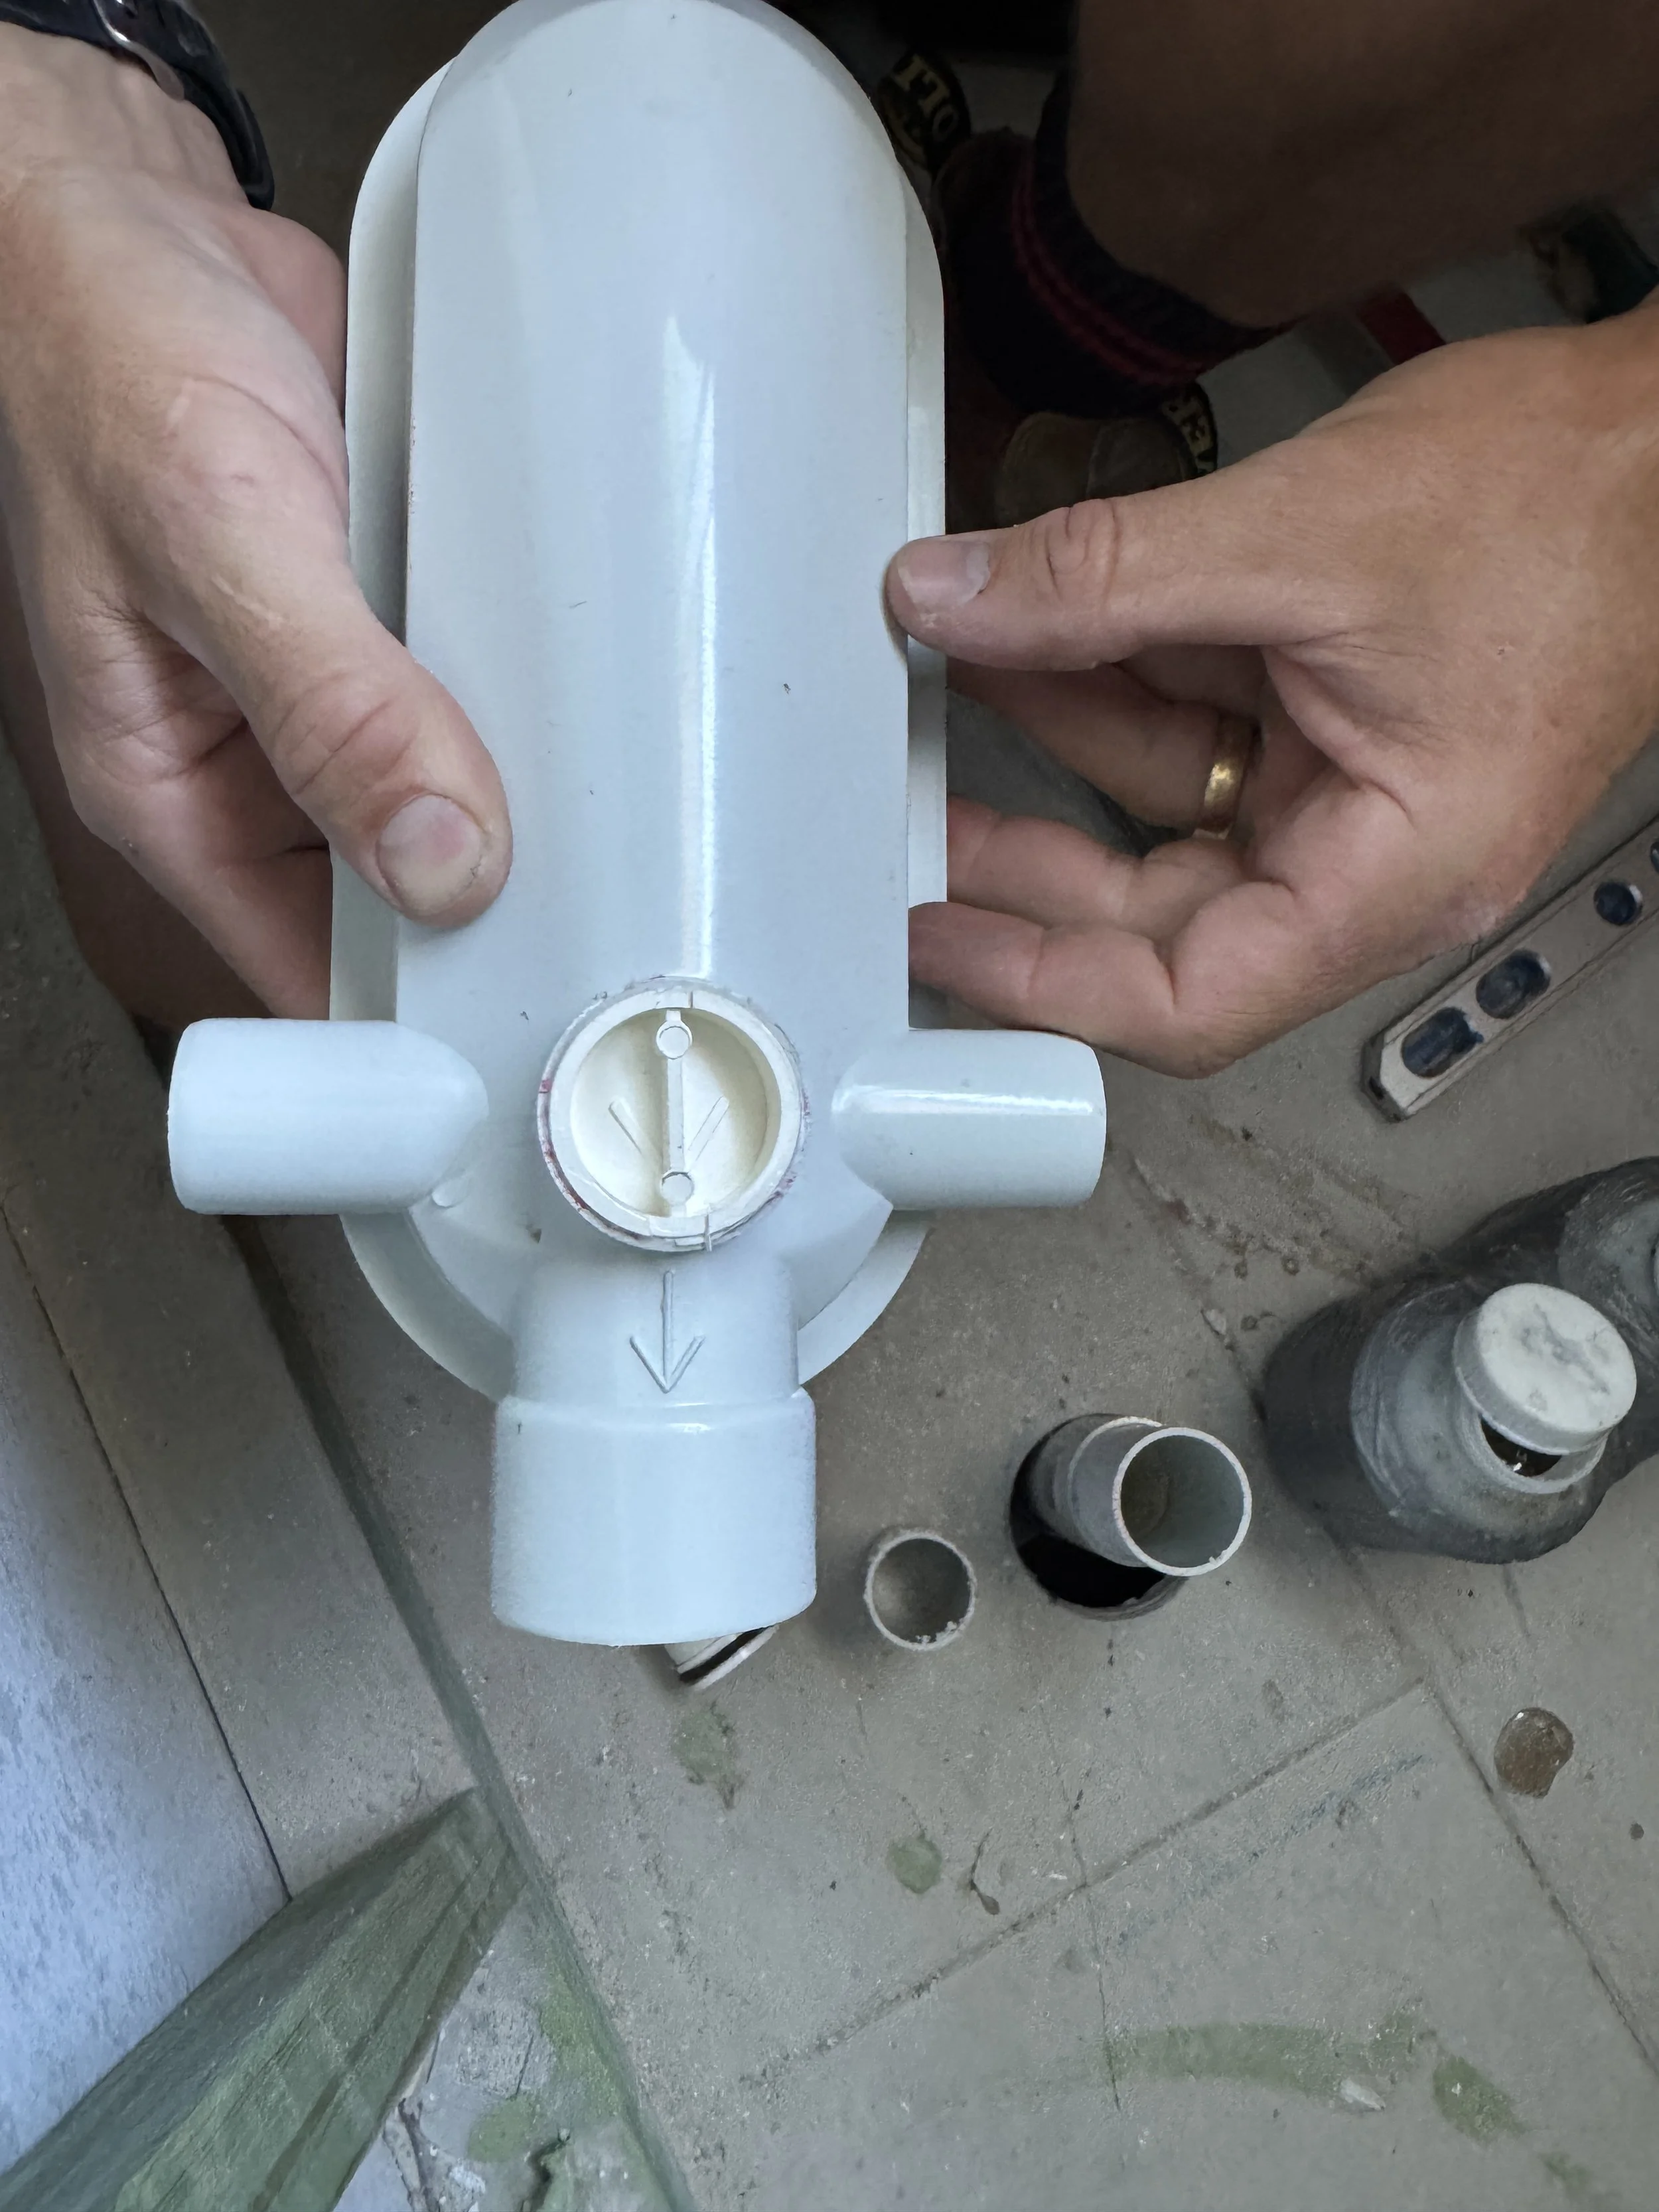
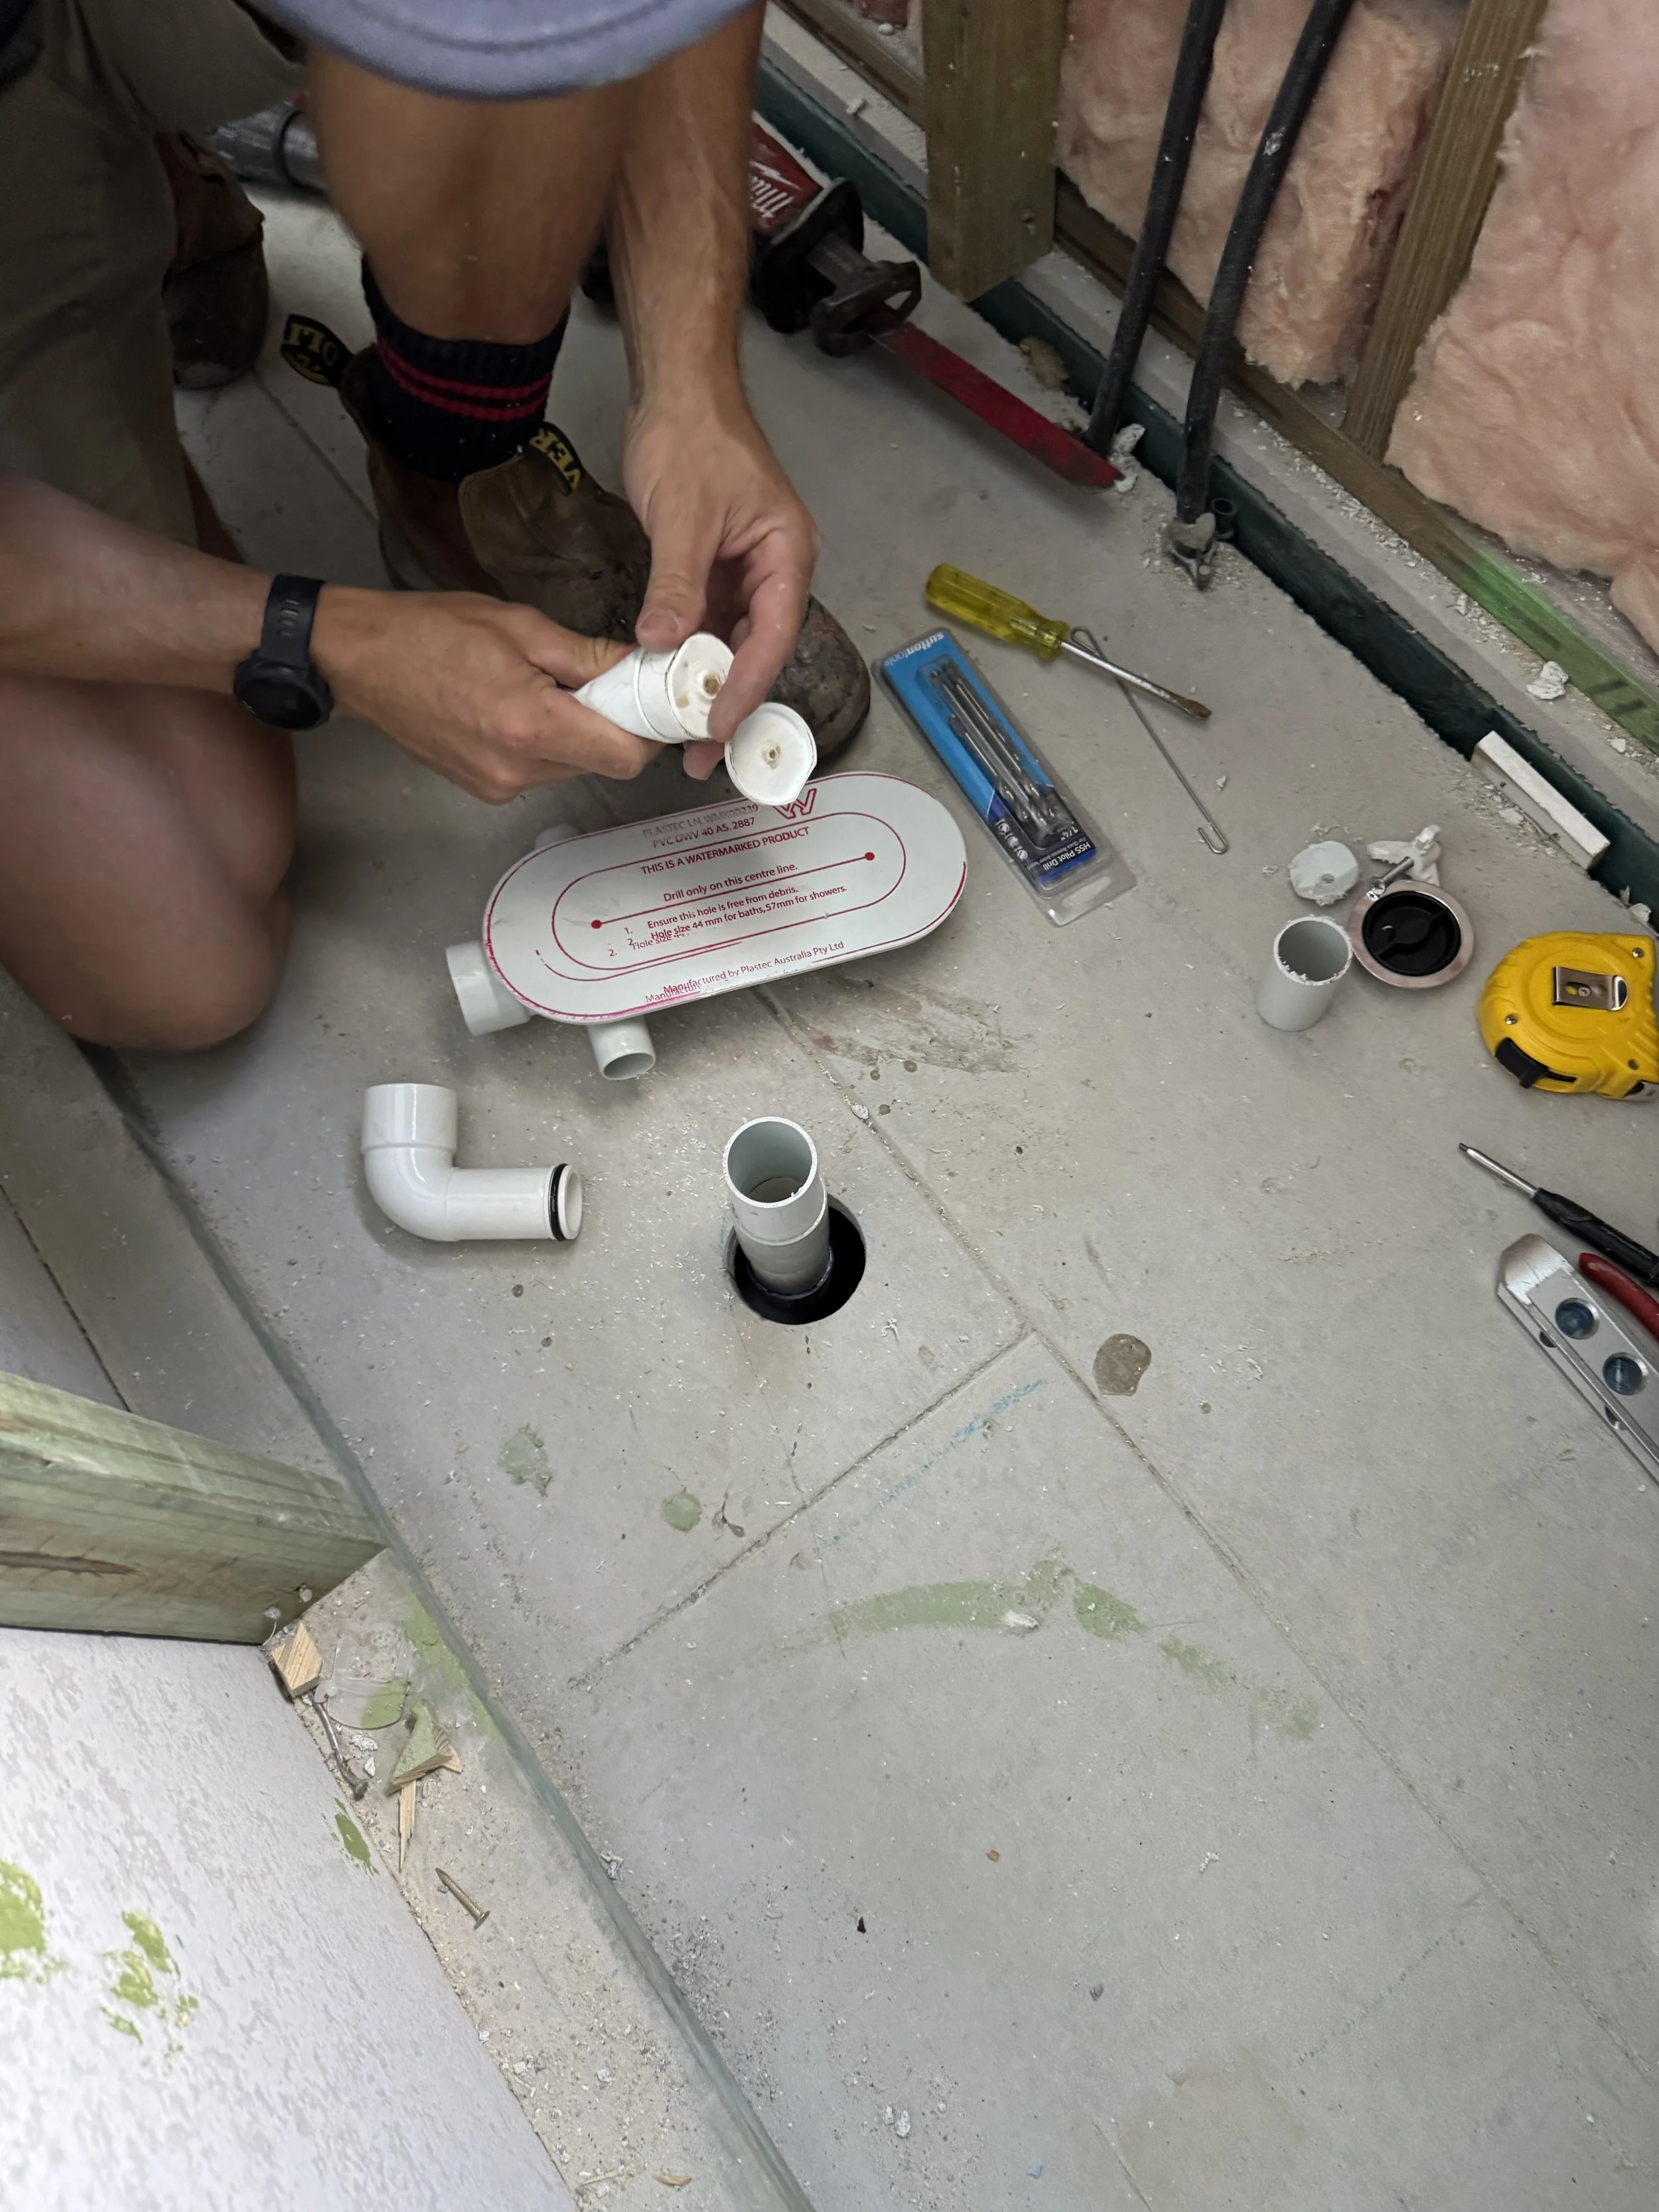
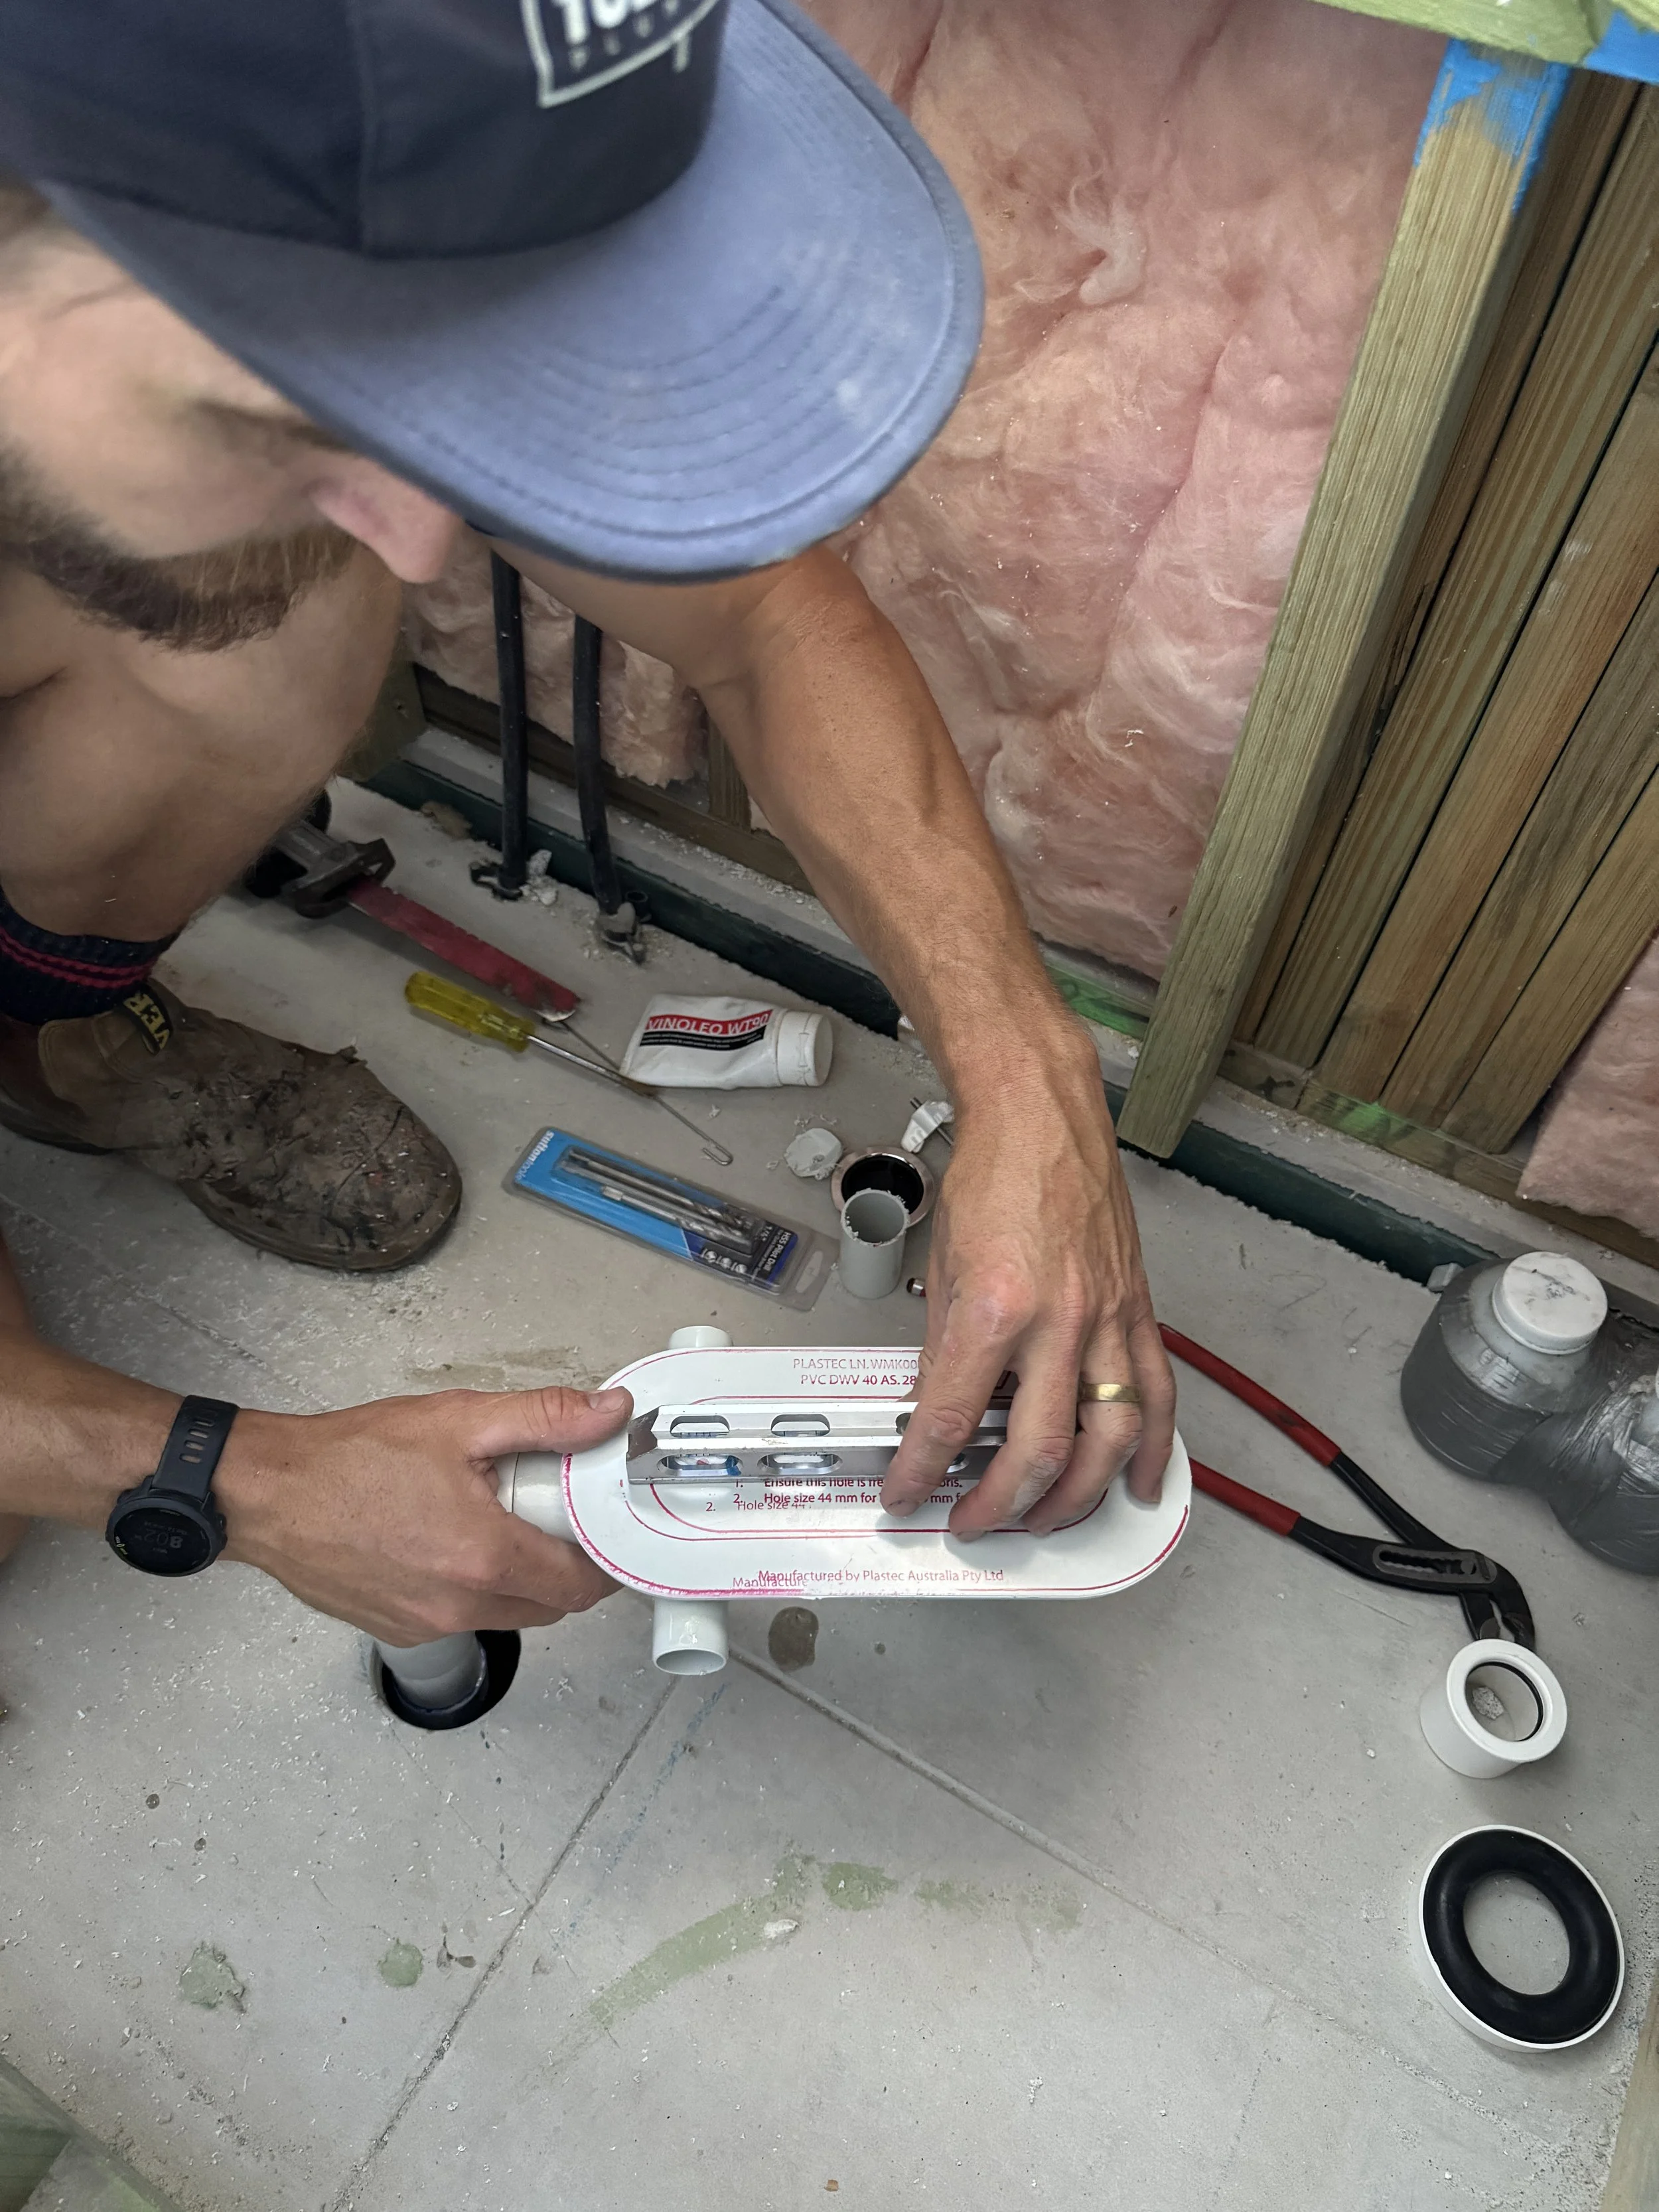
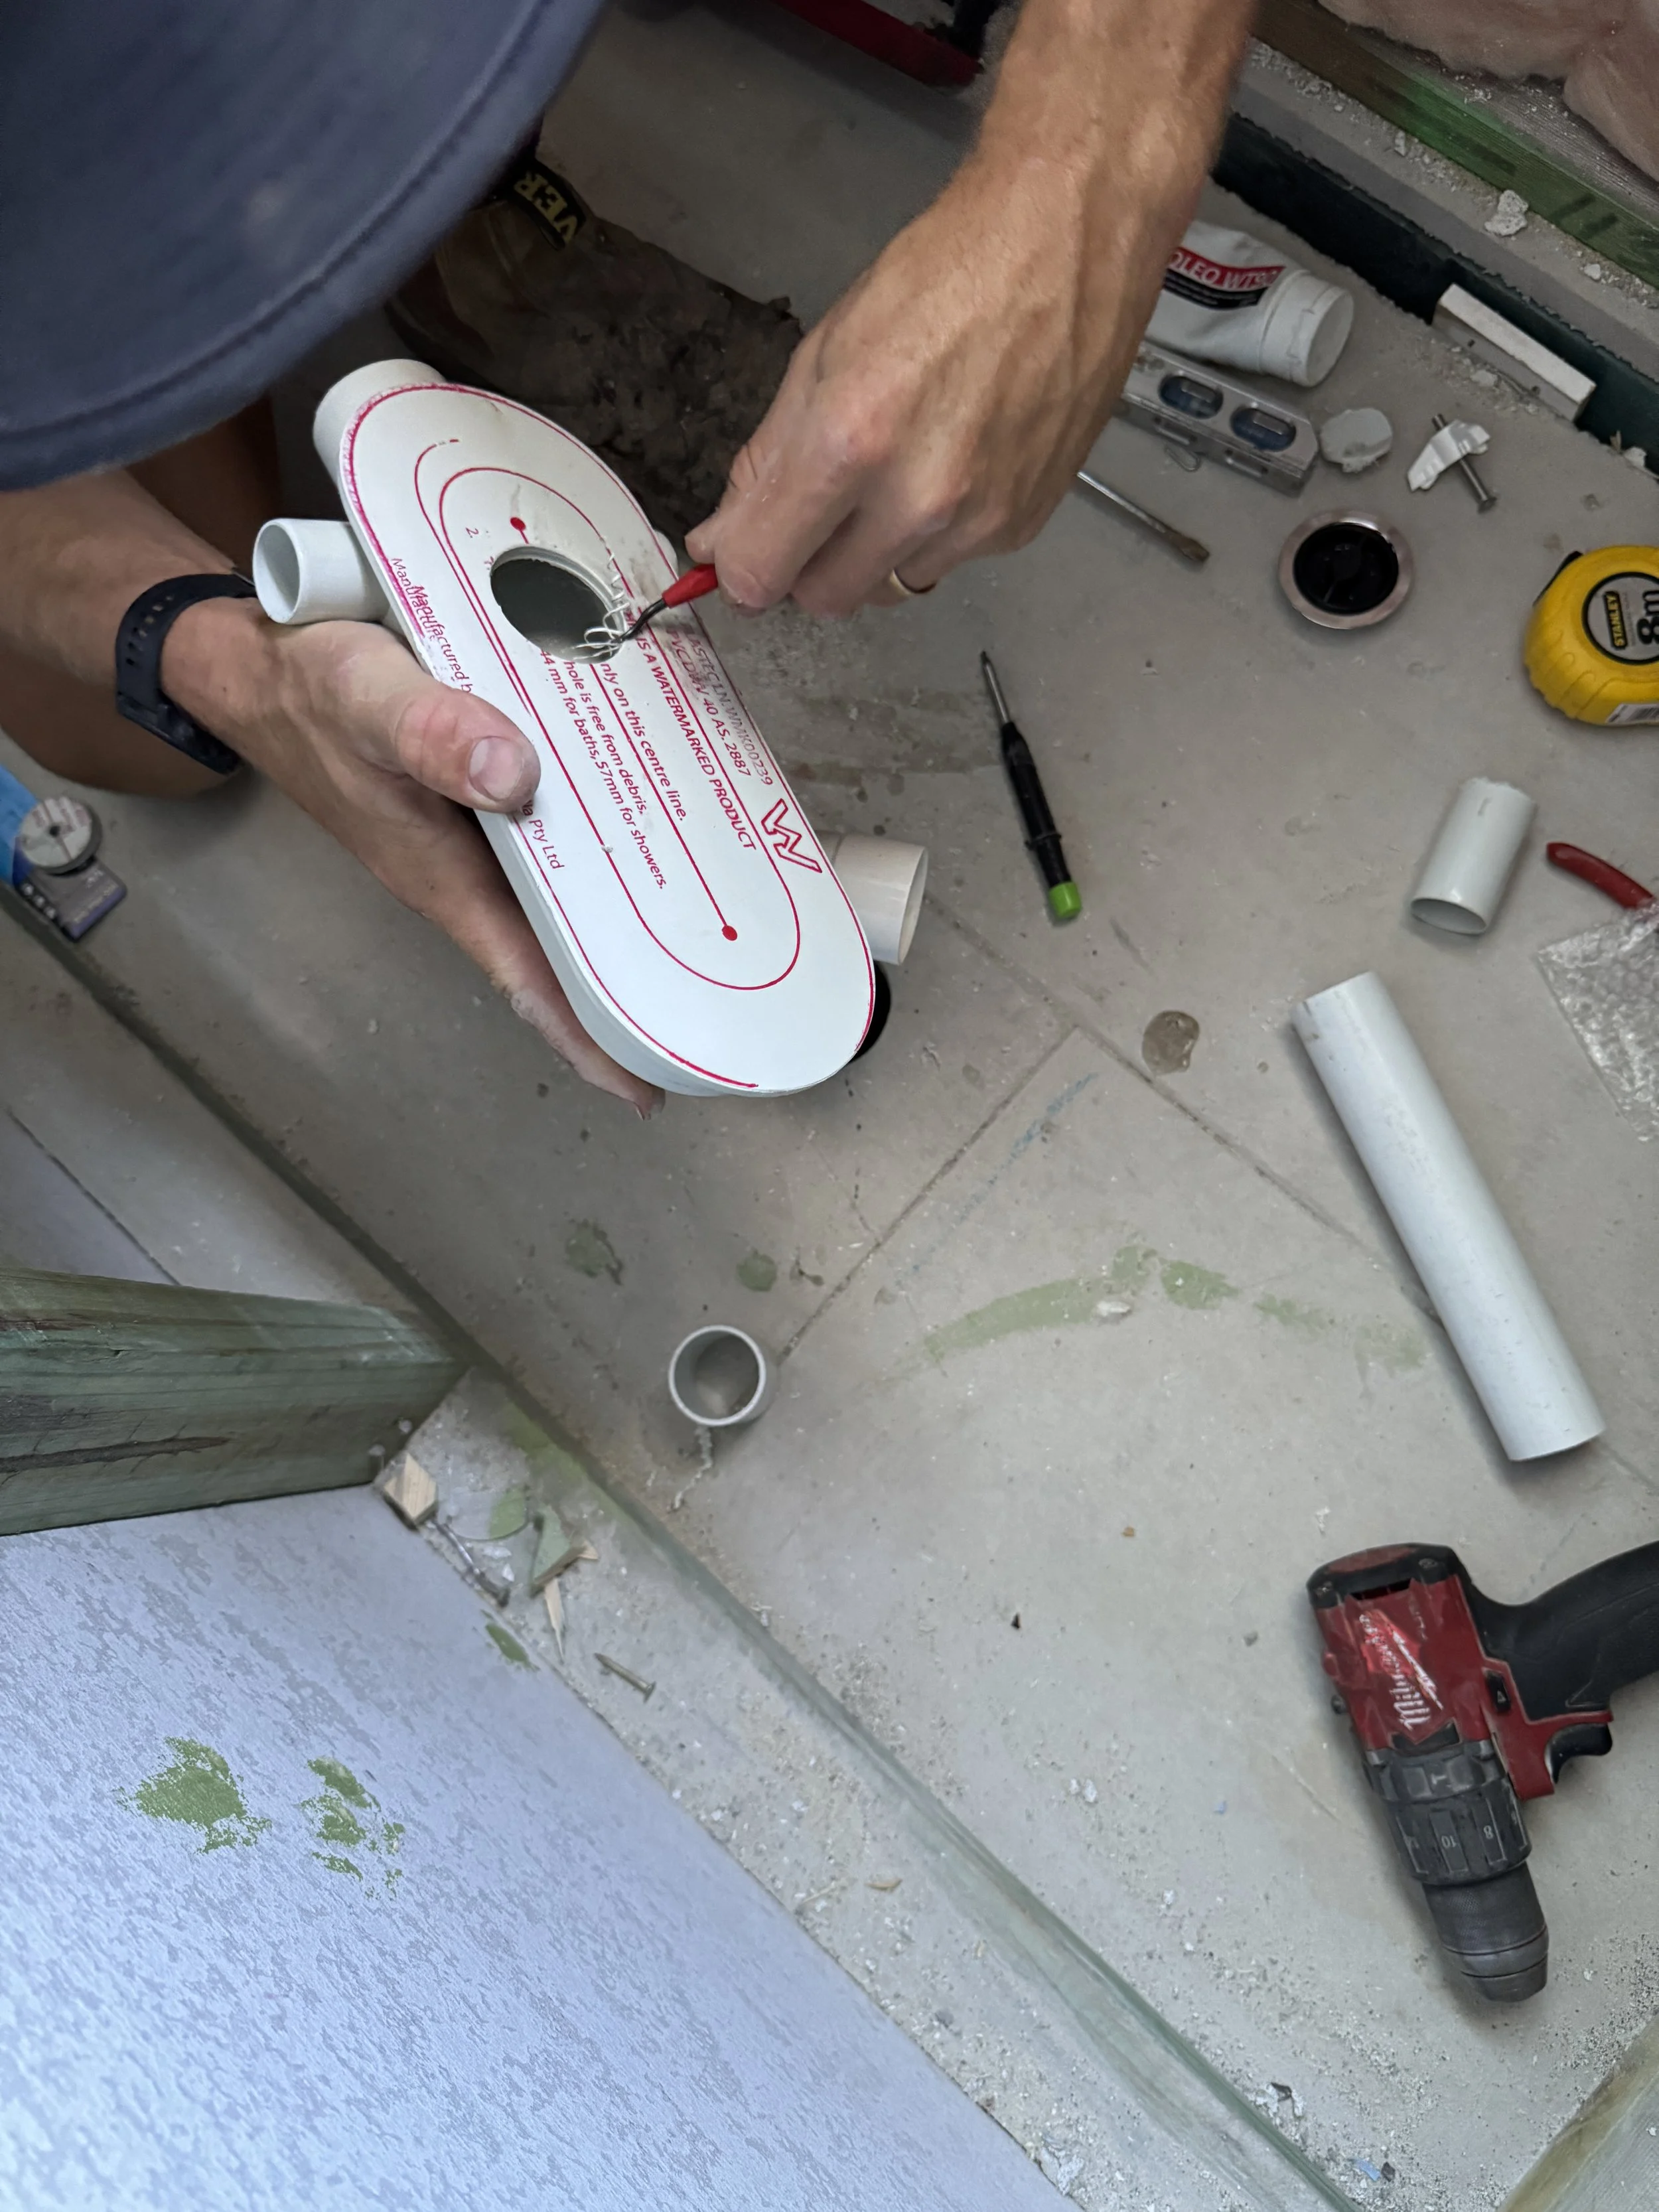
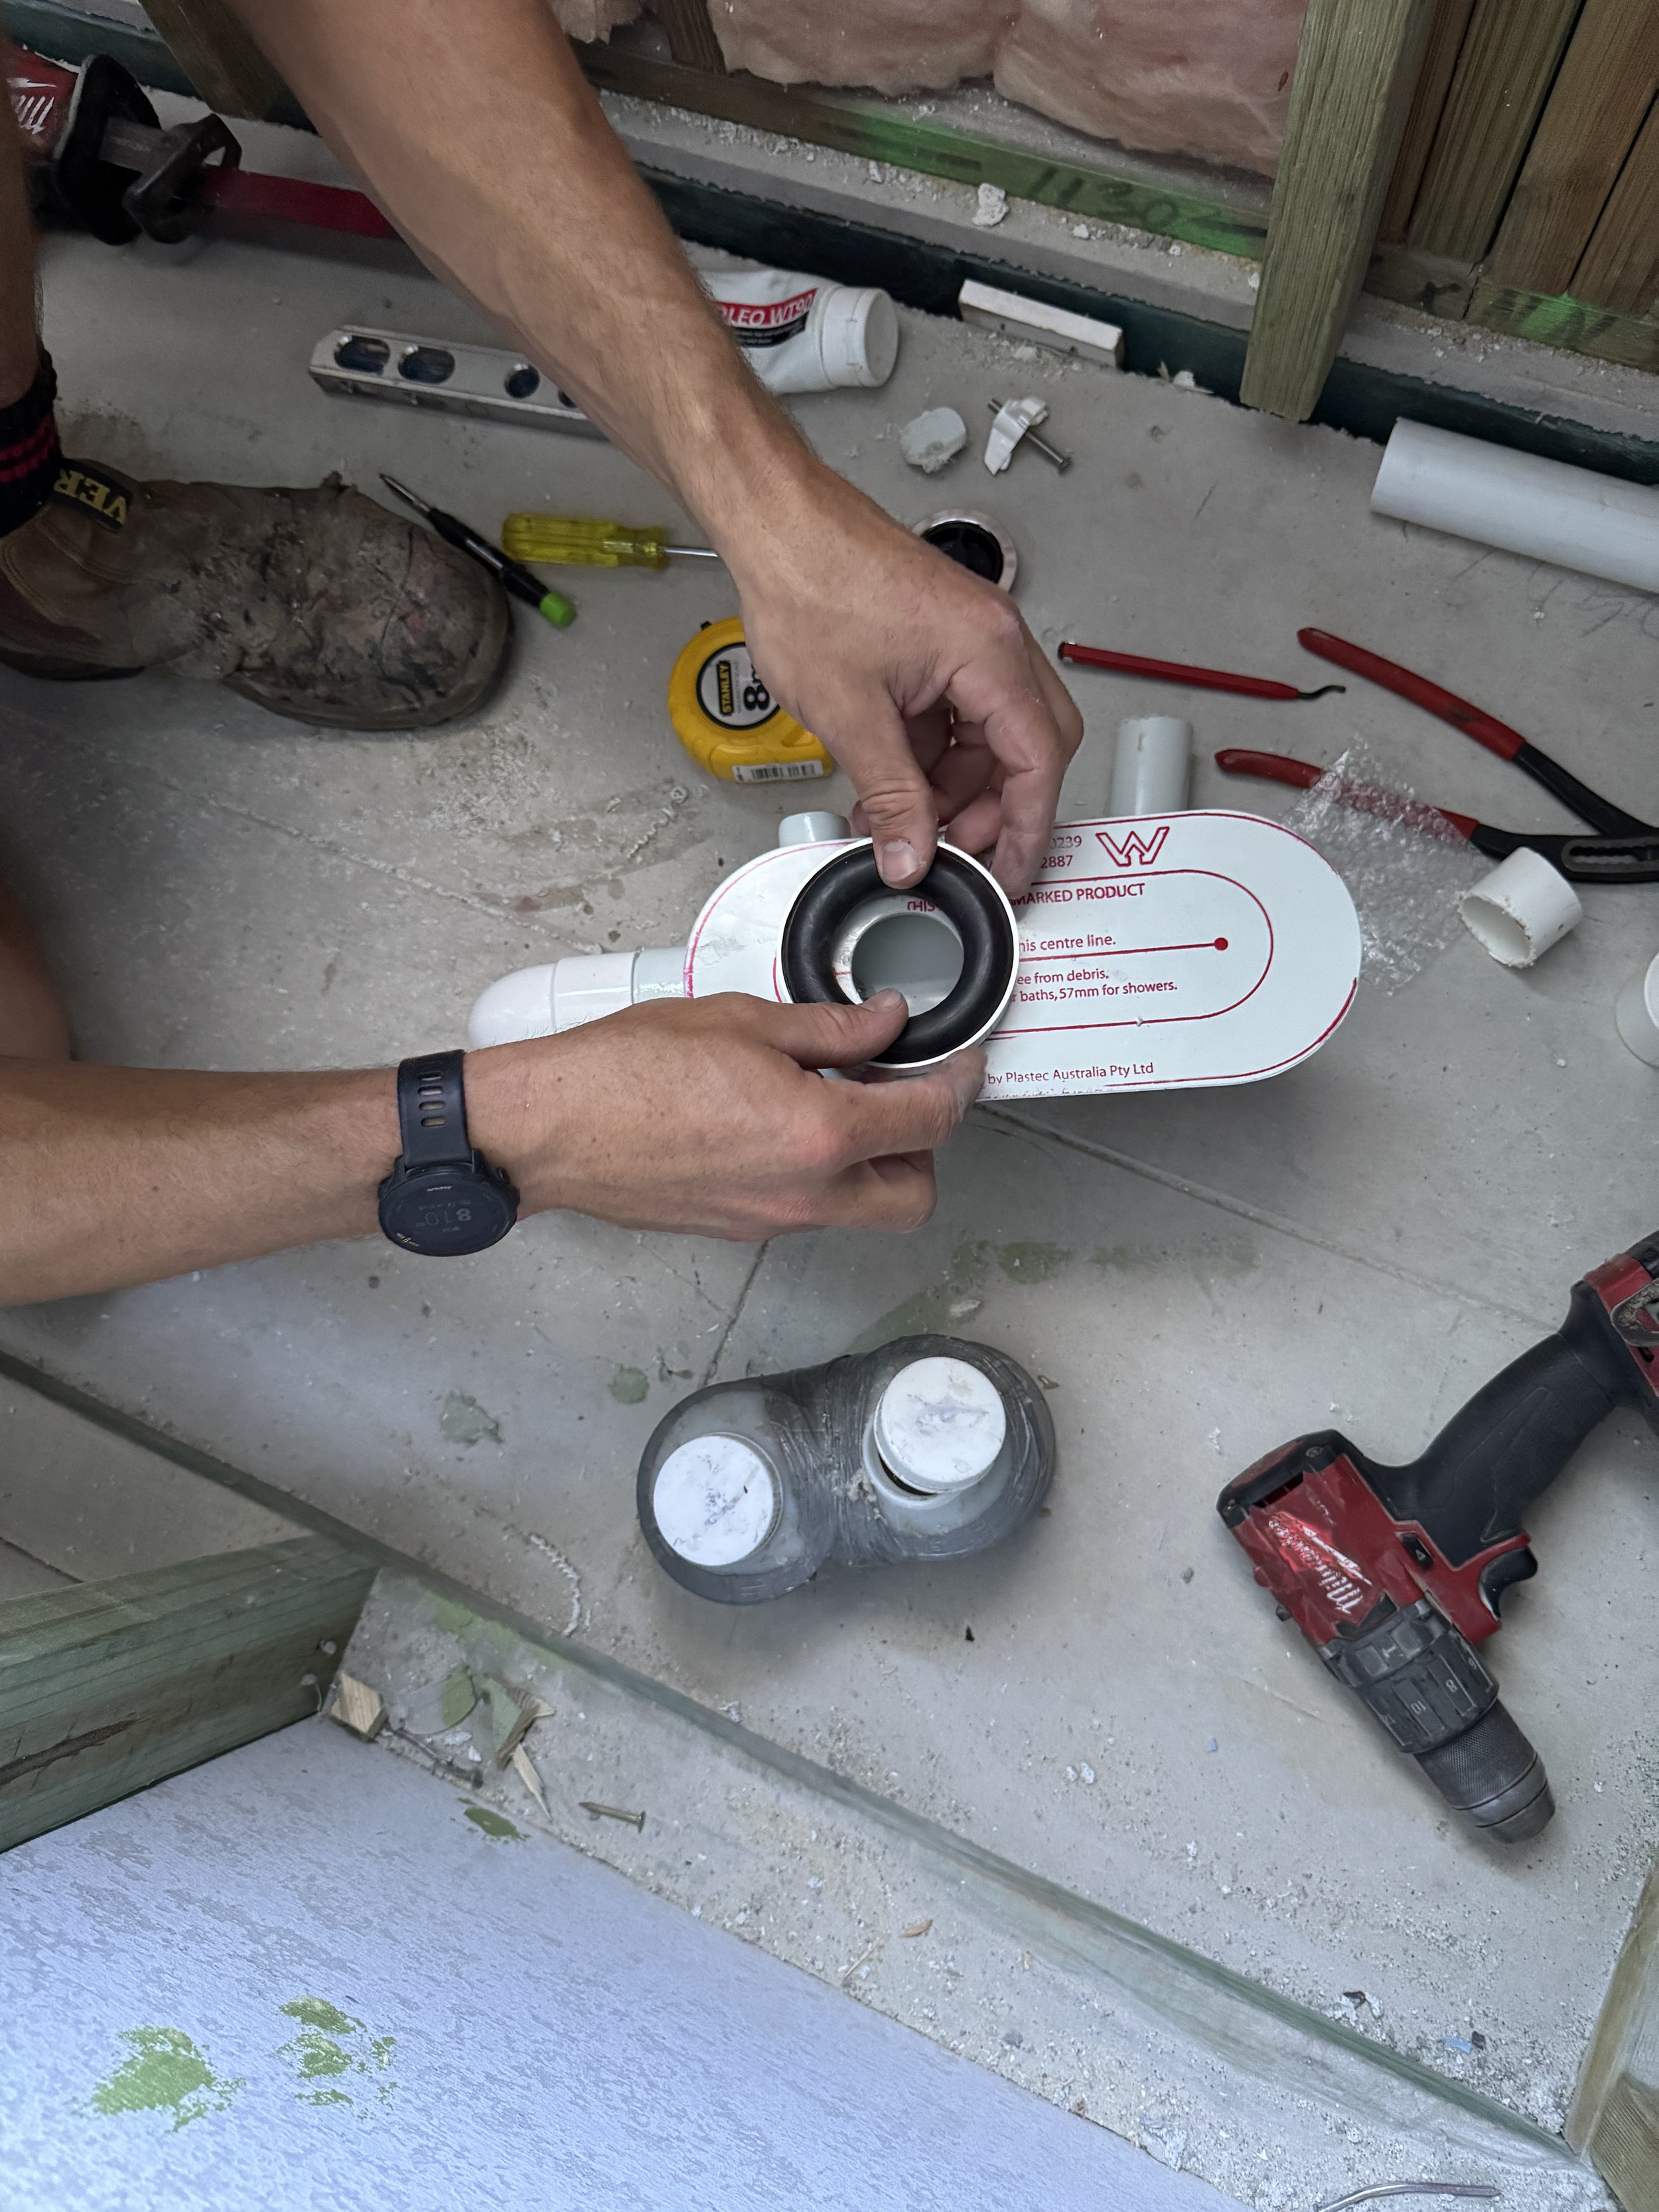
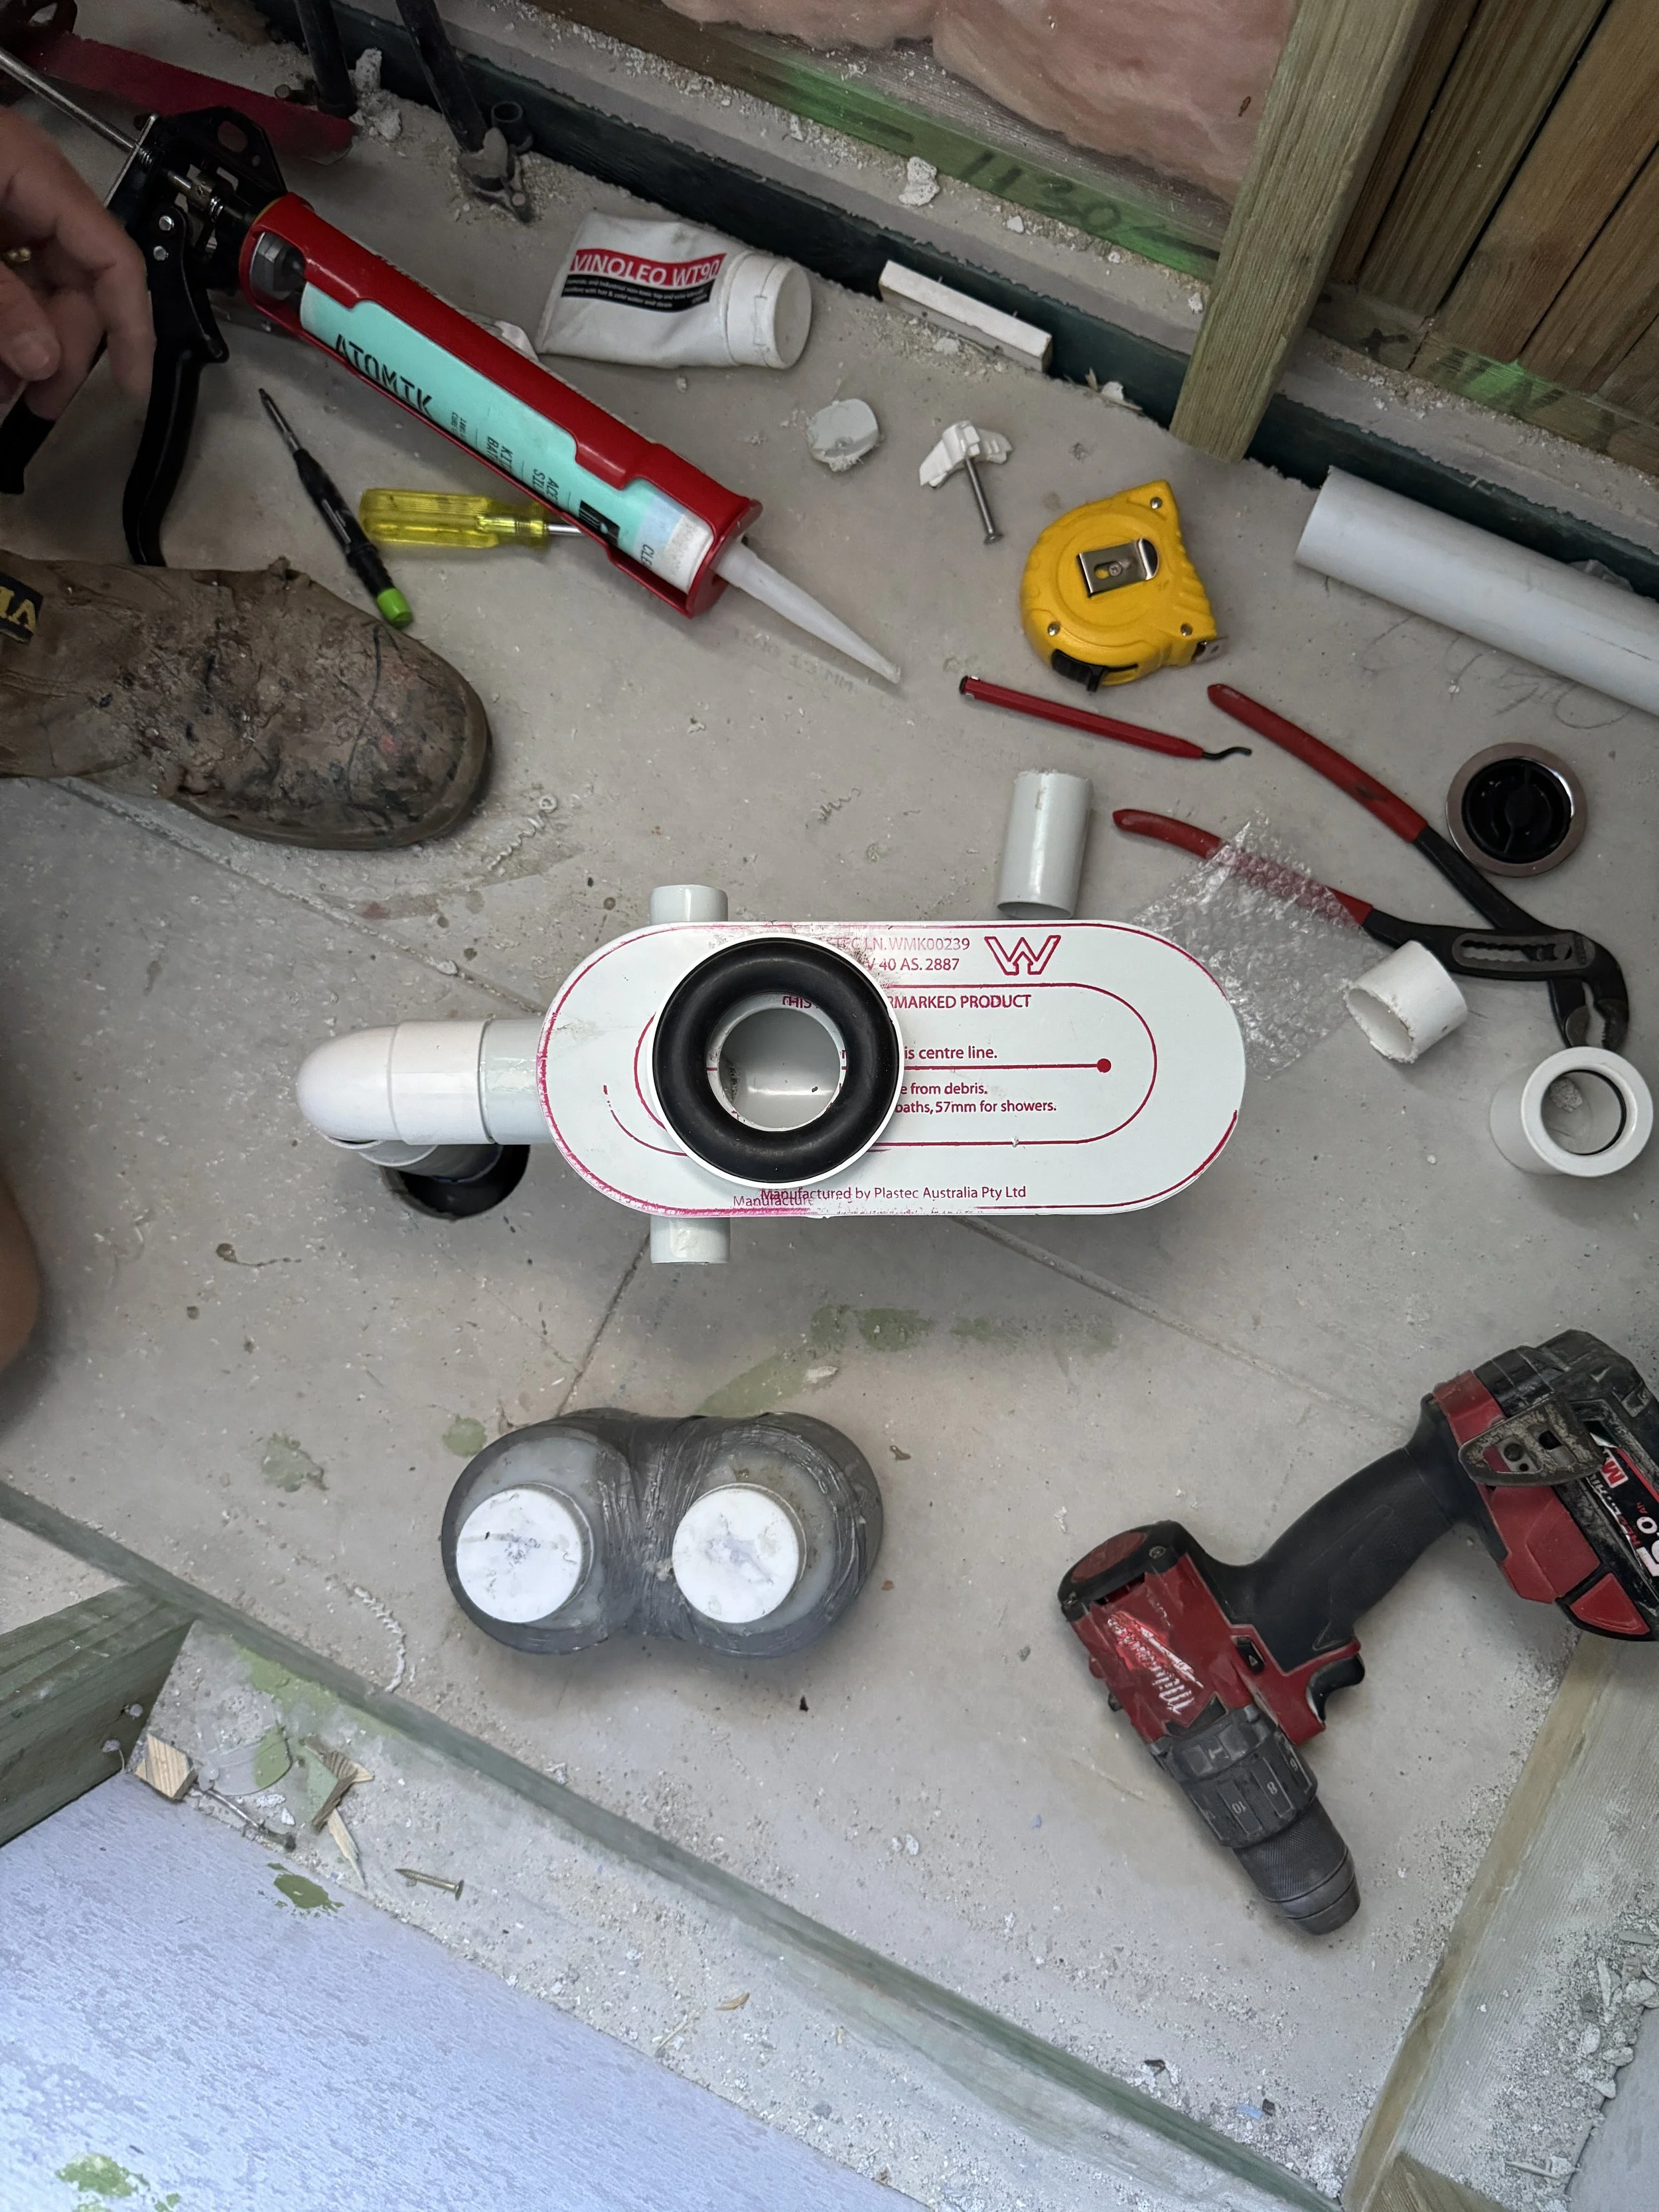
Check to see if the waste point will work for a vertical installation or a horizontal. (horizontal if the glue mark is further away than the red centre drill line.
This one is set for a horizontal installation.
Figure out if you need to raise or lower the 40mm pipe to suit the height of the bath by using the measurement from earlier (between floor and bath)
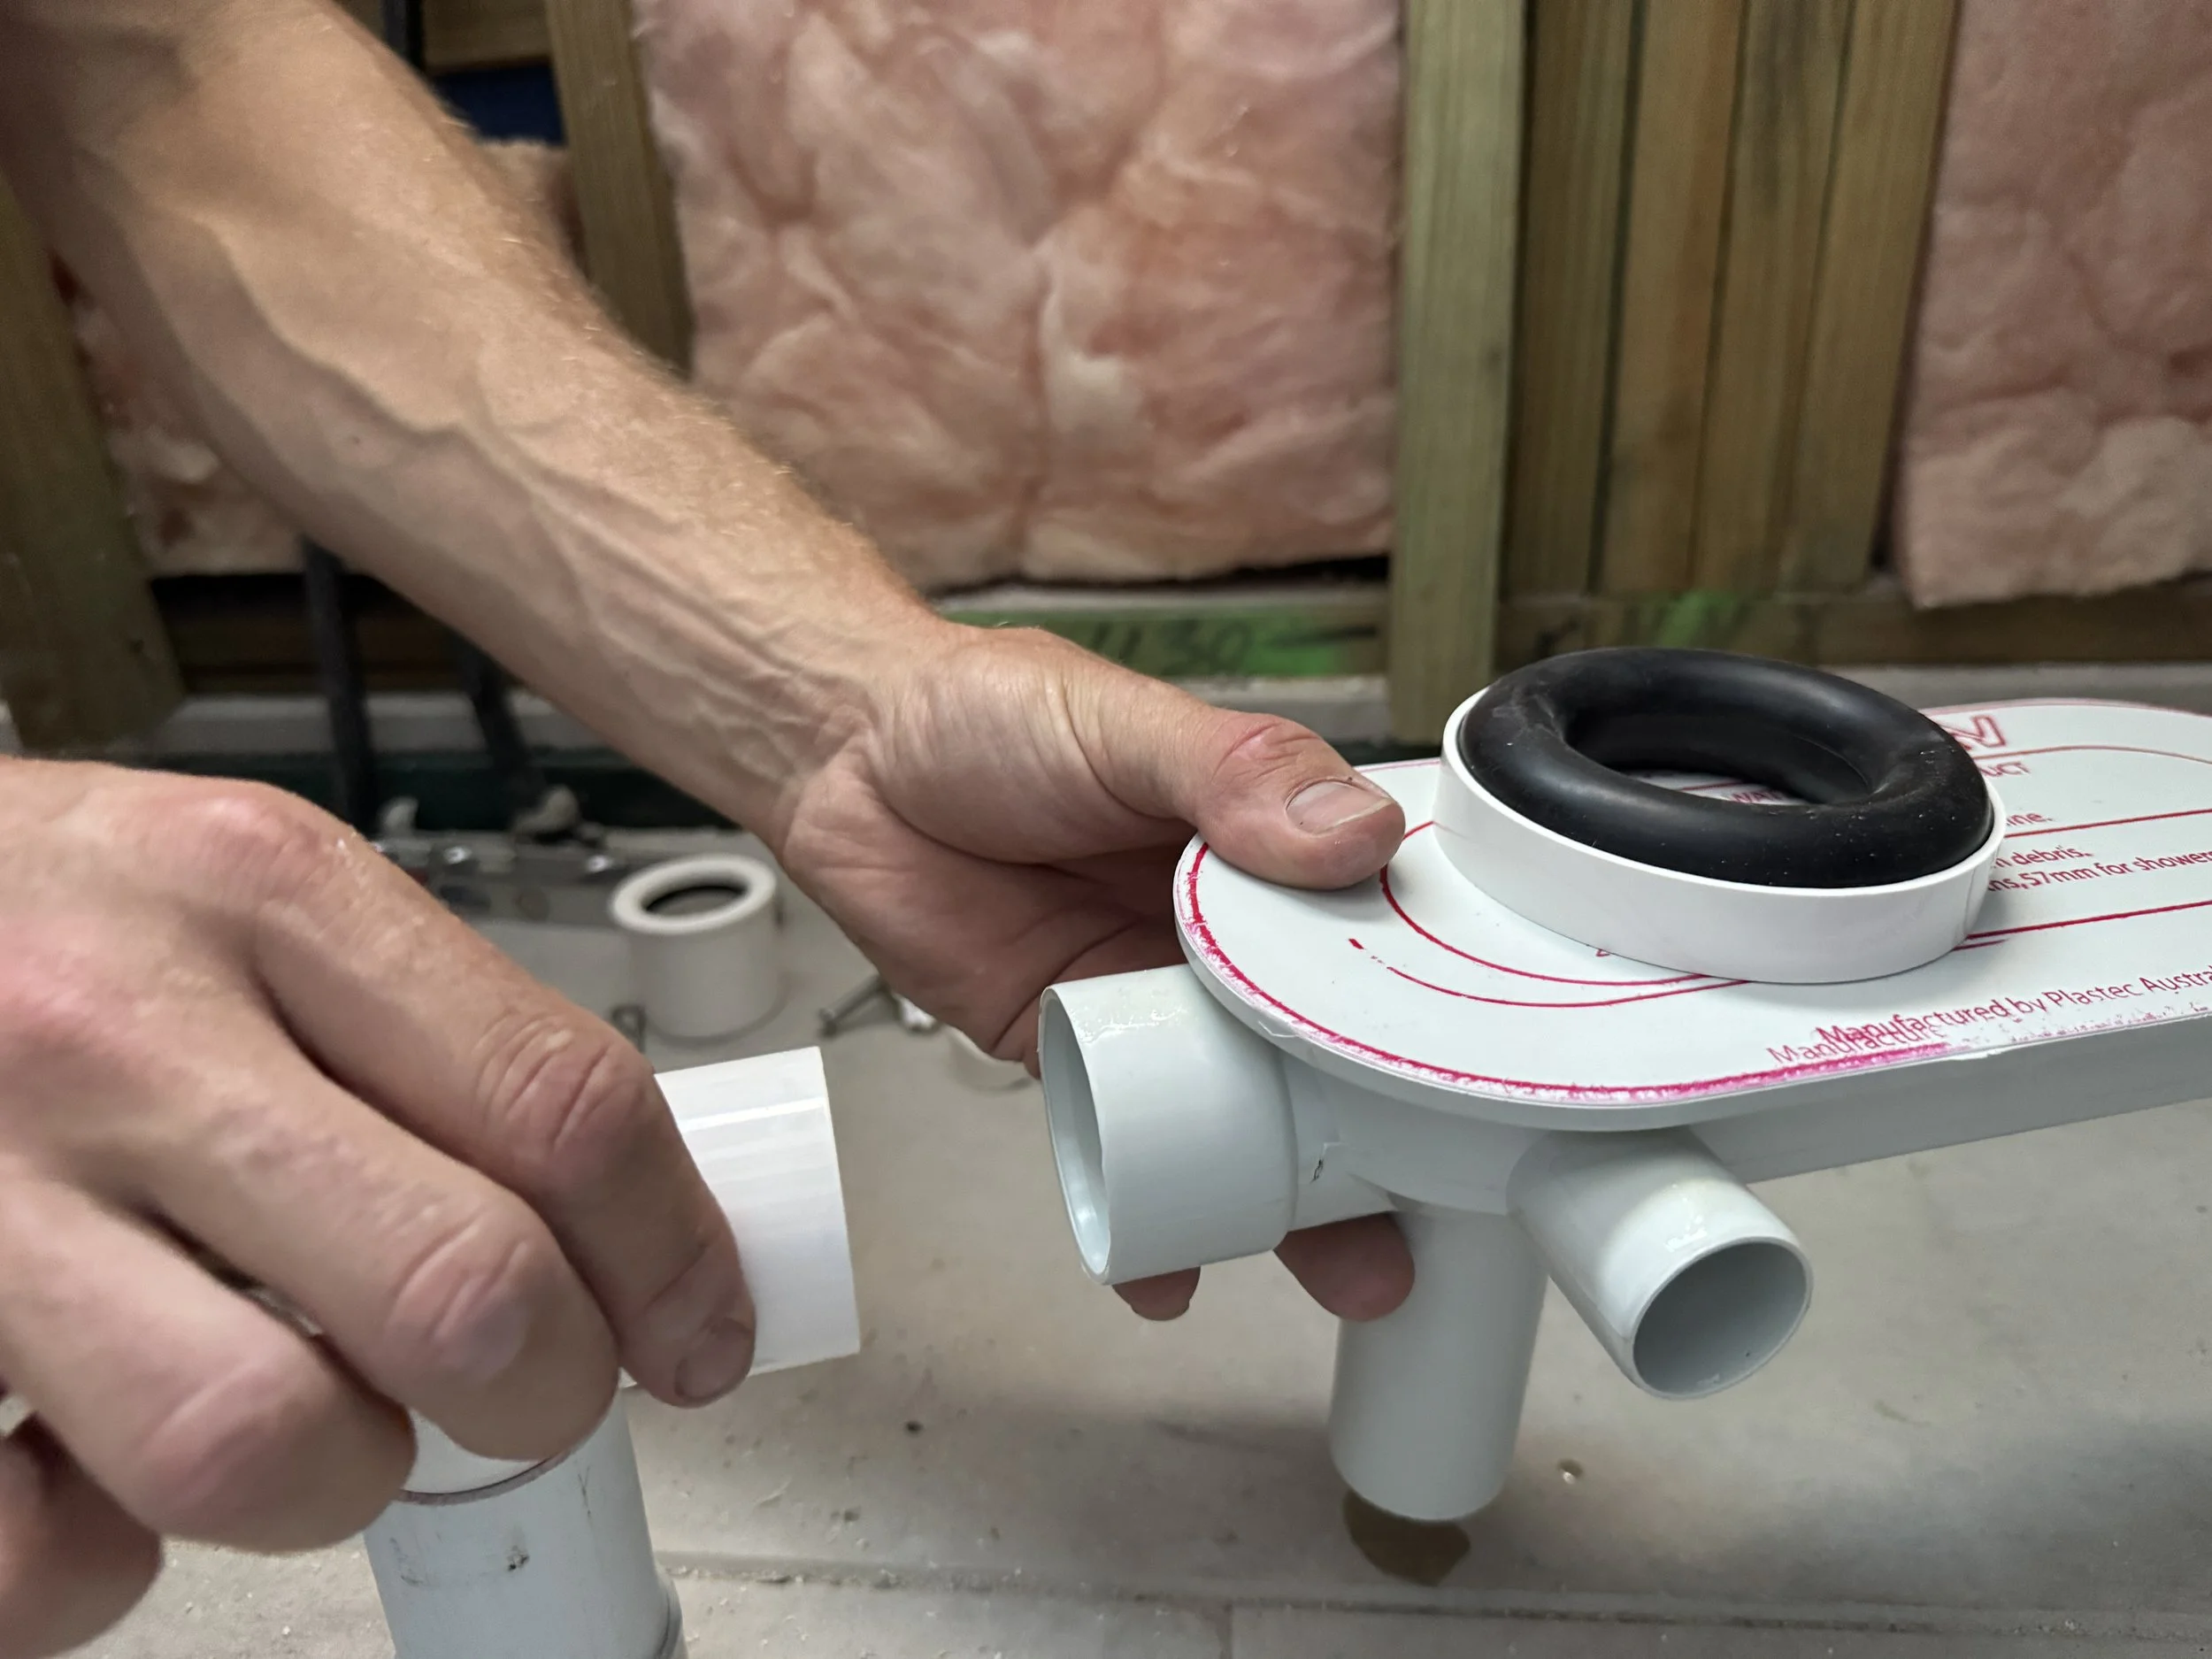
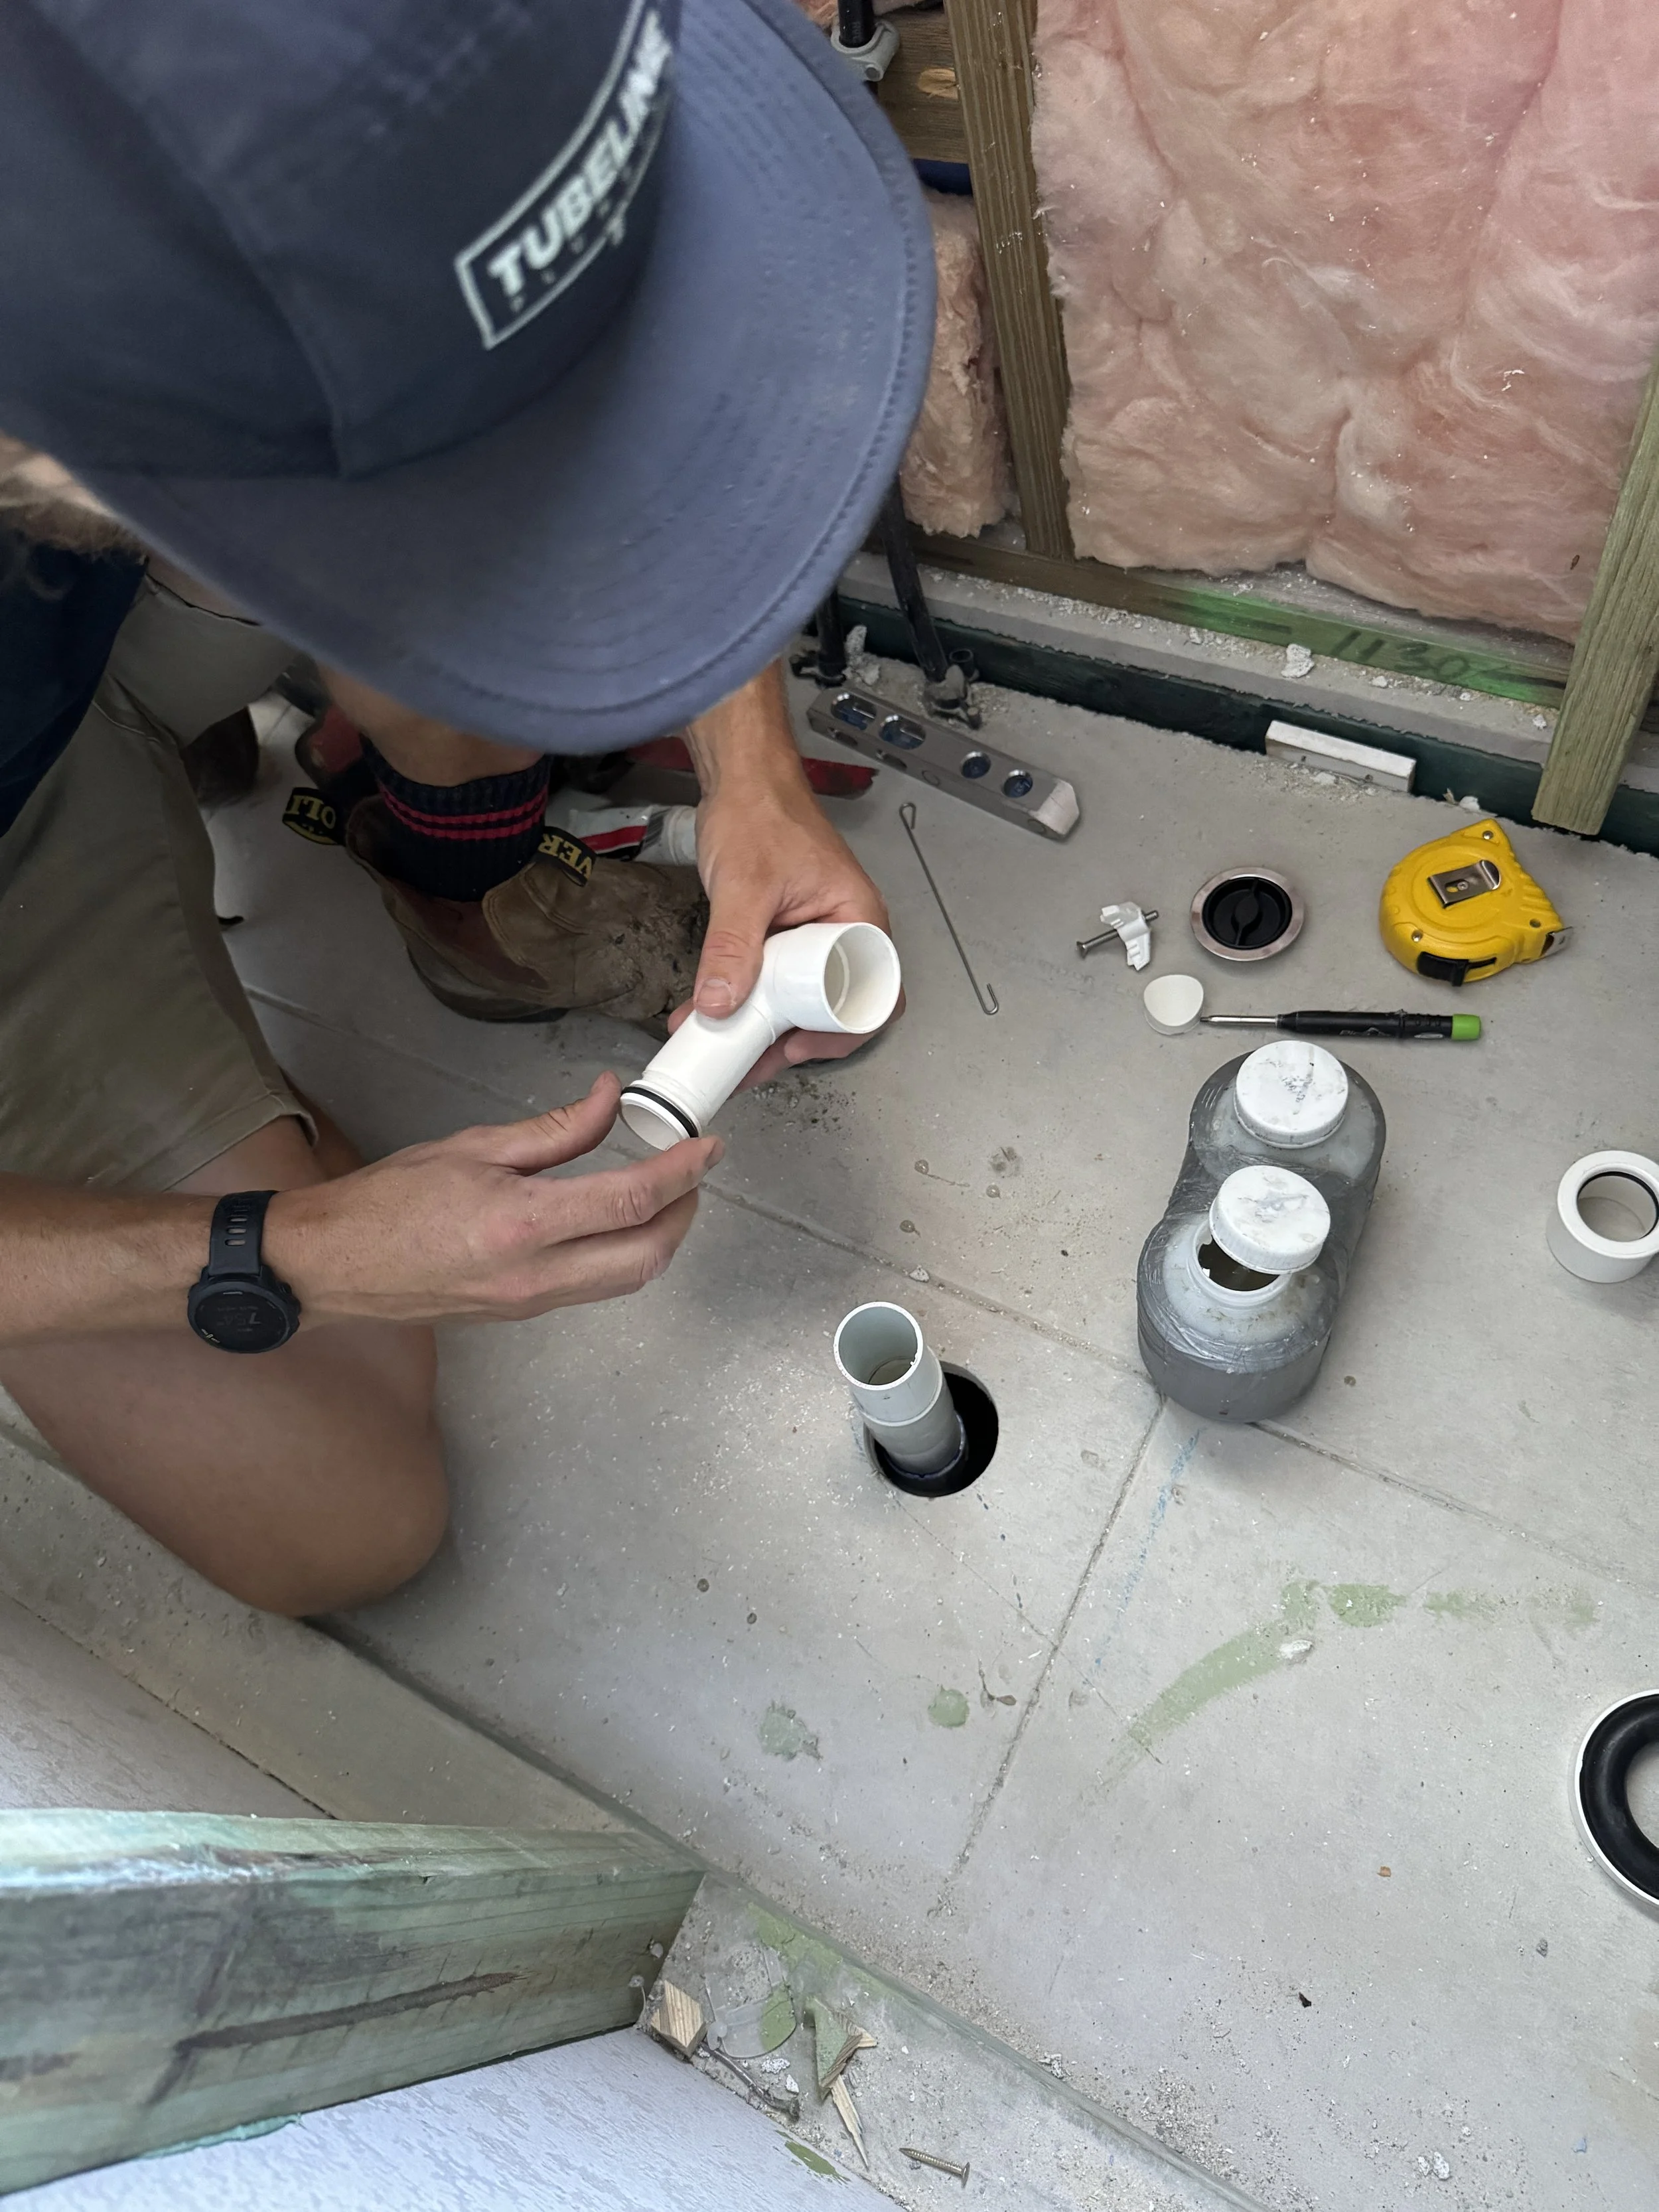
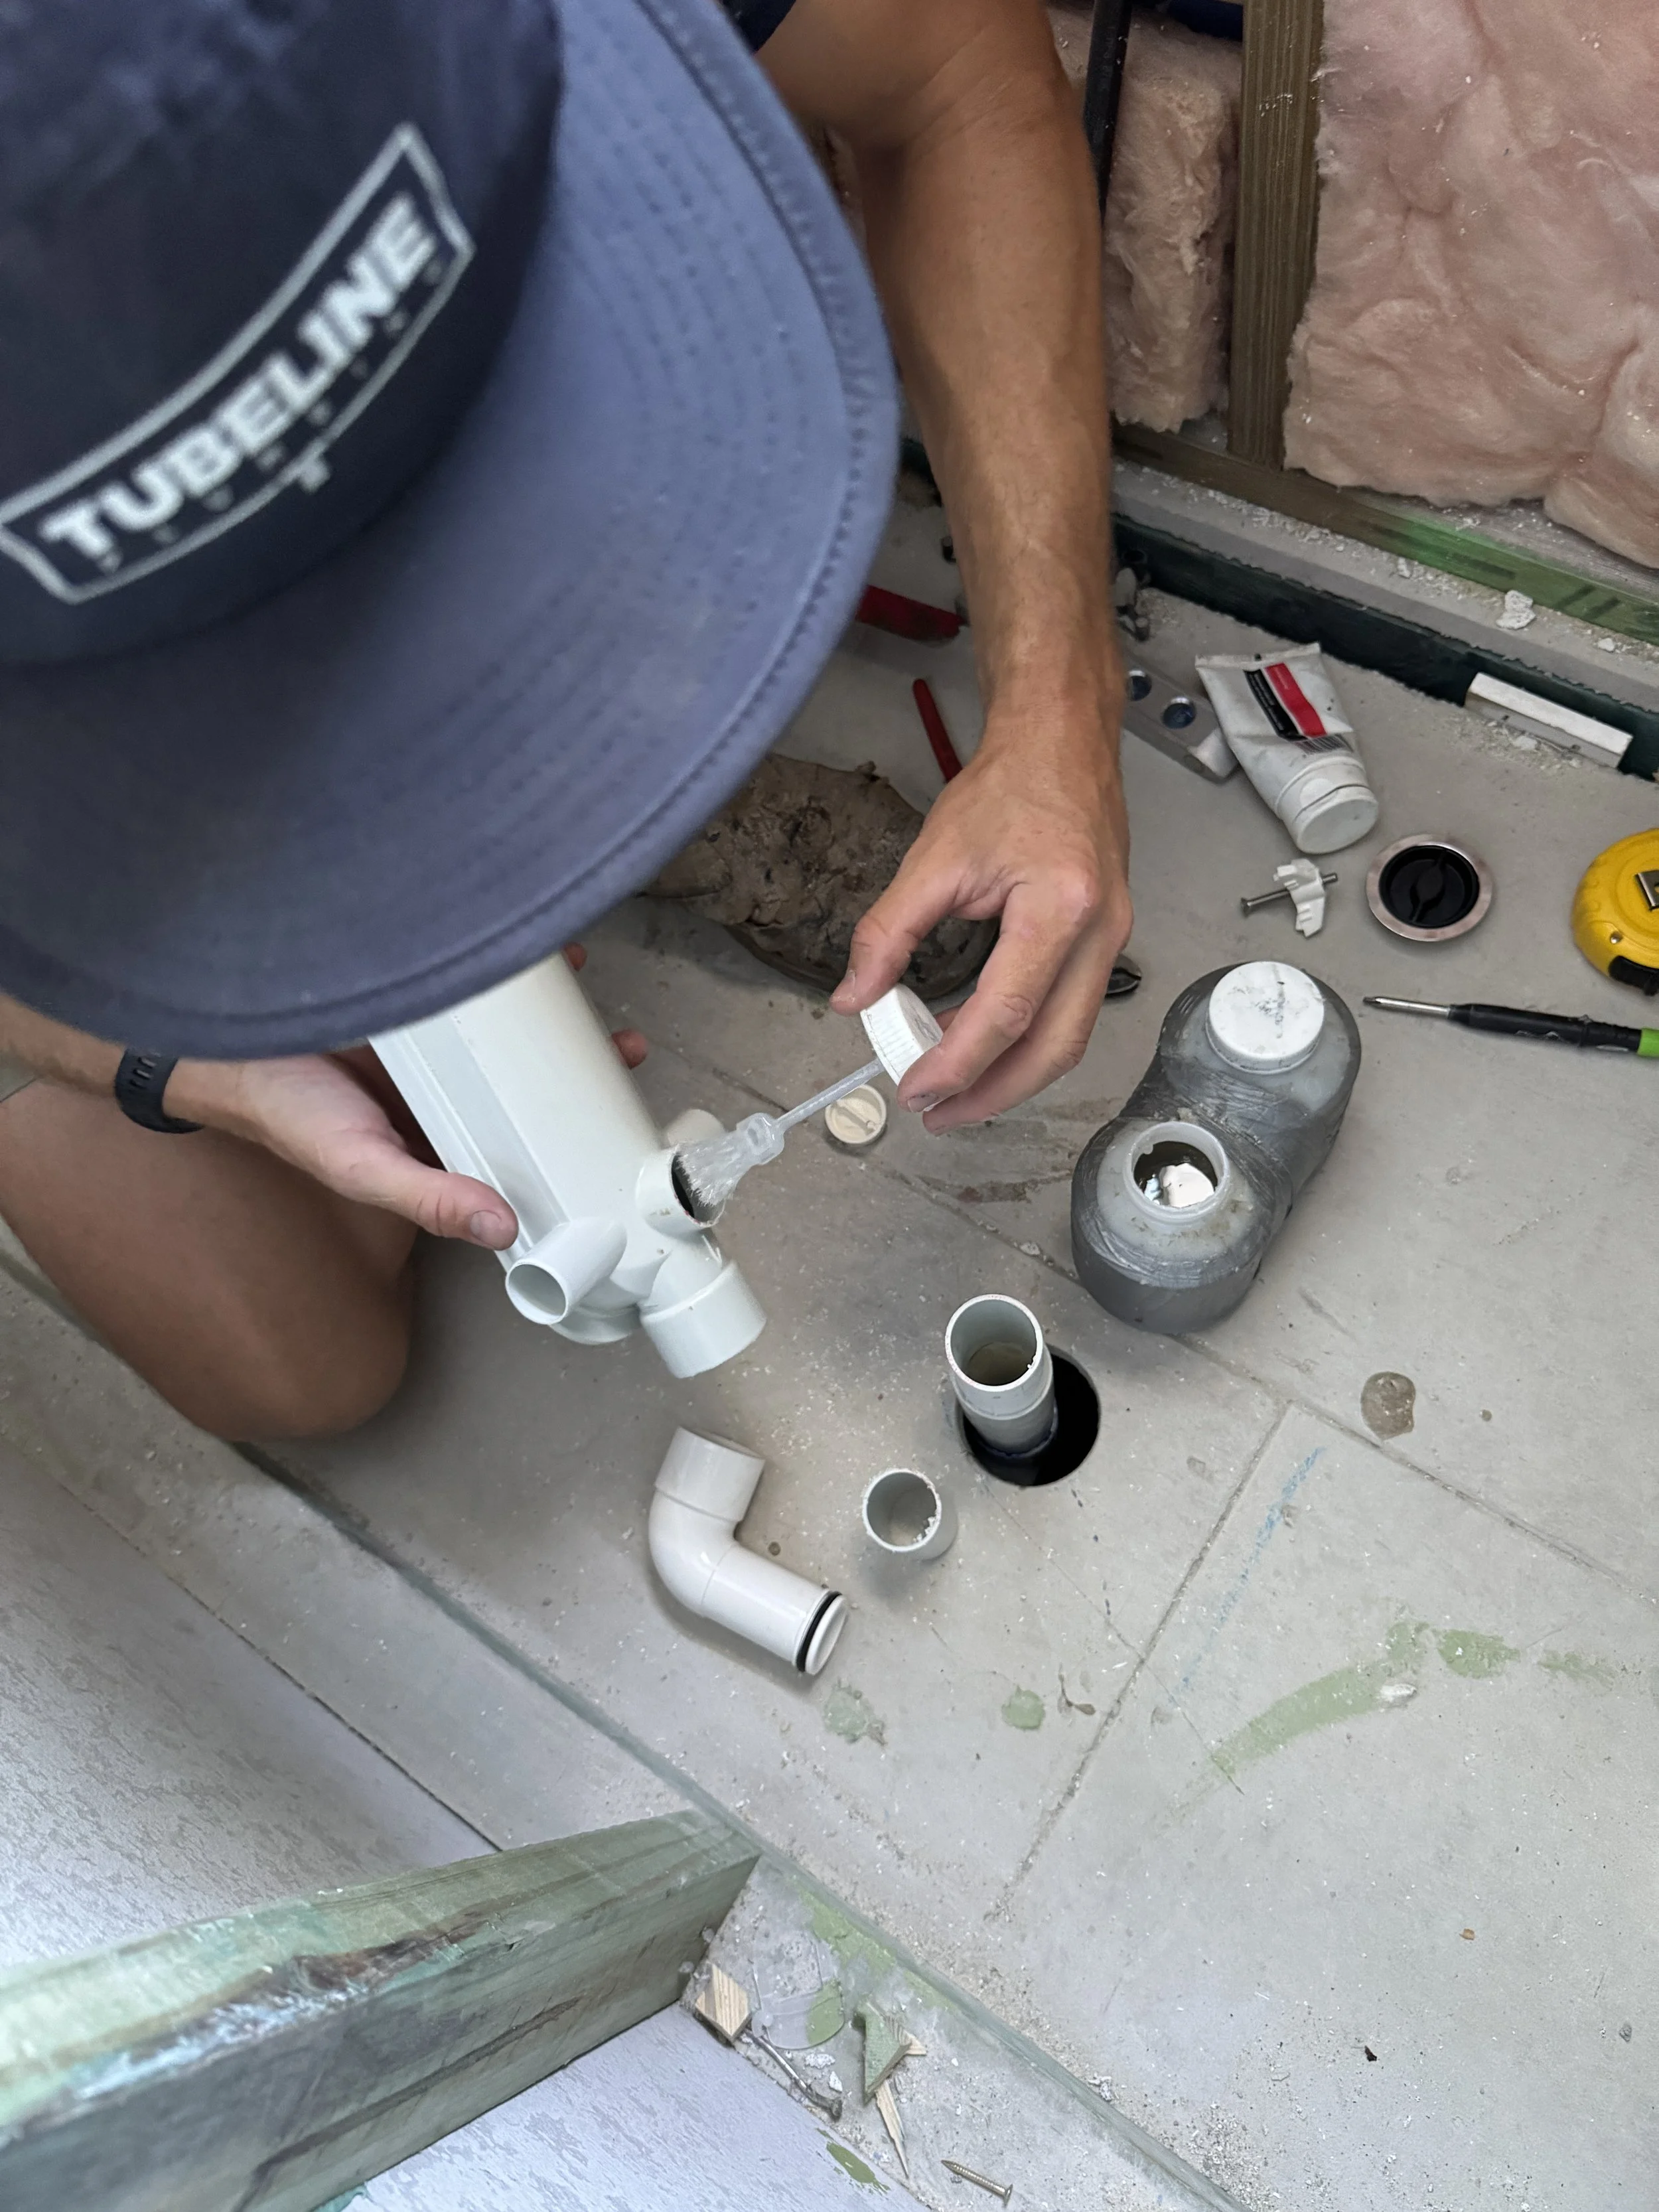
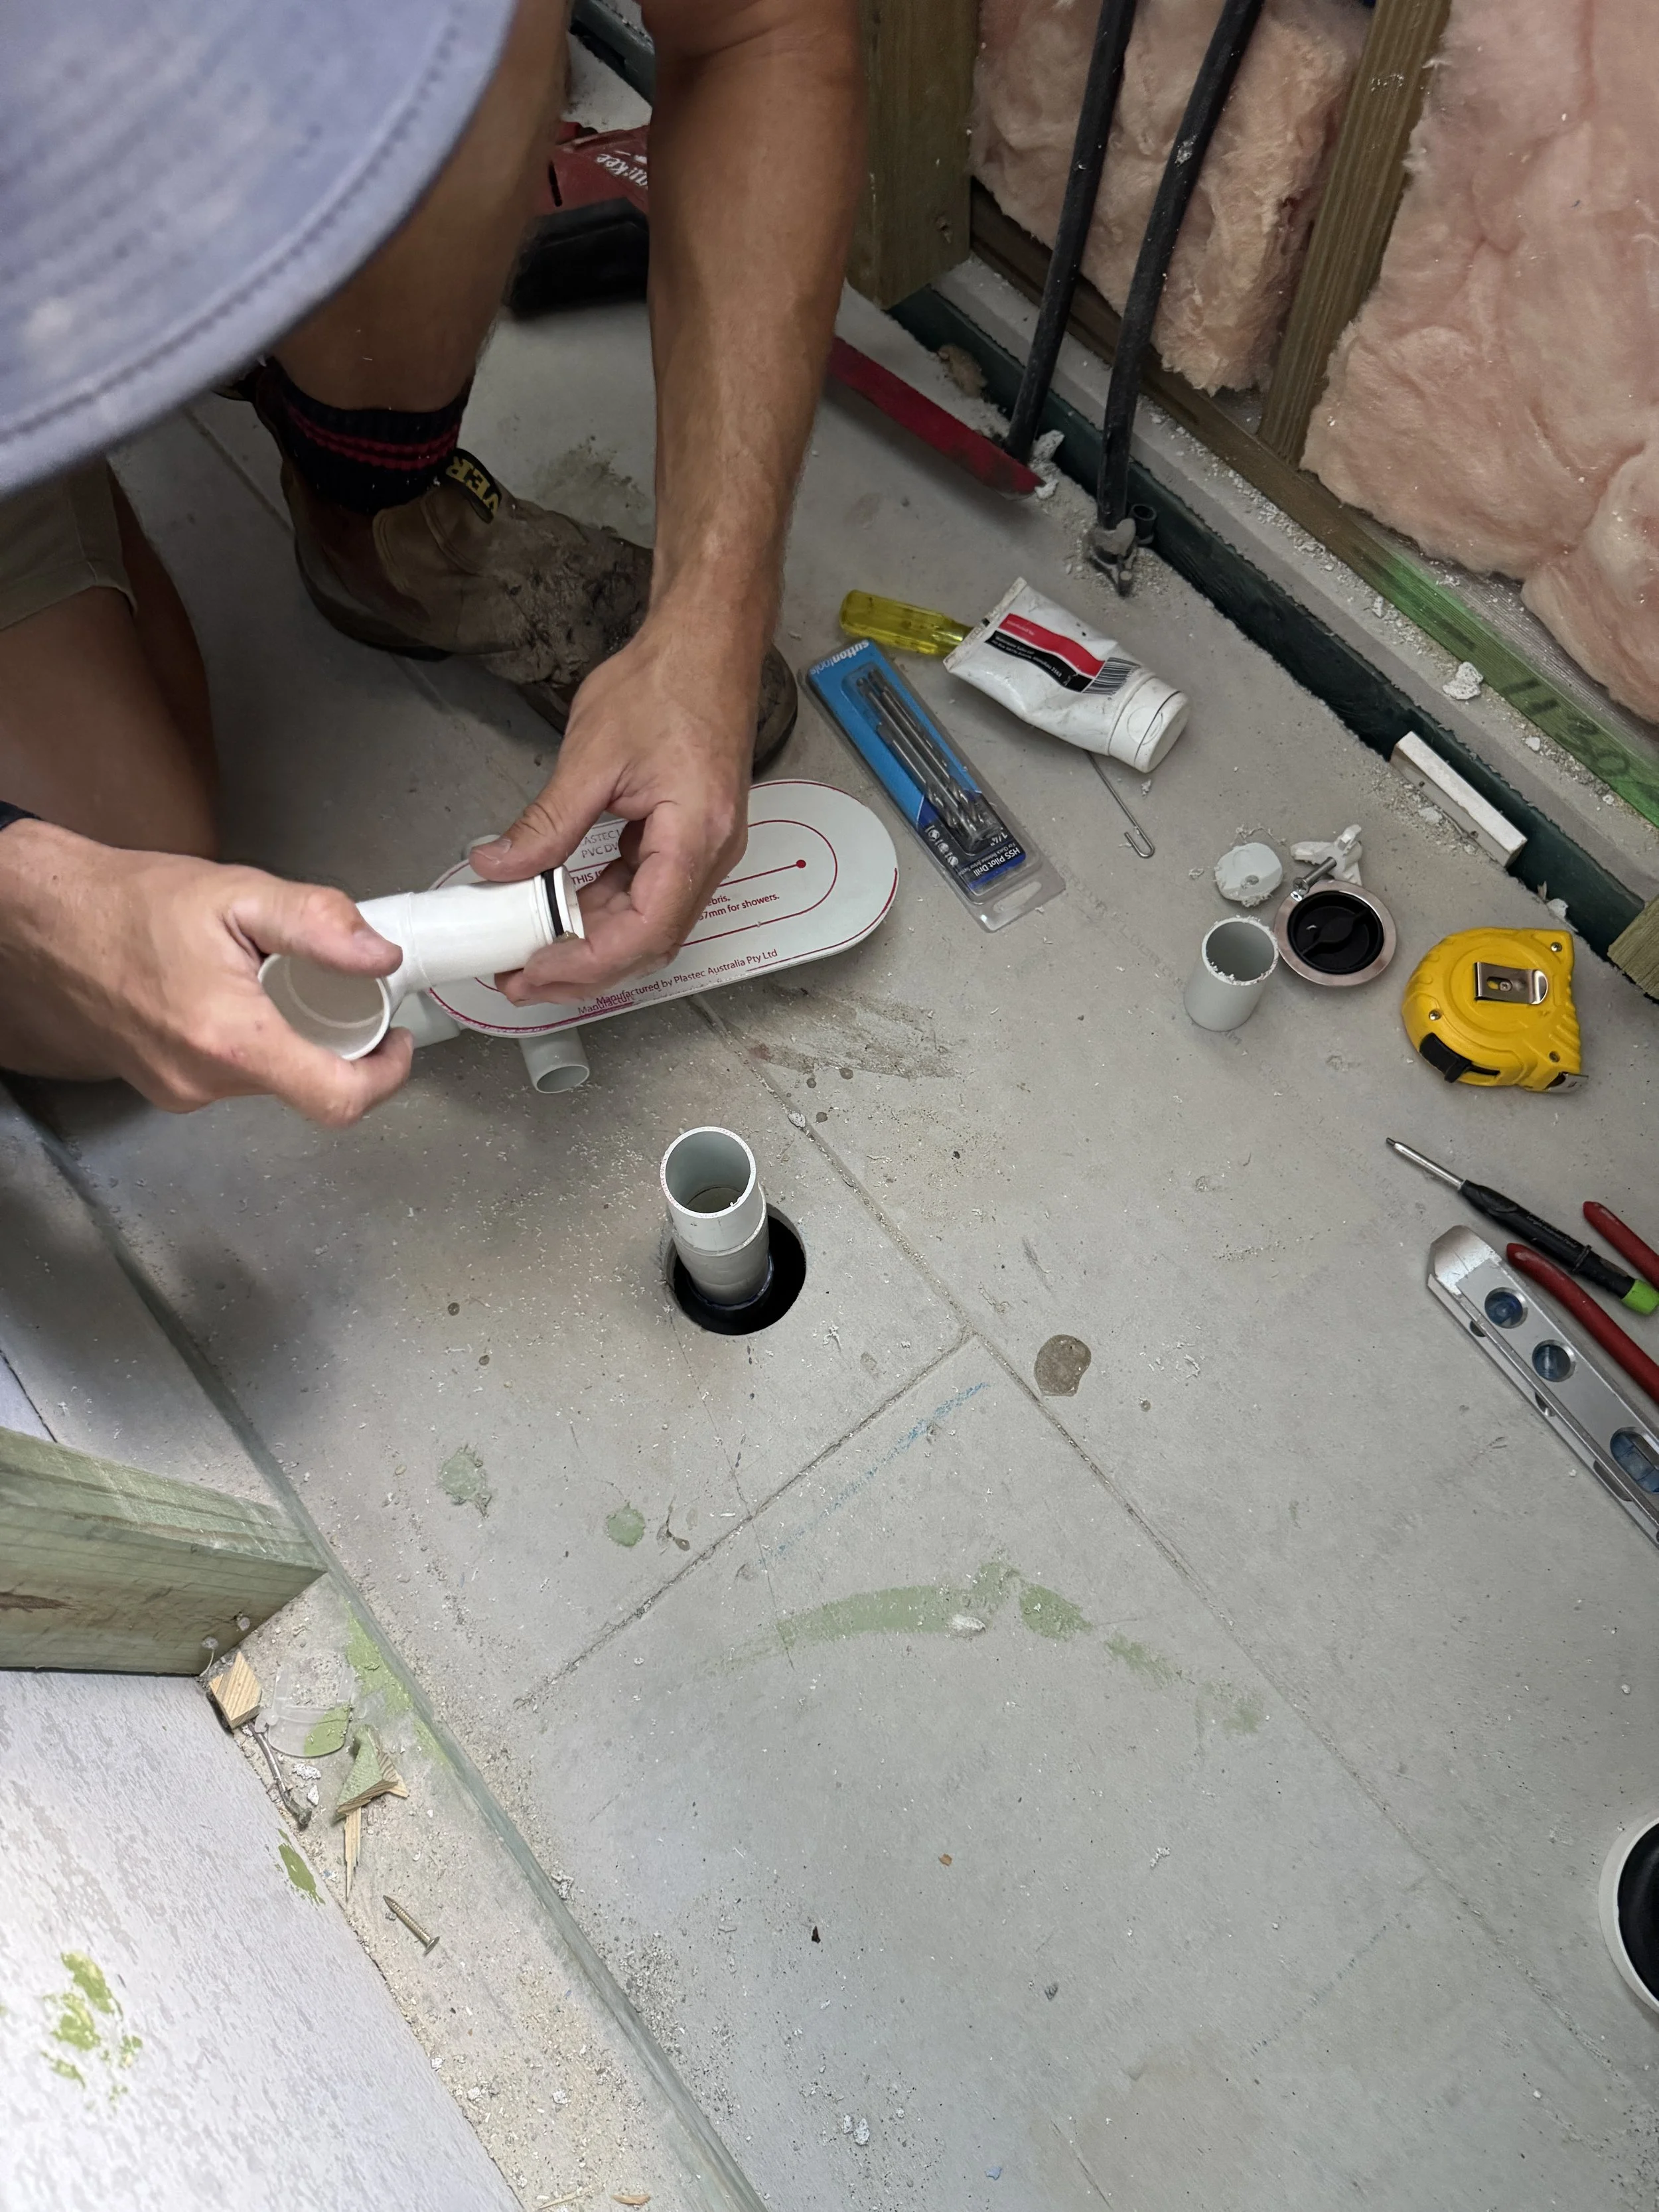
Glue the inpipe o ring adaptor into the bottom of the double dinger 90. (make sure you don’t get glue or primer on the o ring)
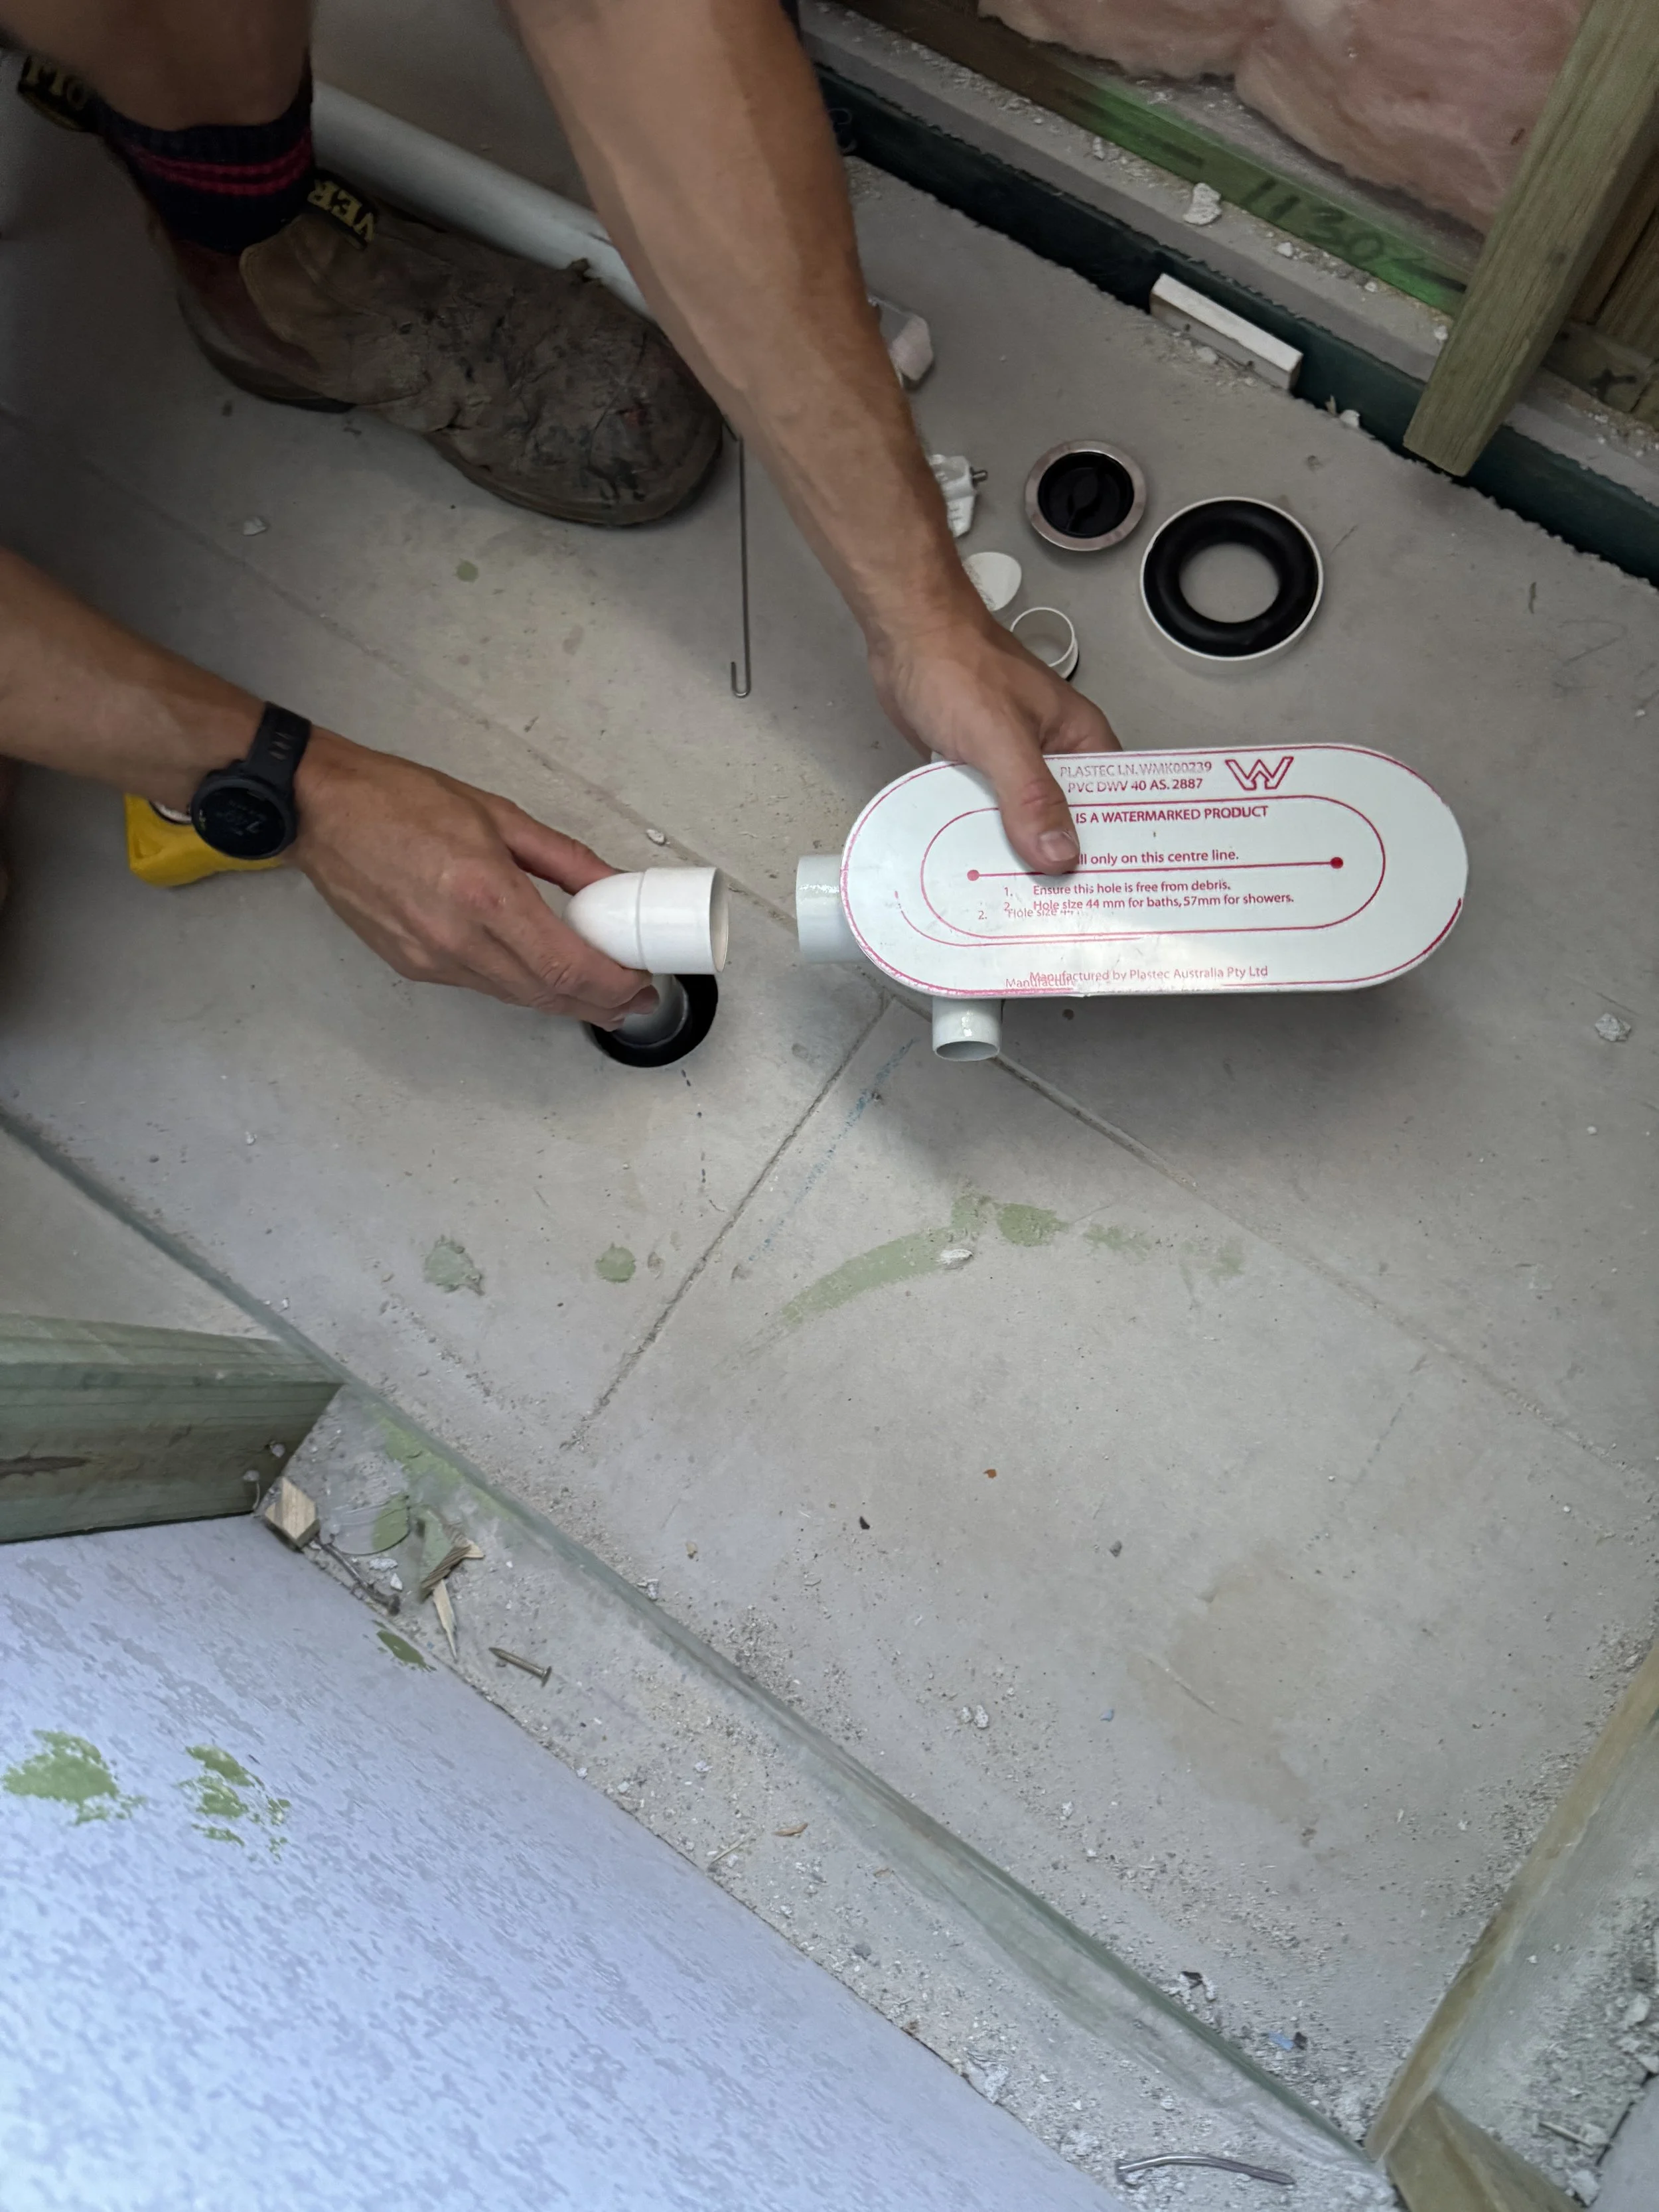
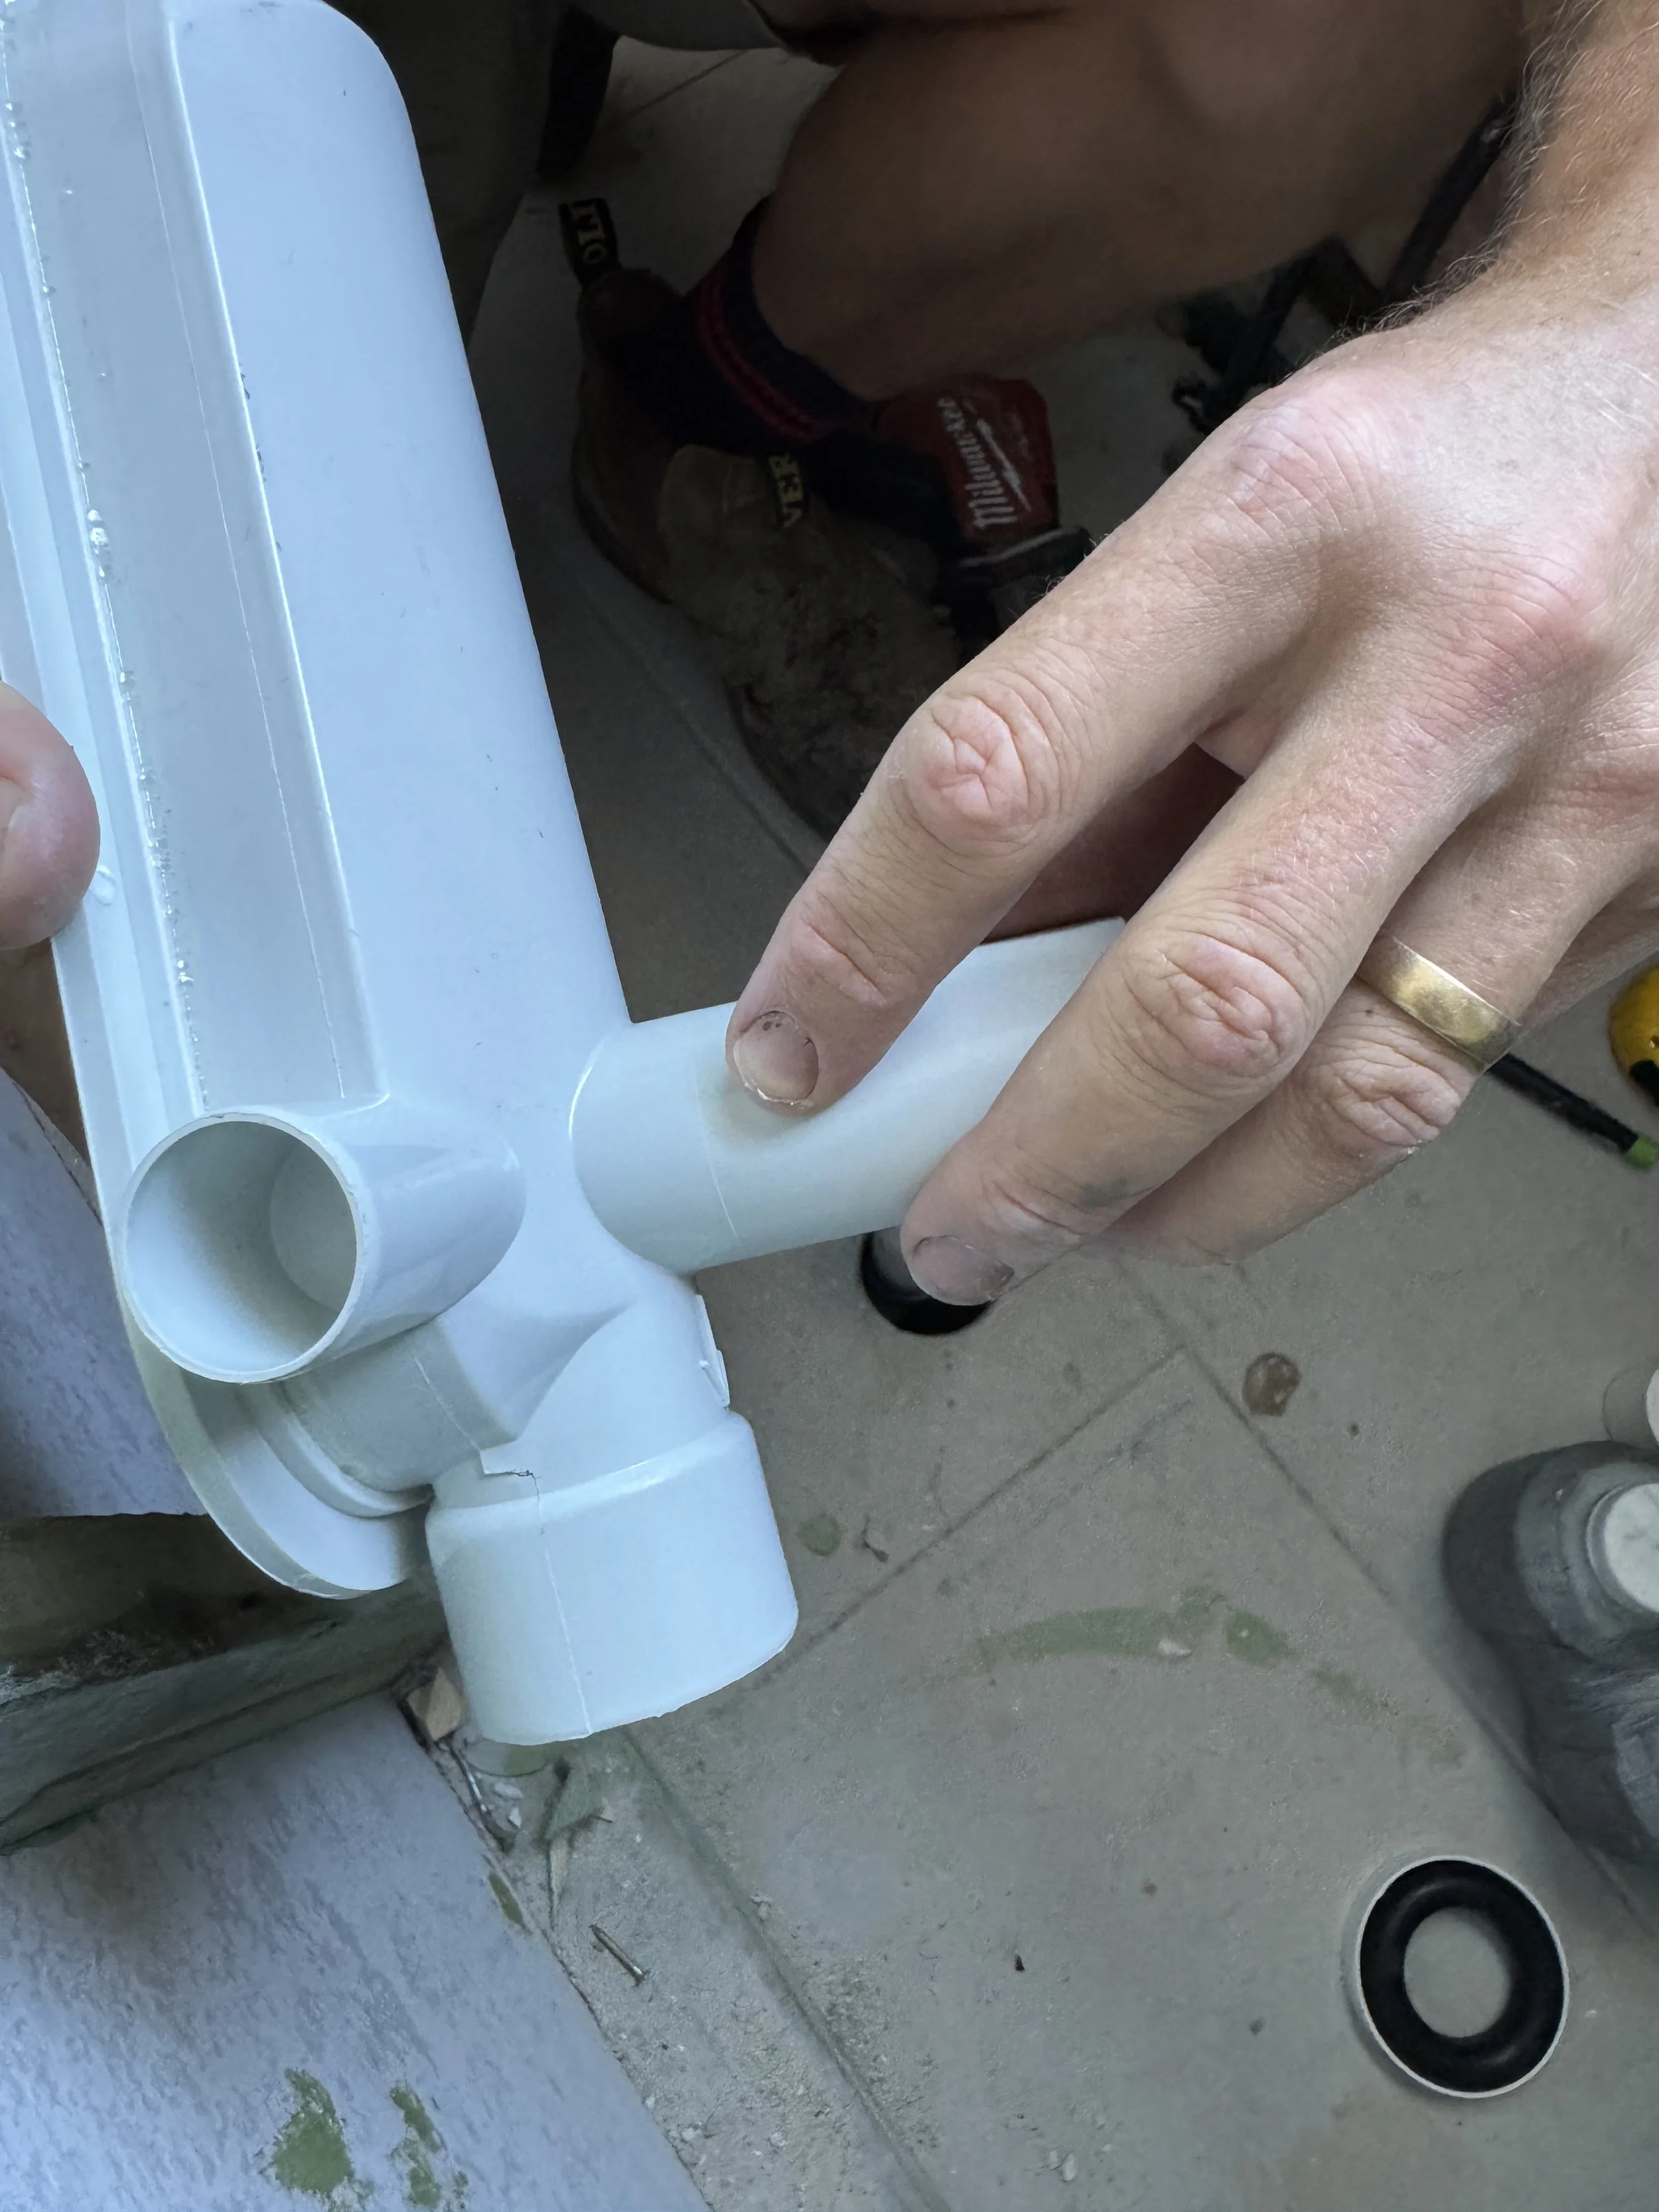
For horizontal installation, read instructions on the double dinger bag and also follow along with this guide. Cut the pipe that is set up for vertical installation along line marker.
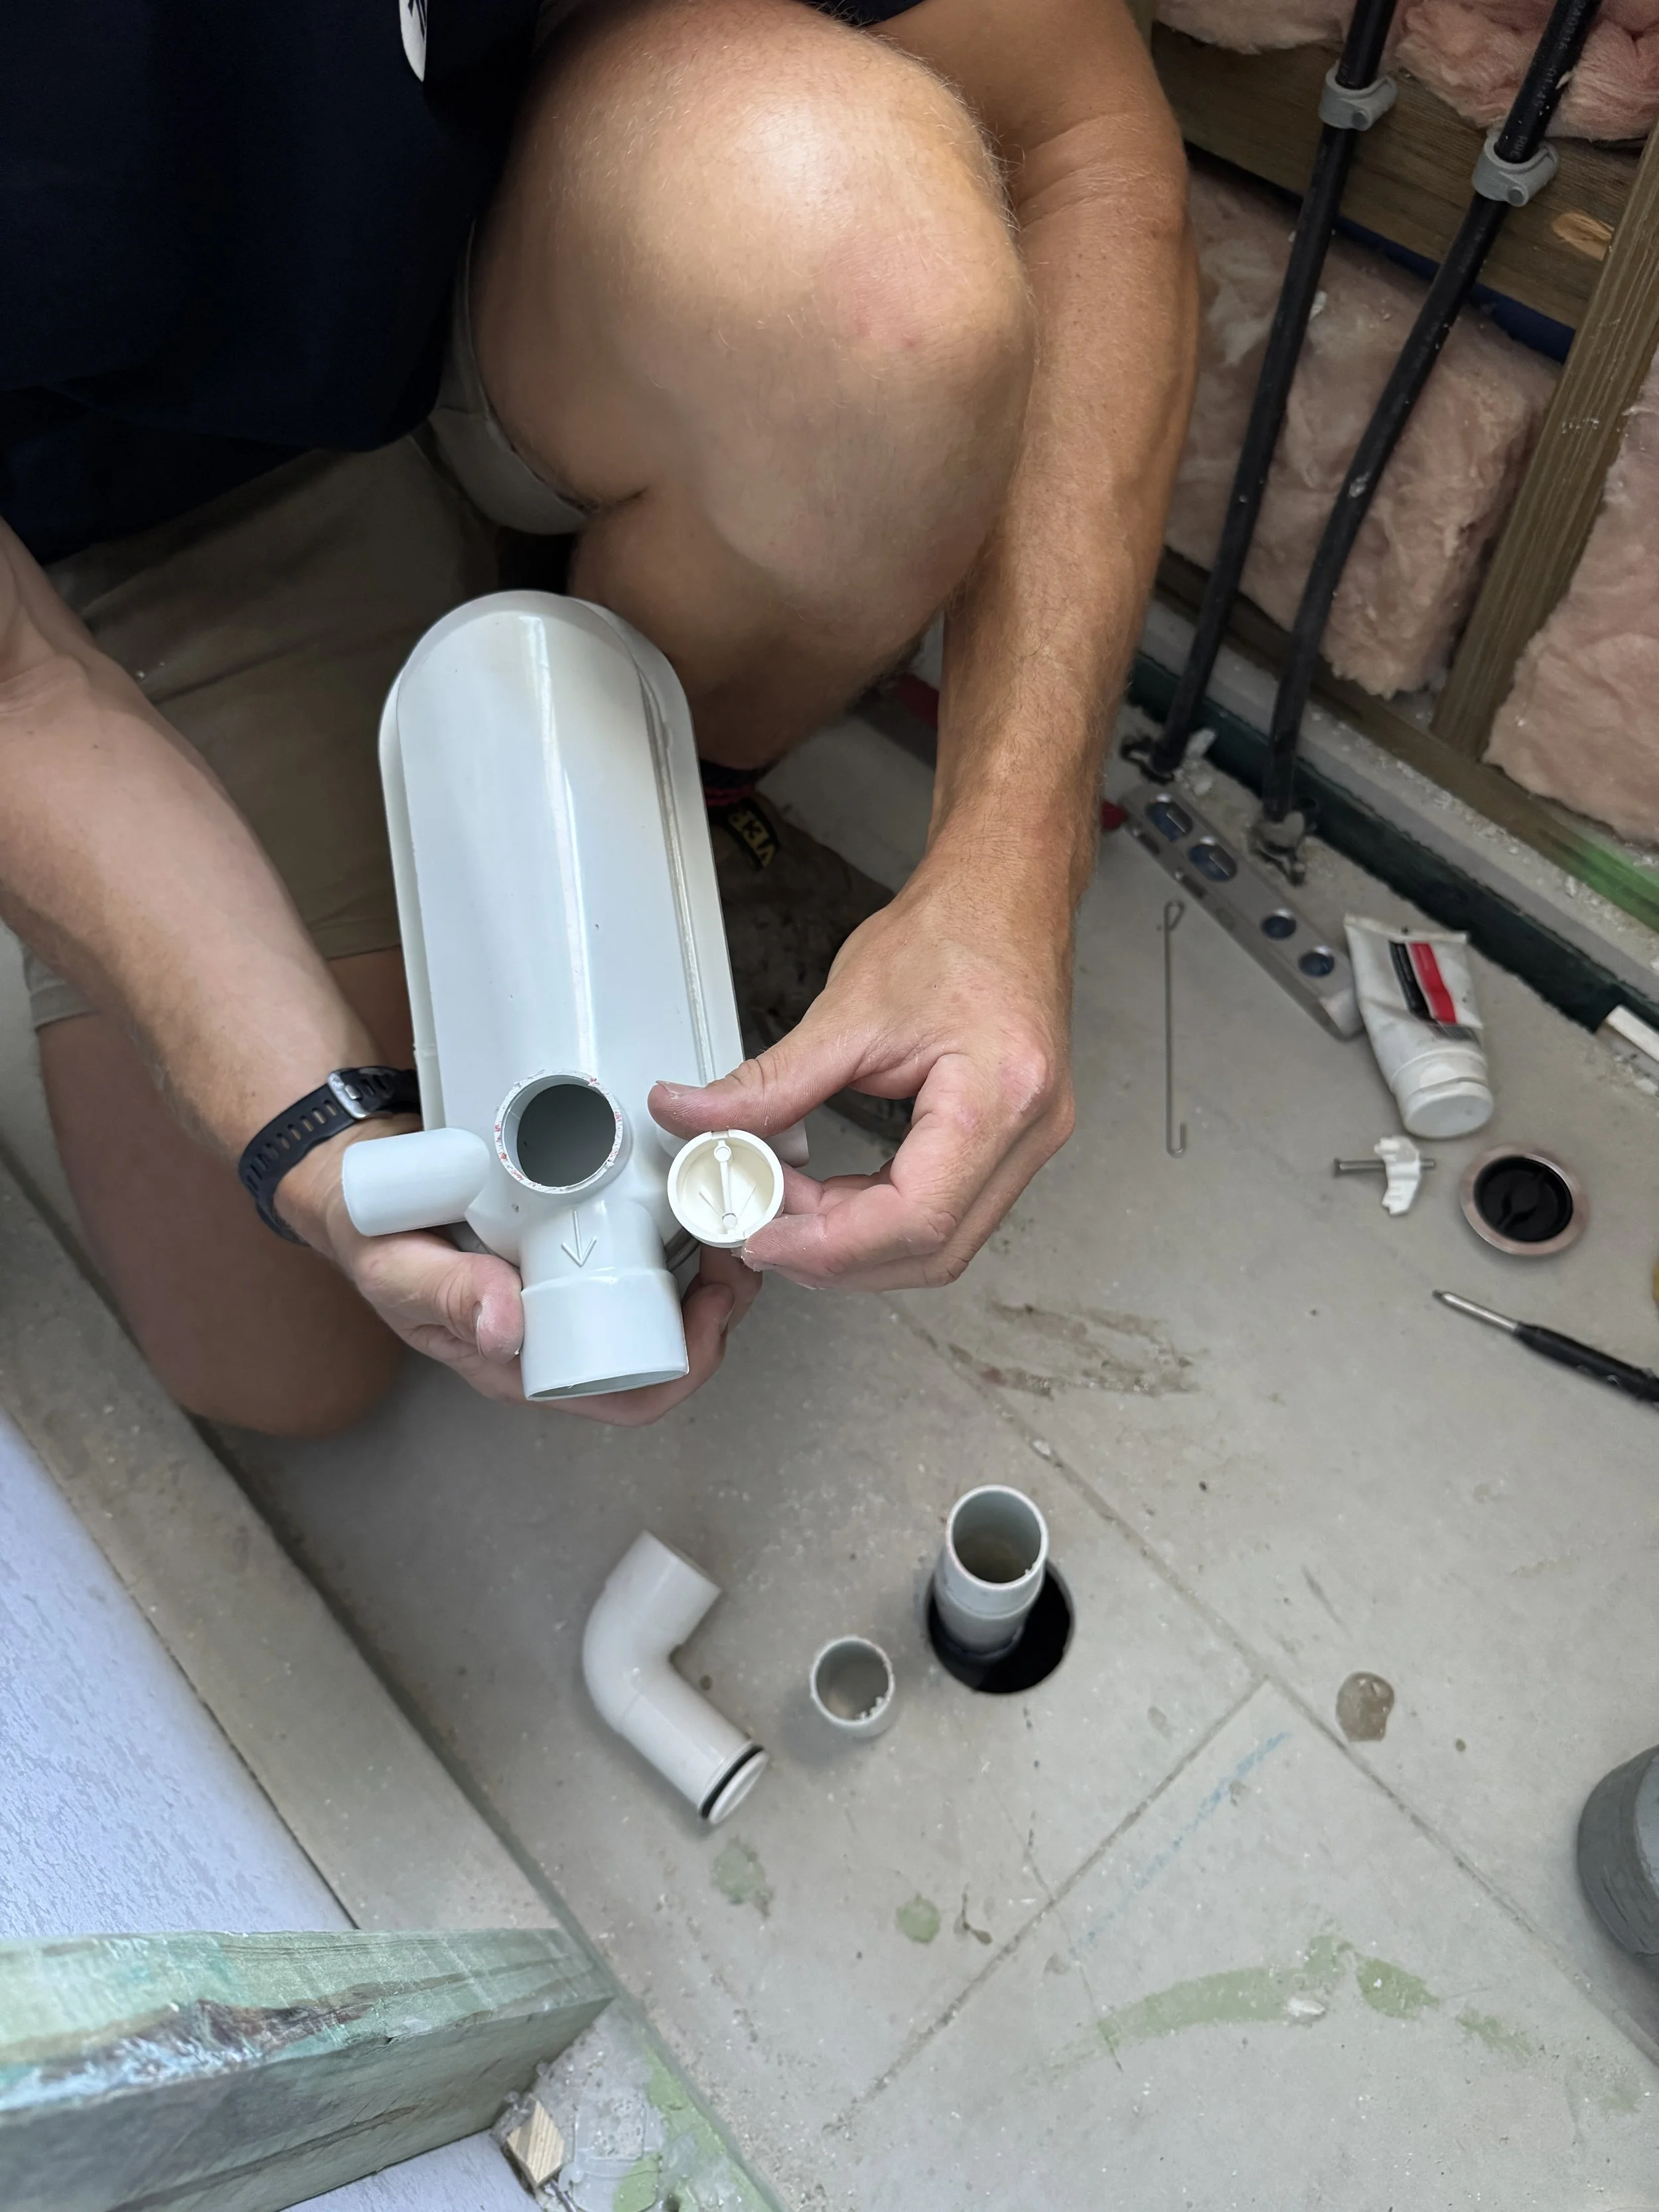
Glue plug in making sure arrows are lined up.
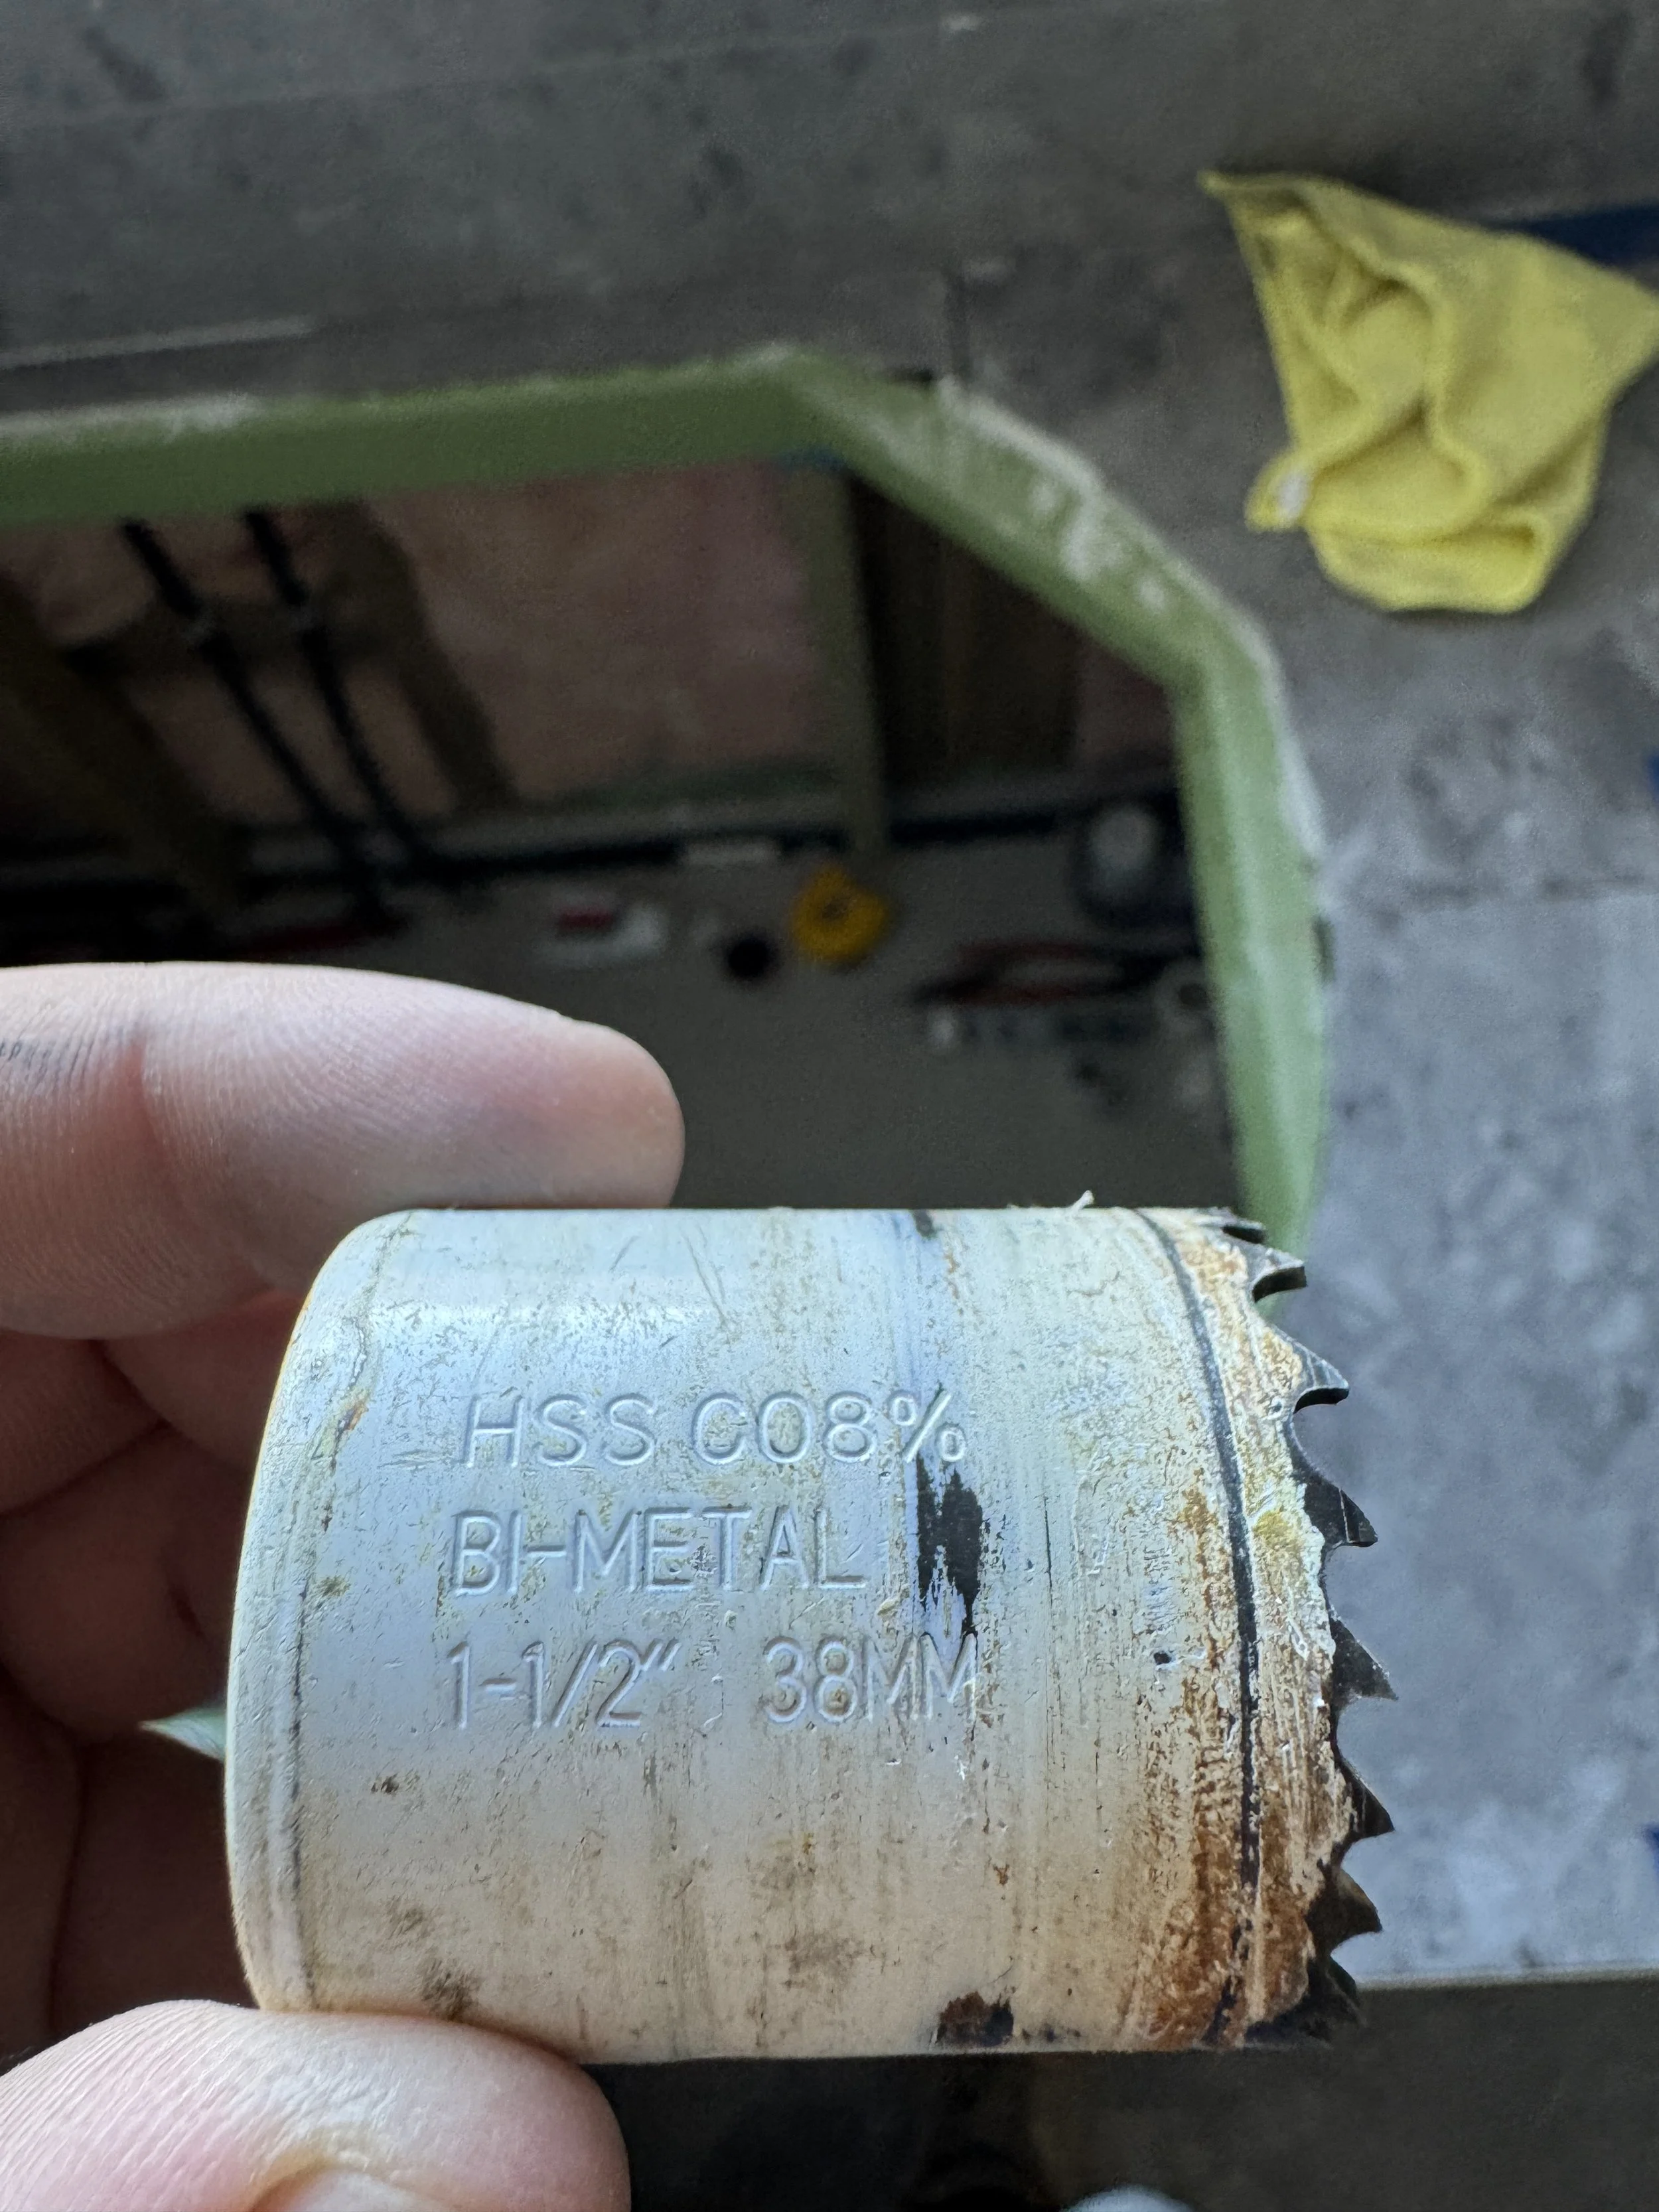
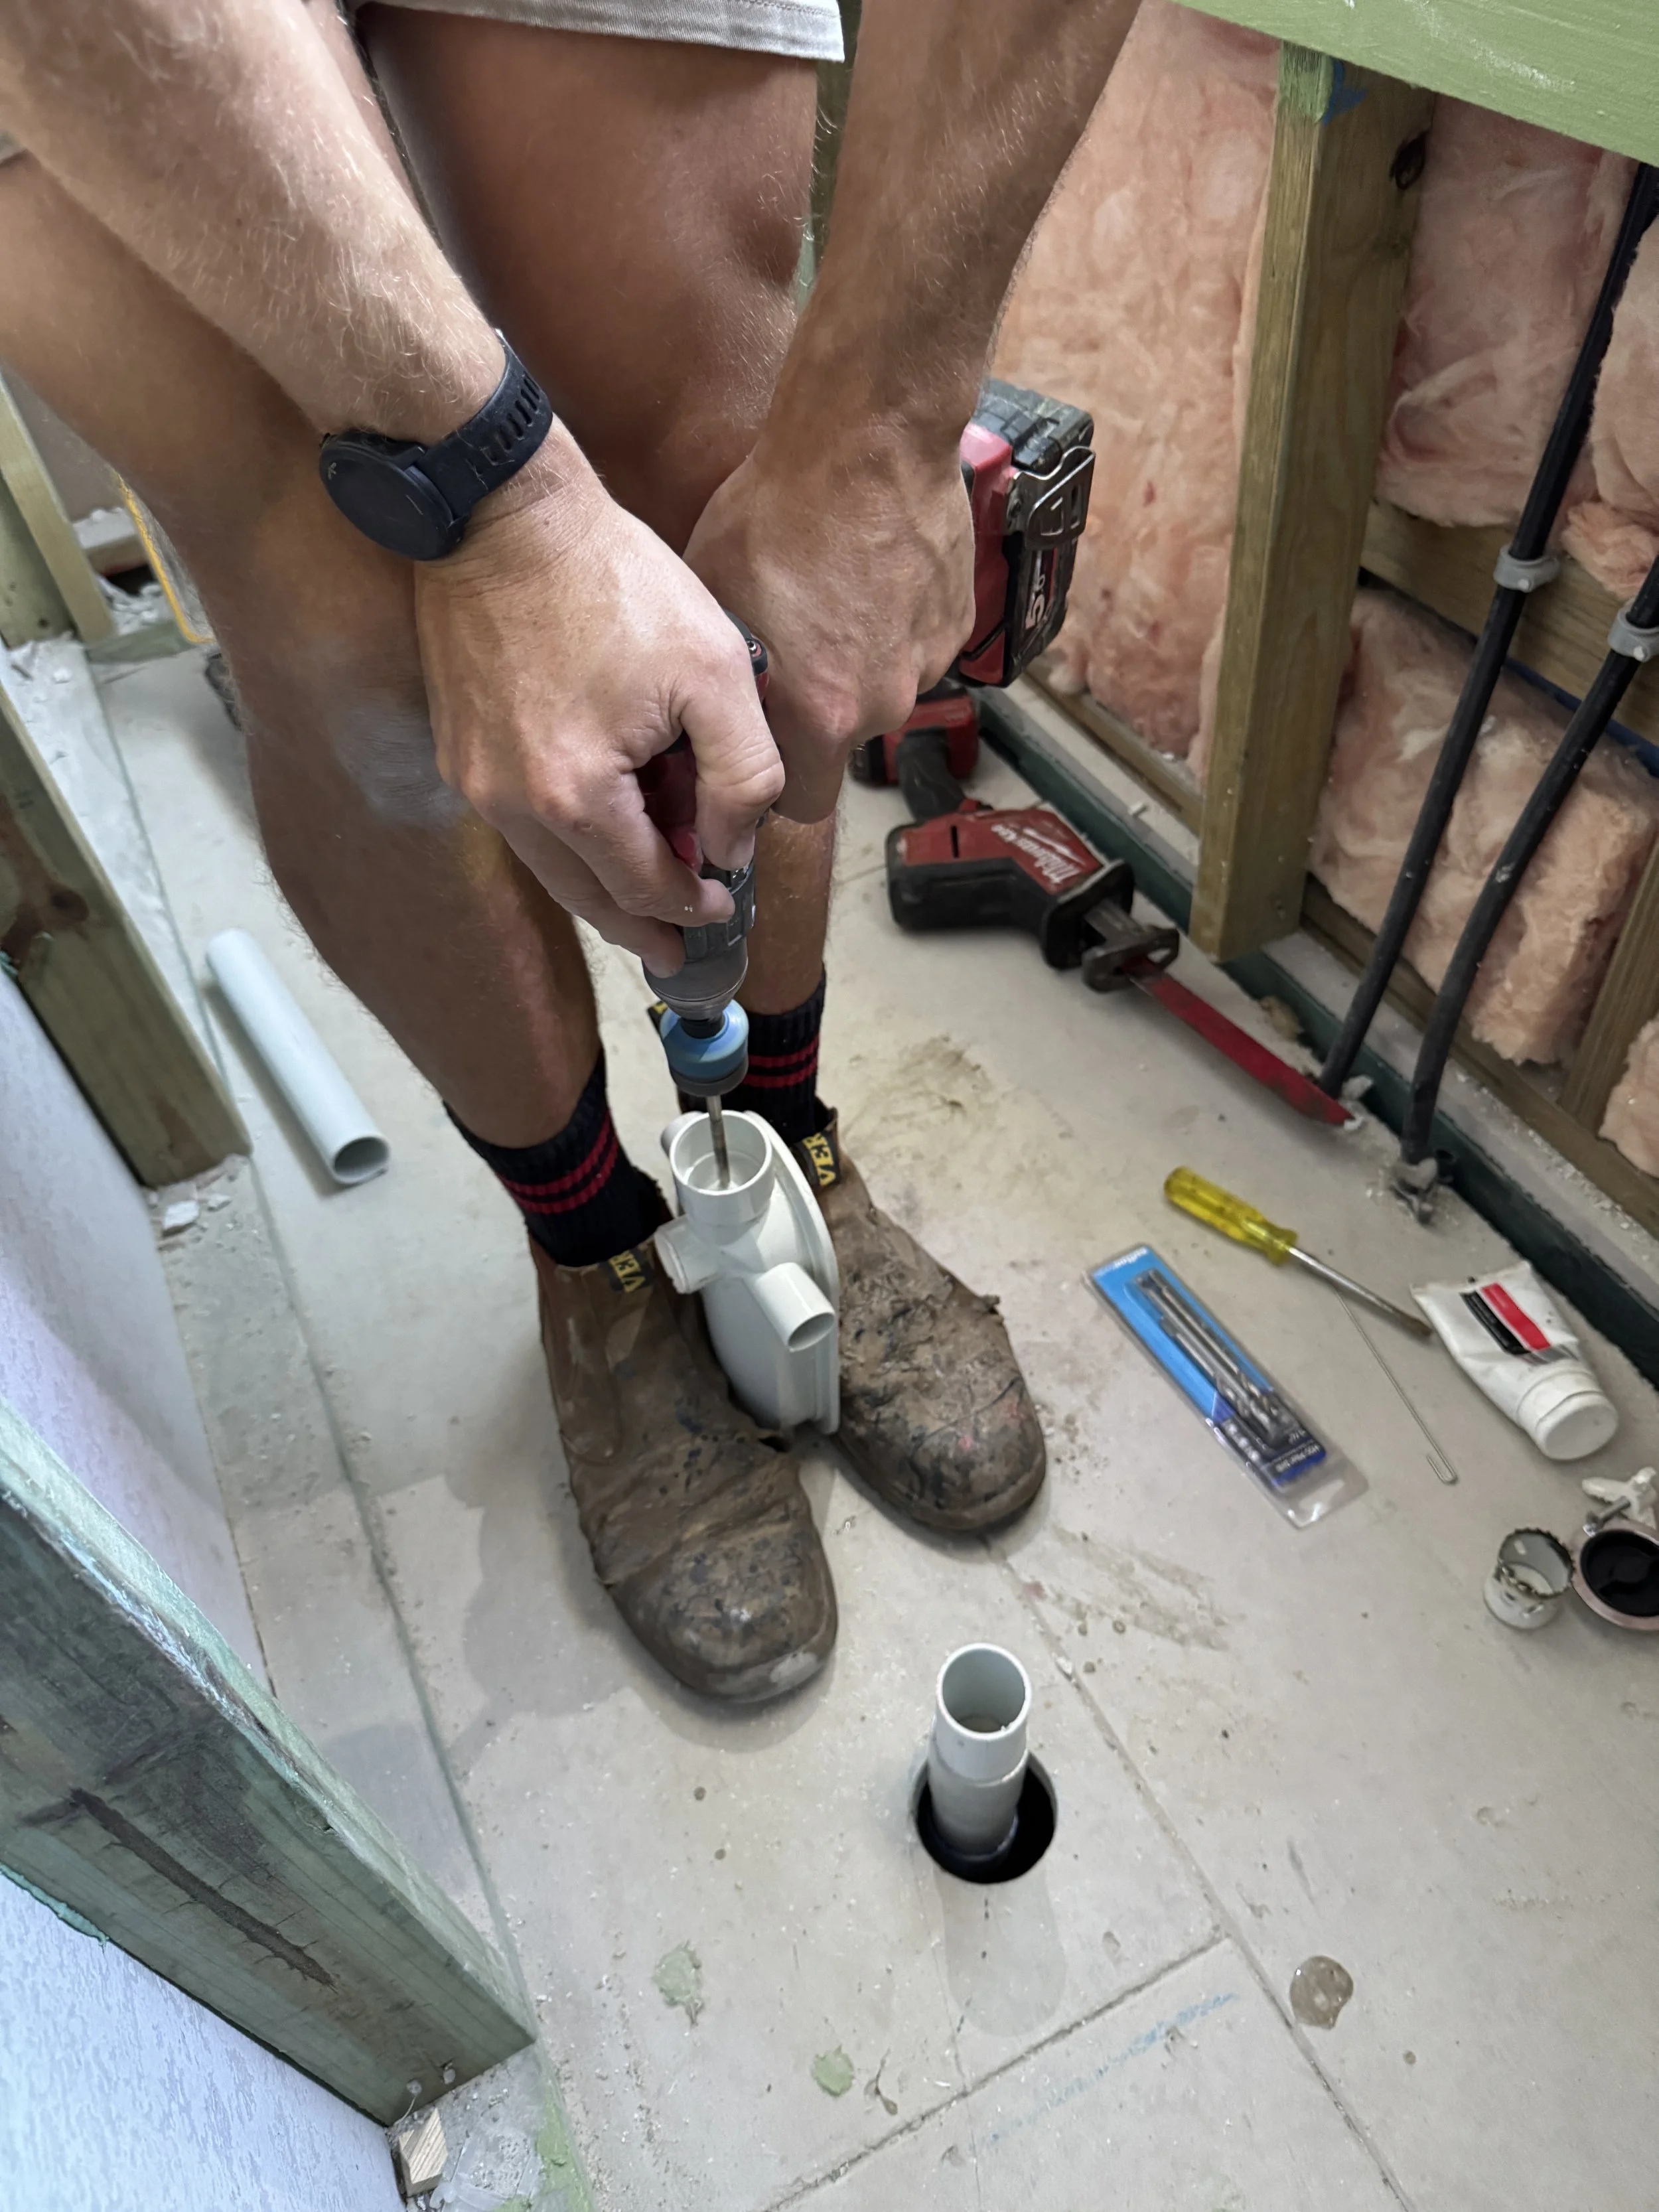
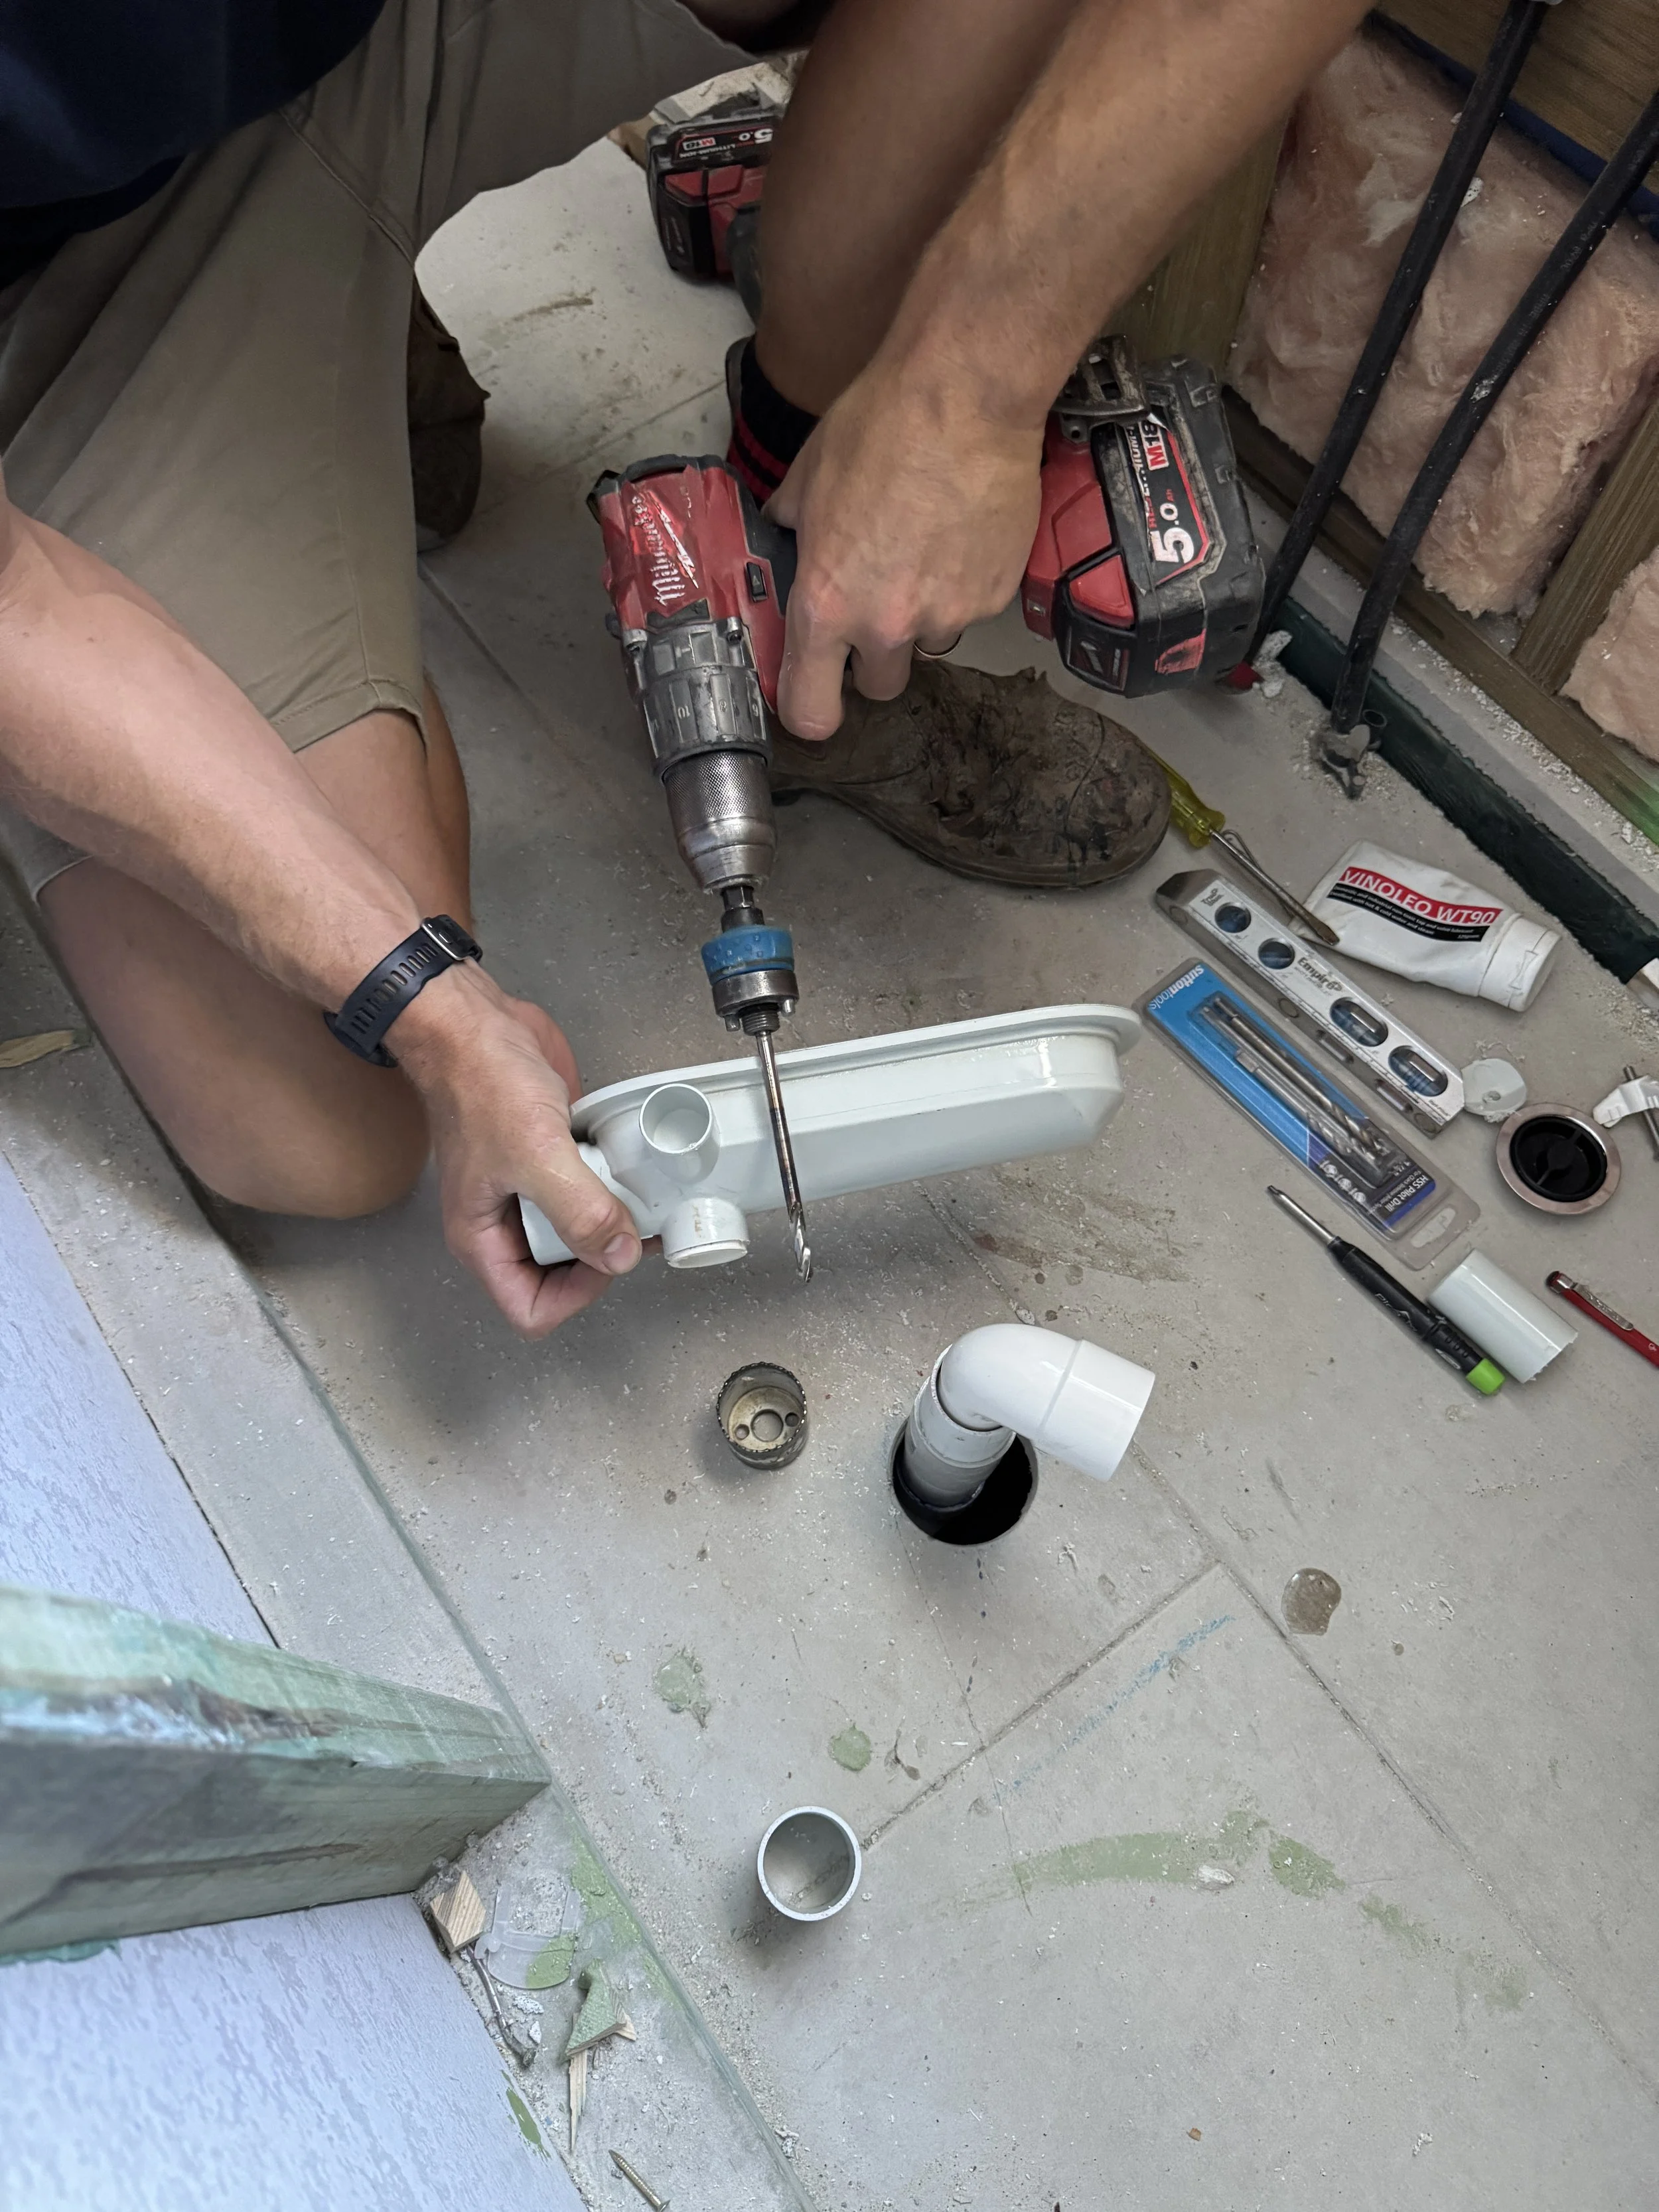
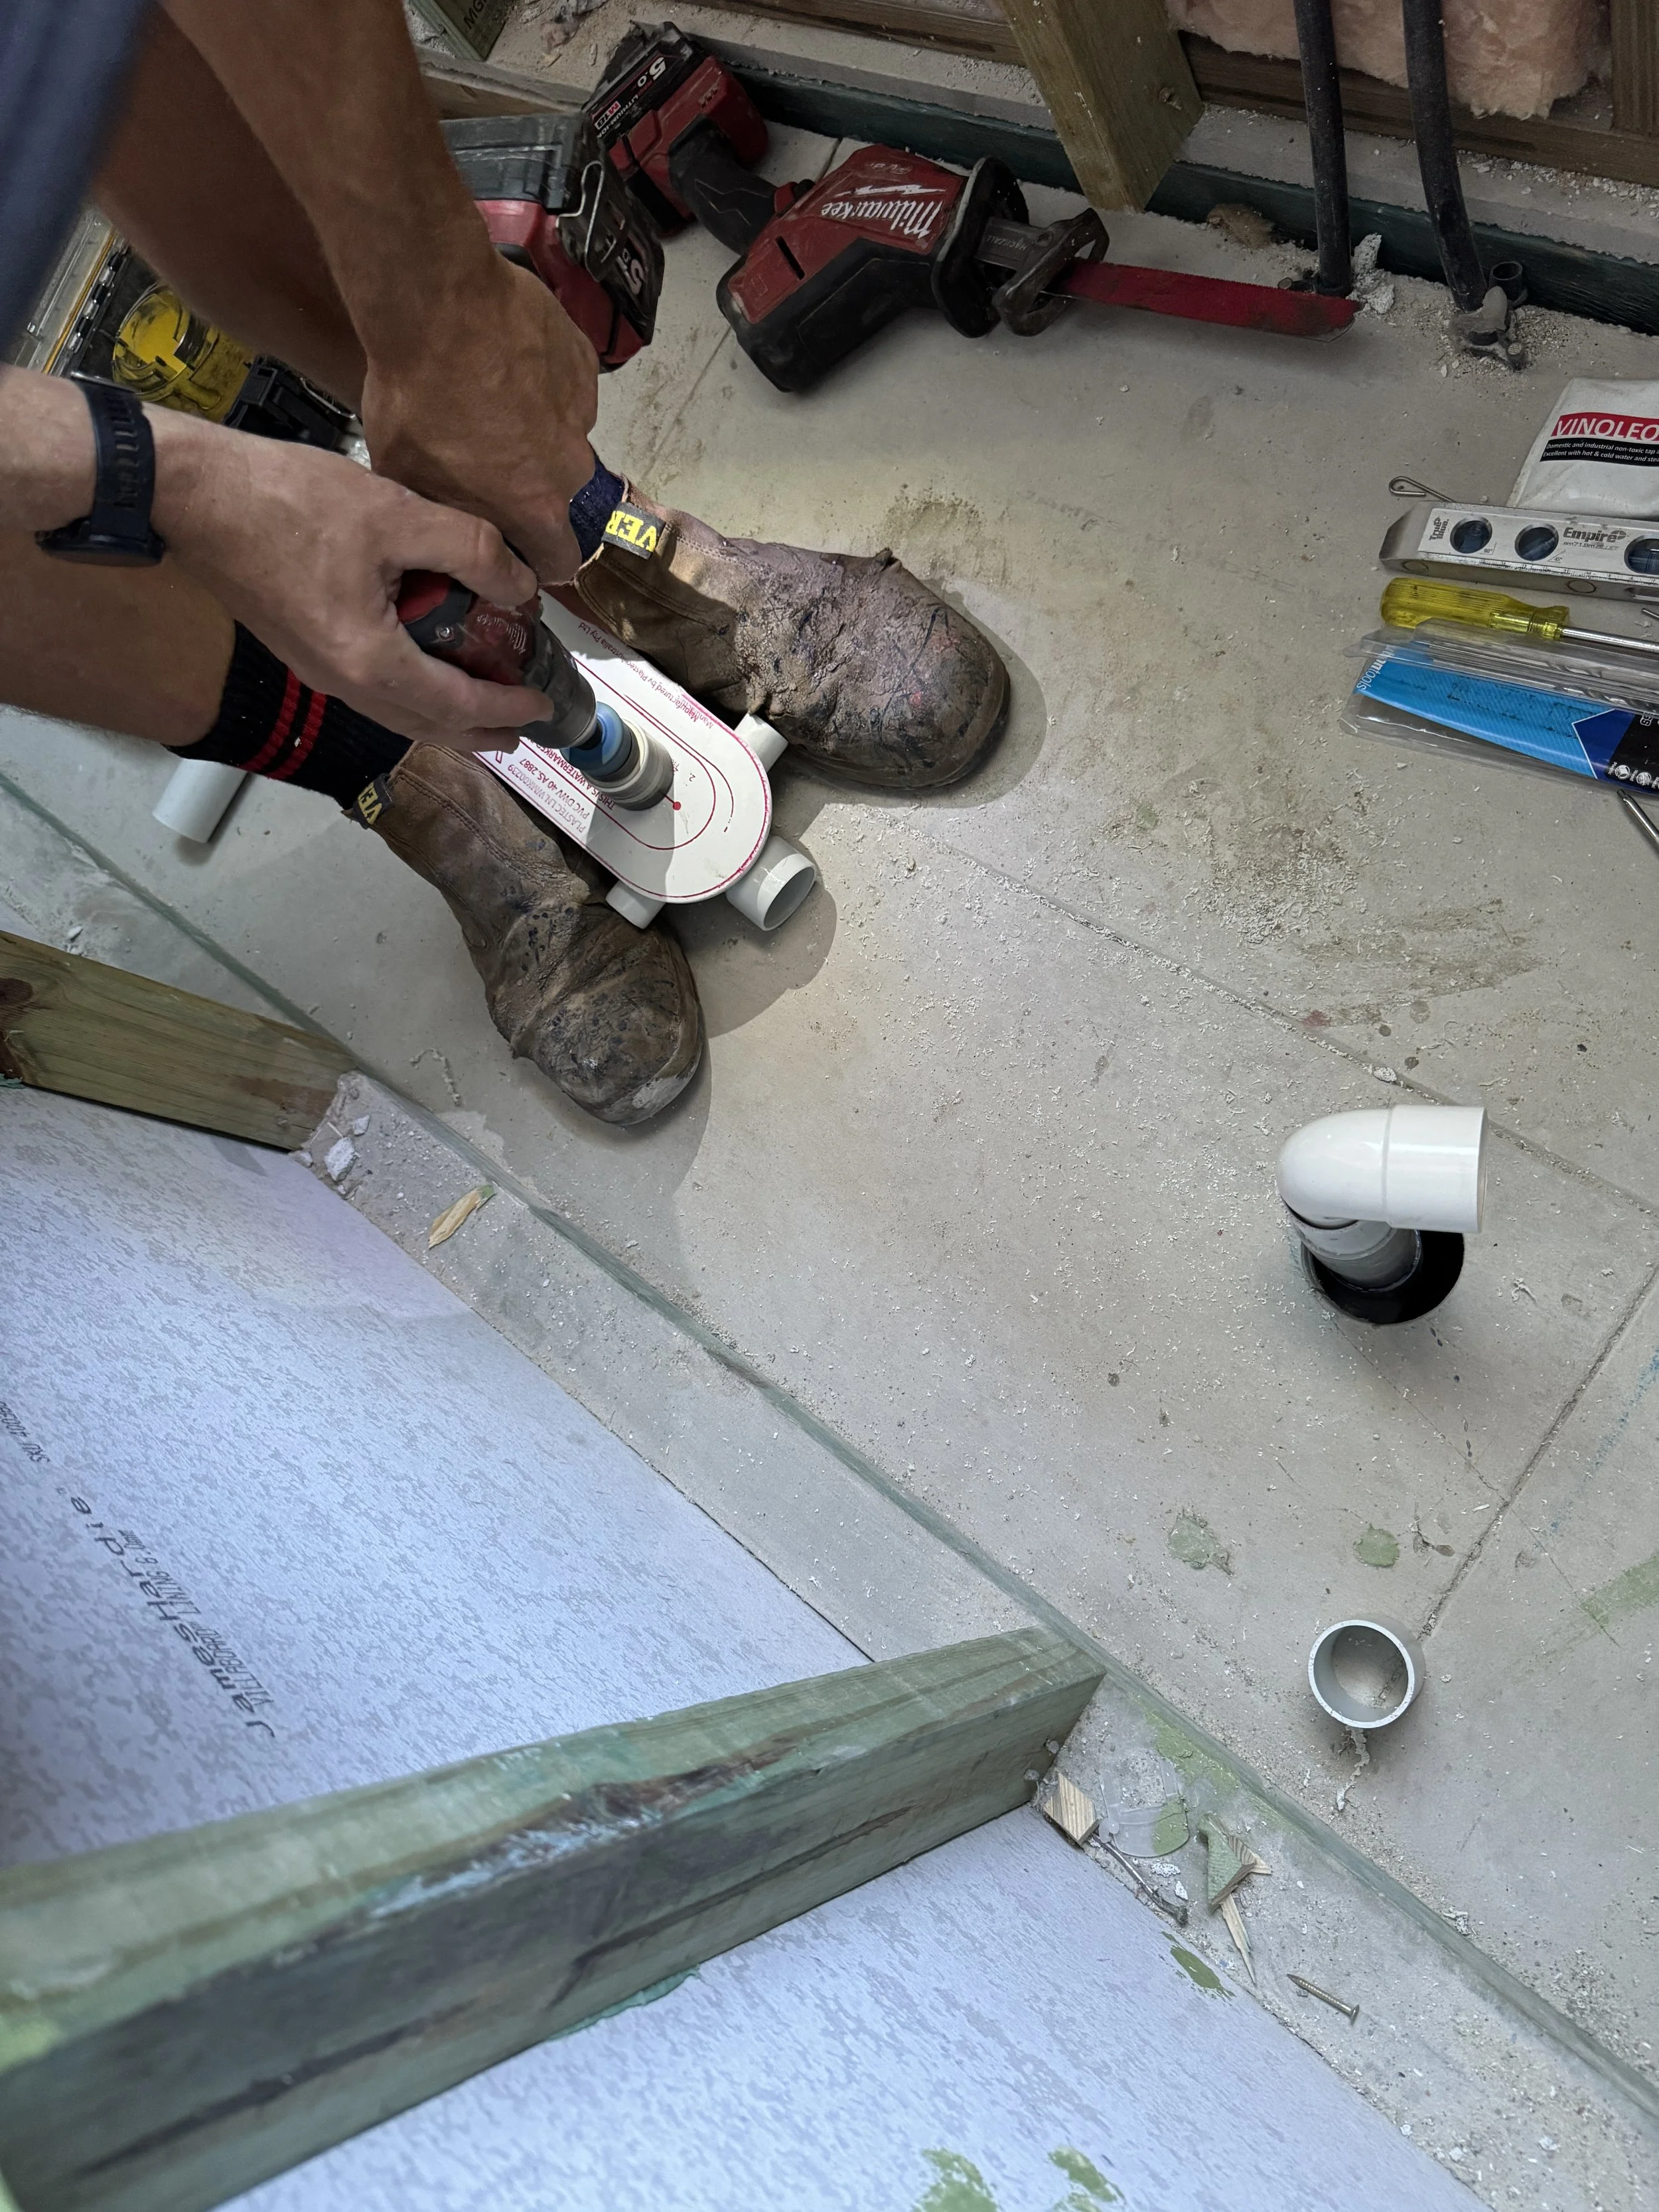
Drill out the horizontal pipe outlet with a 38mm hole saw.
I pilot the hole first without the hole saw so it doesnt grab and throw the dinger.
Use tap grease on the o ring to help it slide into the pipe.
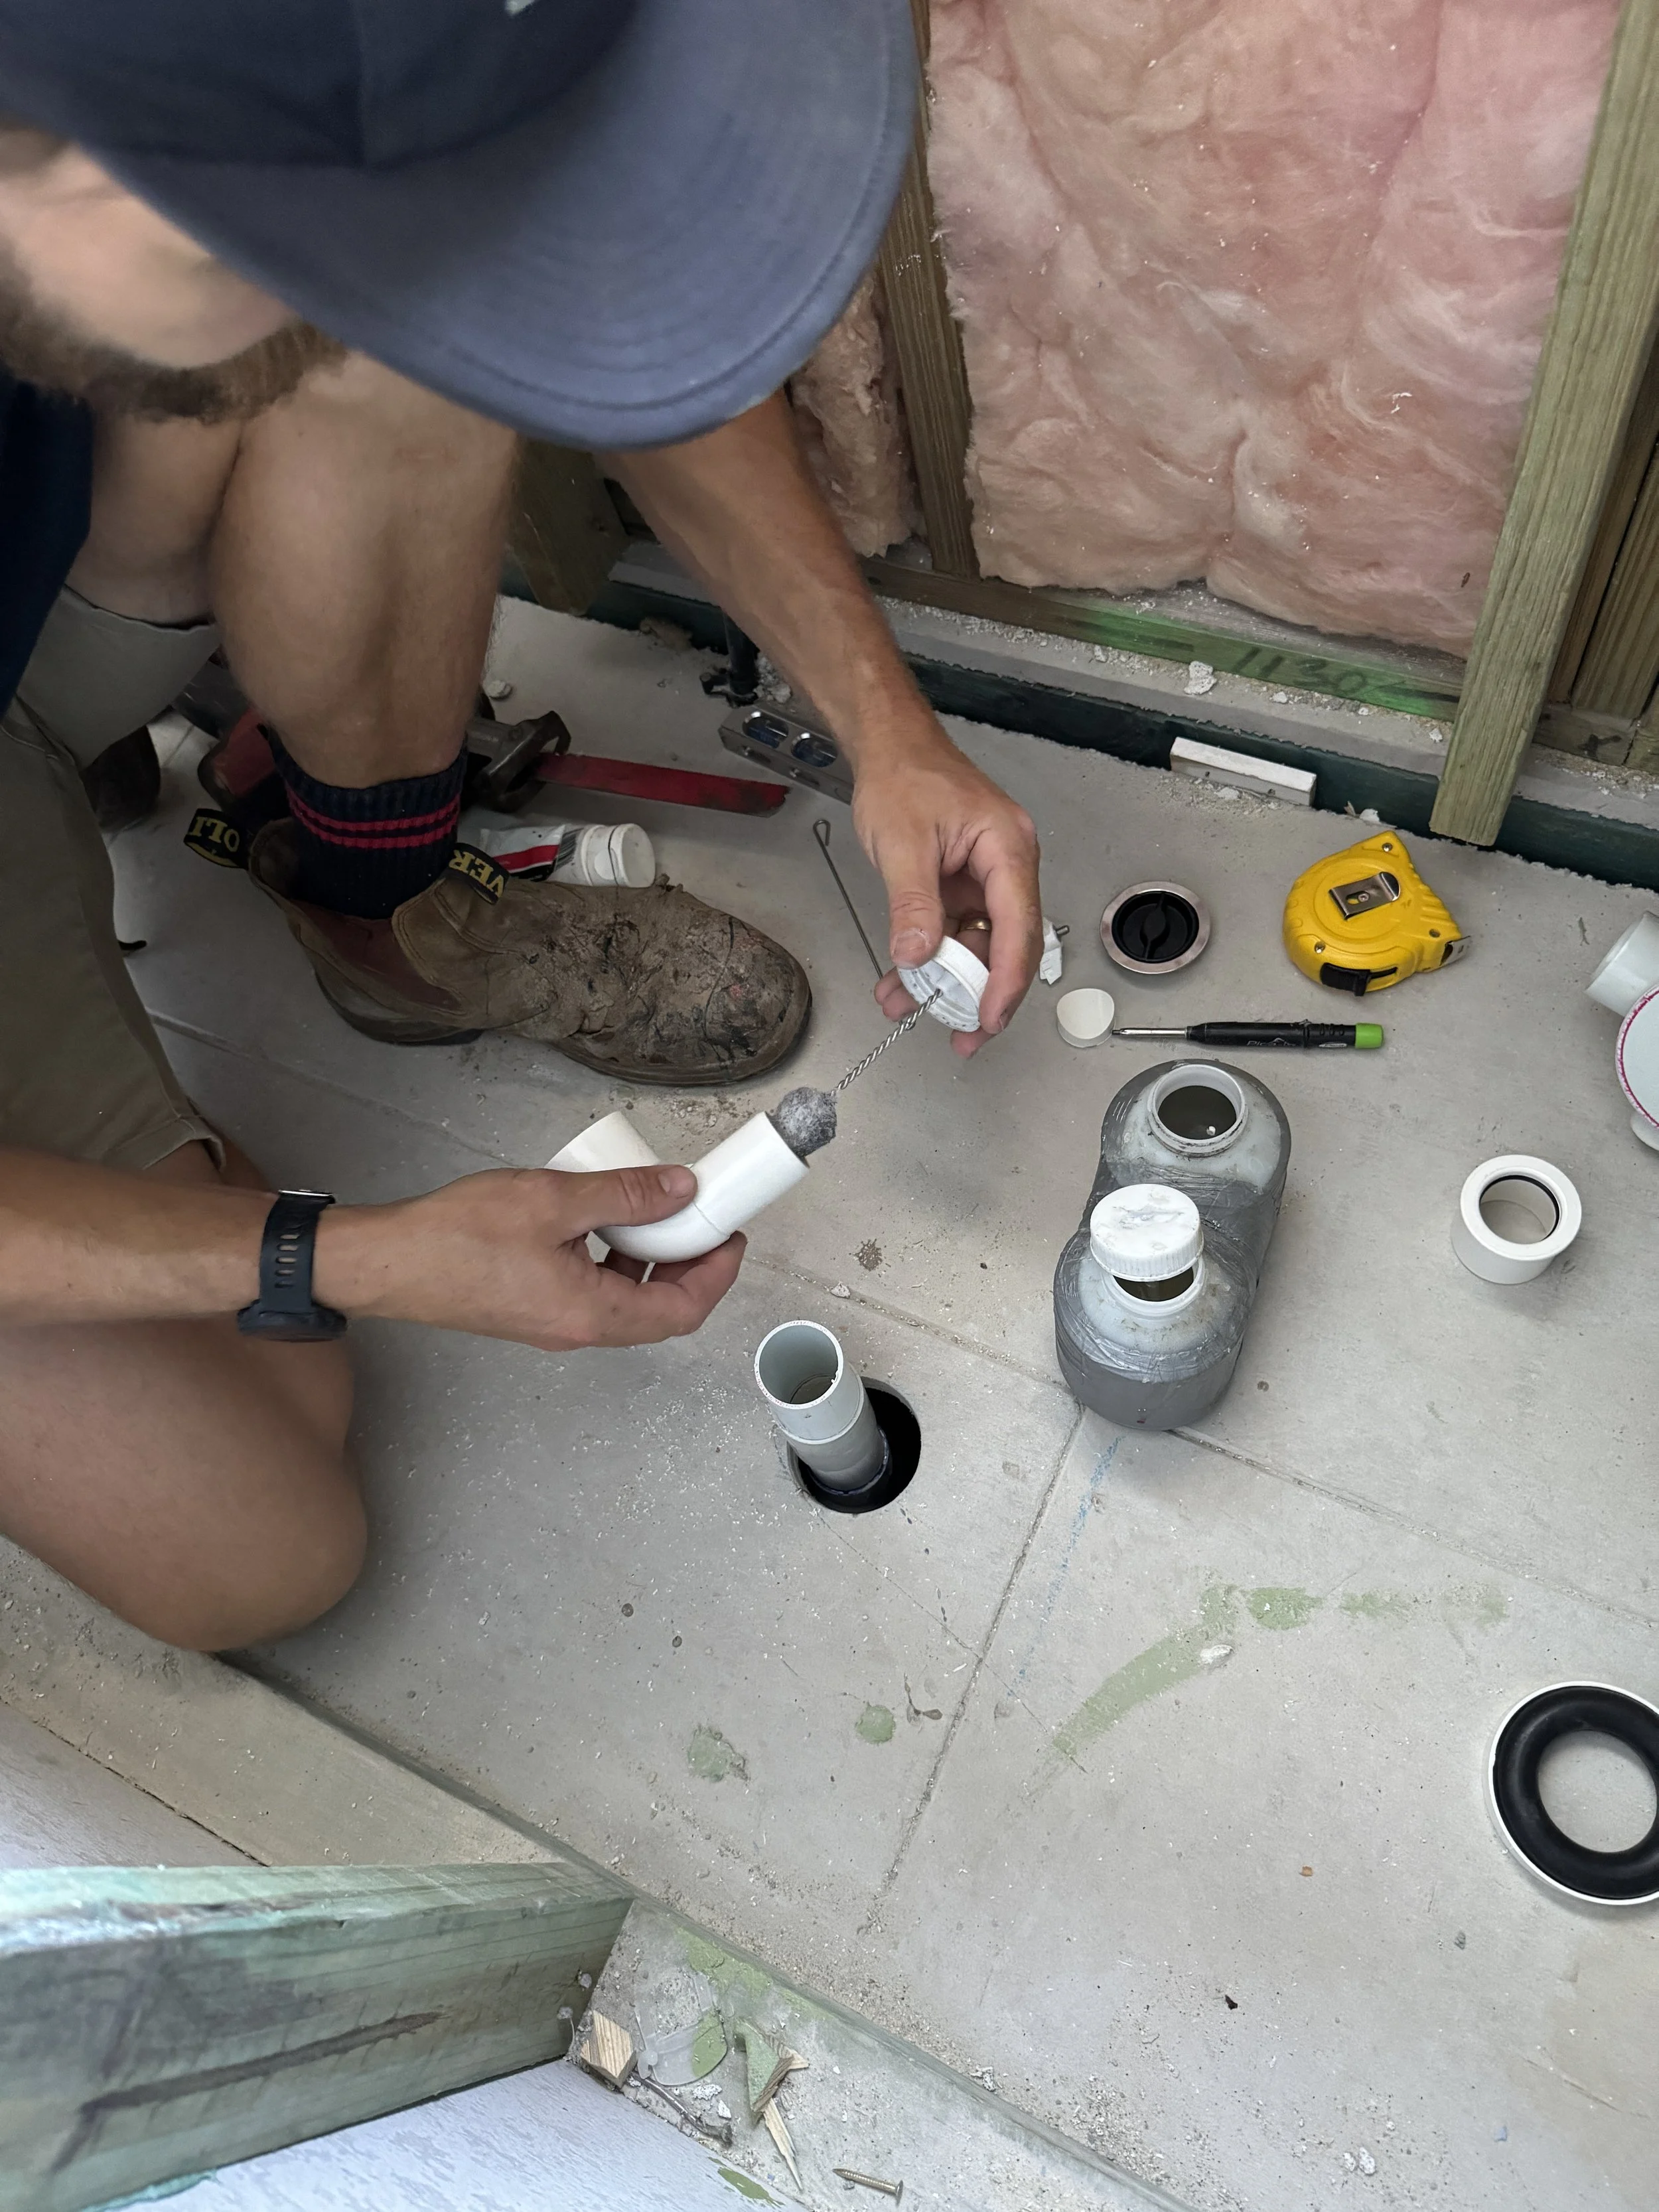
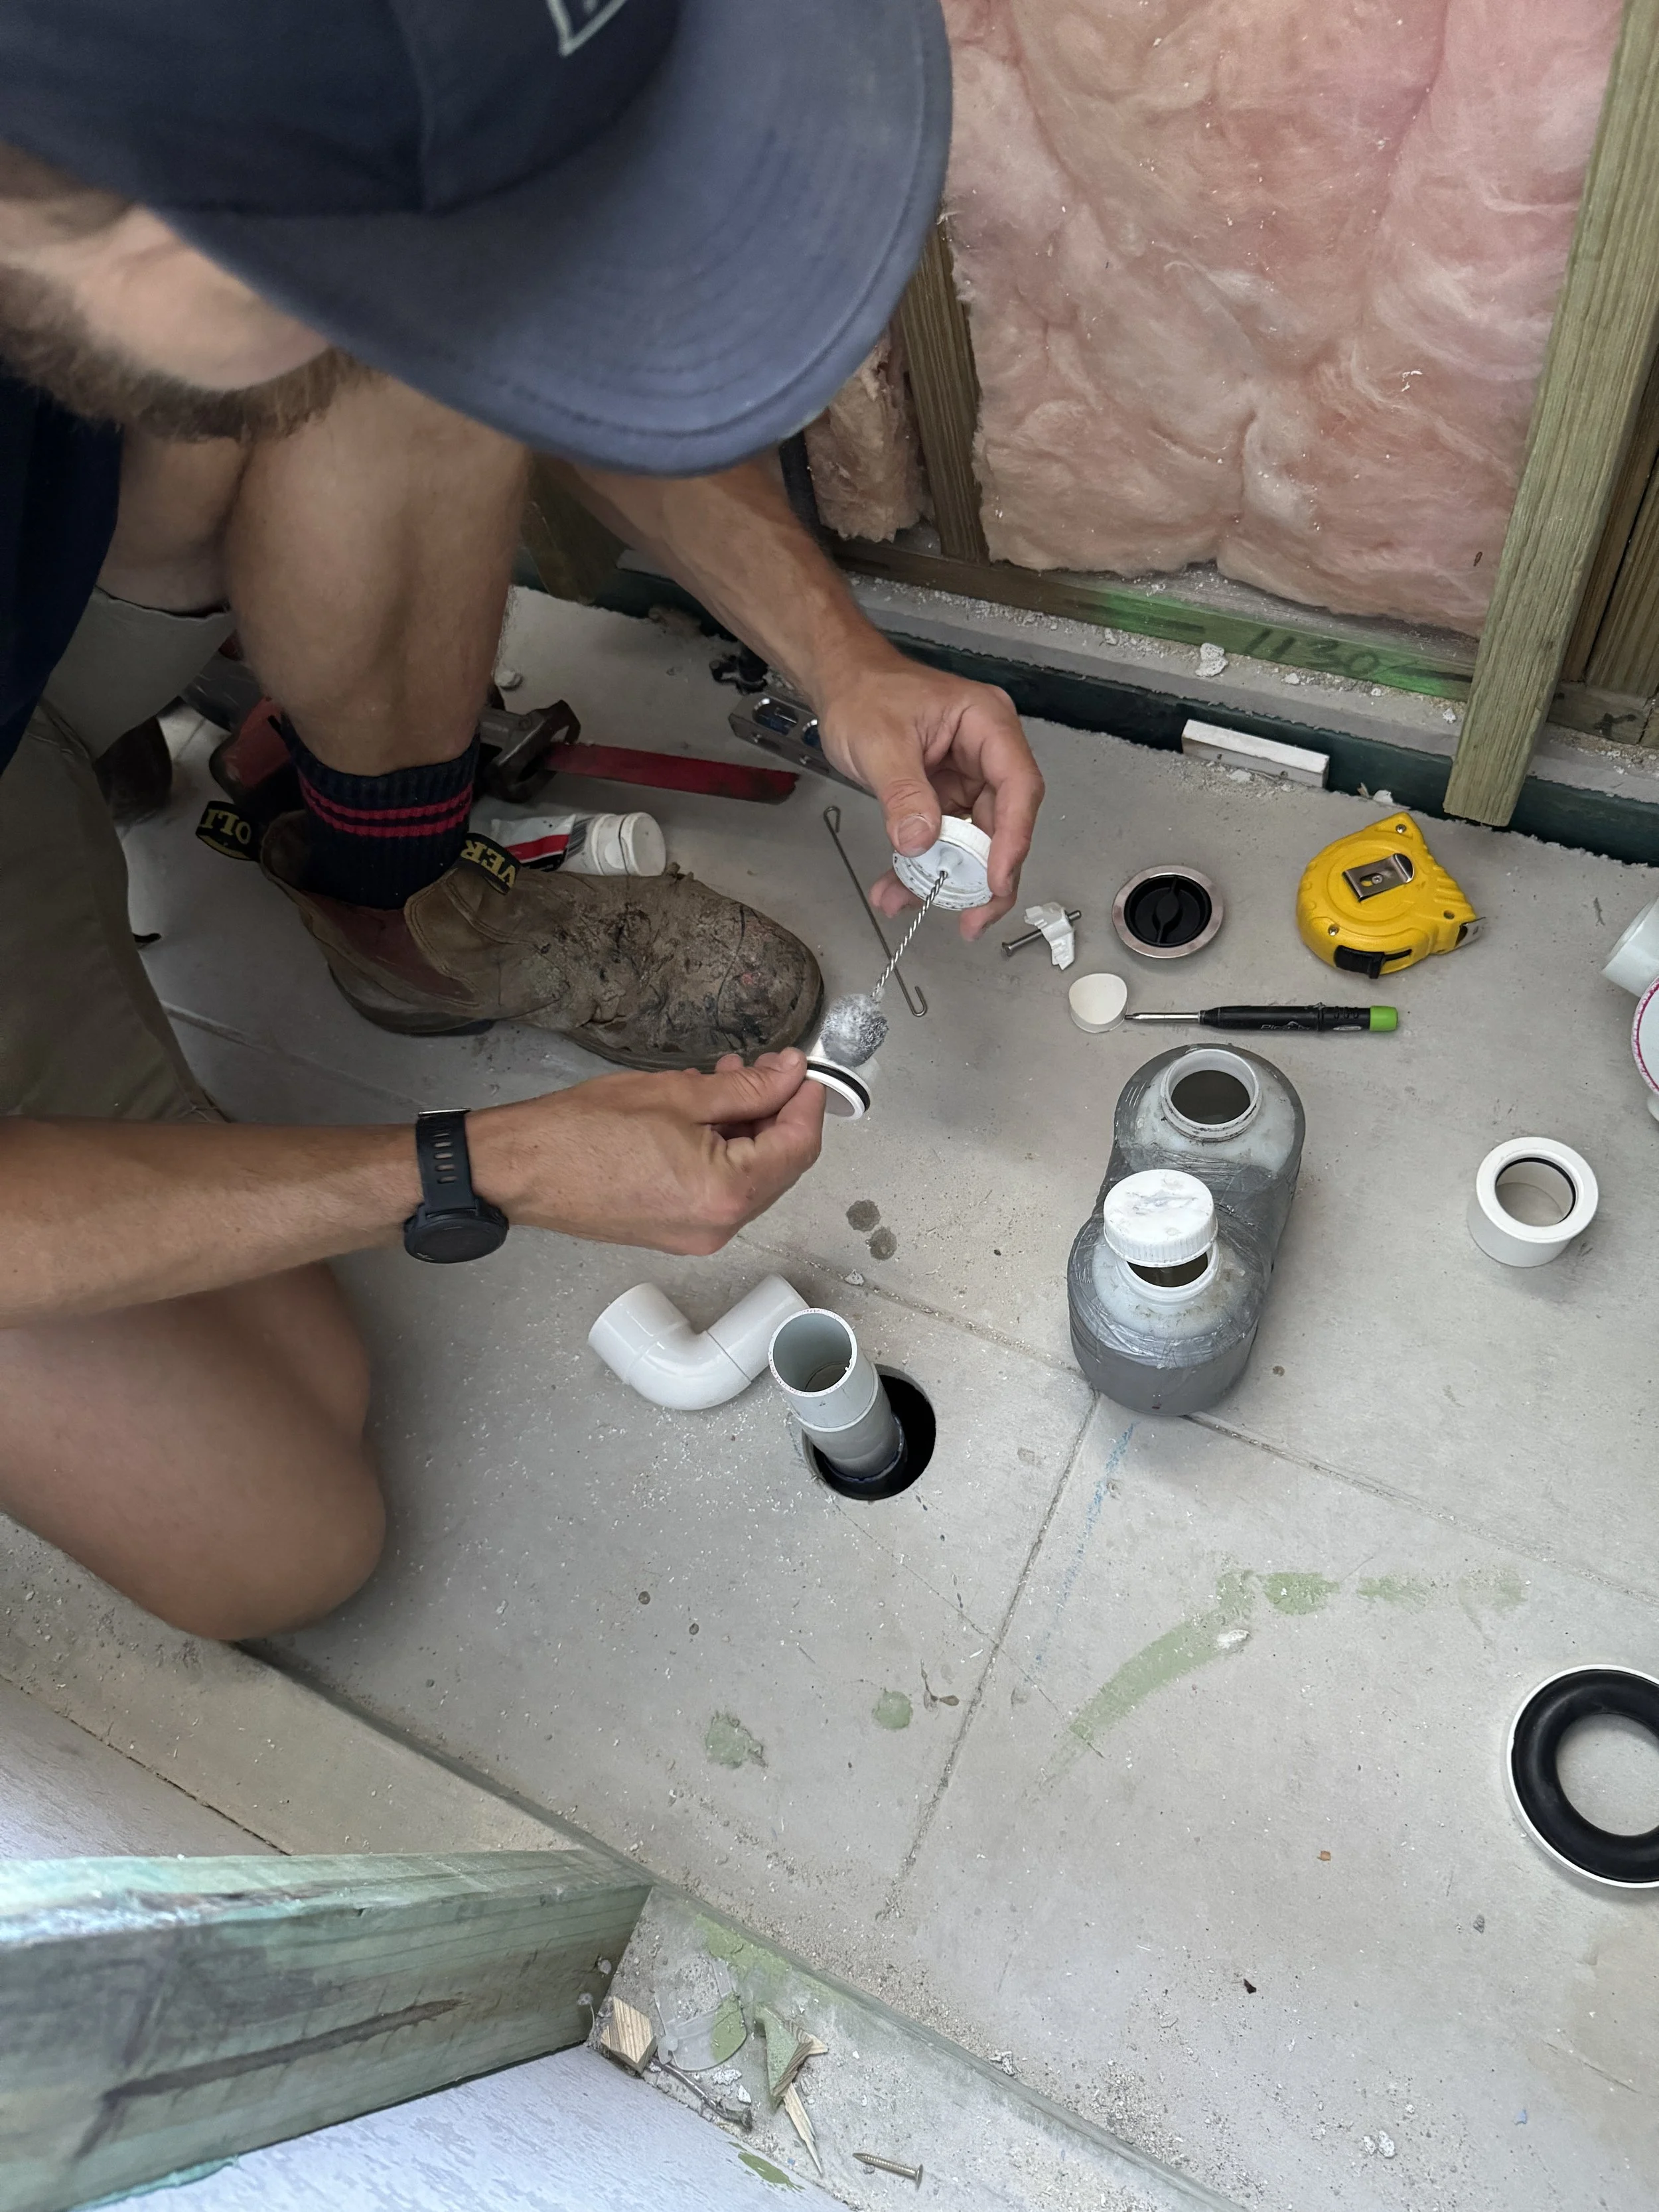
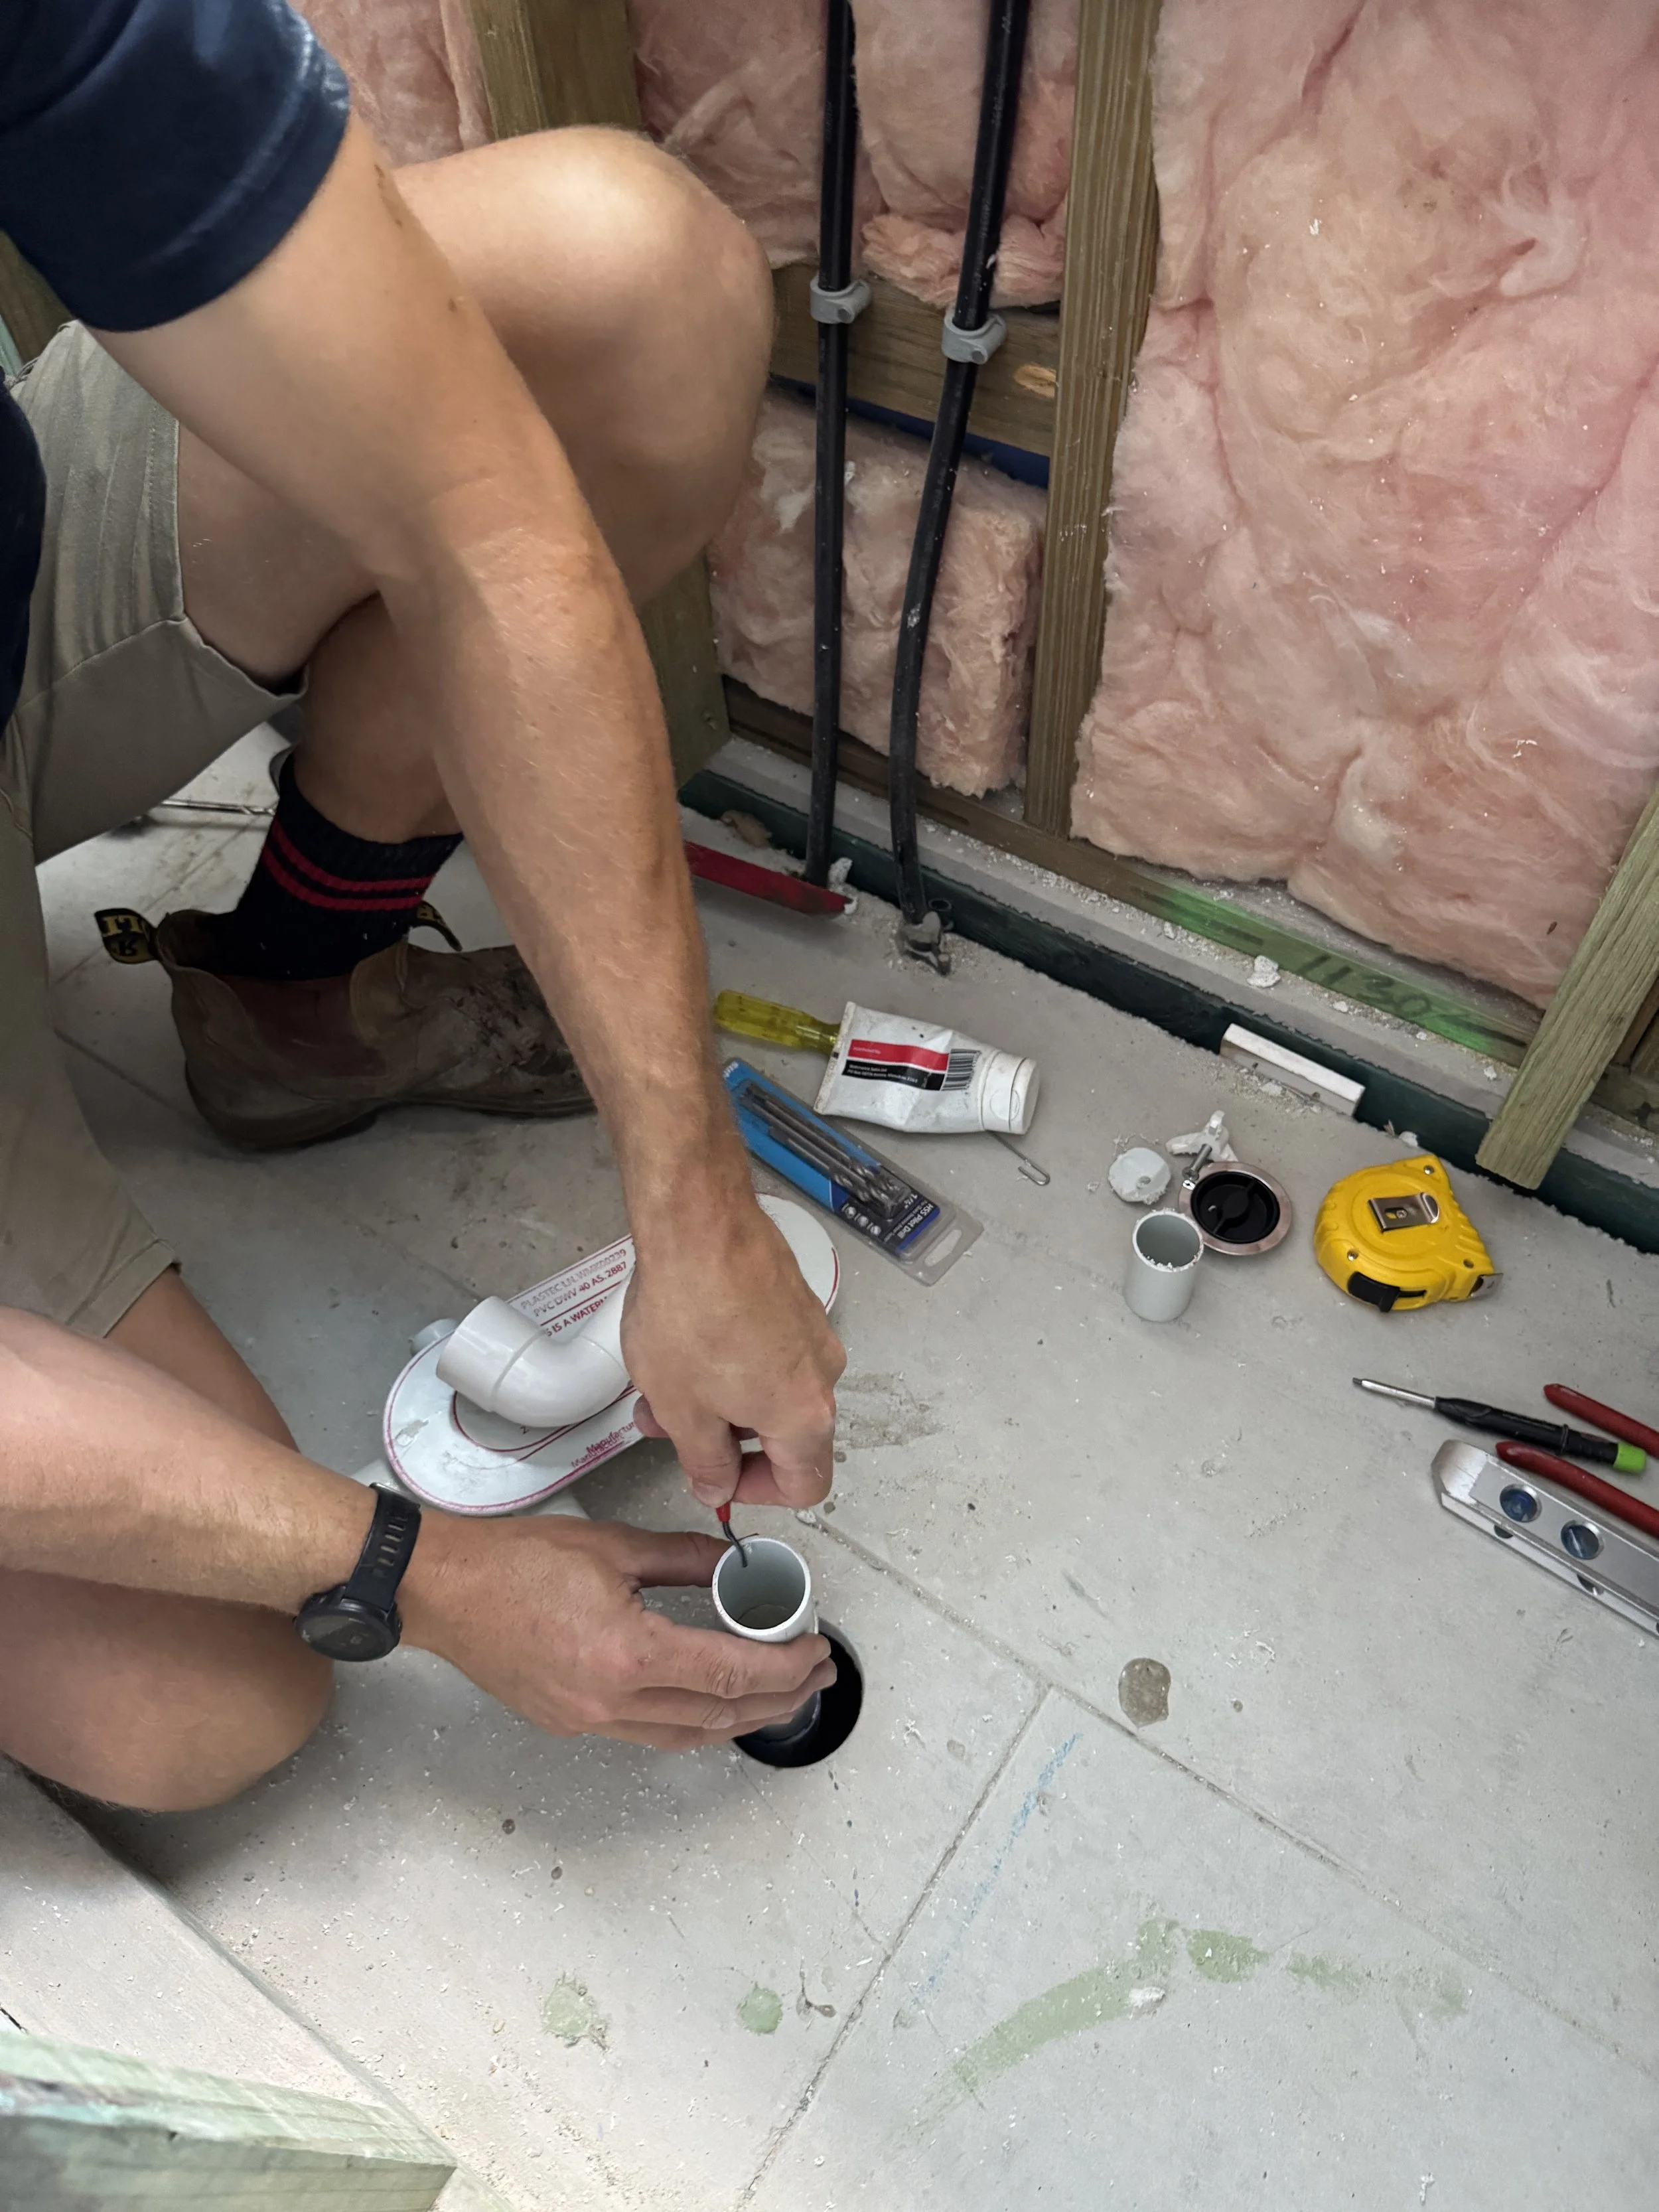
Deburr the 40mm pipe as these have a tendency to grab the o ring if you don’t. ( if you don’t have a deburring tool you can use a stanley or a round file)
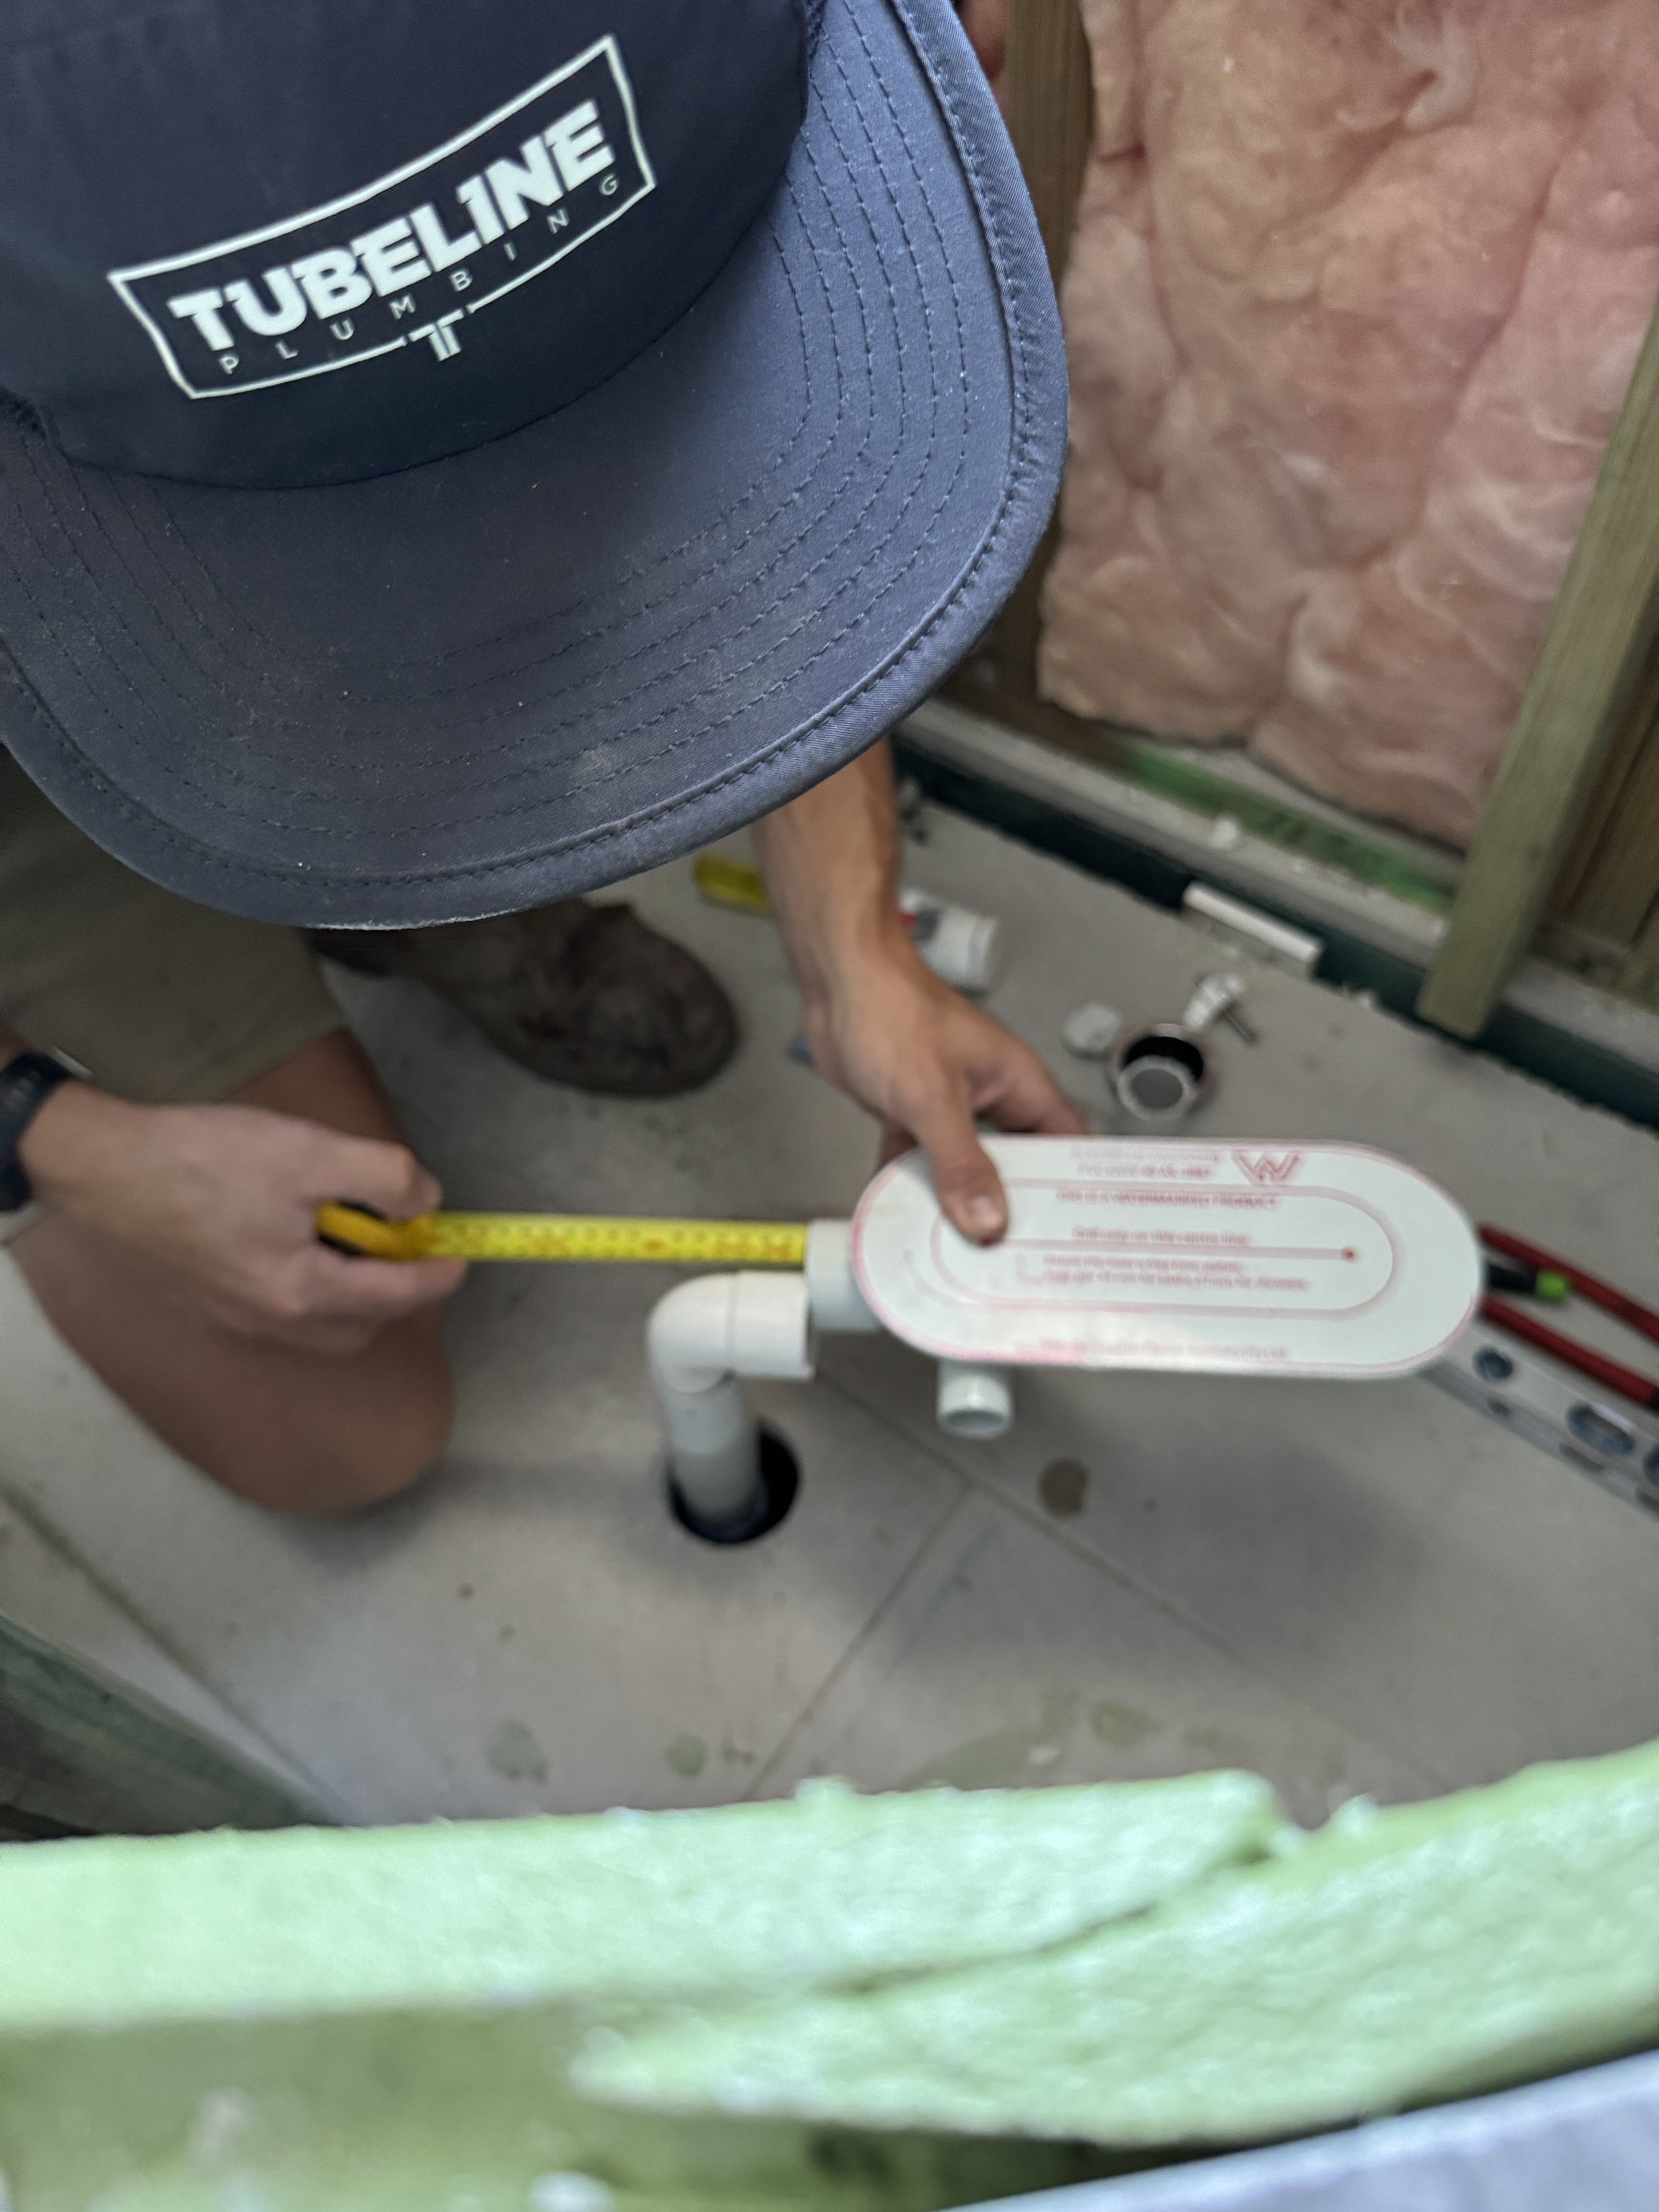
Measure the 40mm pipe you will need so that the glue marker lines up with the centre line of the dinger.
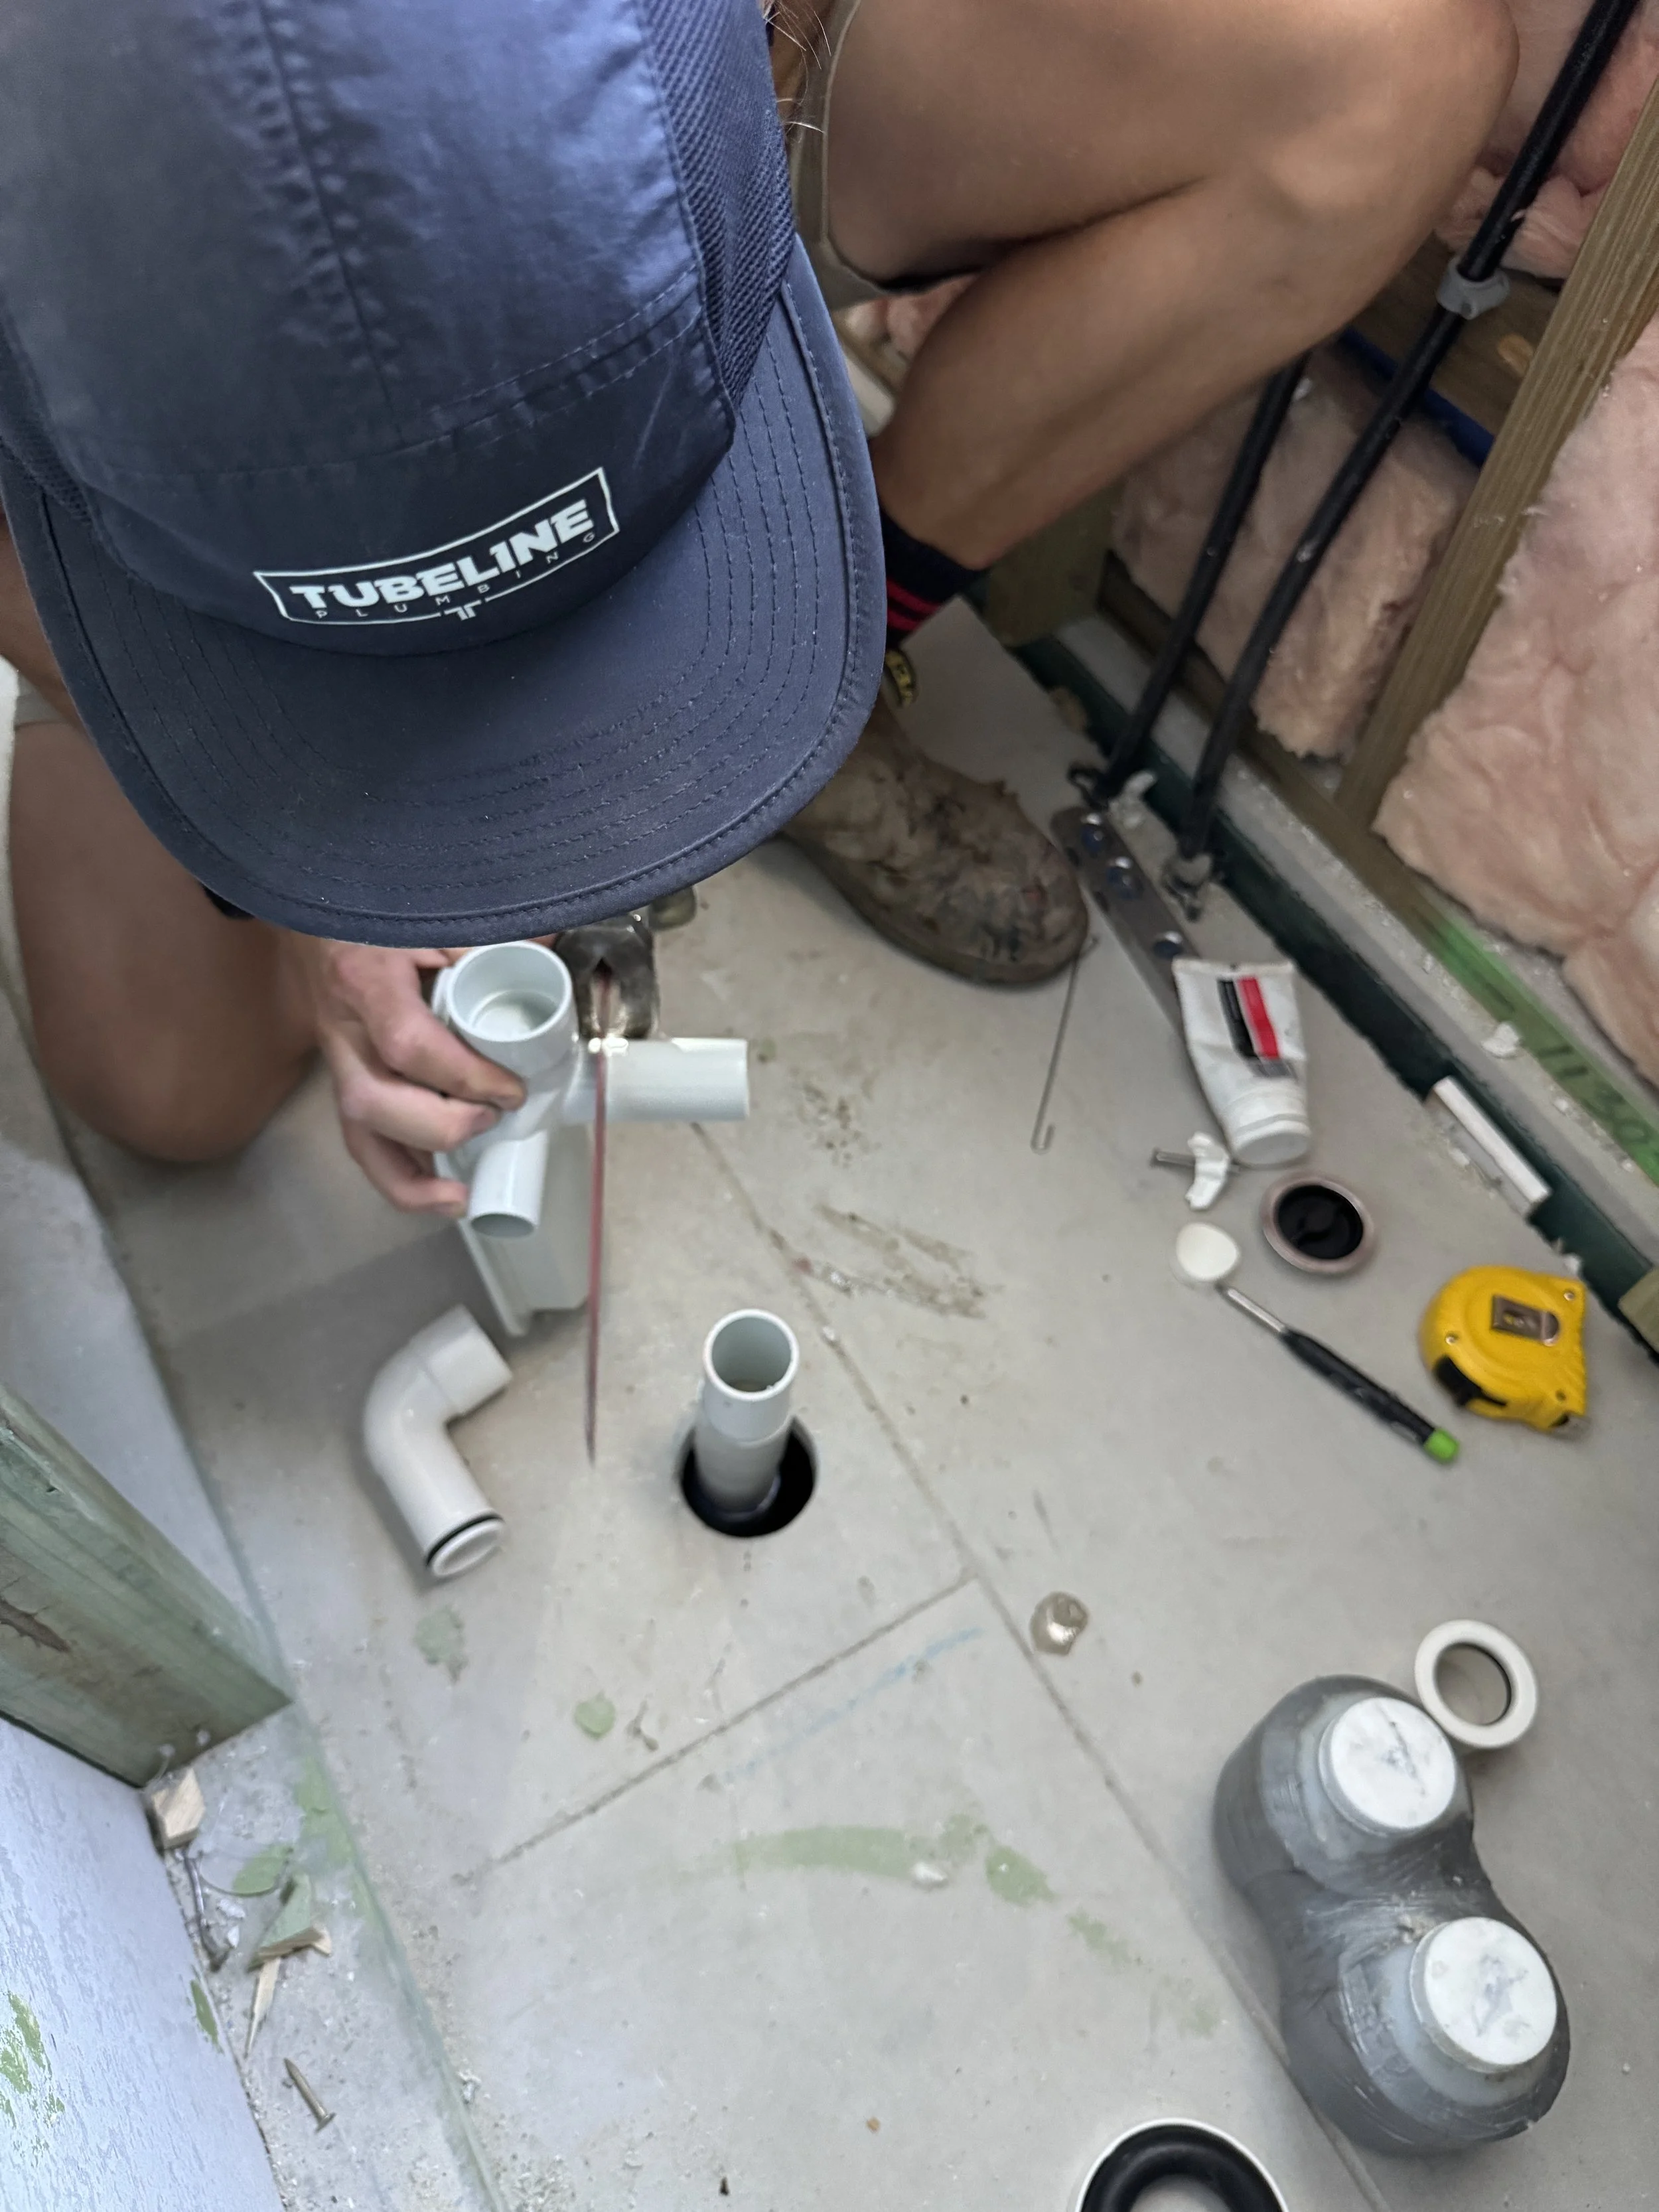
Dummy run it making sure the pipes are pushed home (don’t prime them yet)
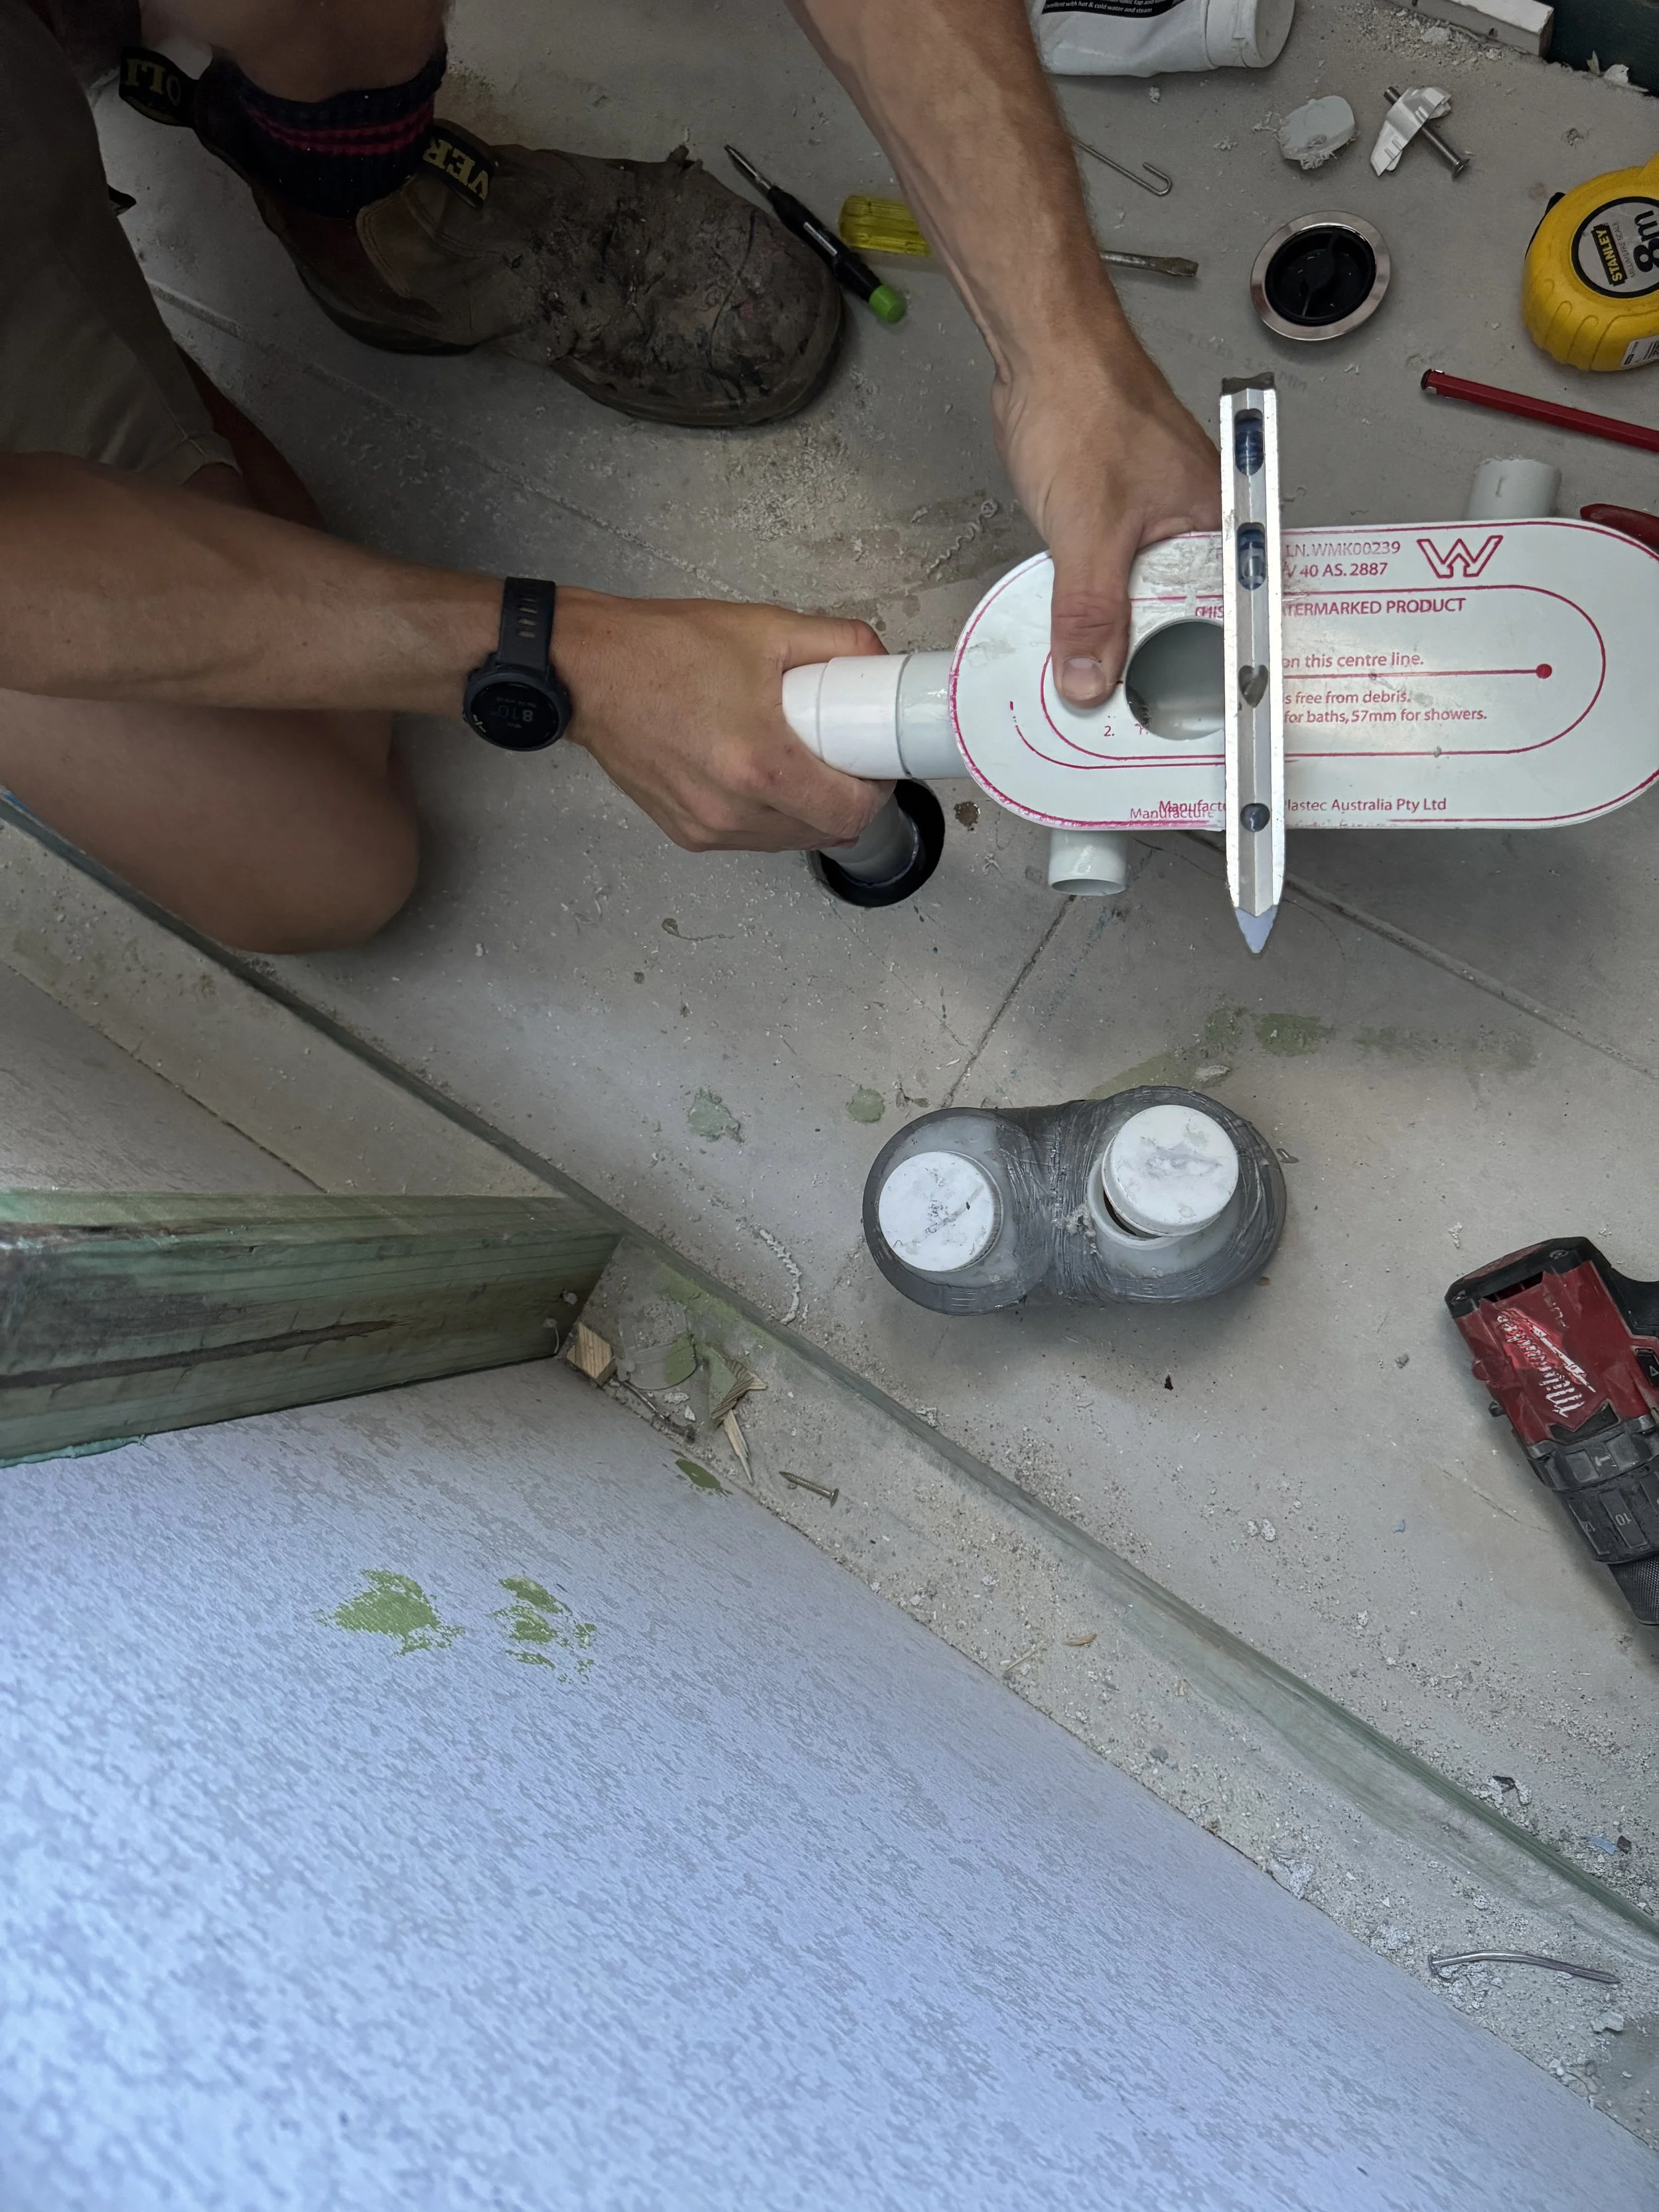
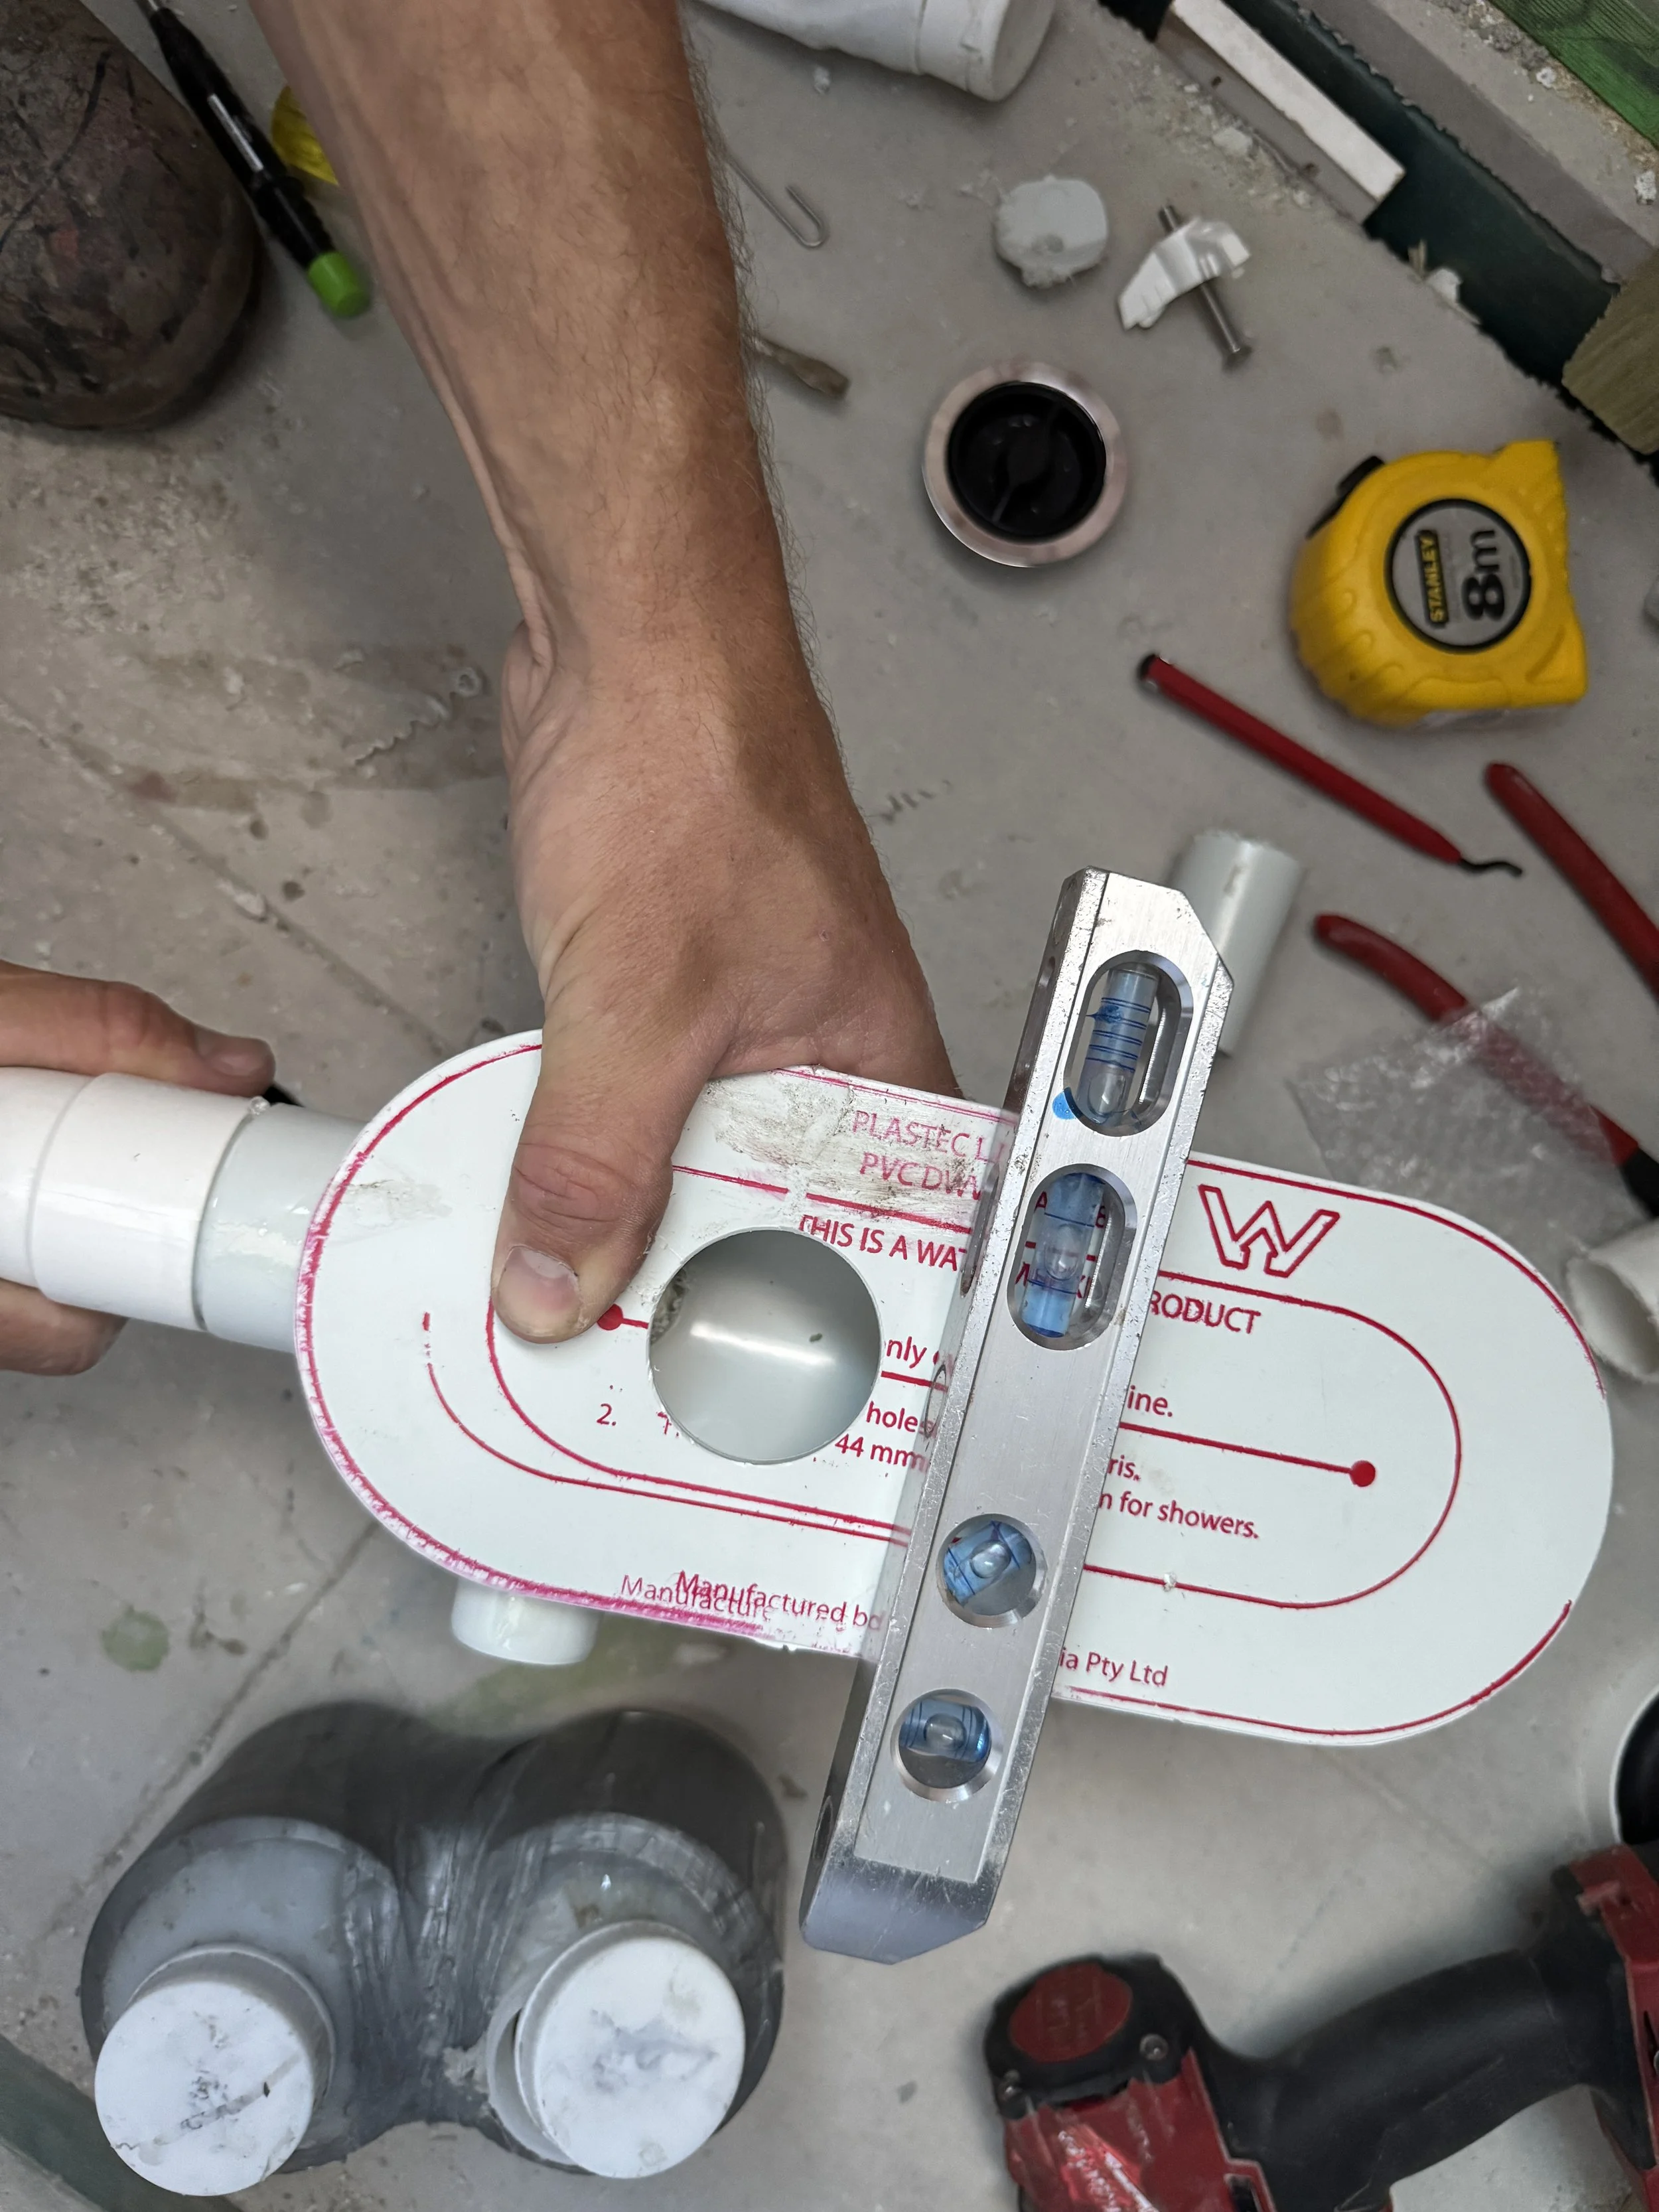
Make sure the dinger has correct fall.
Put bath back in, line up the centre hole with the centre of the dinger. Mark with glue or texta.
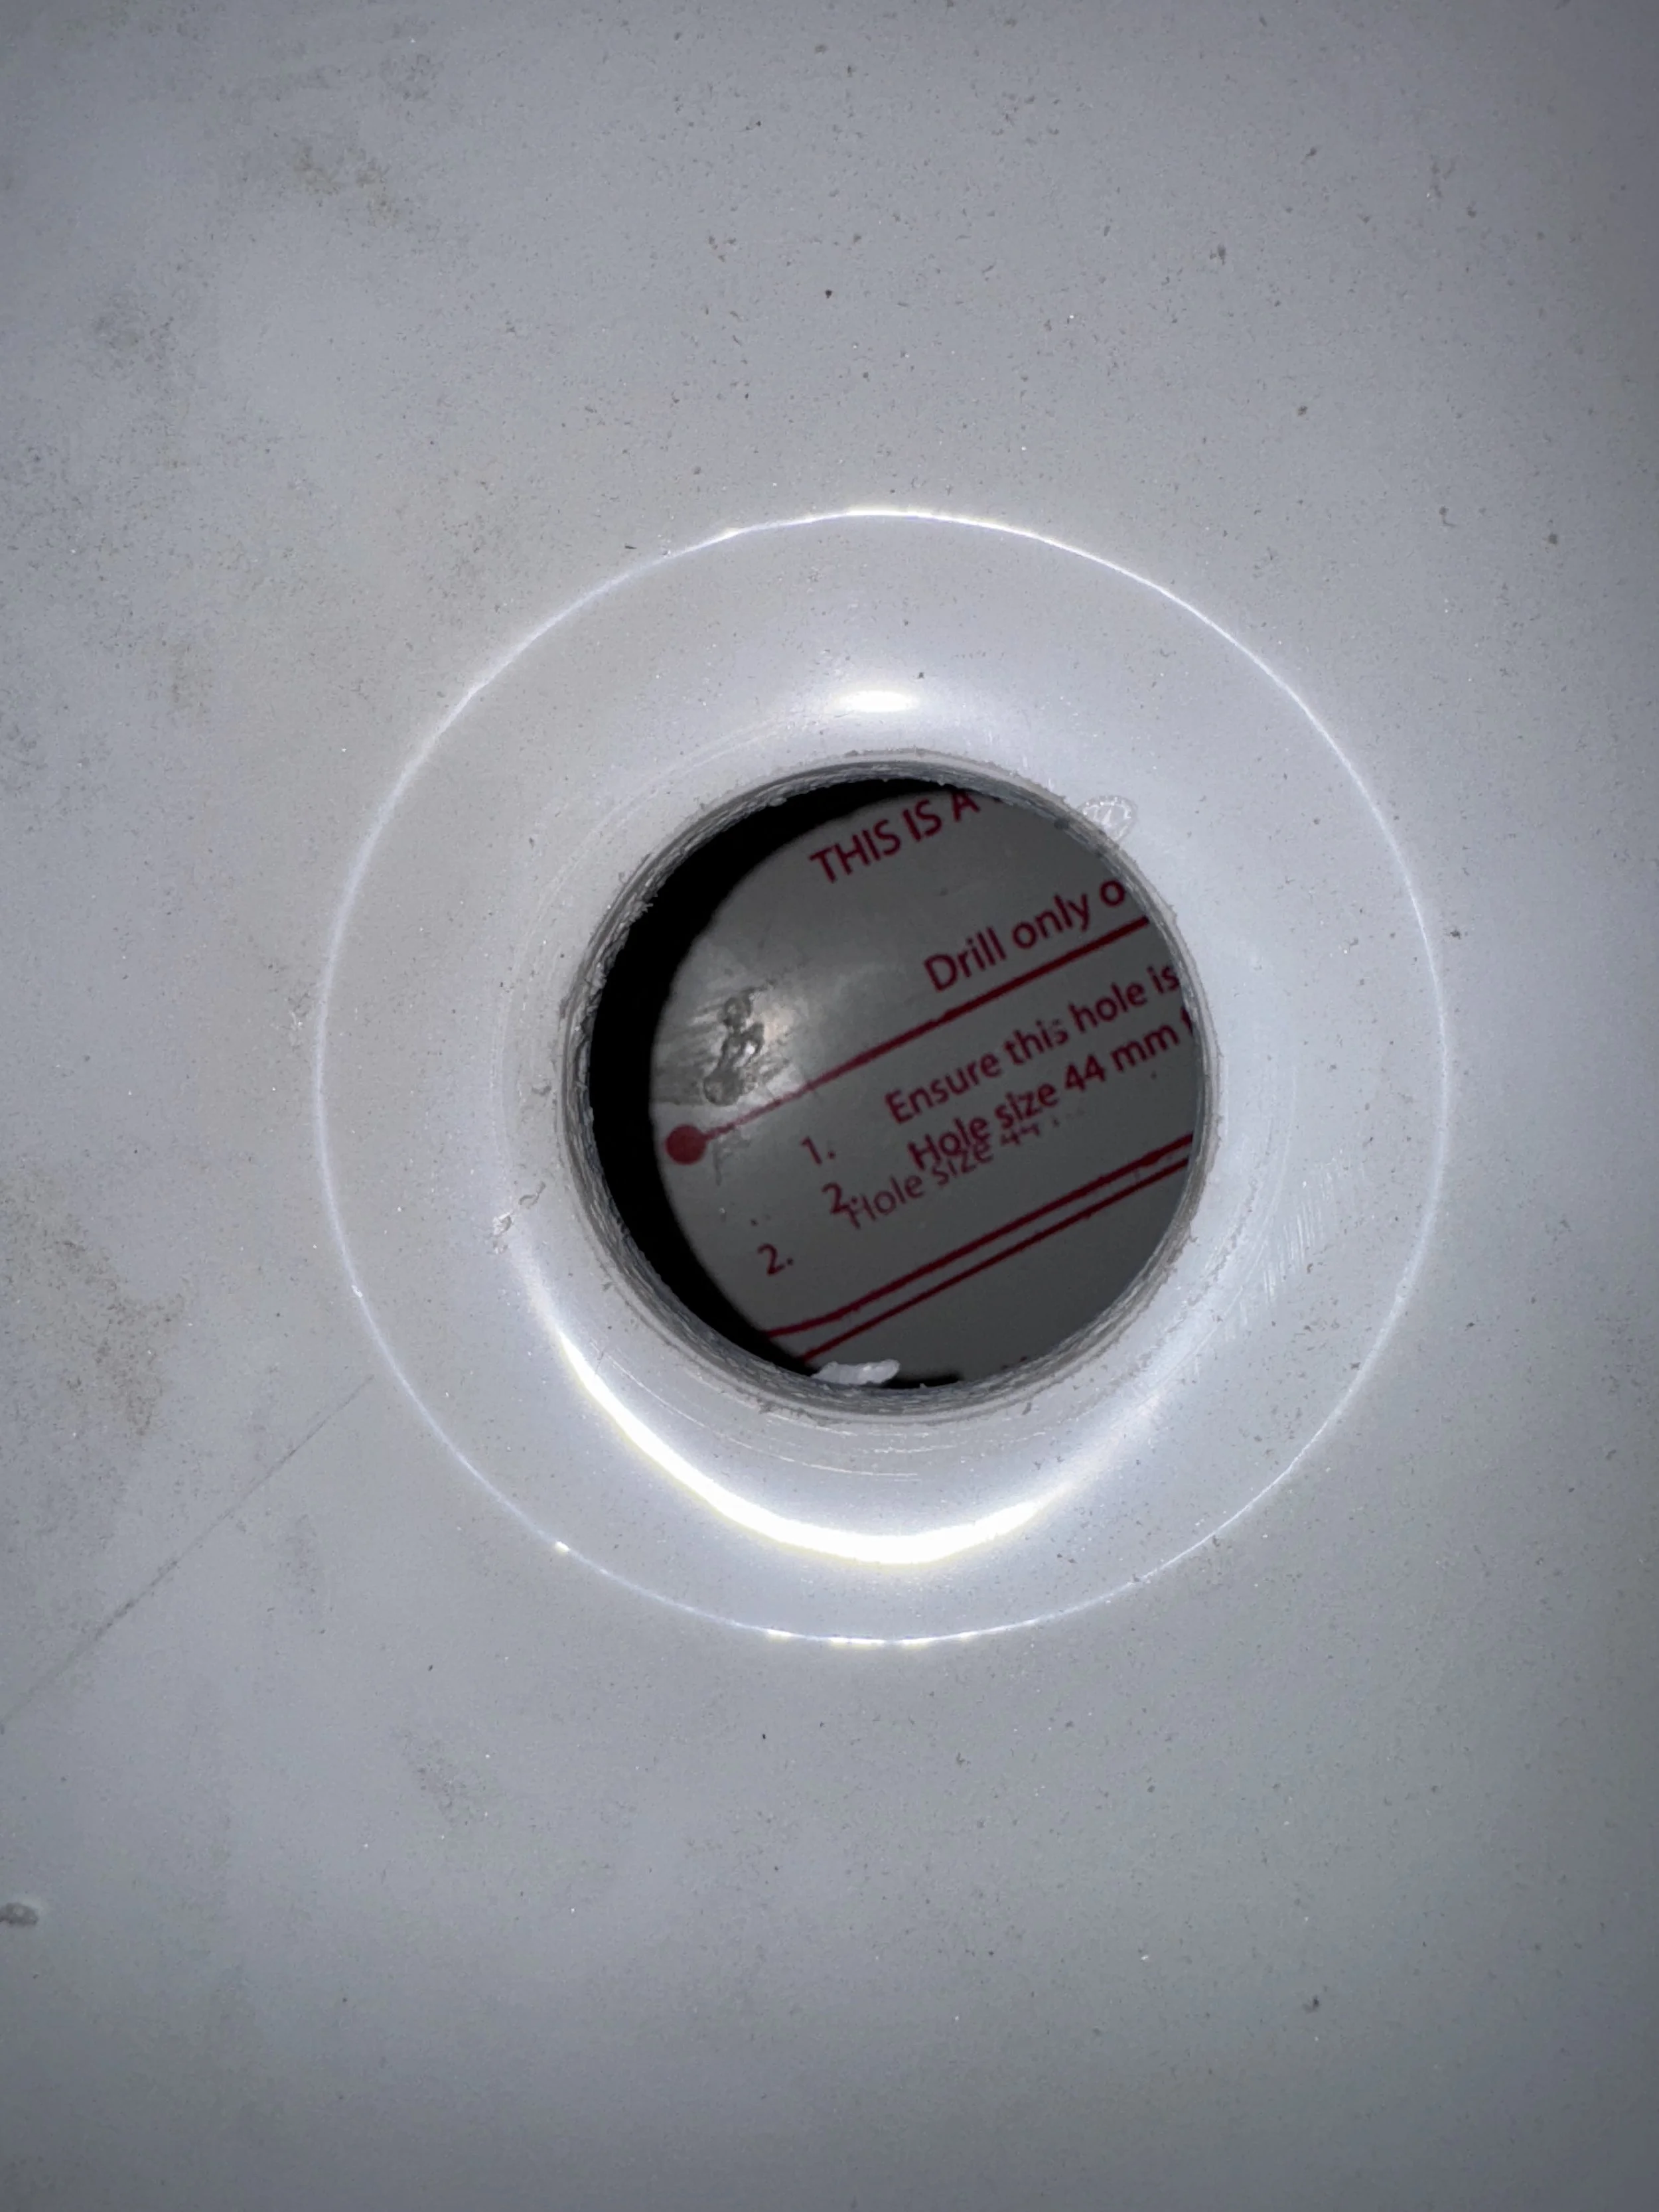
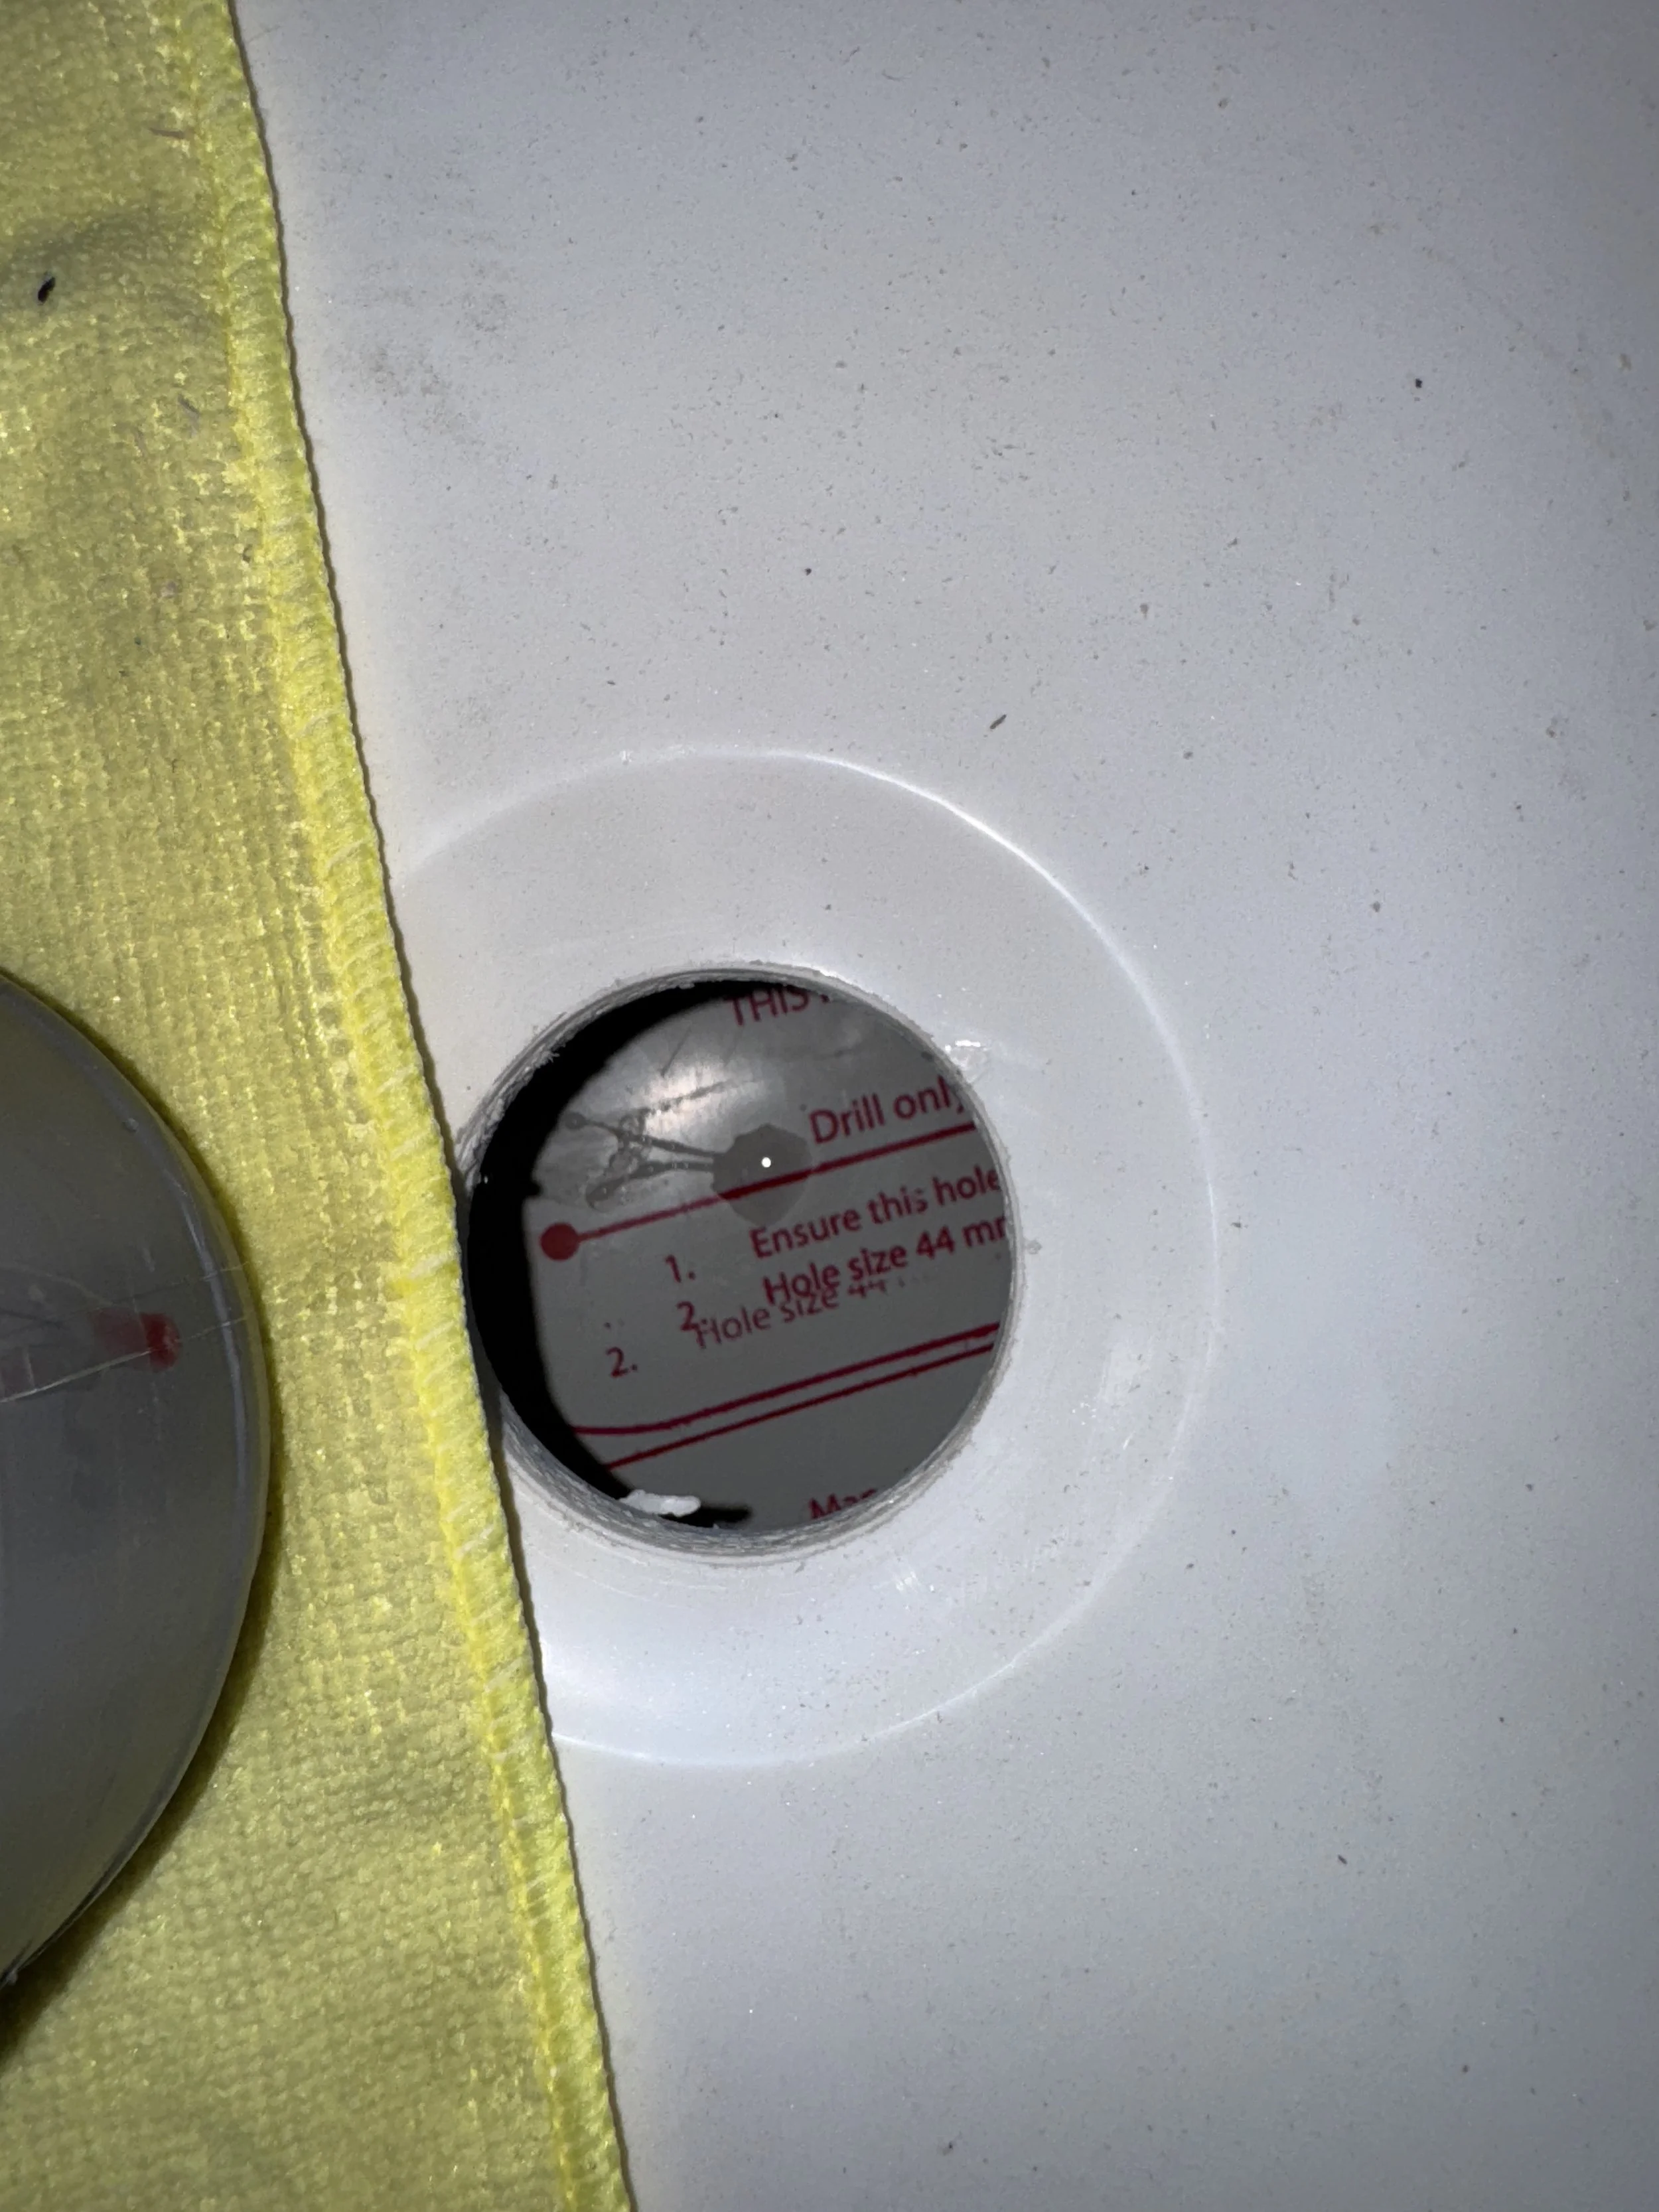
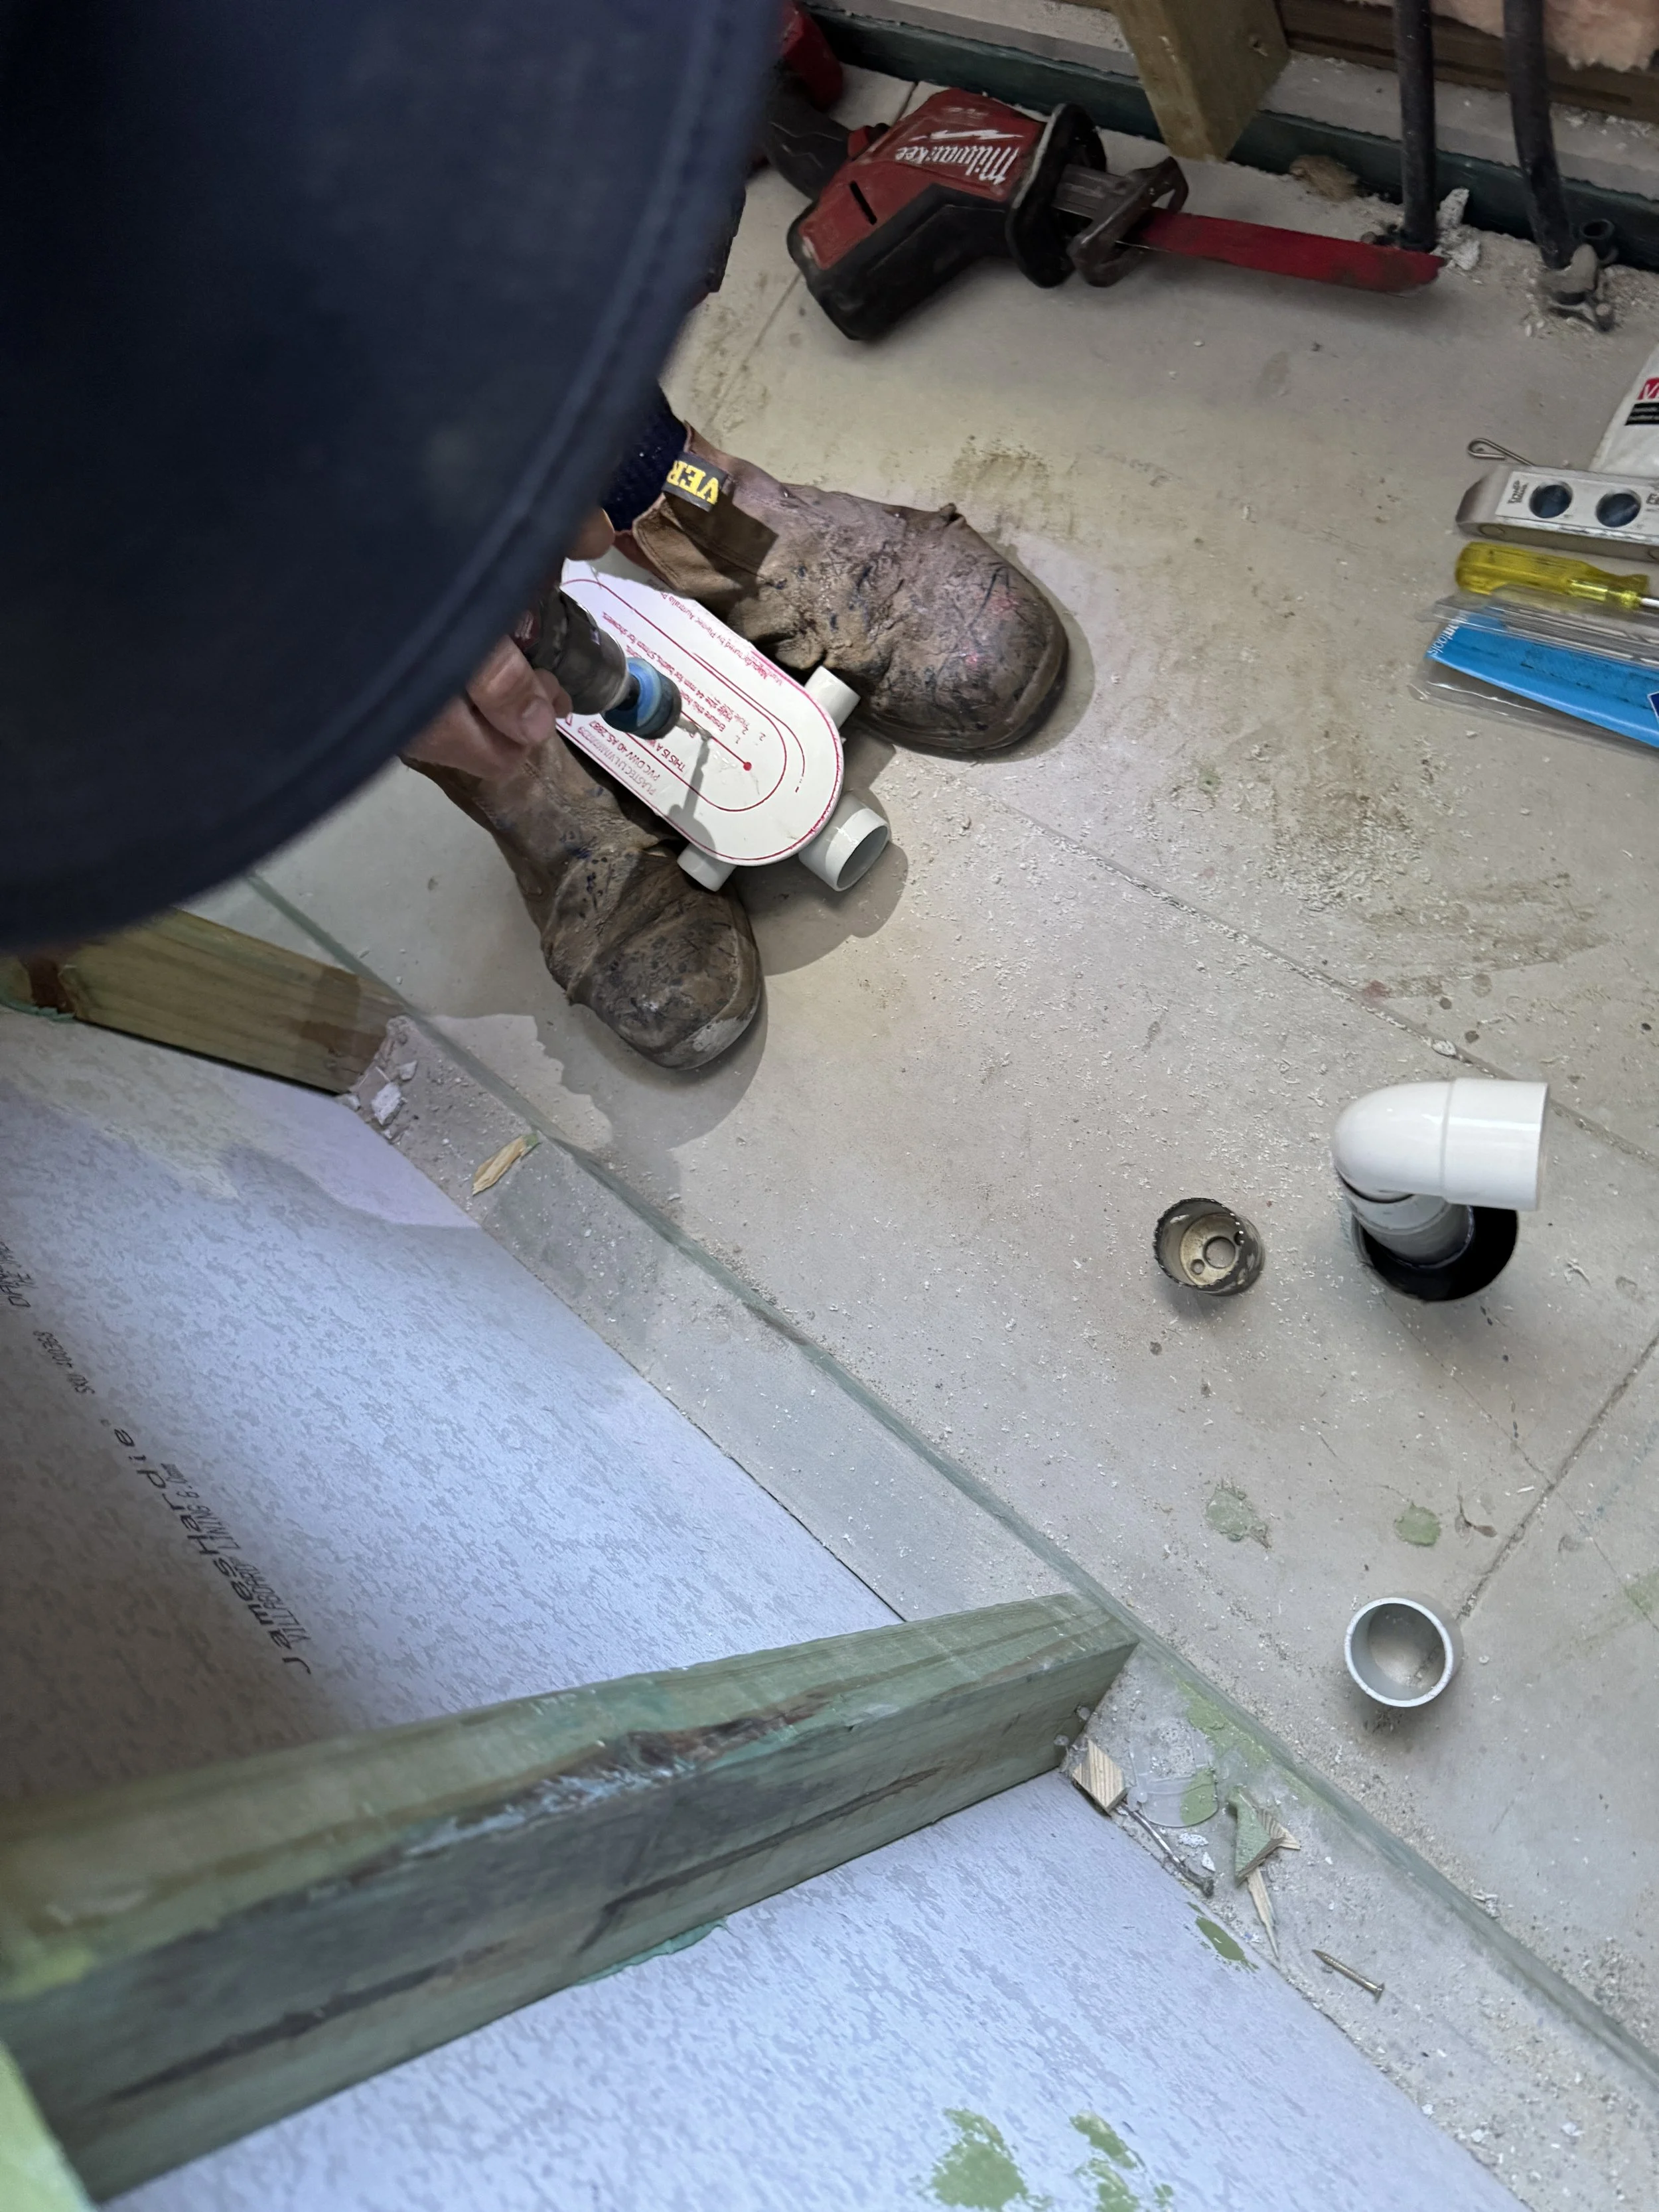
Pull bath back out, drill out hole using a 44mm holesaw.
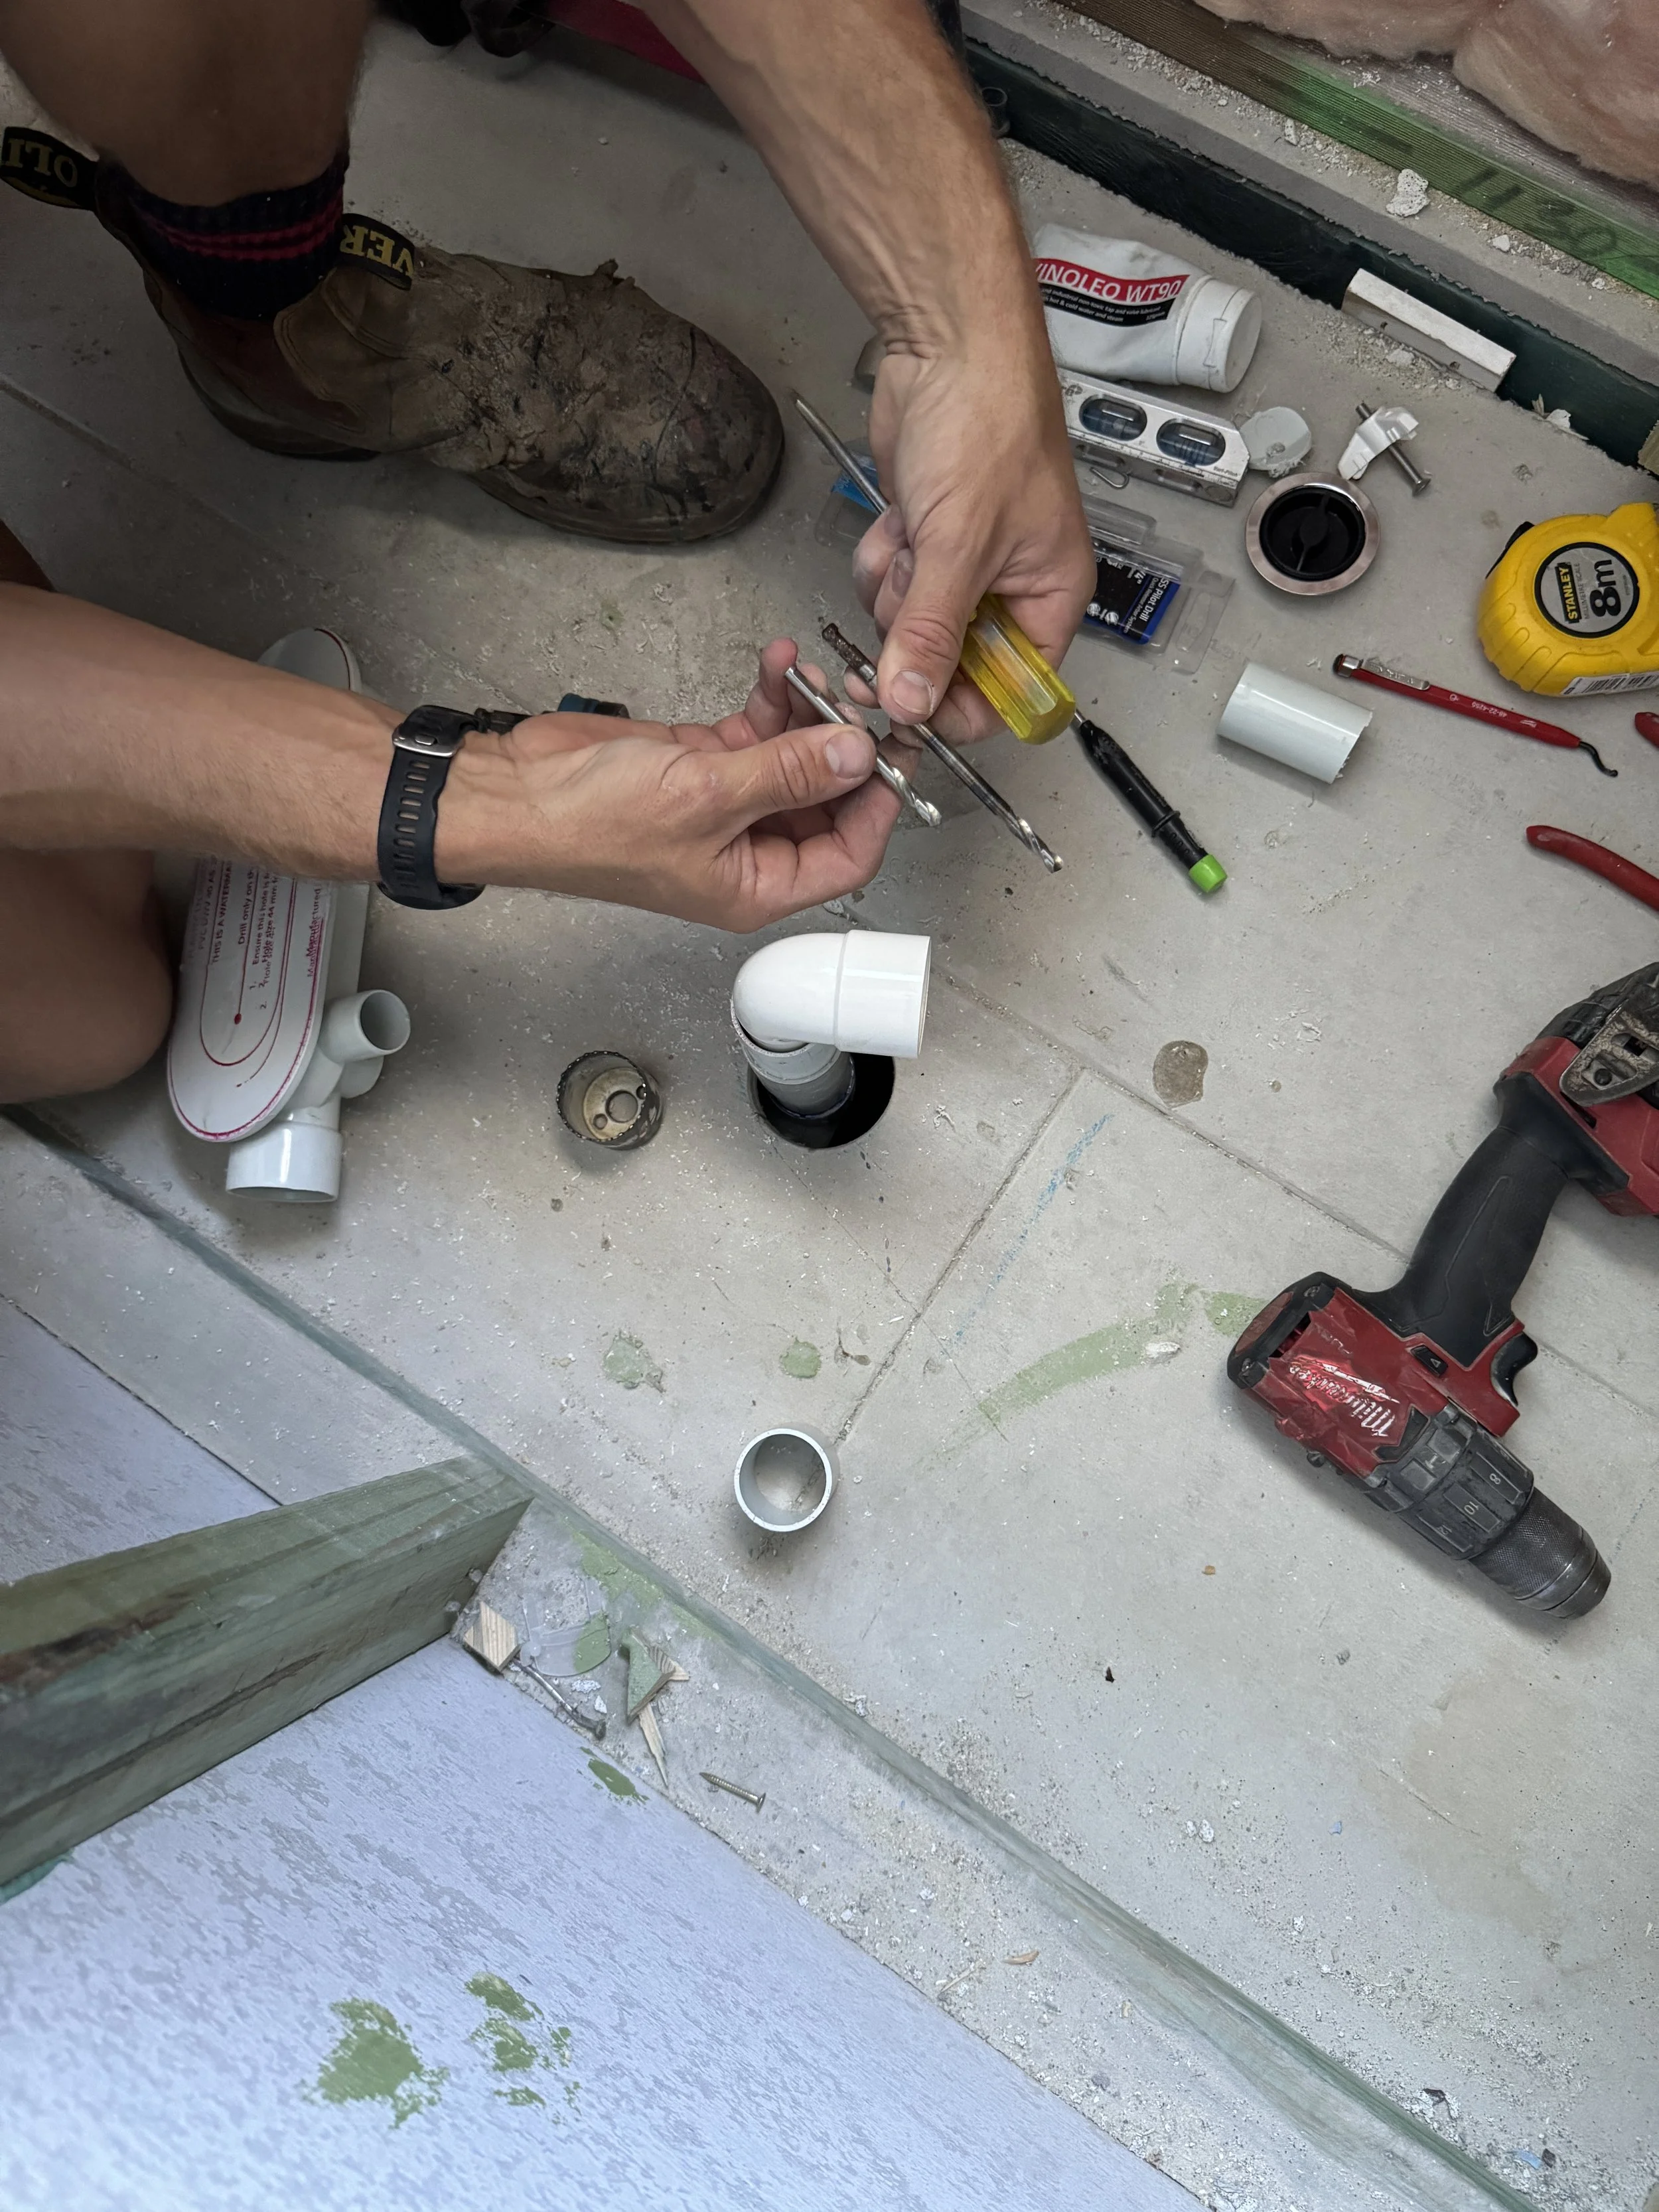
Make sure you use a short pilot bit as the long ones will go through the bottom of the dinger.
**Don’t be that guy**
Bonus points for deburring :)
Glue and prime making sure it’s level.
Sit donut ring with plastic surround in place, I’ve found applying a small bead of silicone between the dinger and the donut helps it seal. I don’t put any on the top of the donut as it can slip it out of place a bit when tightening.
Check height from floor to top of donut is the same as the first measurement (between floor and bottom of bath)
Clean out space again.
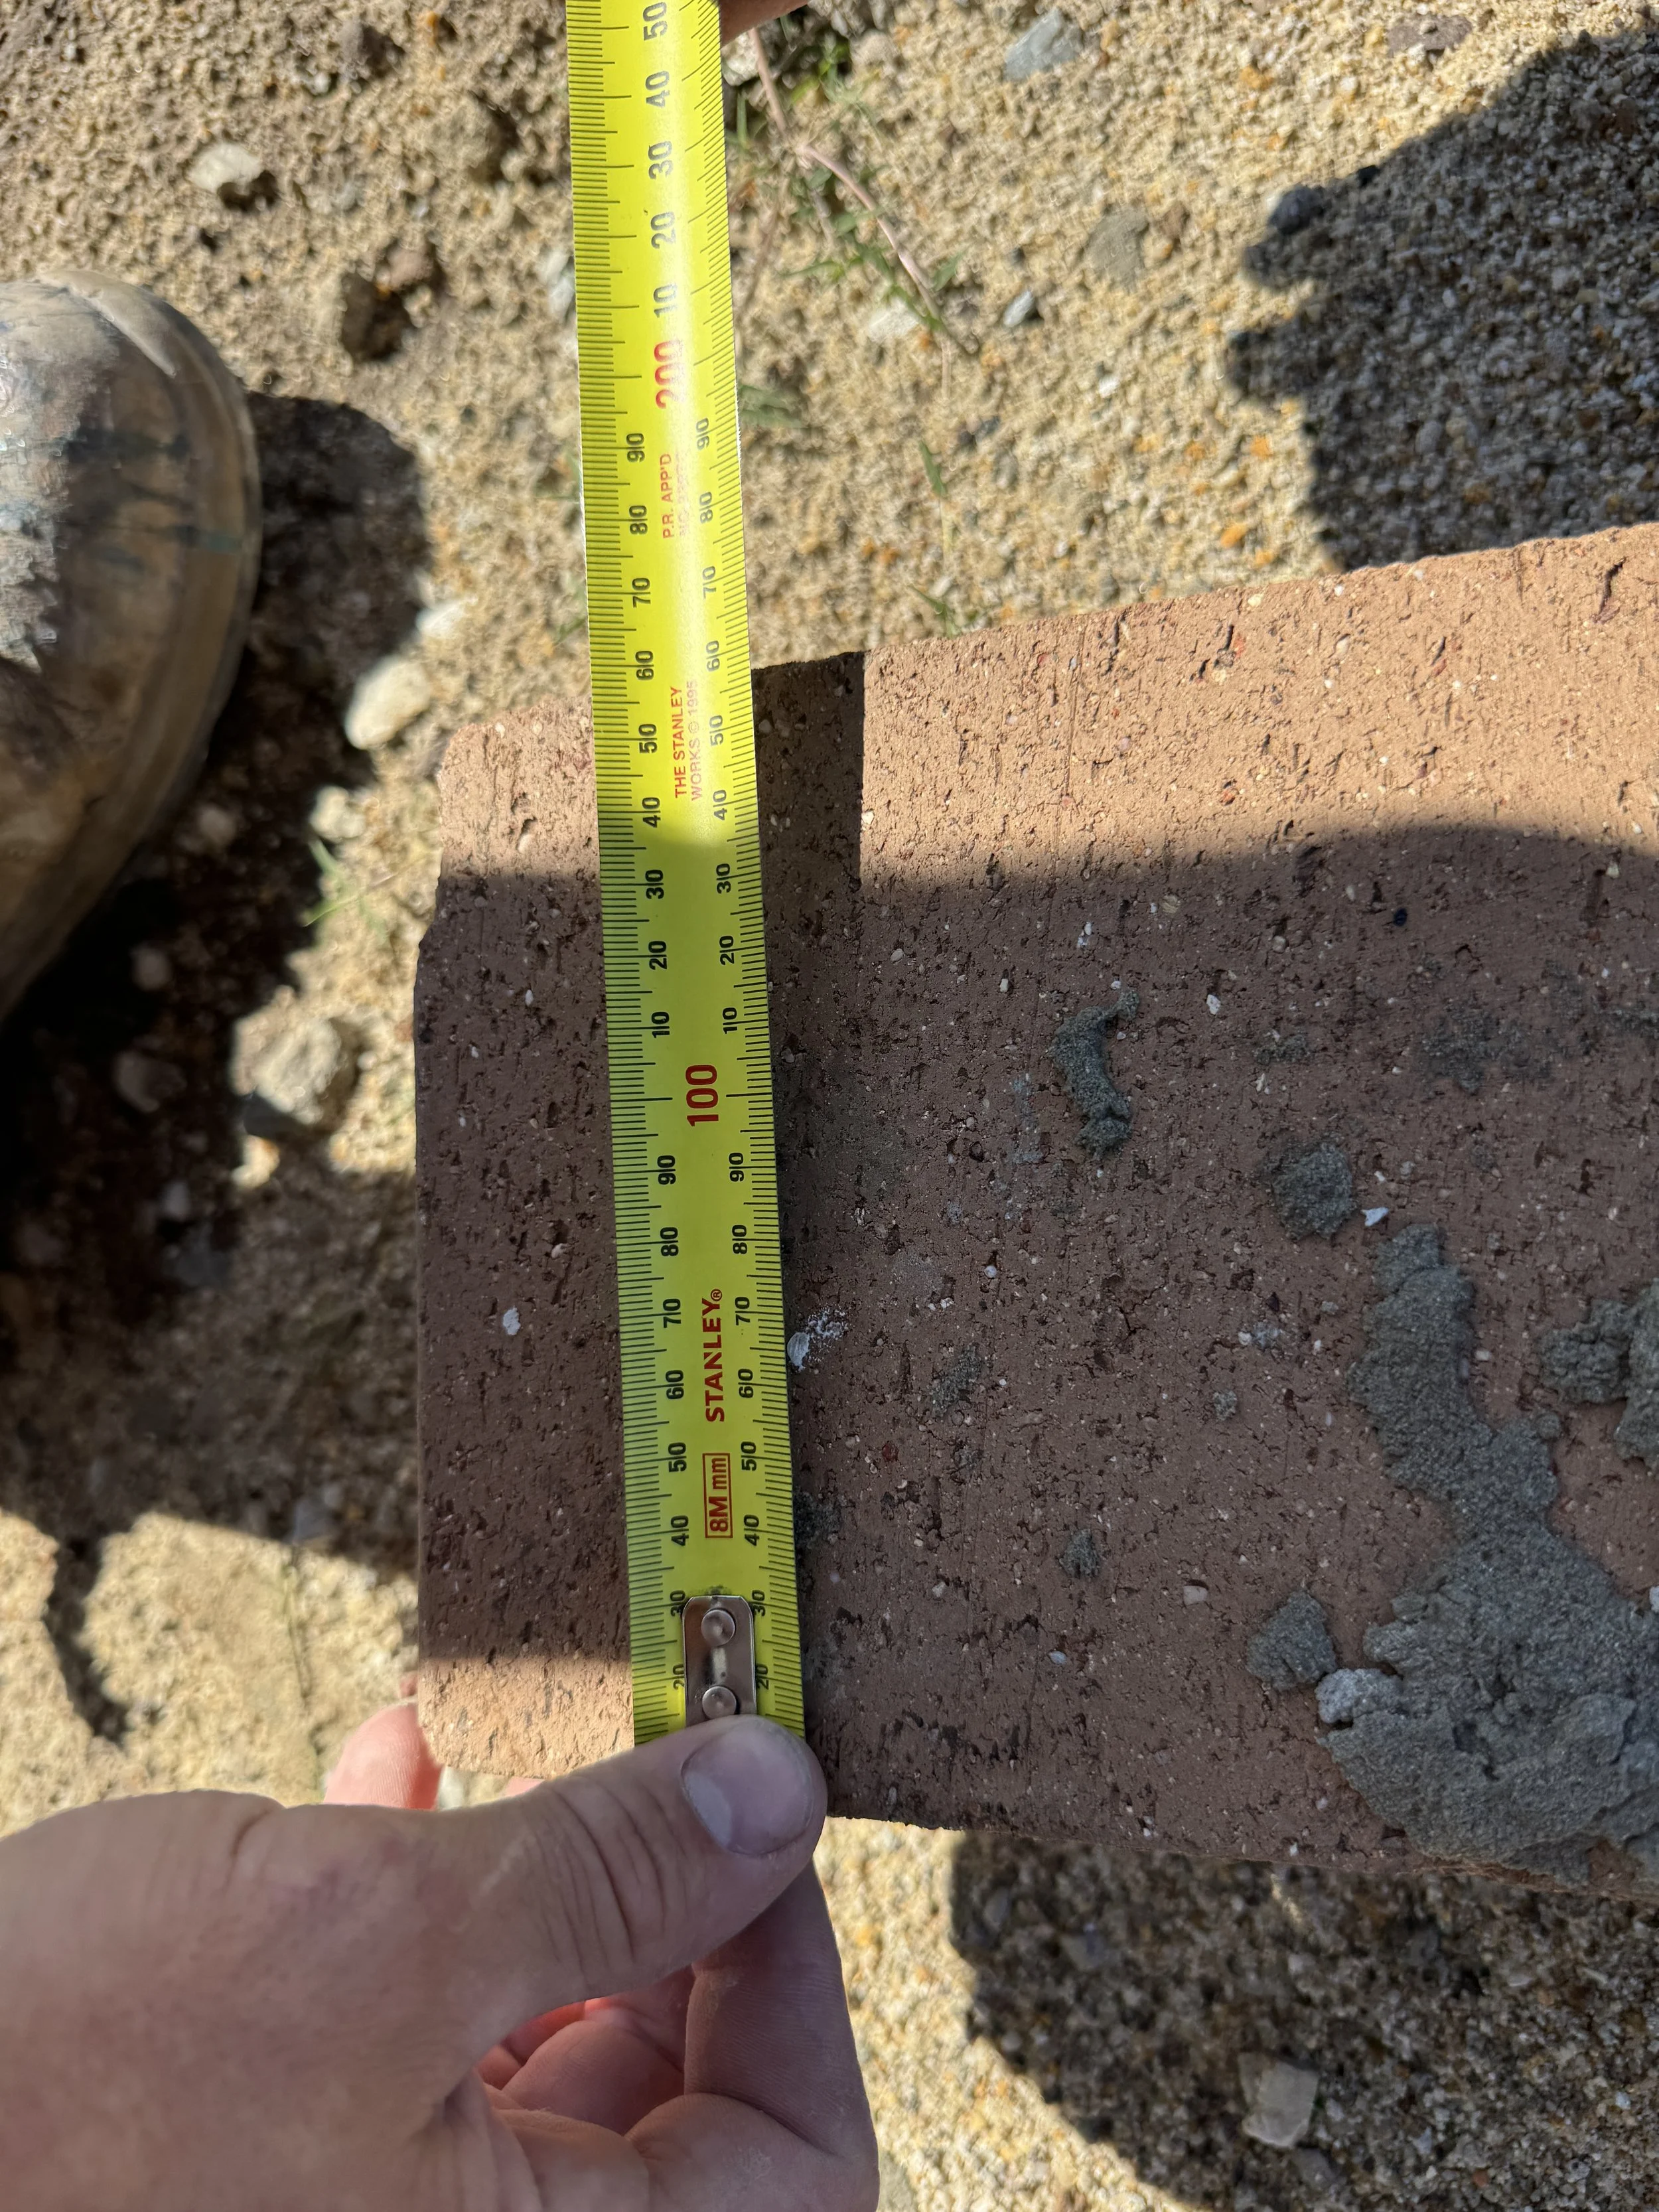
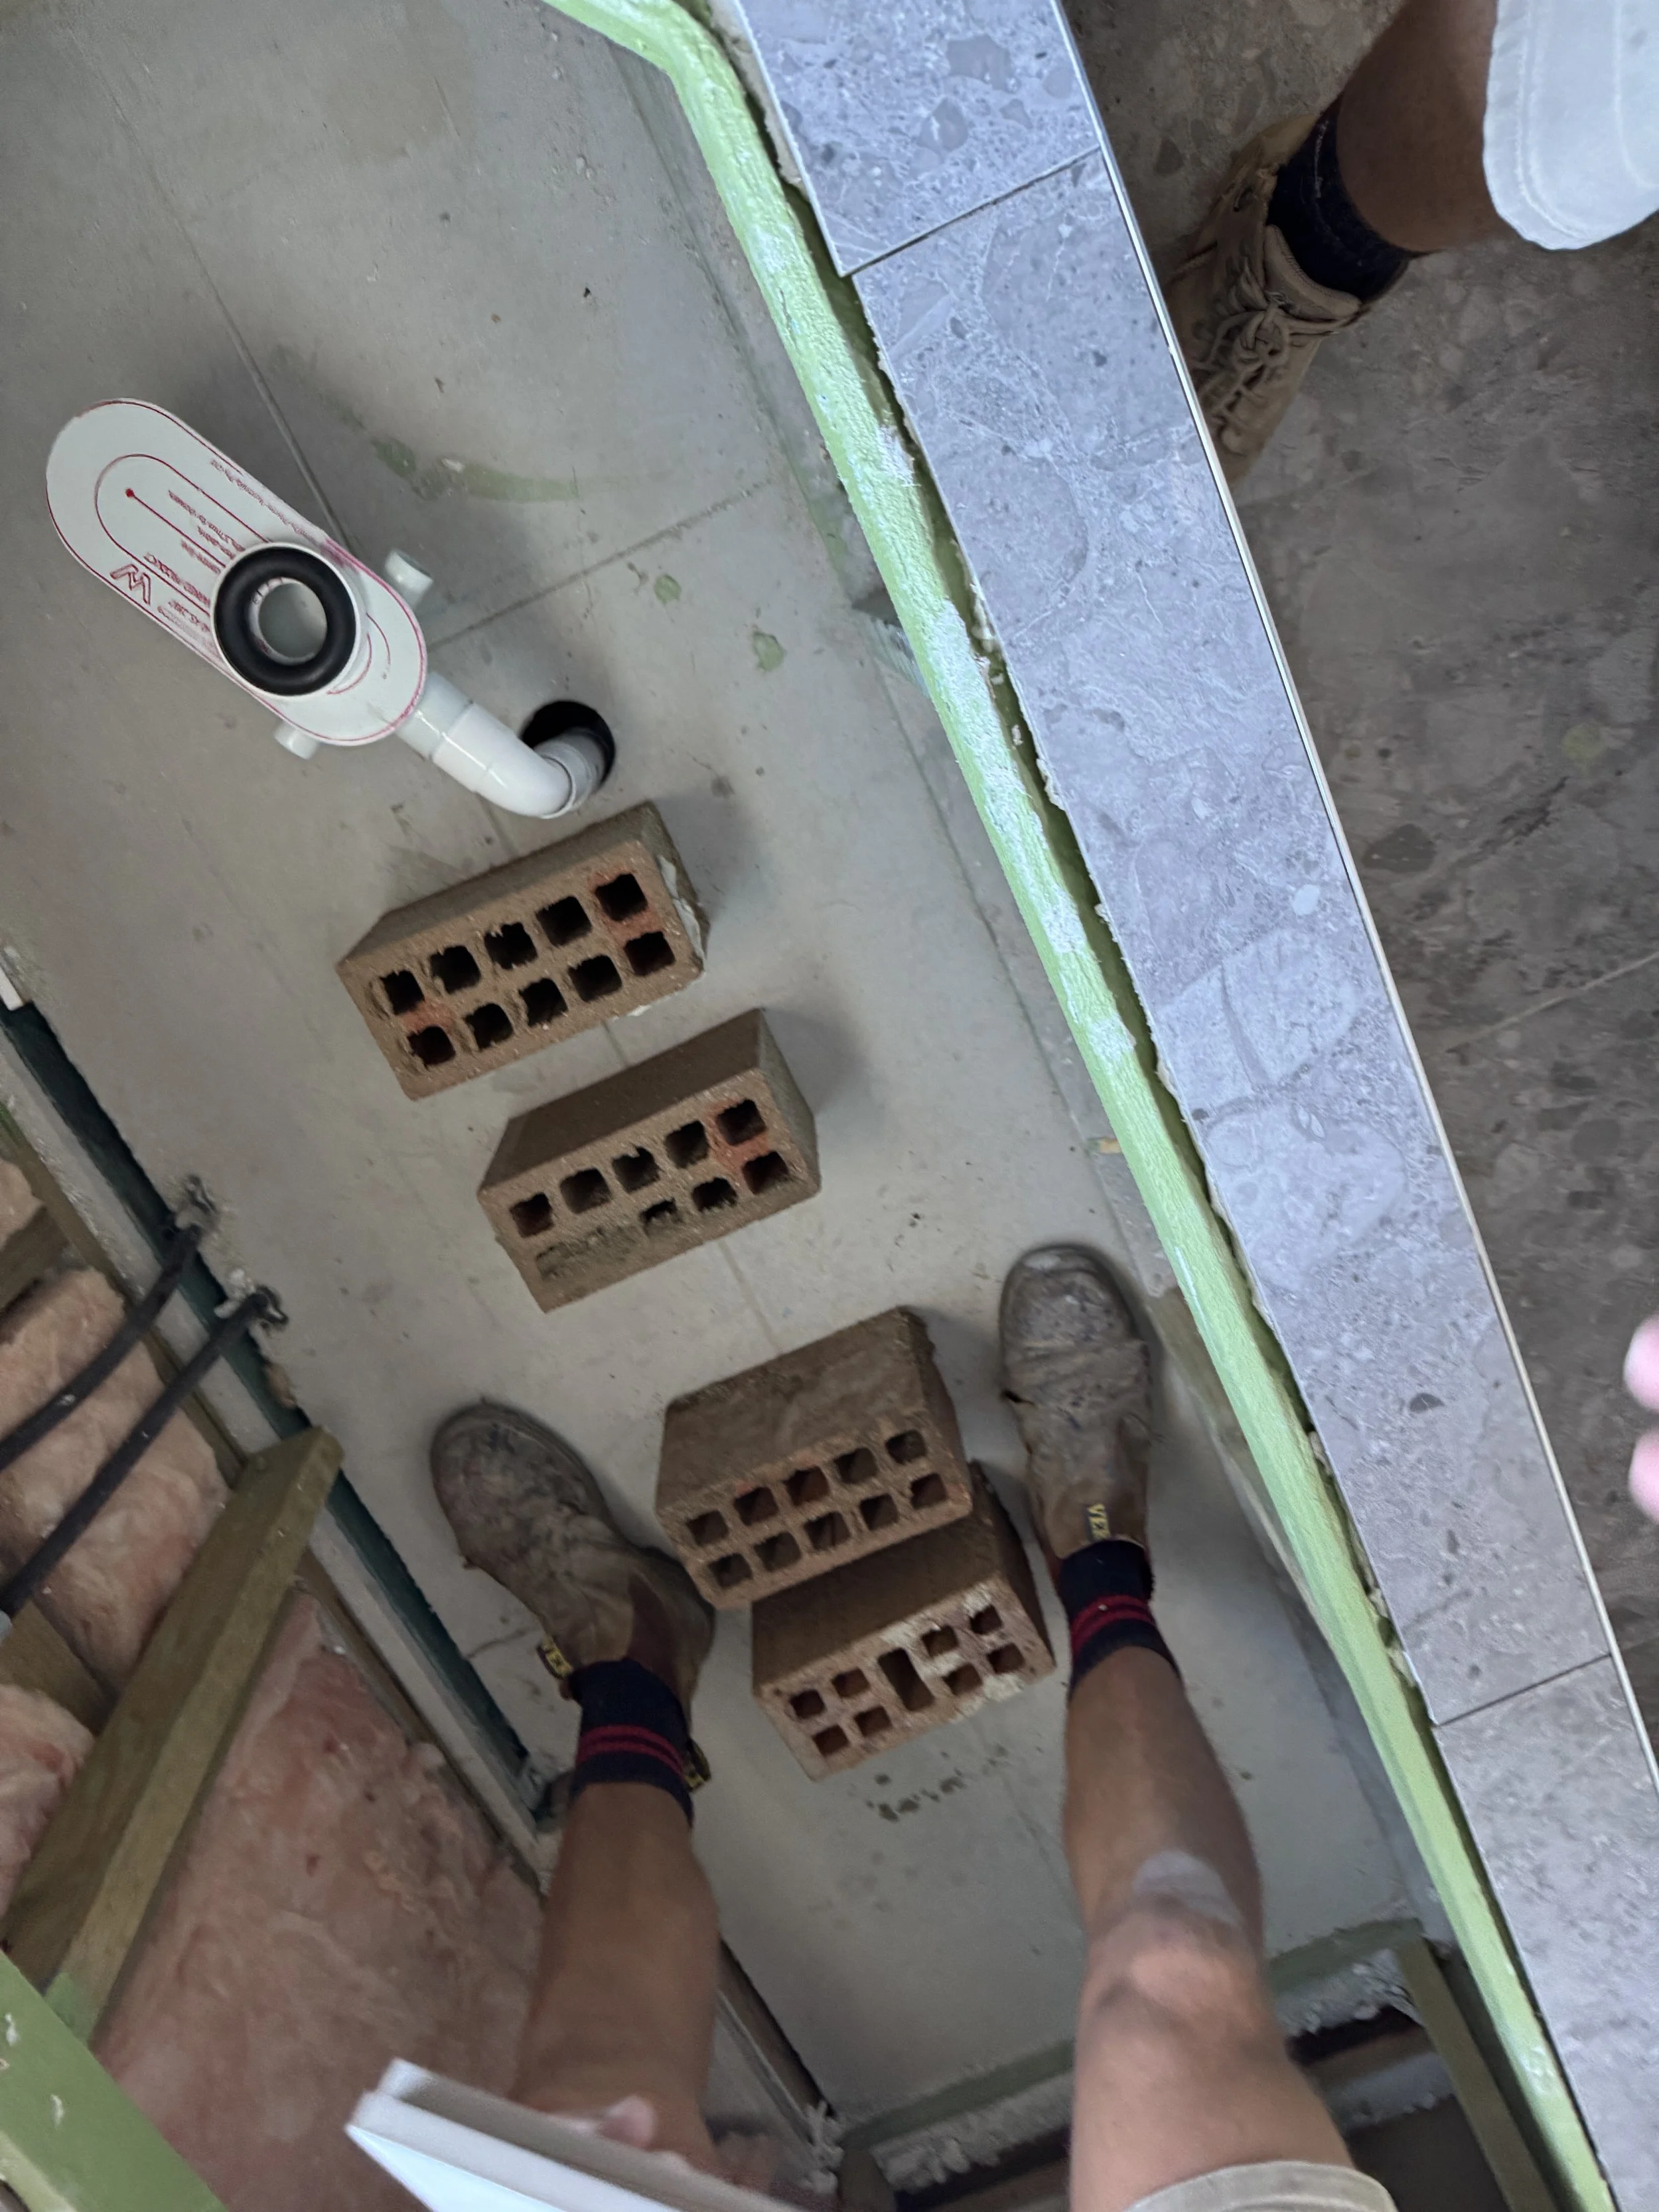
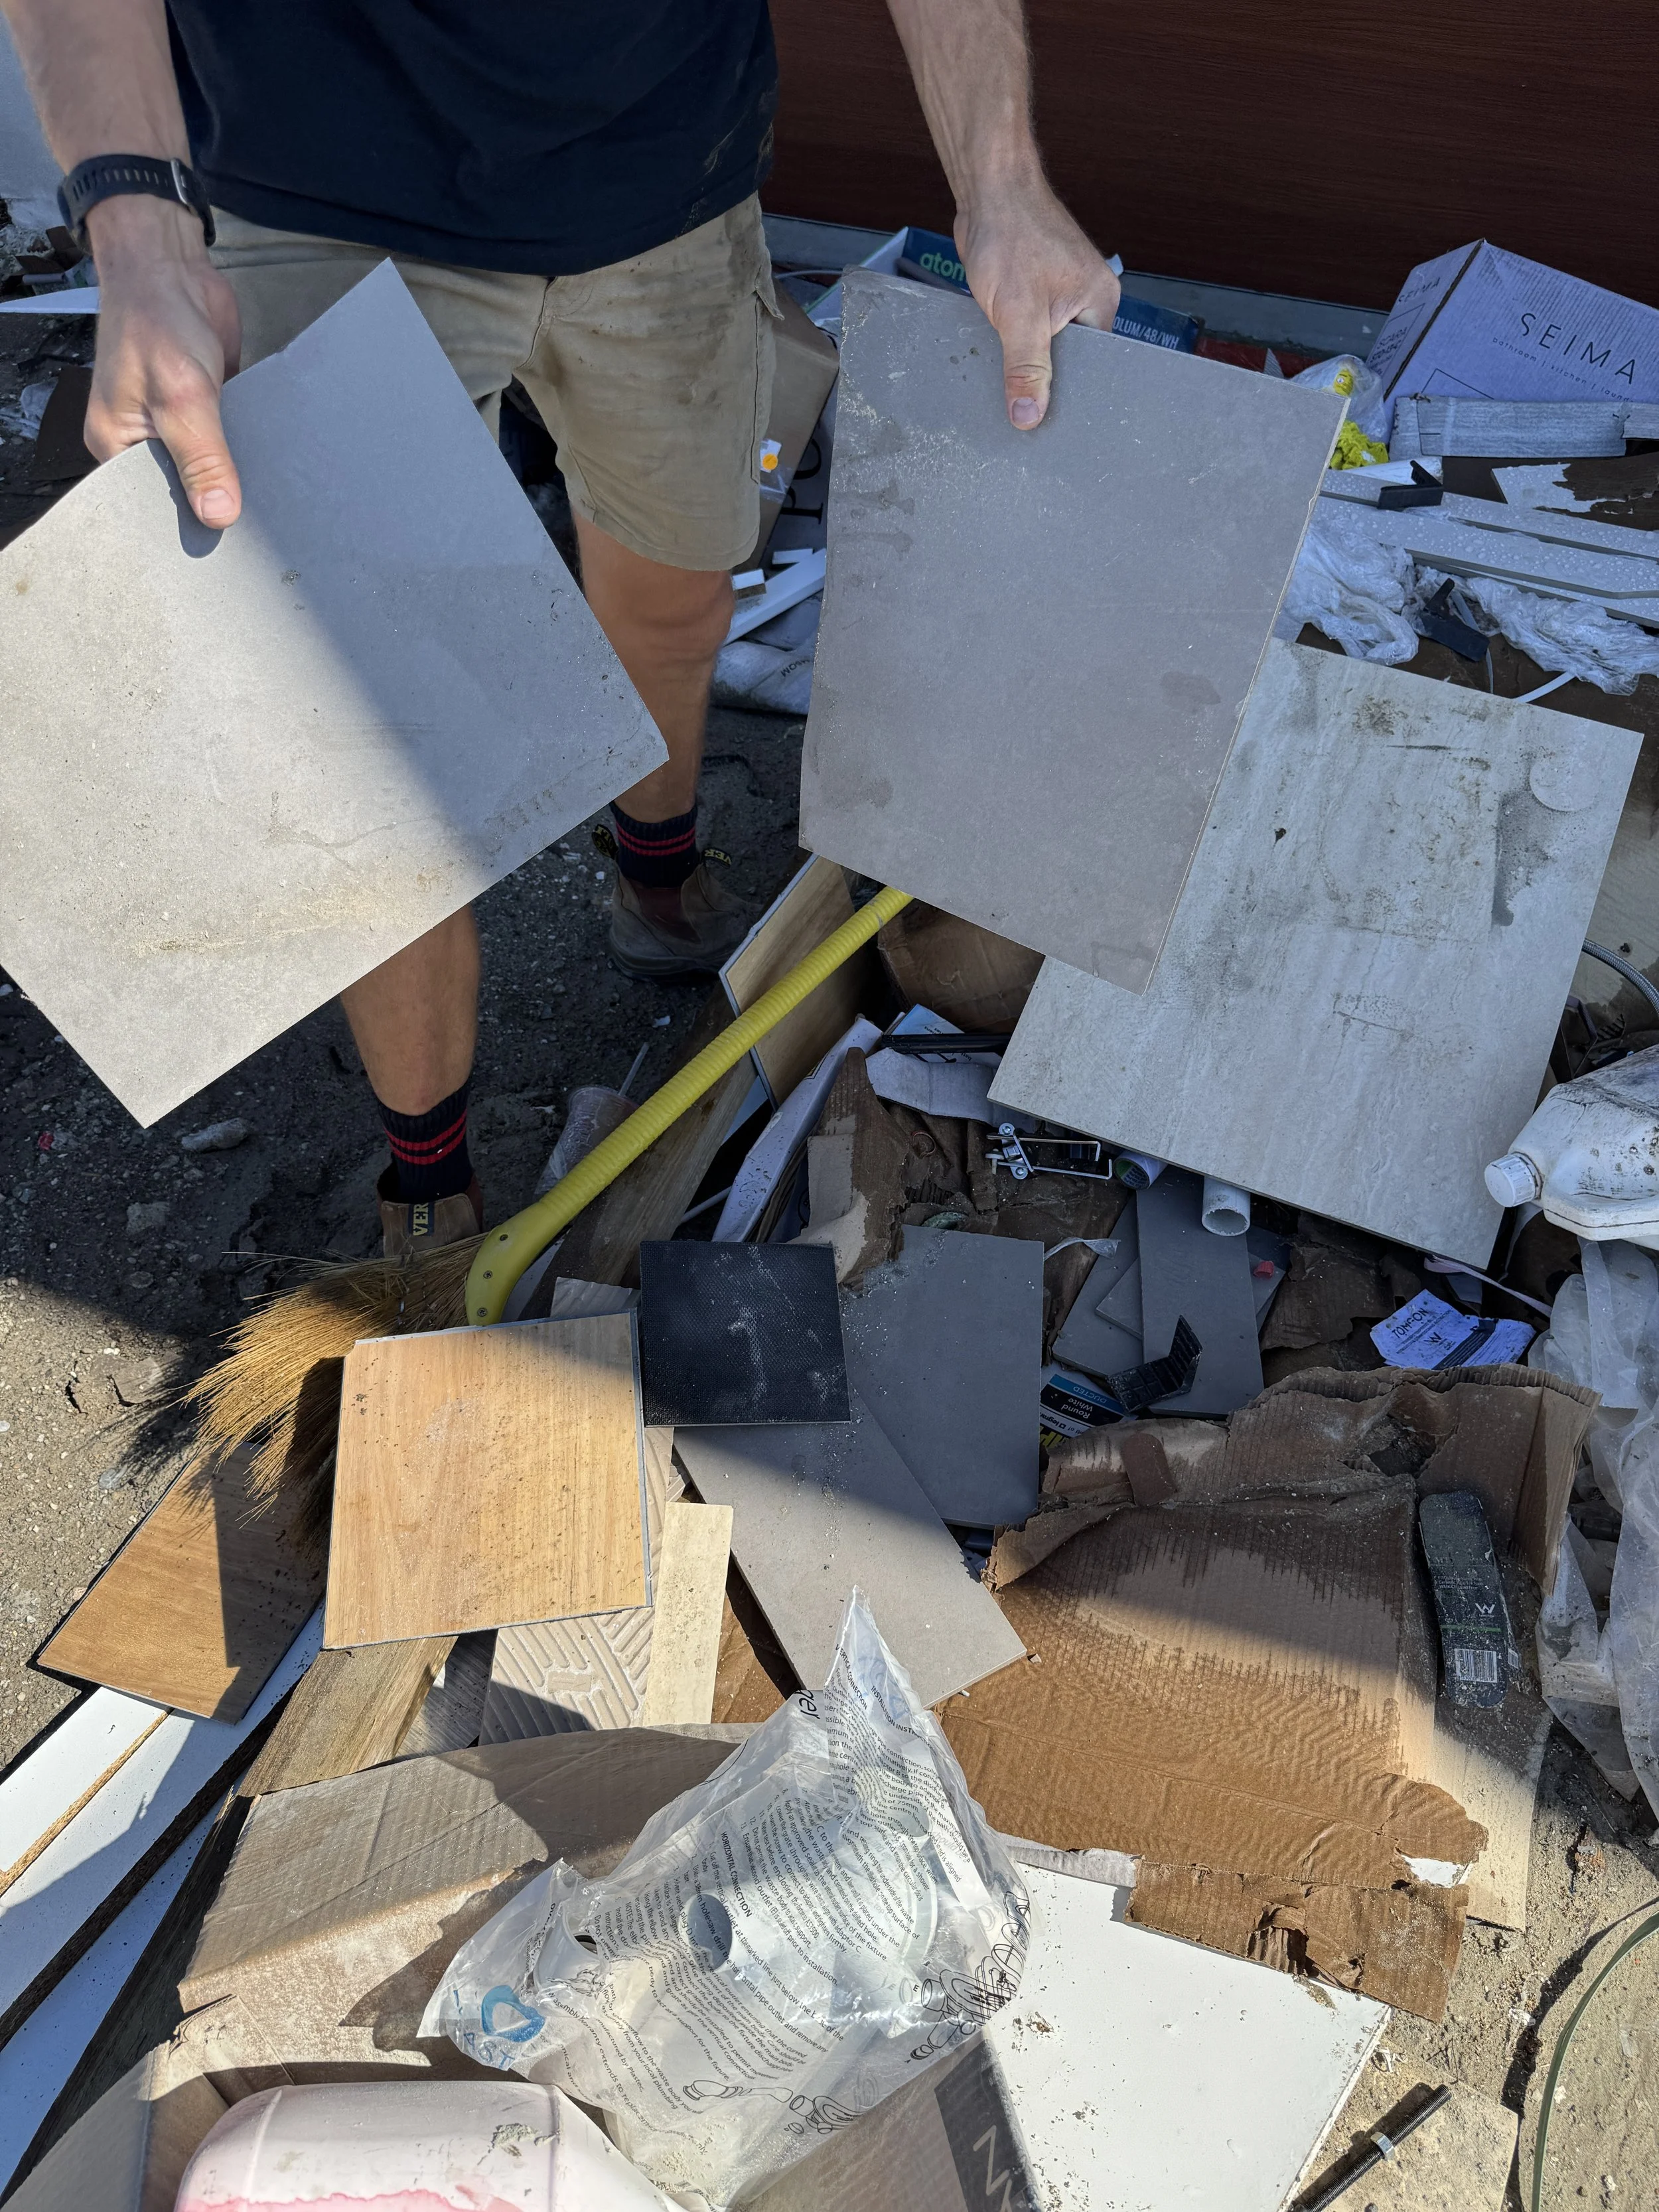
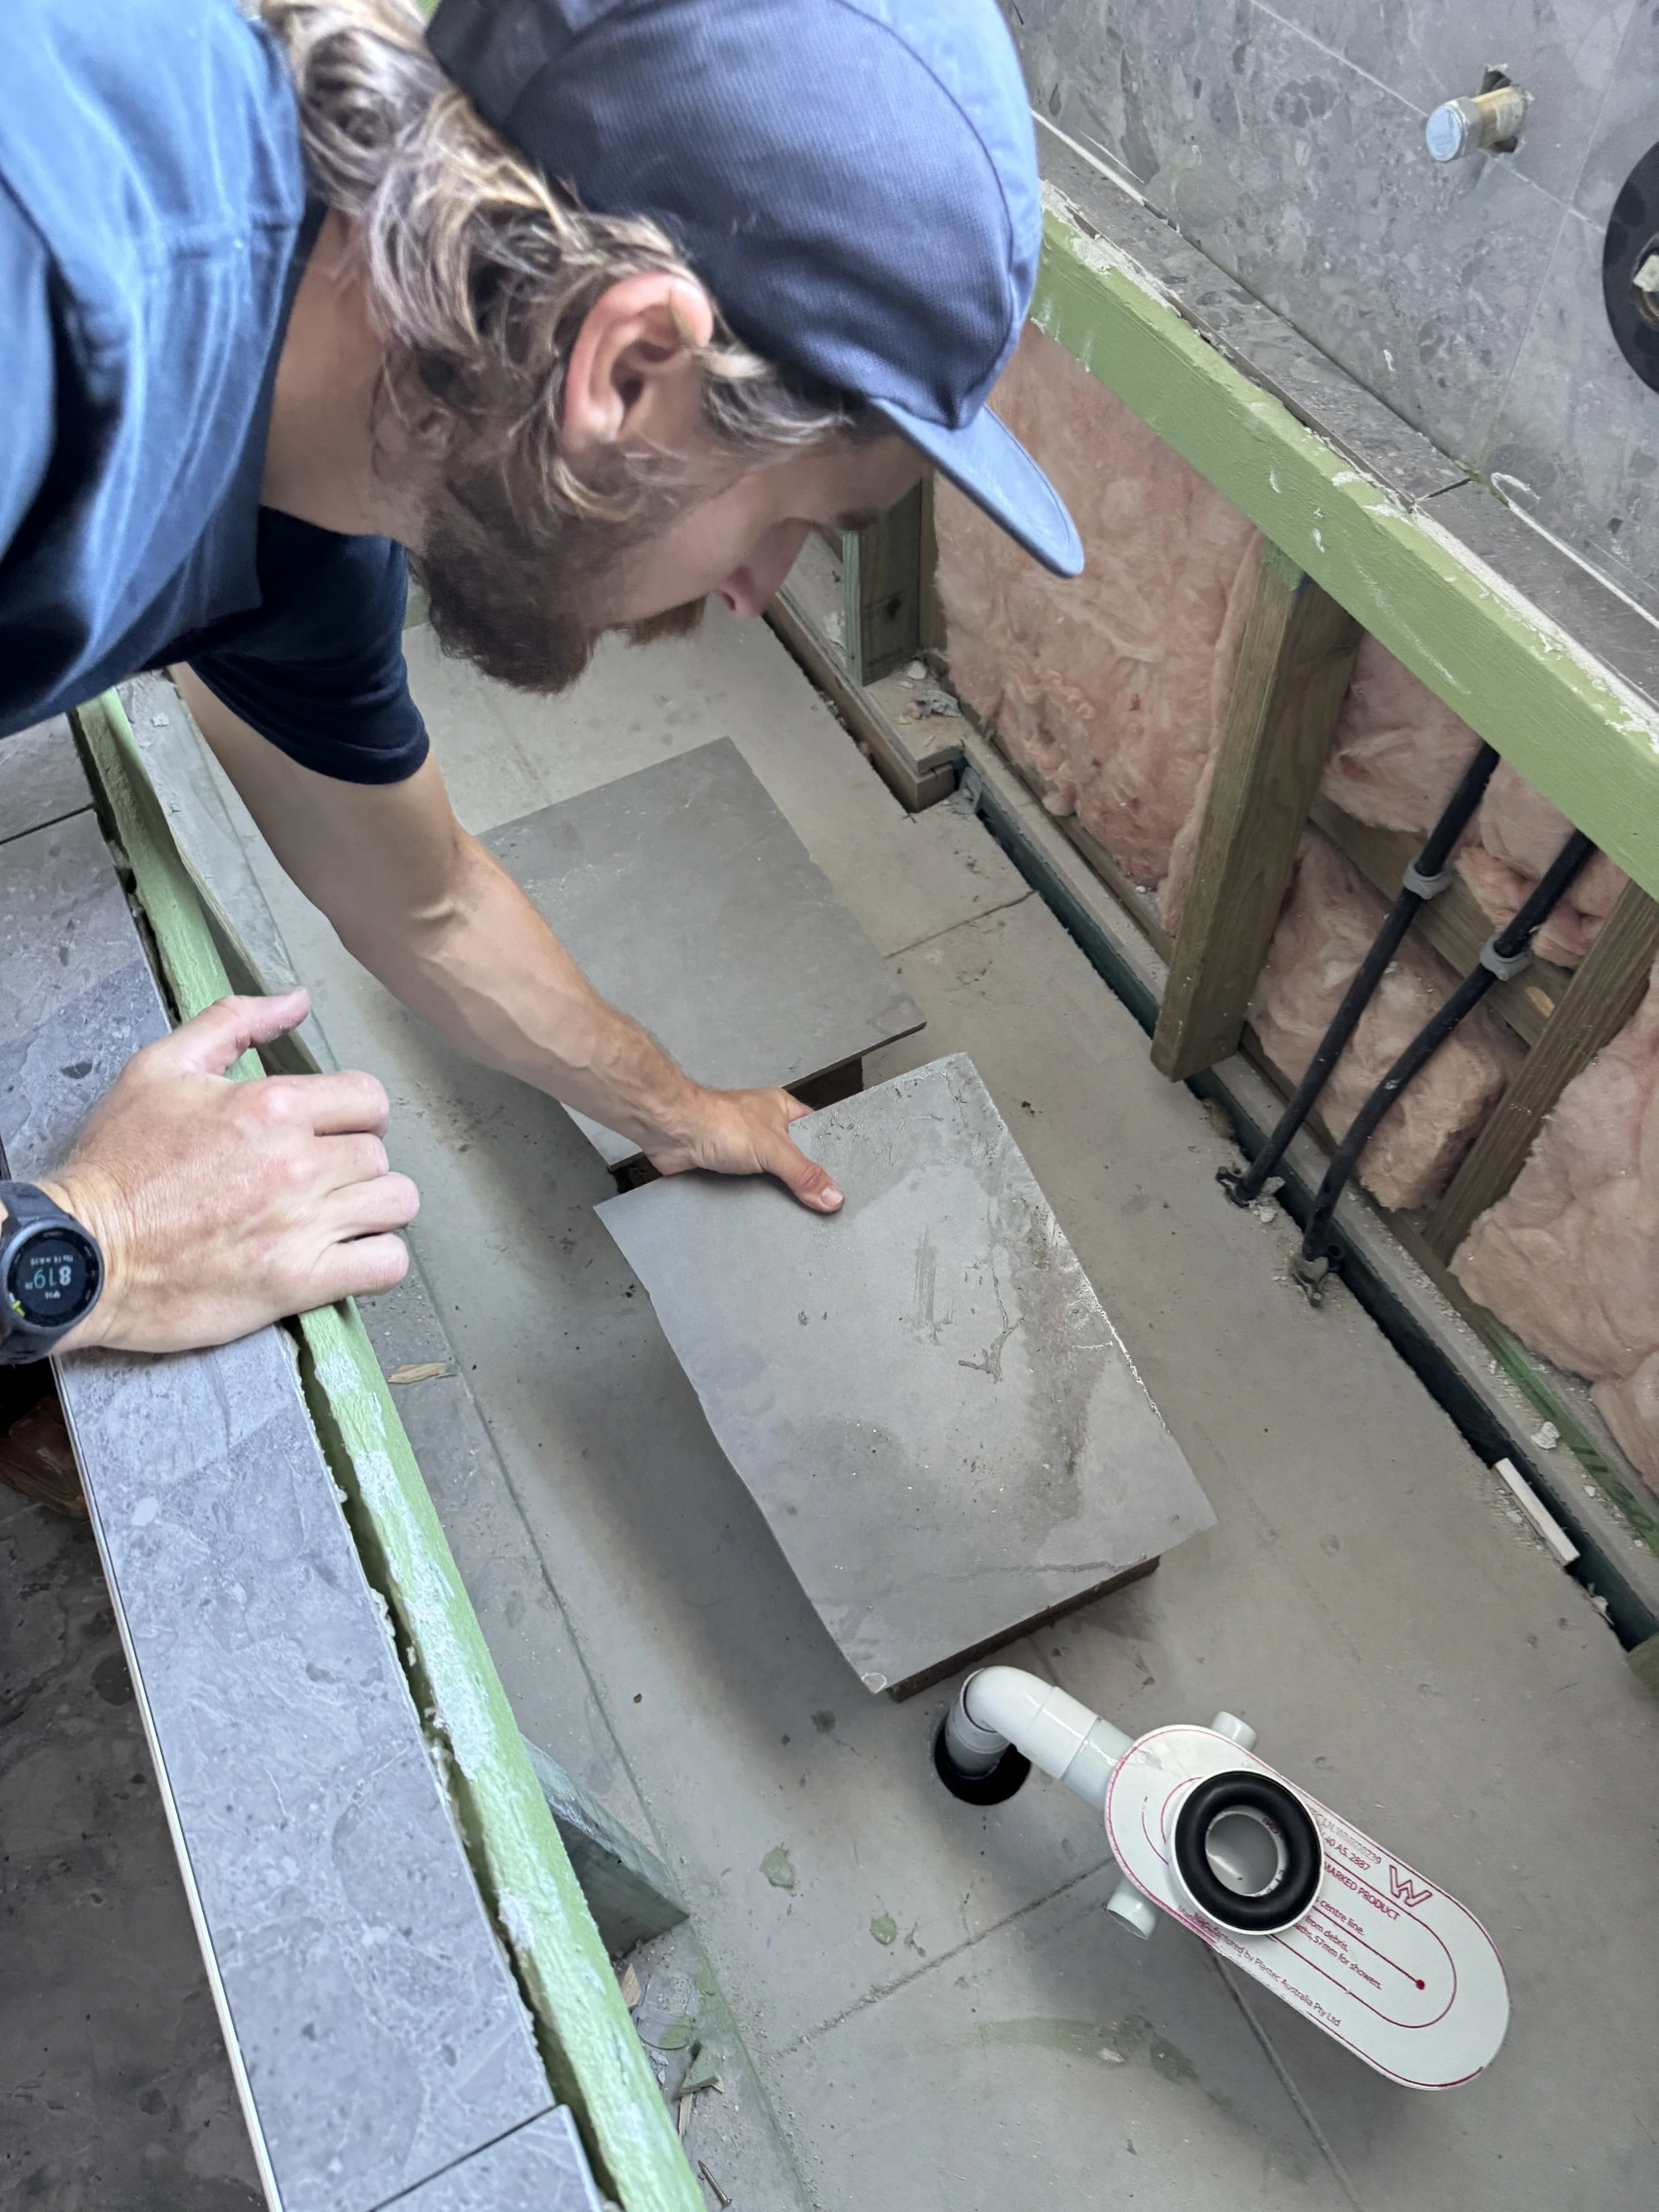
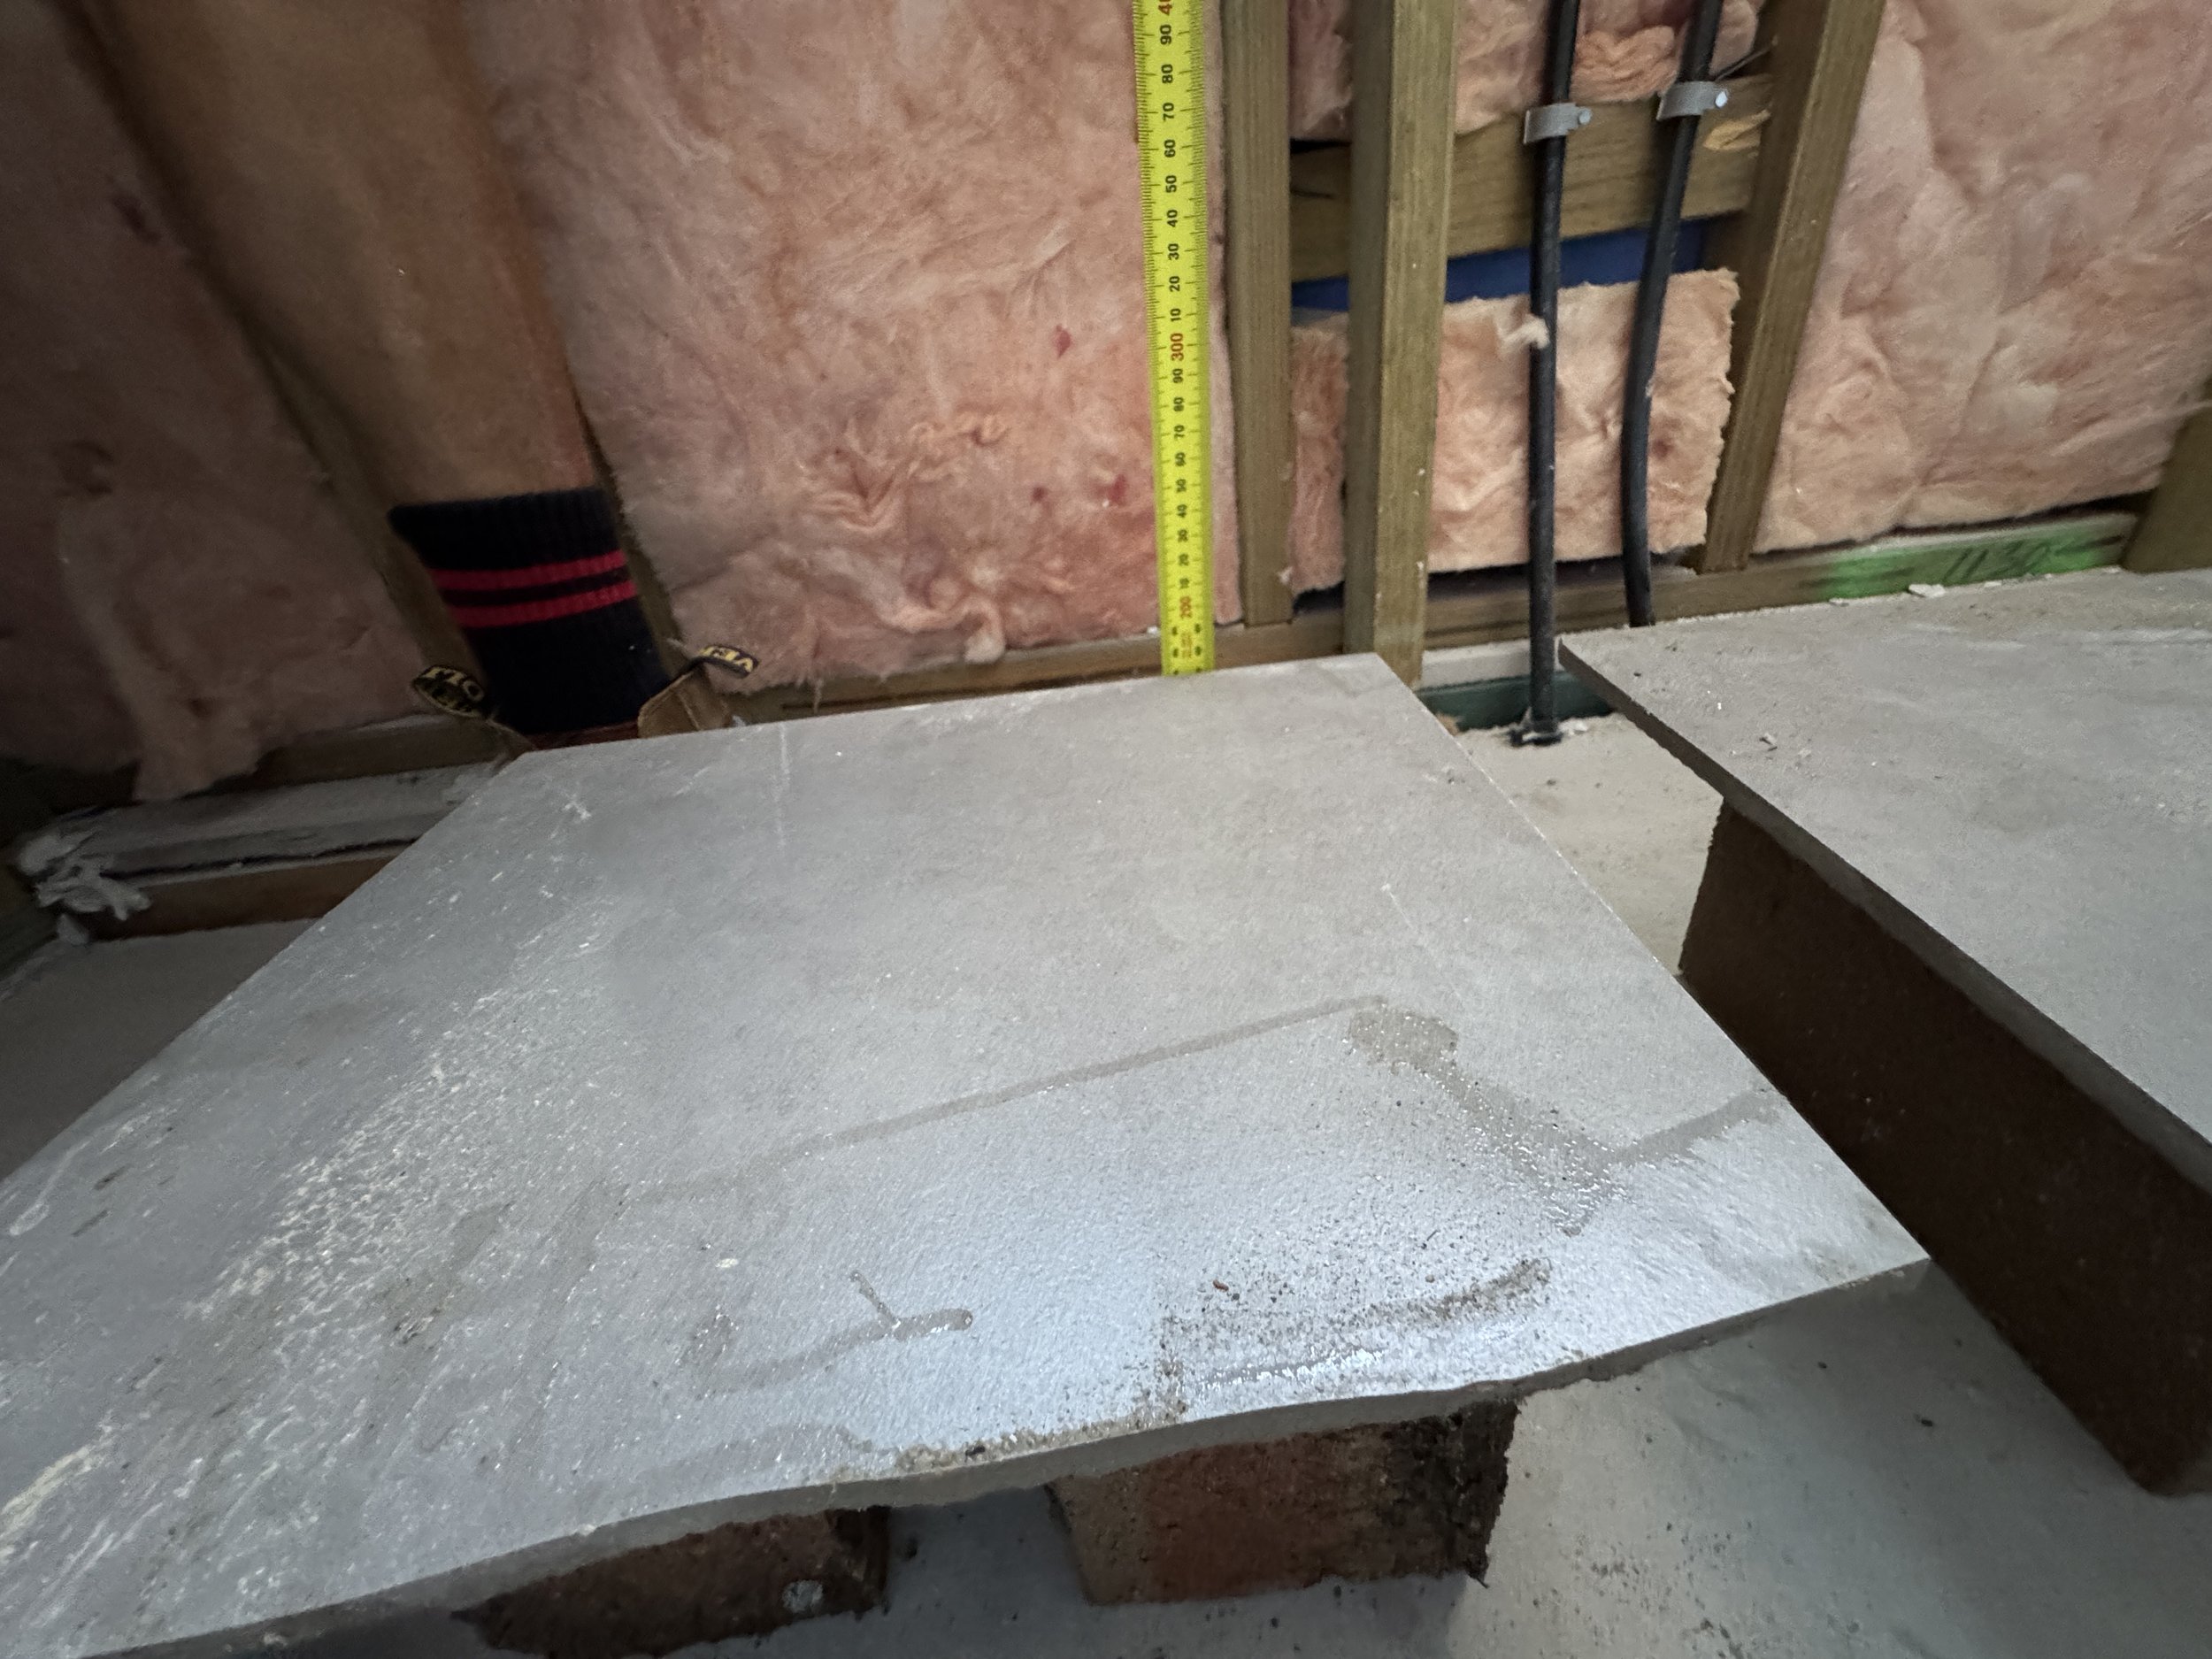
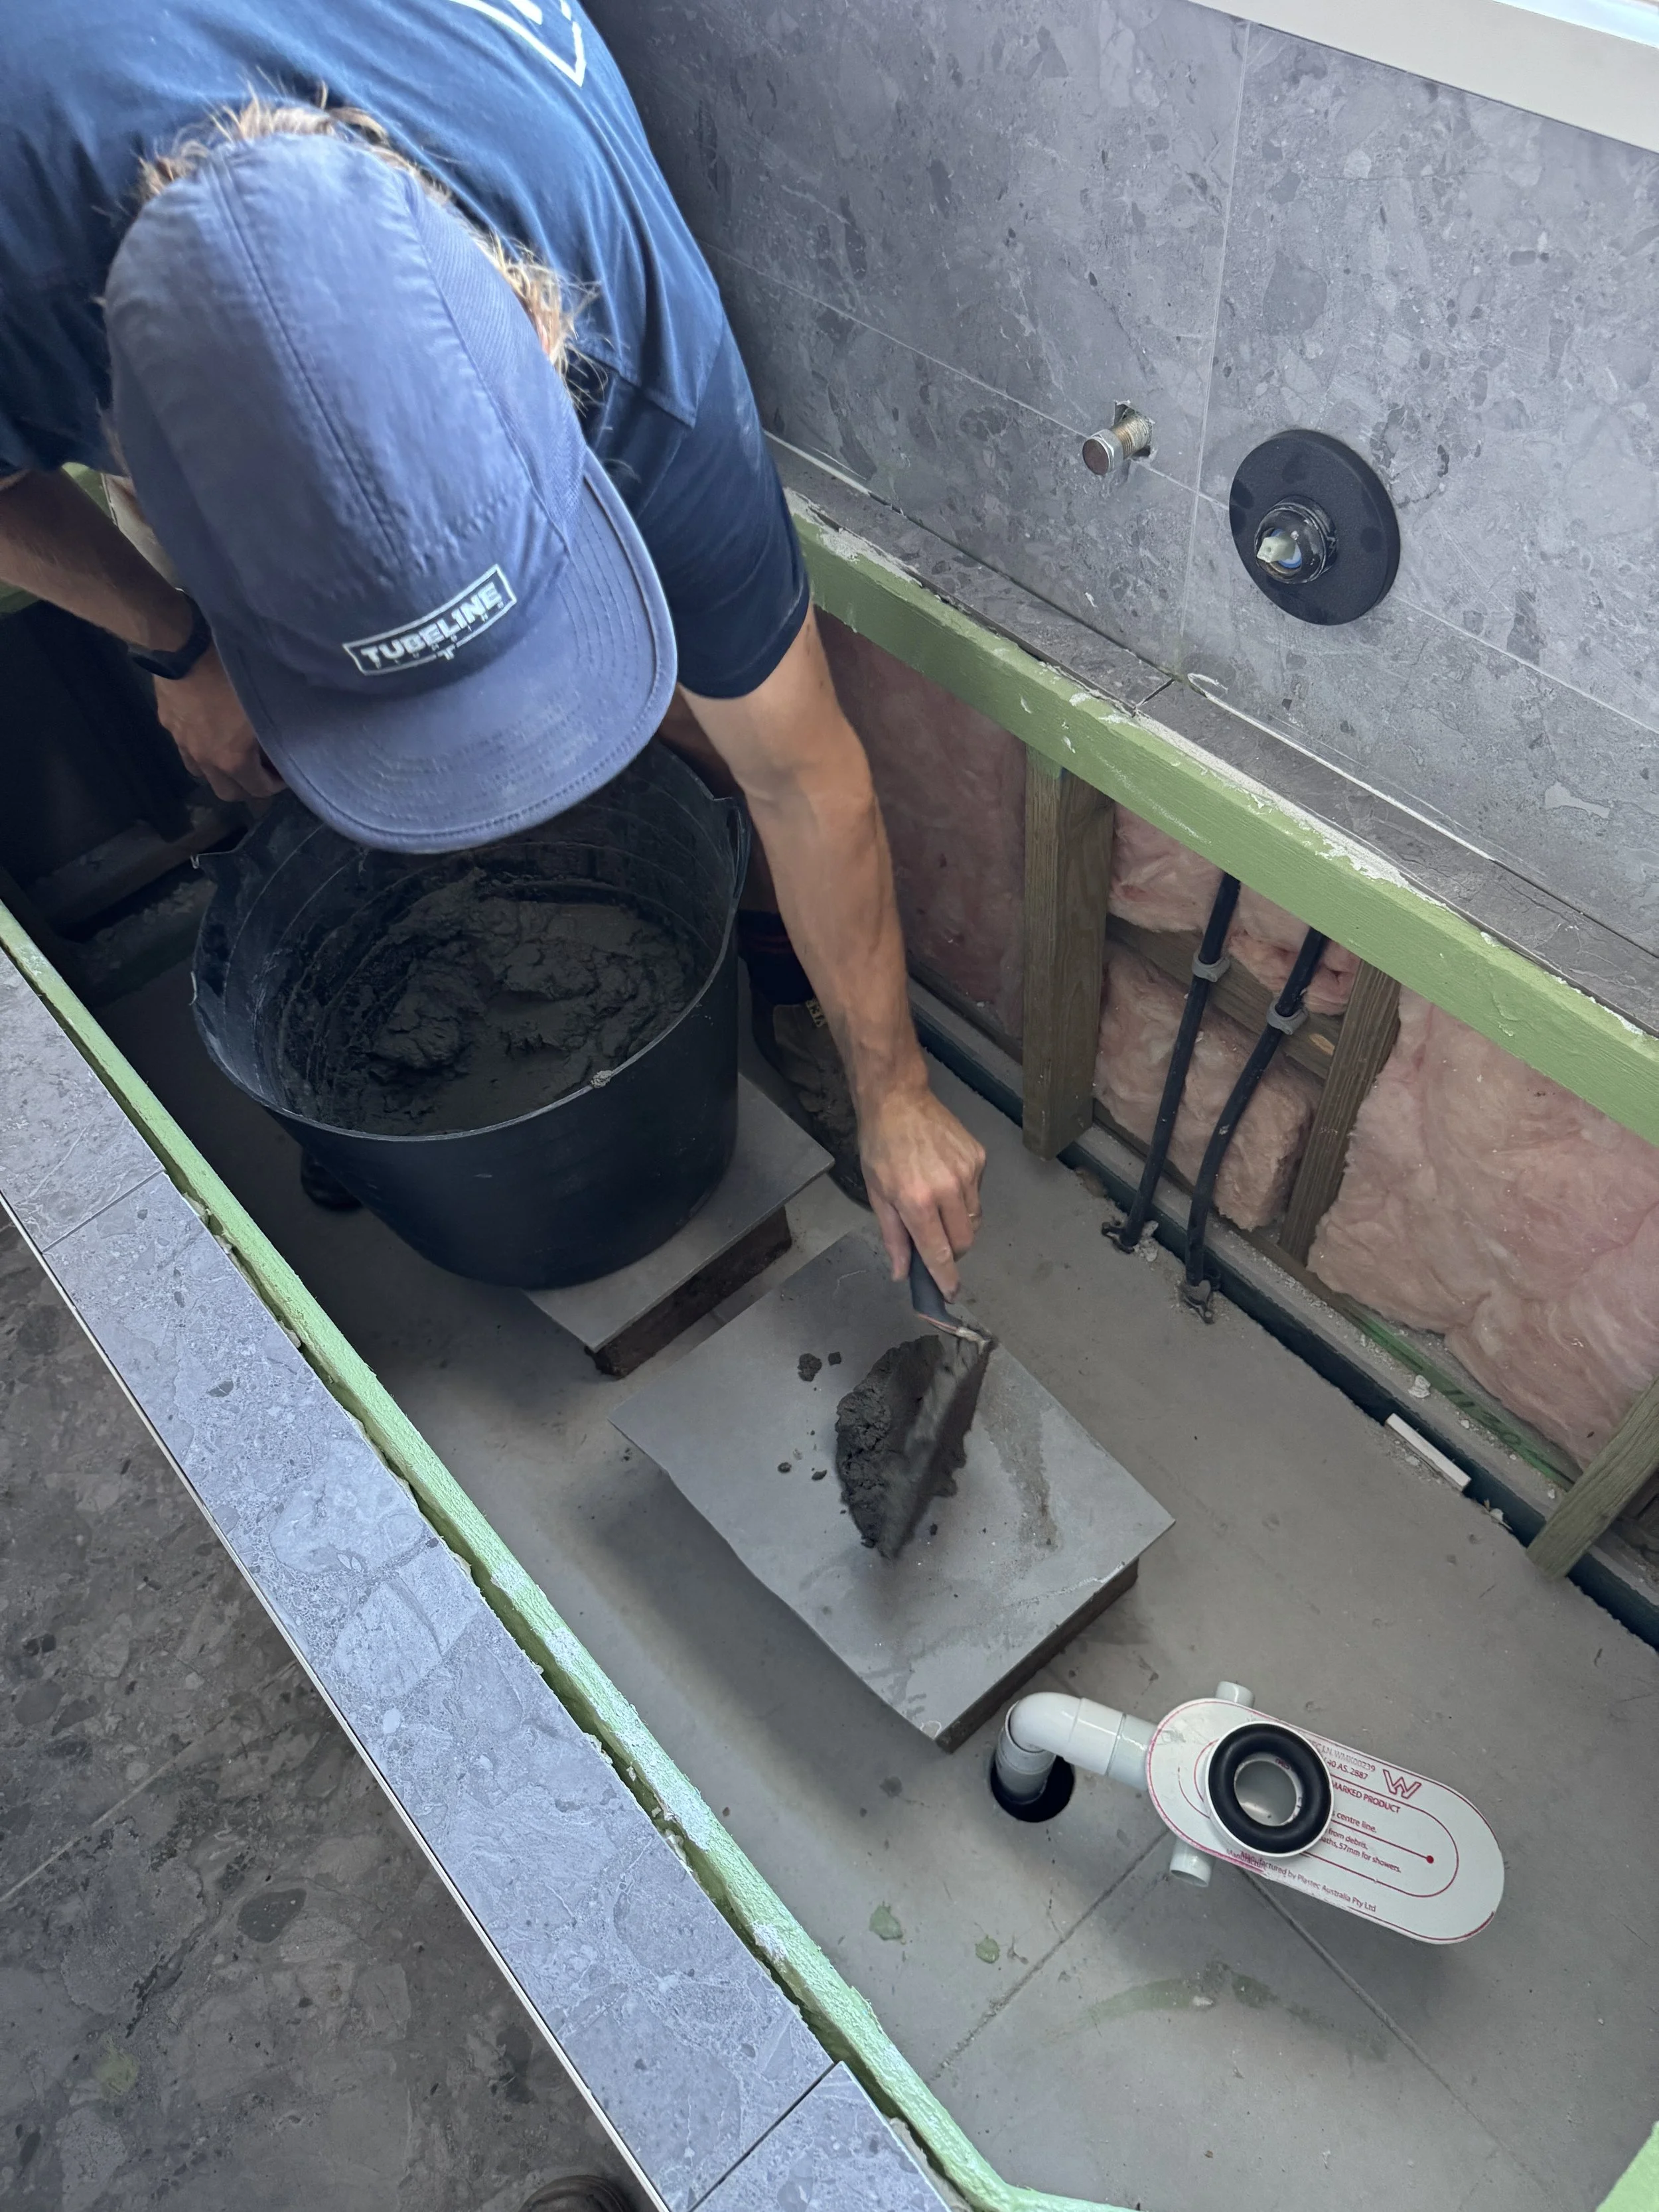
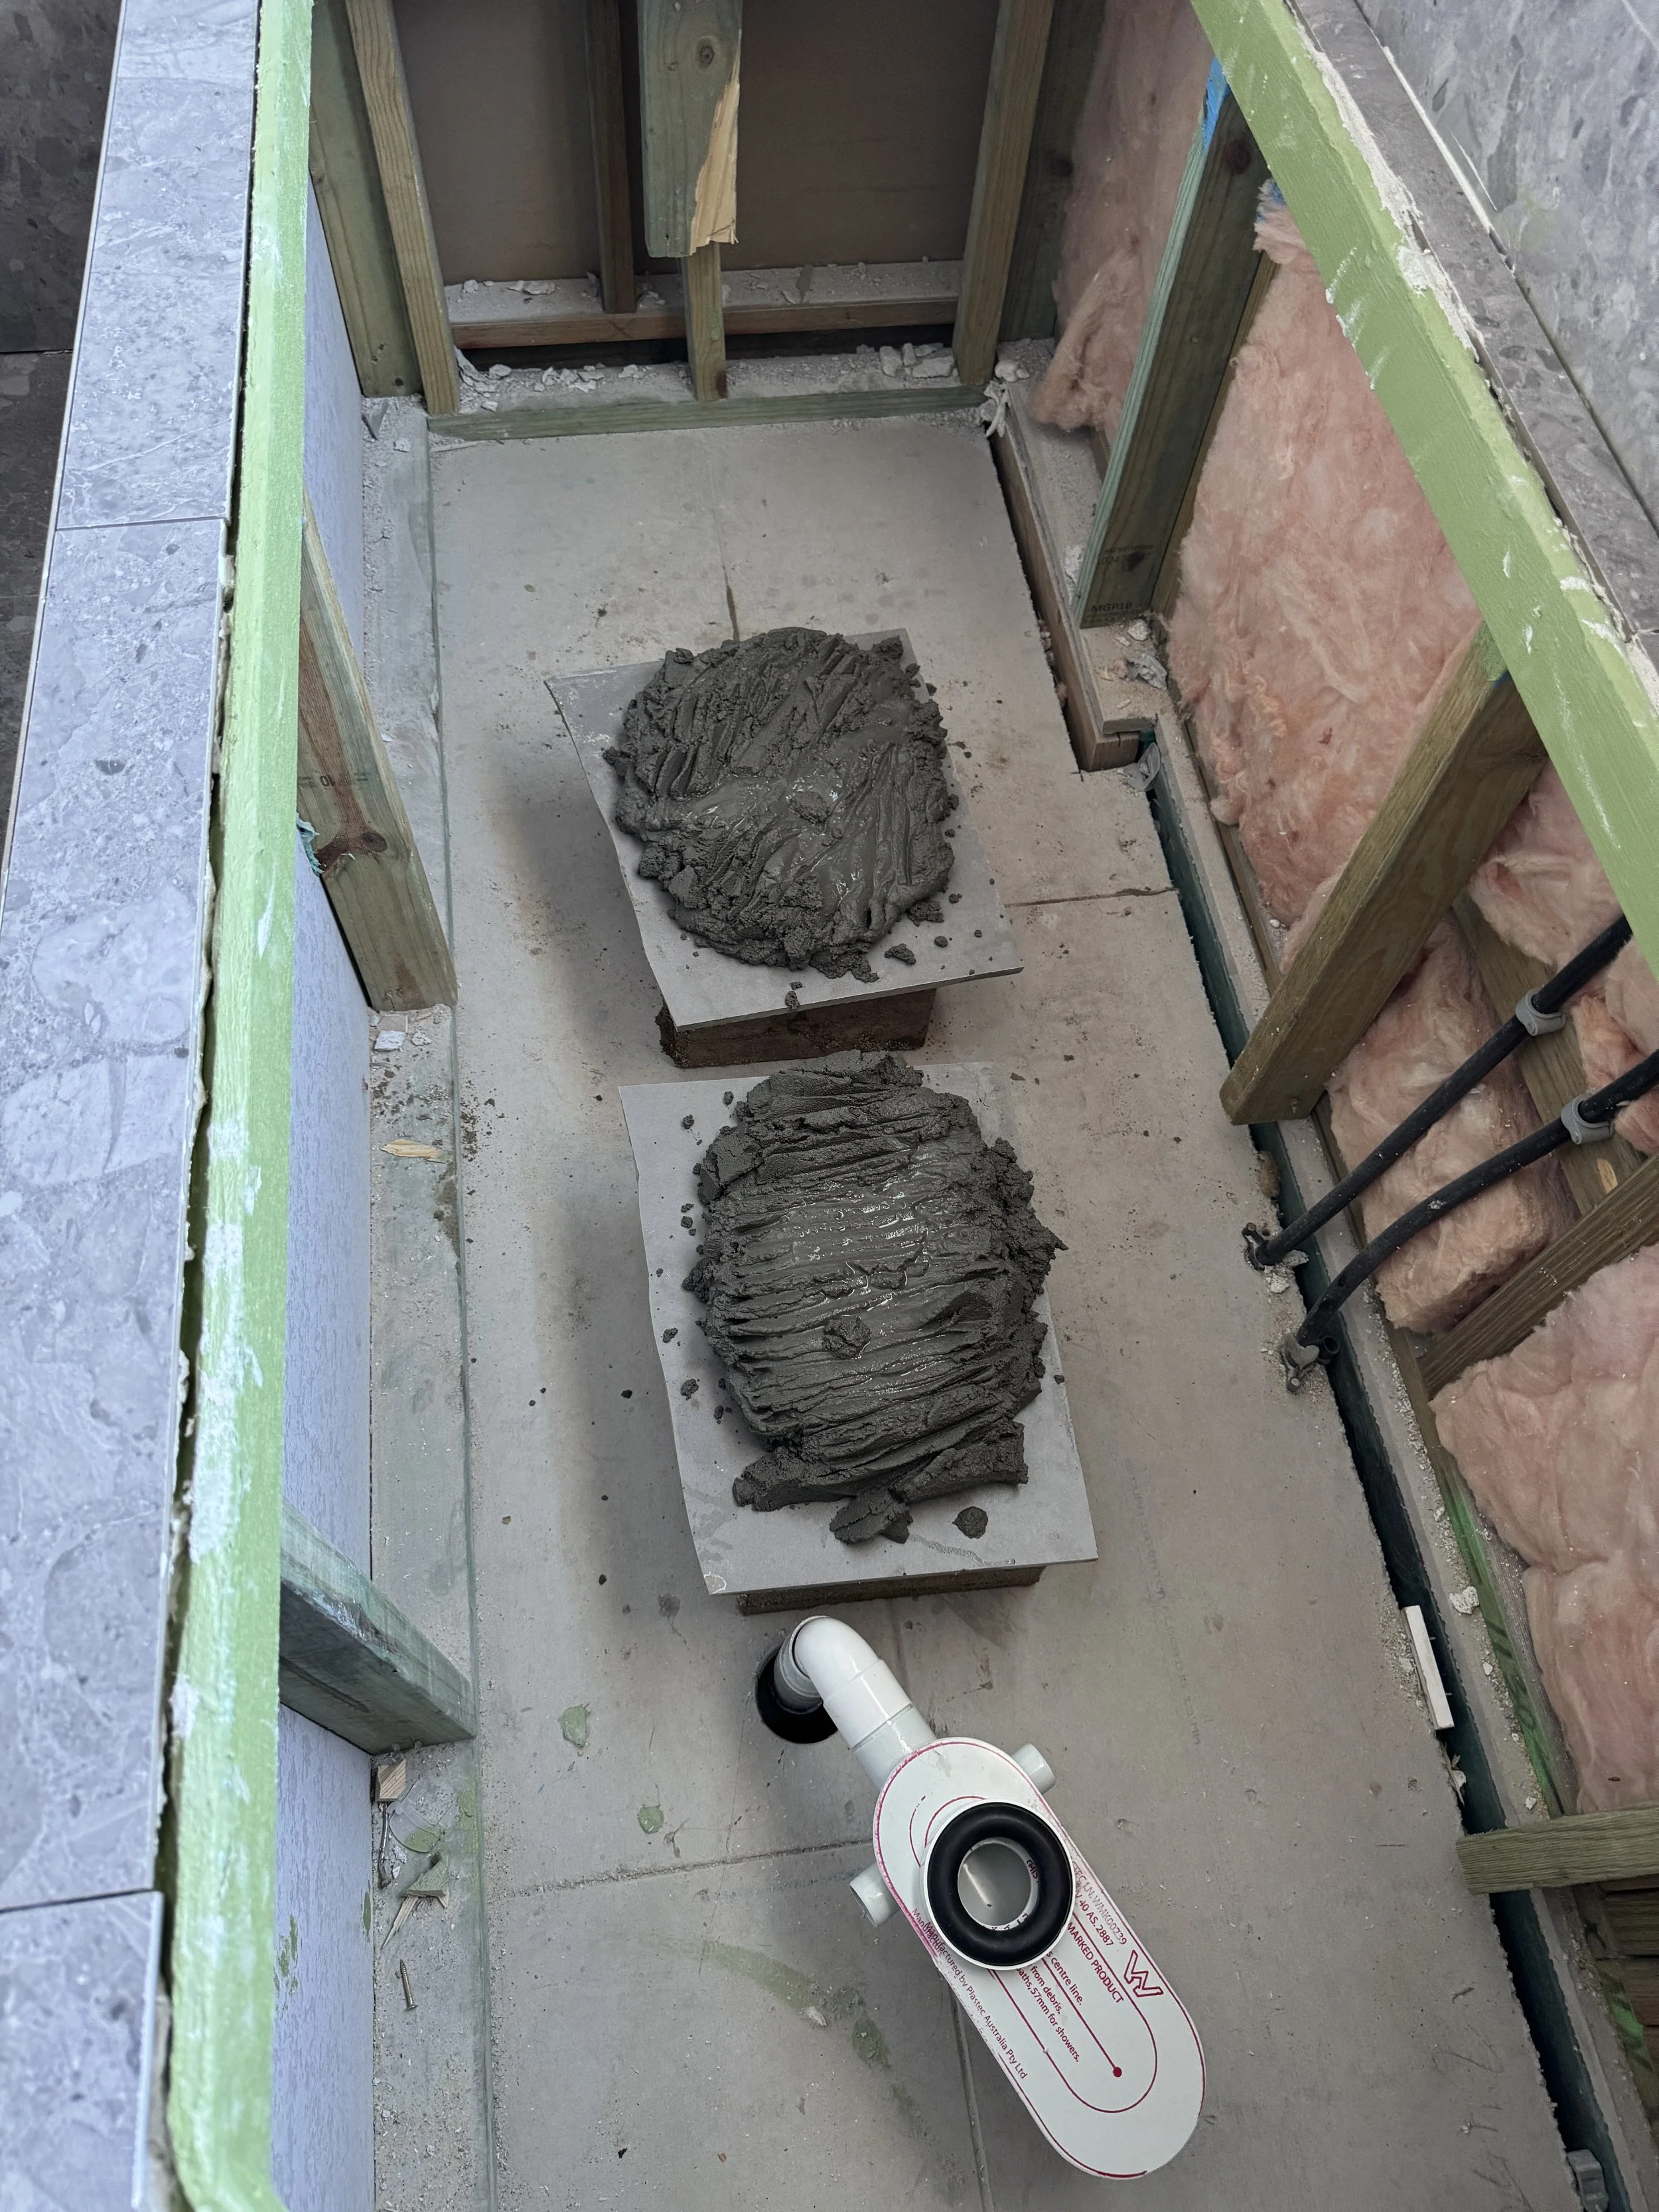
Next, find some bricks or blocks that you can sit a tile on or flat block of wood to support the mortar and bath. We’re aiming for 50mm below the bottom of the bath.
Sit in place making sure that the bath is supported at both ends.
You can usually find these materials in the skip bin or waste piles on site.
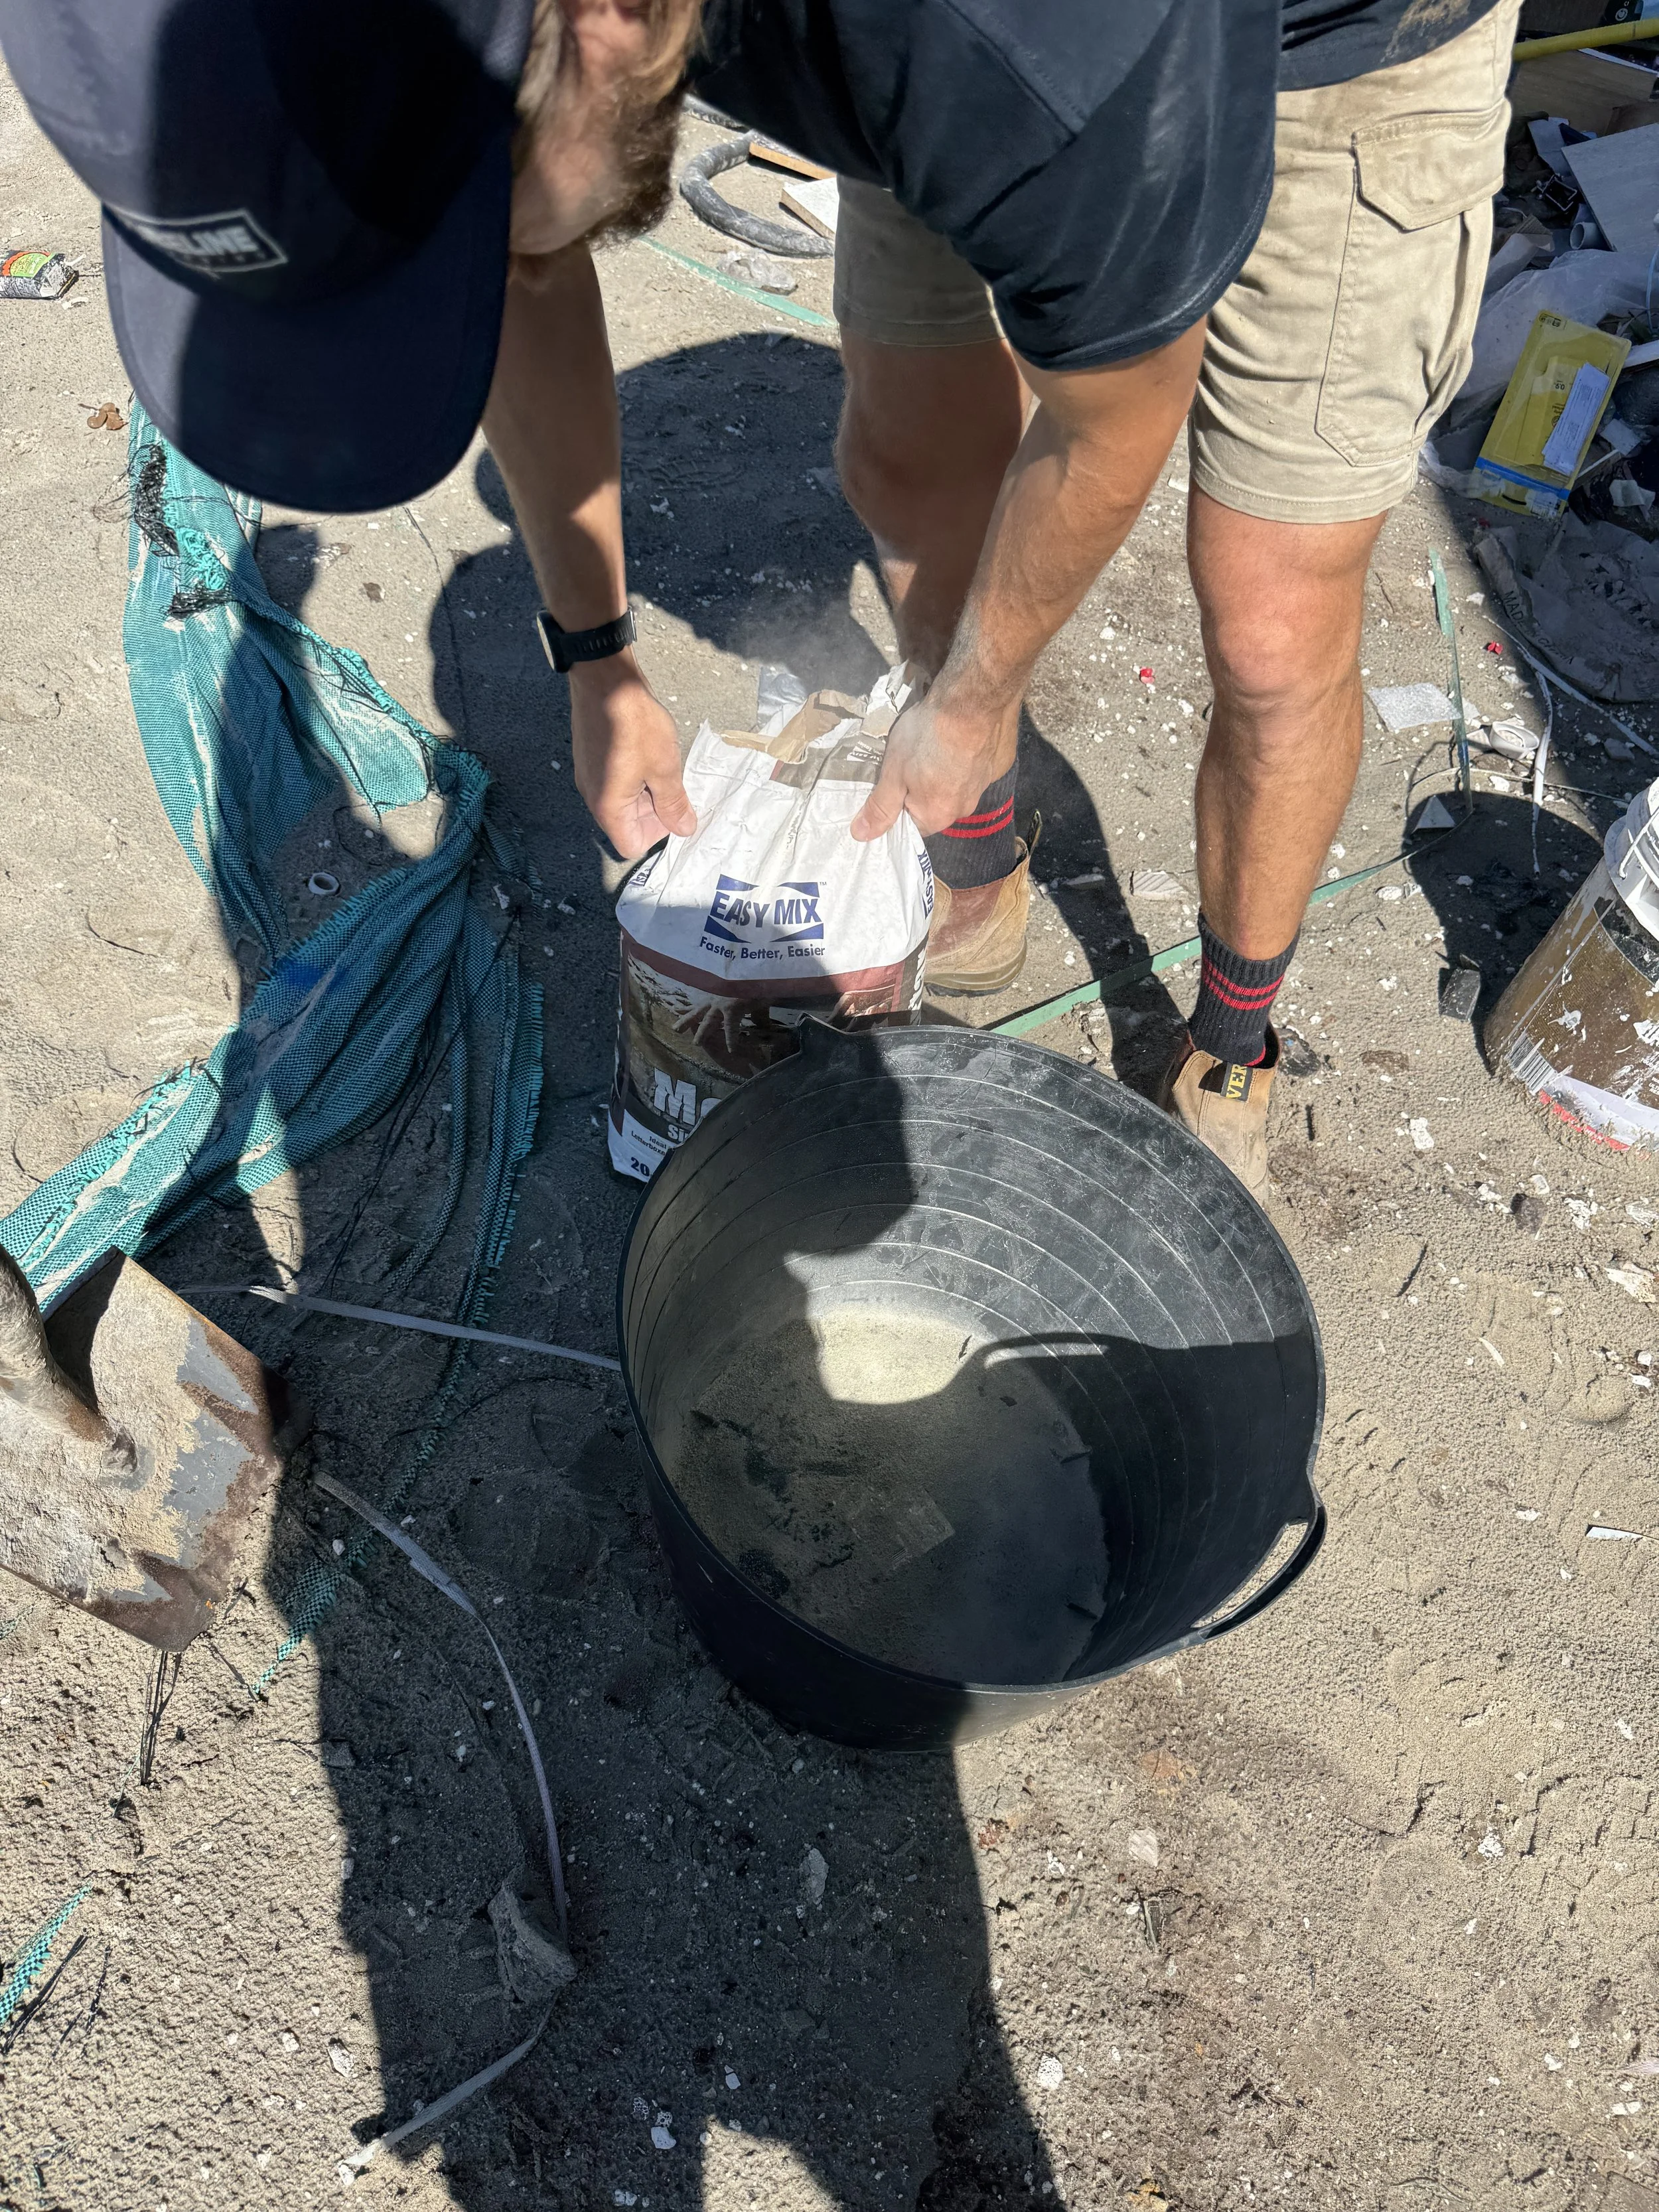
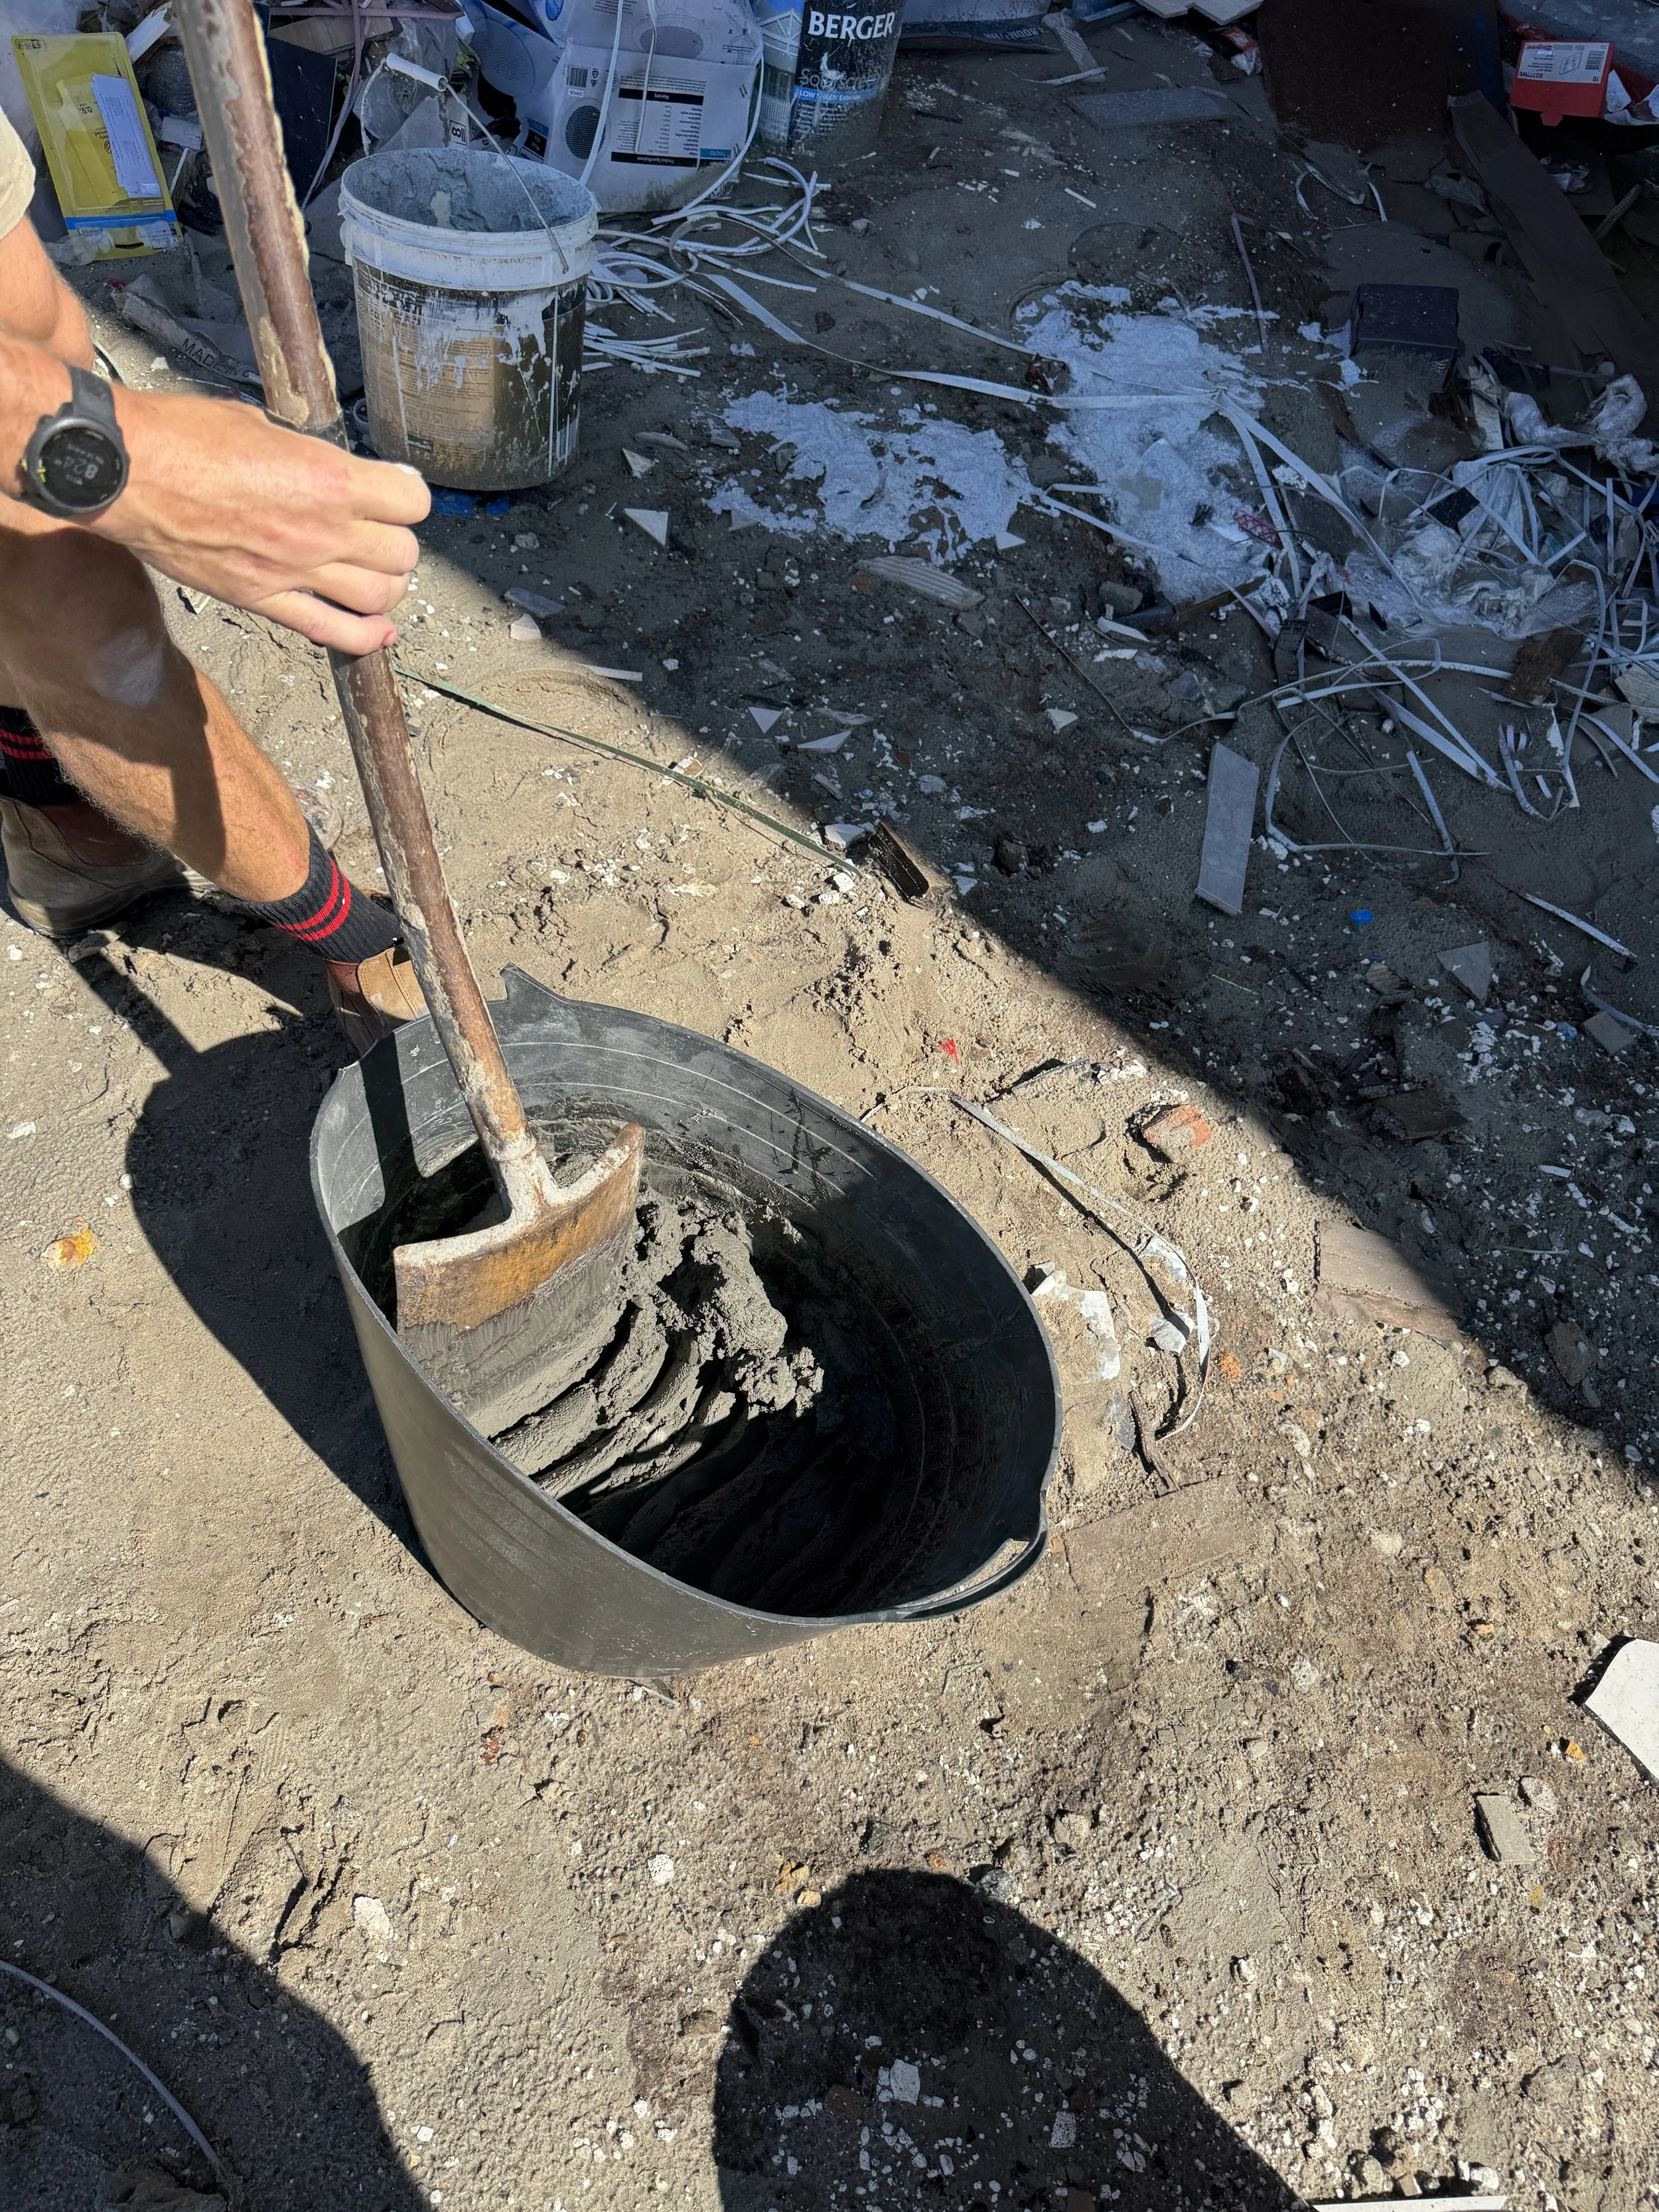
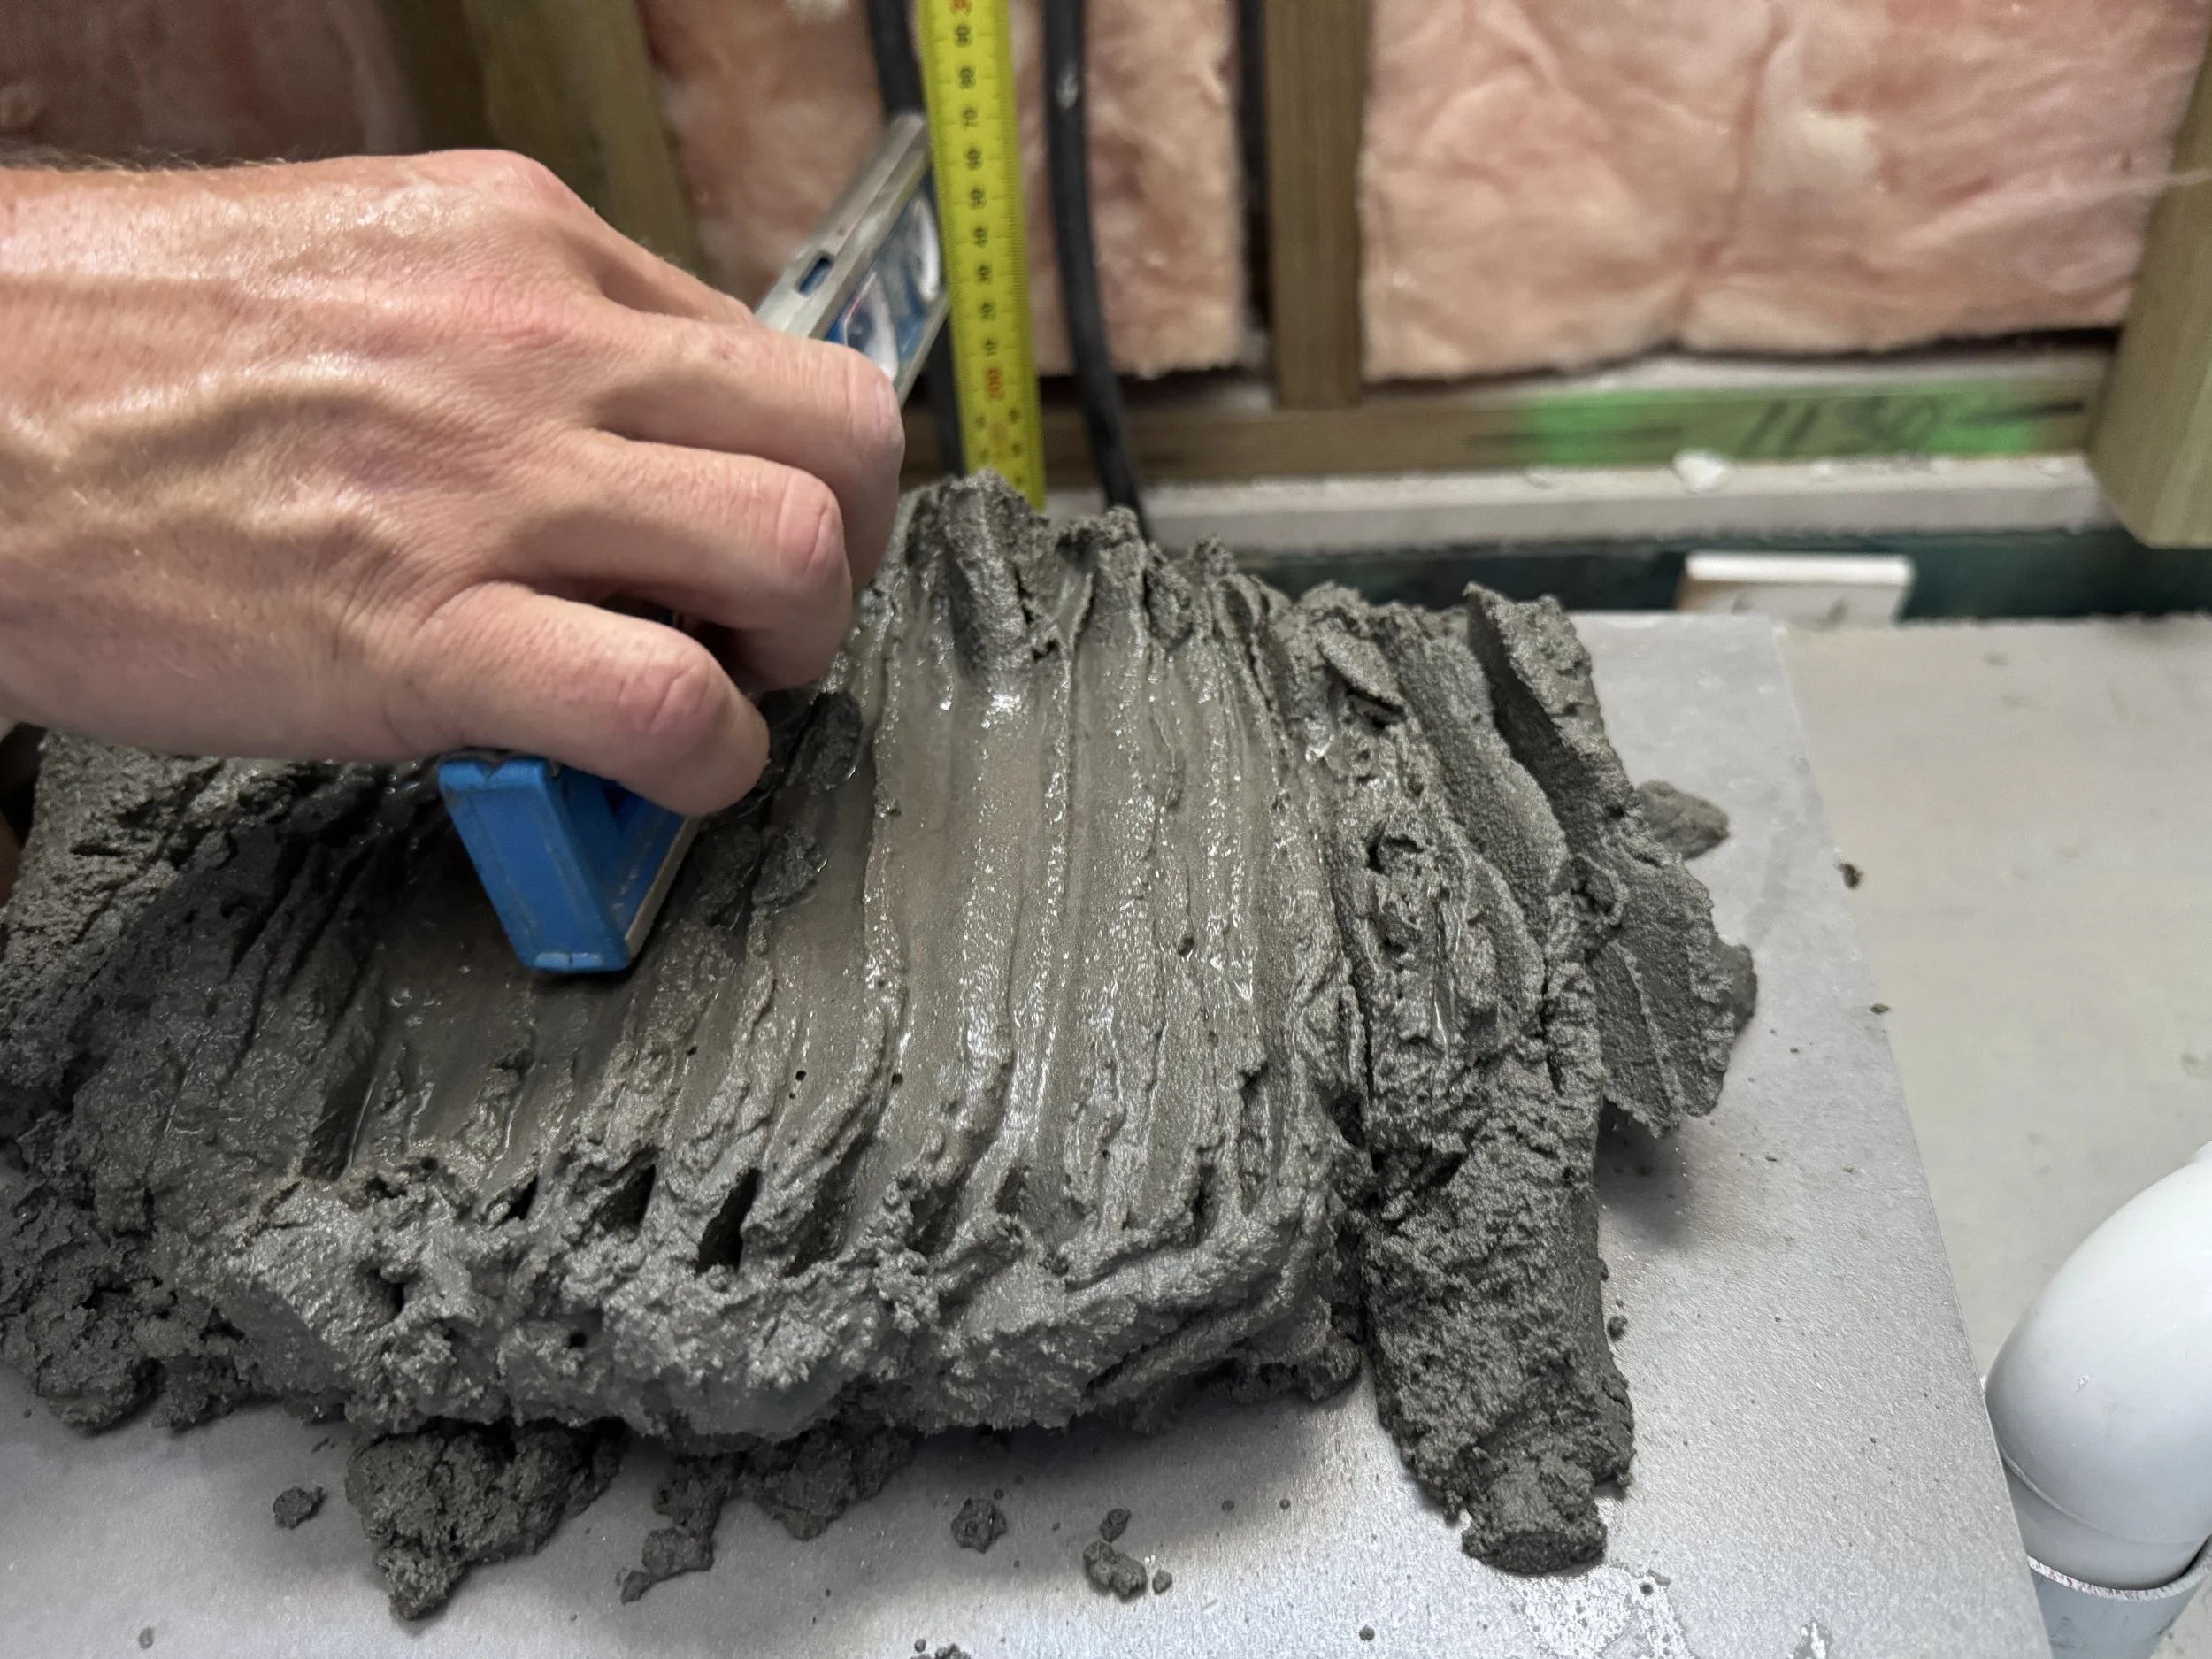
Mix up some mortar to a pretty wet consistency. Dry enough that you can shape it into a mound but wet enough that it will collapse slightly when you wobble the bath into place at the end.
Set mortar about 30mm higher than the bottom of the bath, this allows the bath to push into the mortar giving it a good base of support.
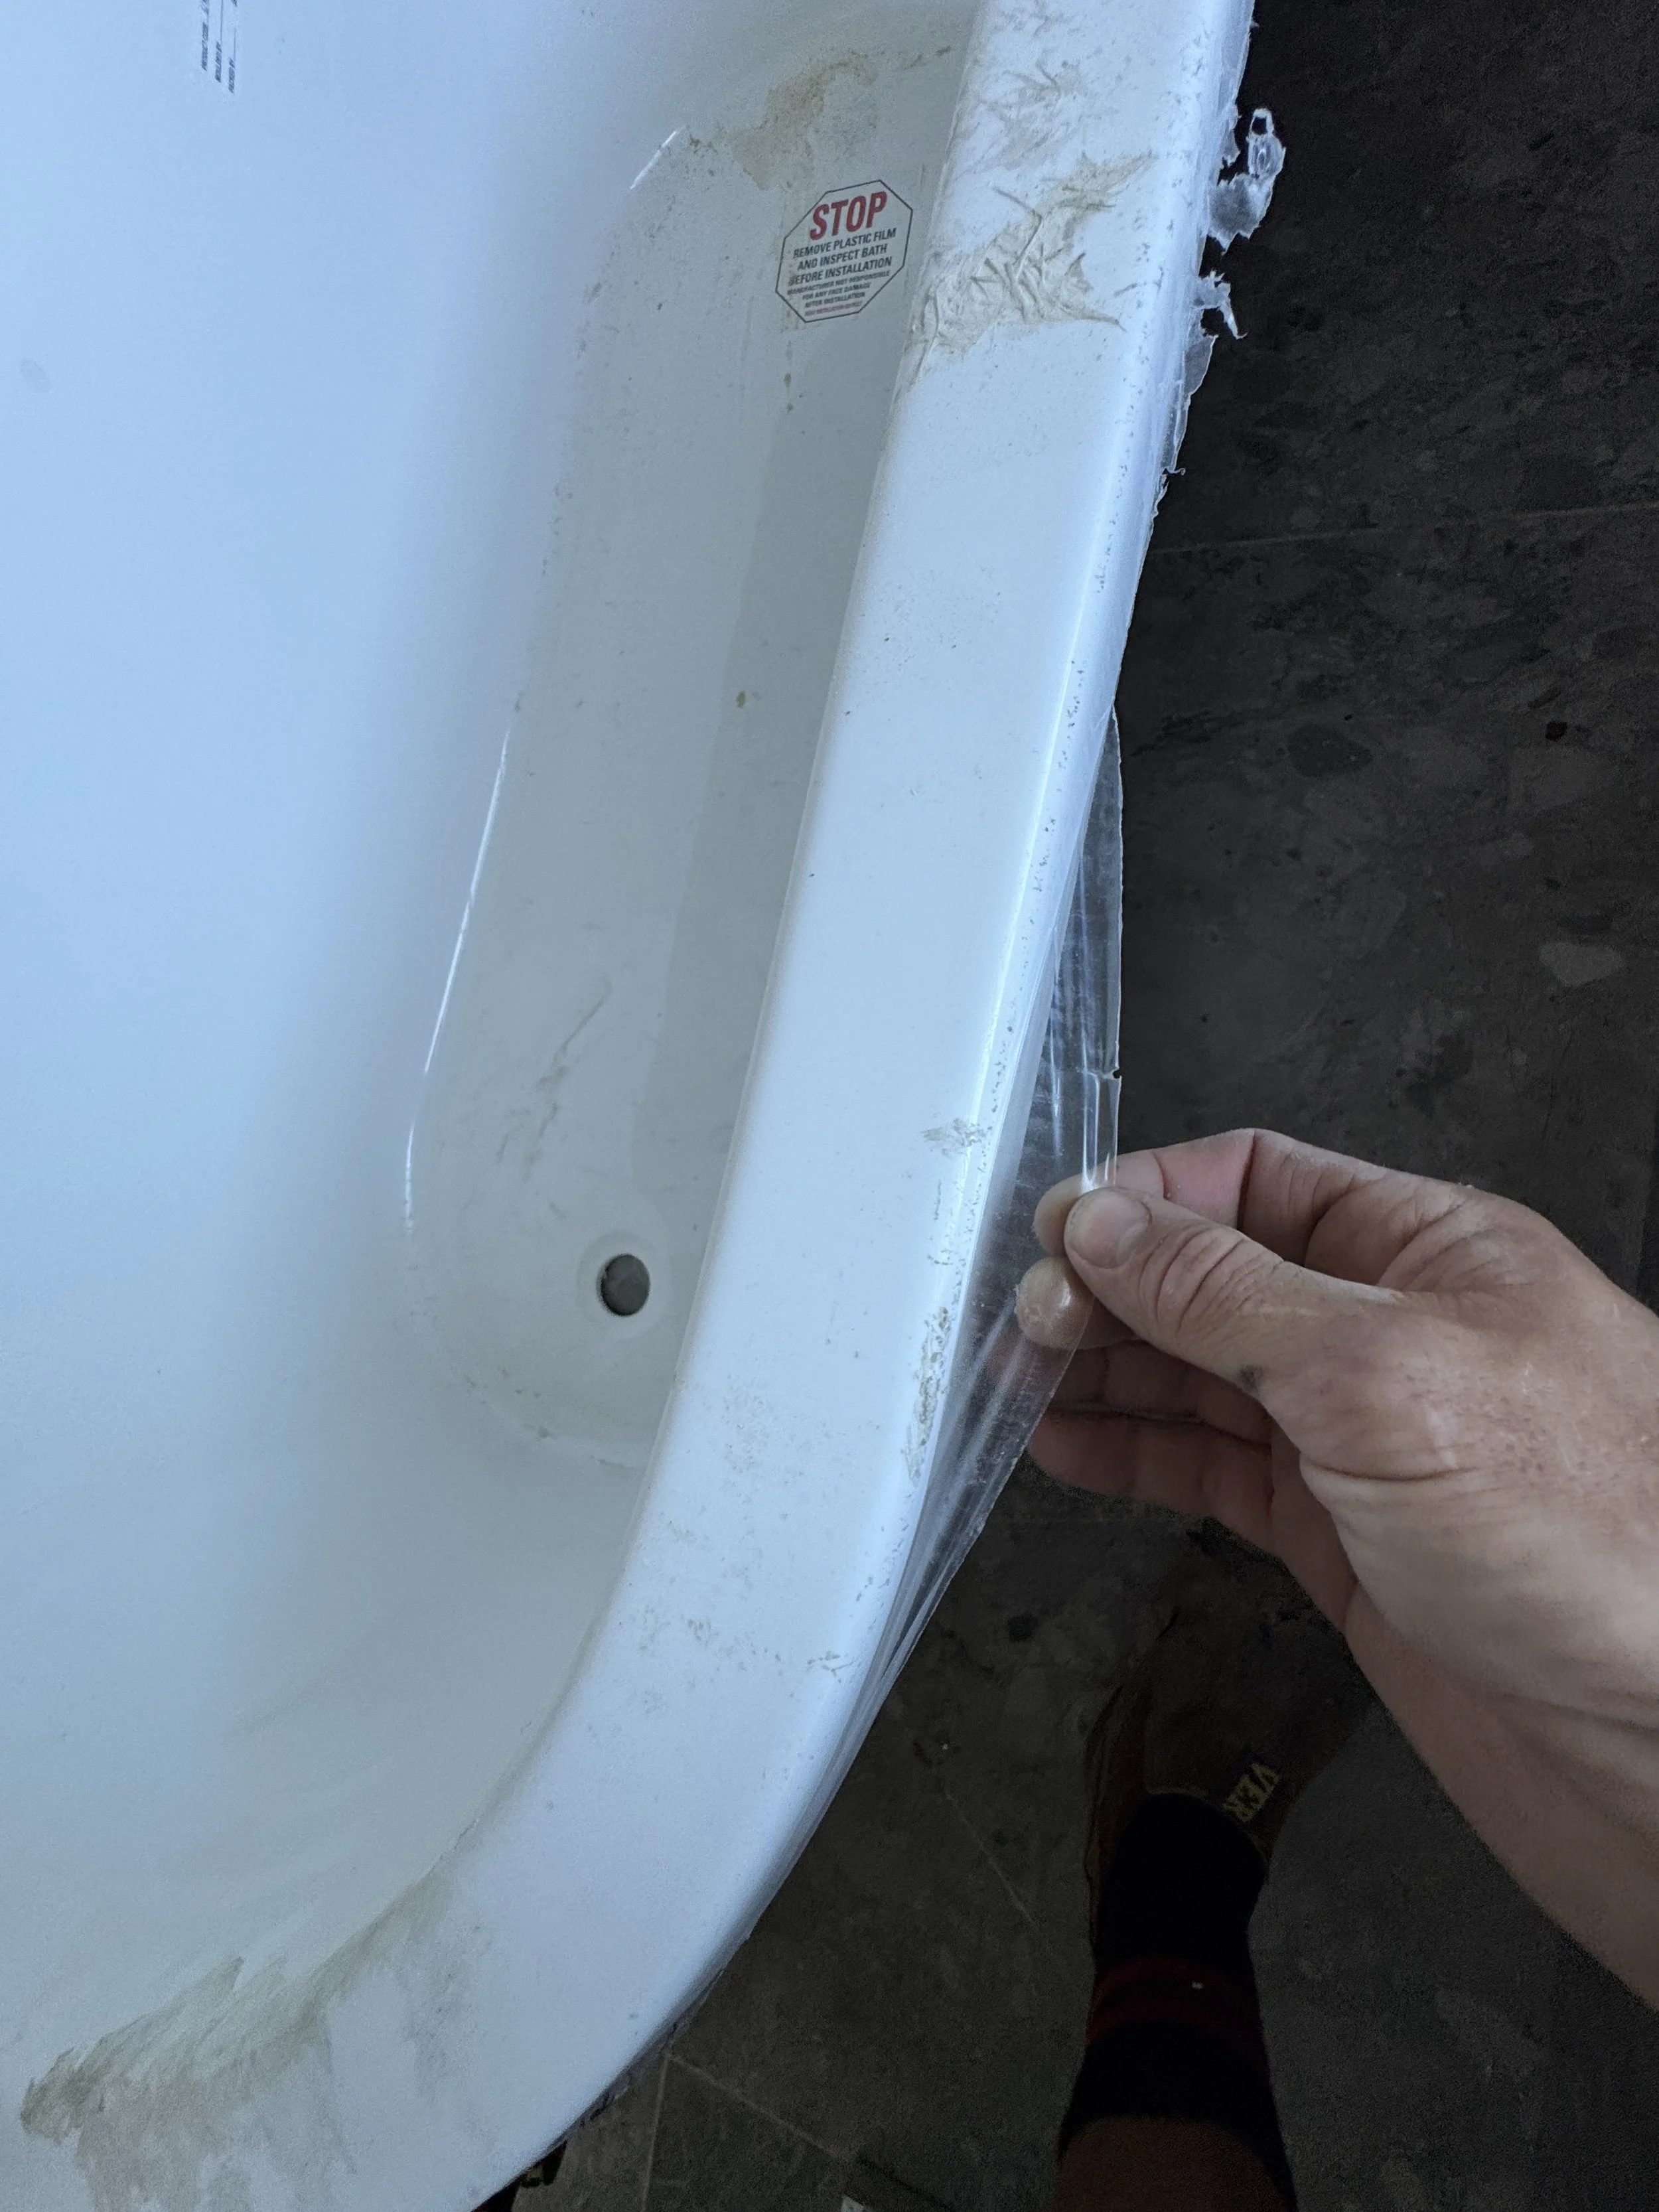
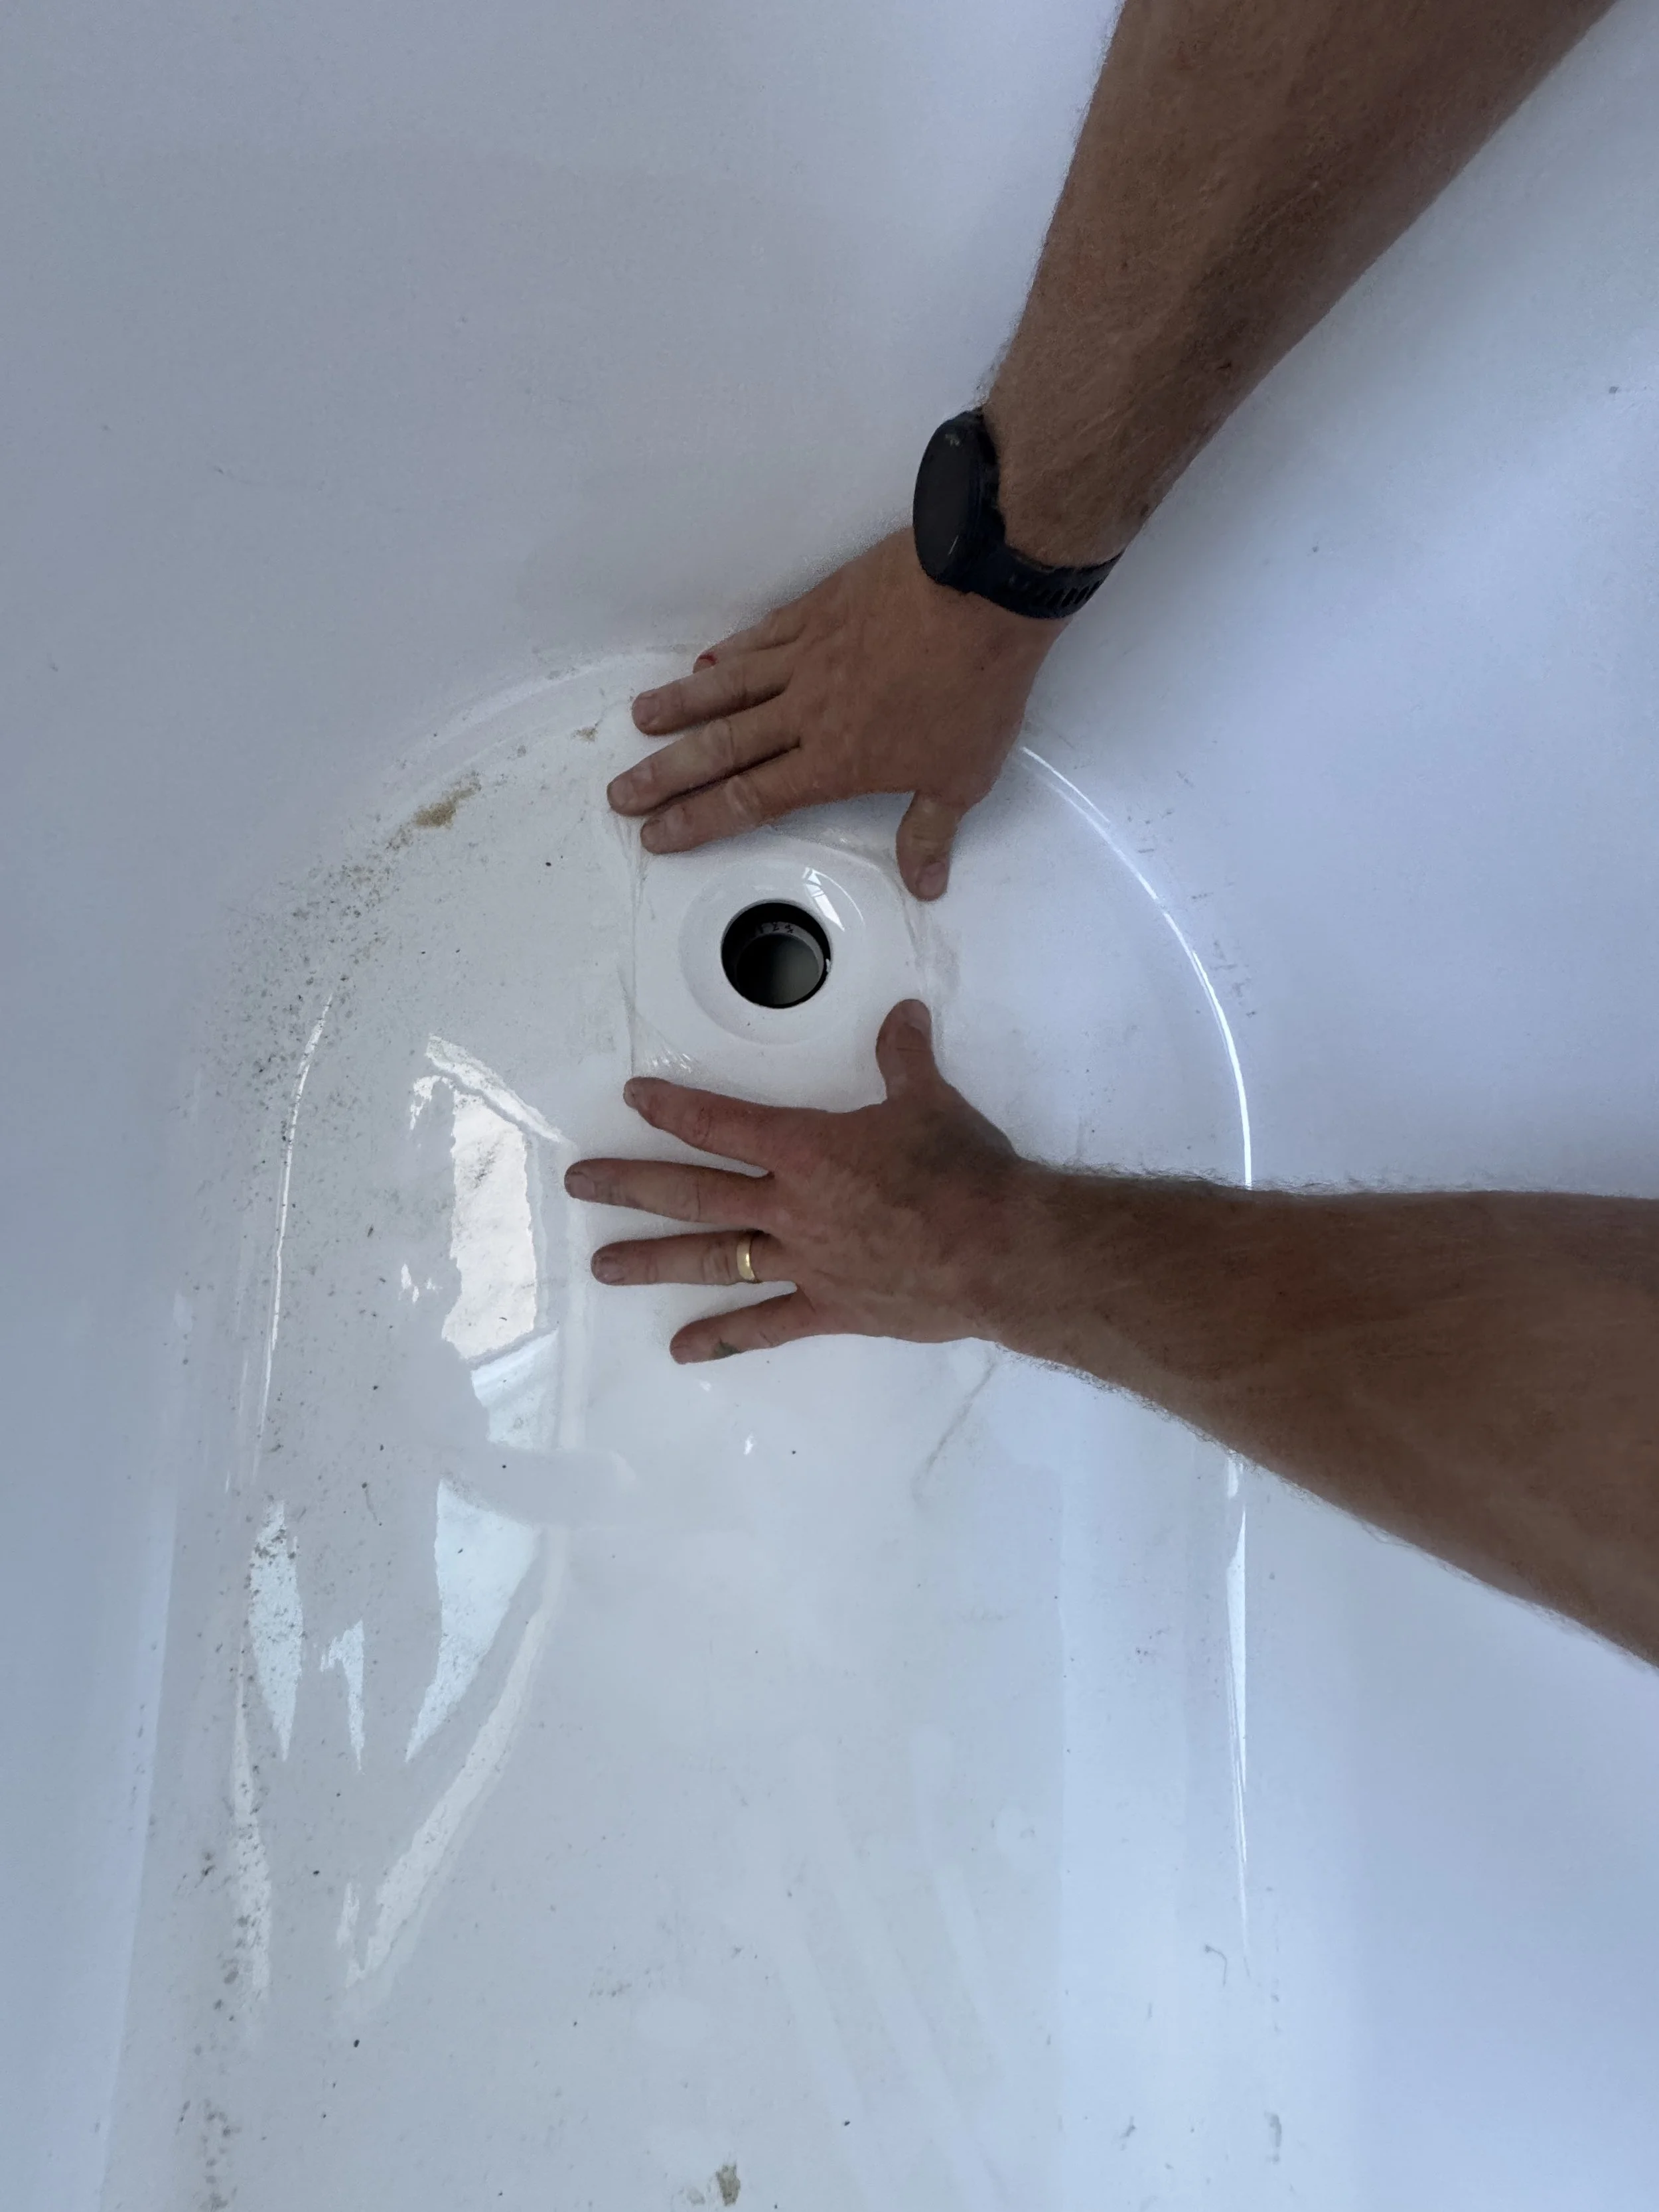
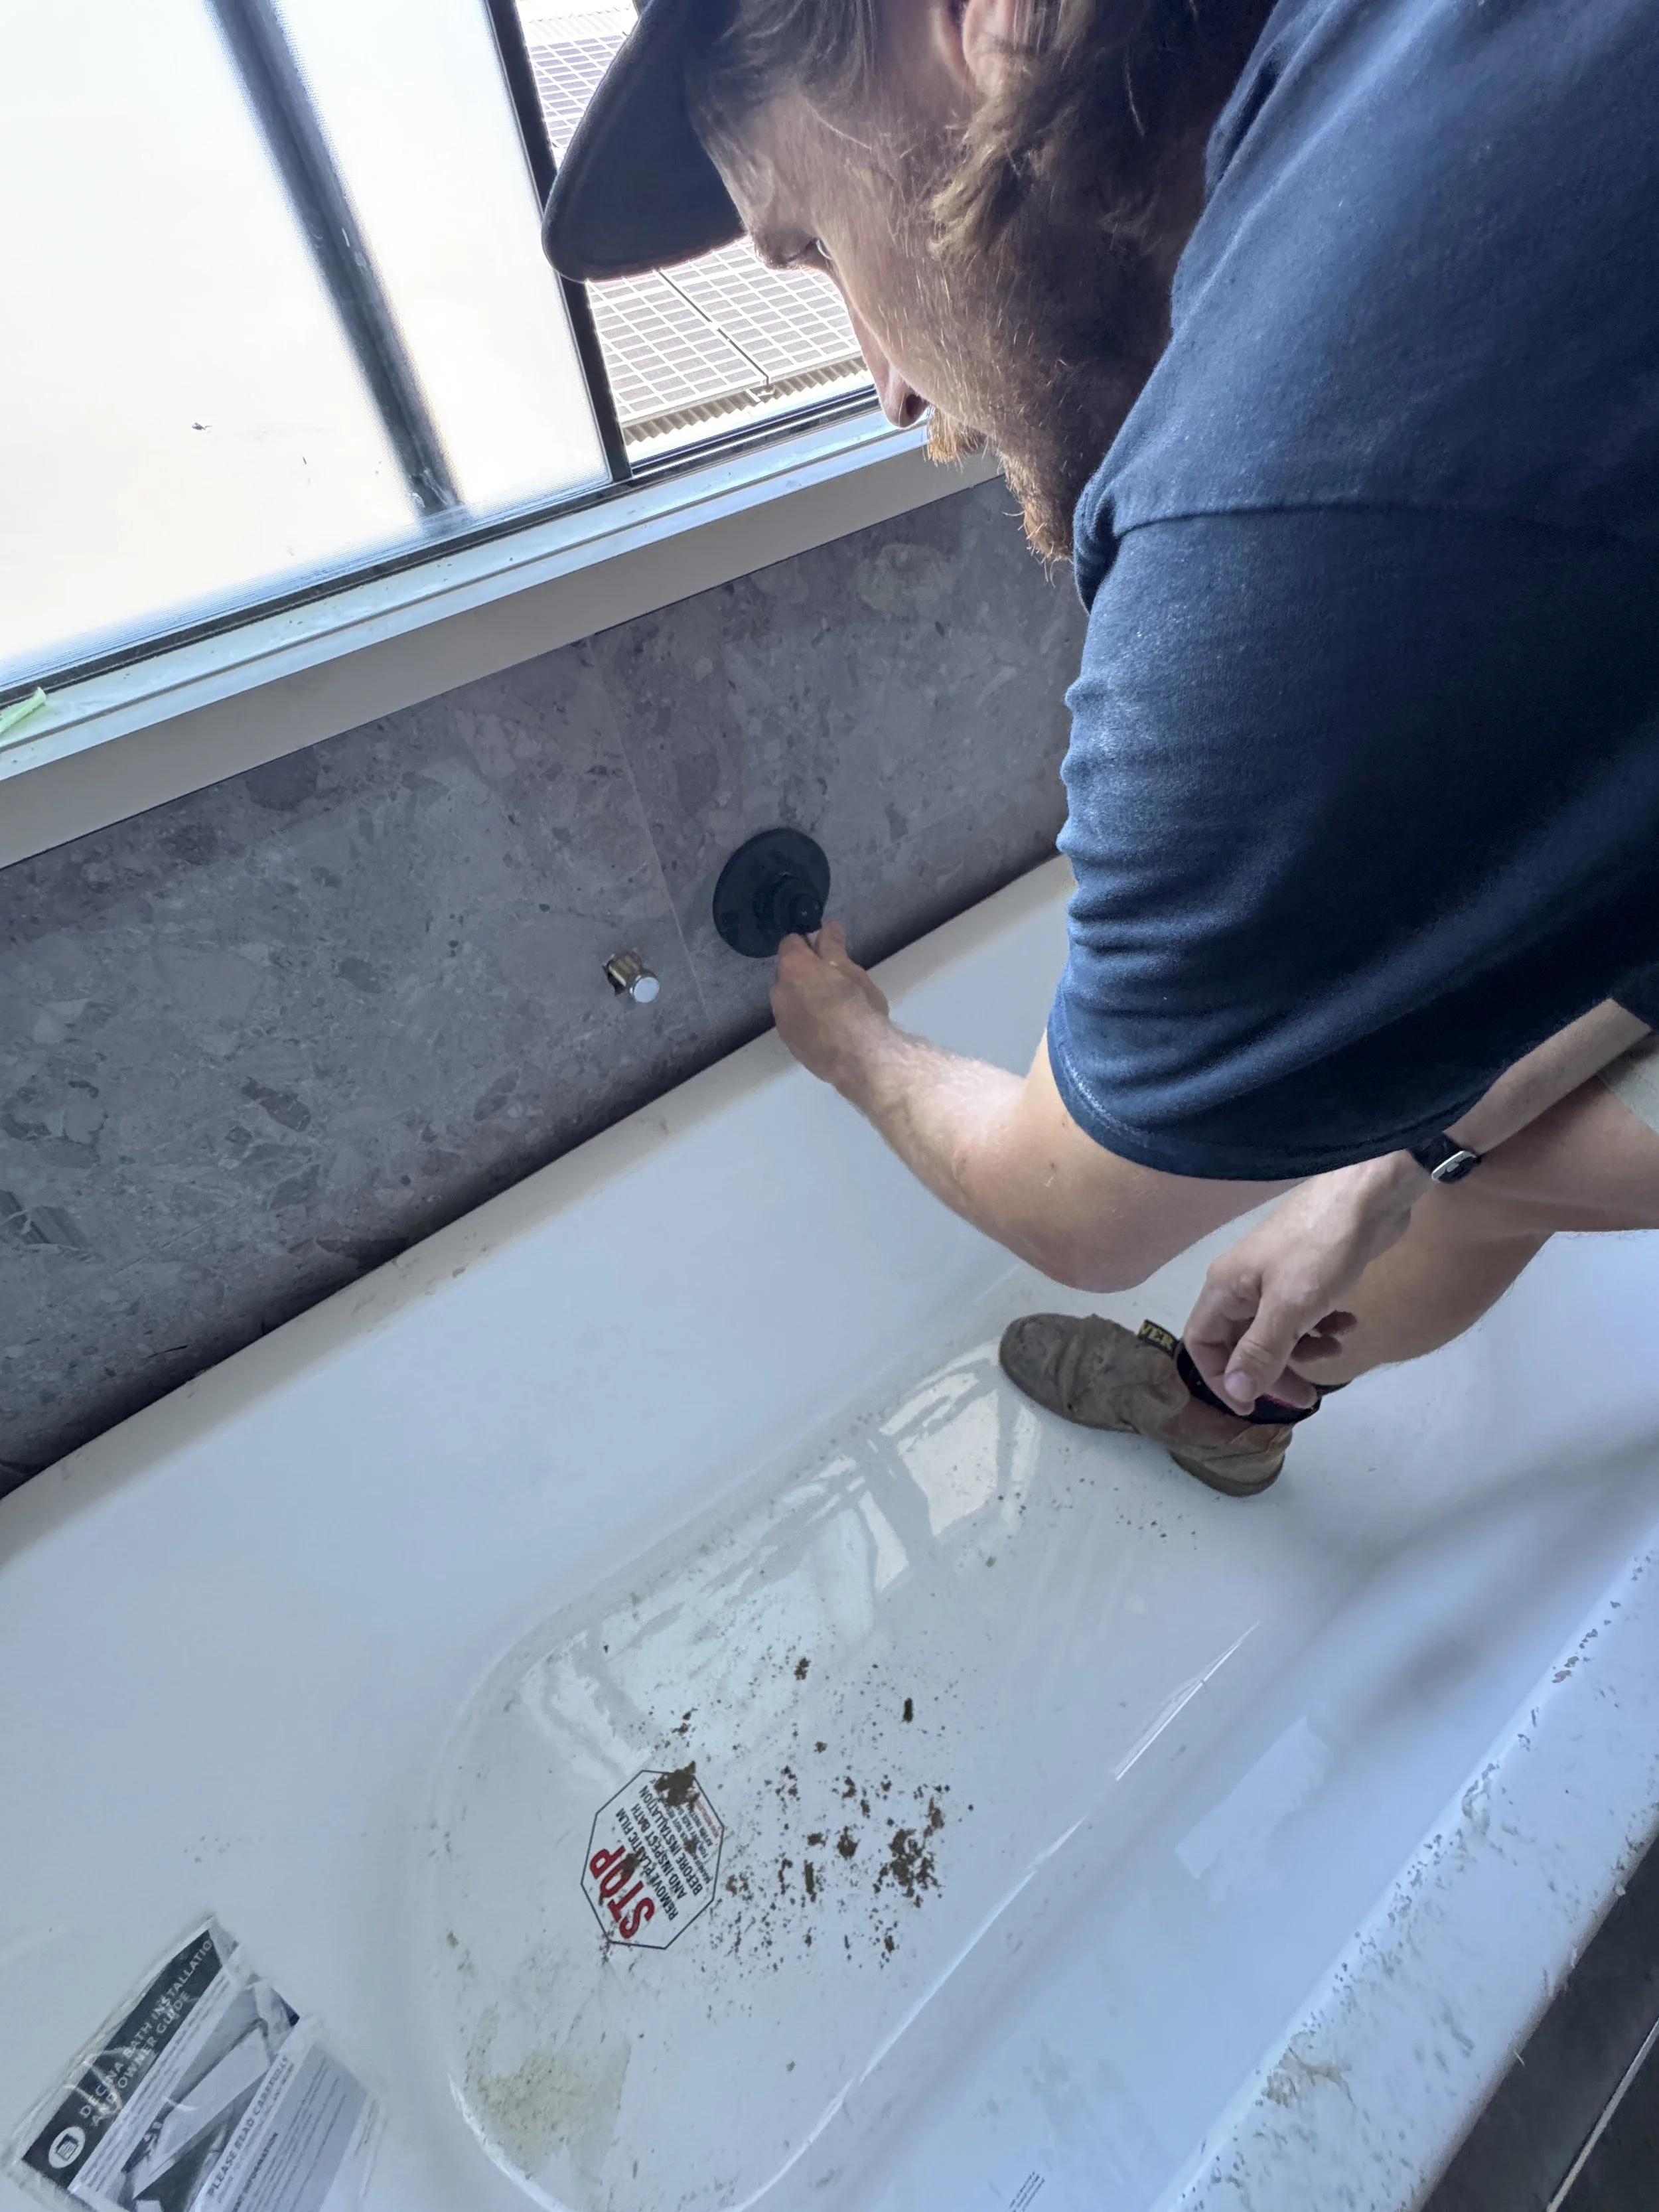
Lift the edges of the plastic to make it easier for whoever is doing it later. Leave the plastic on as other trades are notoriously messy when it comes to baths and use them as a bit of a bin on site.
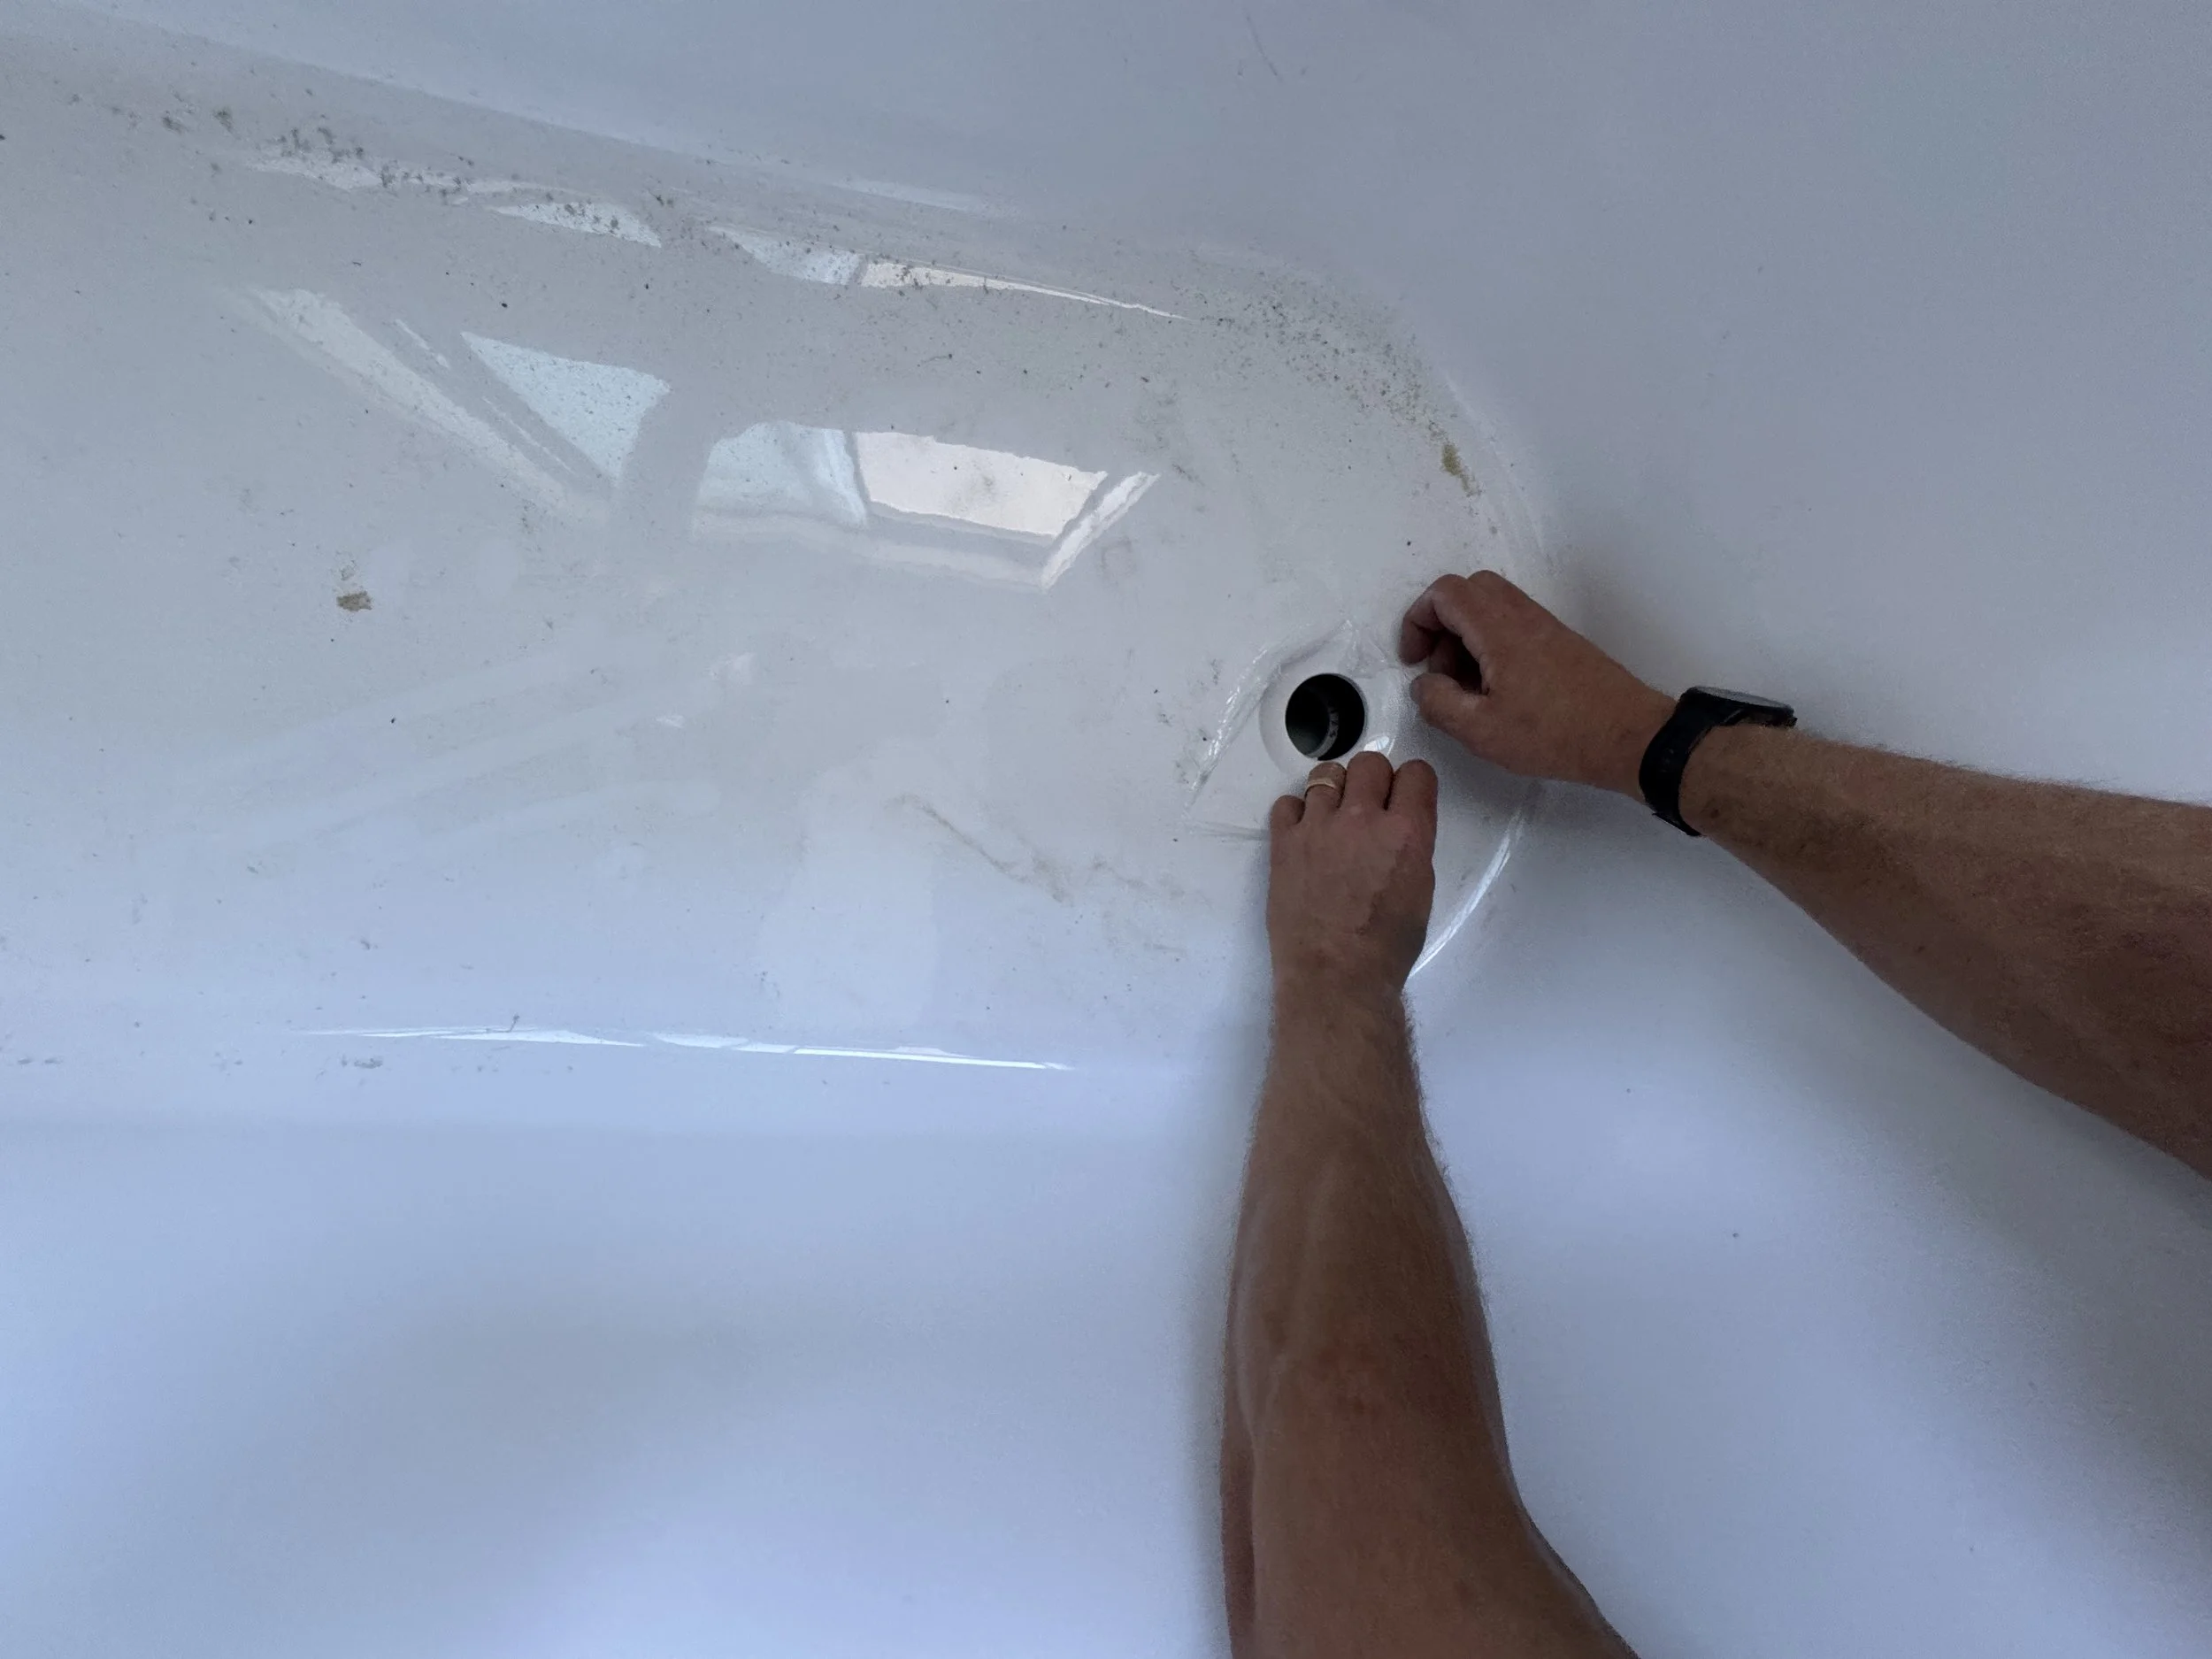
Peel back some of the plastic around the bath waste so that we can seal with silicone. Clean with metho if it’s dirty.
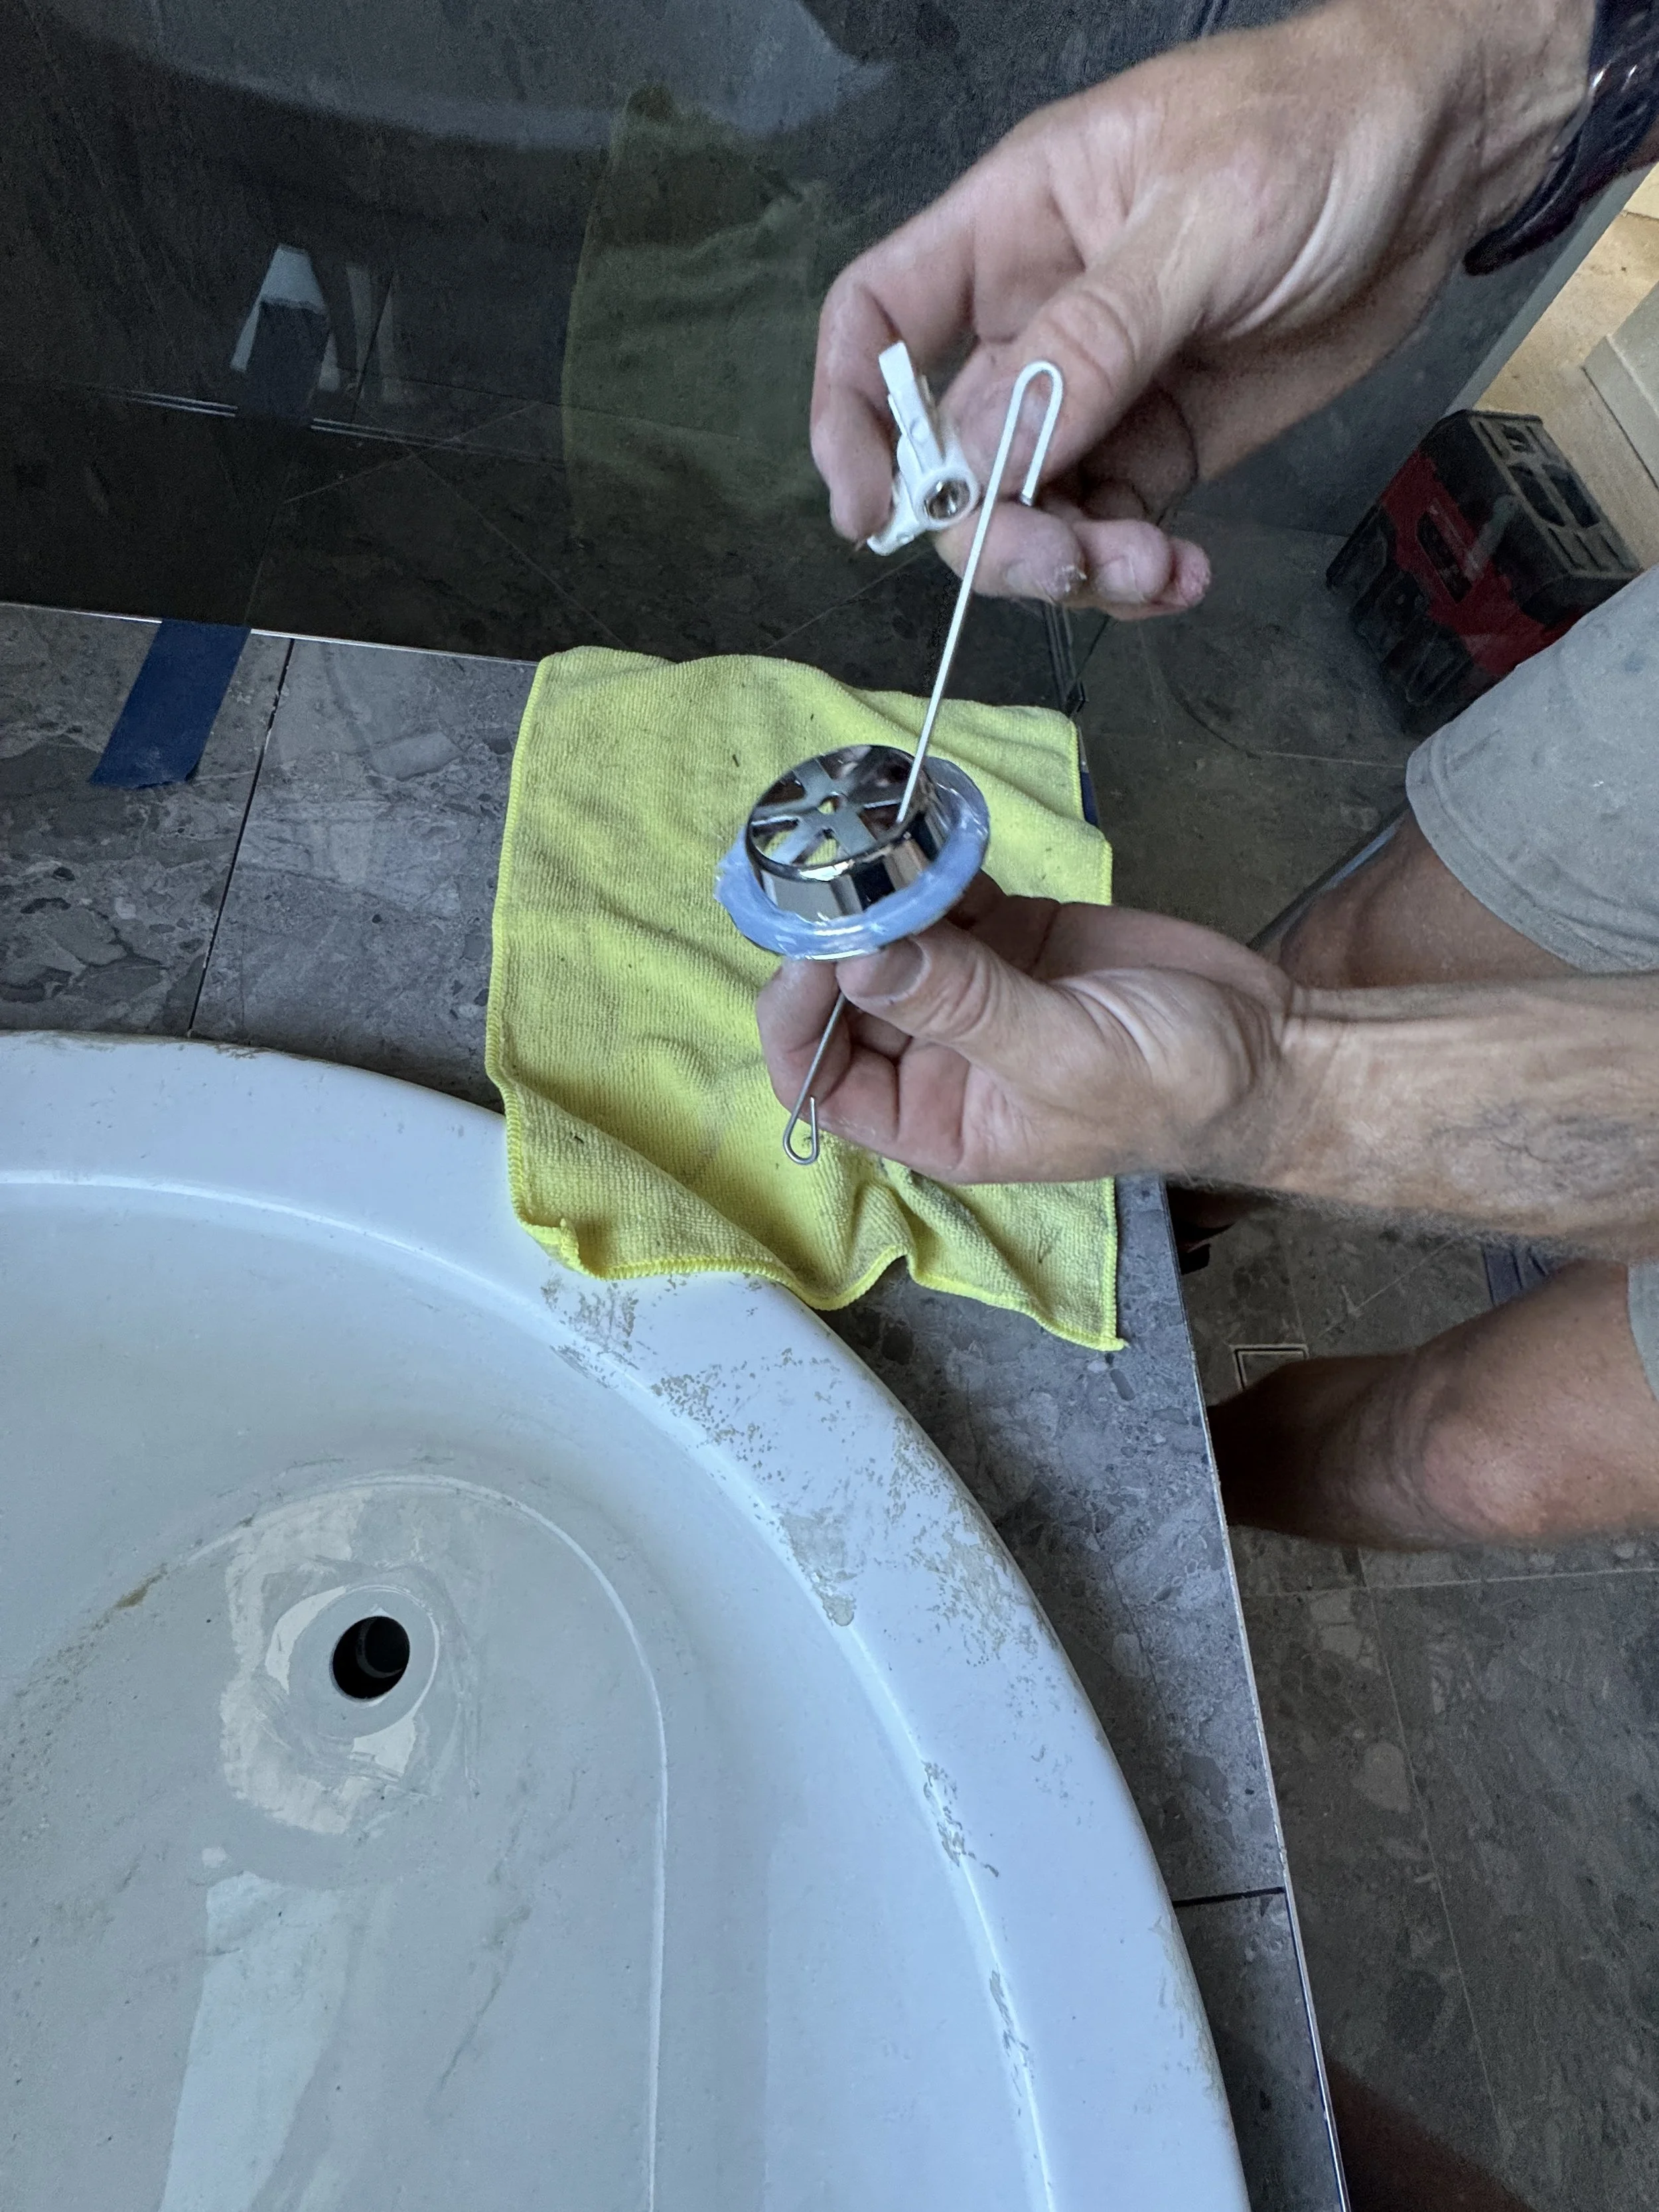
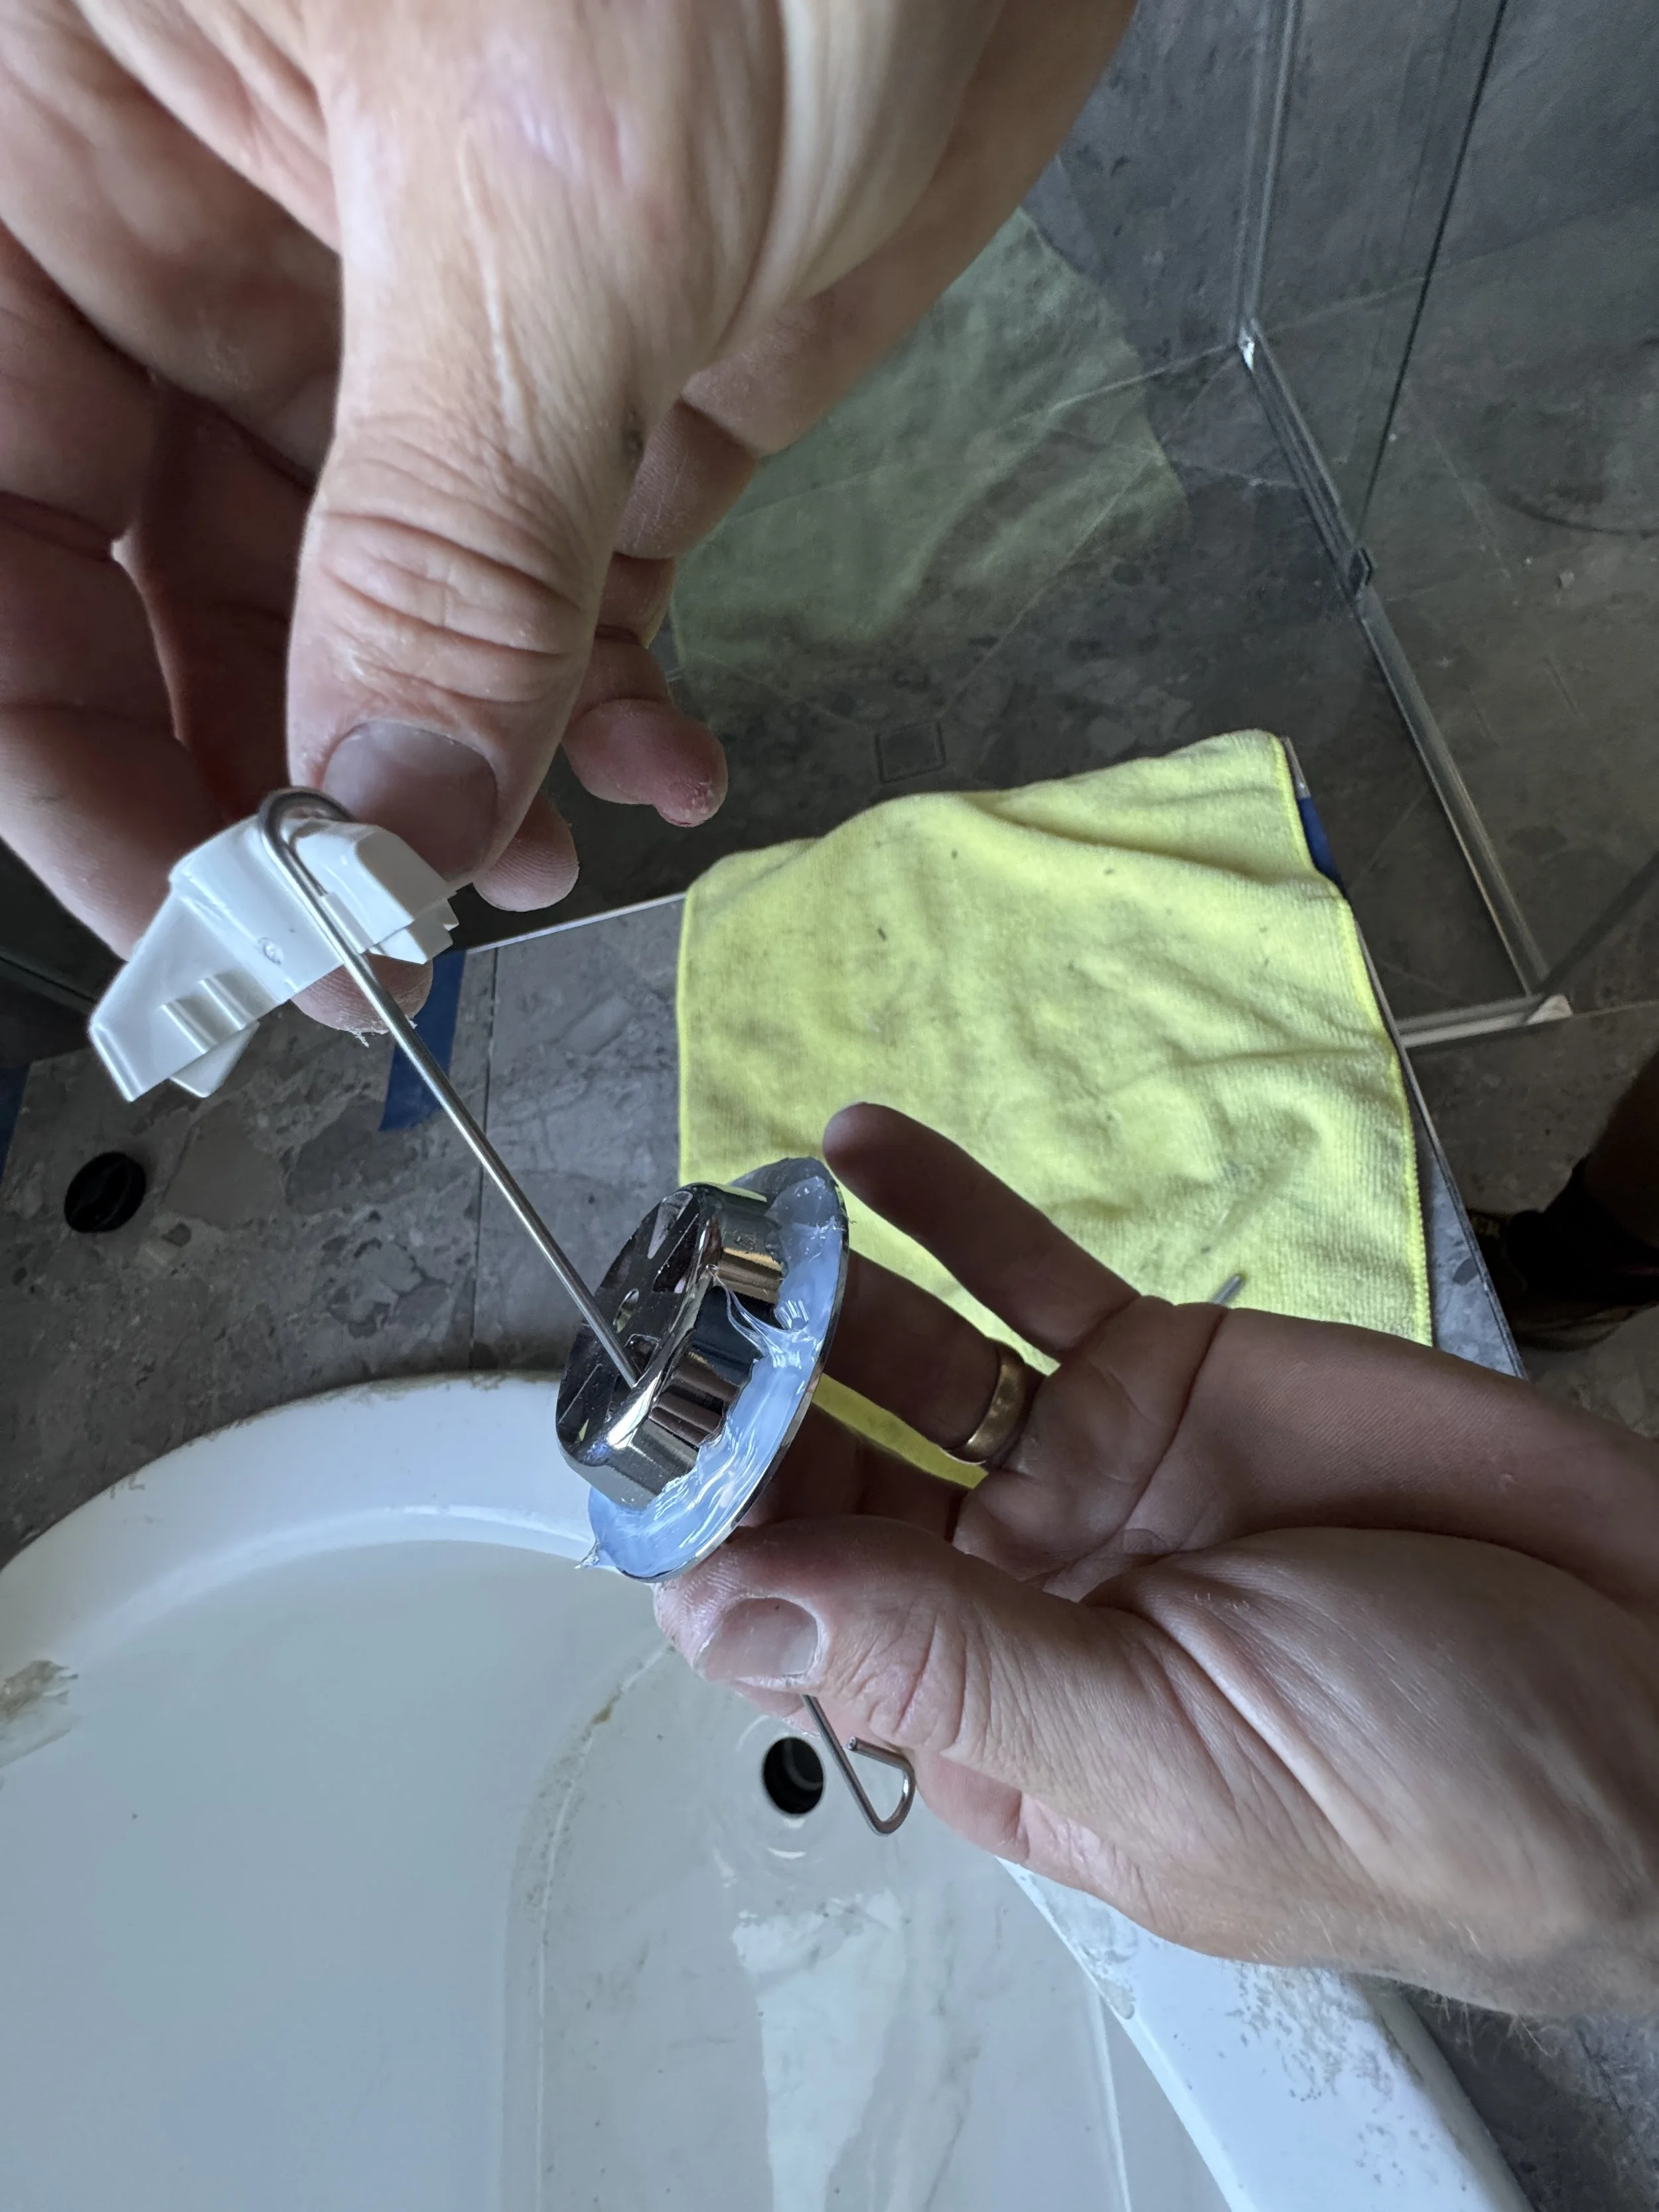
Silicone around the chrome bath waste, insert the little three armed fixing bracket into the rod and feed through the chrome waste.
Feed three armed fixing bracket into the plumbdinger making sure it is centred.
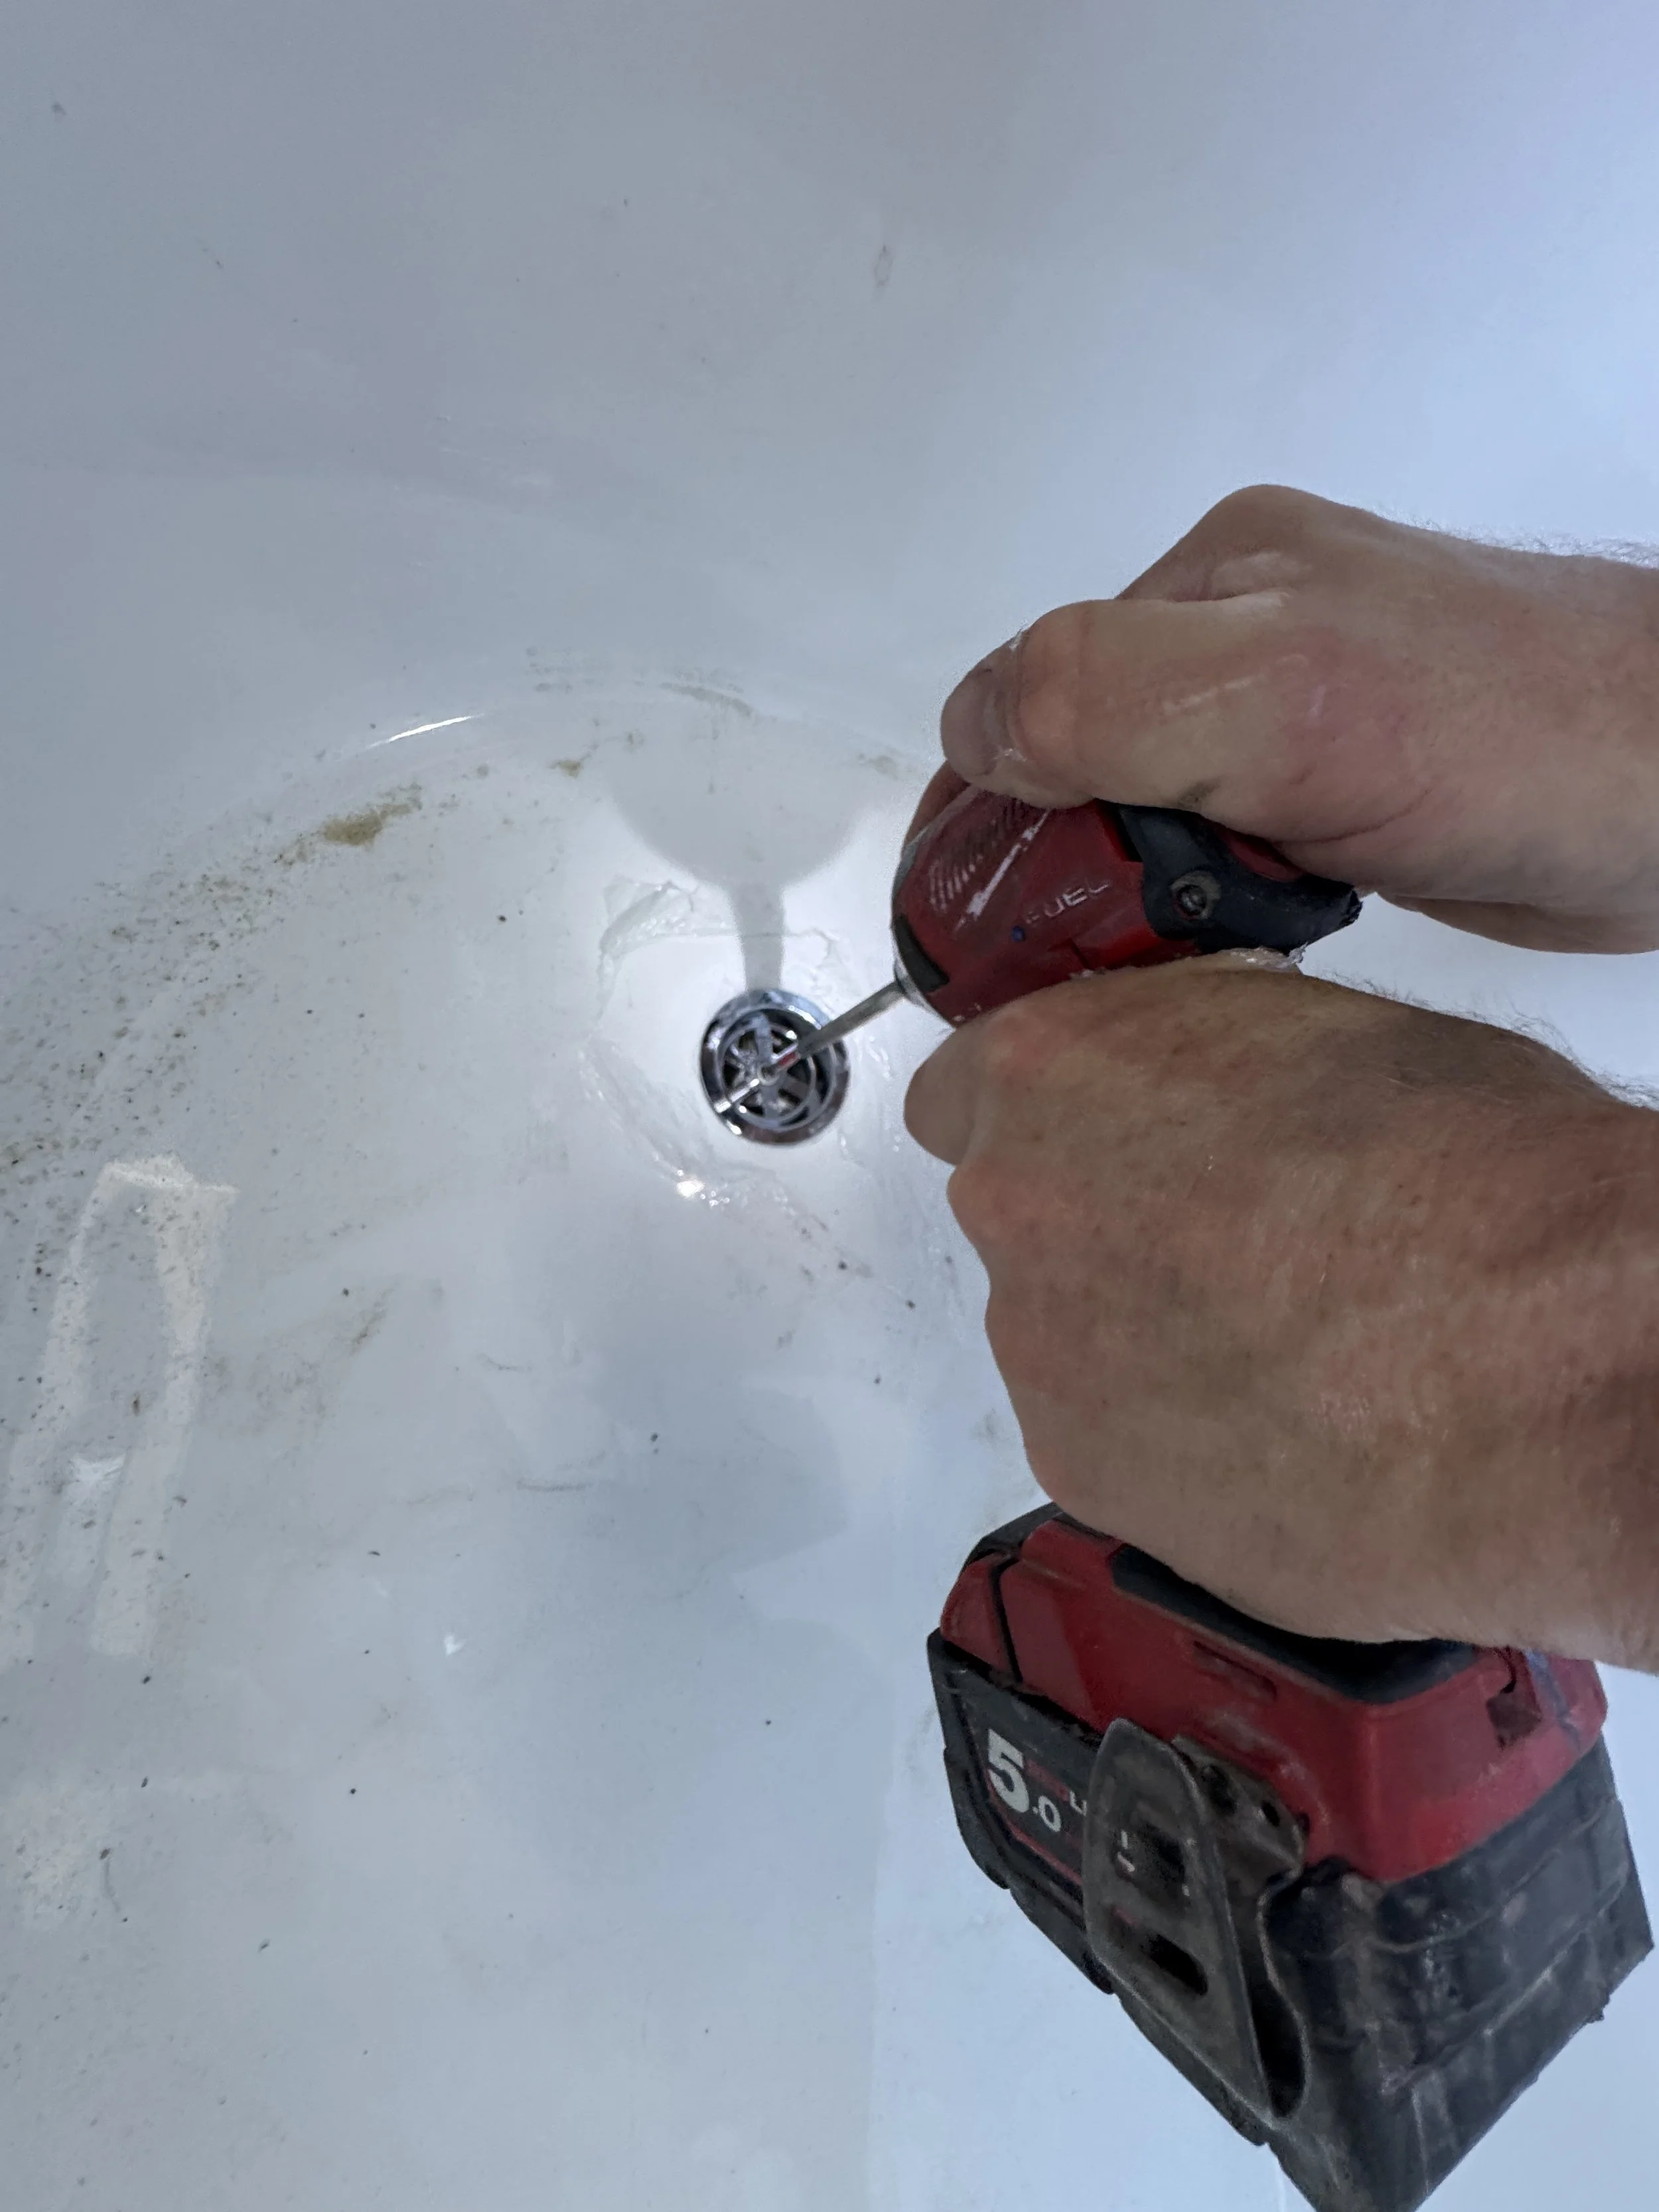
Line up screw with hole of bracket and do up to the point that the impact driver is about to rattle. Do up the rest tight with a philips head screwdriver.
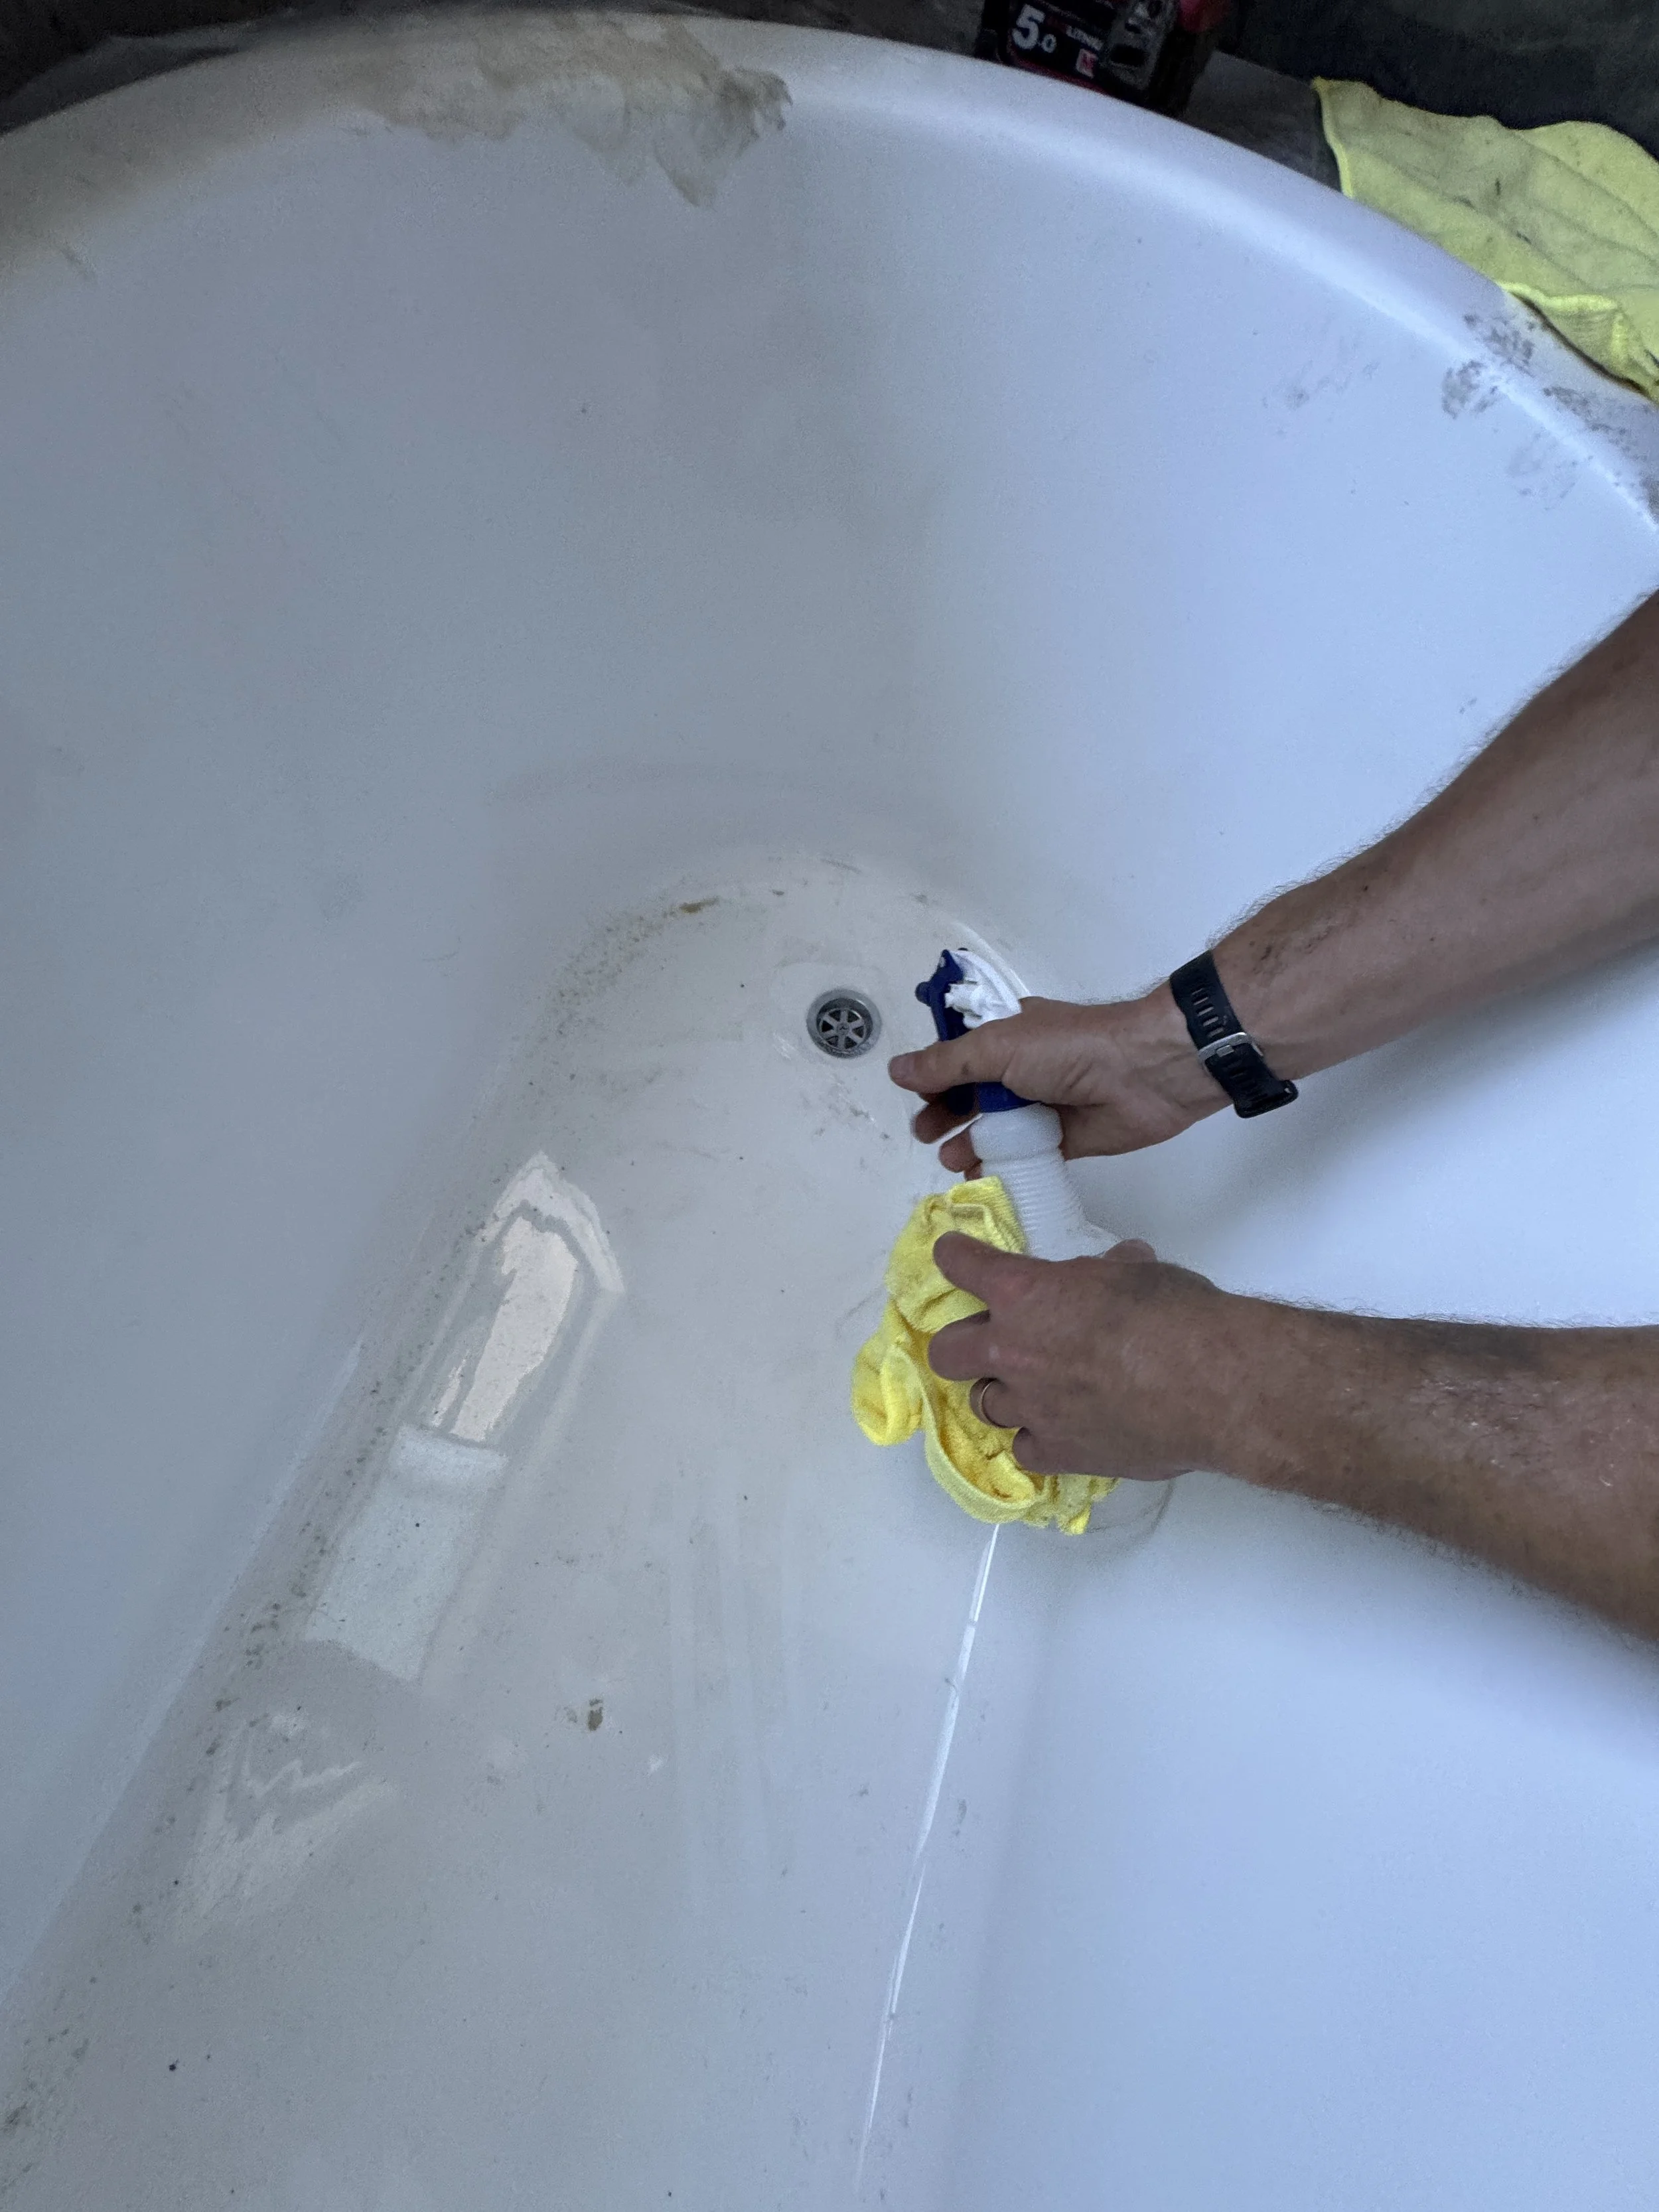
Clean off the silicone with metho and a clean rag. Make sure to get your fingernails in with the cloth to get all the silicone out.
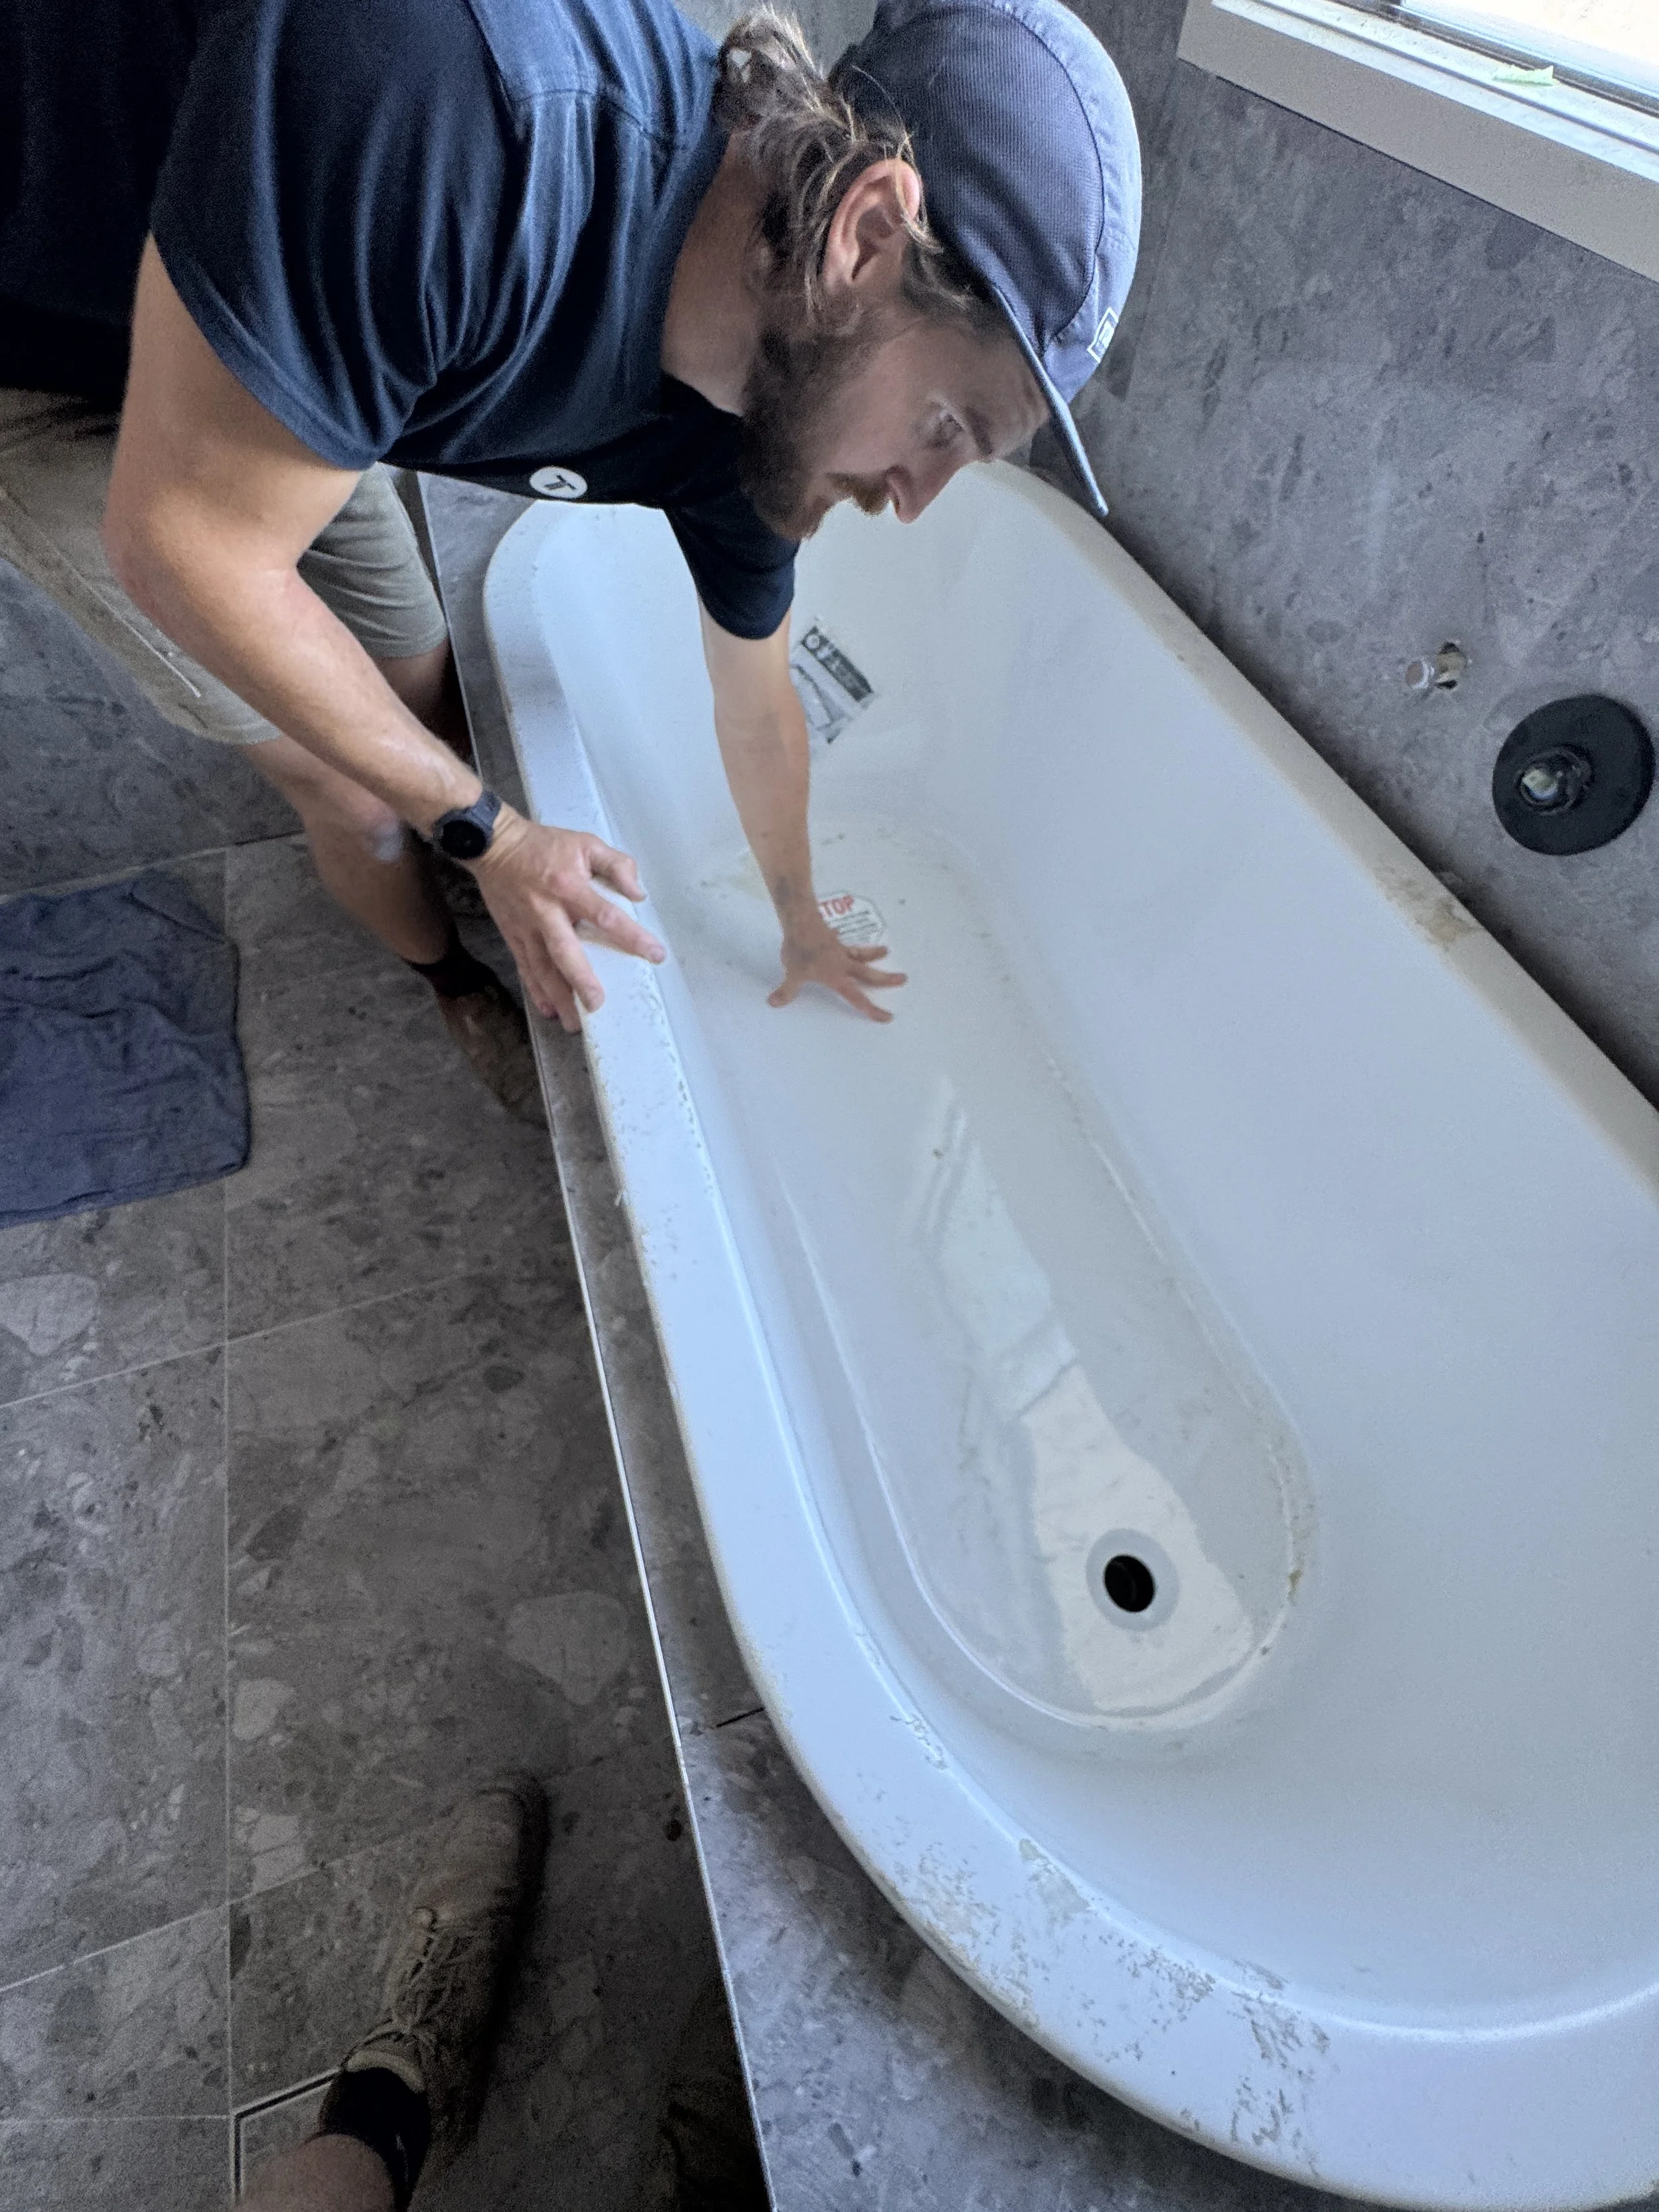
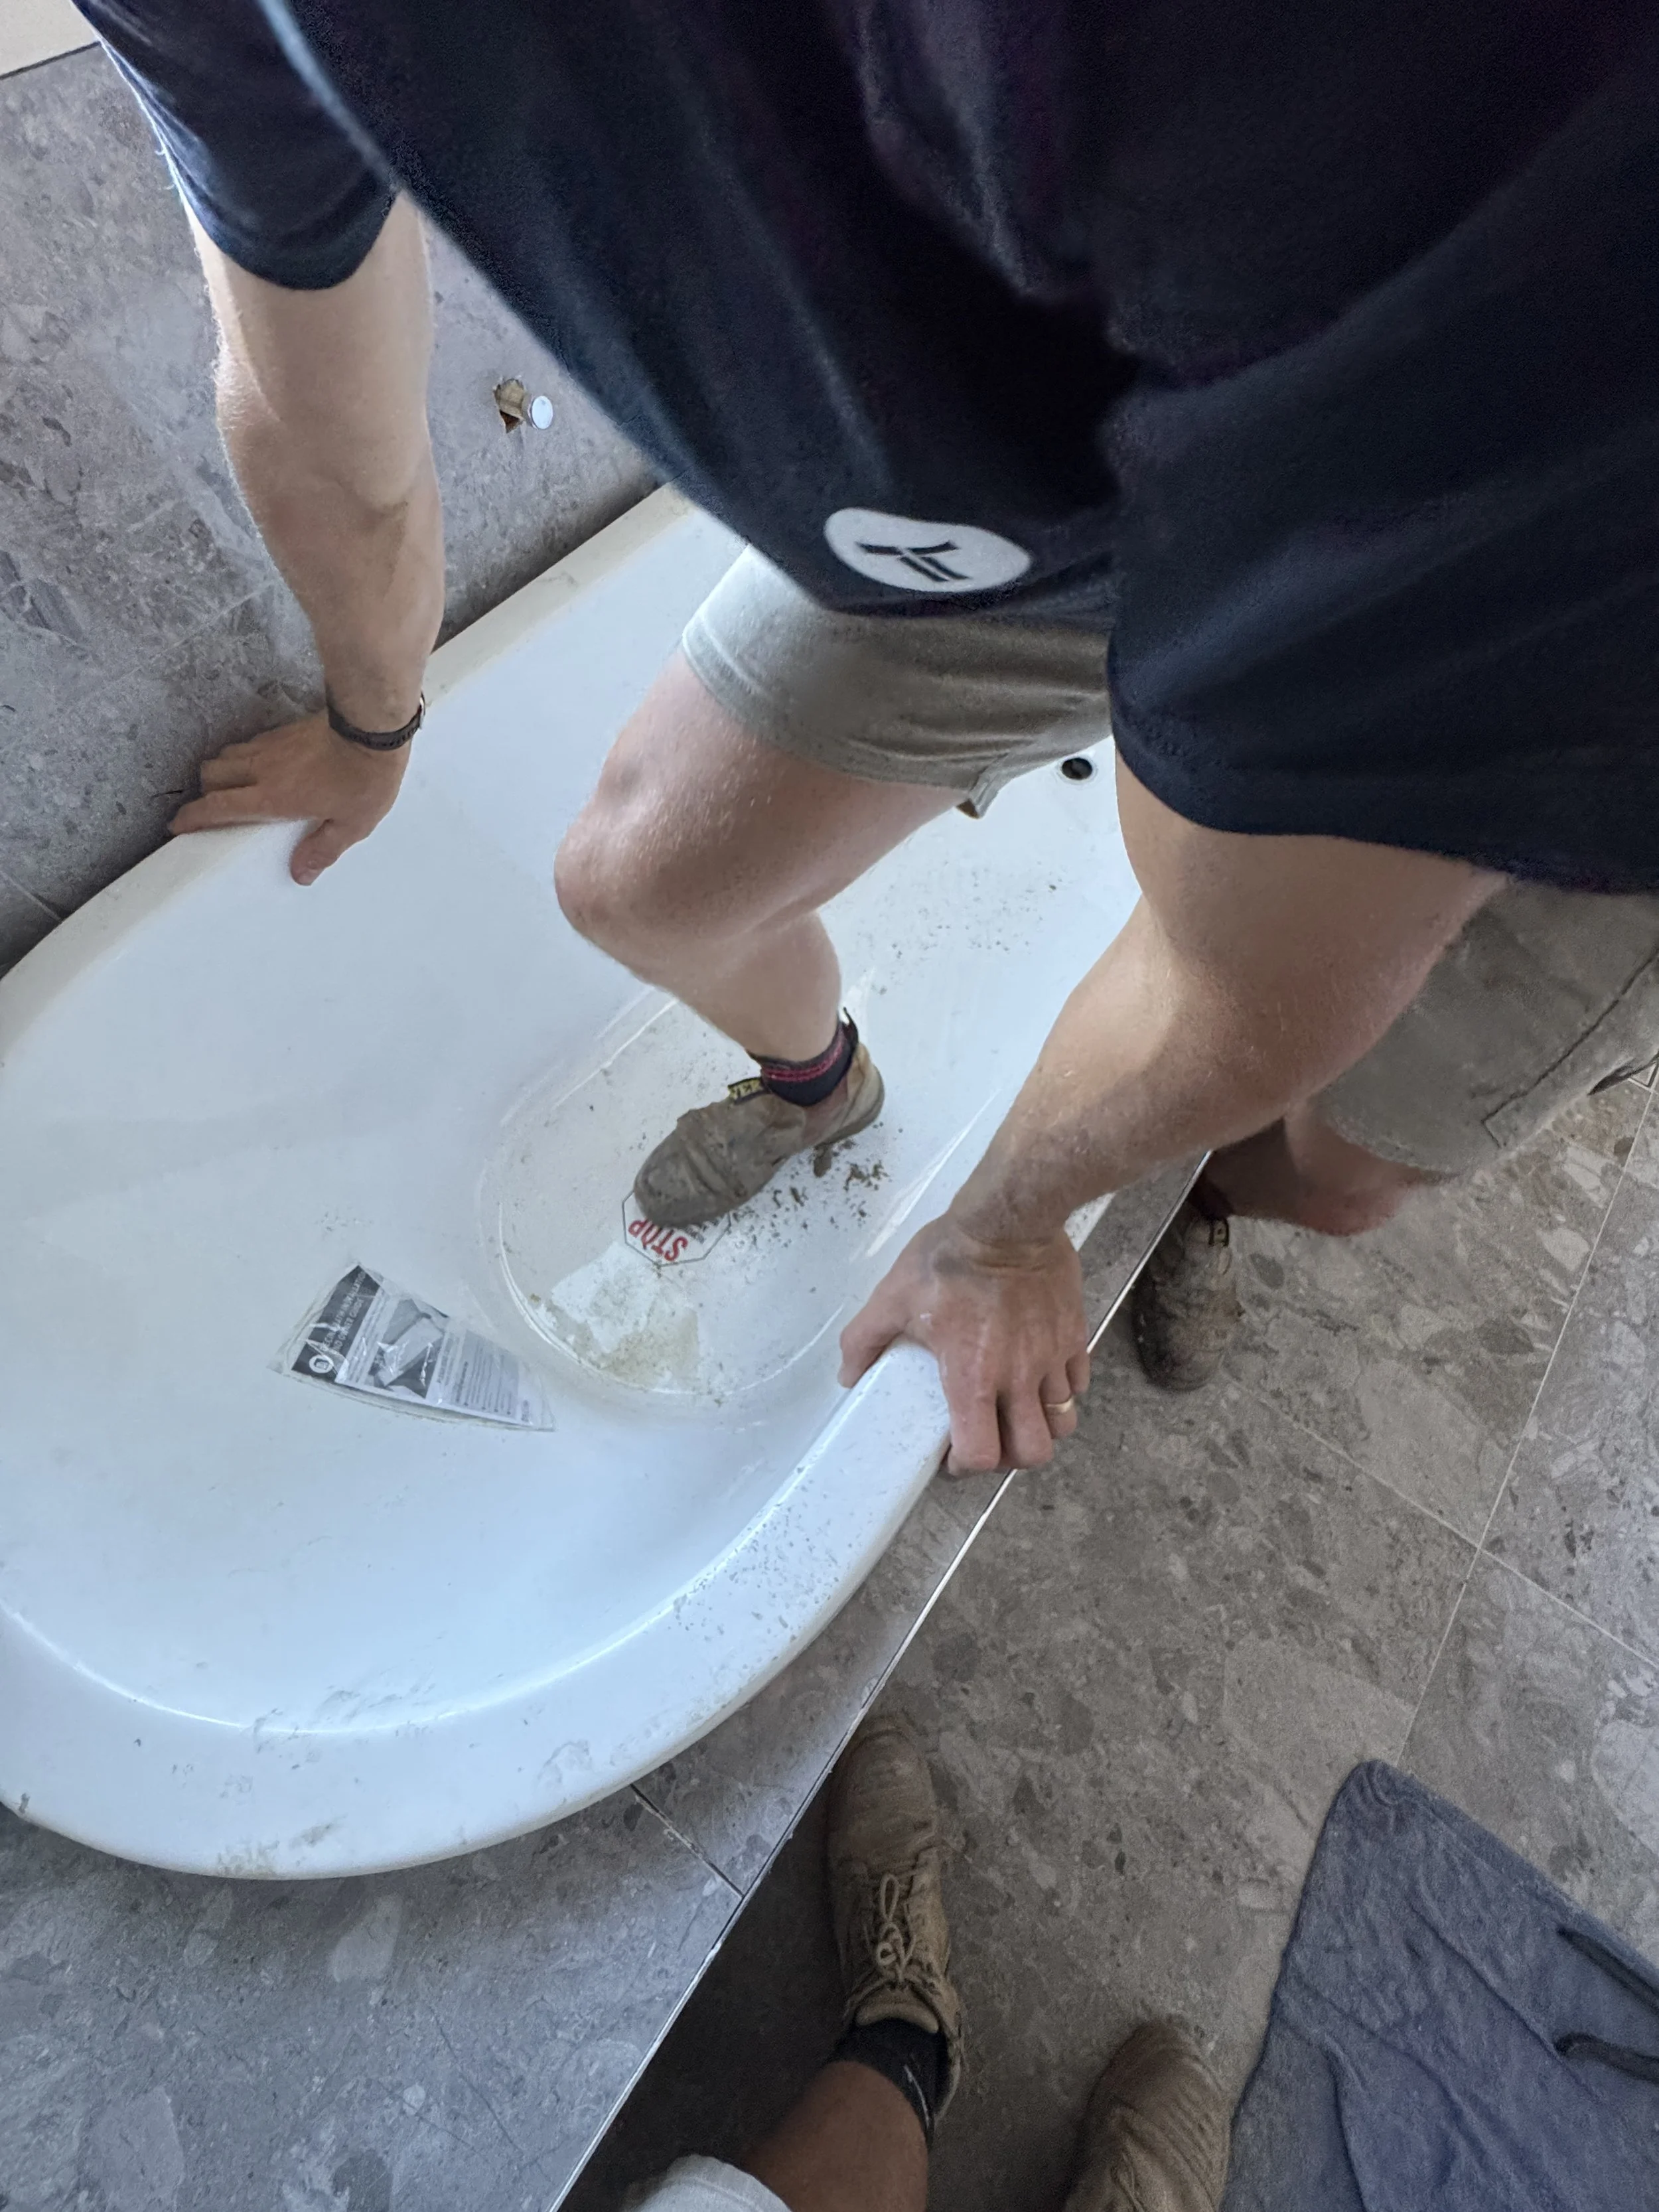
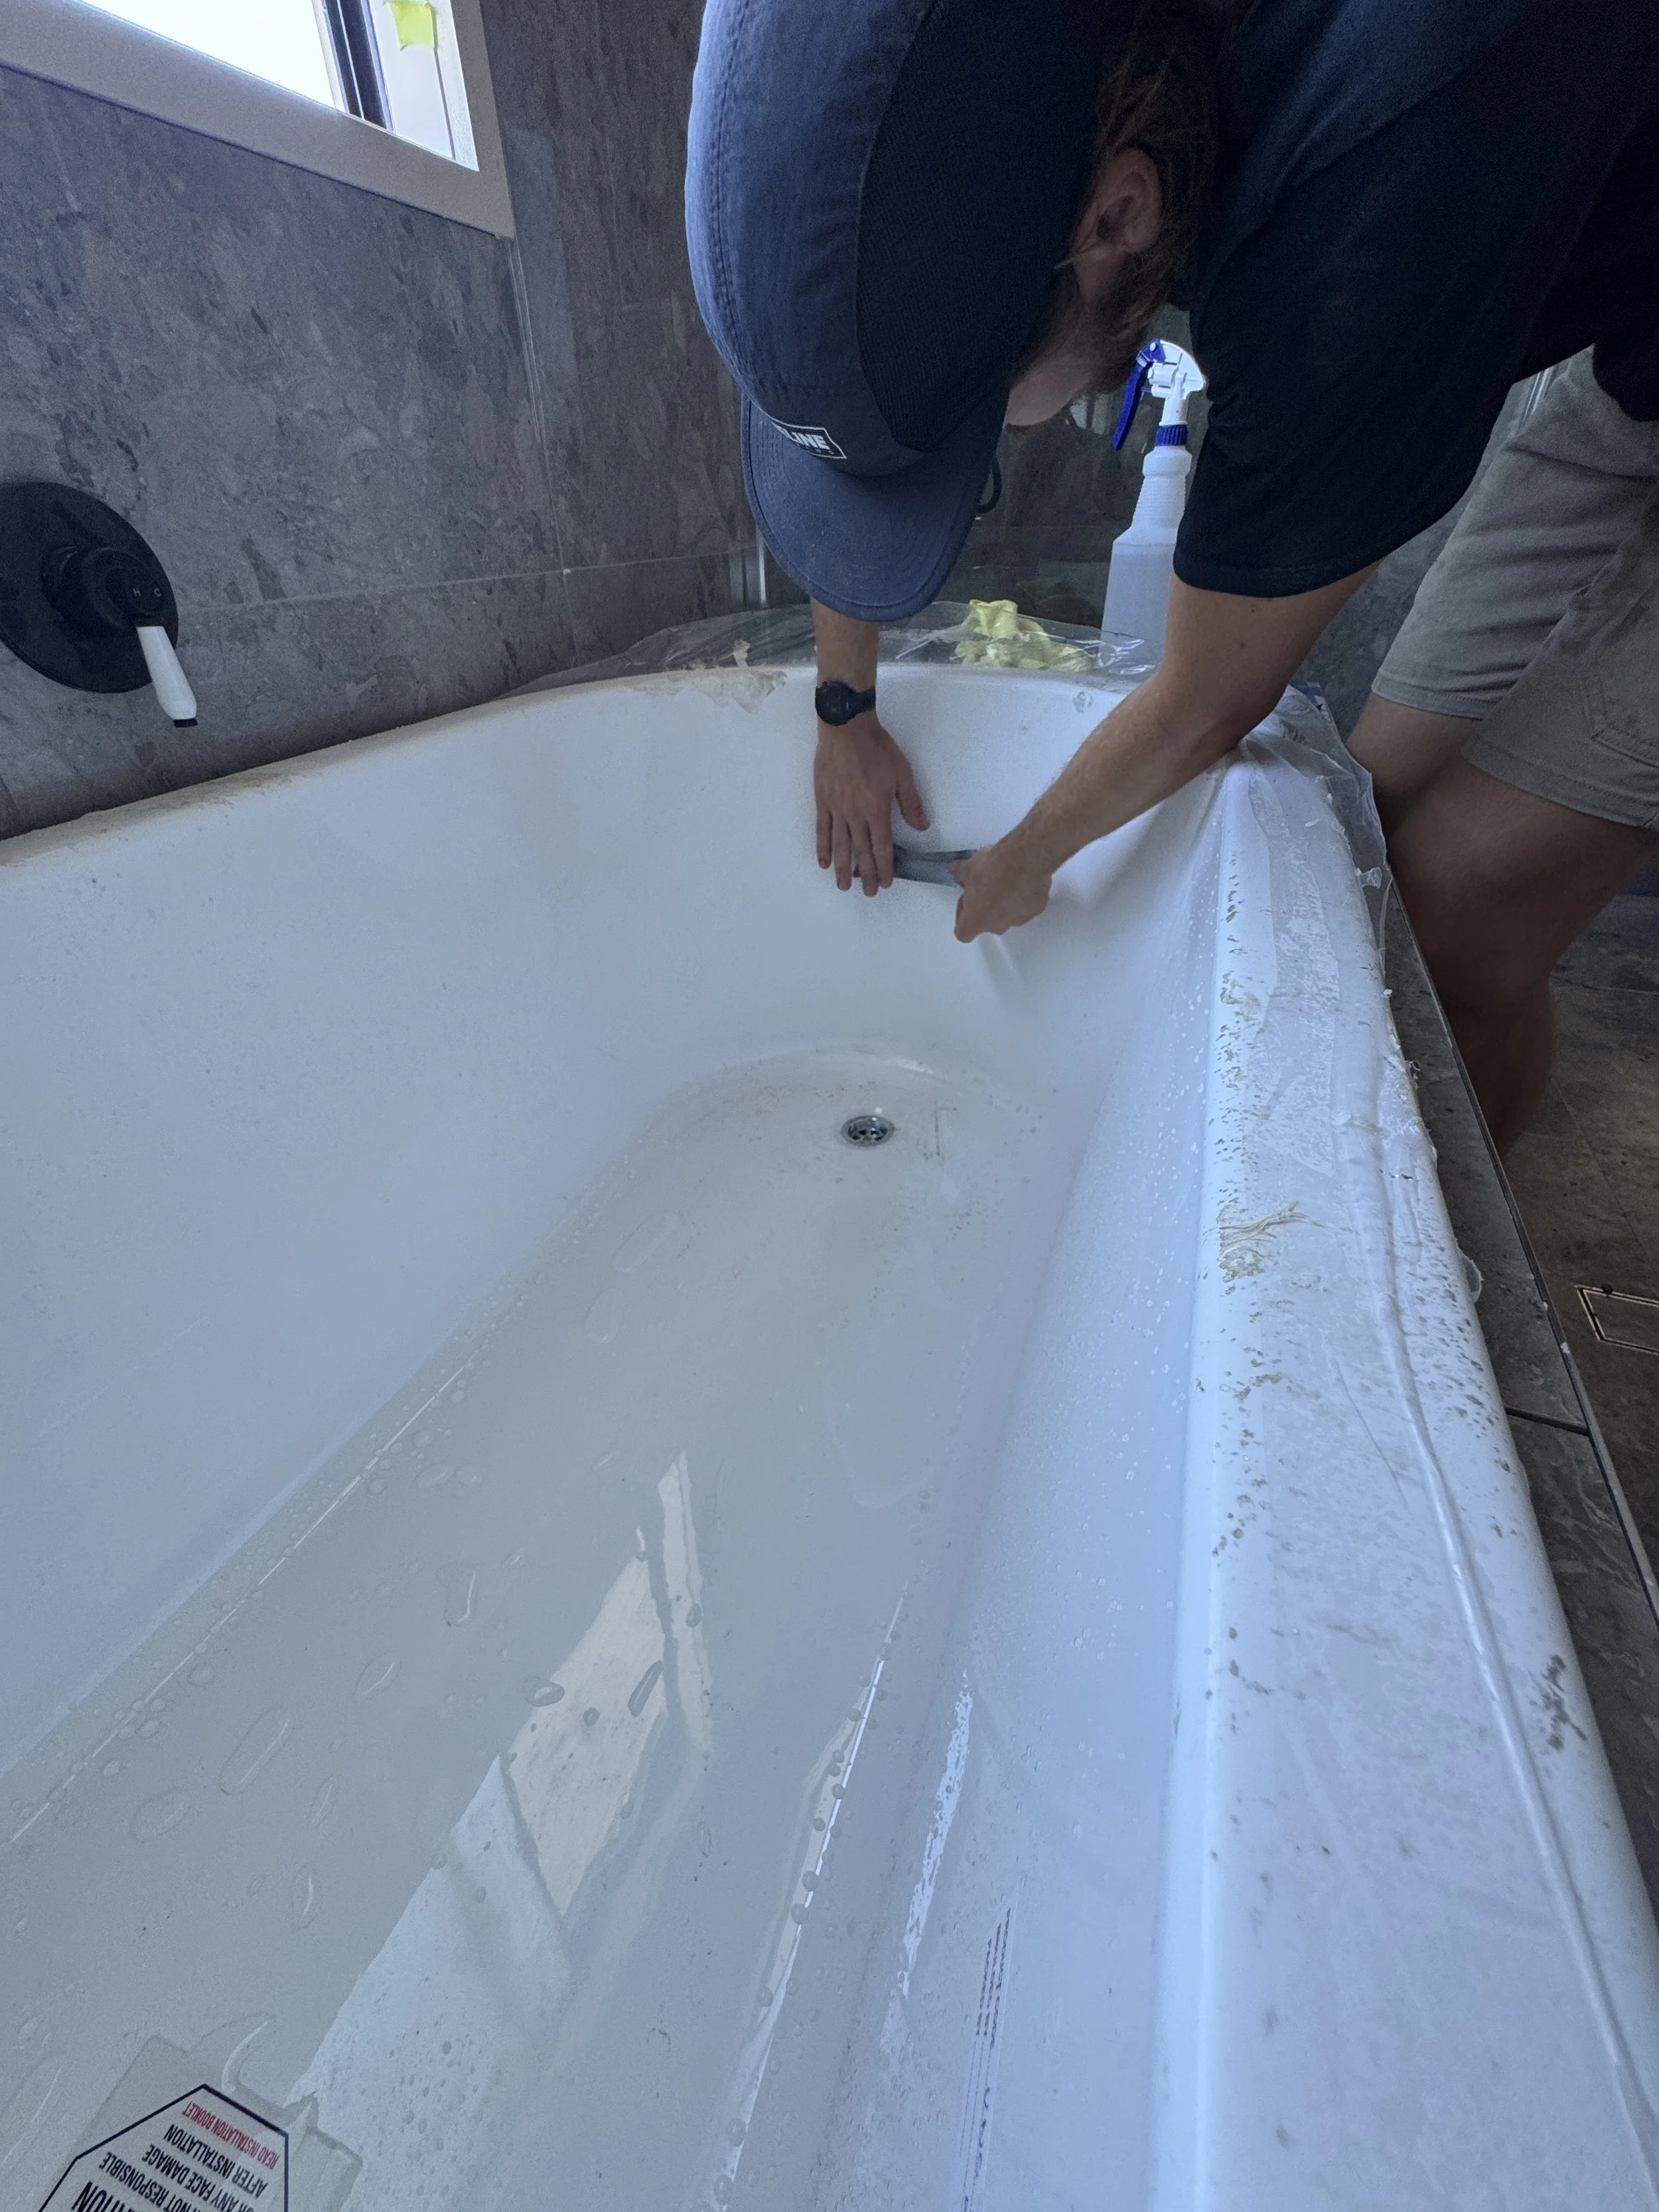
Jiggle the bath into place which sits it down into the mortar mix. You may need to get in the bath if it is high.
Fitoff the bath mixer and spout.
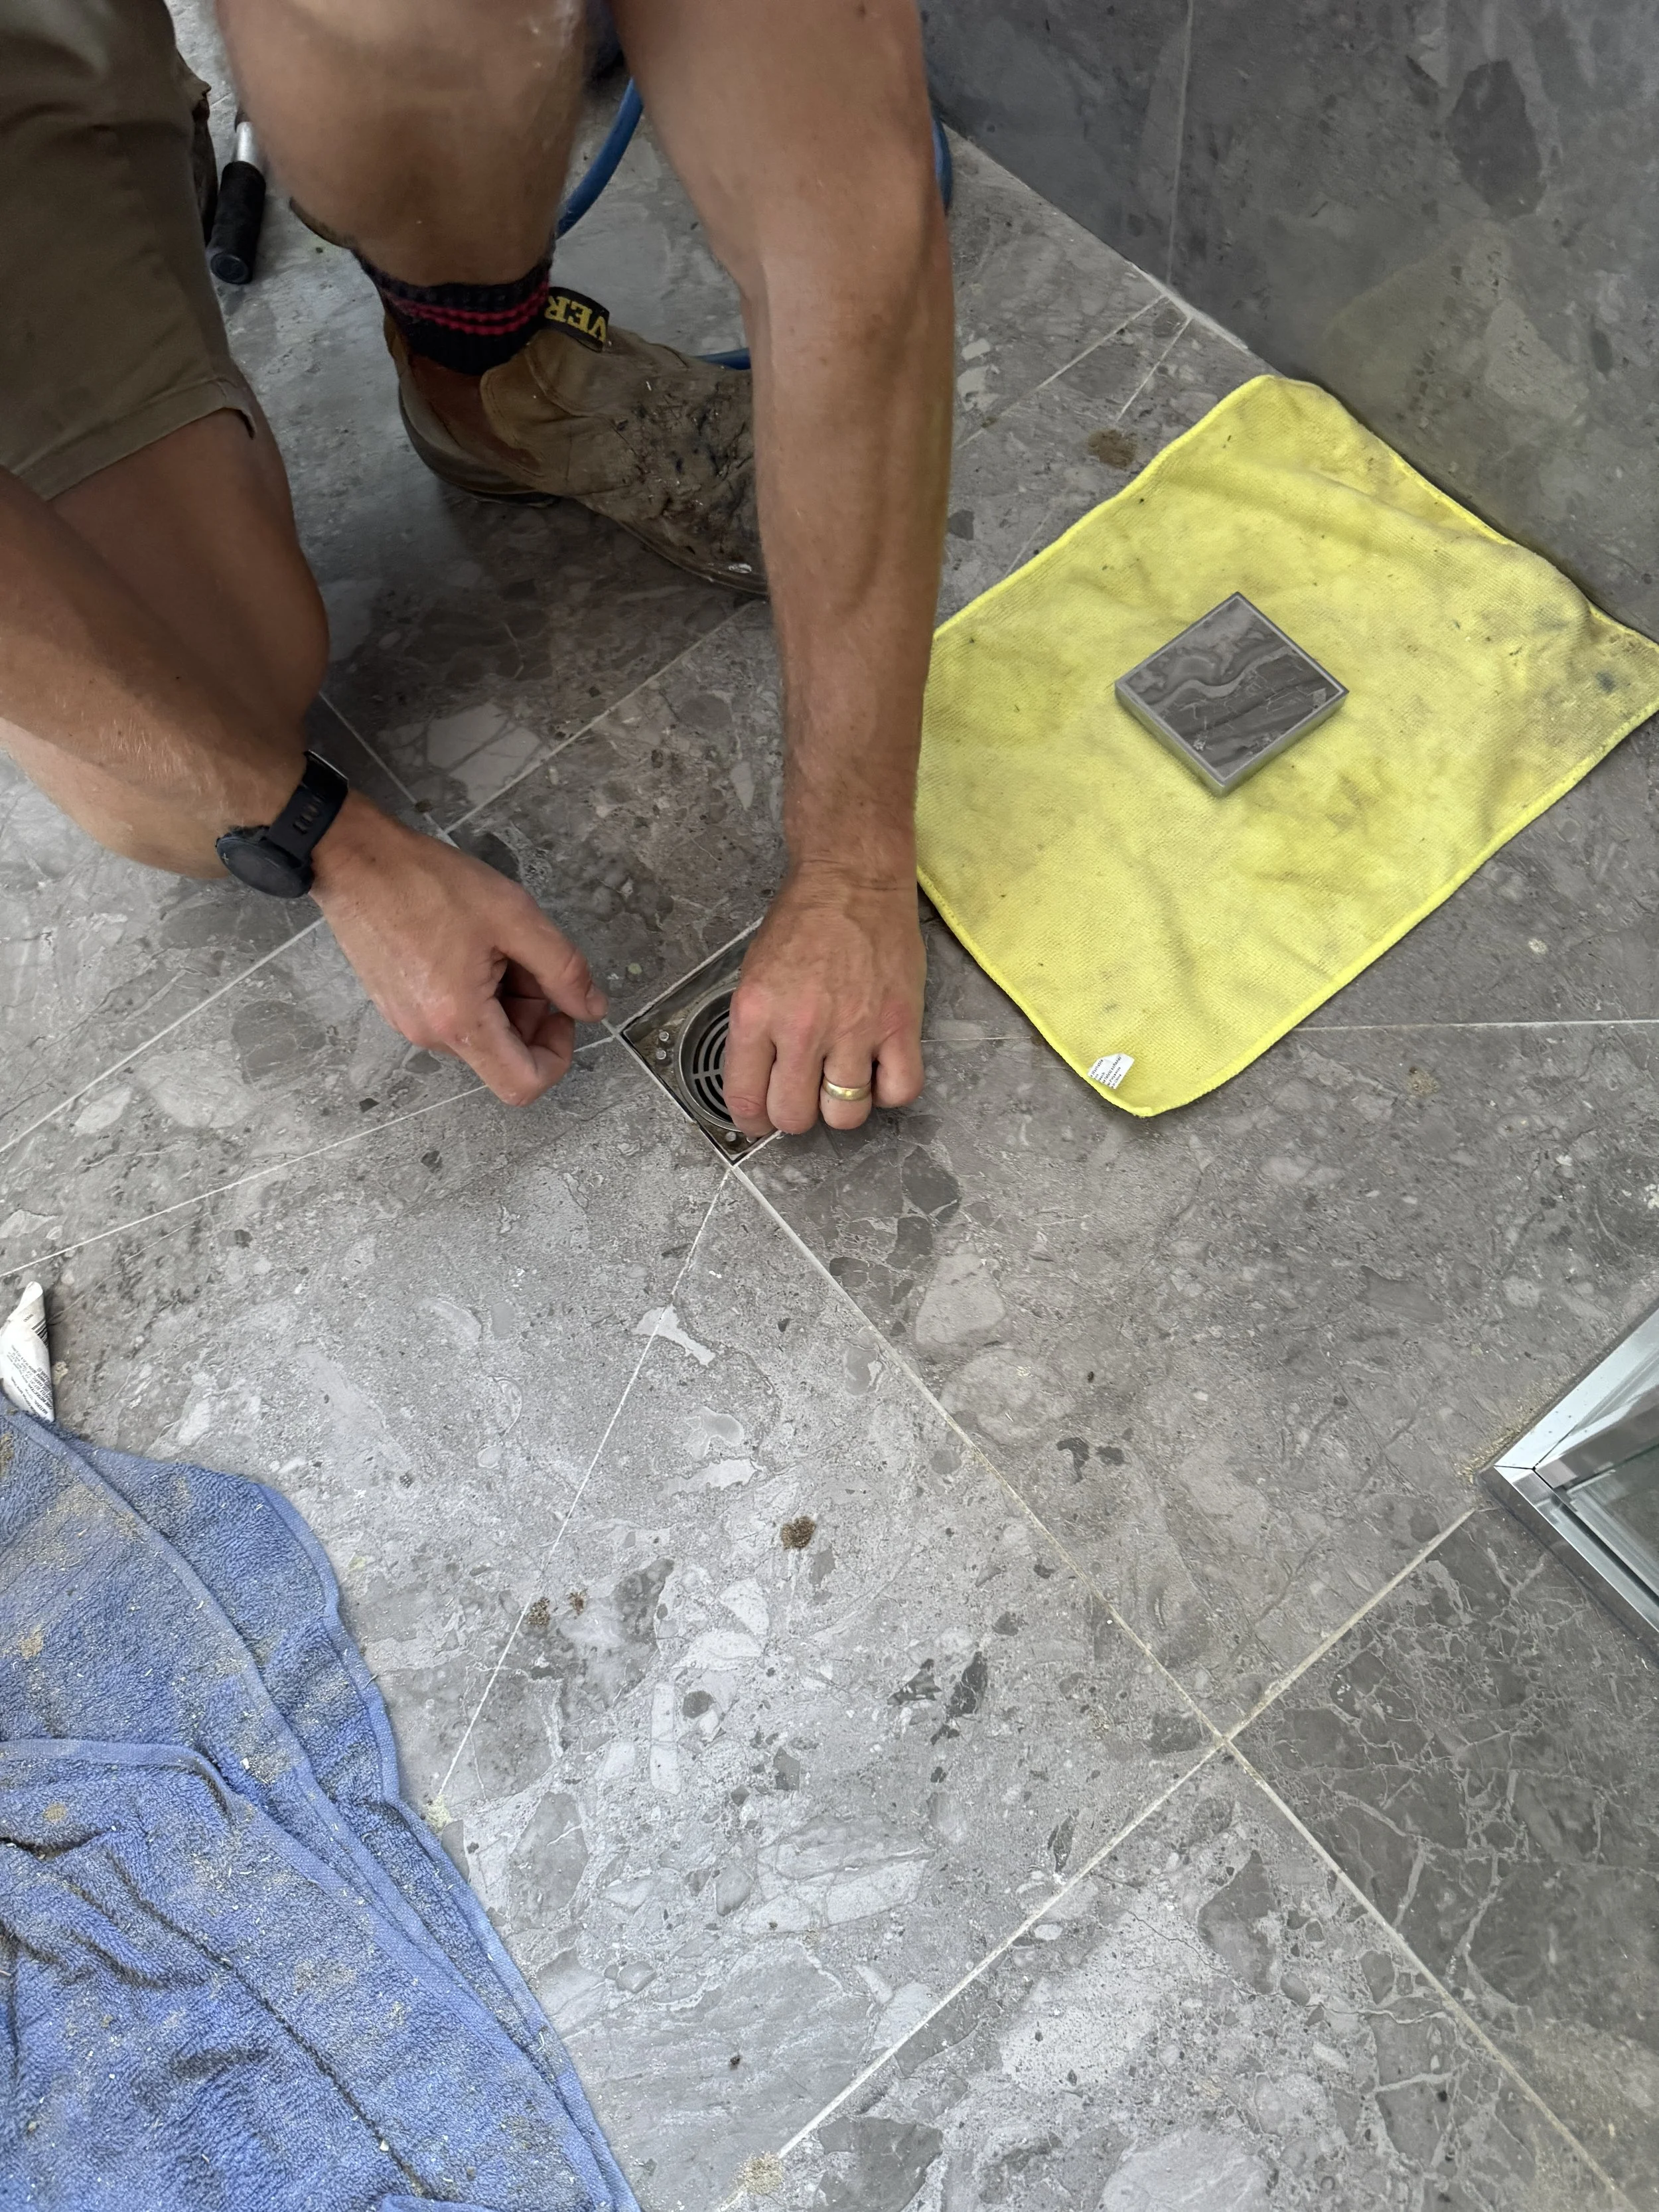
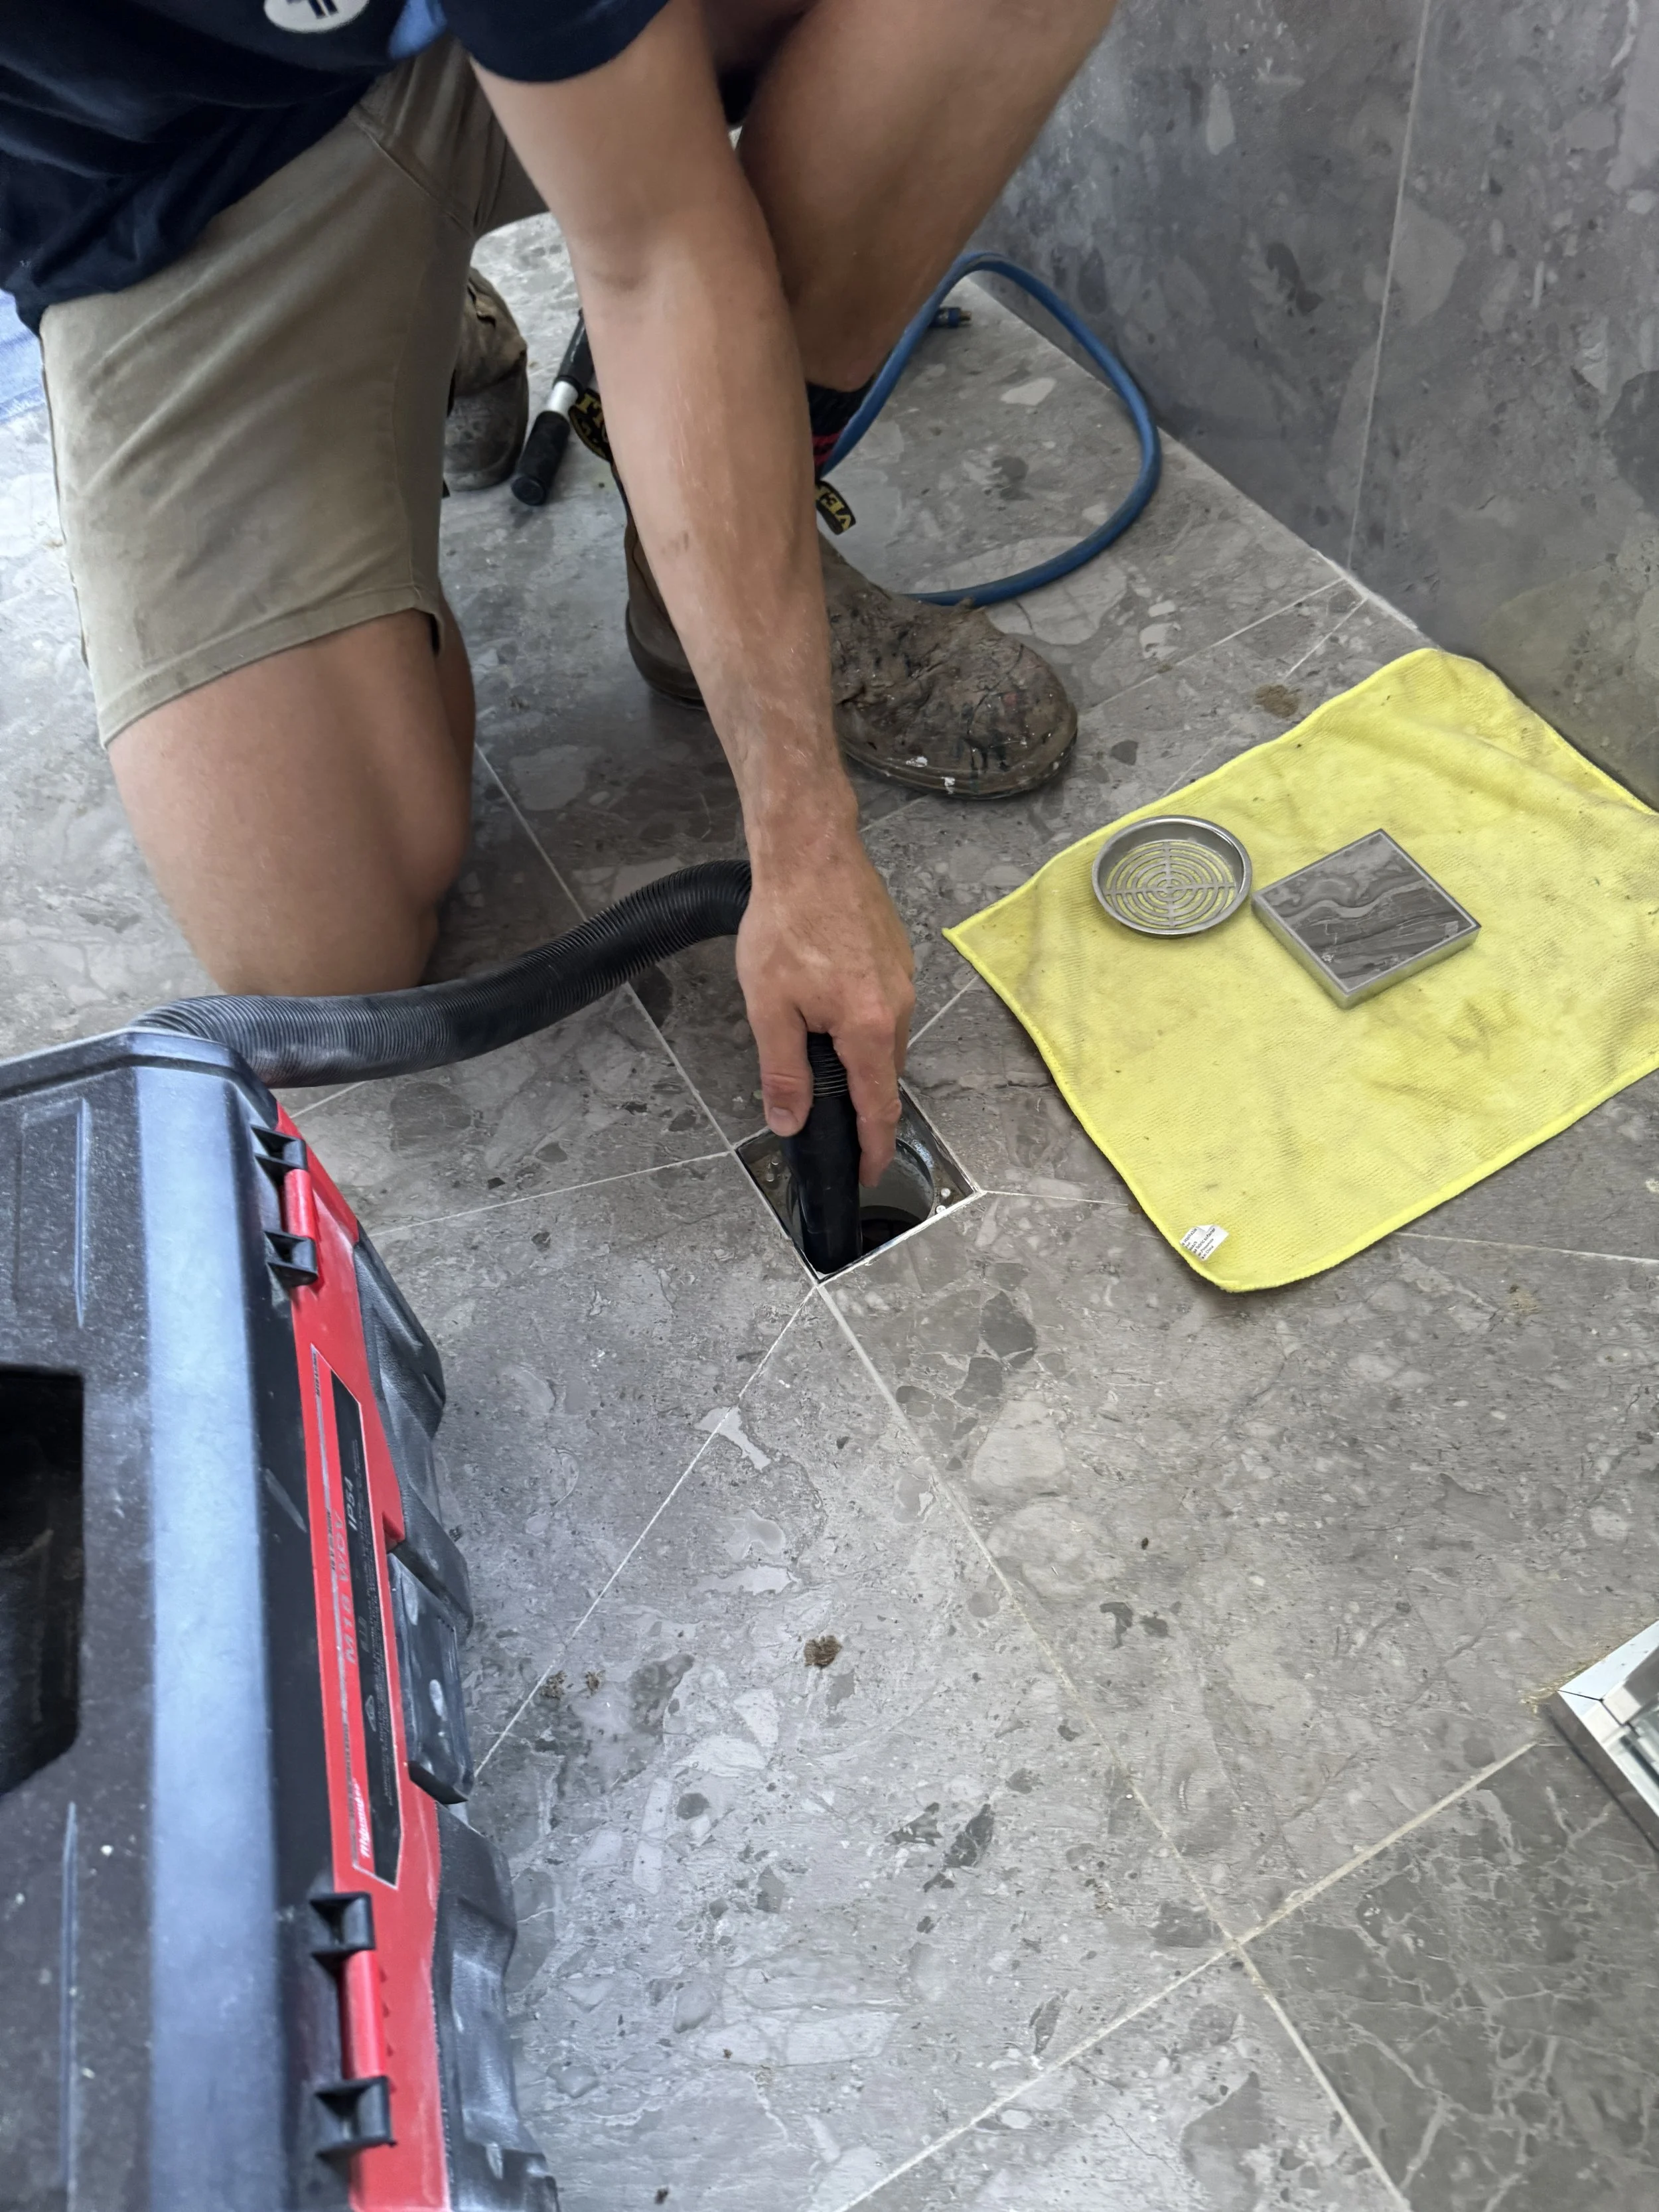
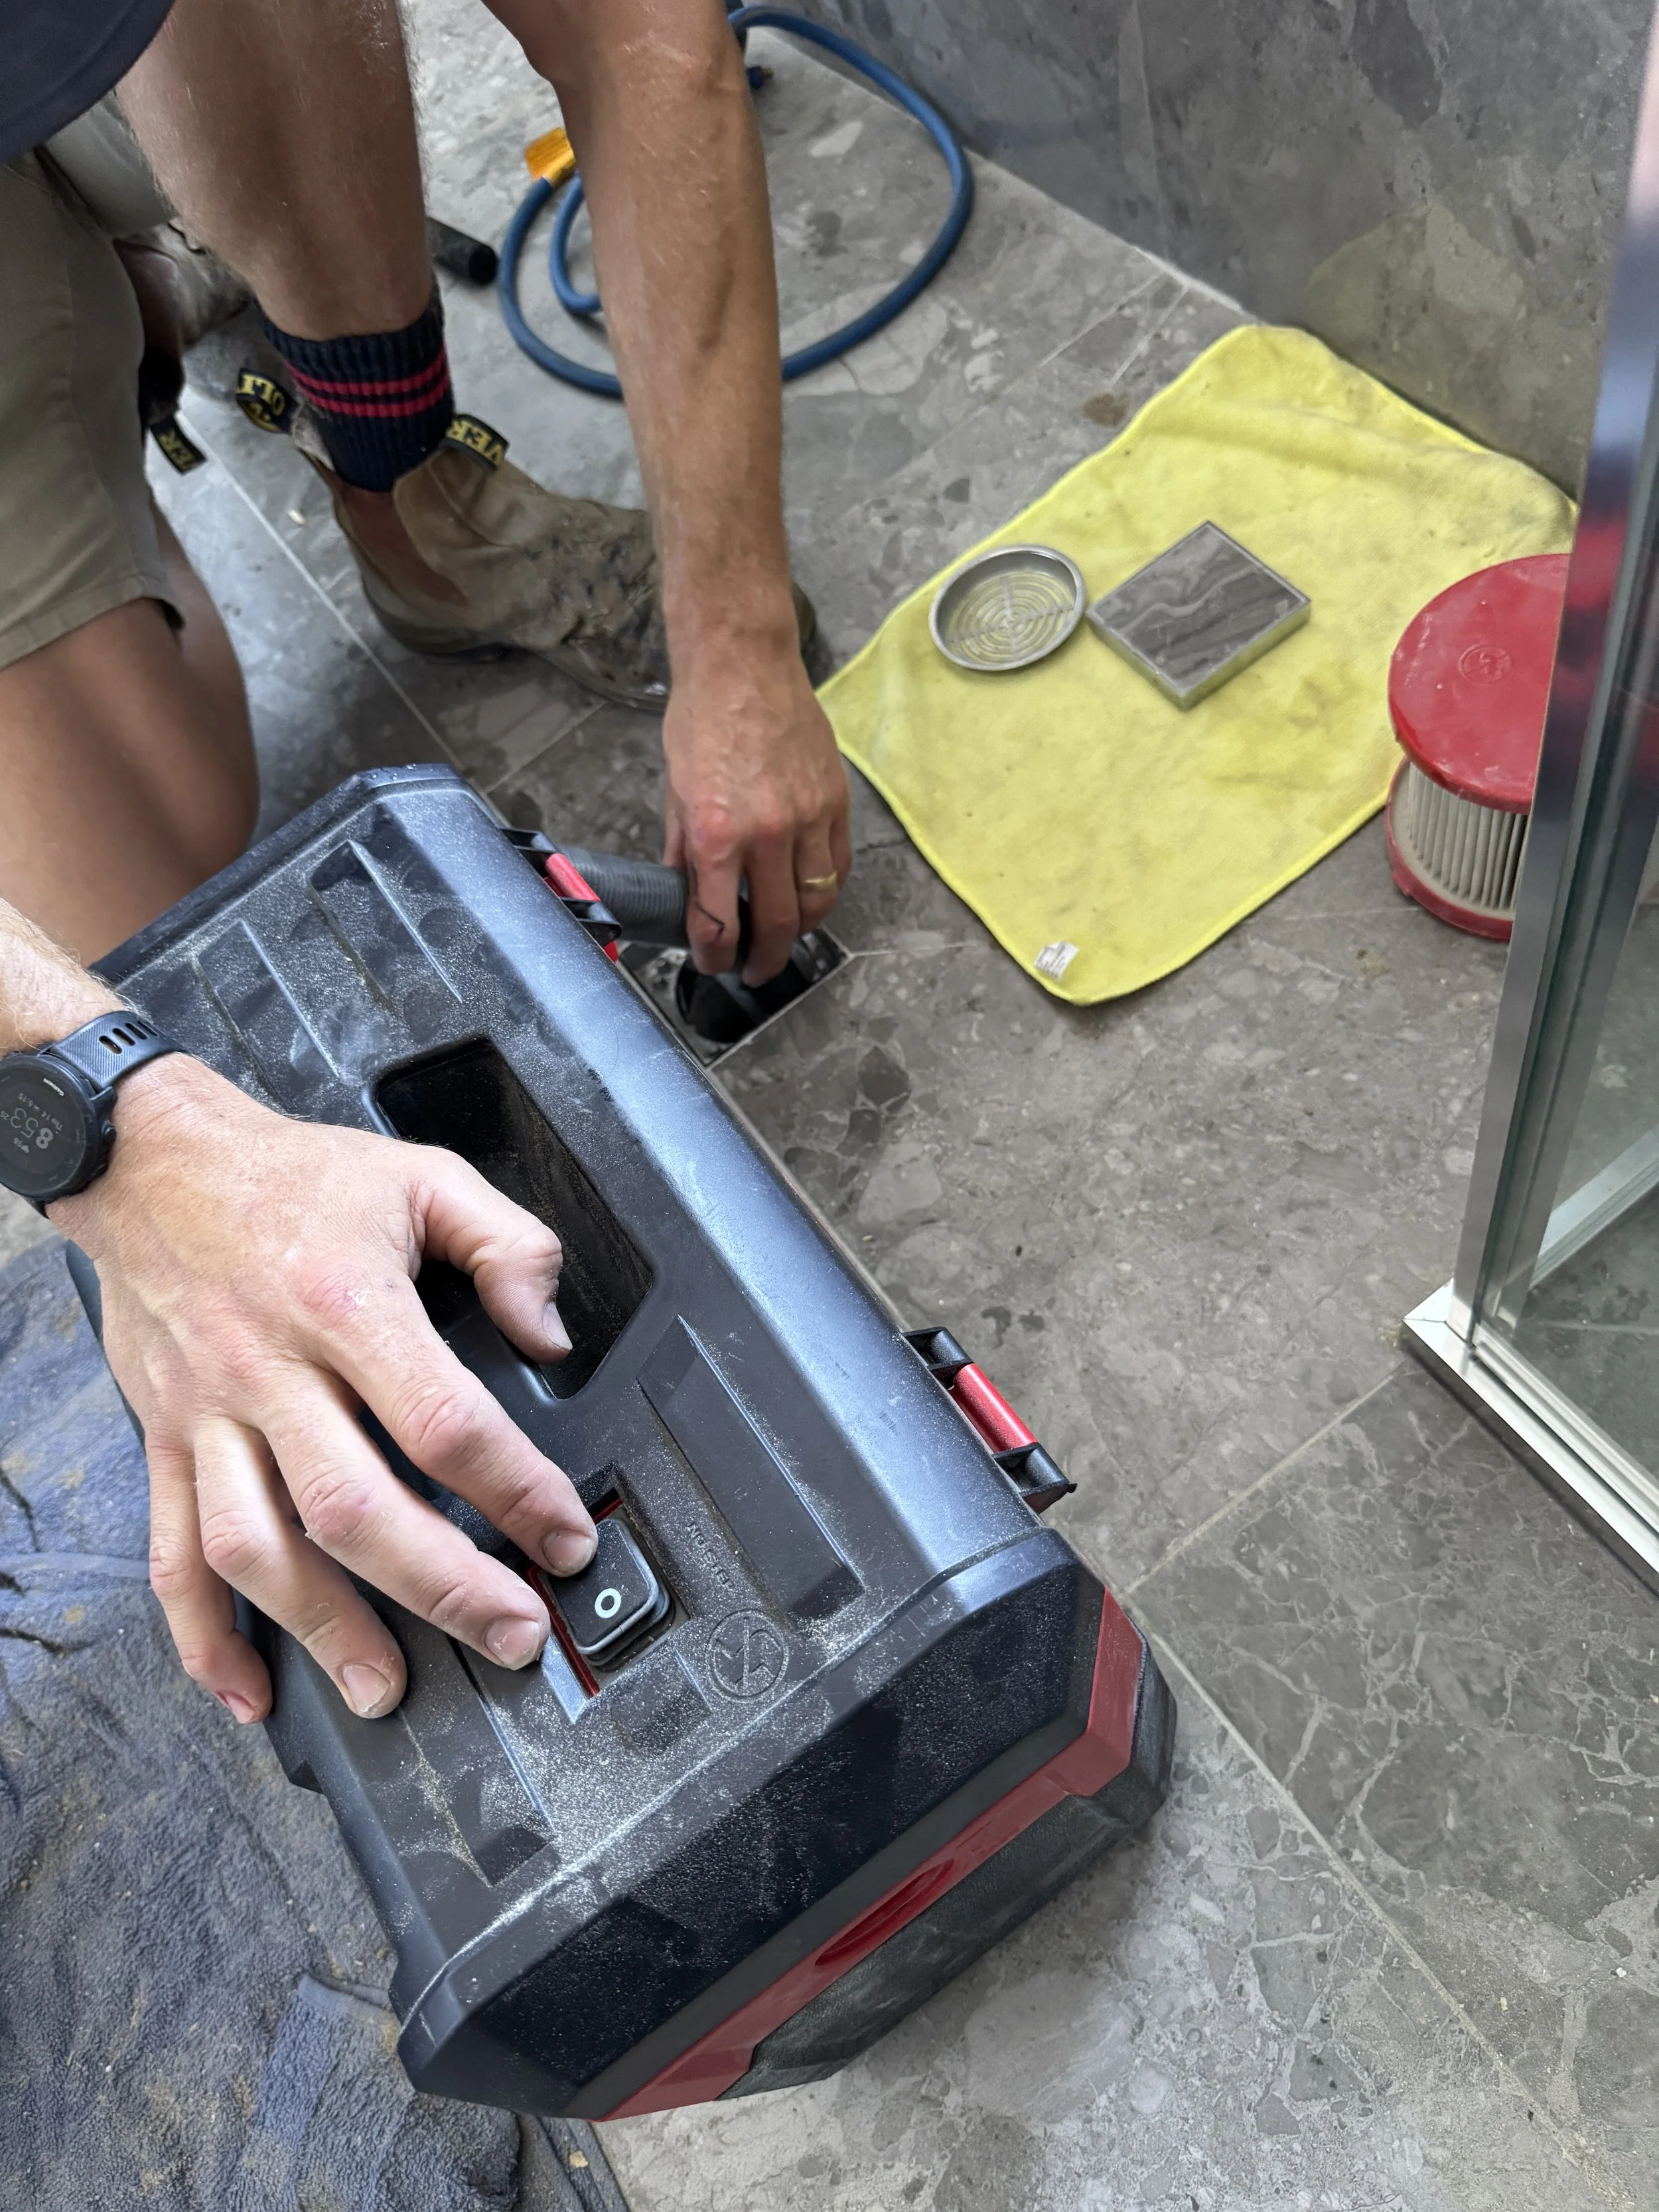
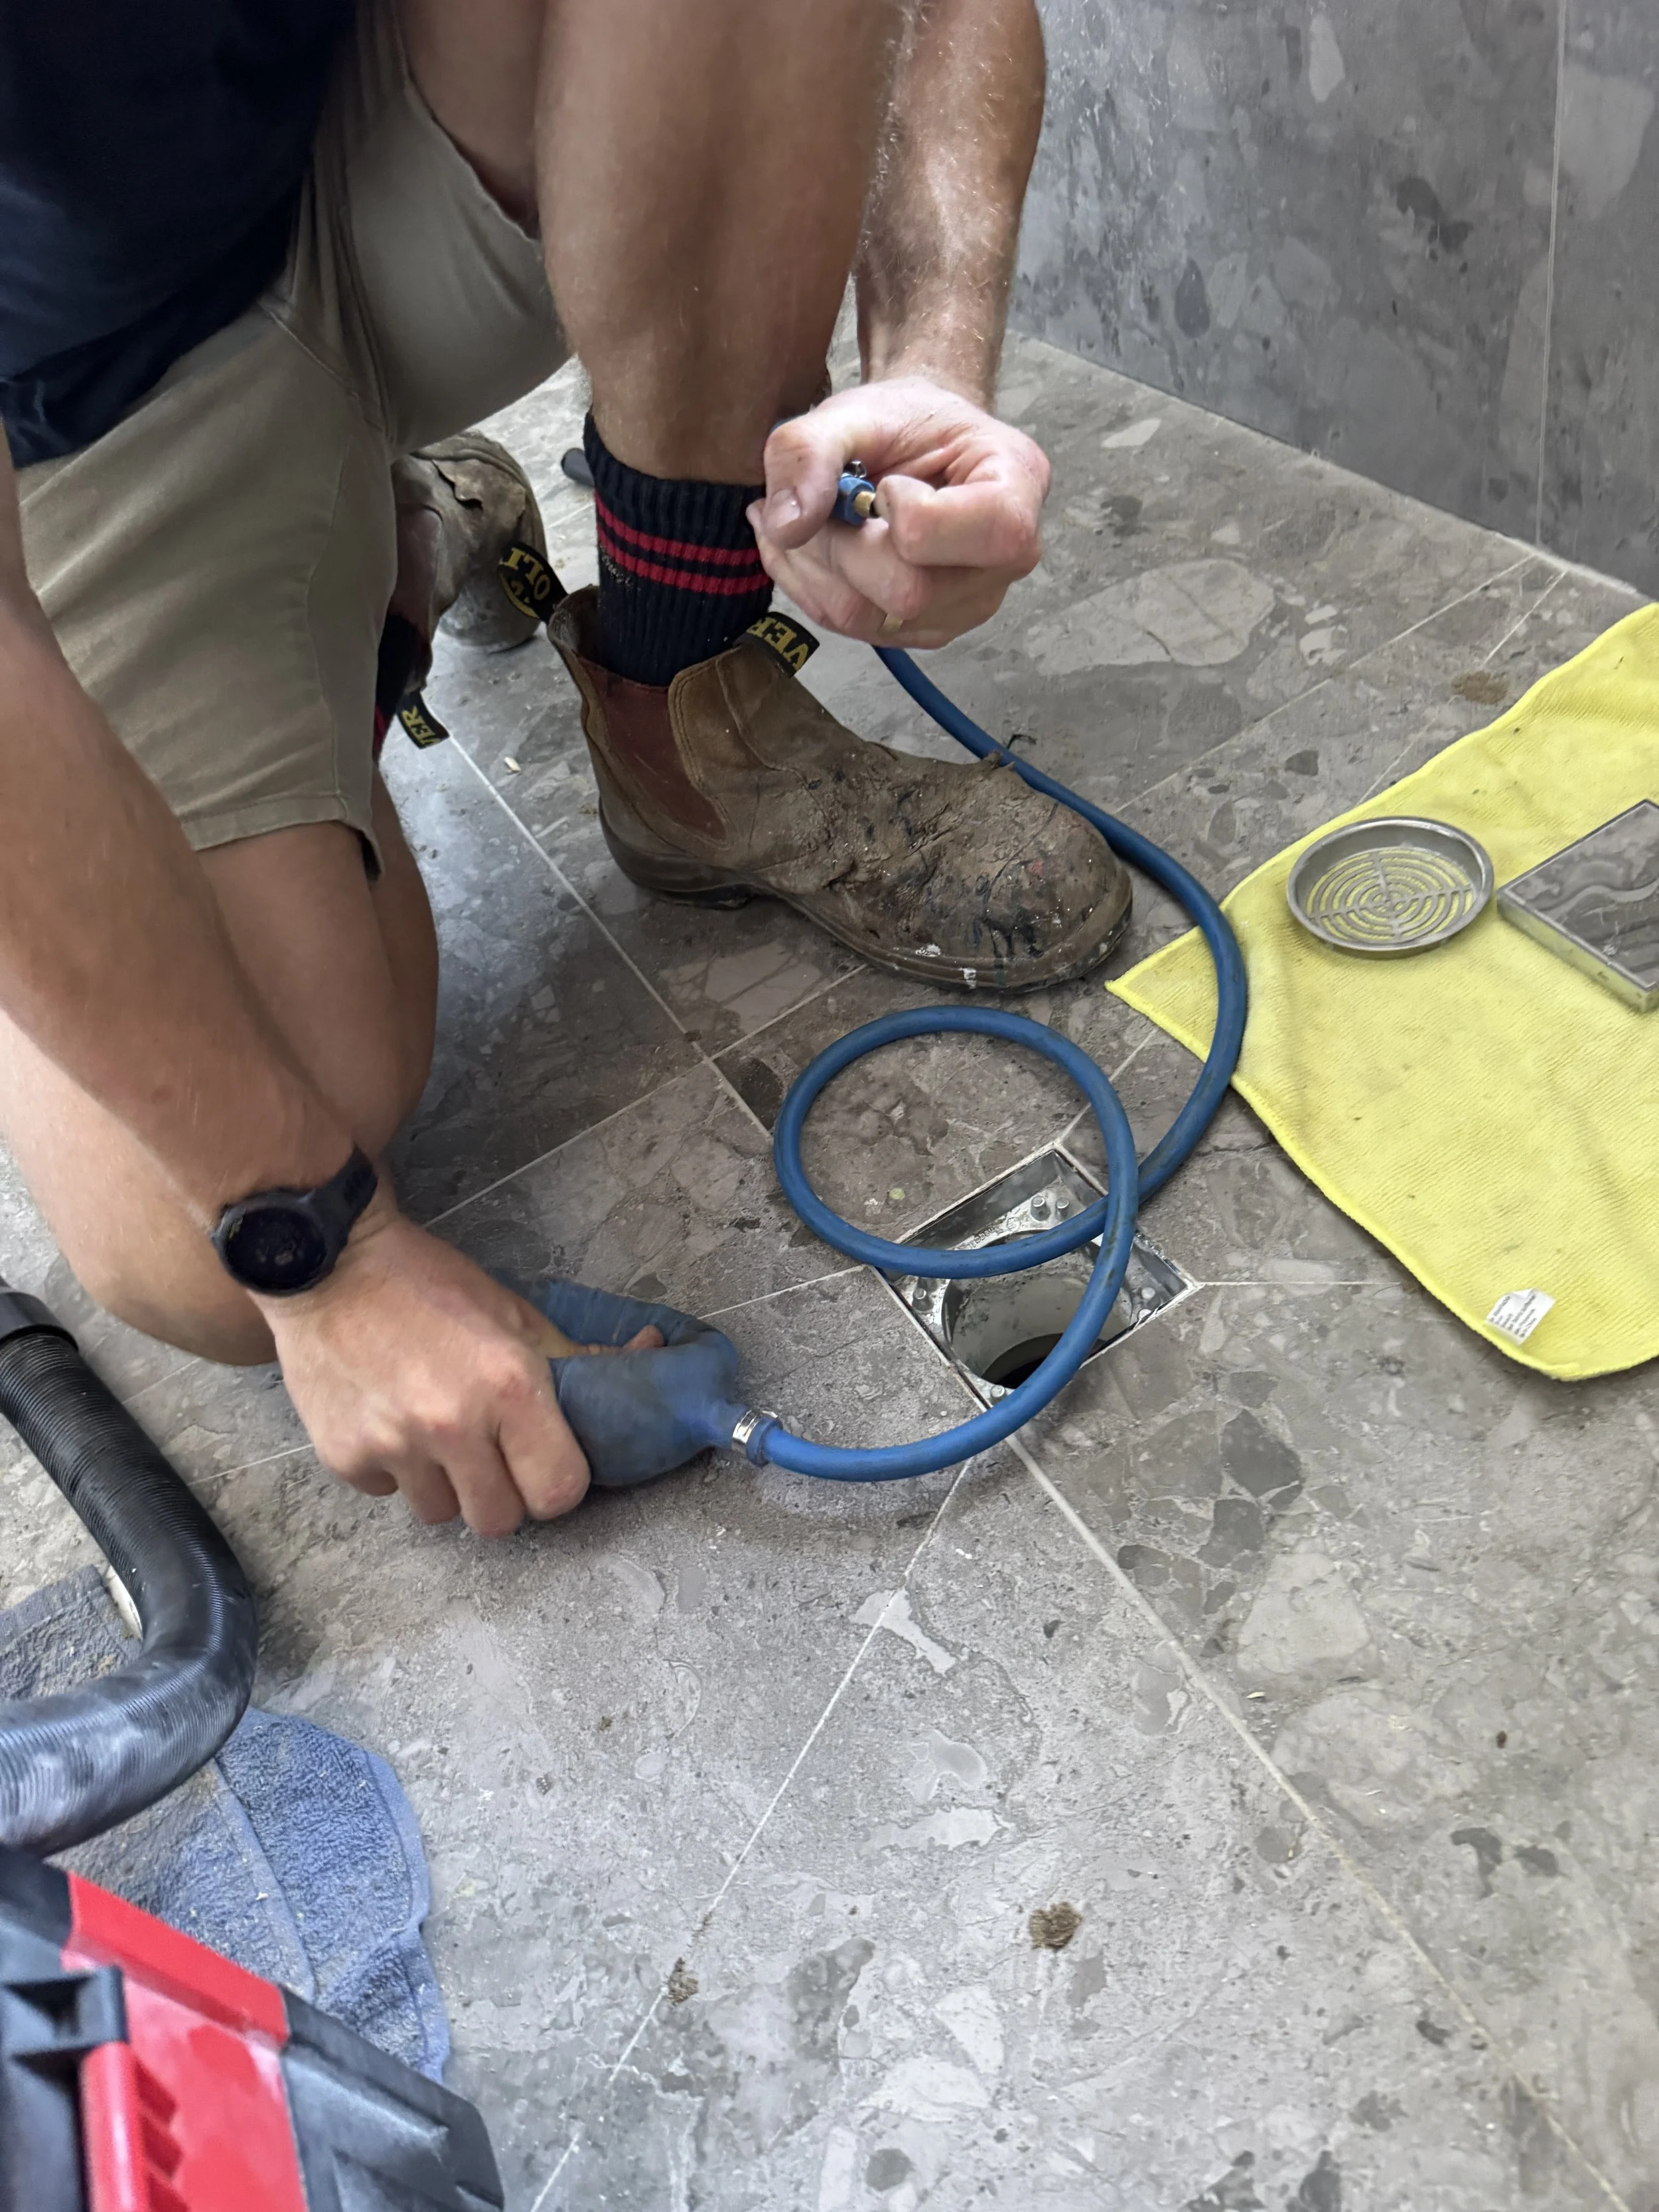
Remove floor waste grate and vacuum out the floor waste to the standard required. (remember to take out your filter on the vacuum first)
Take photos of your cleaned floor waste and attach to job so that you don’t need to do it later.
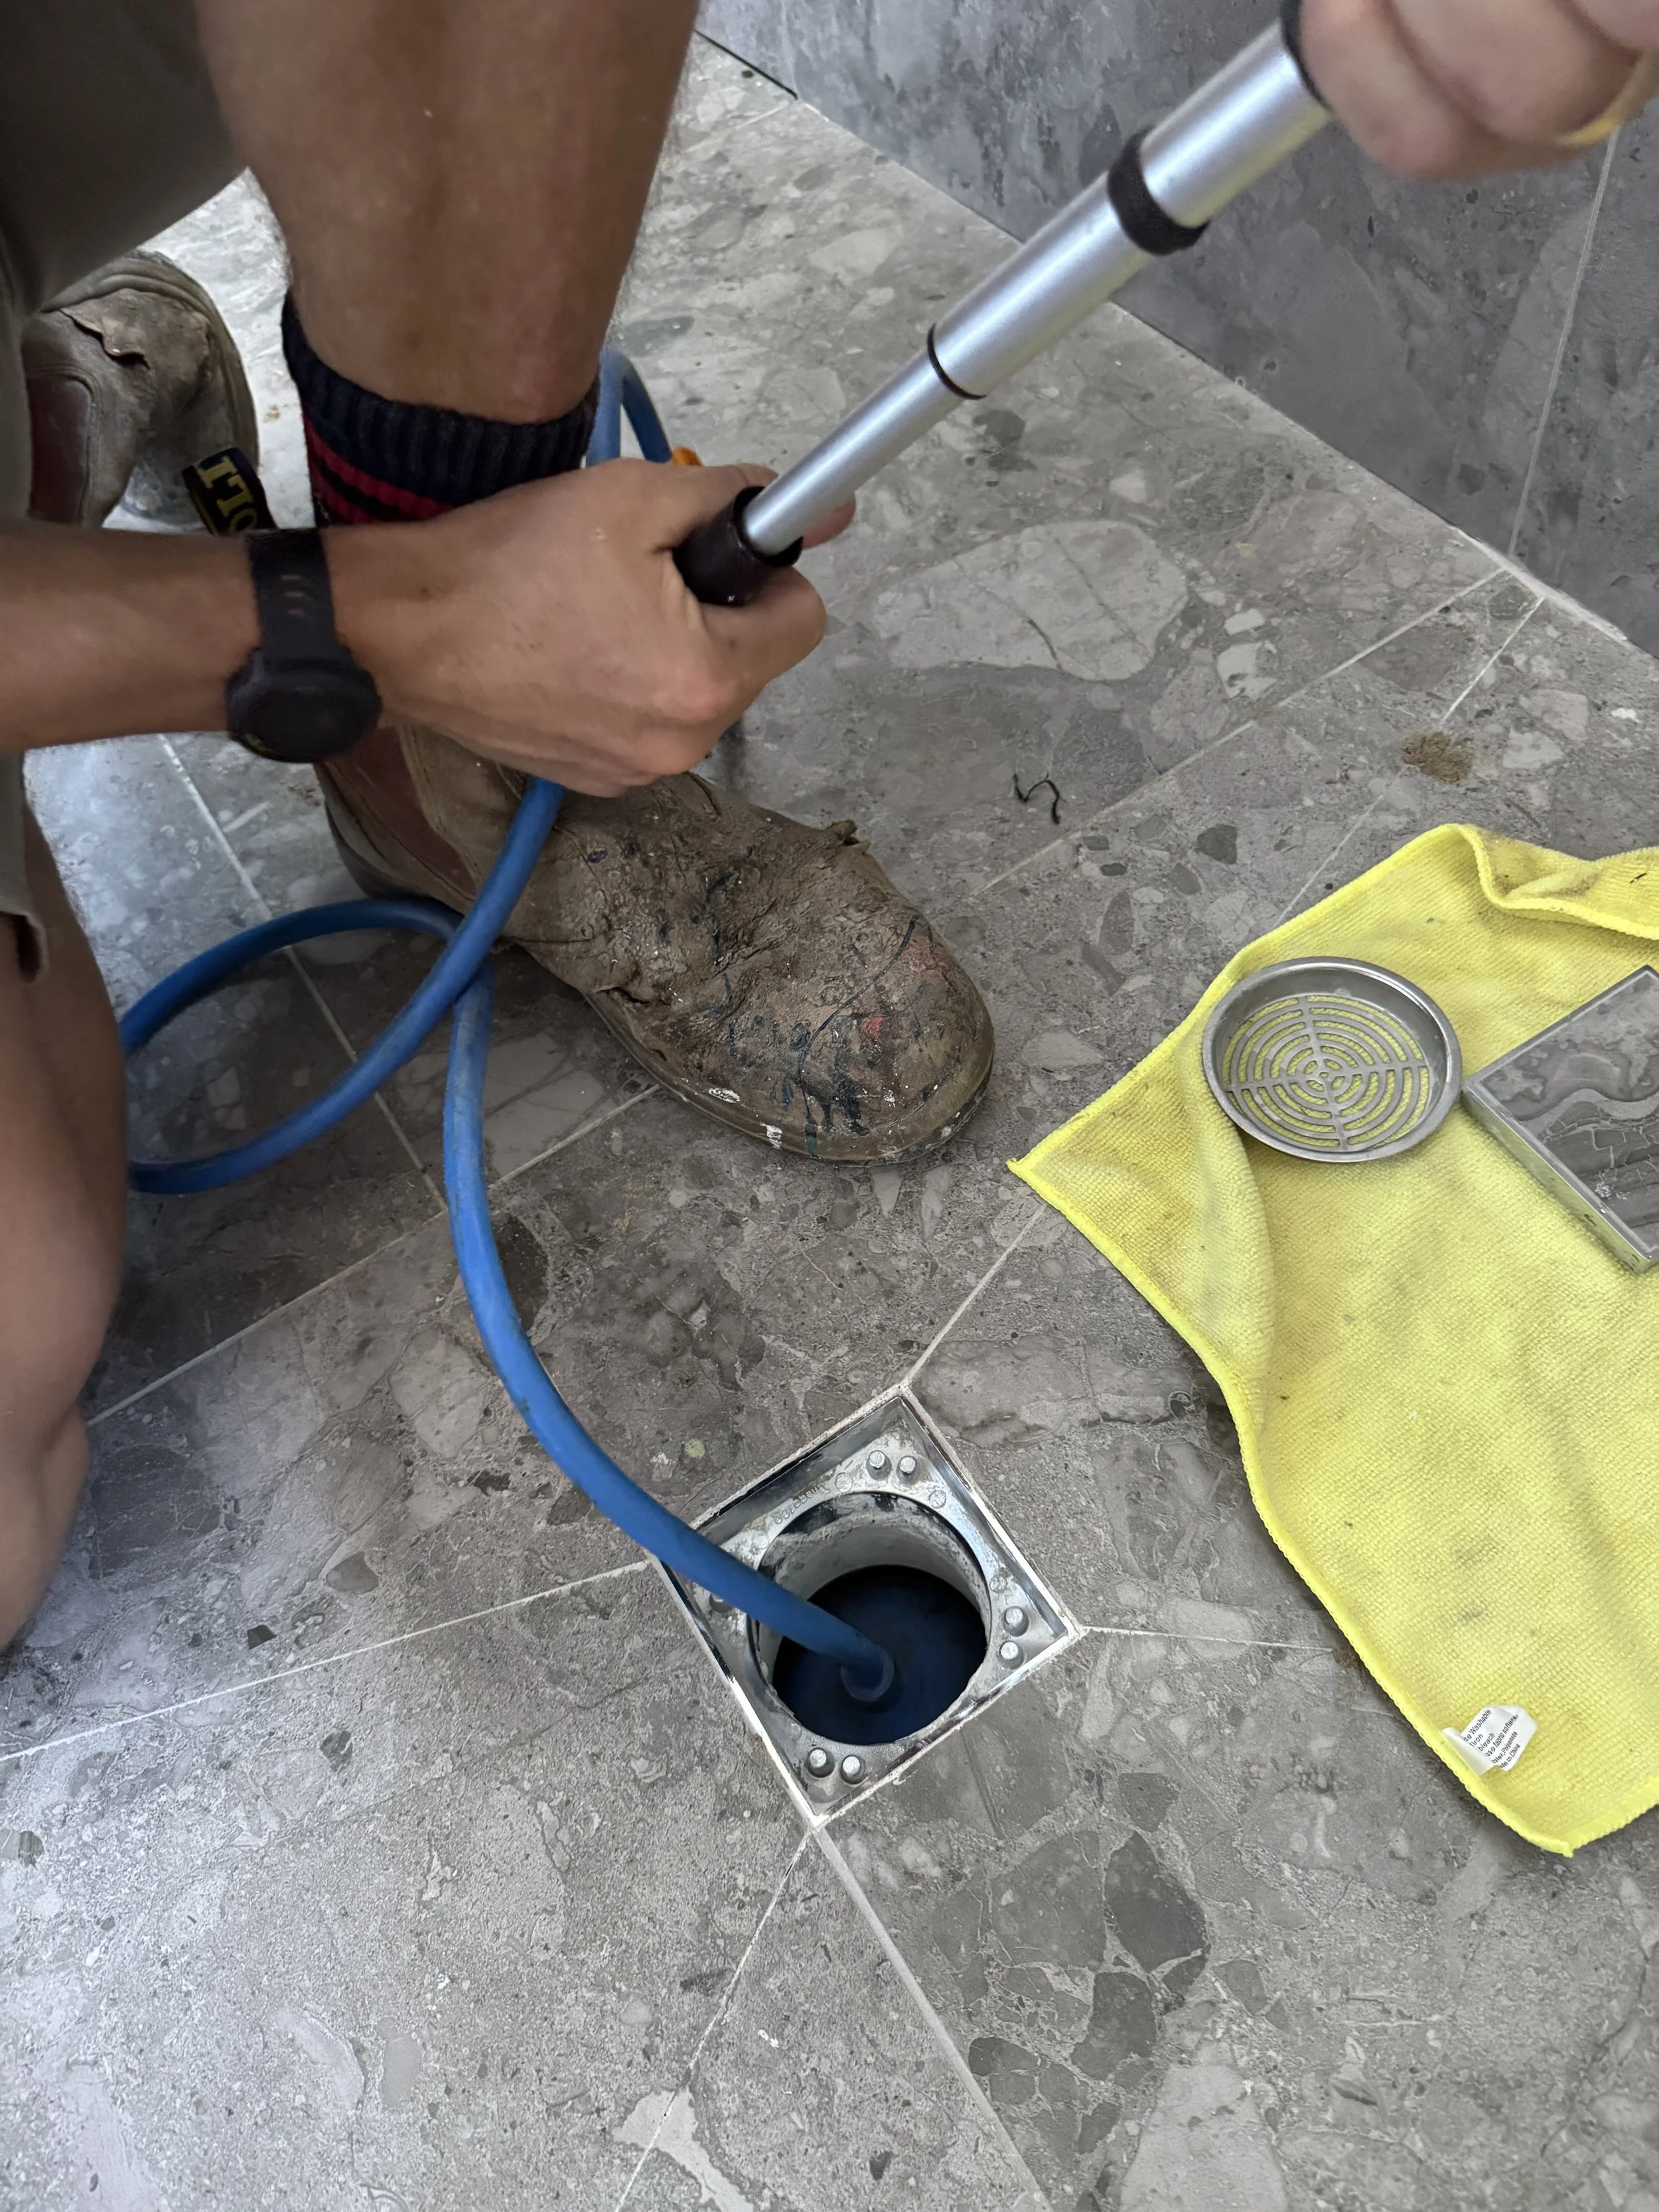
Insert blue test bag down floor waste blocking off the inlet. (if it is a 100mm inlet you will need to feed the bag up the horizontal pipe that the bath runs to) (if it is a 4 way riser you need to hold the bag in place so that it covers the 40mm inlet hole and then pump it up)
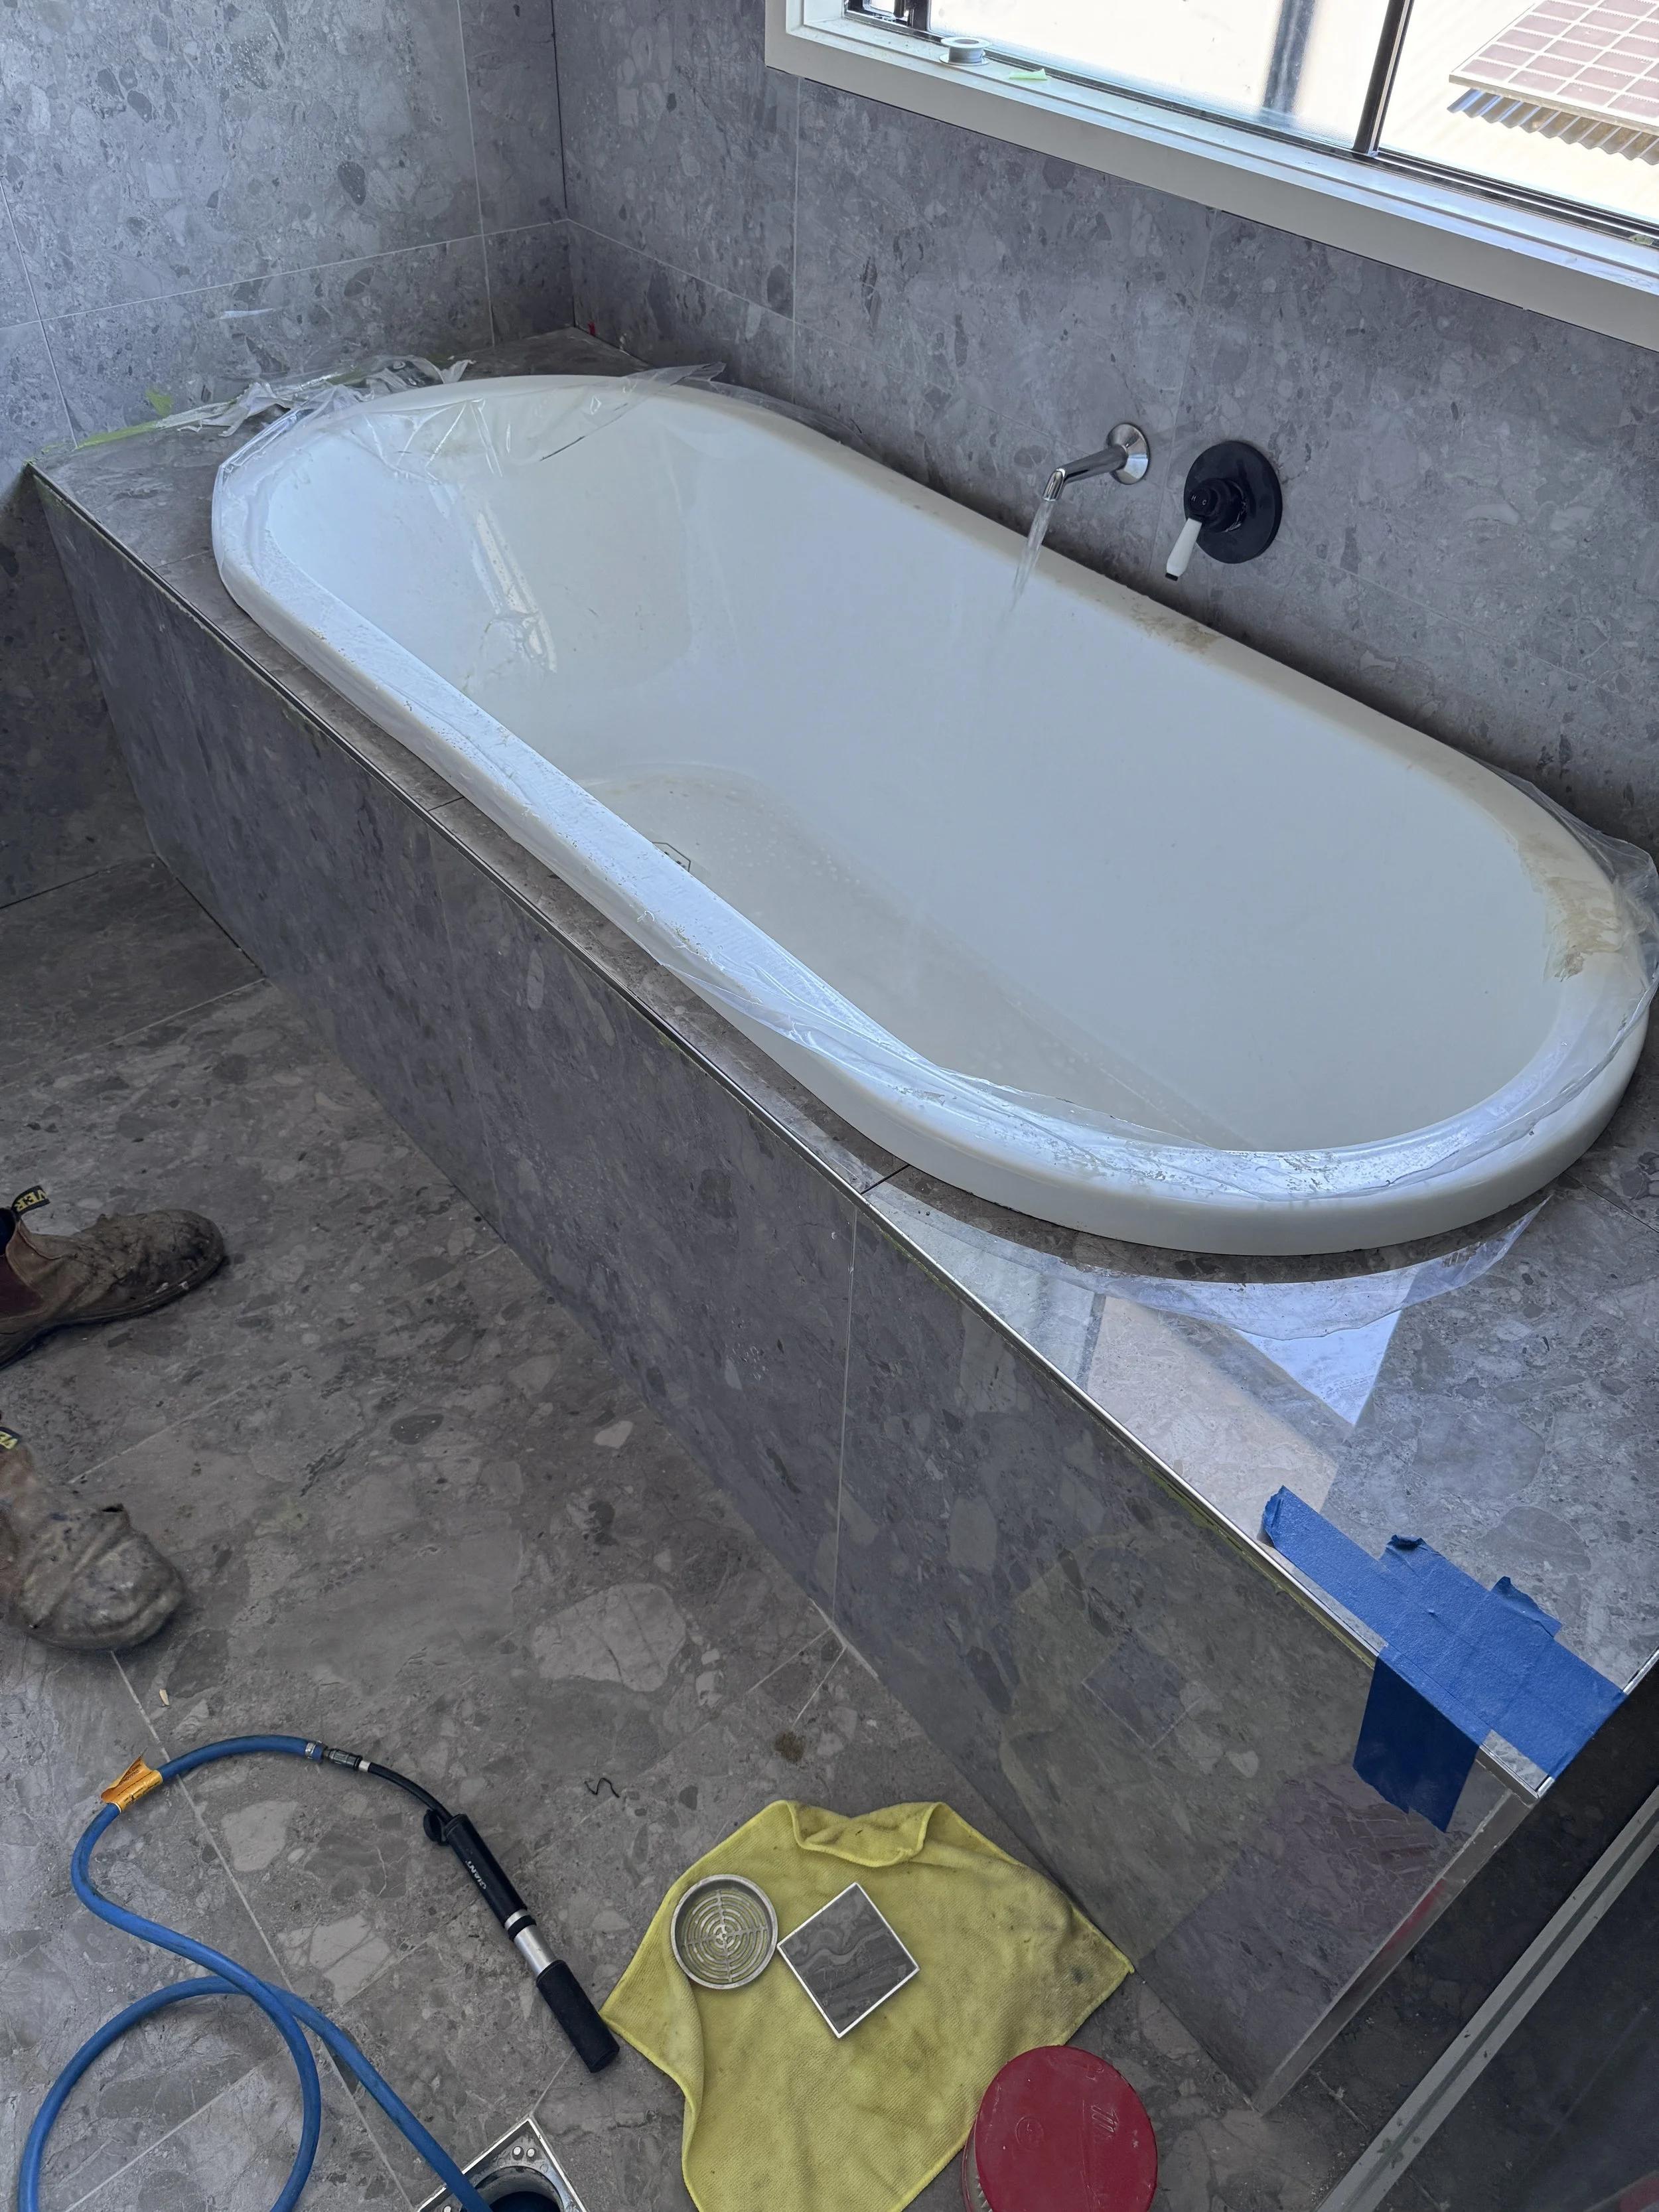
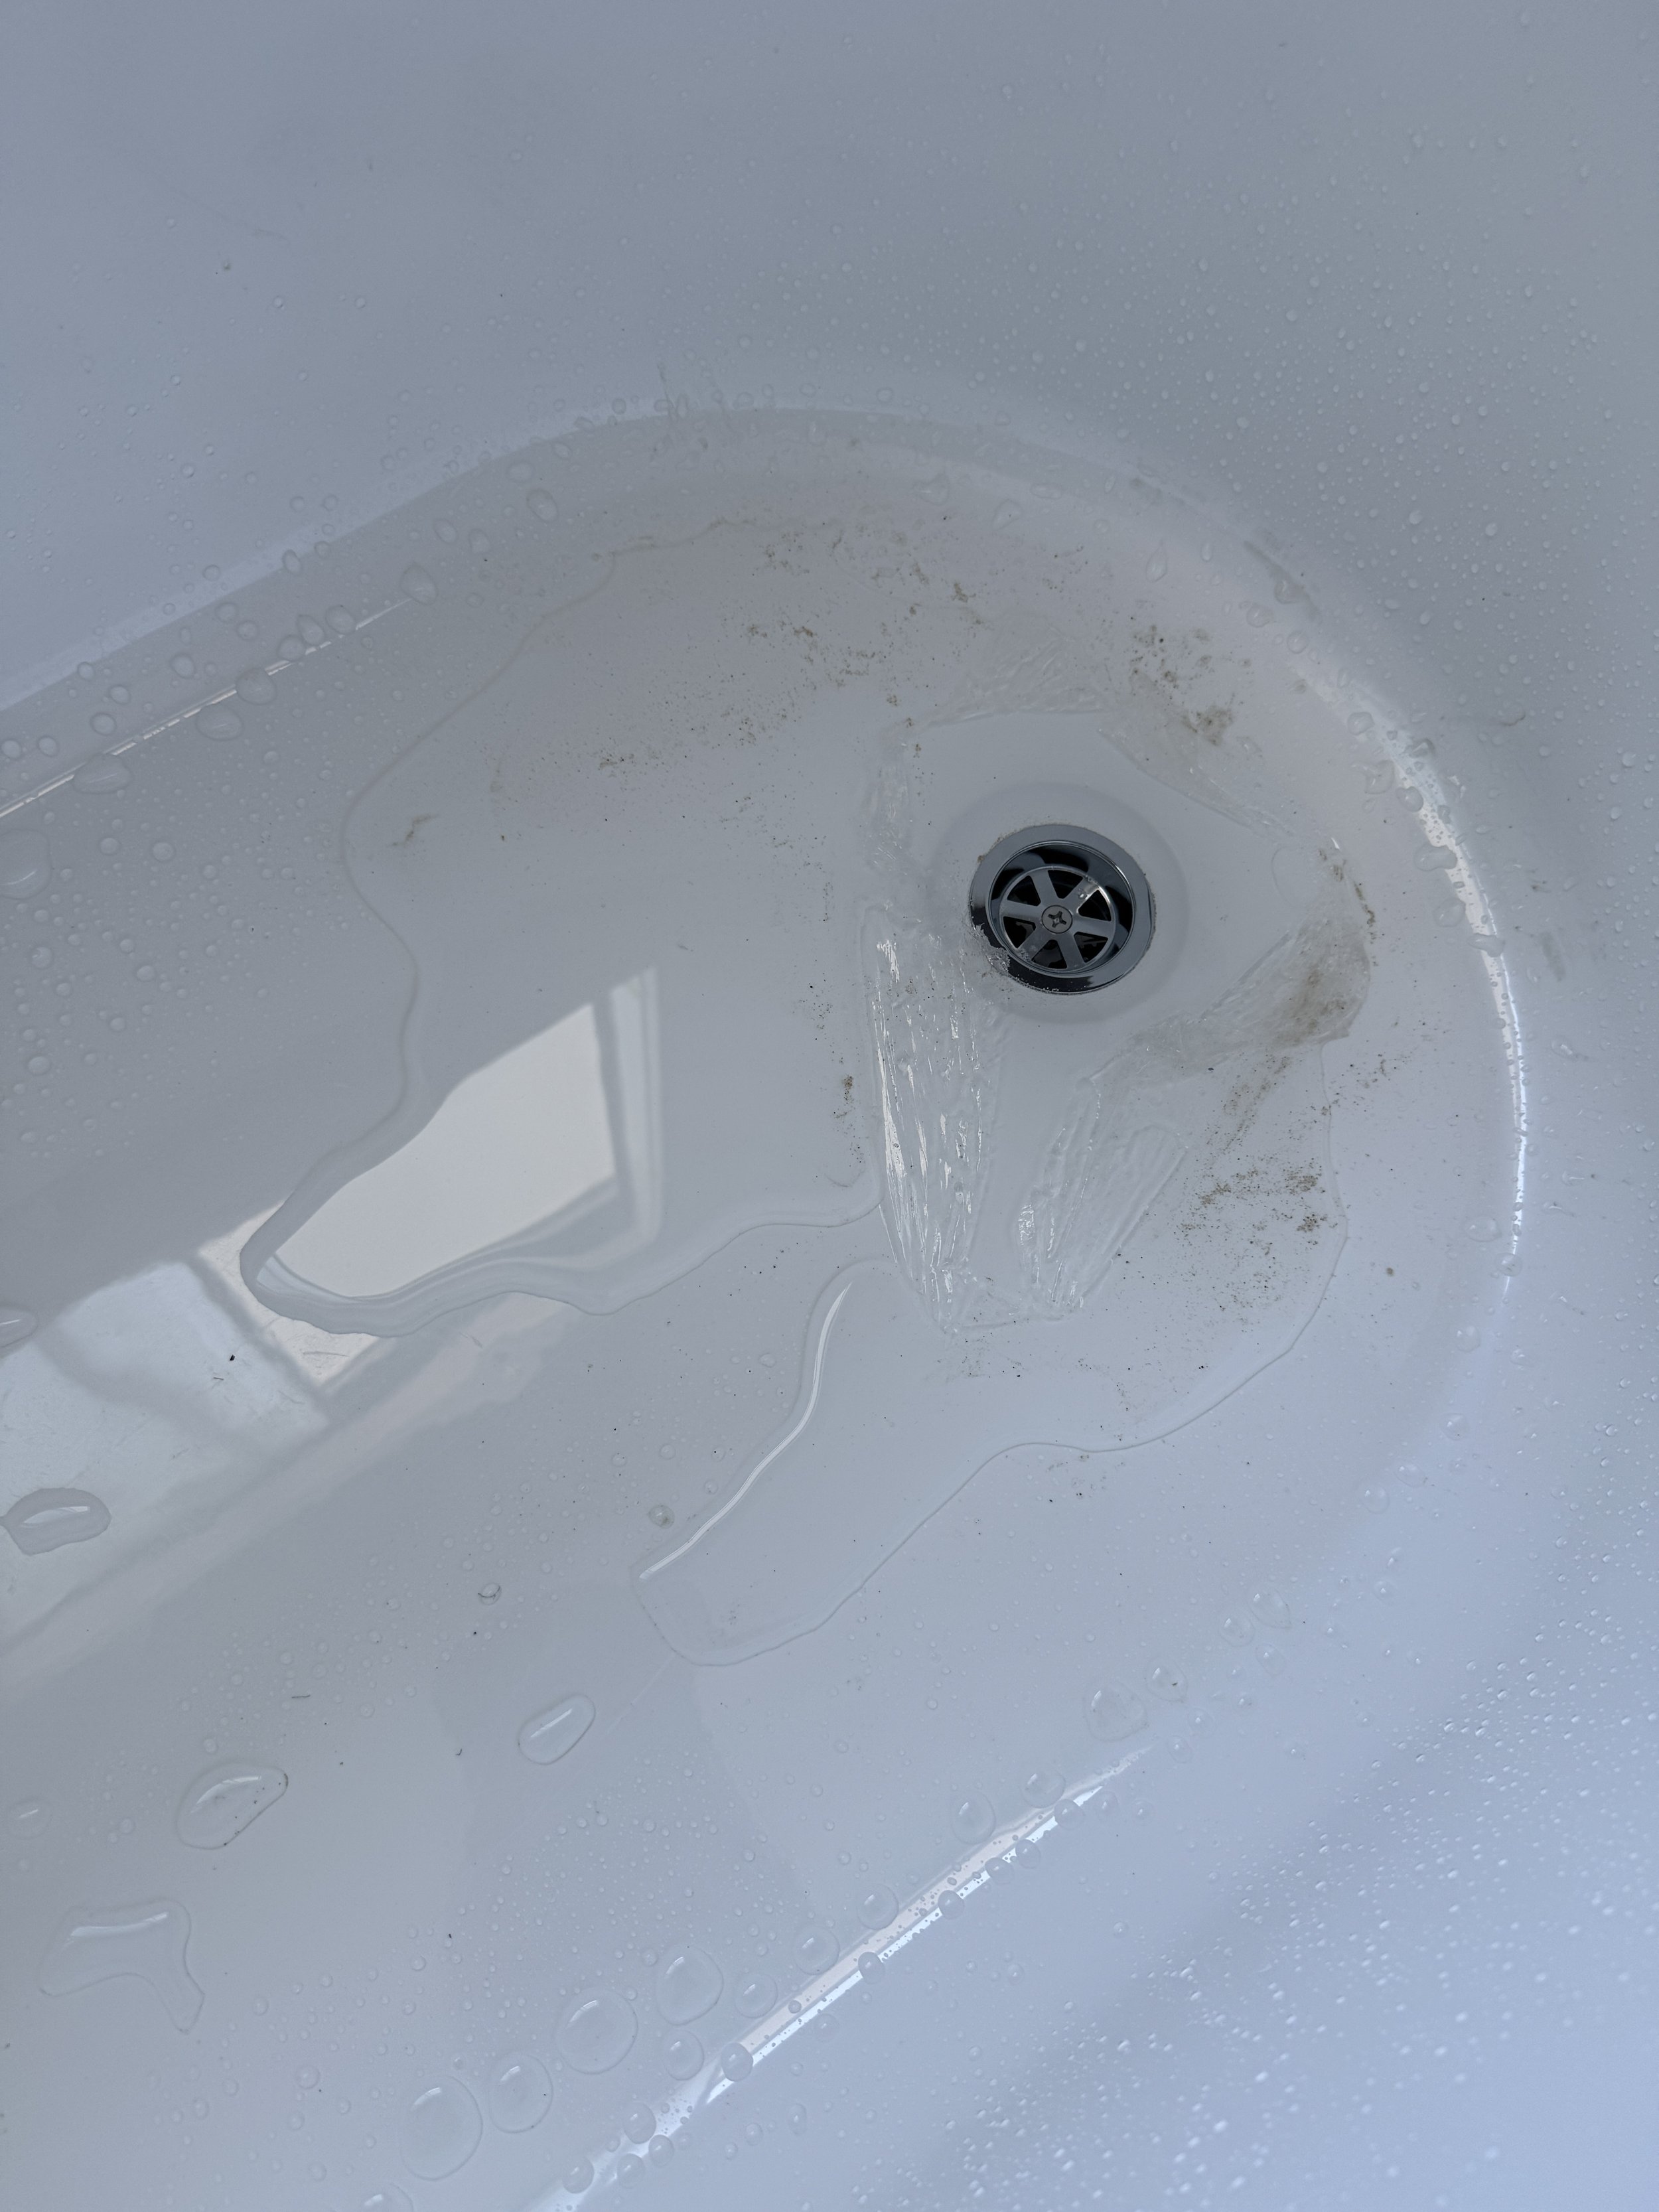
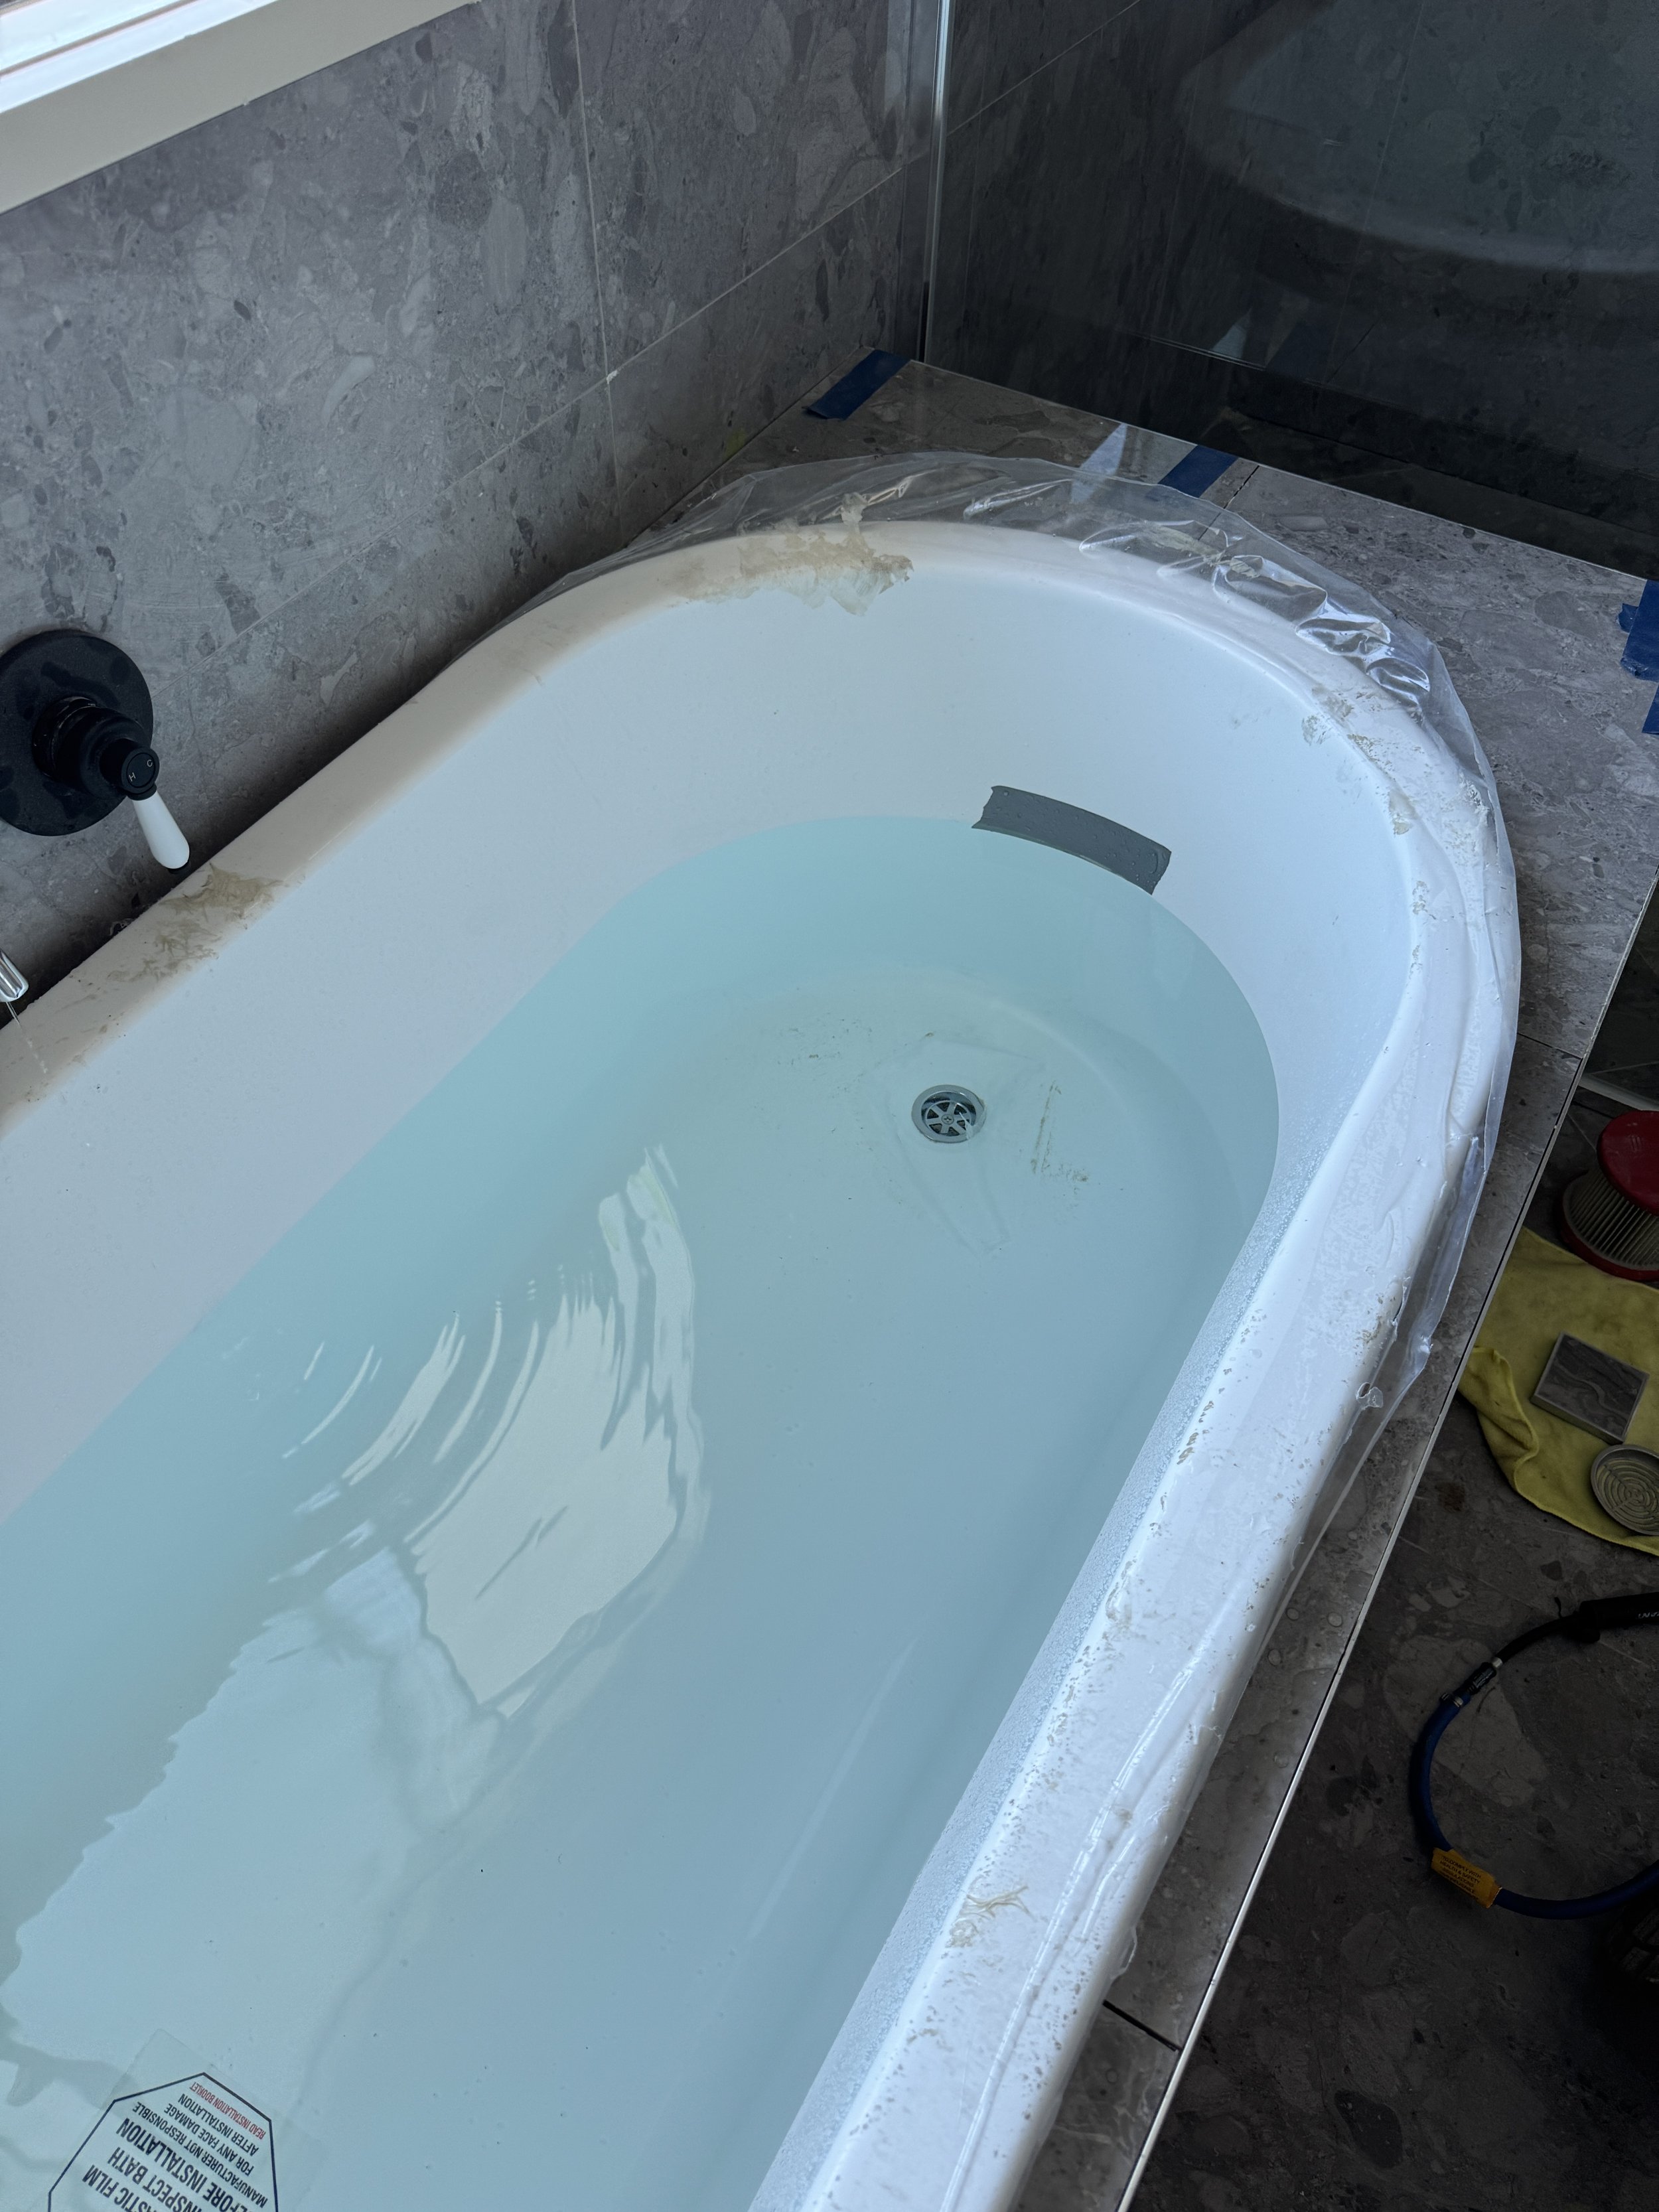
Fill bath to just above the chrome waste to do a quick test to see if there are any obvious leaks. (if there is a leak the water level will drop)
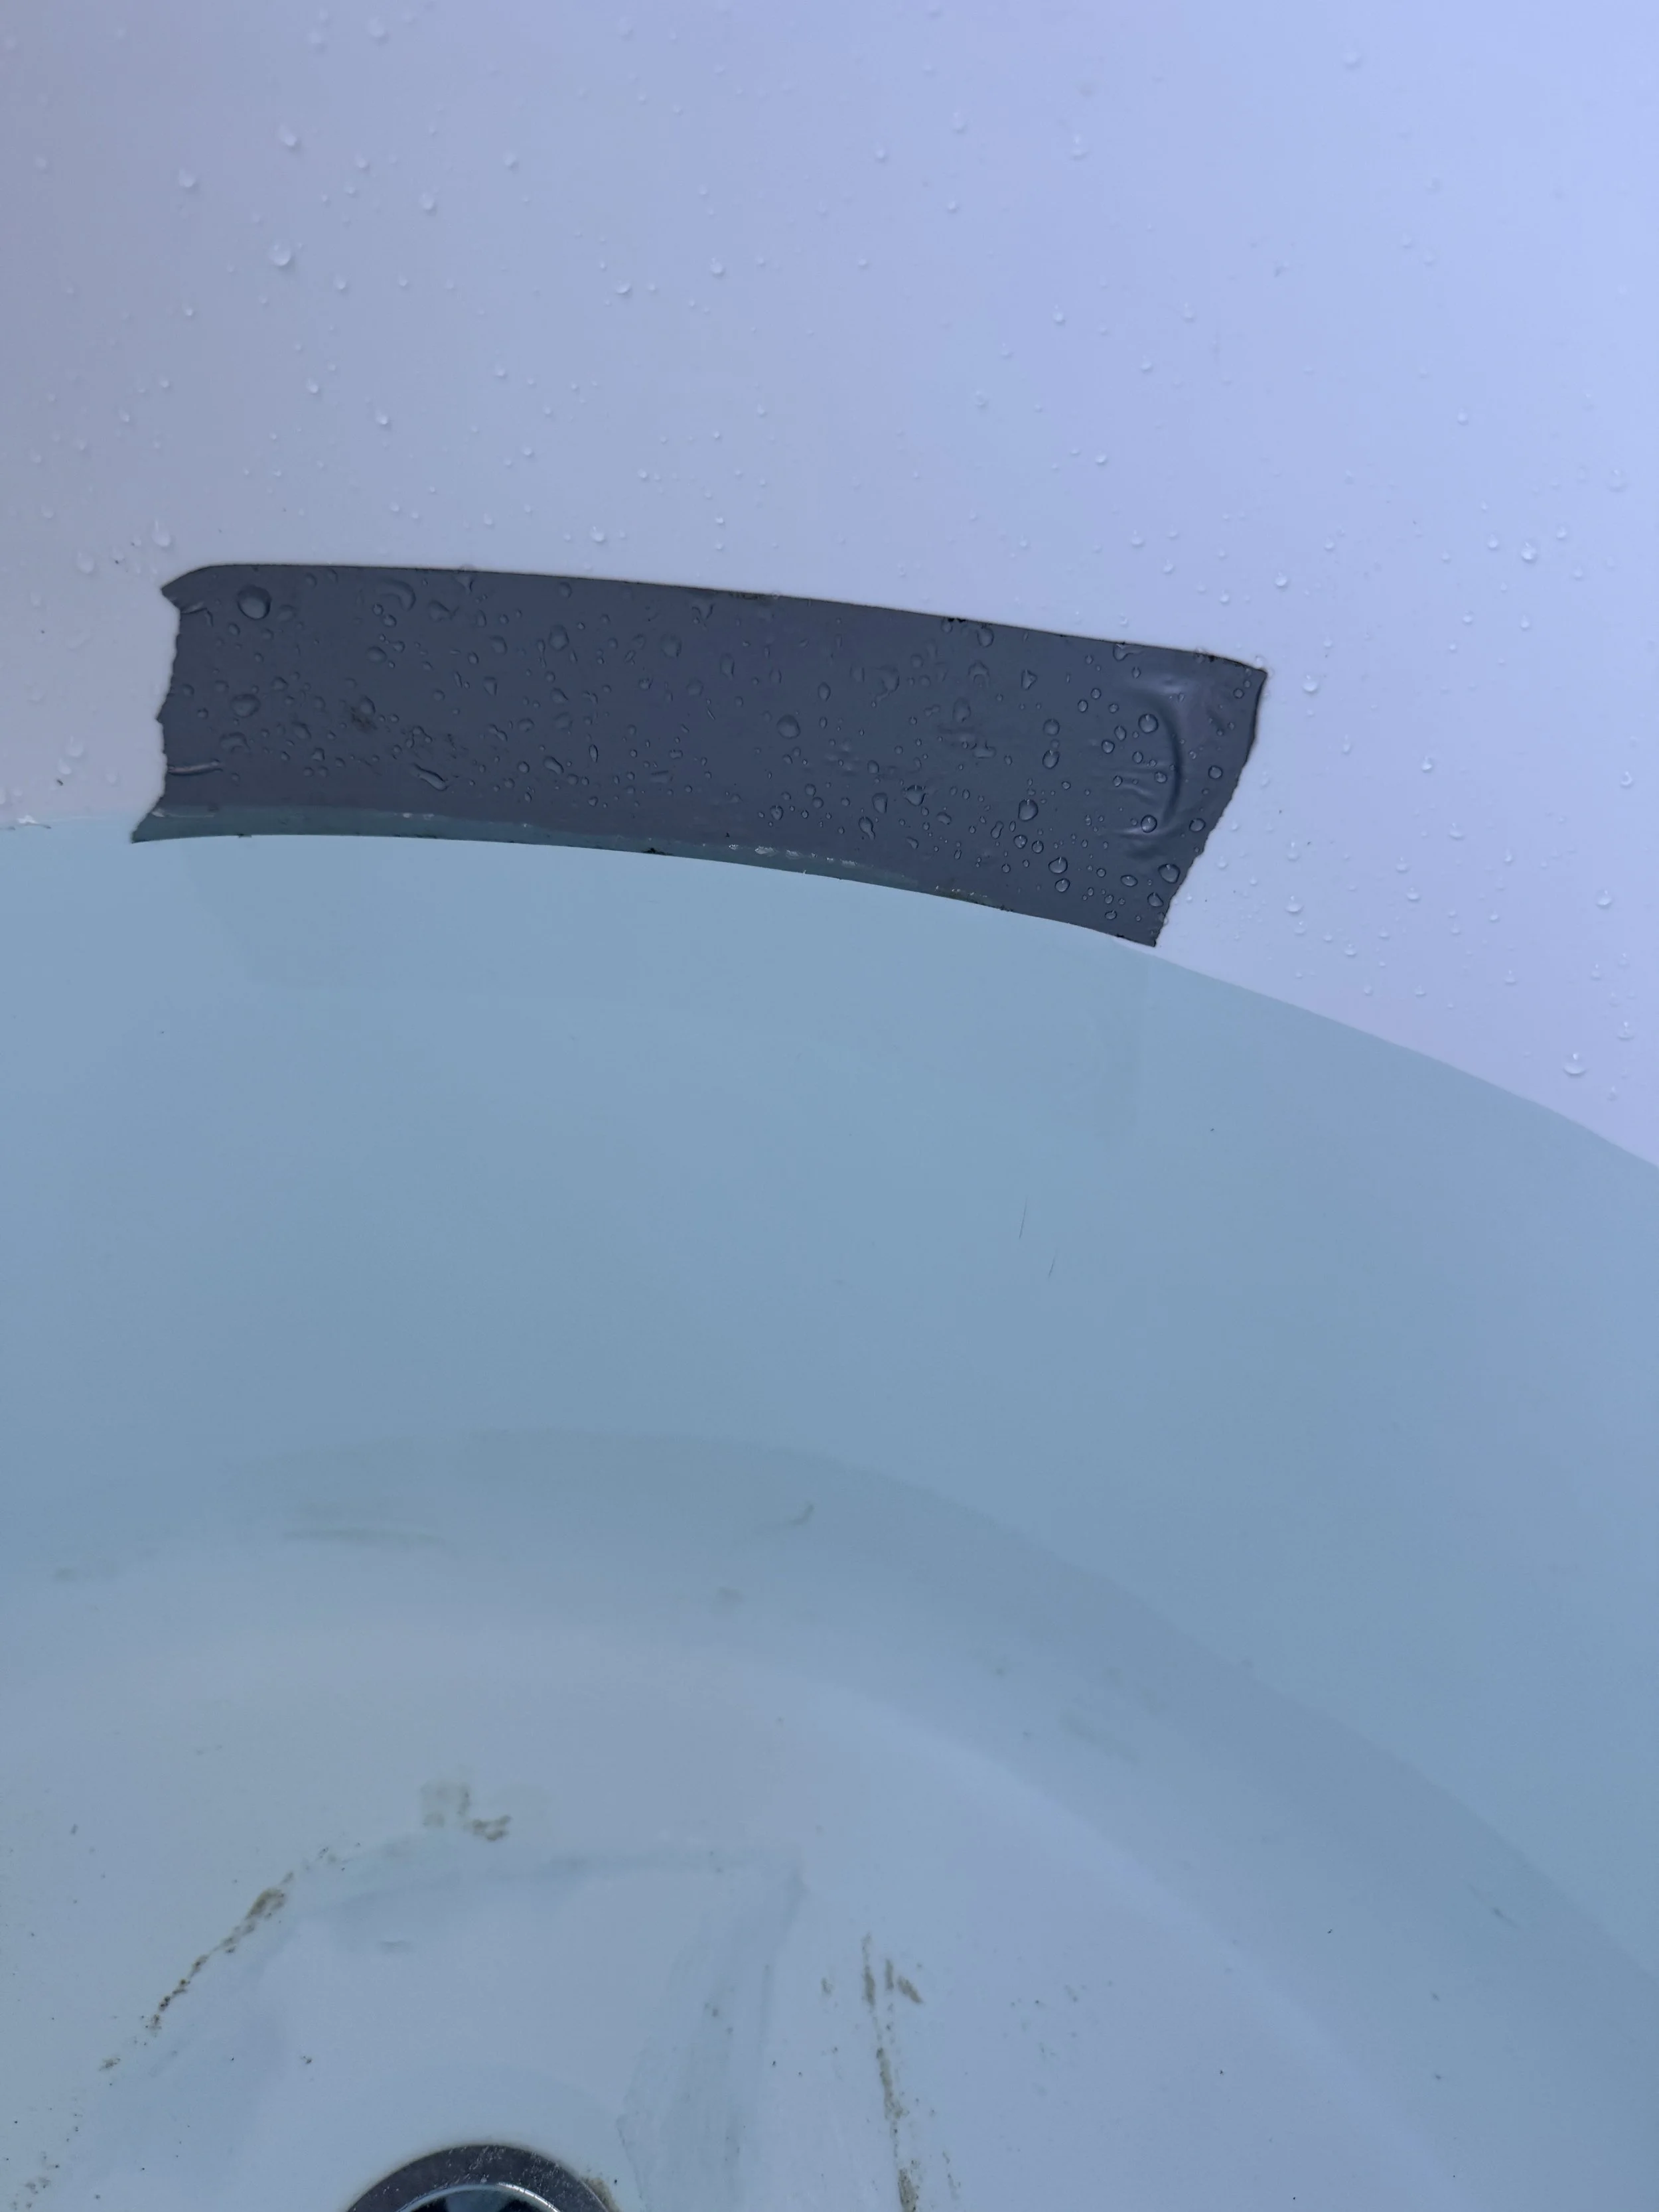
If no obvious signs of leaks, put a piece of duct tape halfway up the bath as a marker.
Fill bath to bottom of duct tape,
**Very important you have towels at the doorway for this test as we have had a test bag let go before and flood the bathroom which could be a disaster if there is a nice timber floor outside the bathroom.
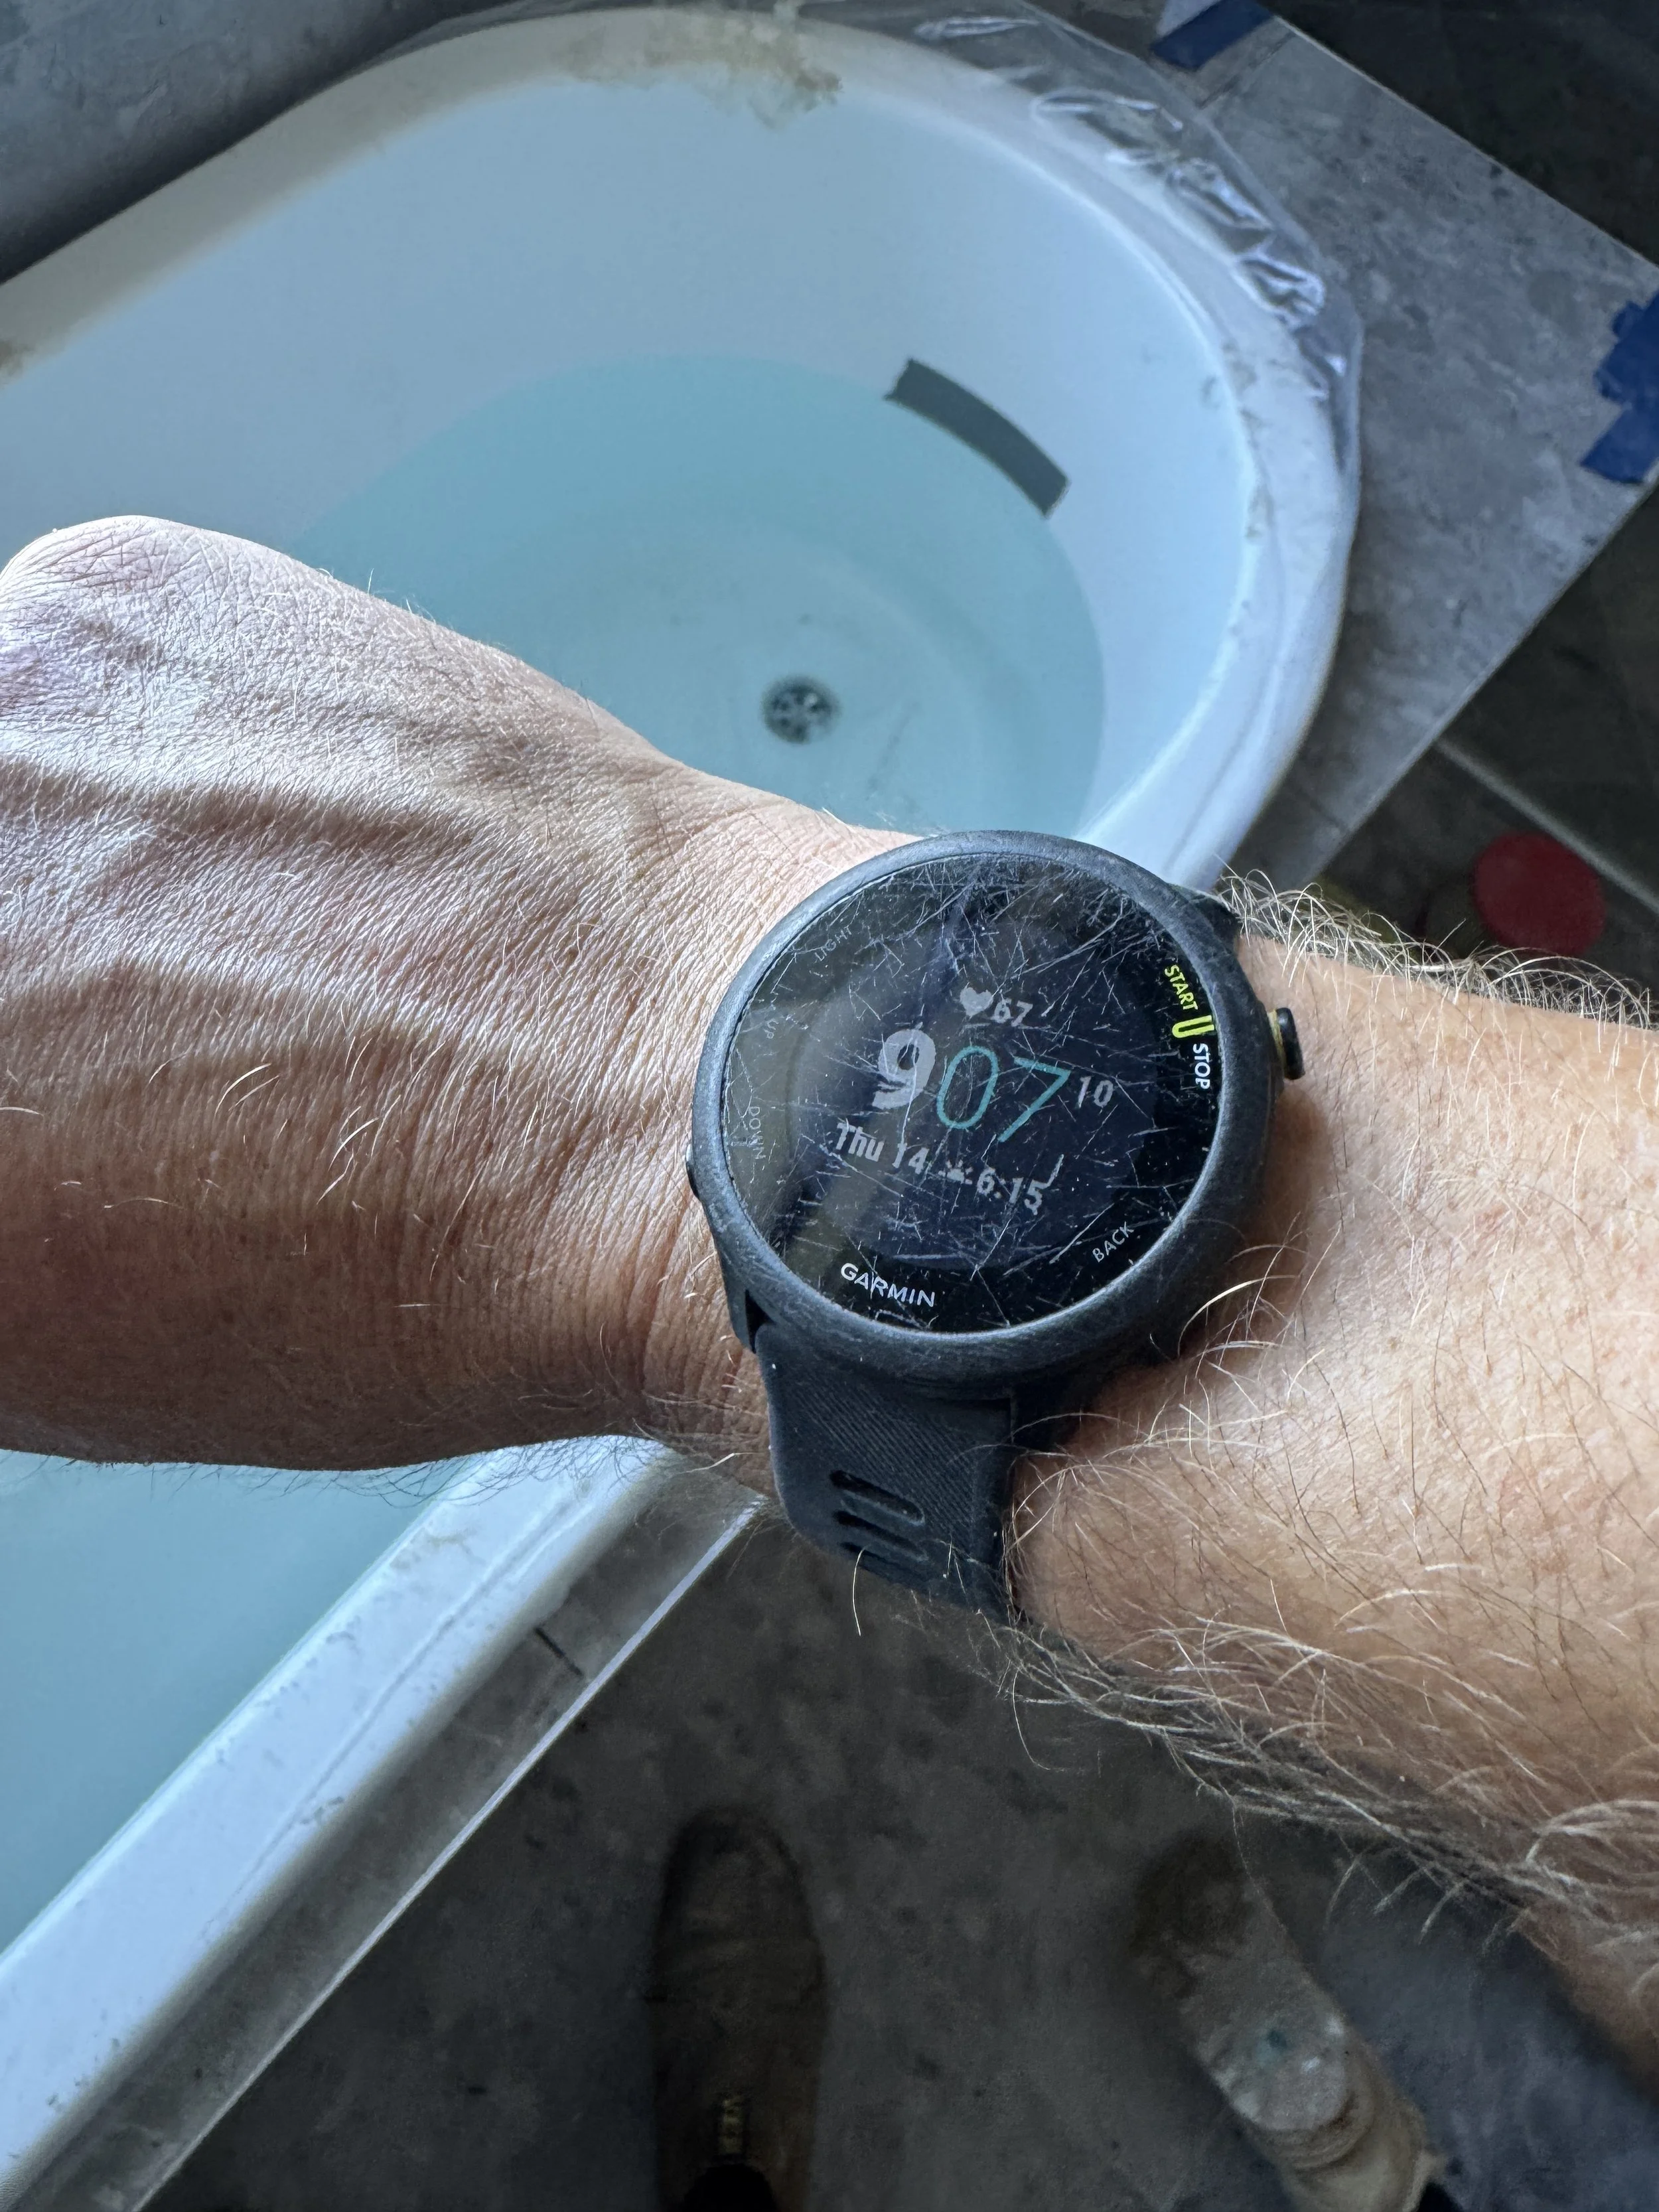
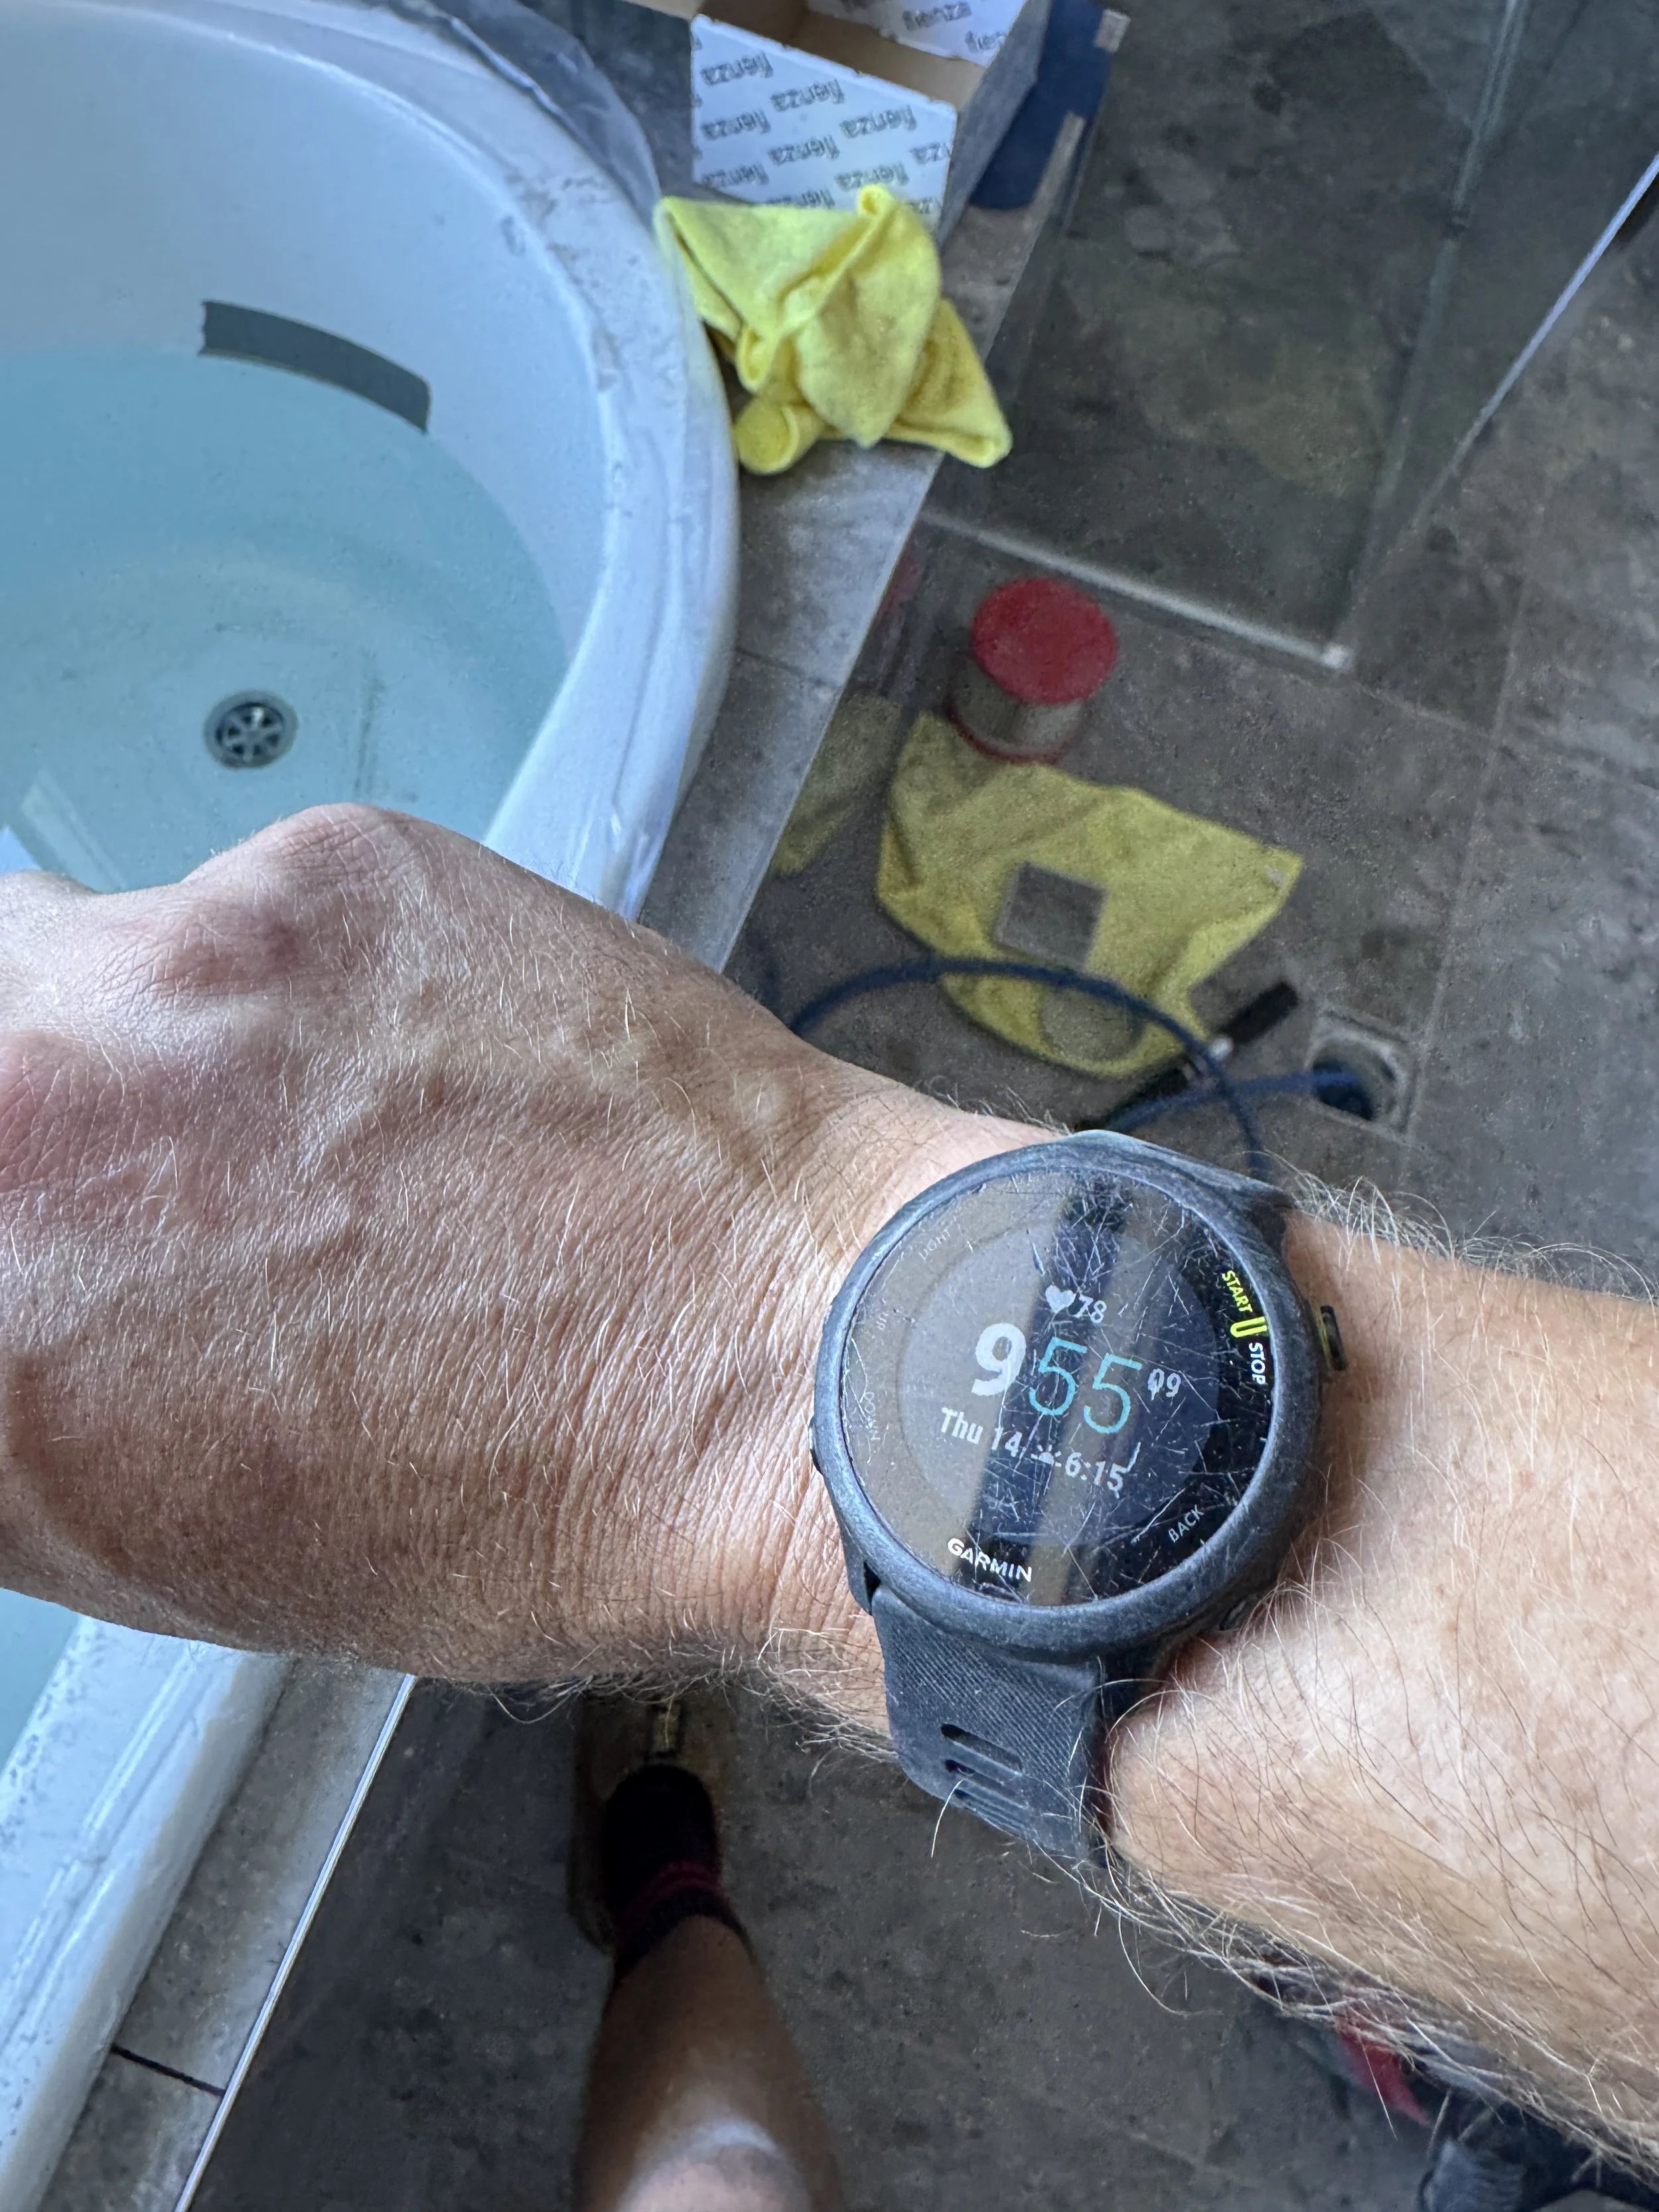
Take photo of your watch or screenshot the time on your phone for start of test.
Once tested for minimum of 10 minutes. You can drain the bath by pulling the test bag out.
As you let the air out, make sure to pull on the bag so that when it lets go the bag comes up to the top of the waste and the water goes down the drain.
If the bath moves at all, it will need to be held in place with some silicone to pass Logan council final inspection.
The builder will normally do a finishing bead so we only put a couple of small sections of silicone in places that won’t be seen and wipe them back so that a finishing bead can go over and cover them.
**Super important that you double check the bath is centred and evenly distanced from wall at this stage.
IF YOU THINK THAT THERE’S ANY INFO MISSING THAT COULD MAKE THIS EASIER TO FOLLOW JUST CHUCK IT INTO THE MESSAGE BELOW AND WE’LL MAKE SURE WE GET THIS RUNNING AS SMOOTH AS POSSIBLE

