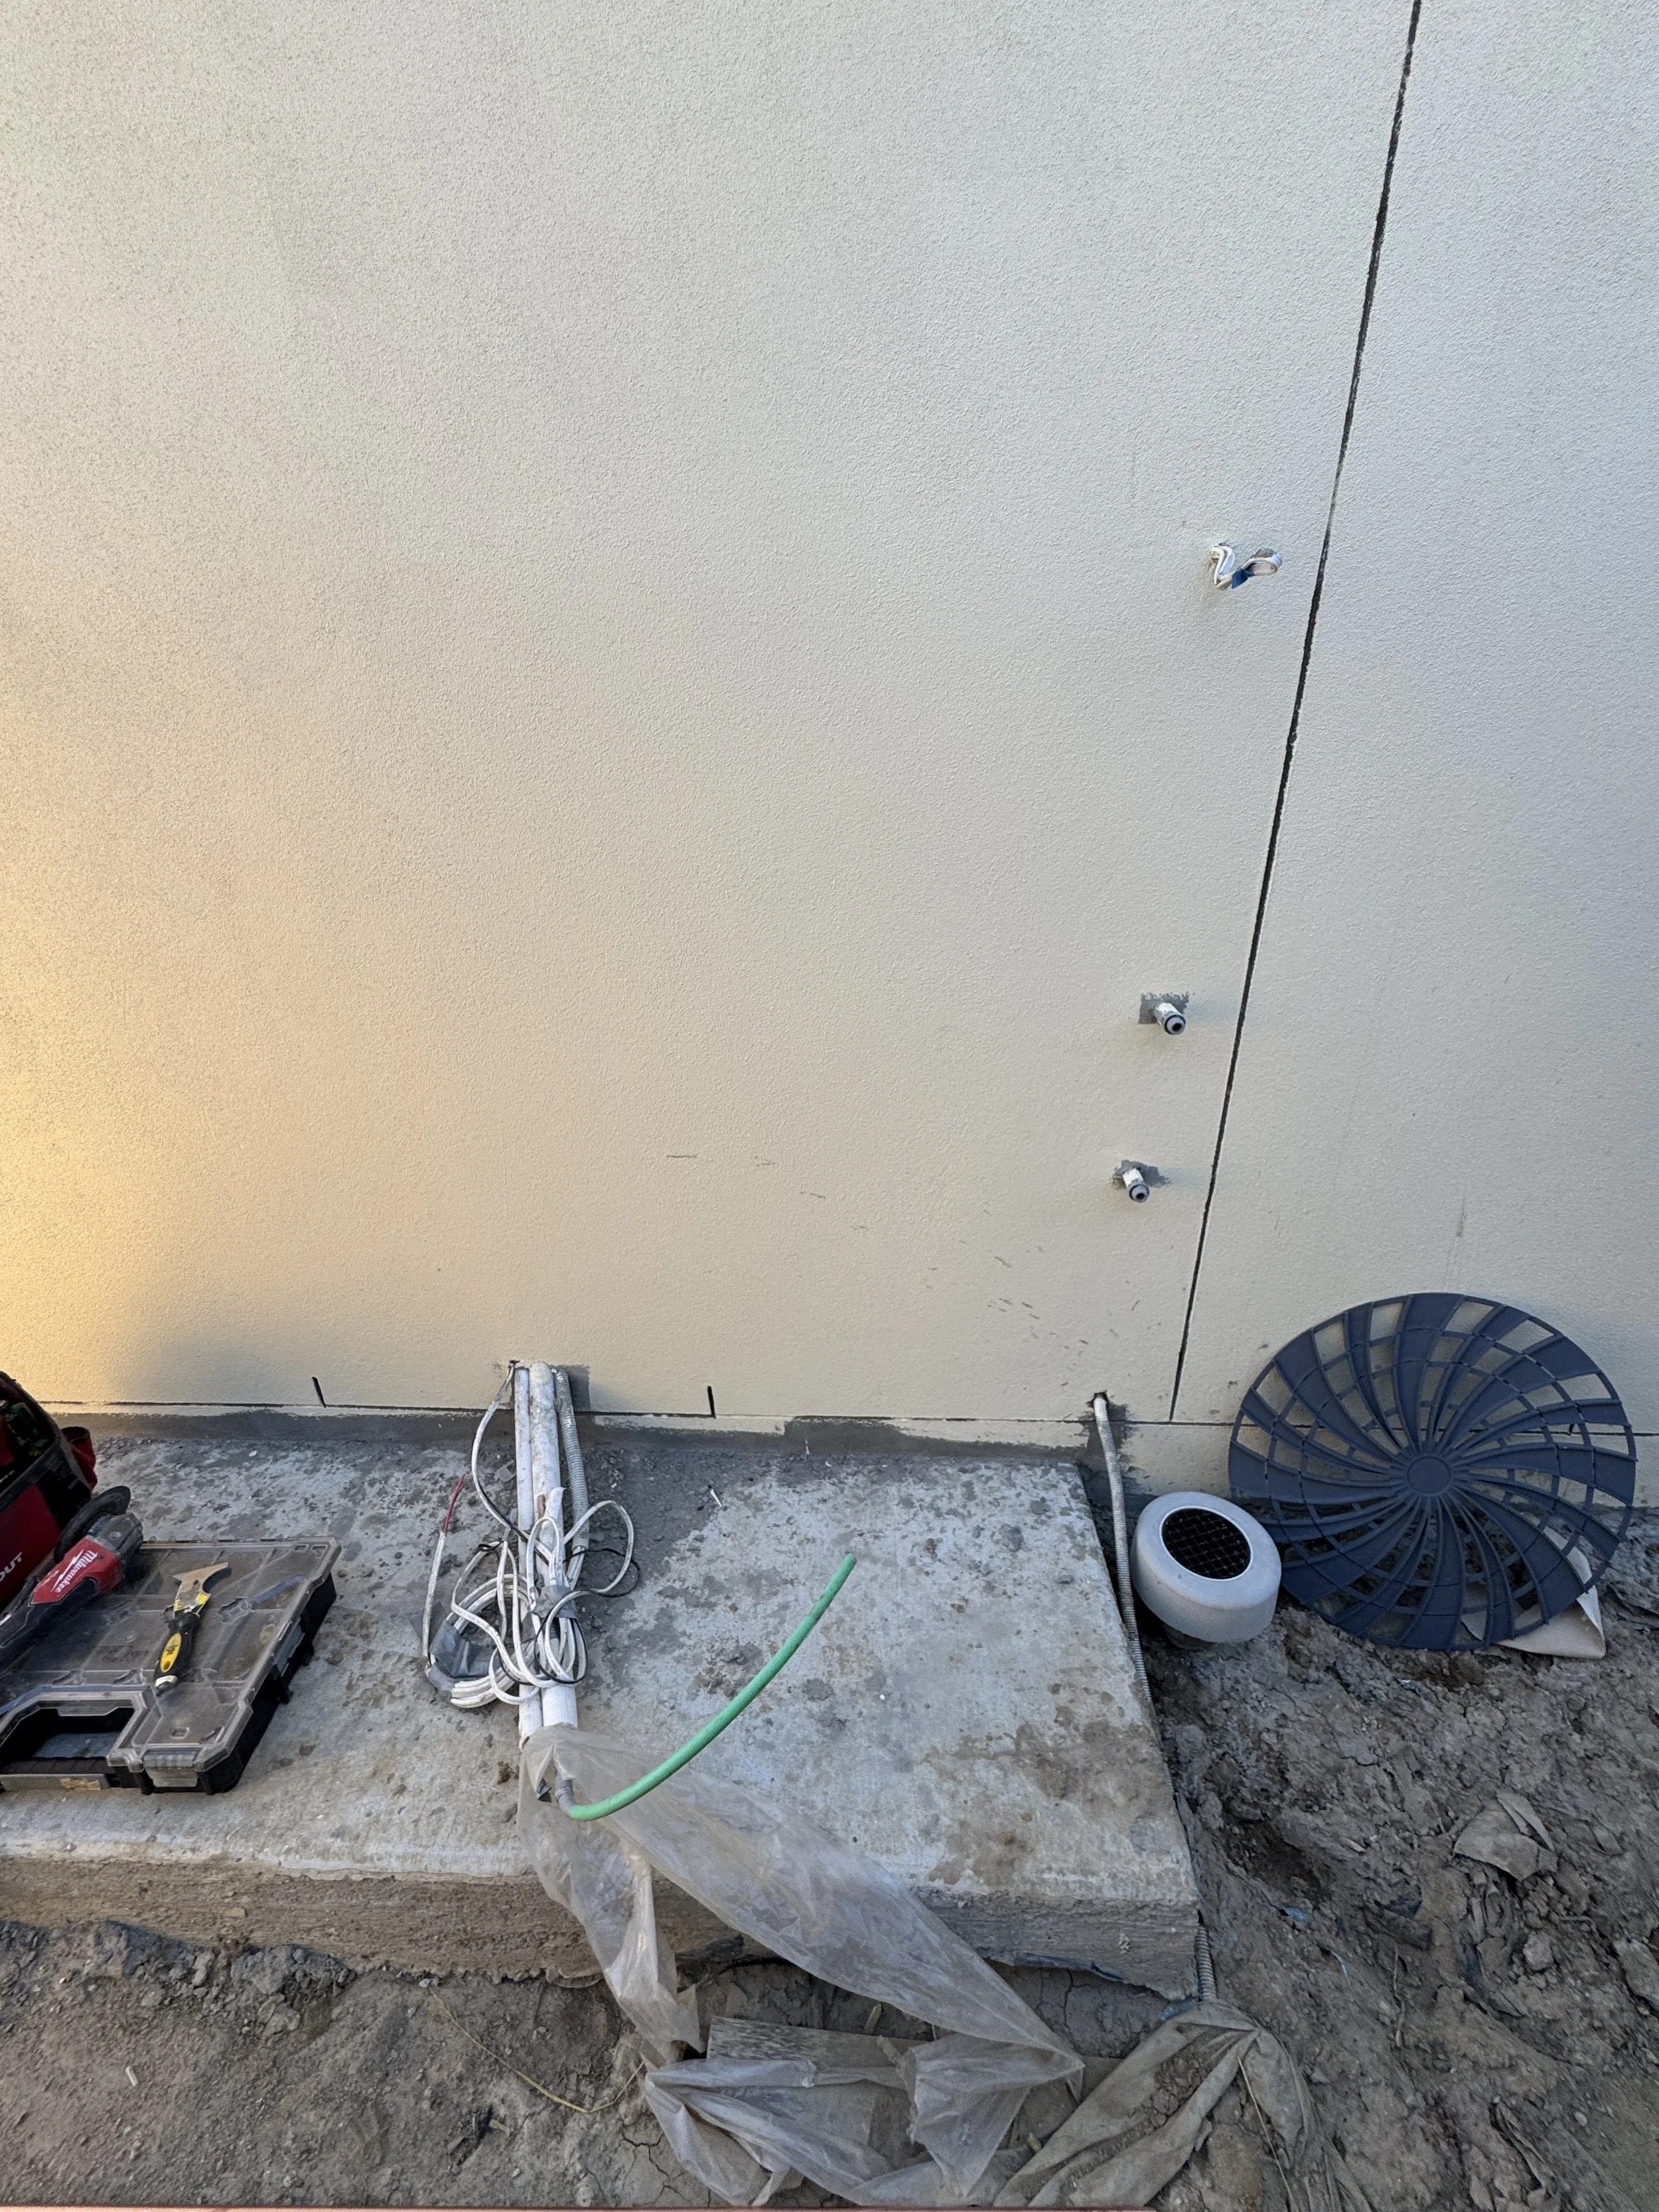
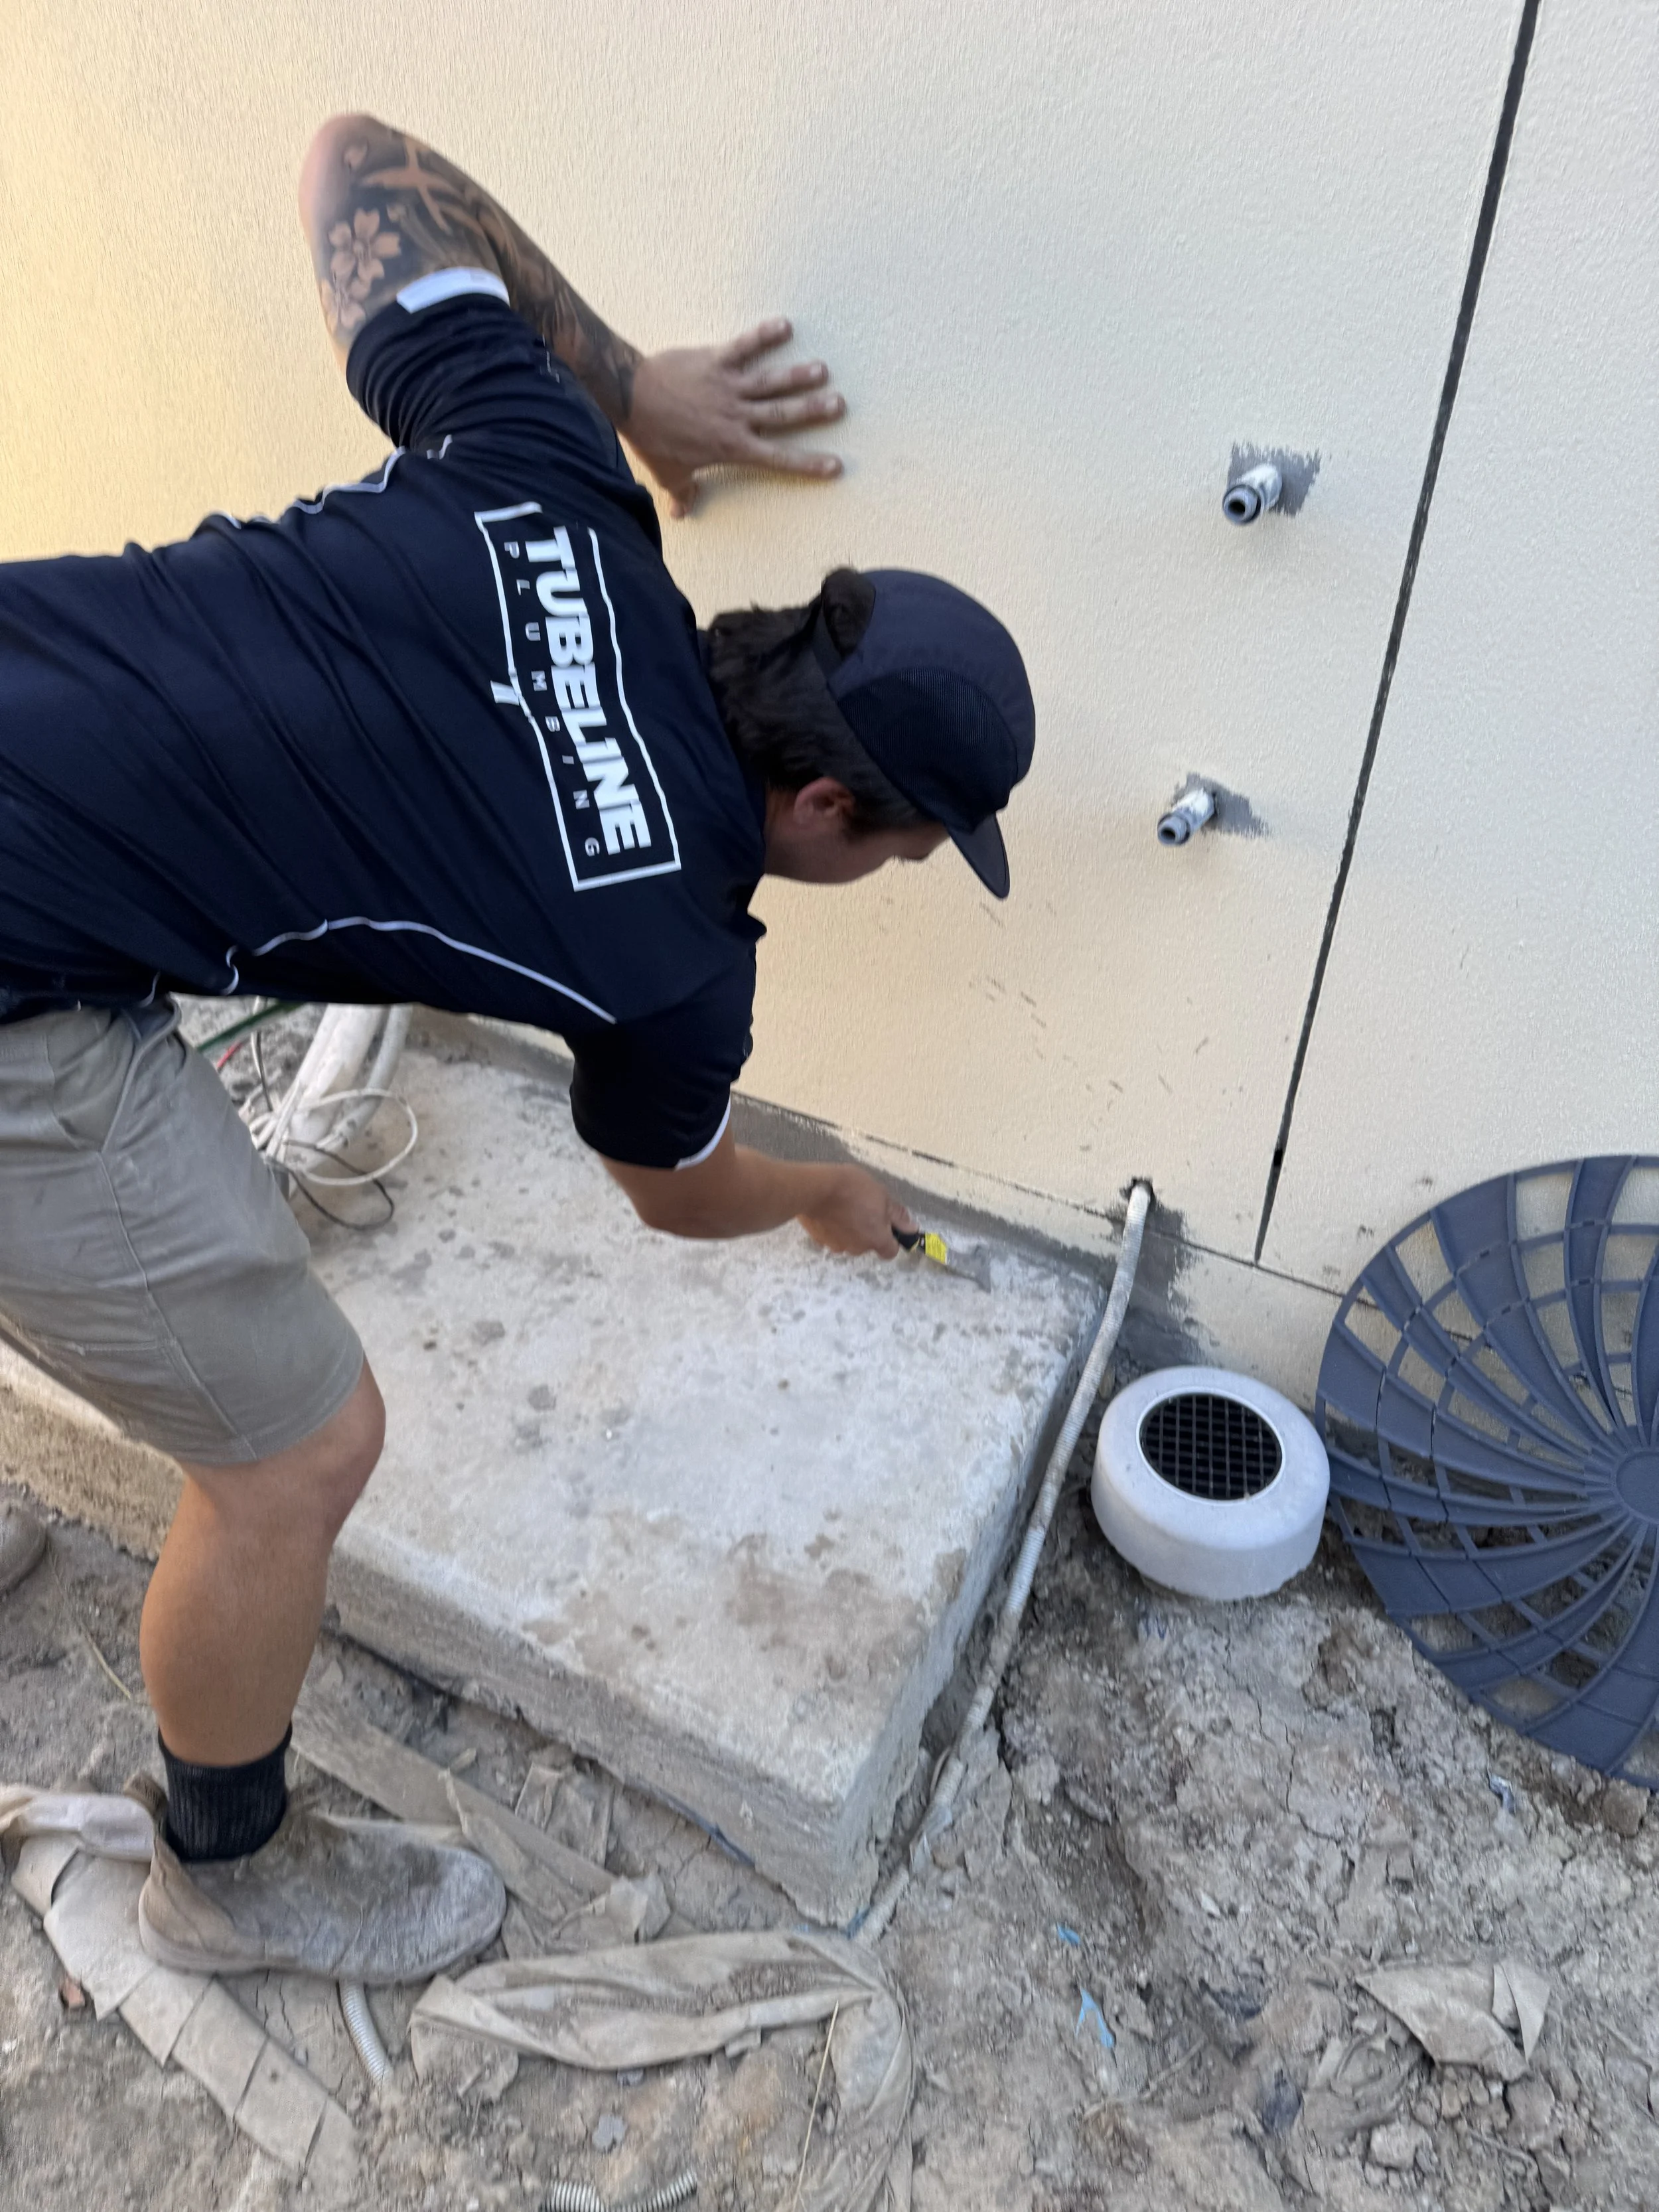
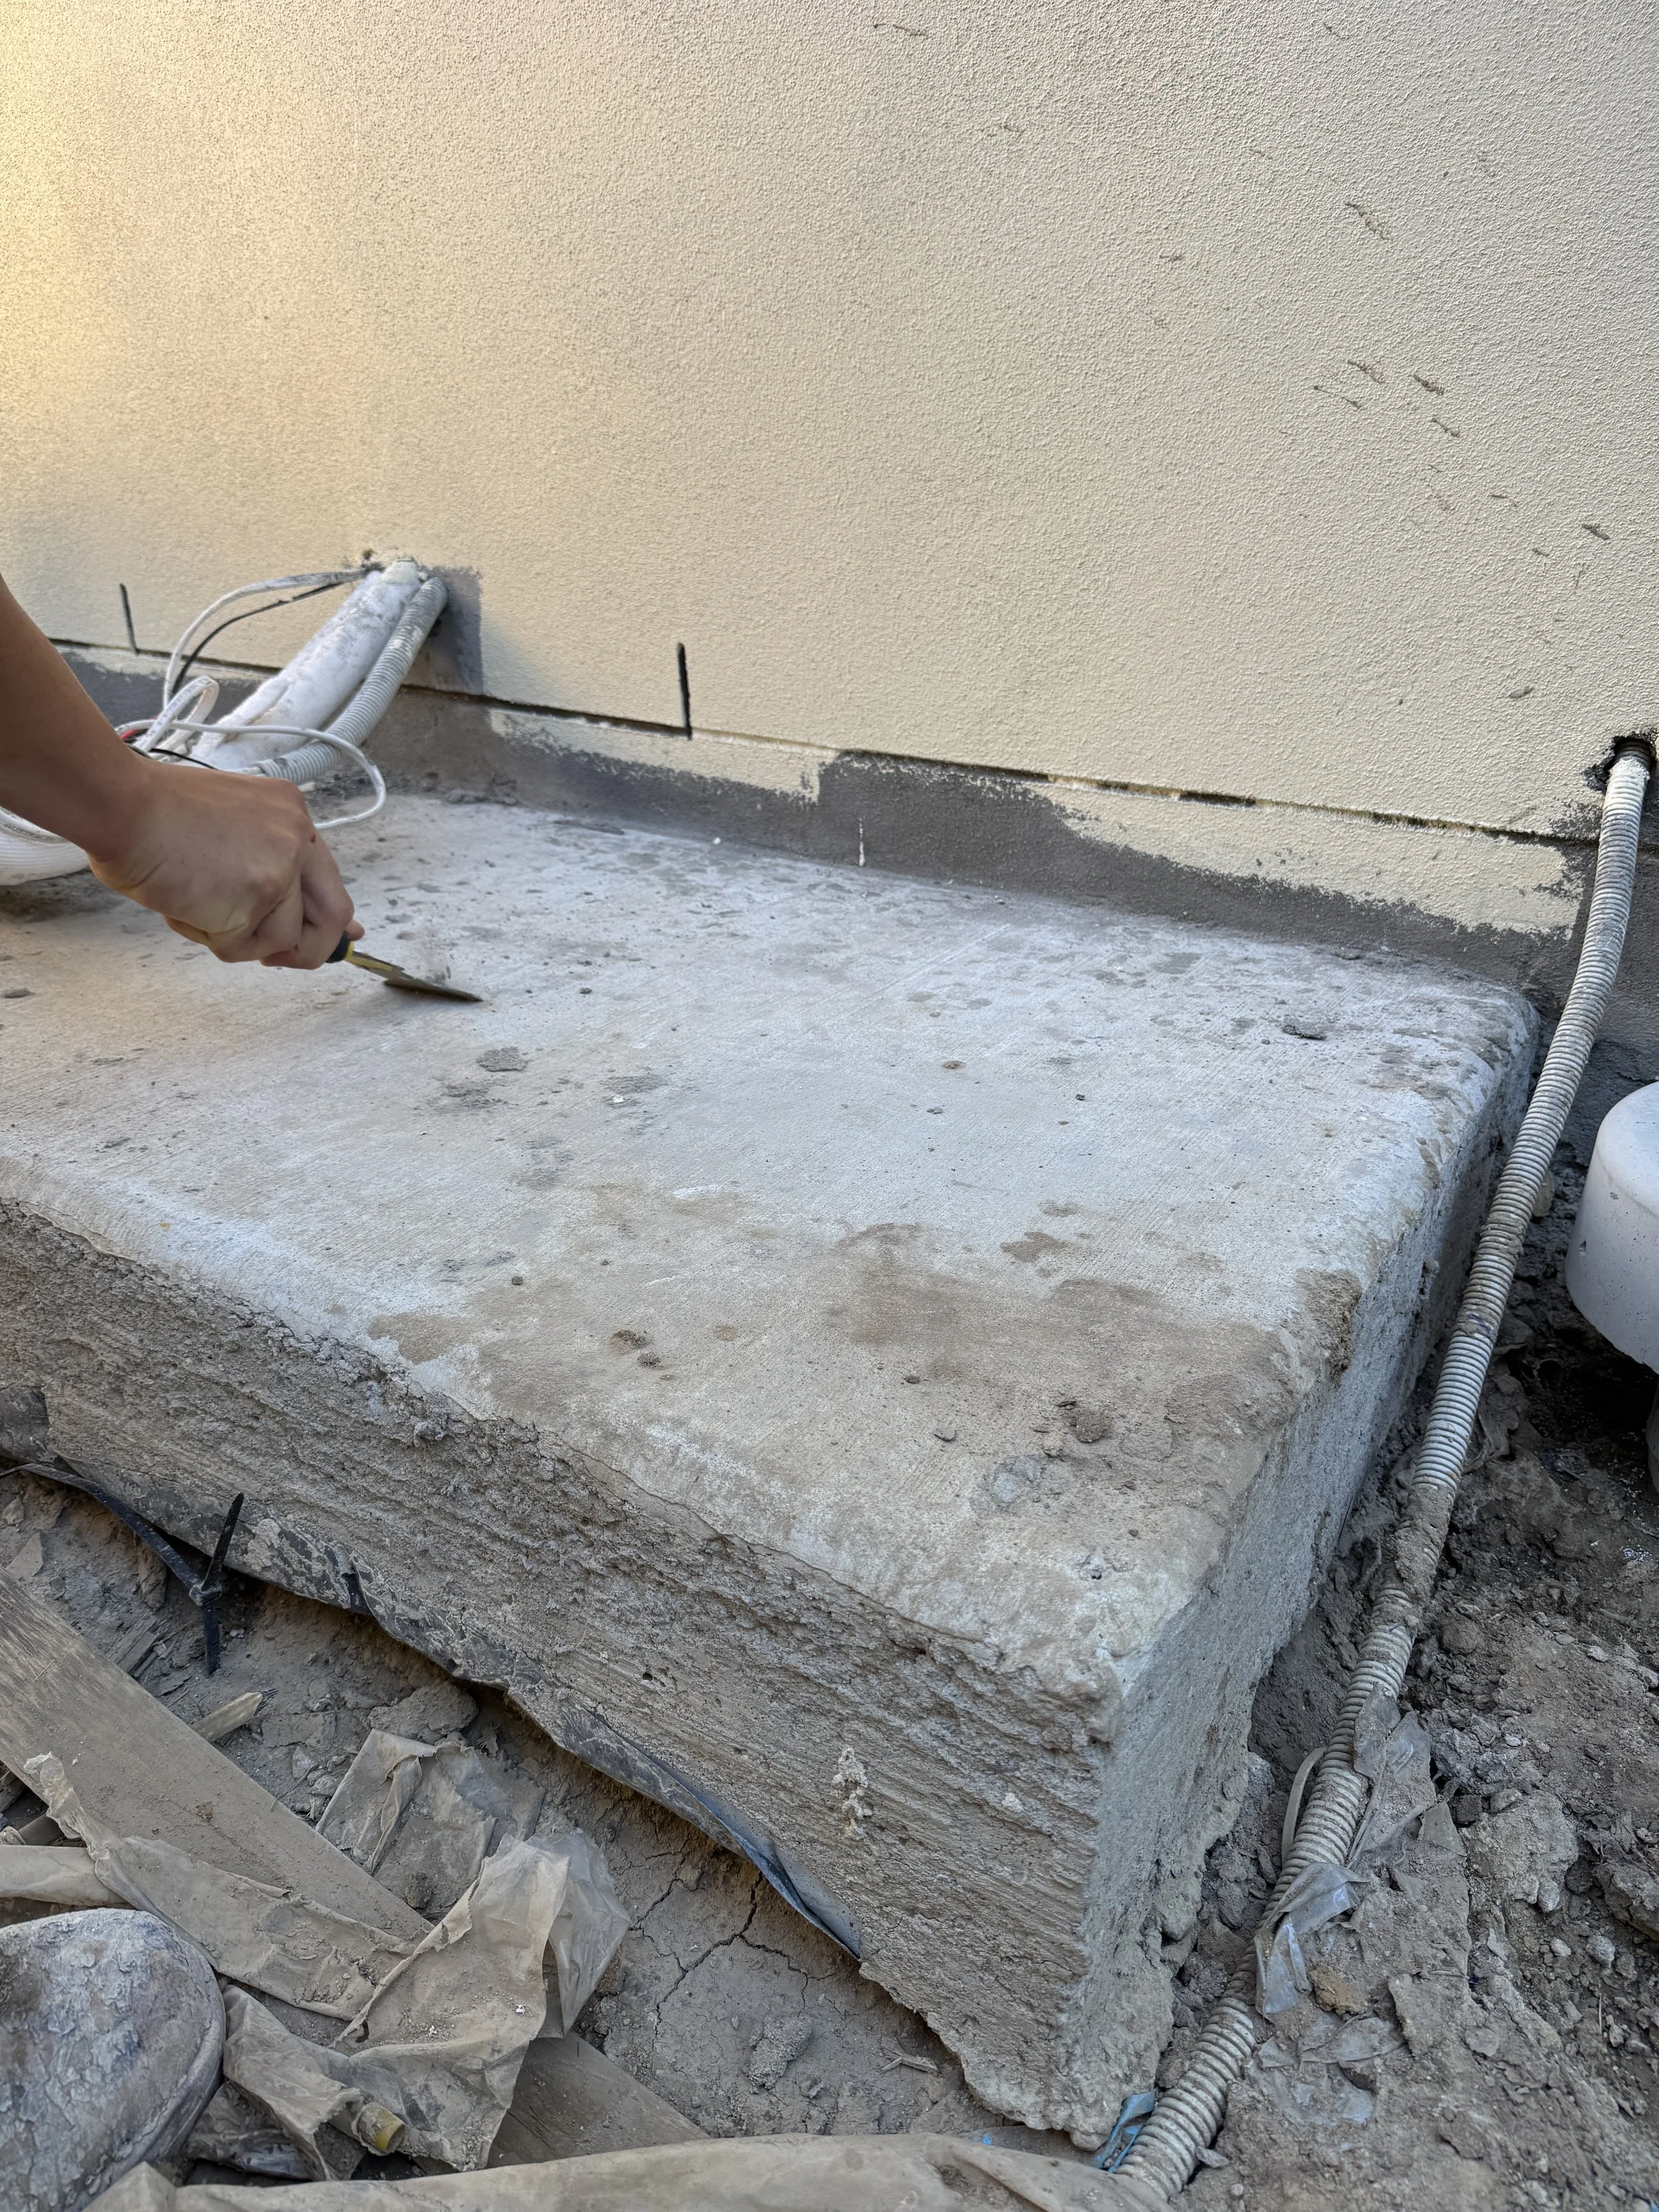
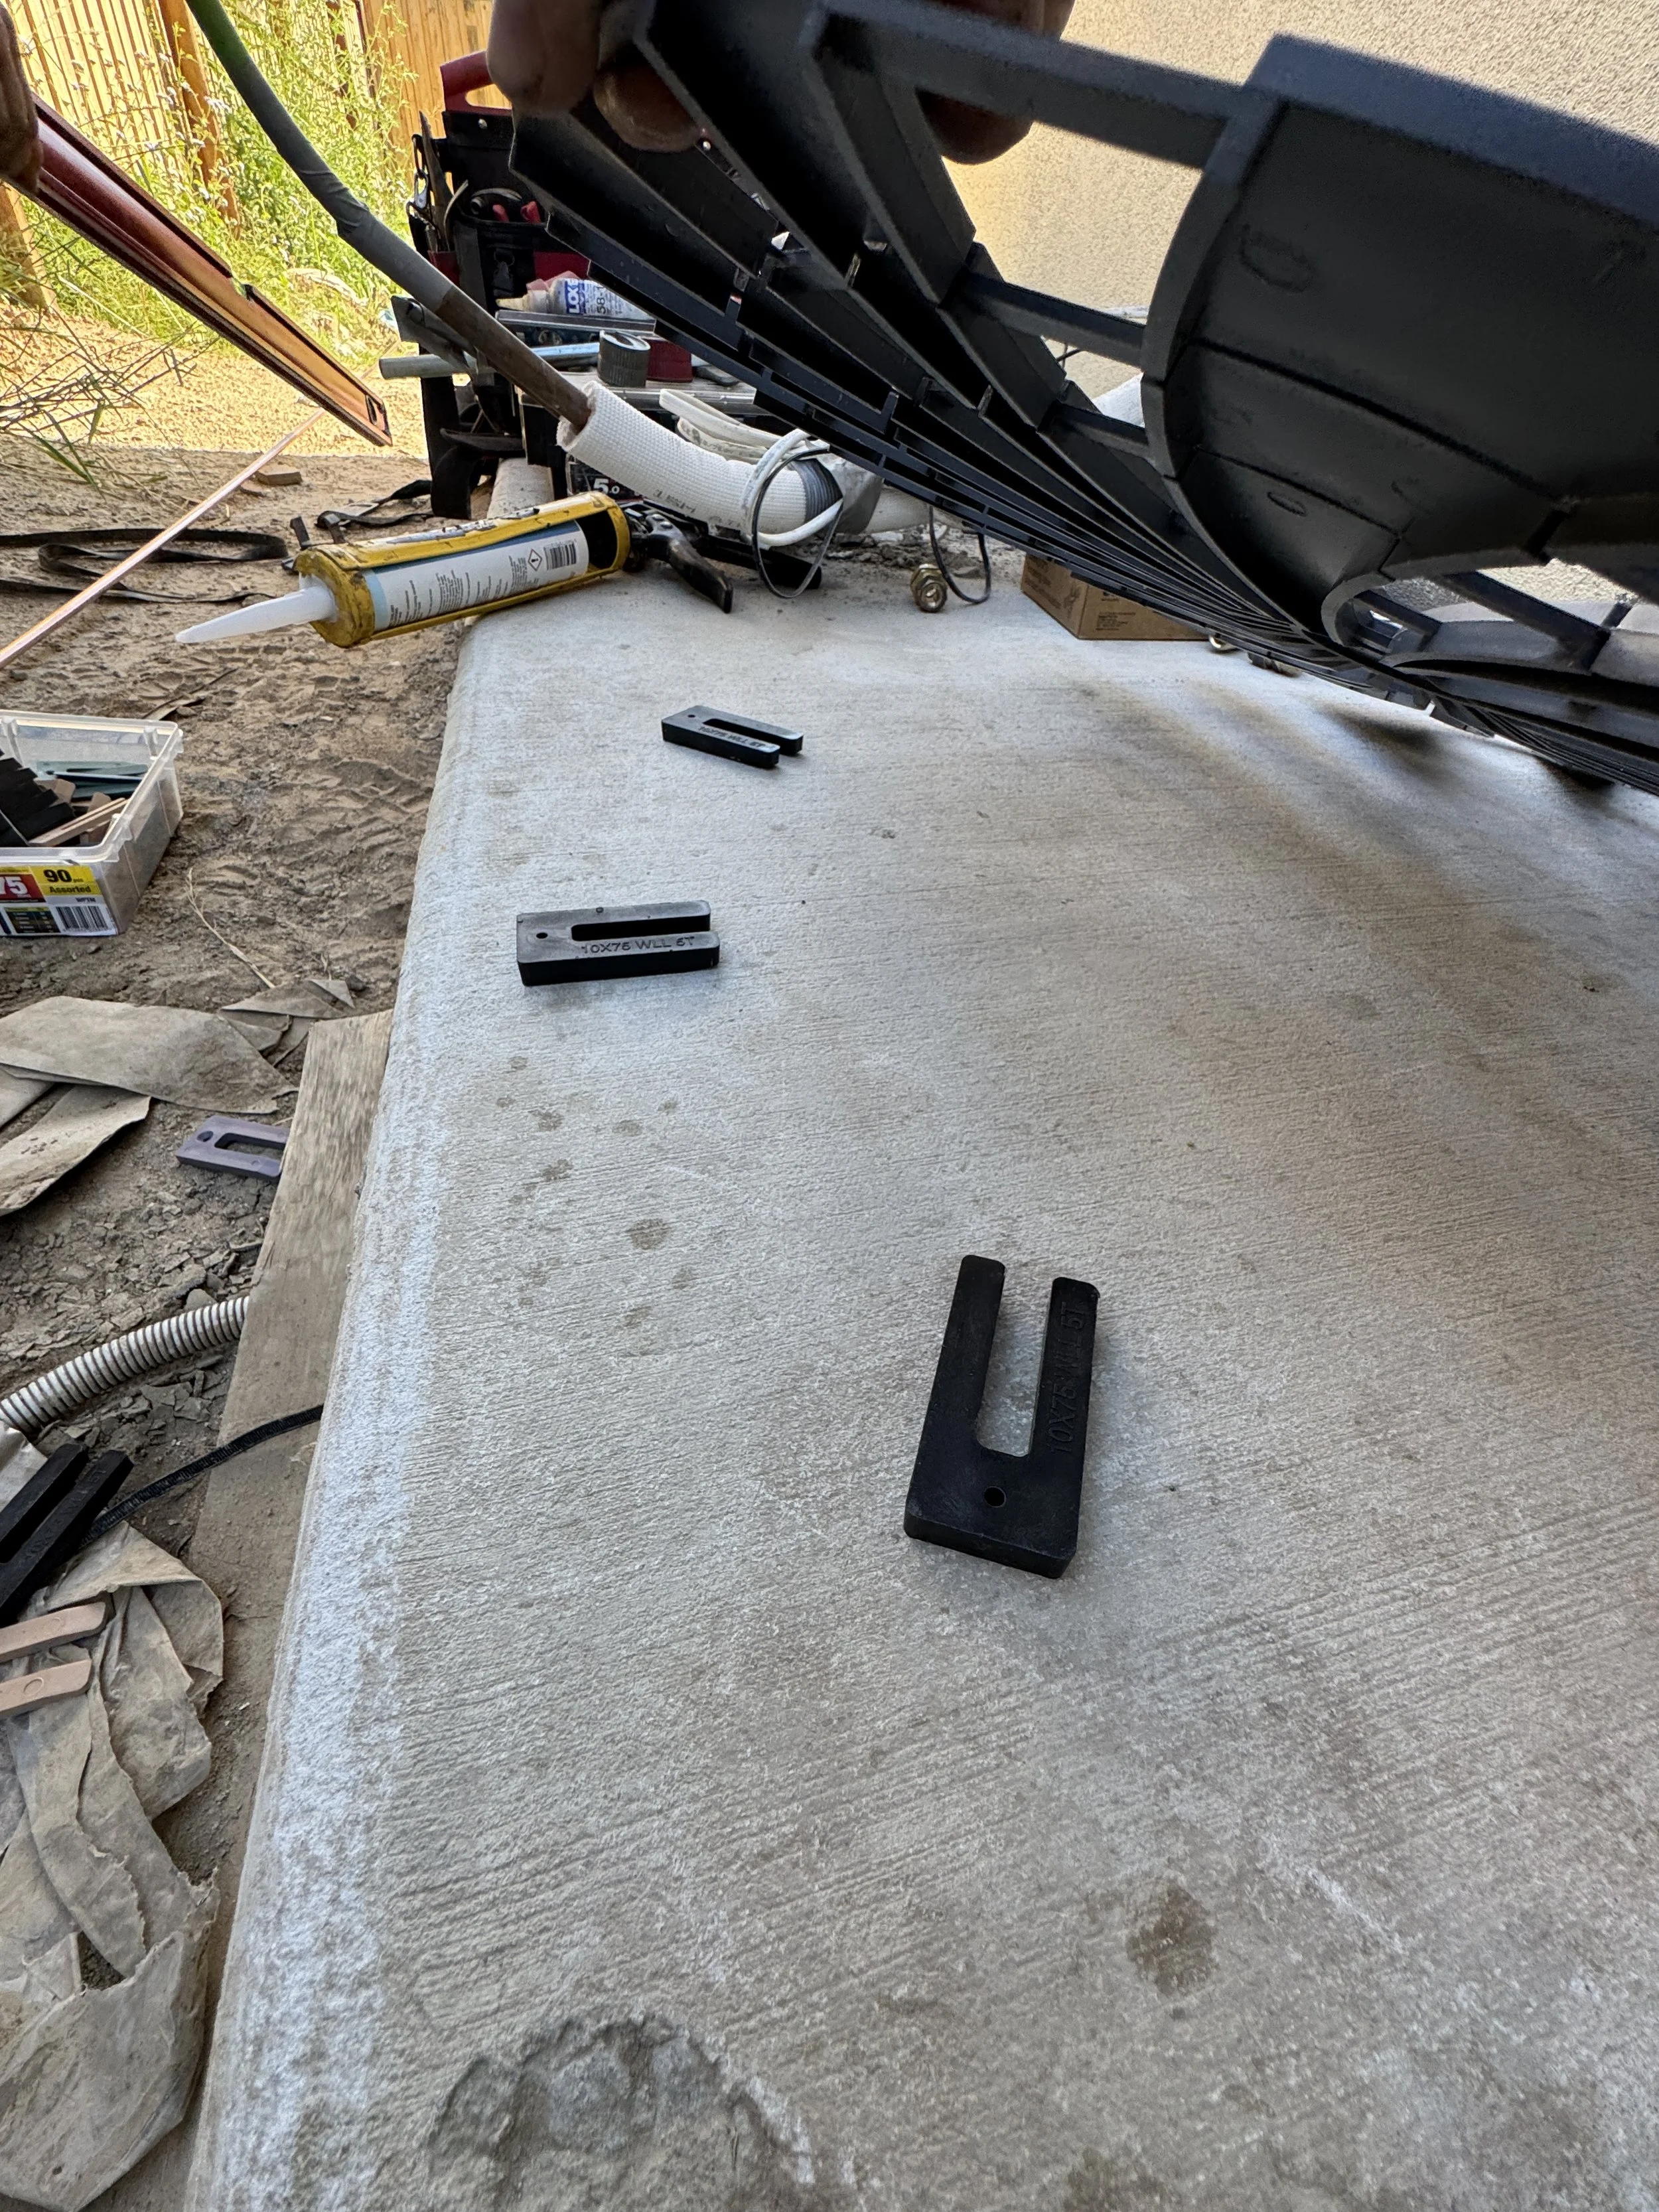
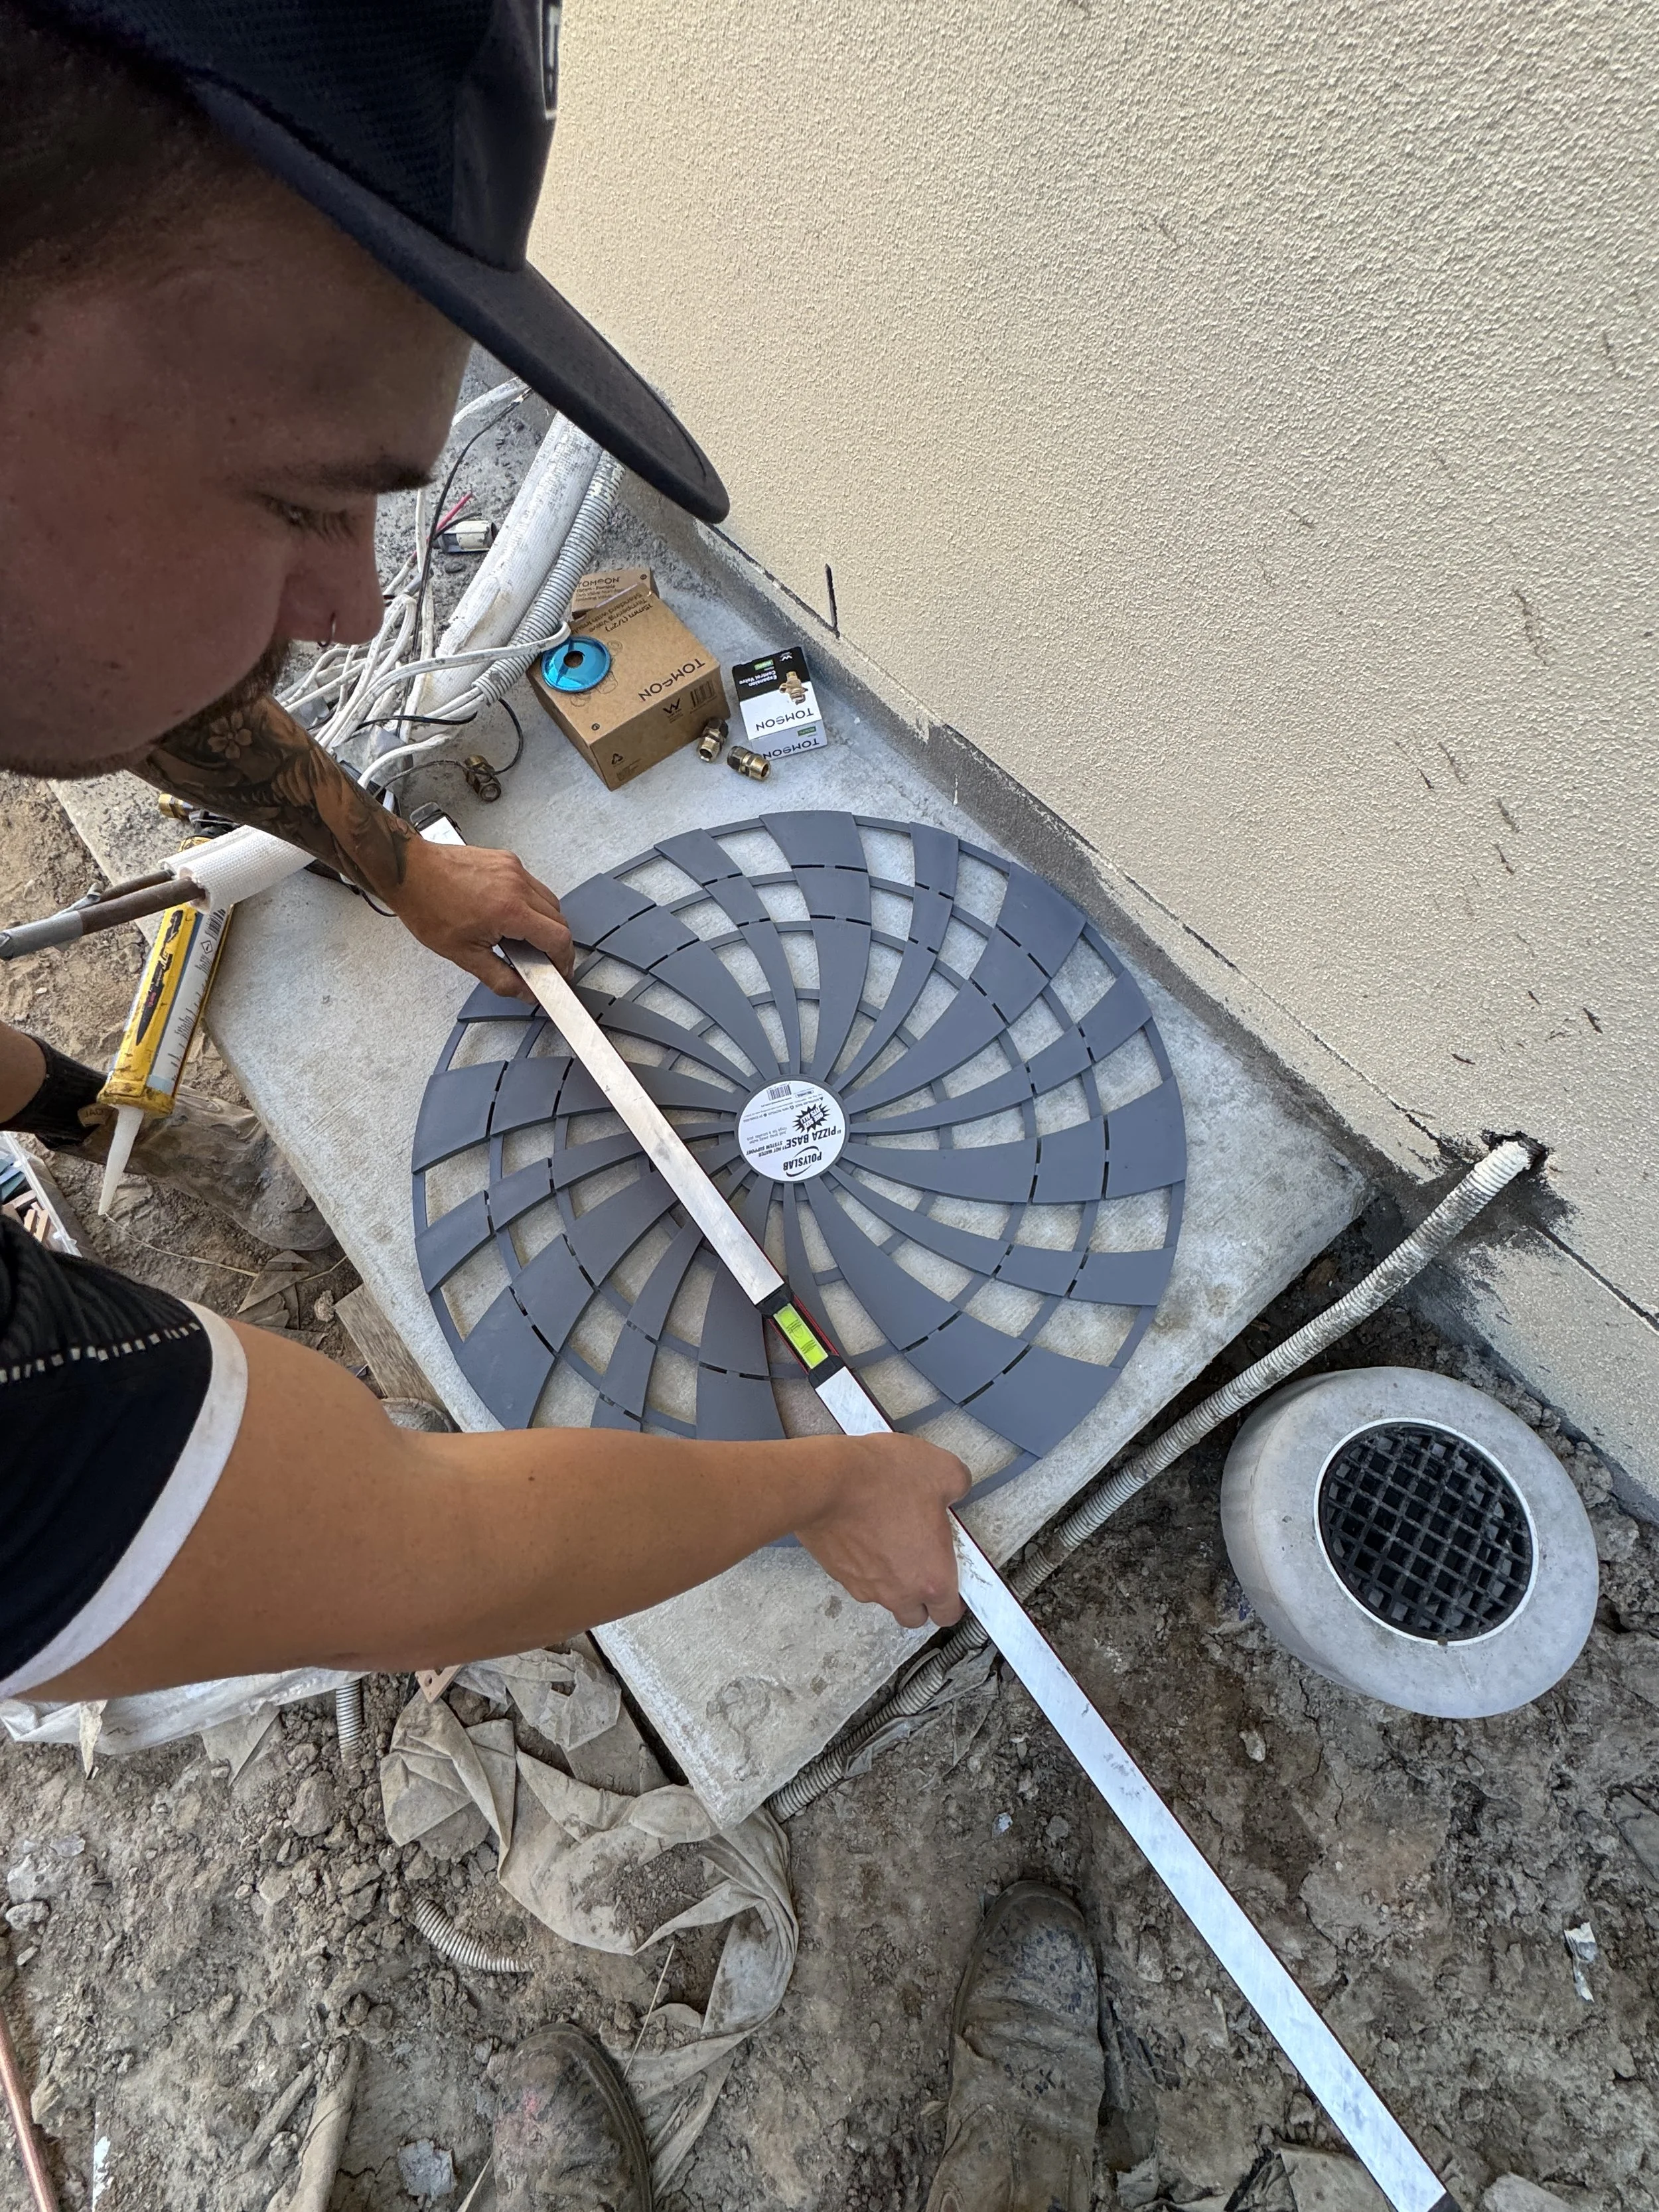
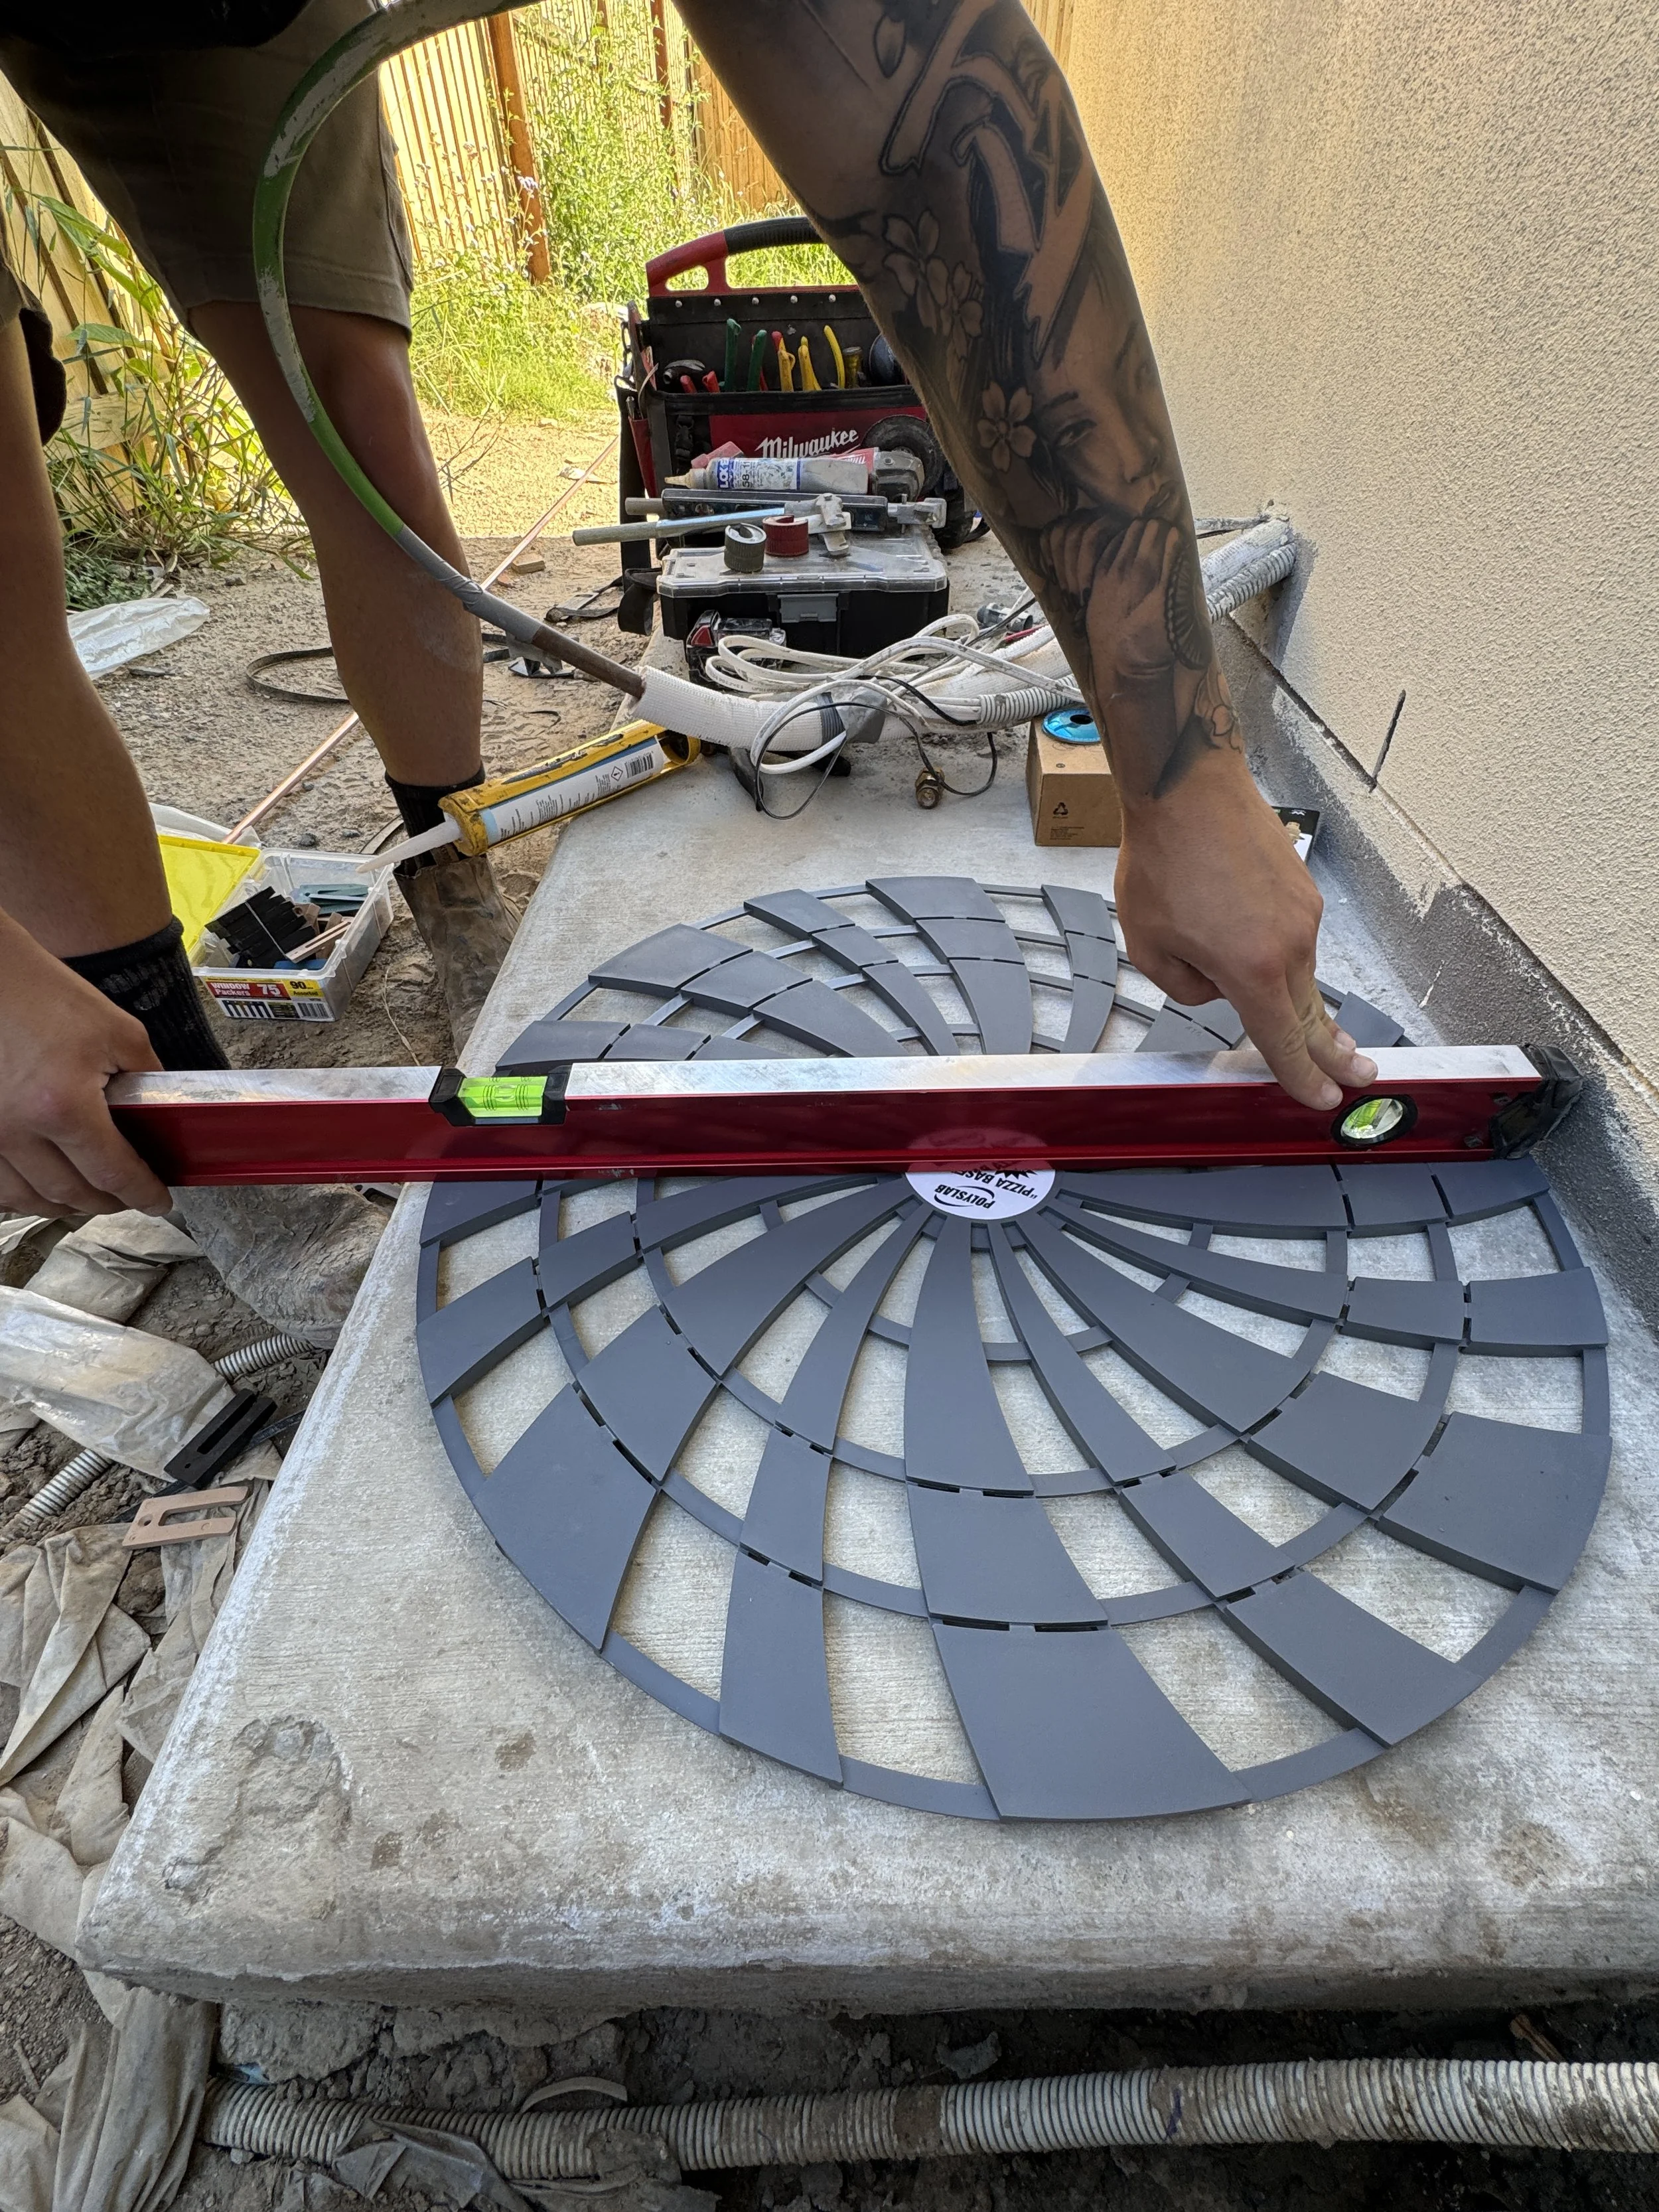
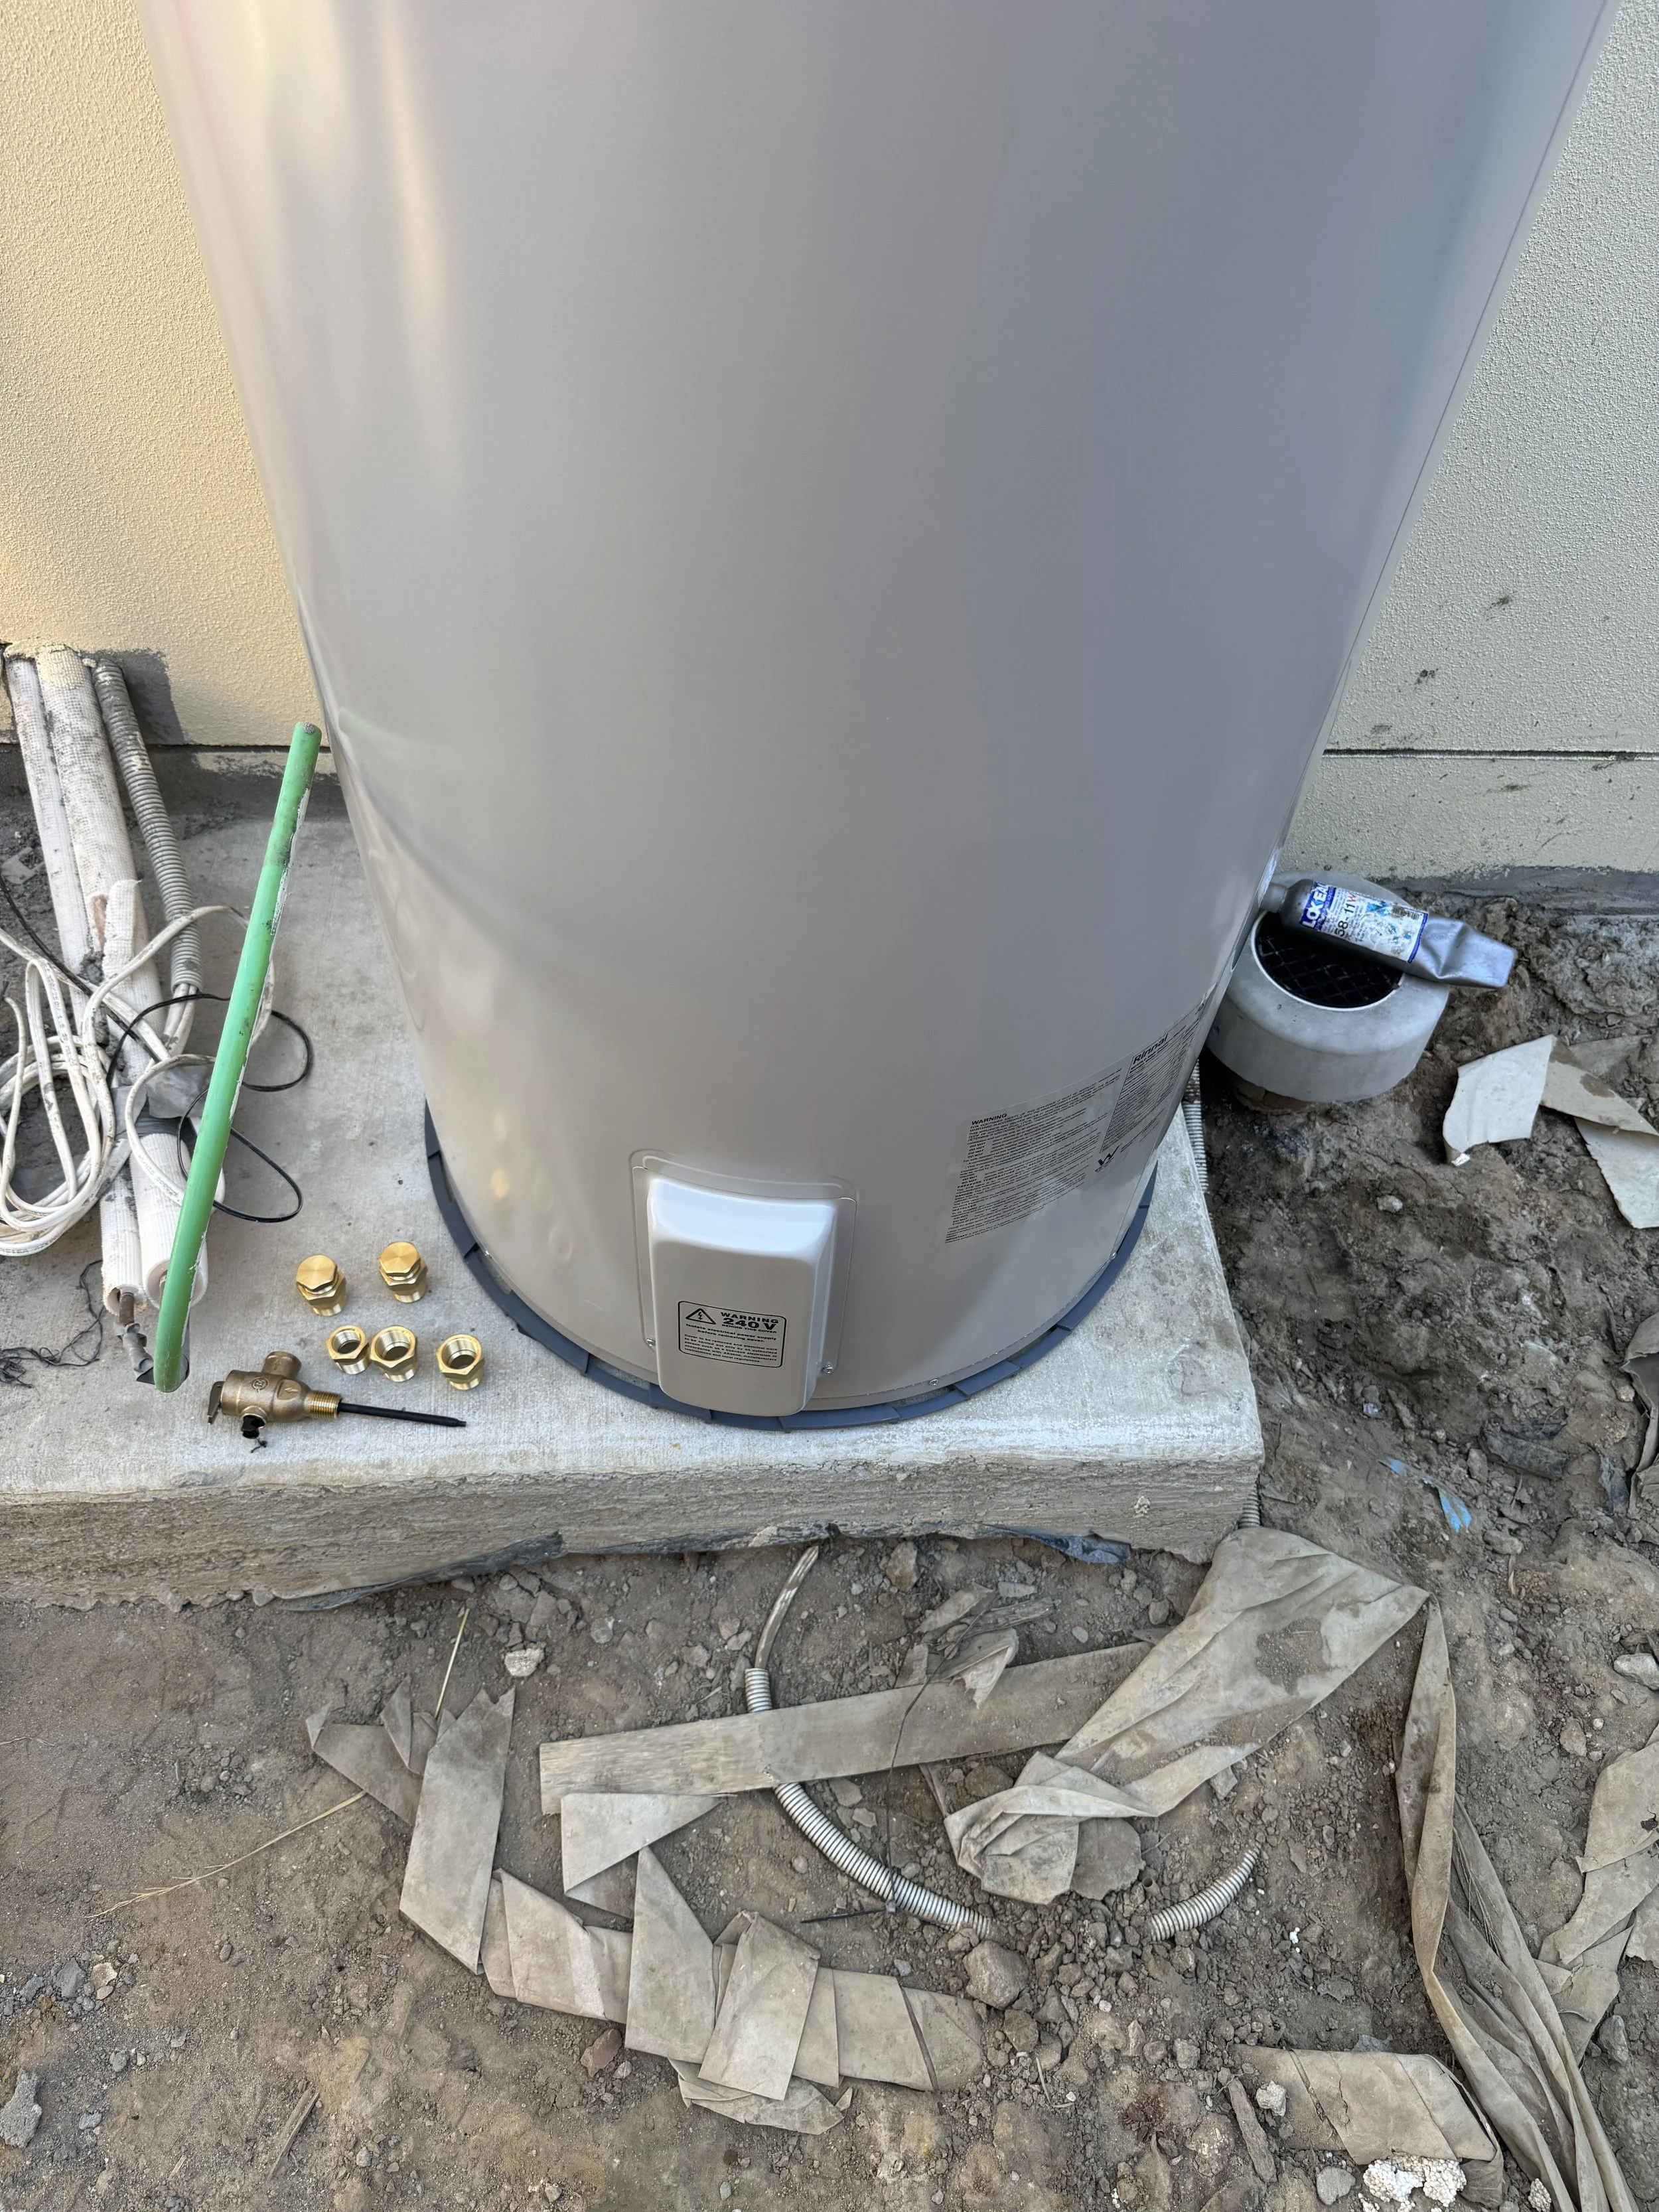
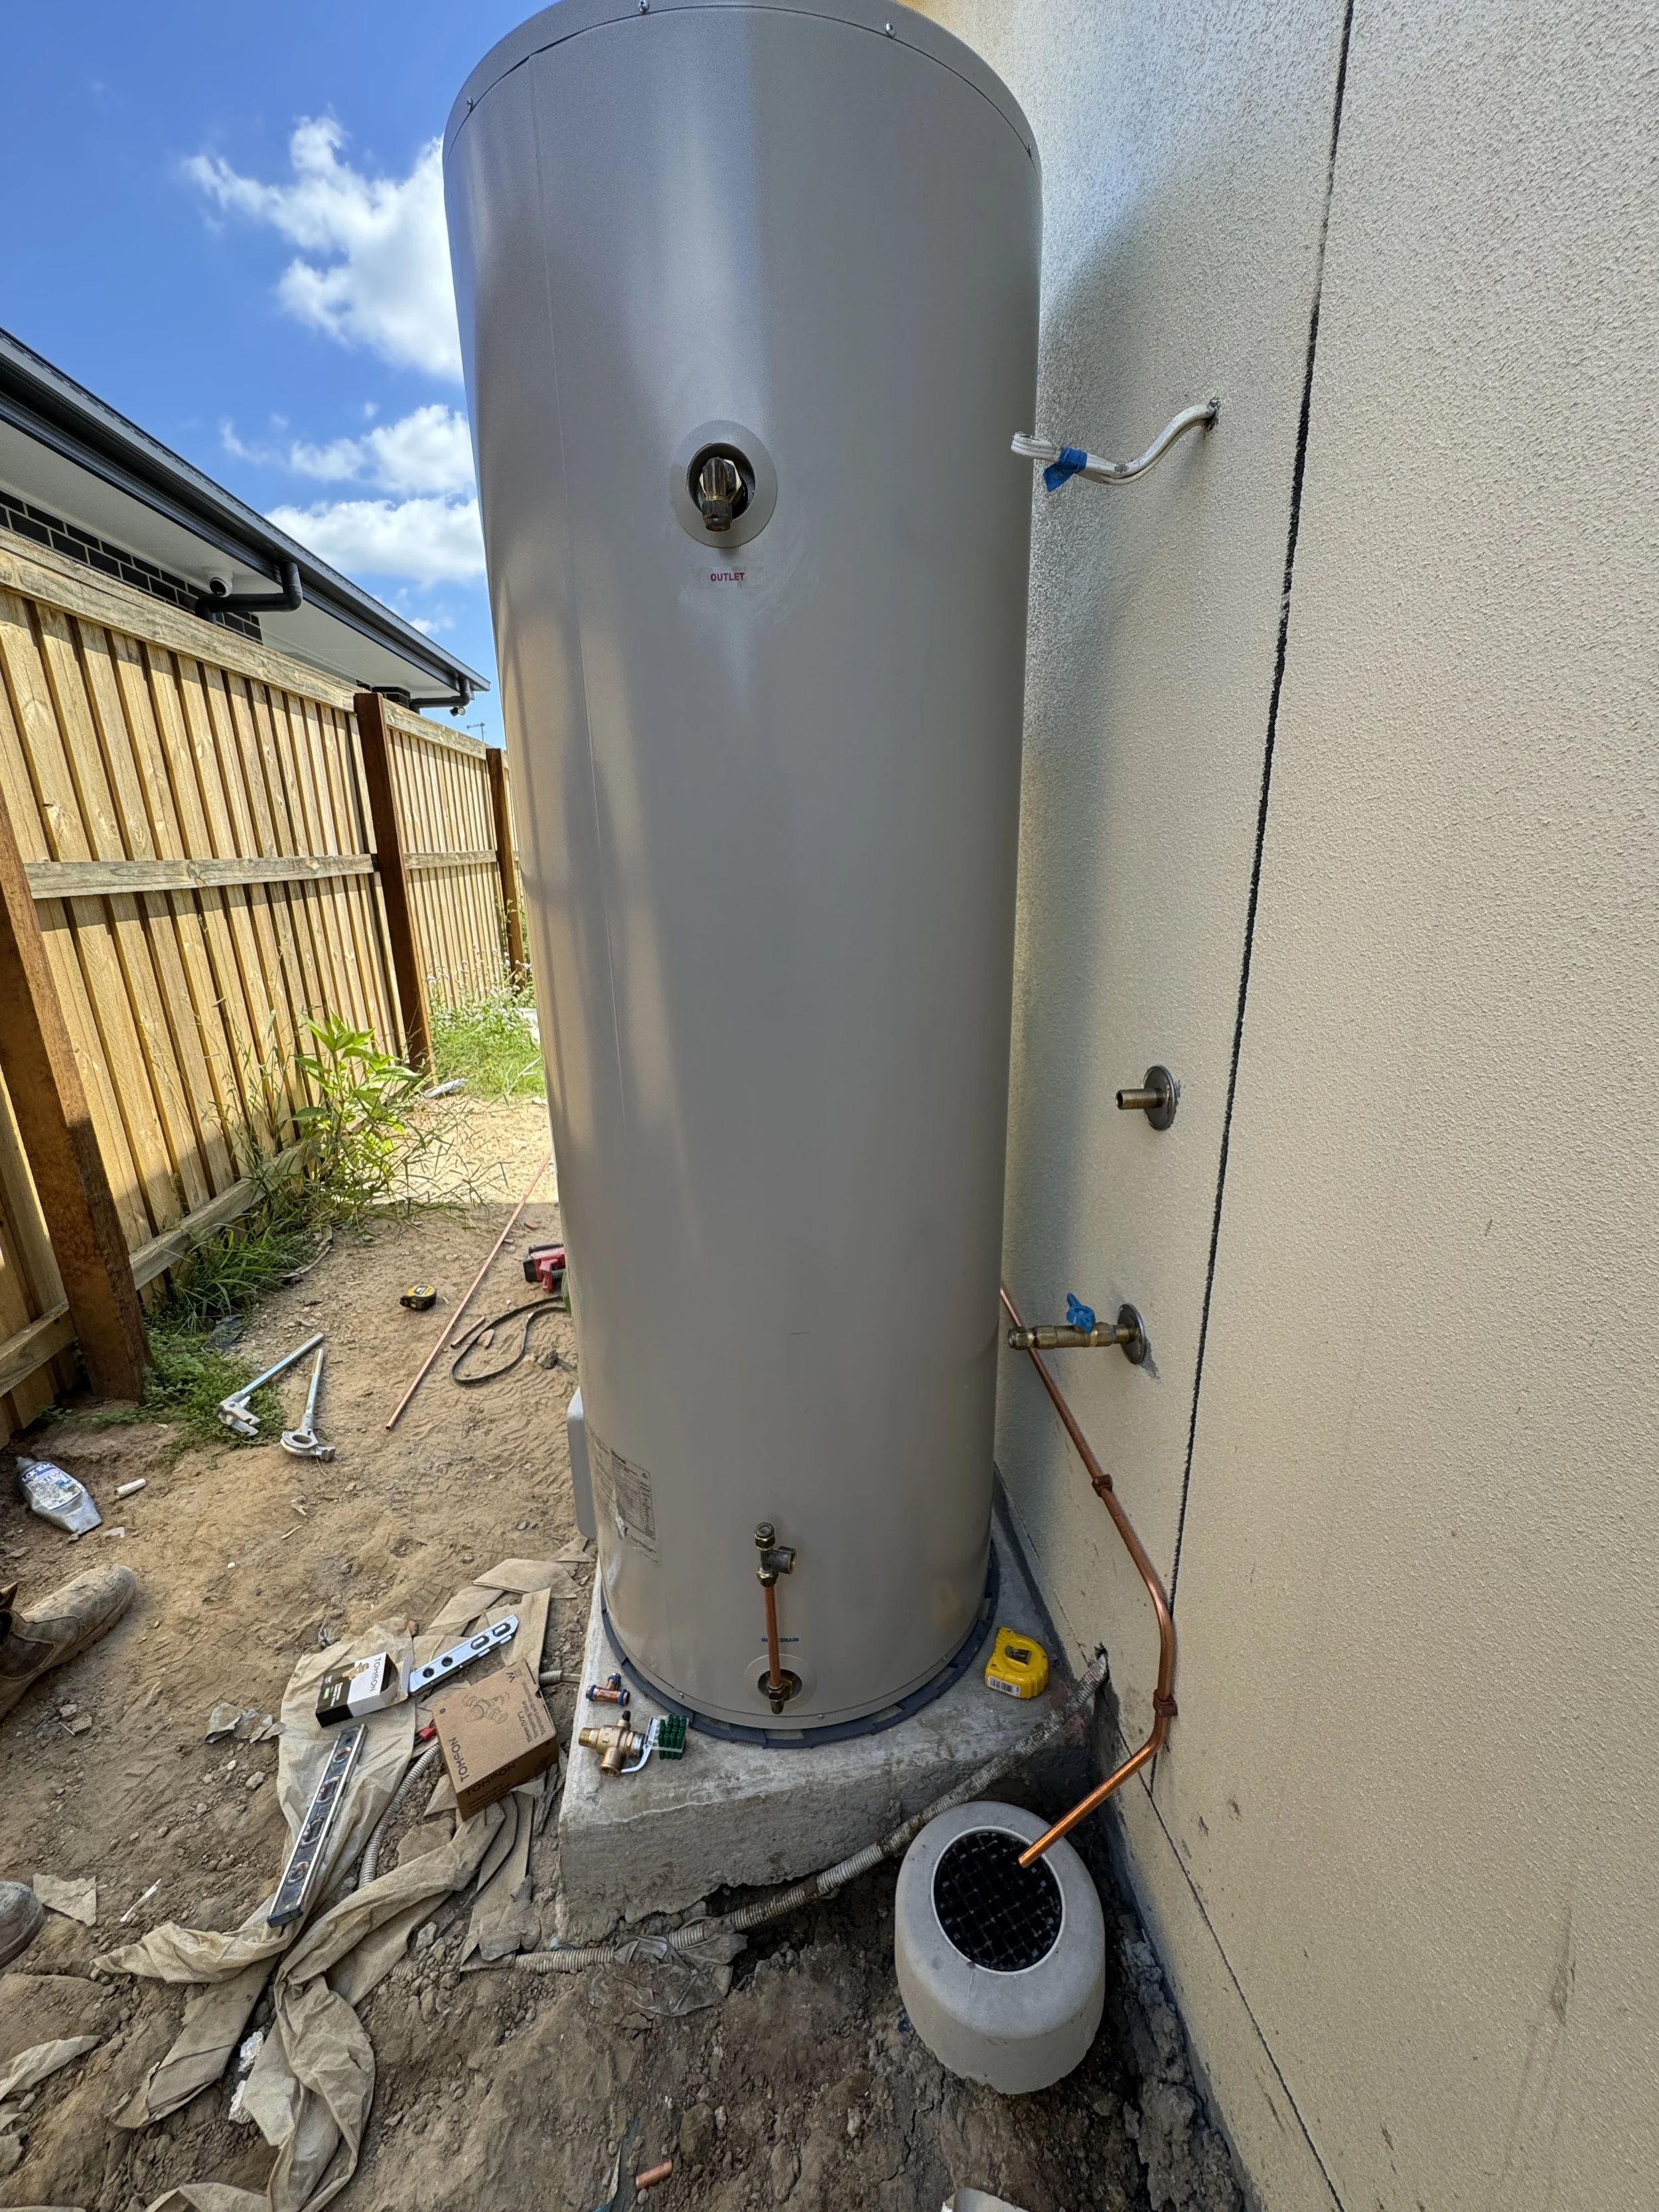
Clean slab using a paint scraper or flat chisel and dust pan.
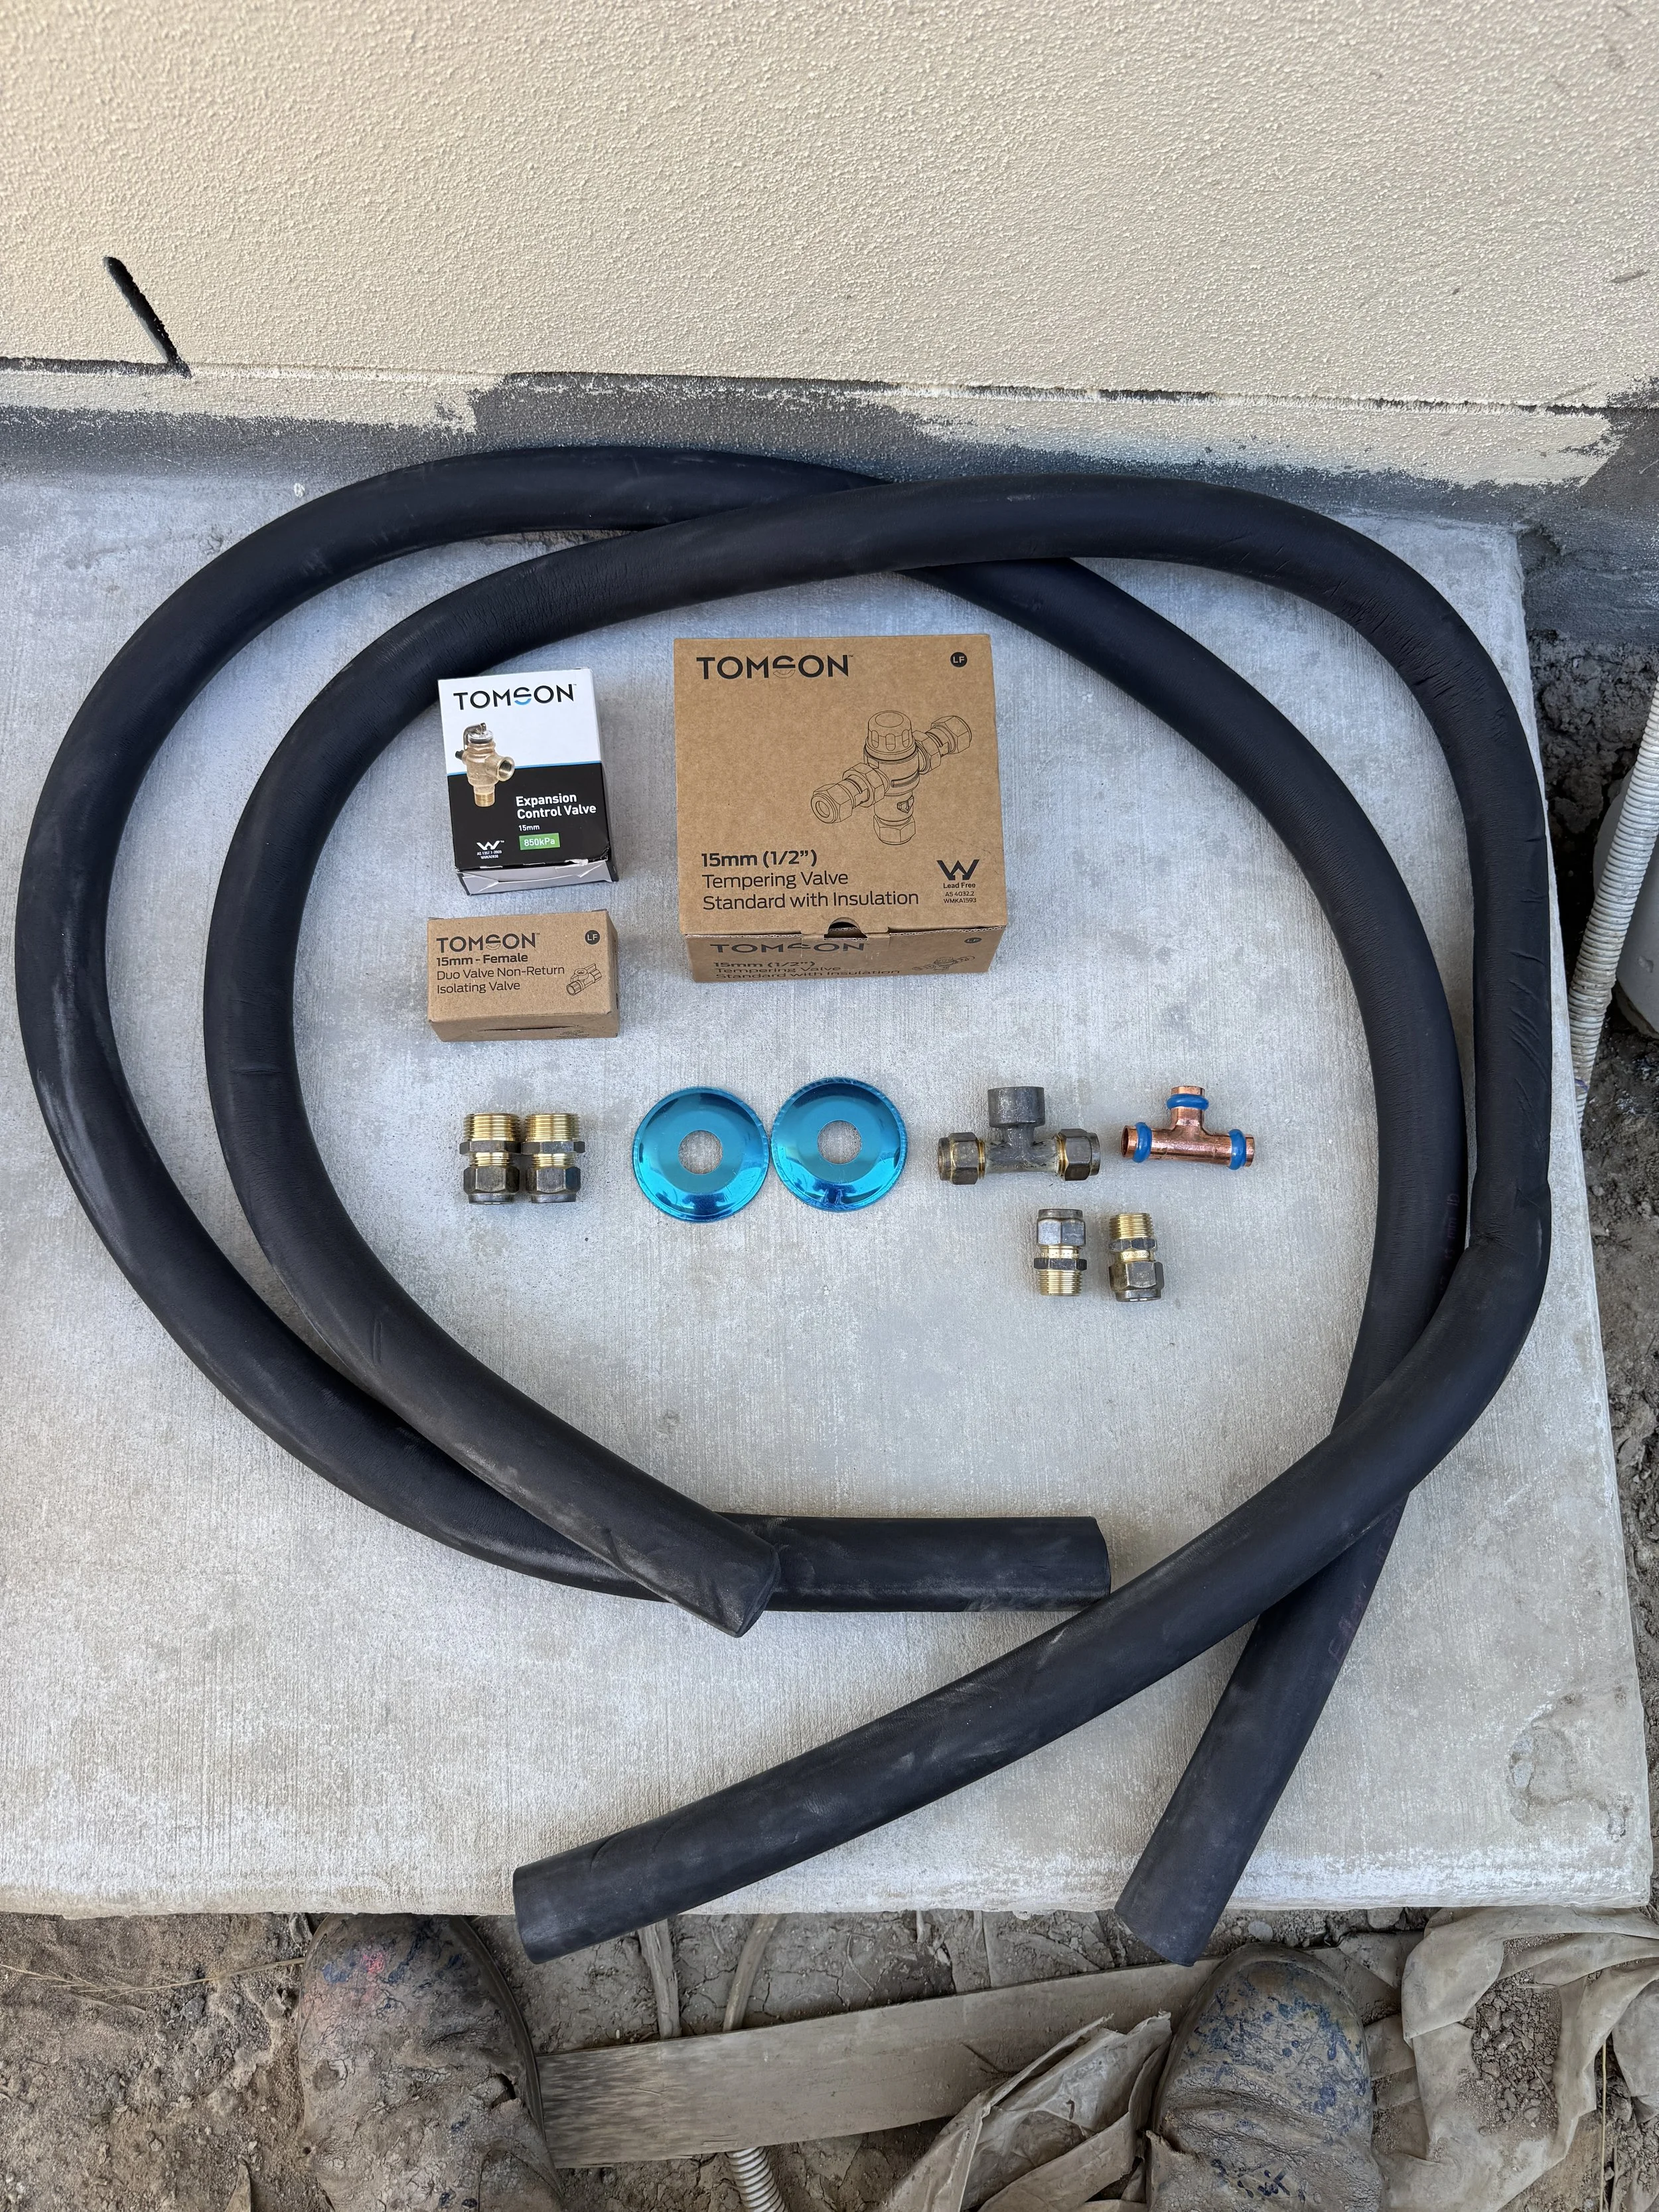
Lay out the gear you will need.
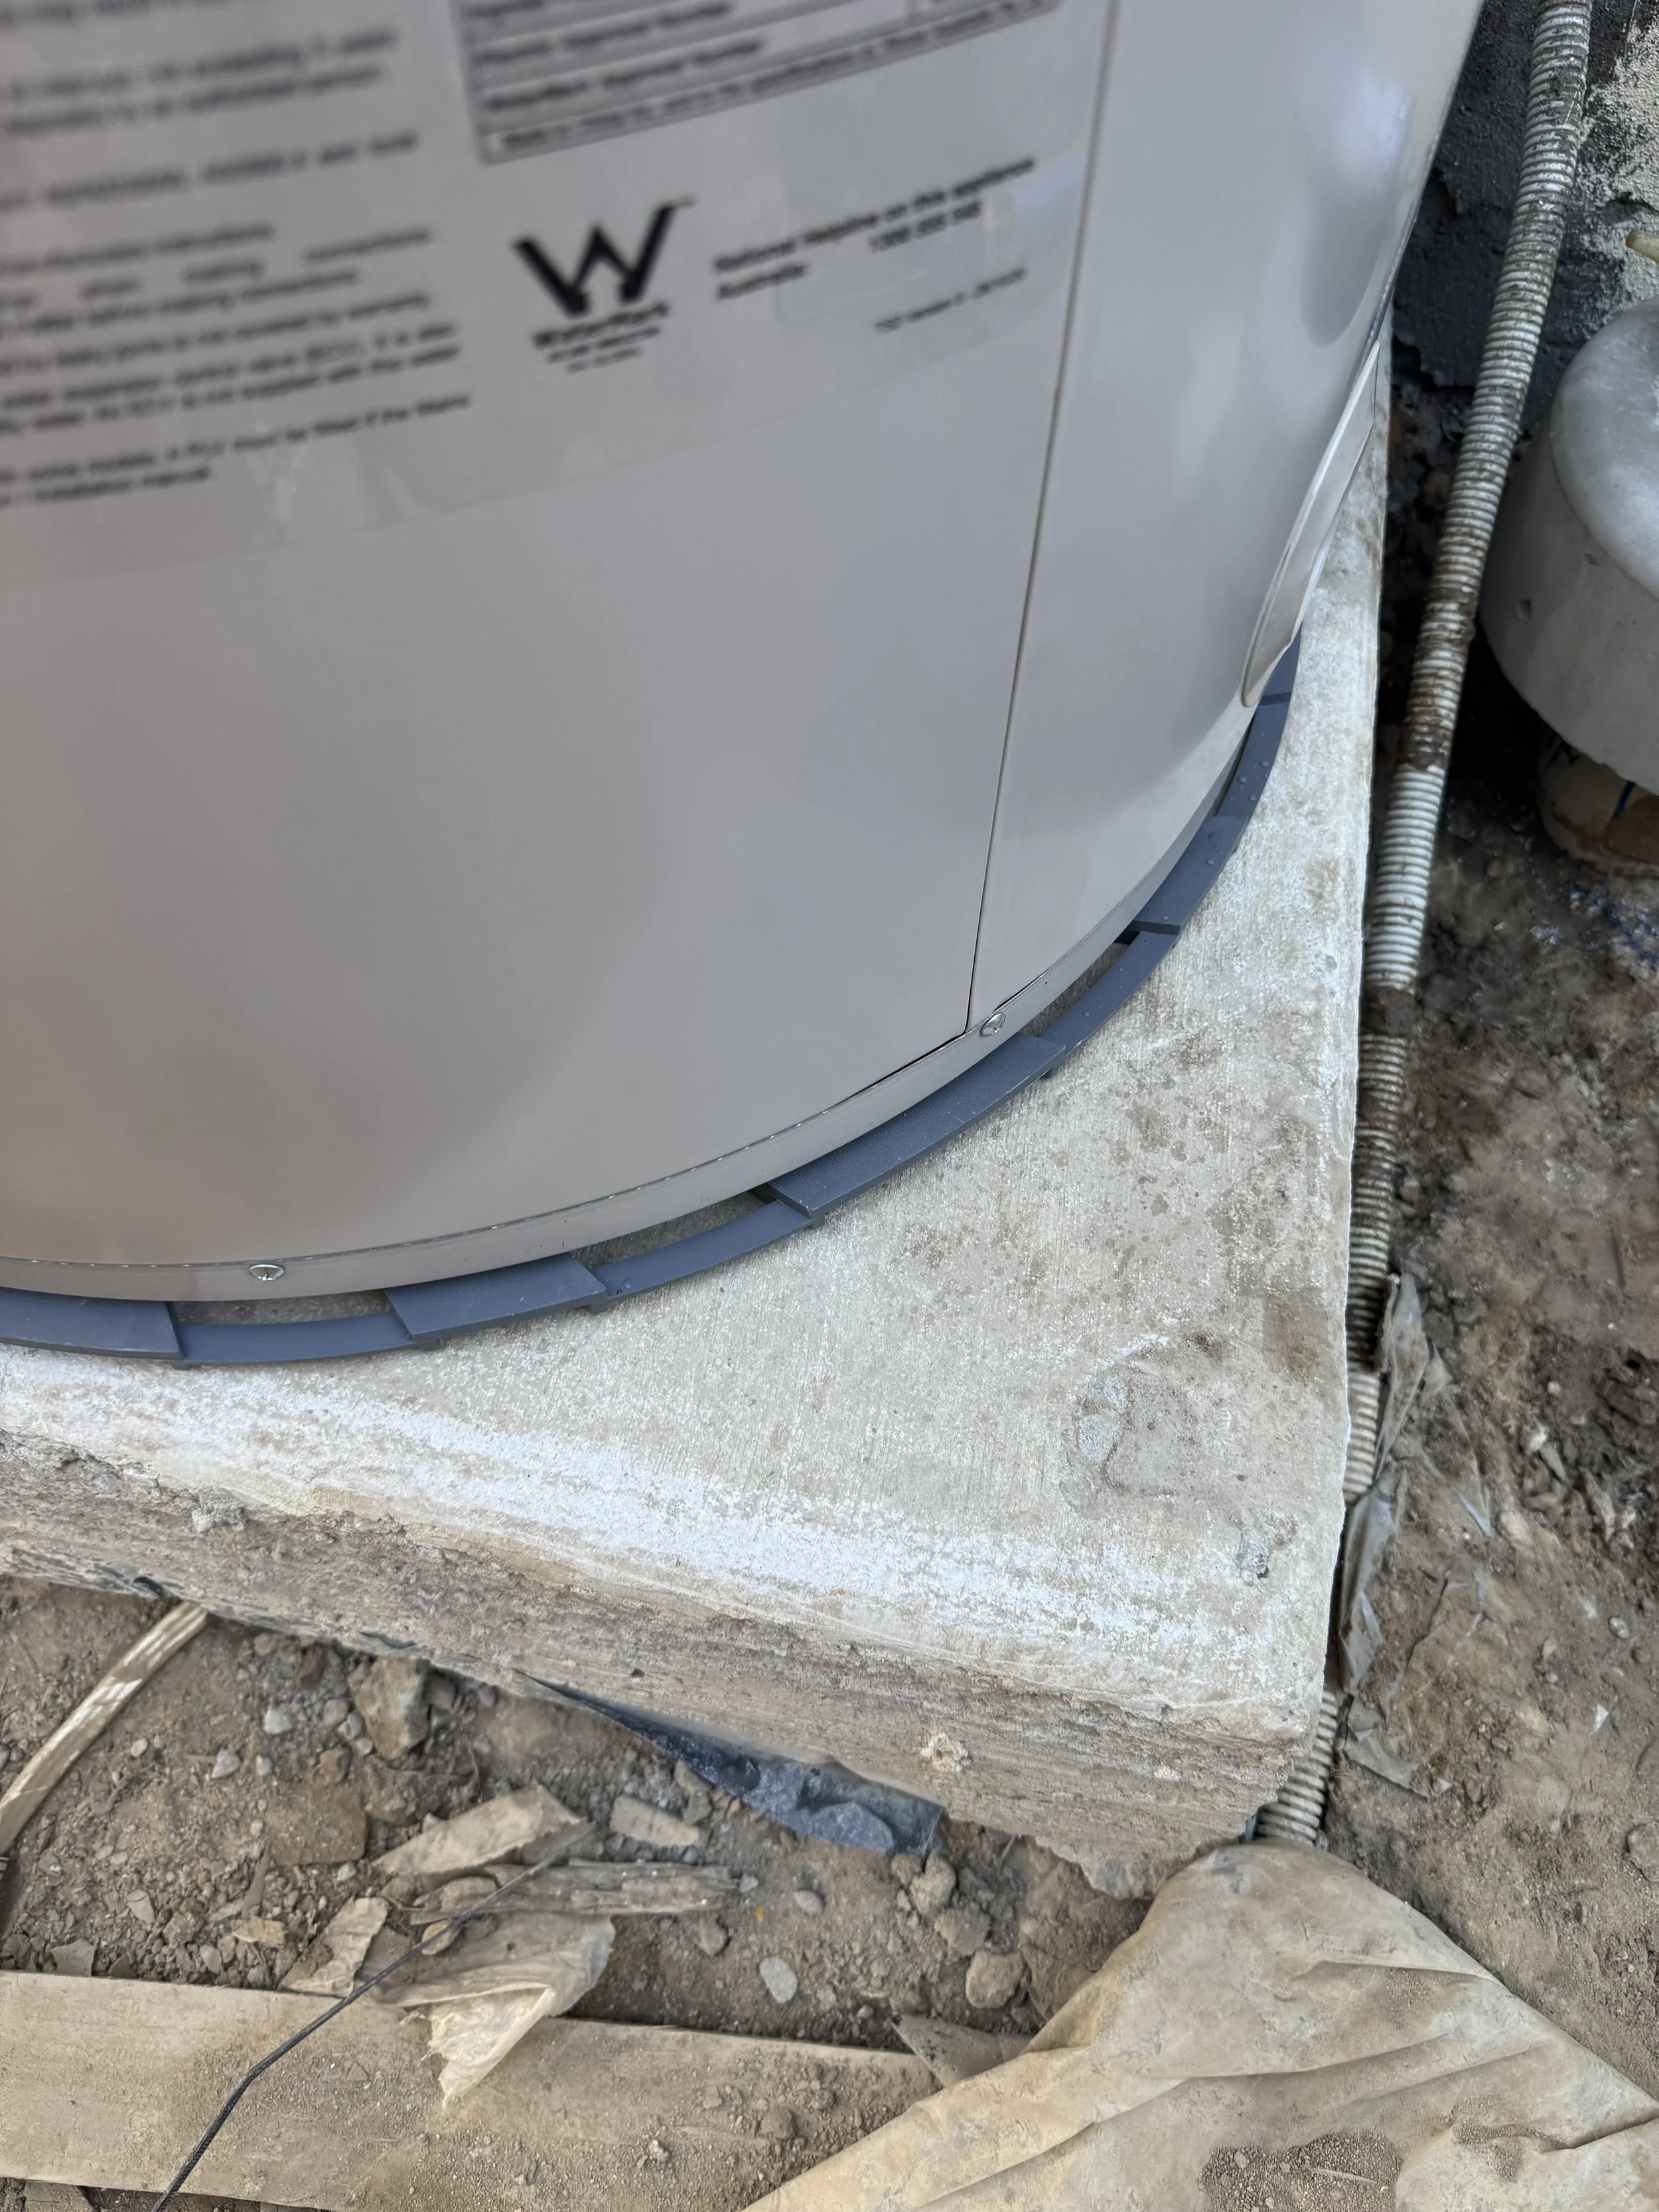
Check if the slab is level and if it isn’t use window packers to pack to pack up until level (make sure to use a few to space it out and make sure the unit doesn’t wobble)
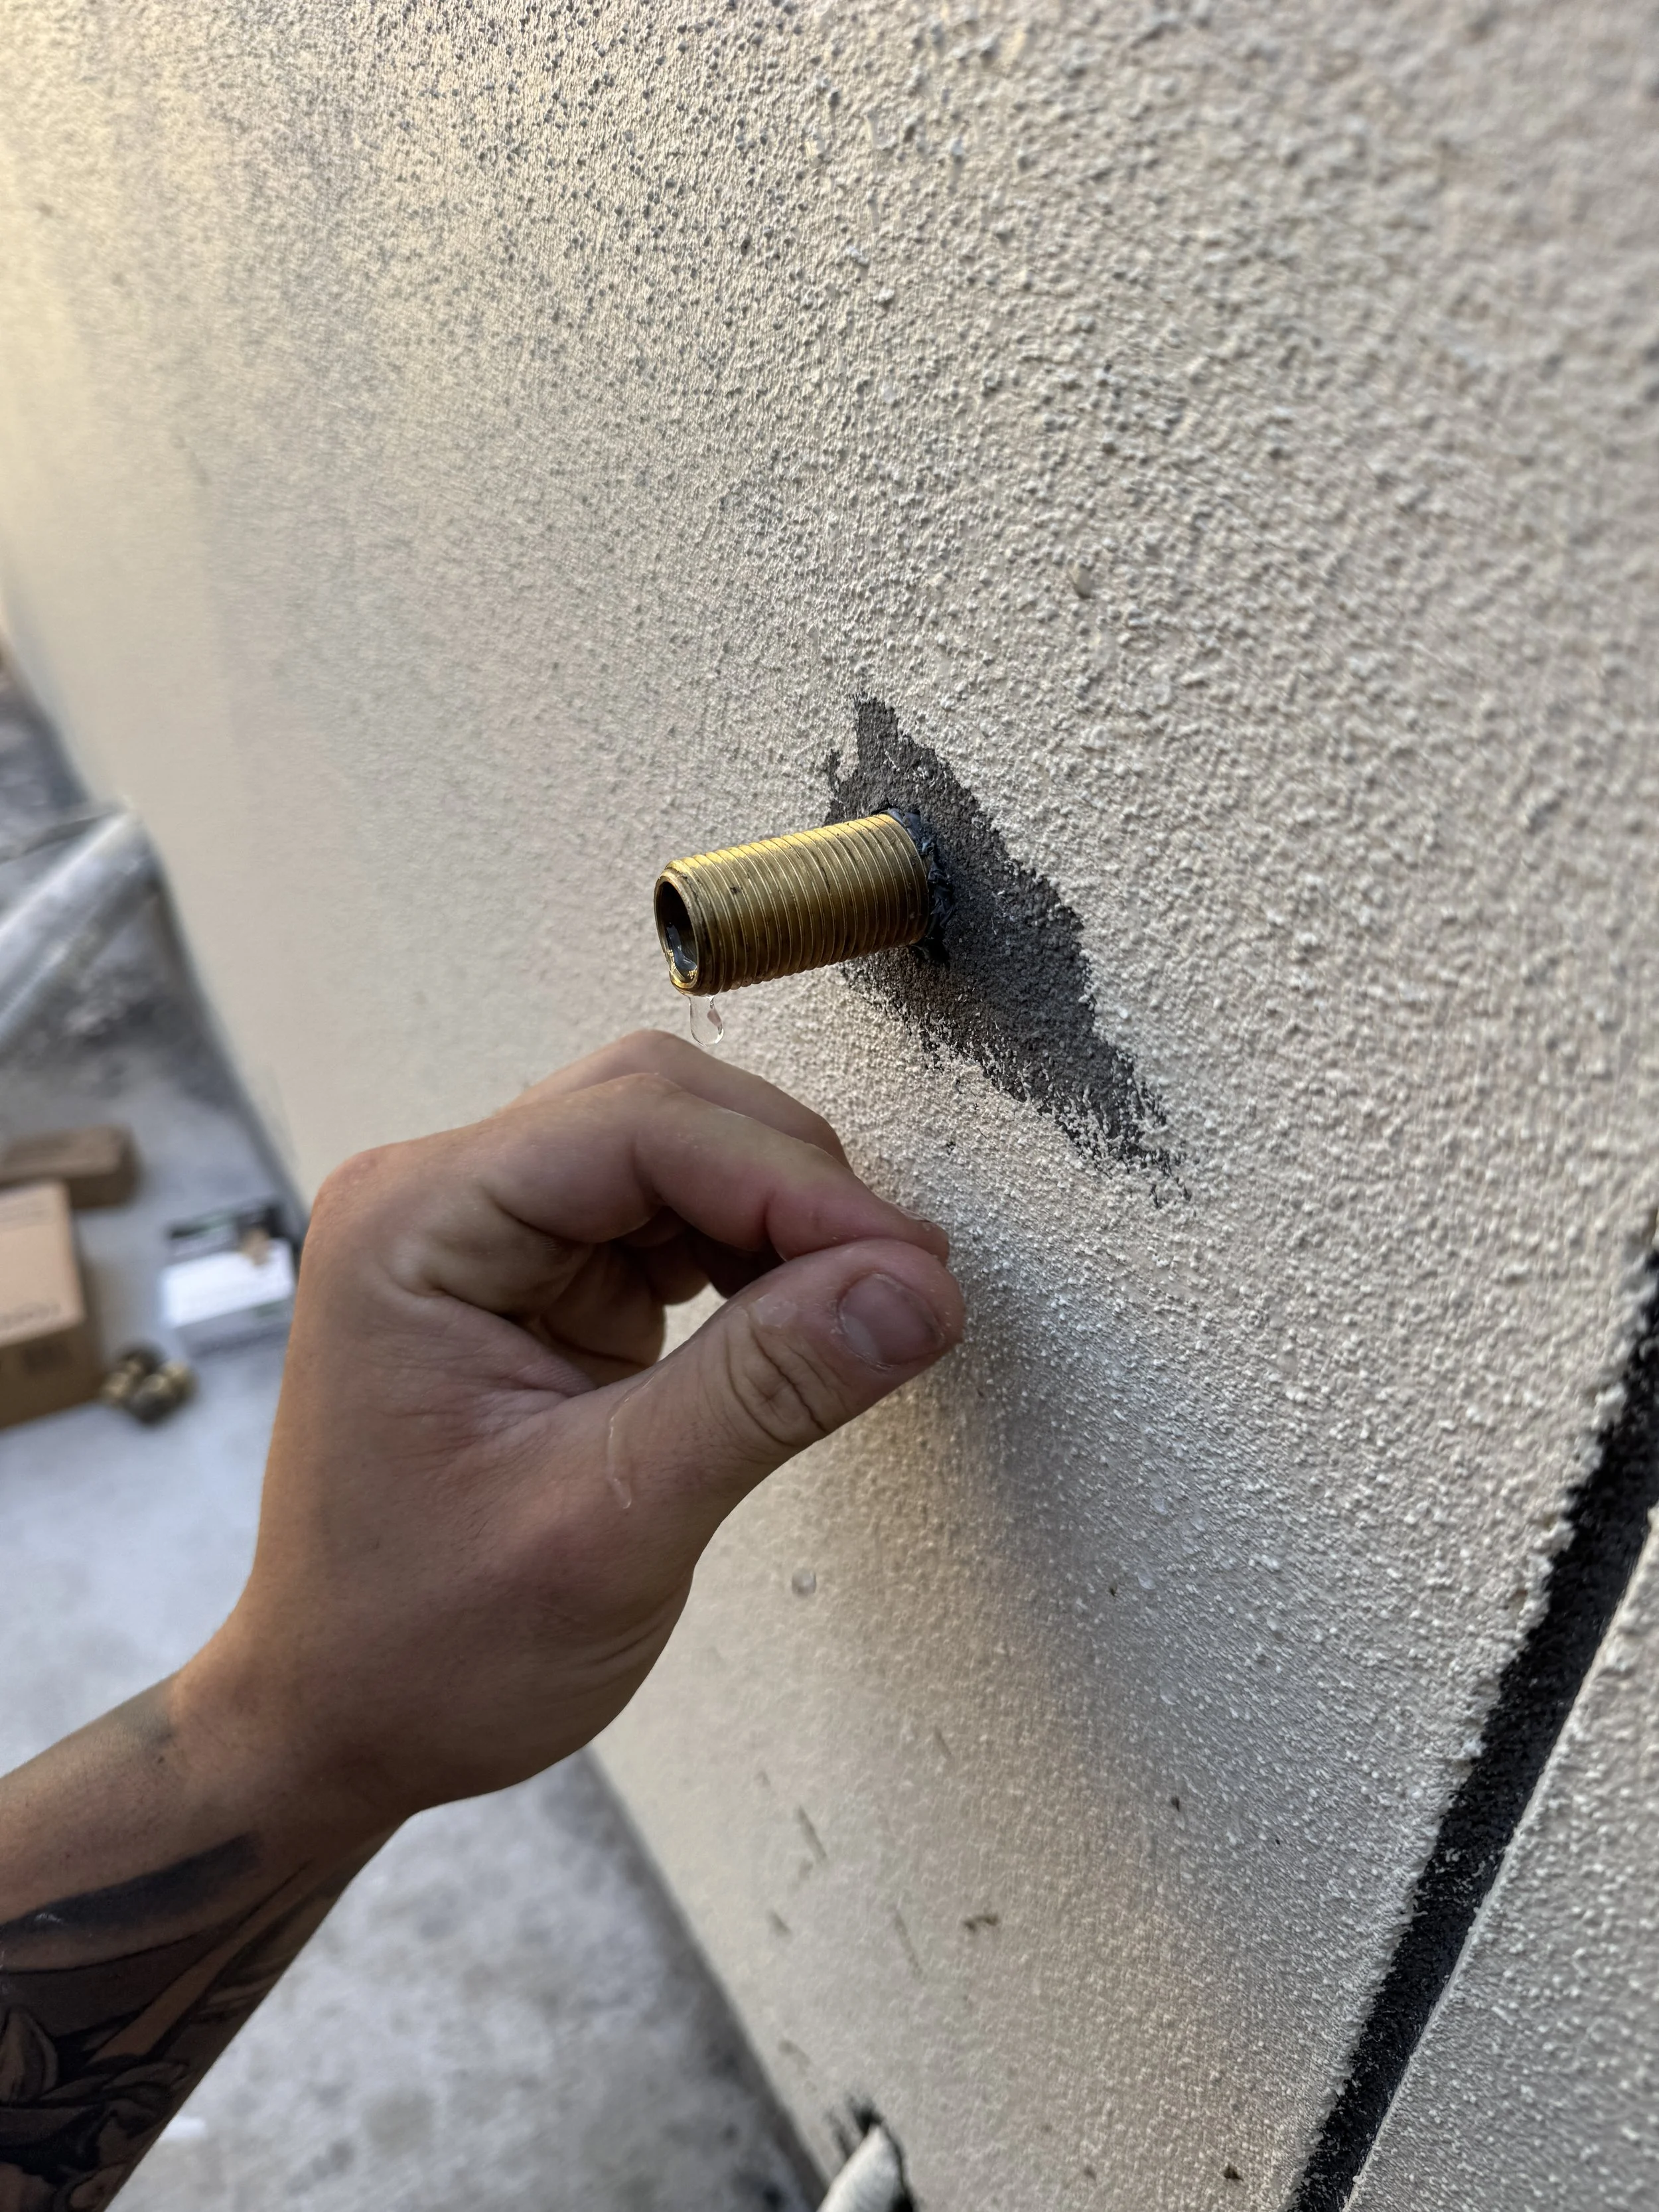
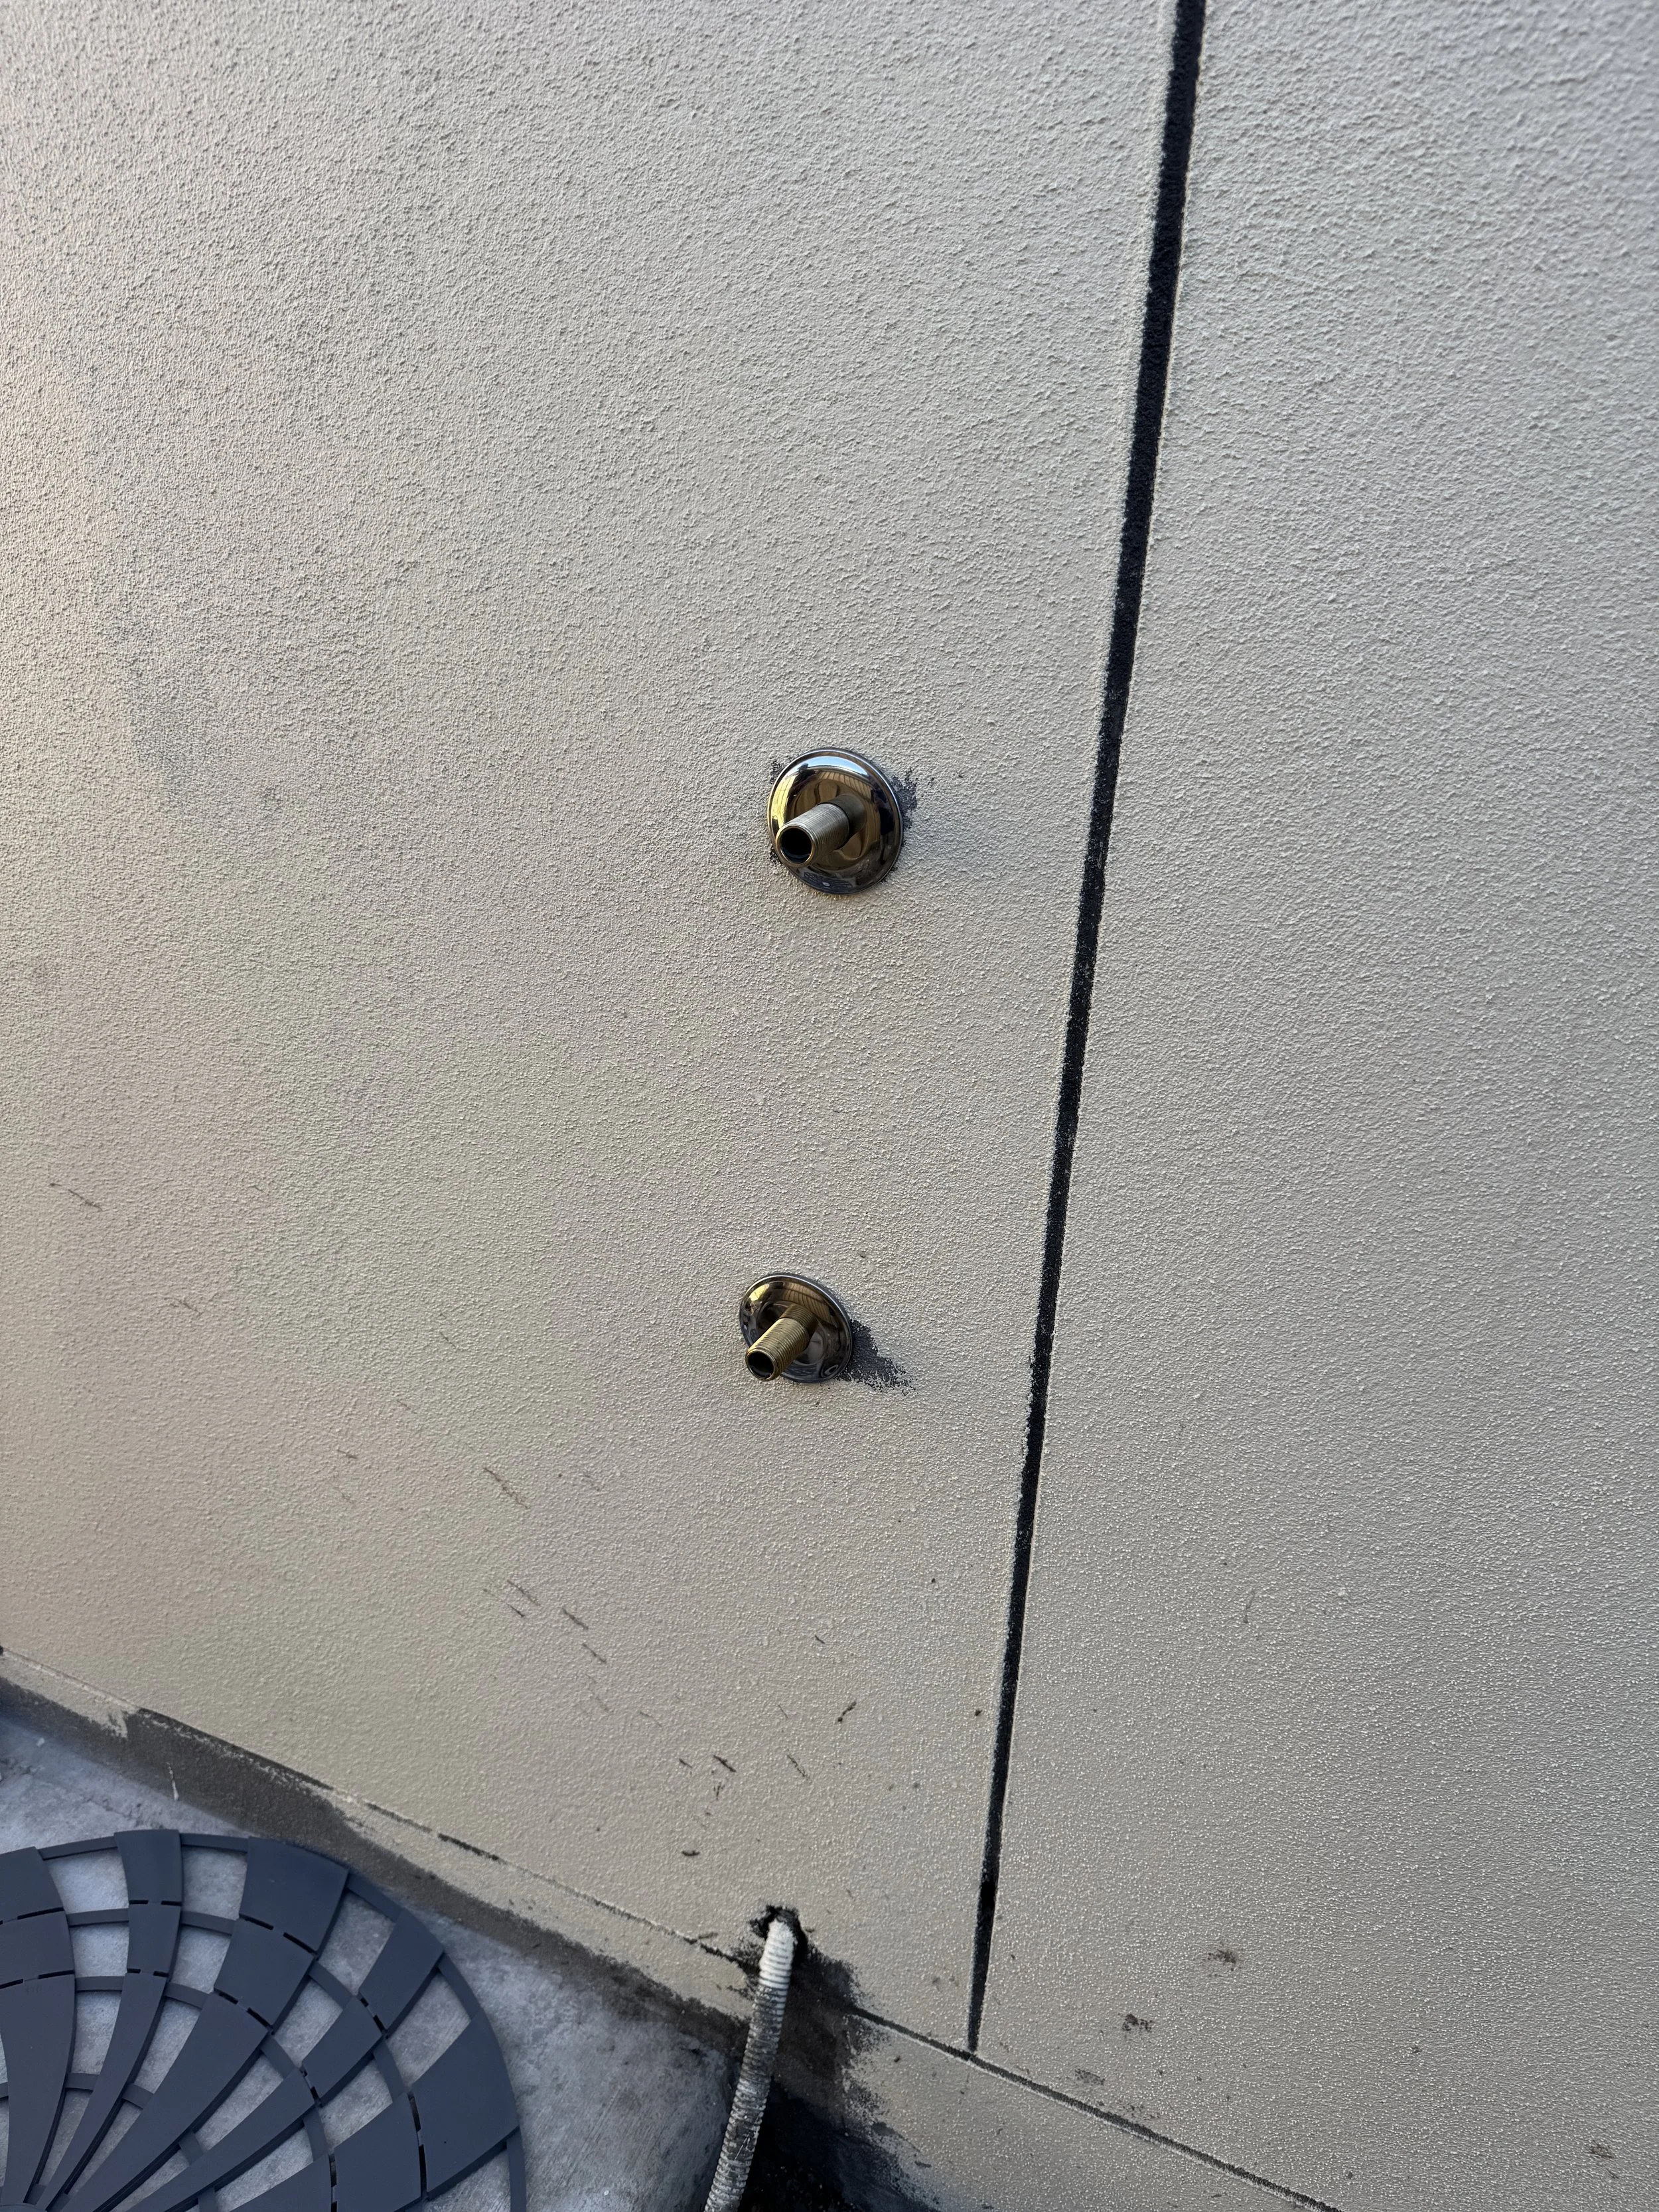
Make sure water is off and remove caps, cleaning off any thread tape, paint, render or mortar.
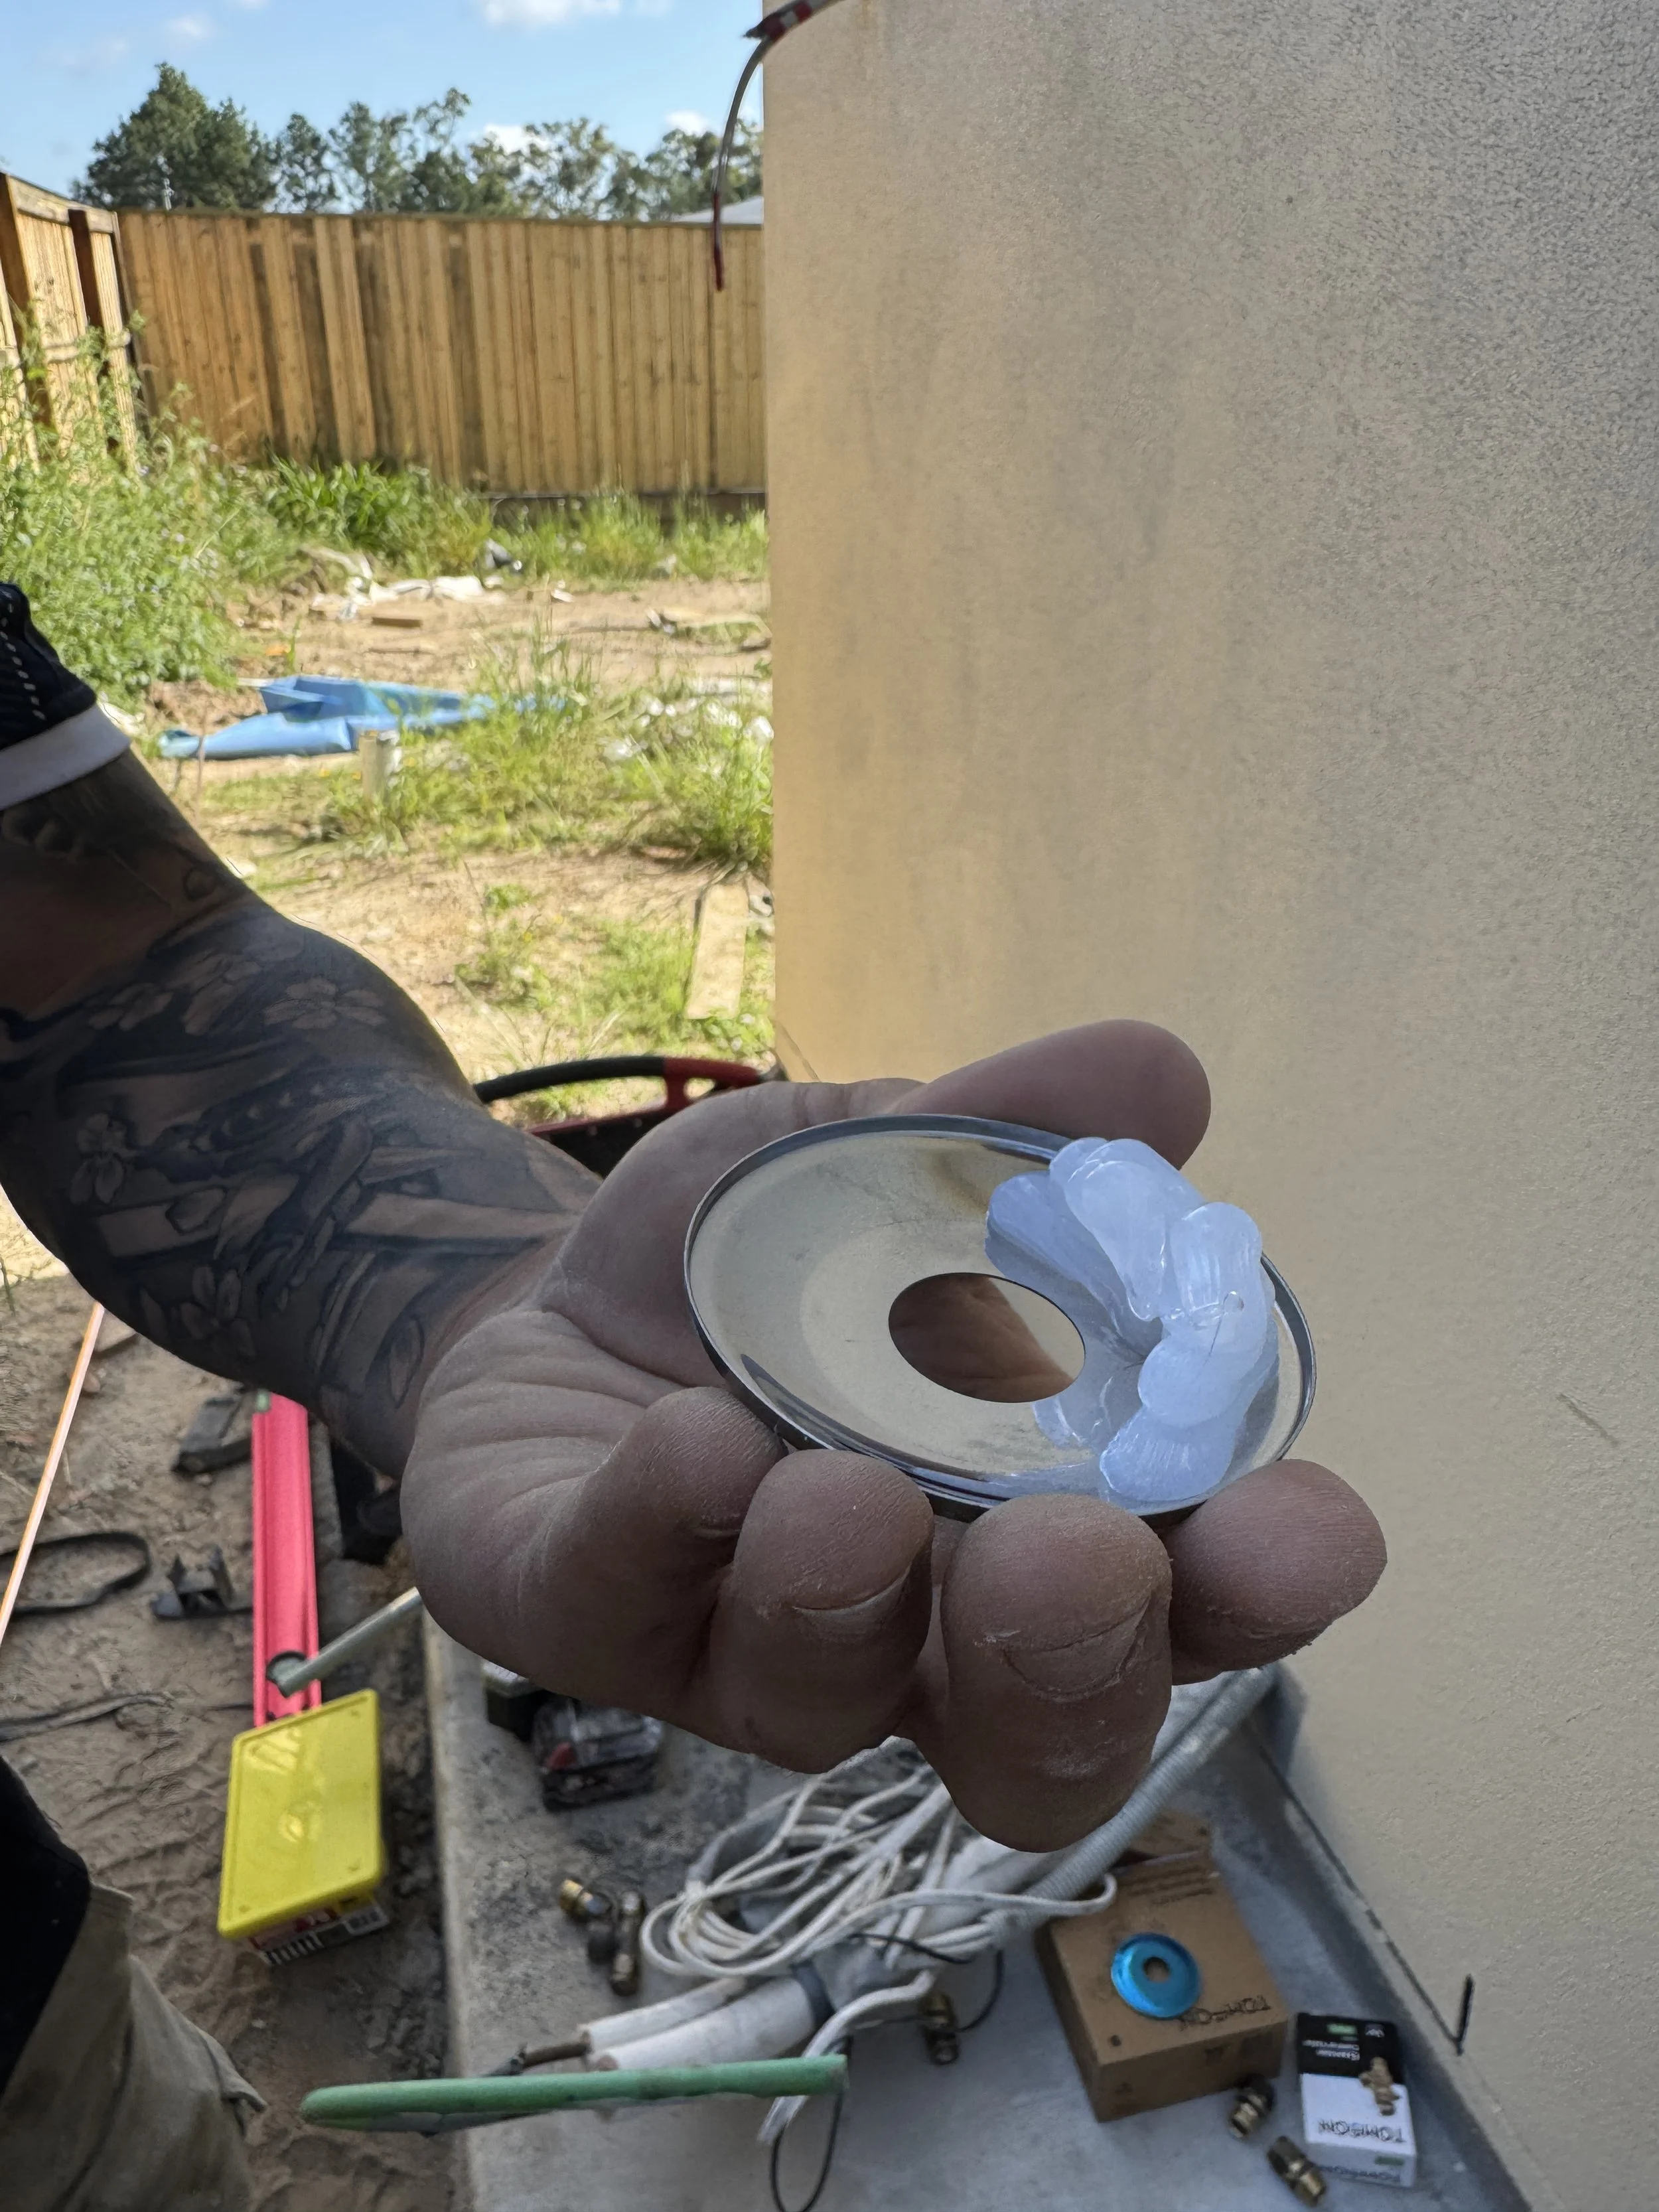
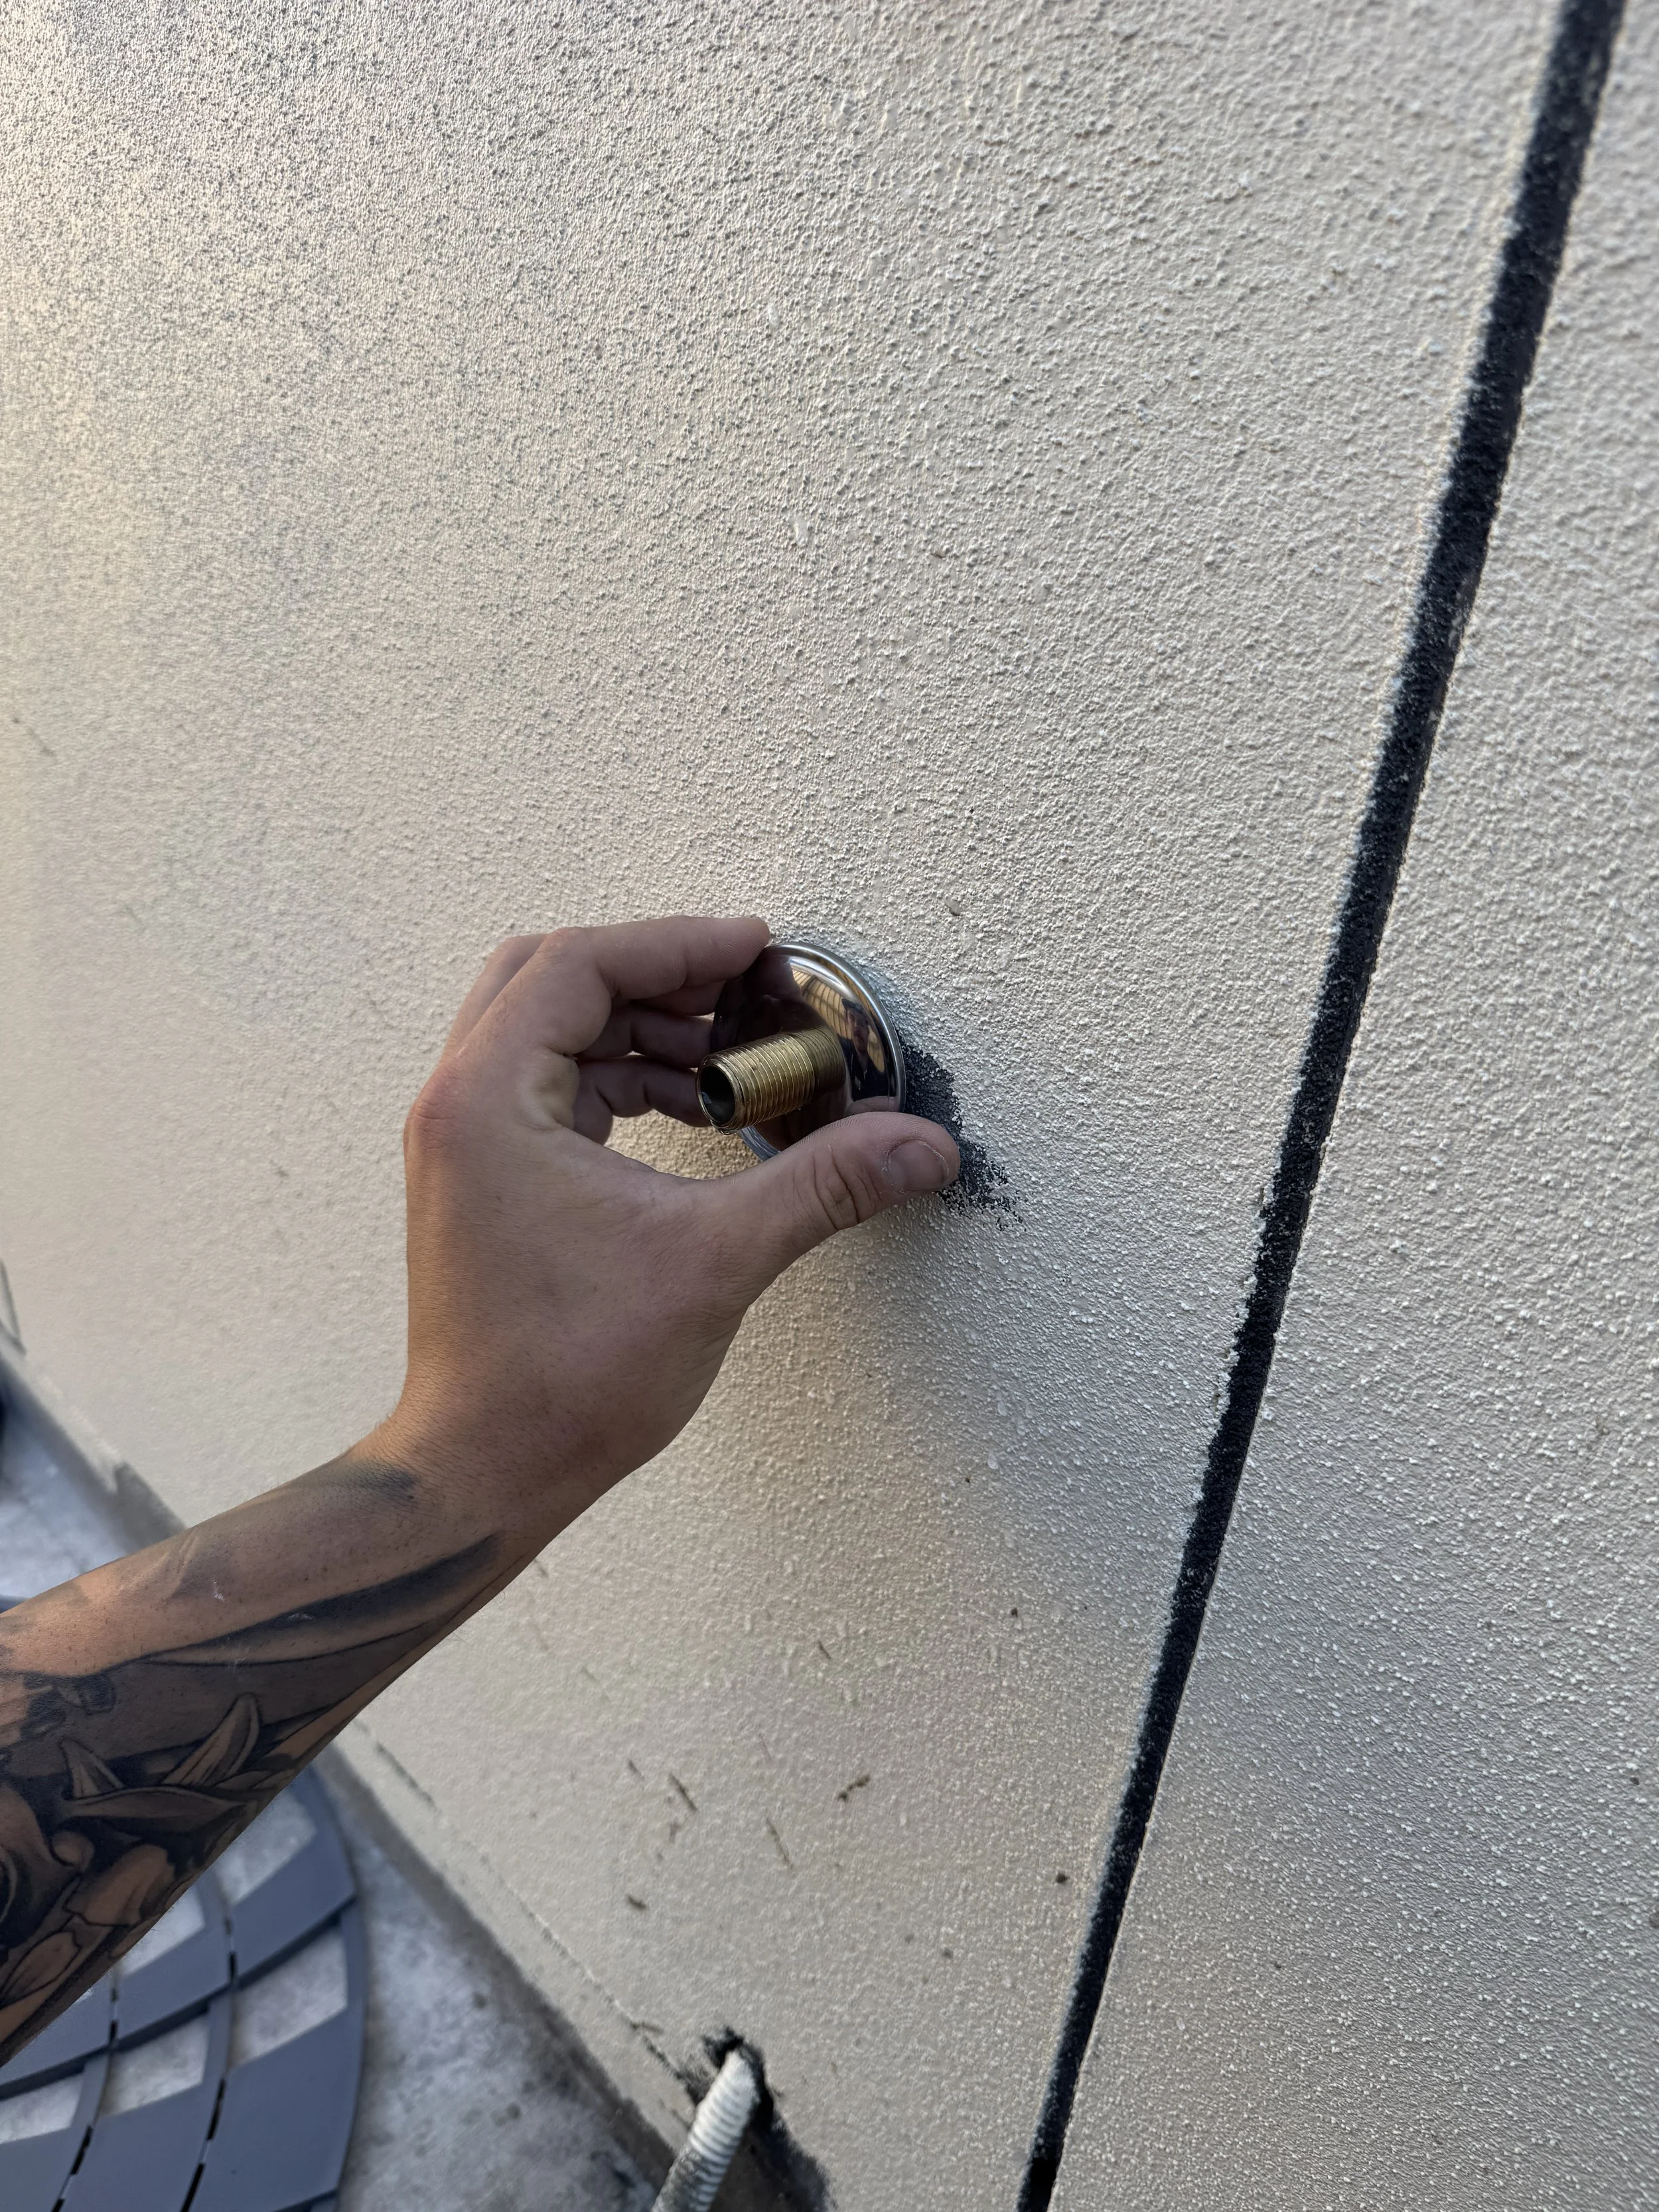
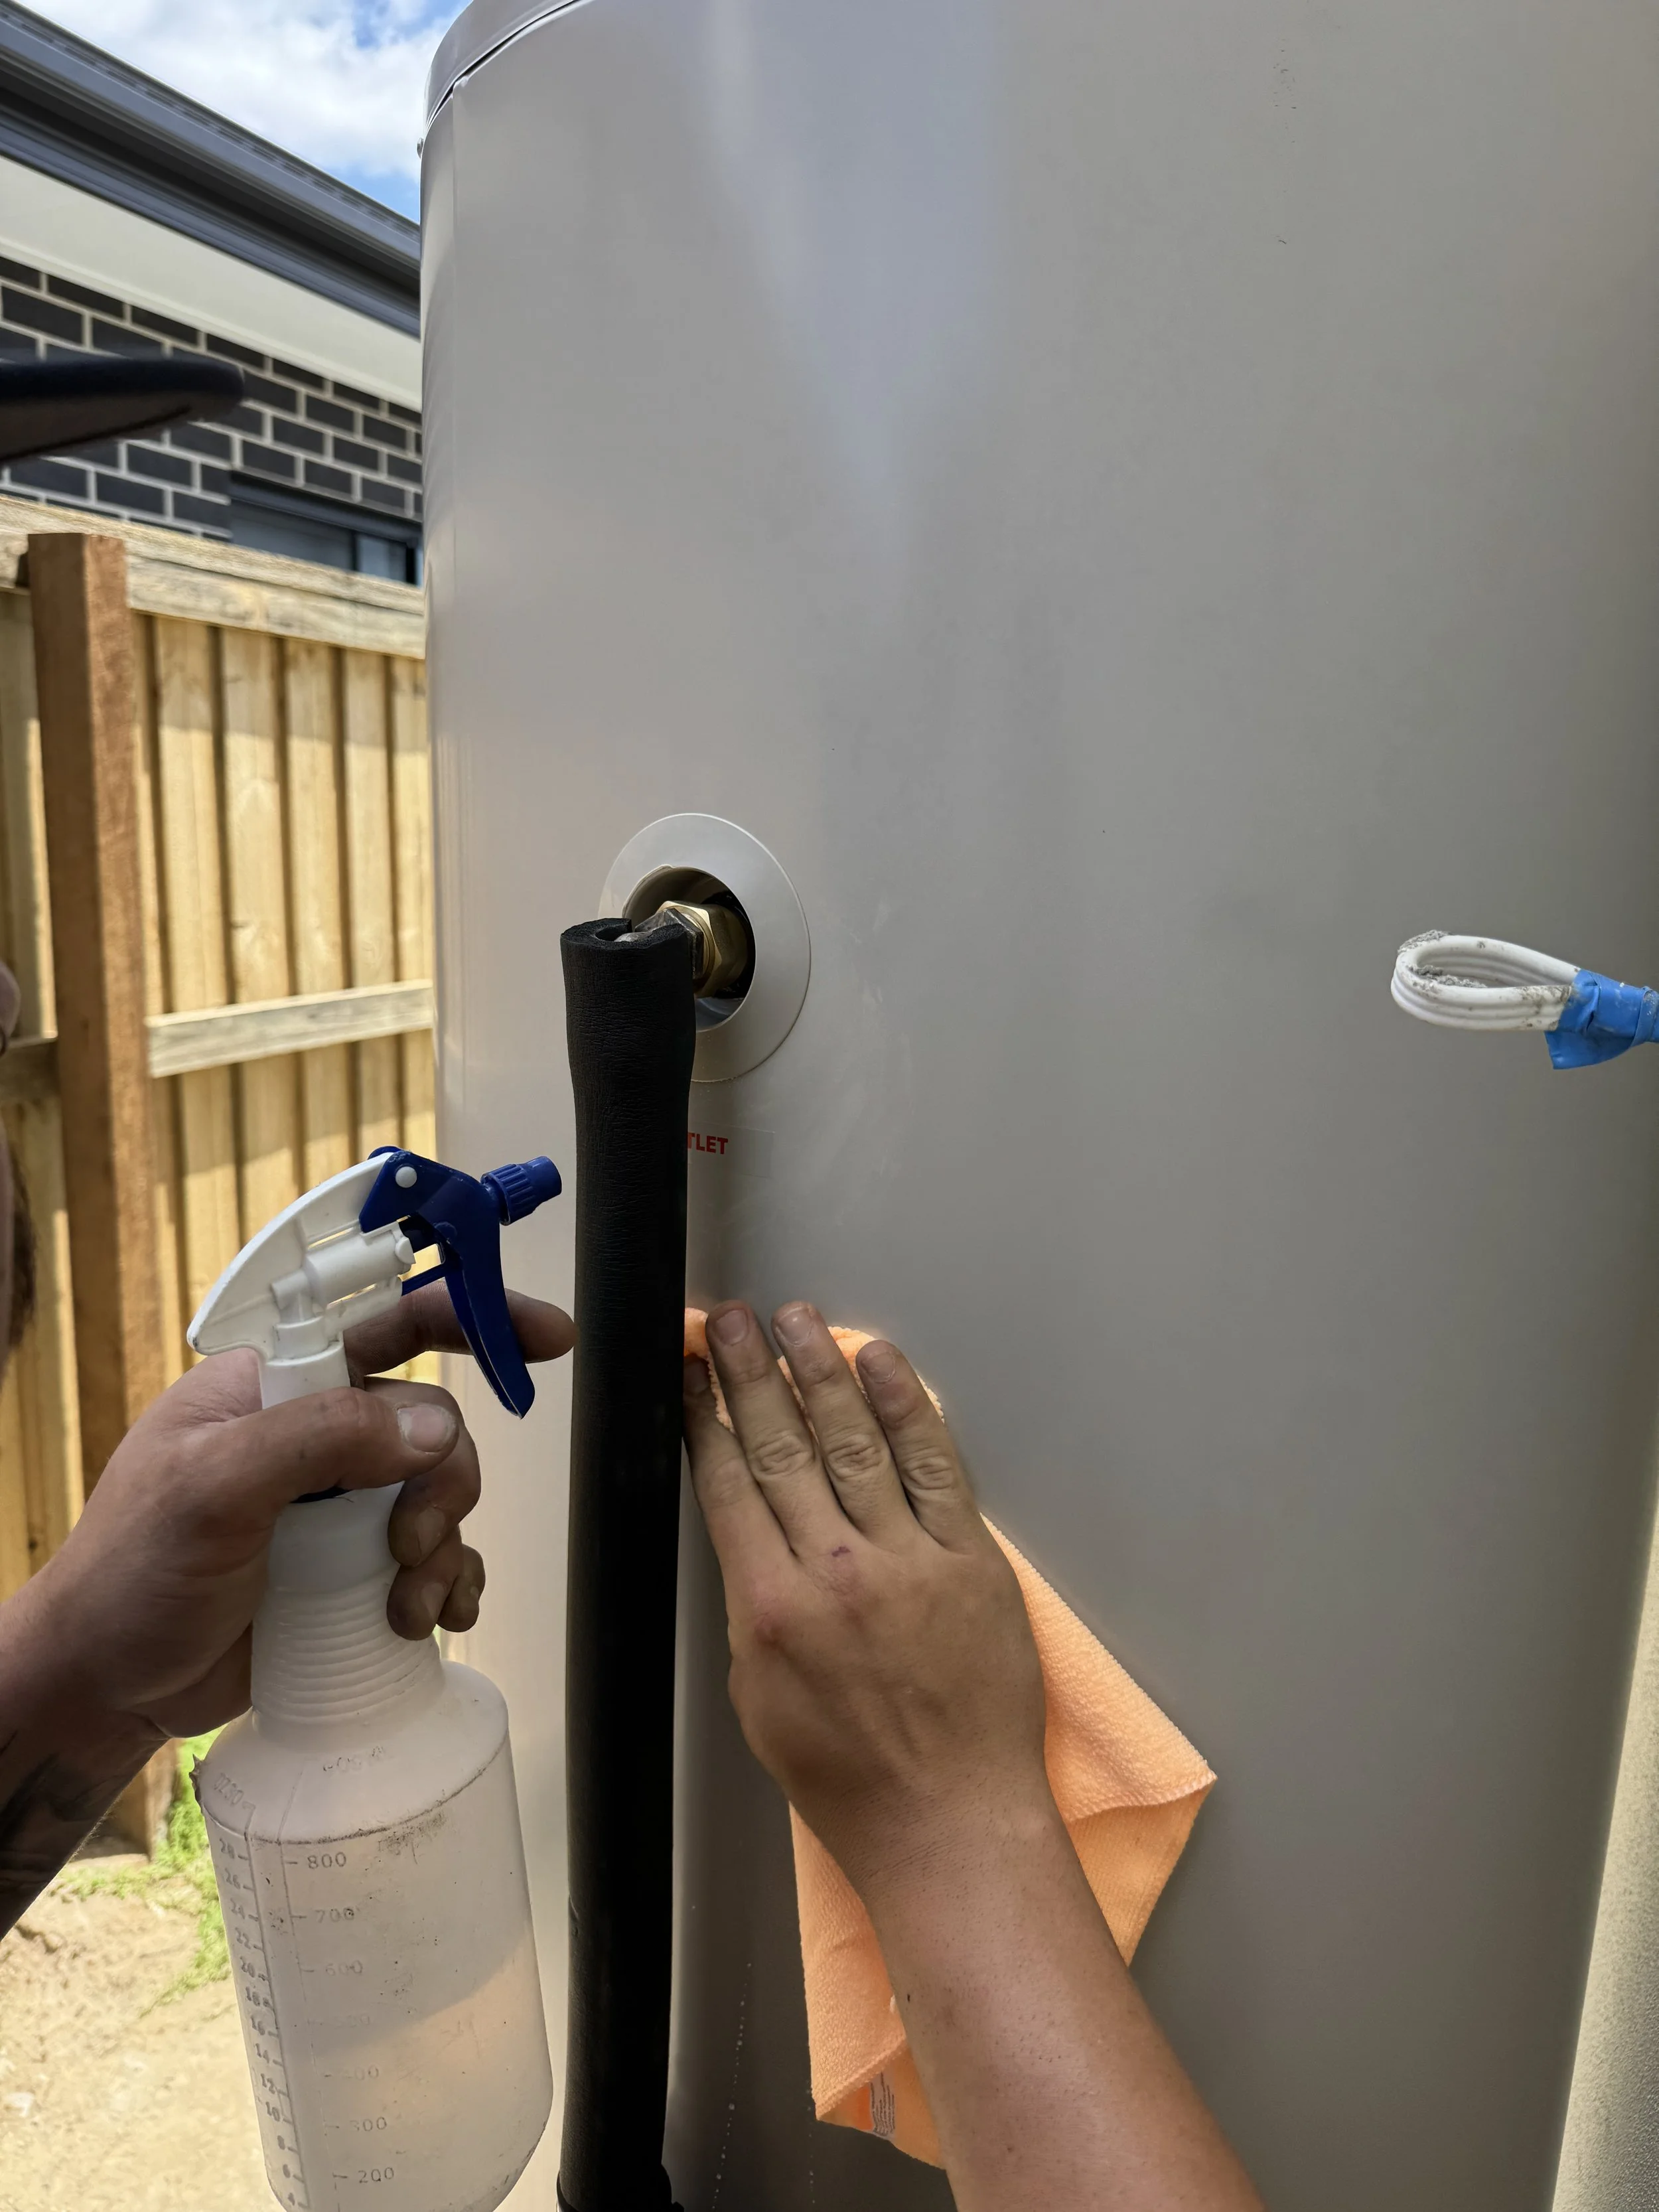
Silicone cover plate on using clear silicone. Spin it as it comes into contact with the wall to prevent the silicone from squeezing out. If any does, use a cloth to clean it up straight away.
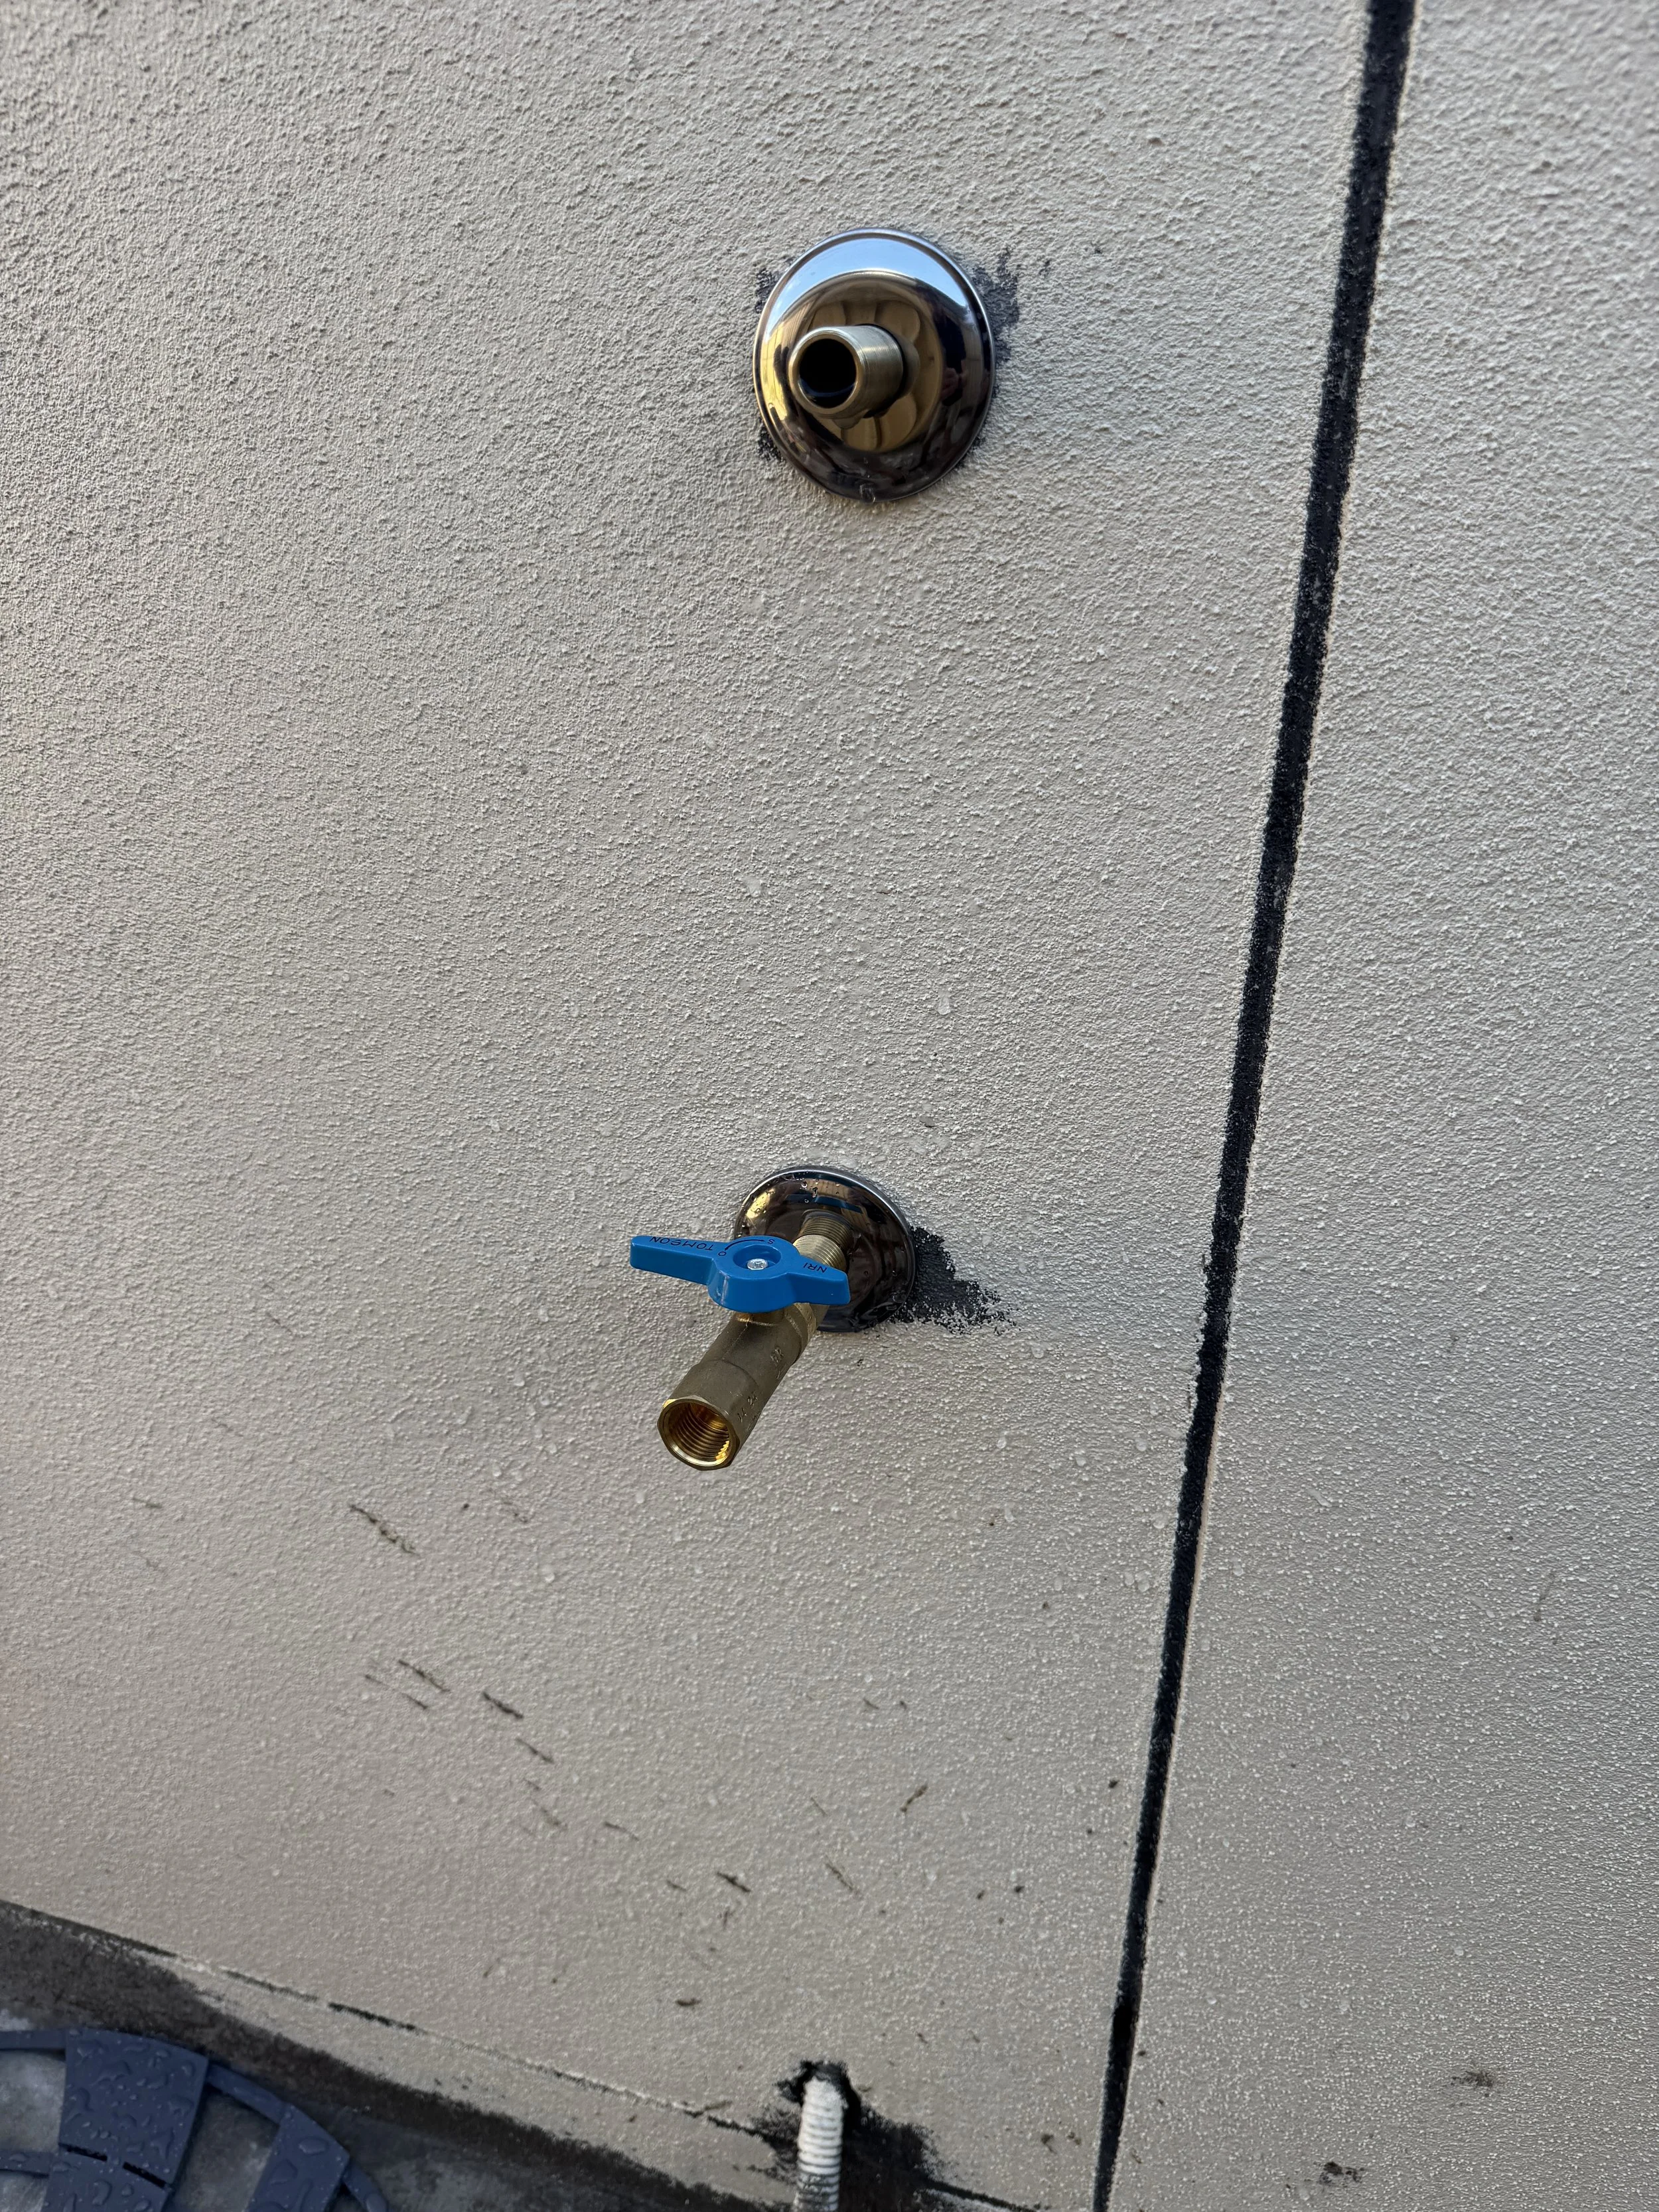
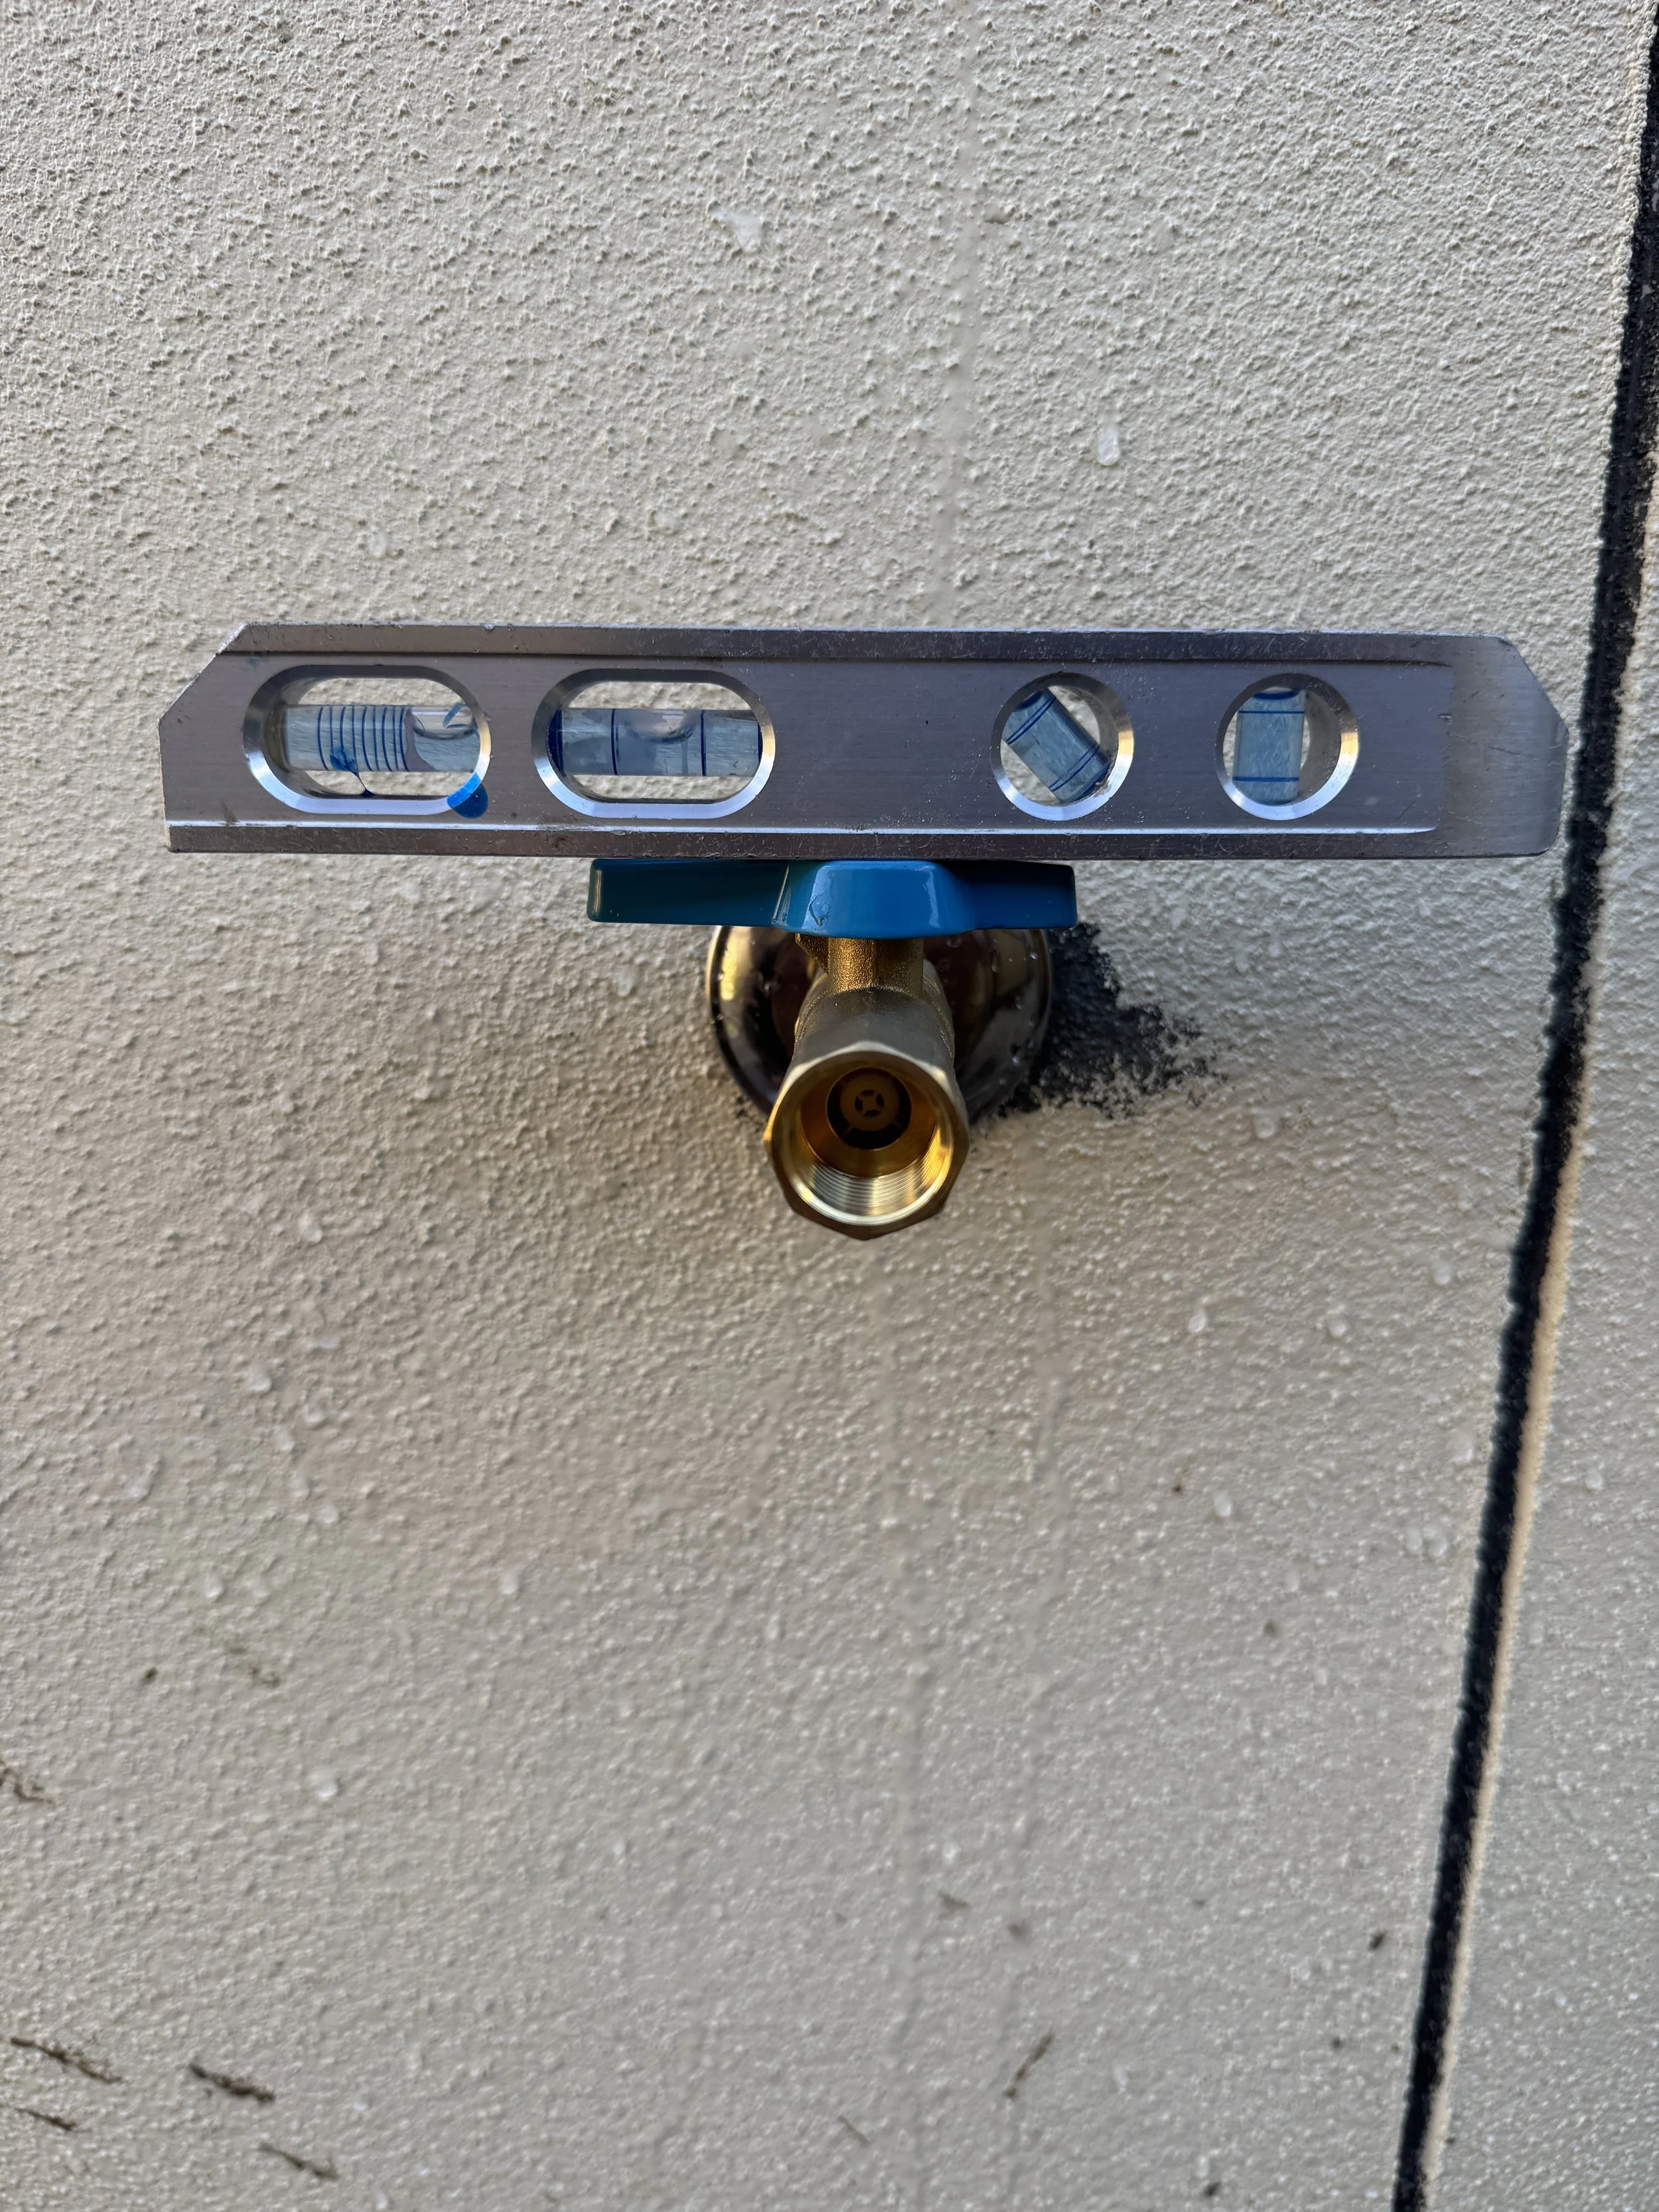
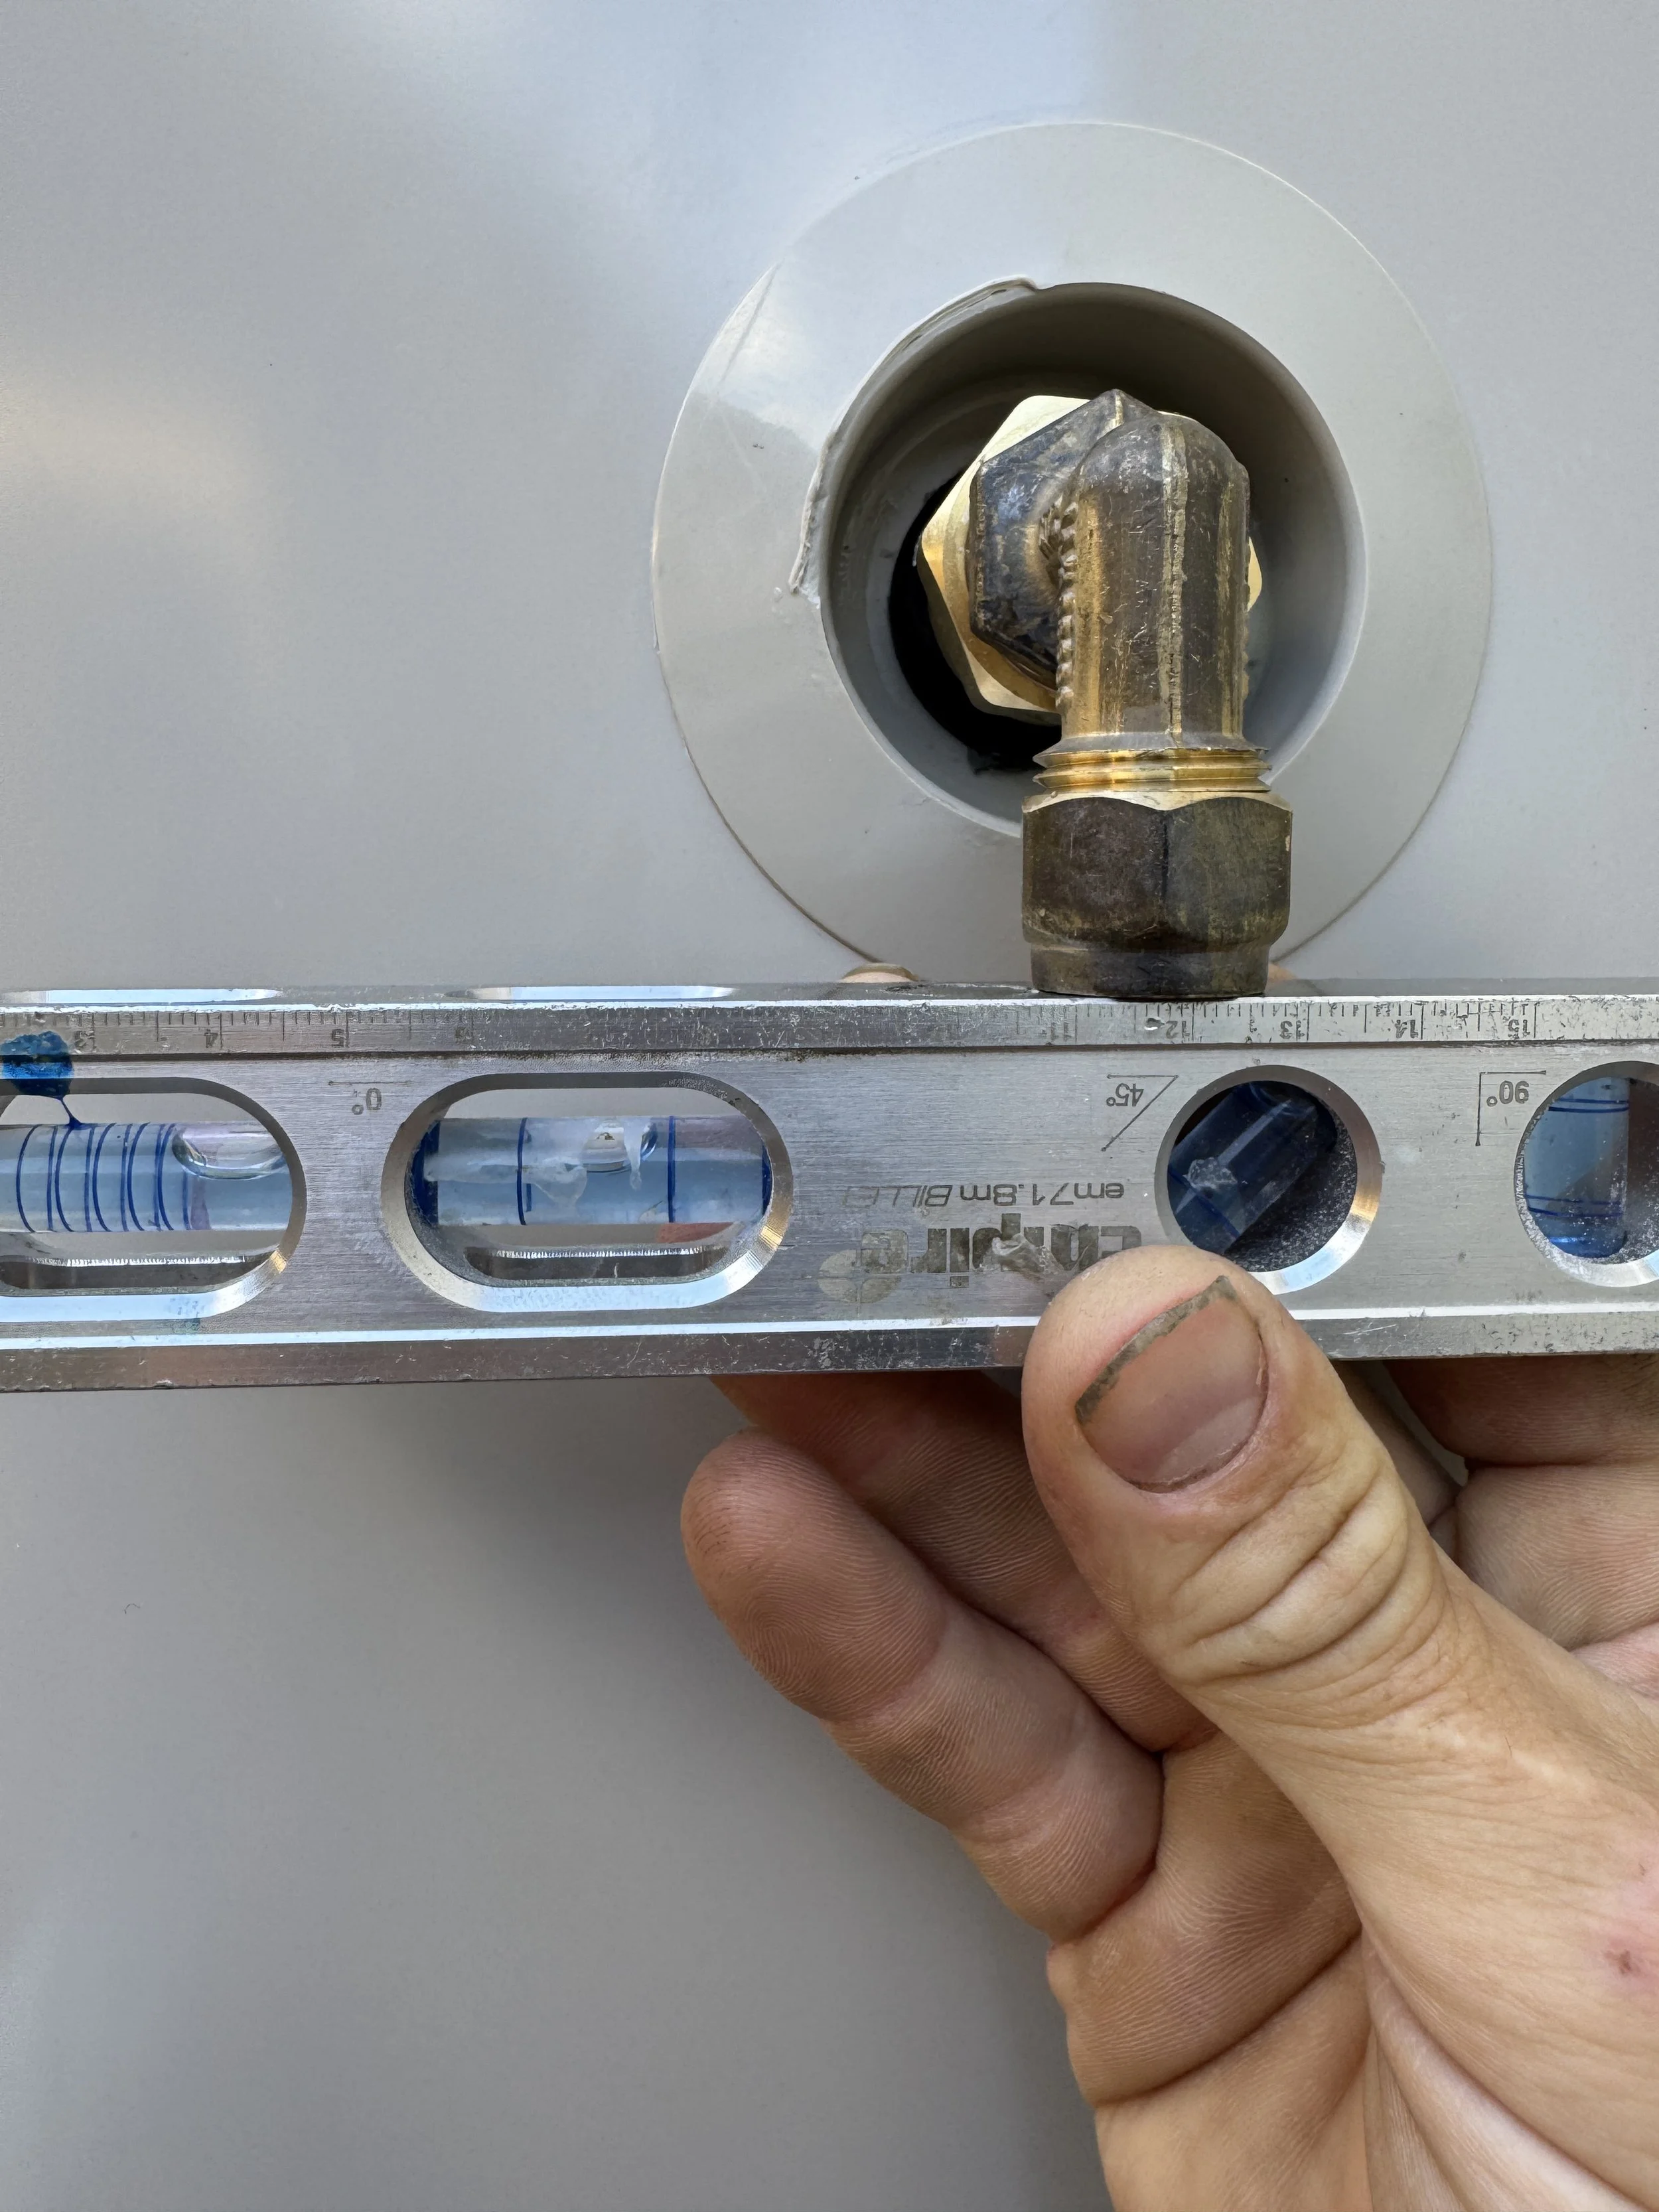
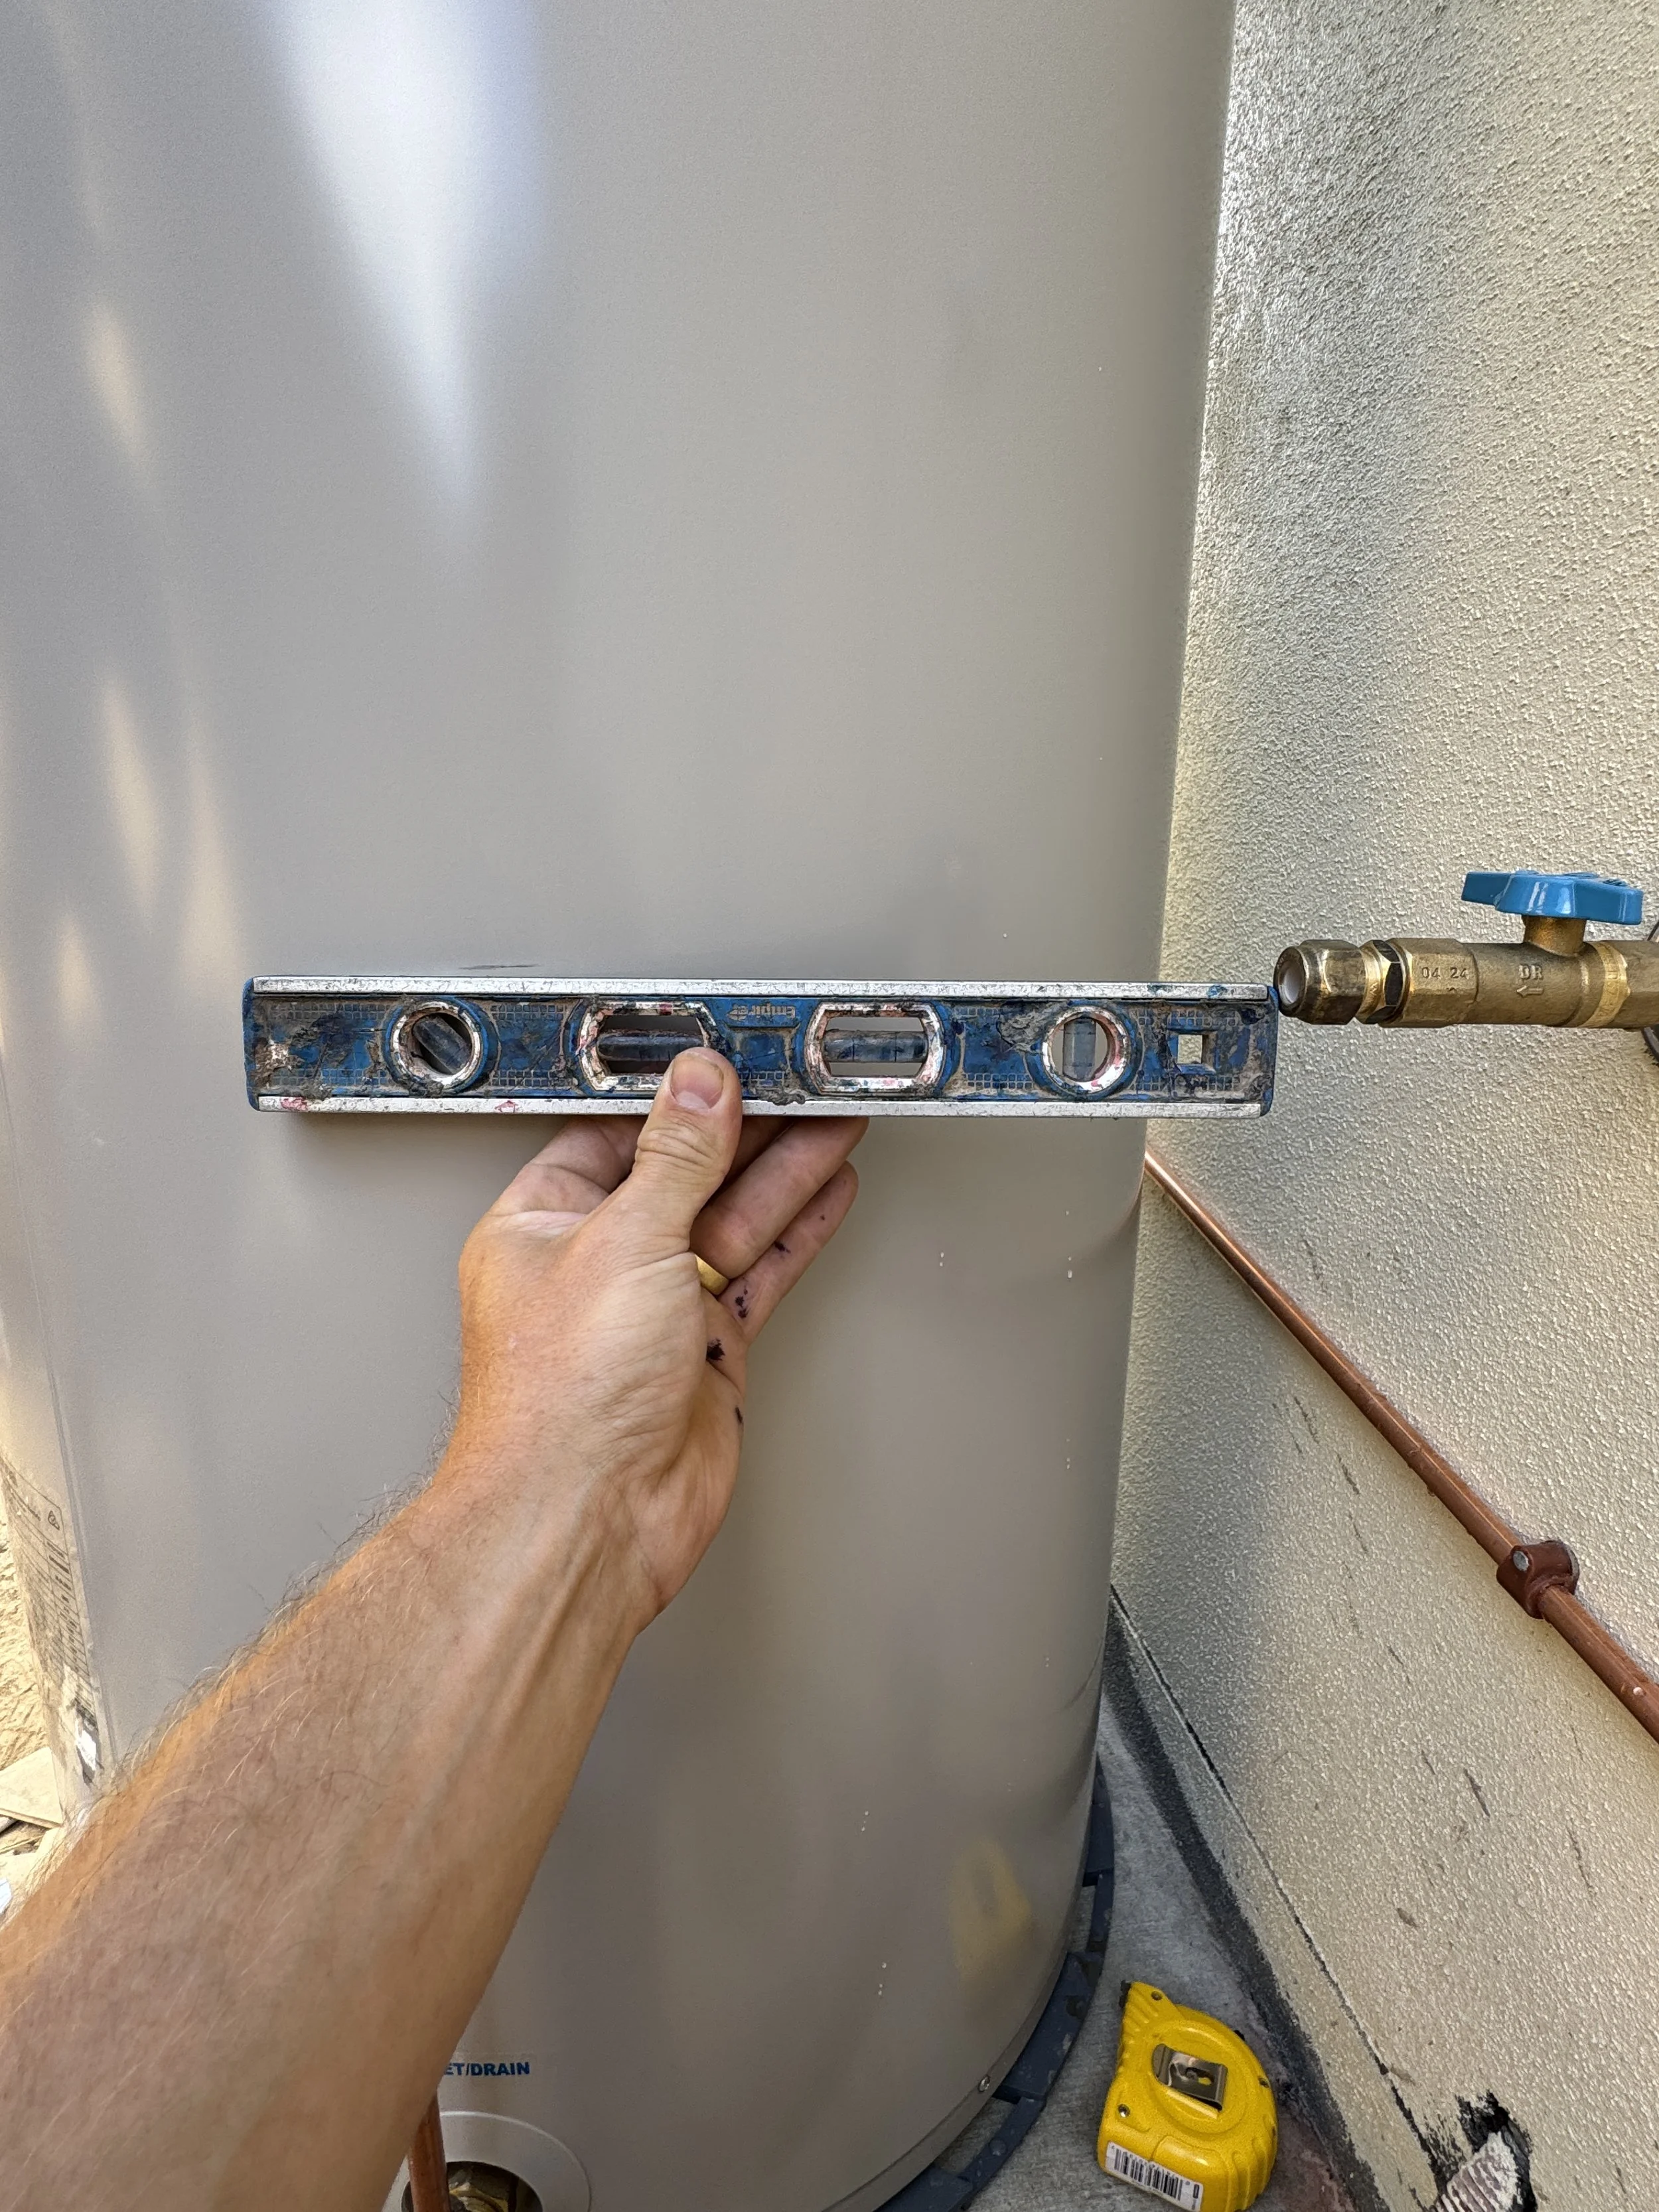
Thread tape duo valve on using 5-8 threads of grey teflon tape making sure the handle is level or vertically level if you need to spin it.
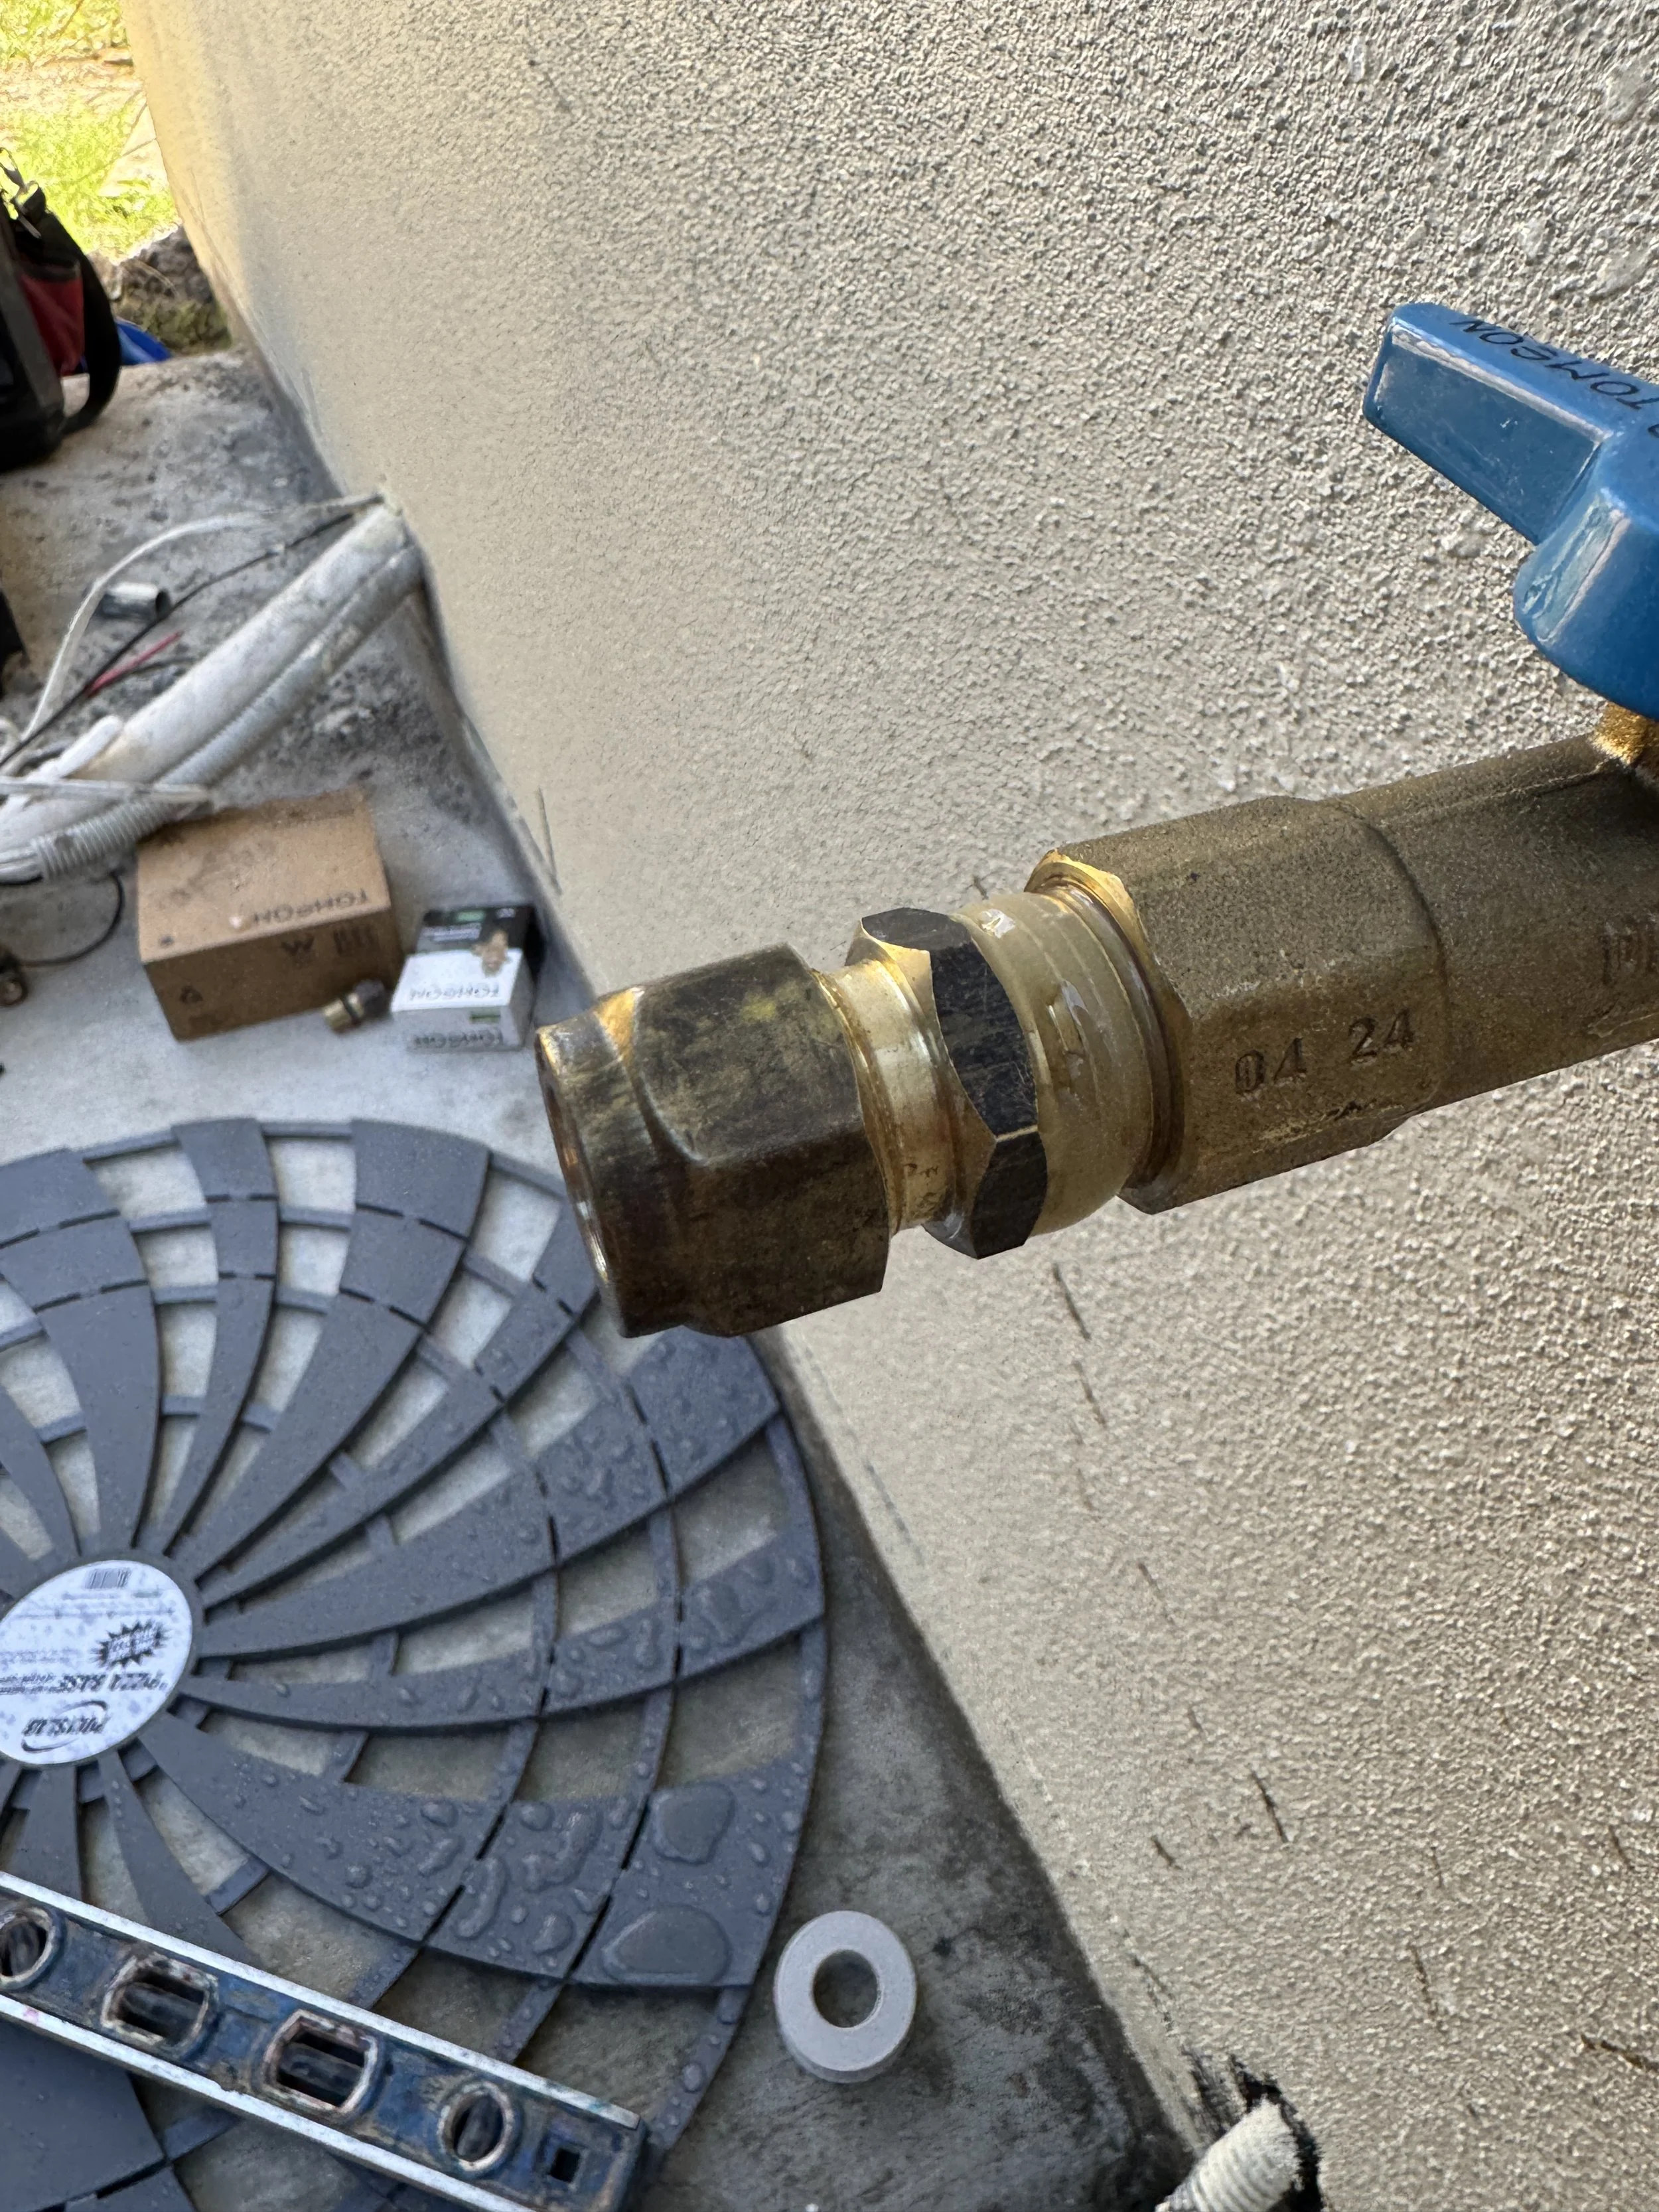
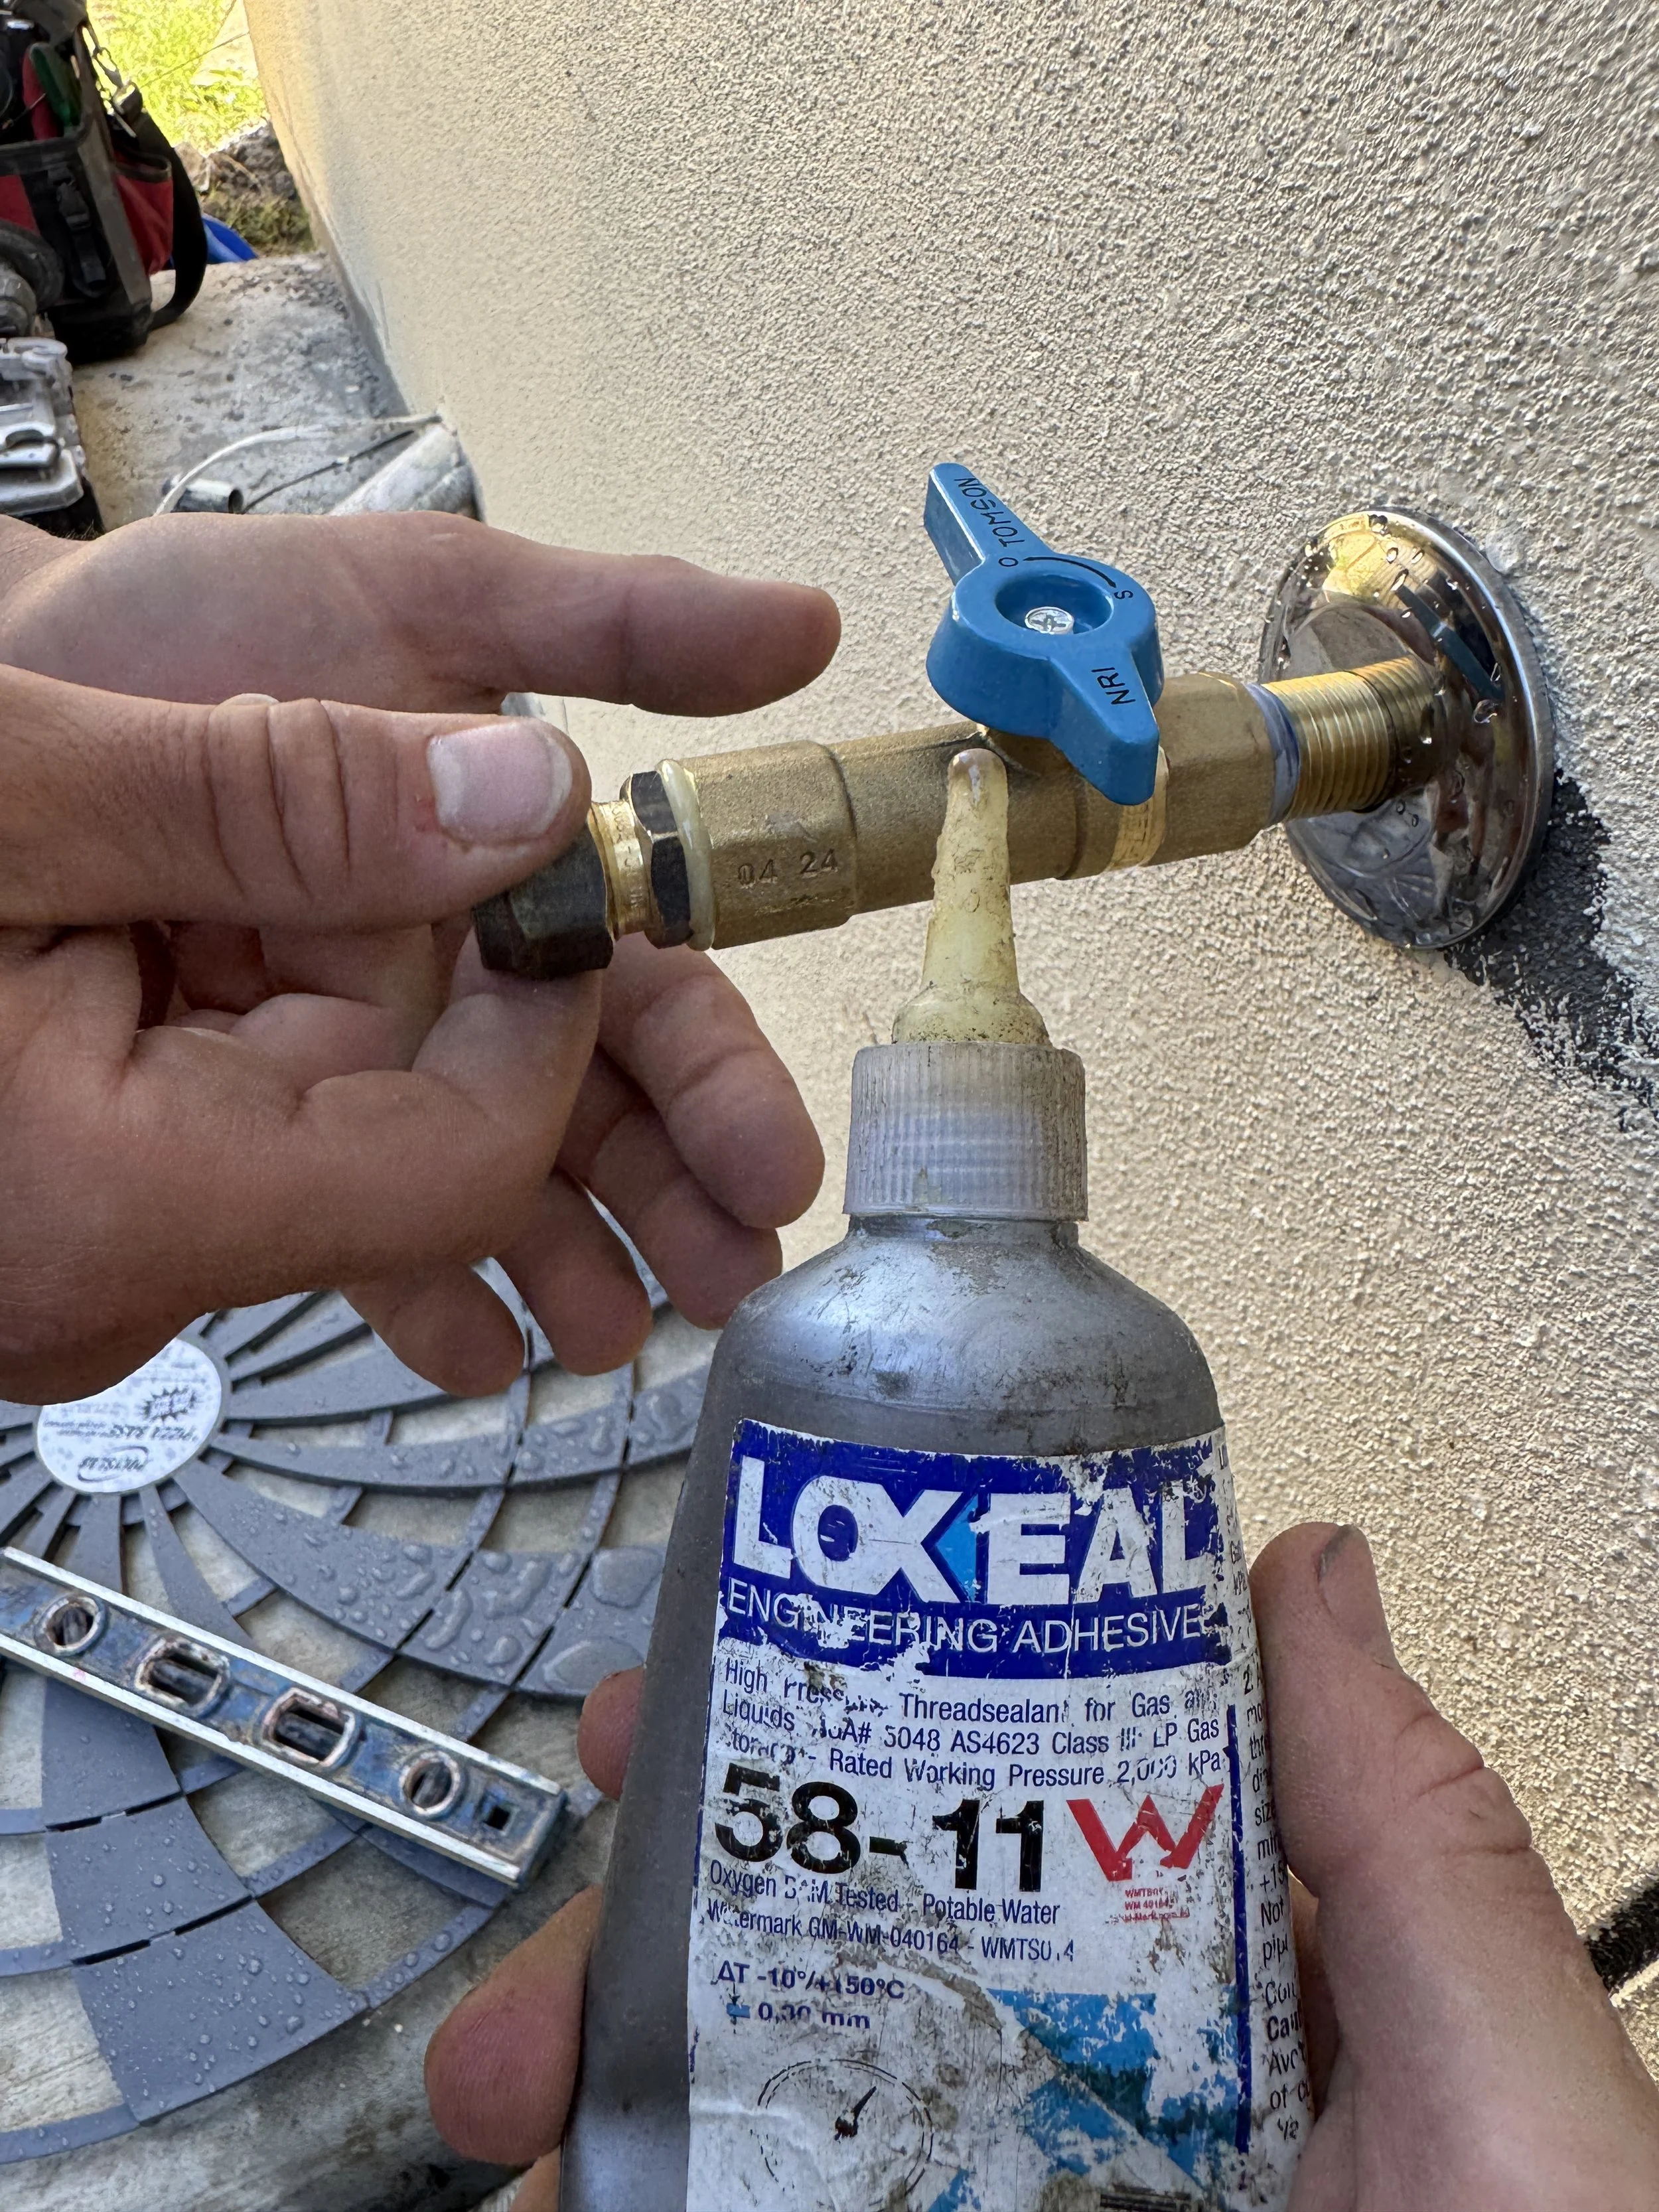
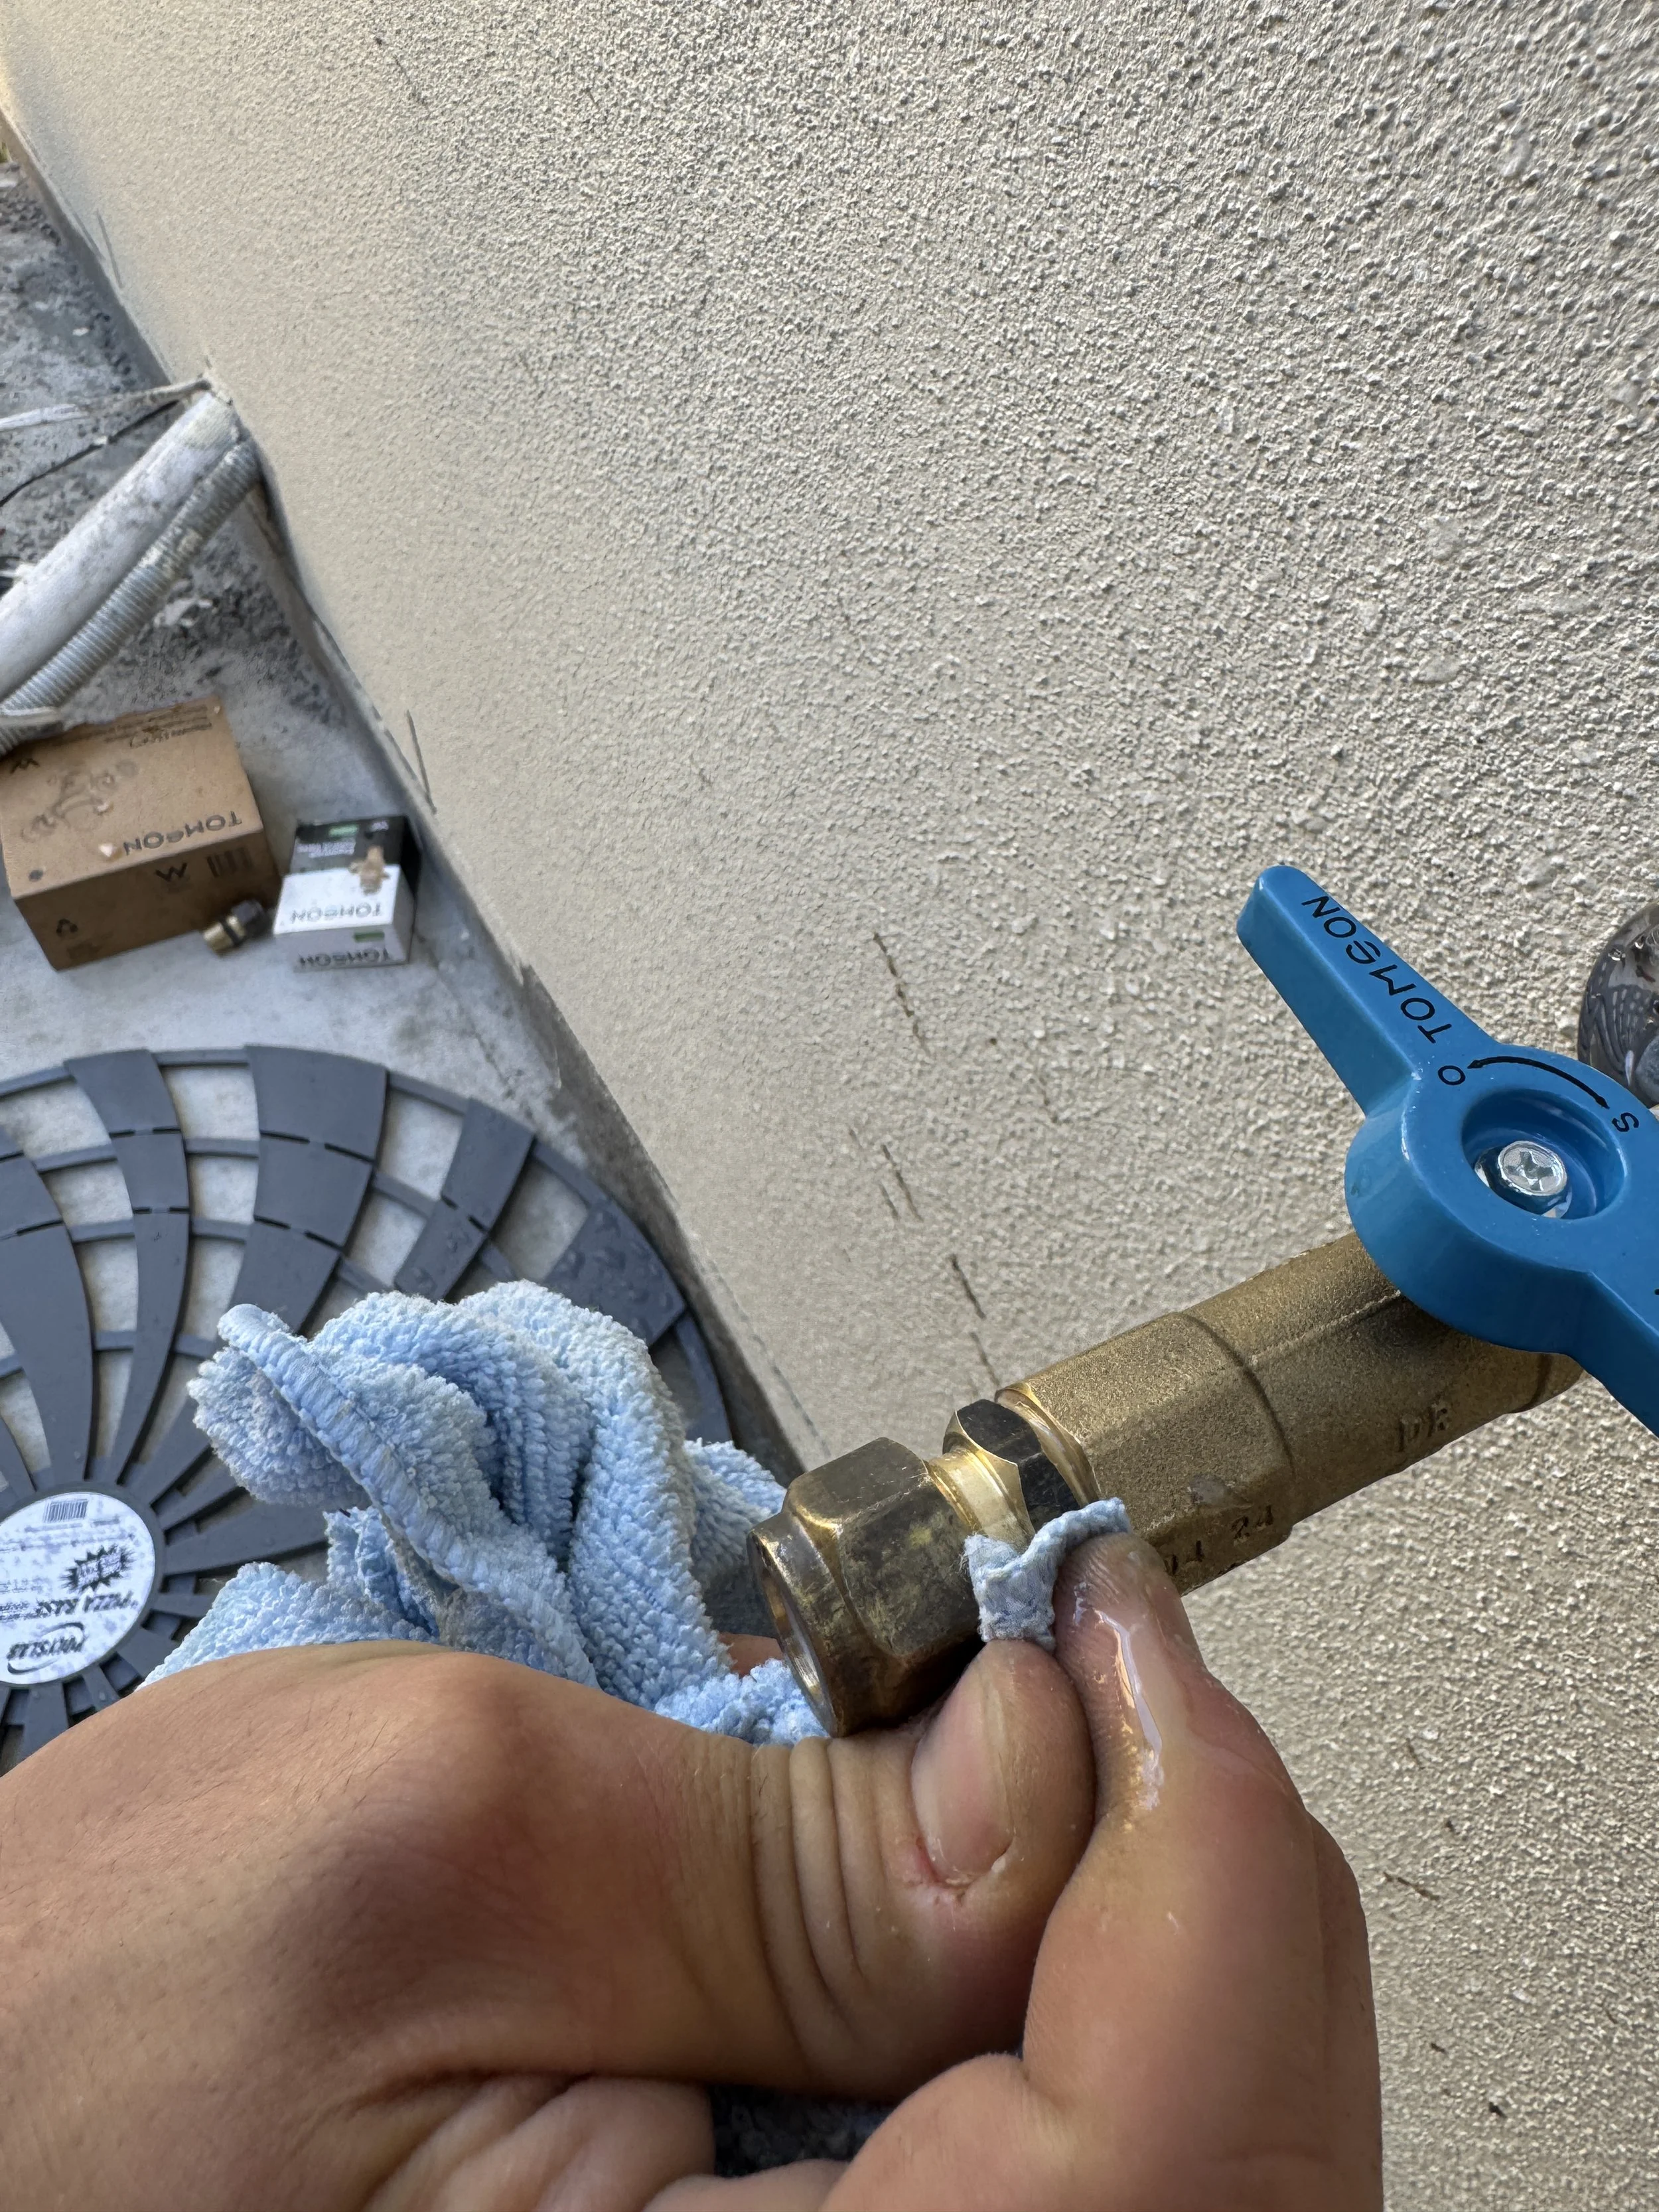
Loktite a male iron into the duo valve by putting loktite onto the male thread of the male iron only. This prevents any sealant from being pushed inside the valve. Clean any excess off using a rag.
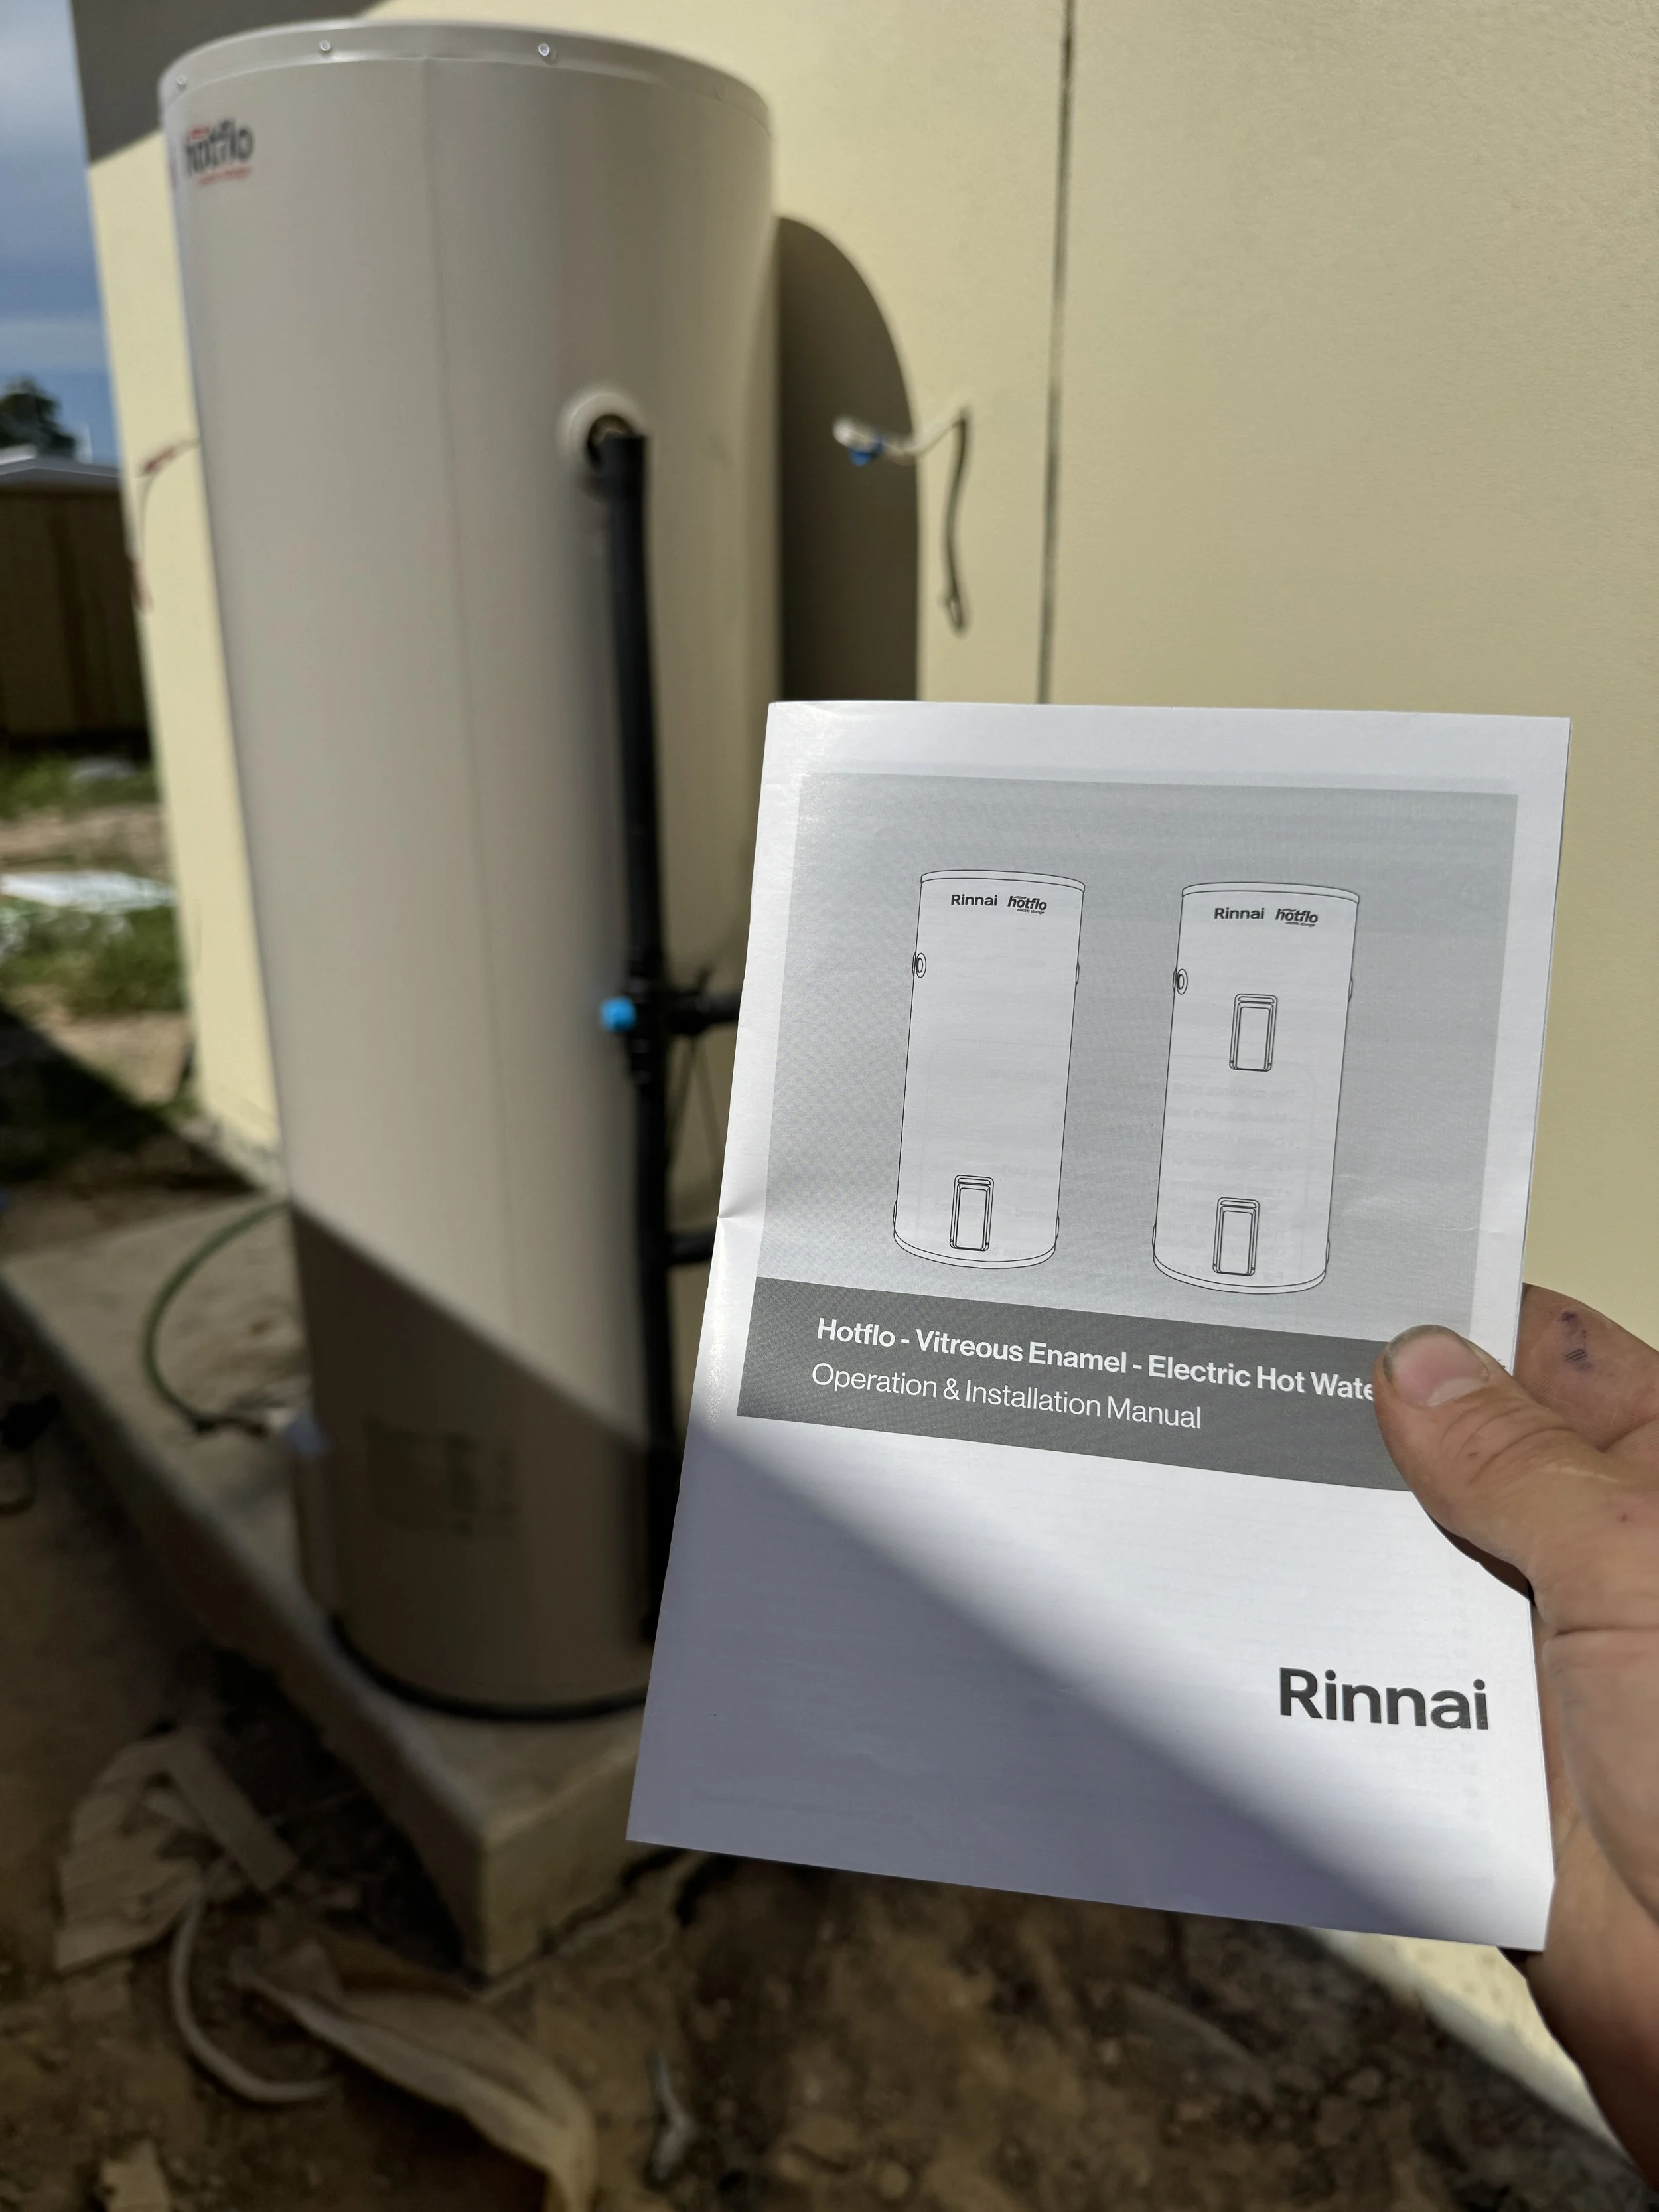
Unpackage hot water system and make sure there are no dents or scratches before moving it. **Very important**
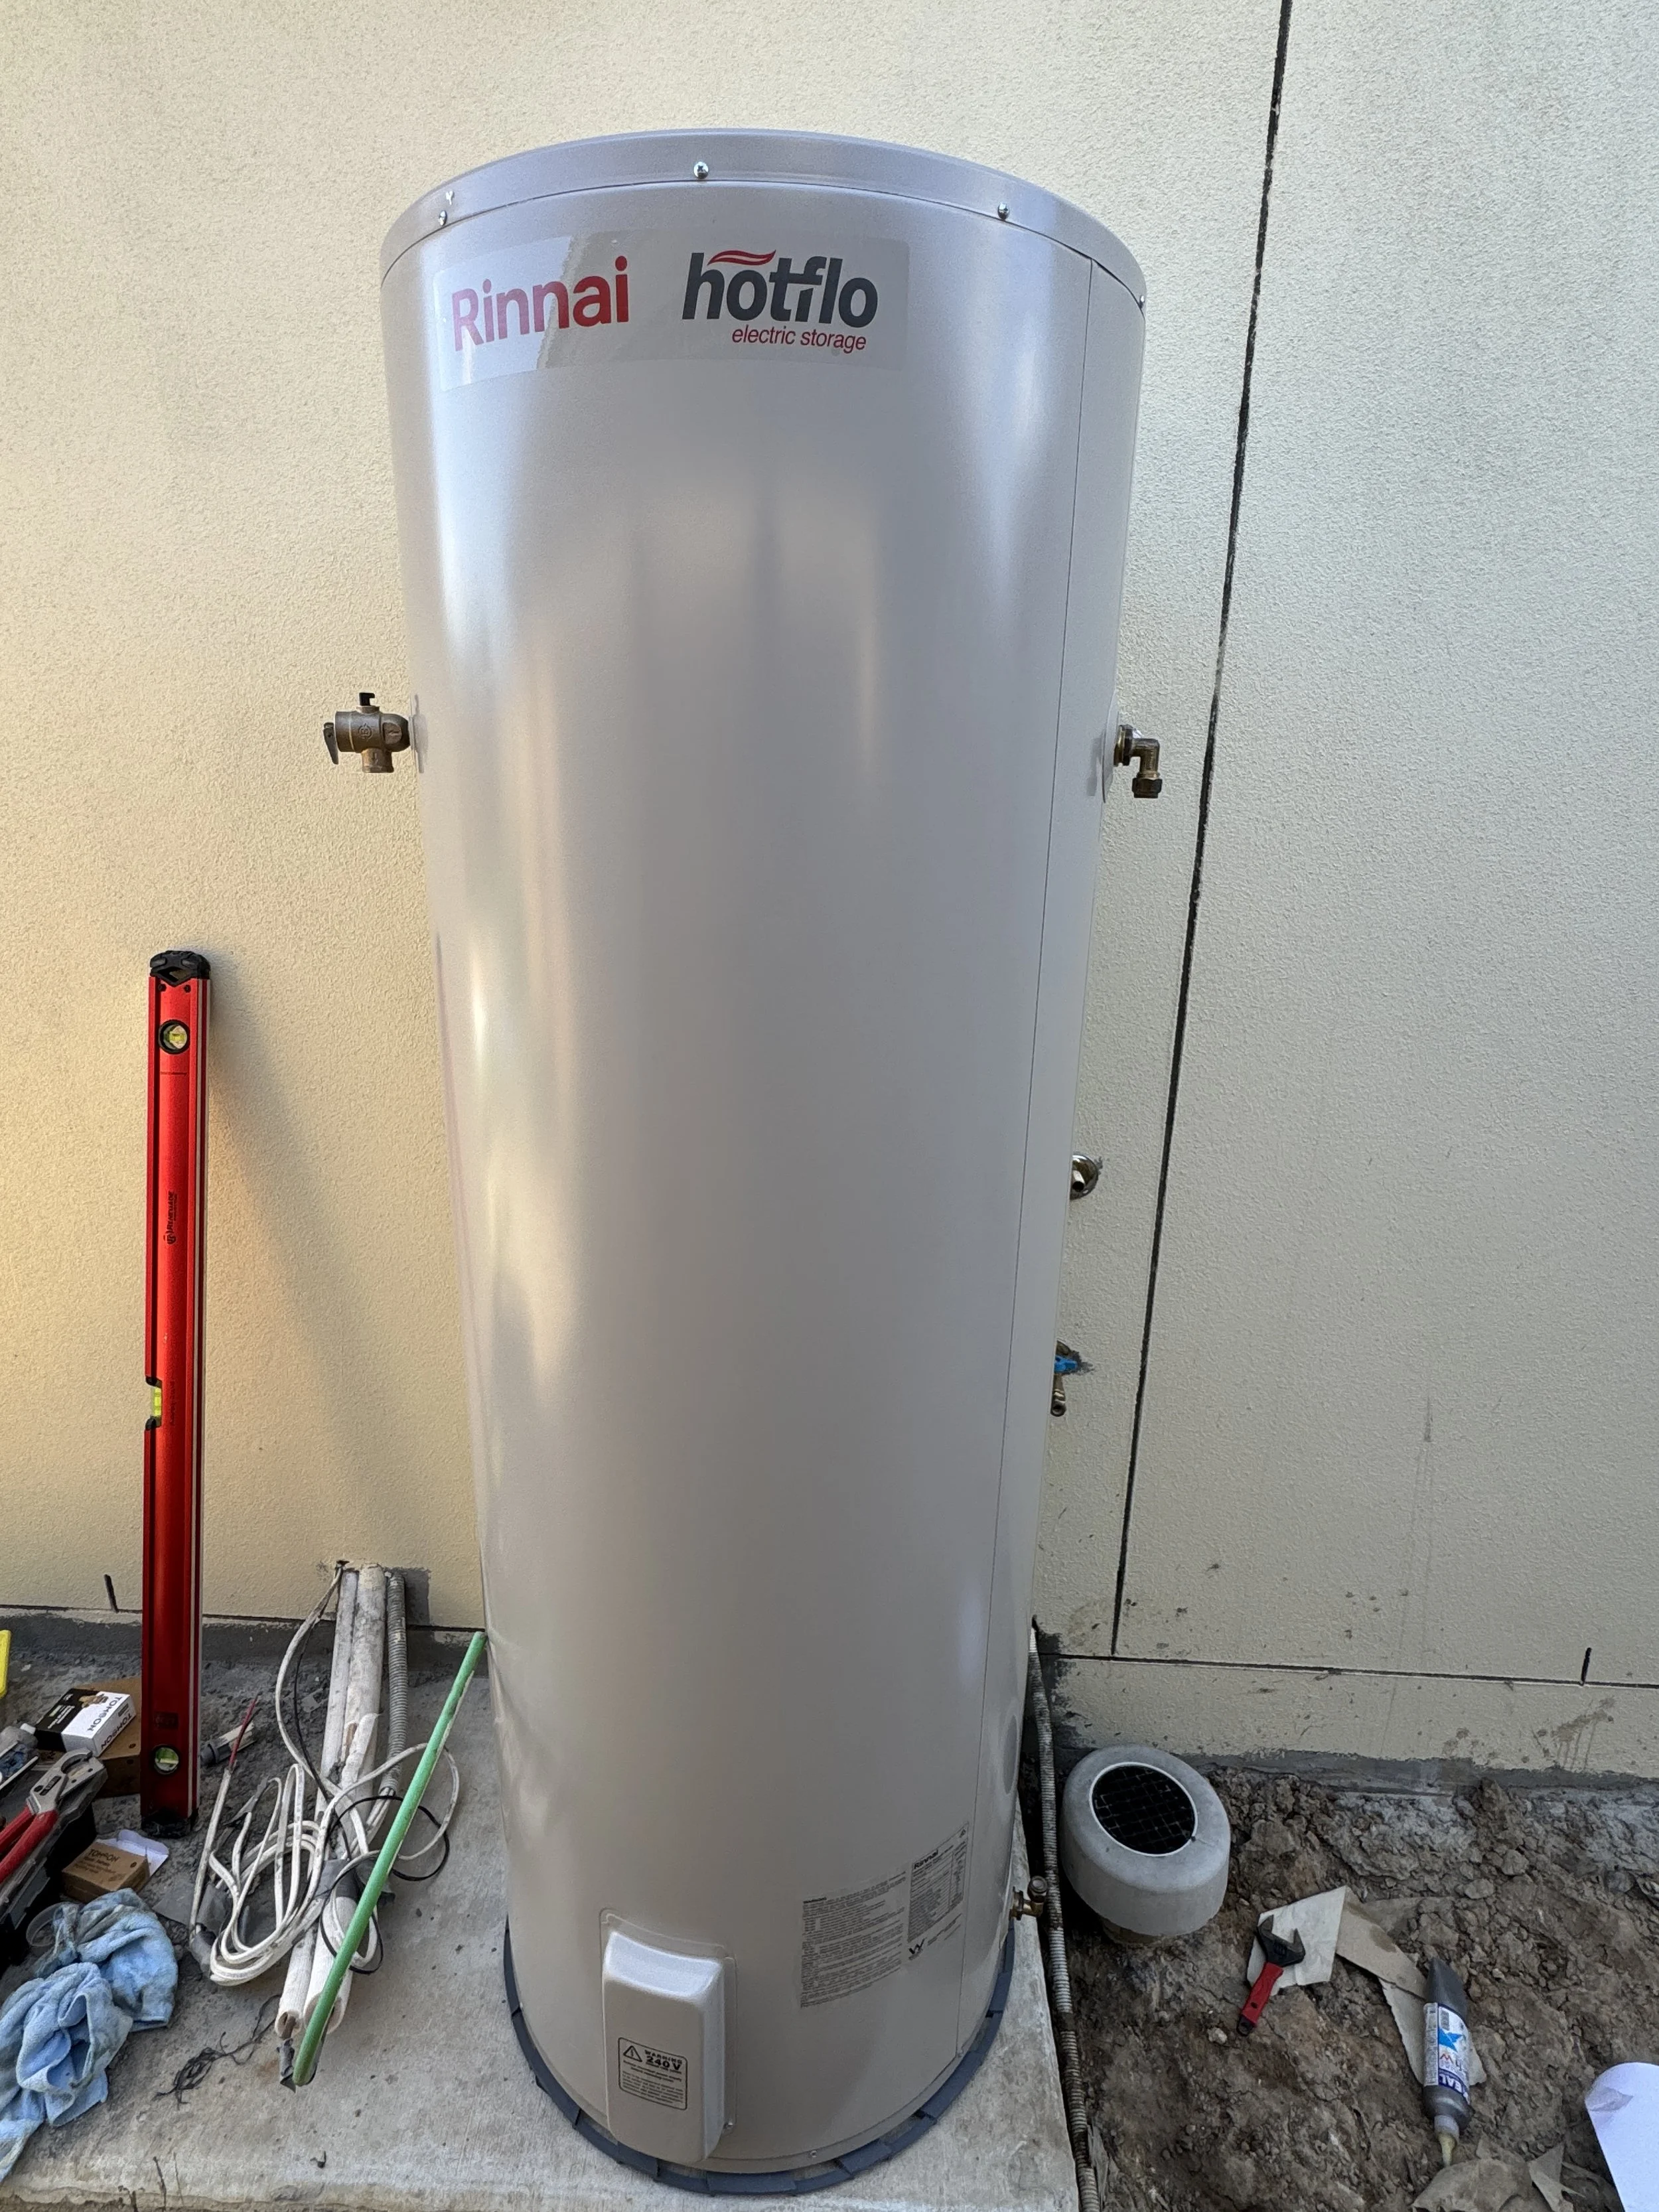
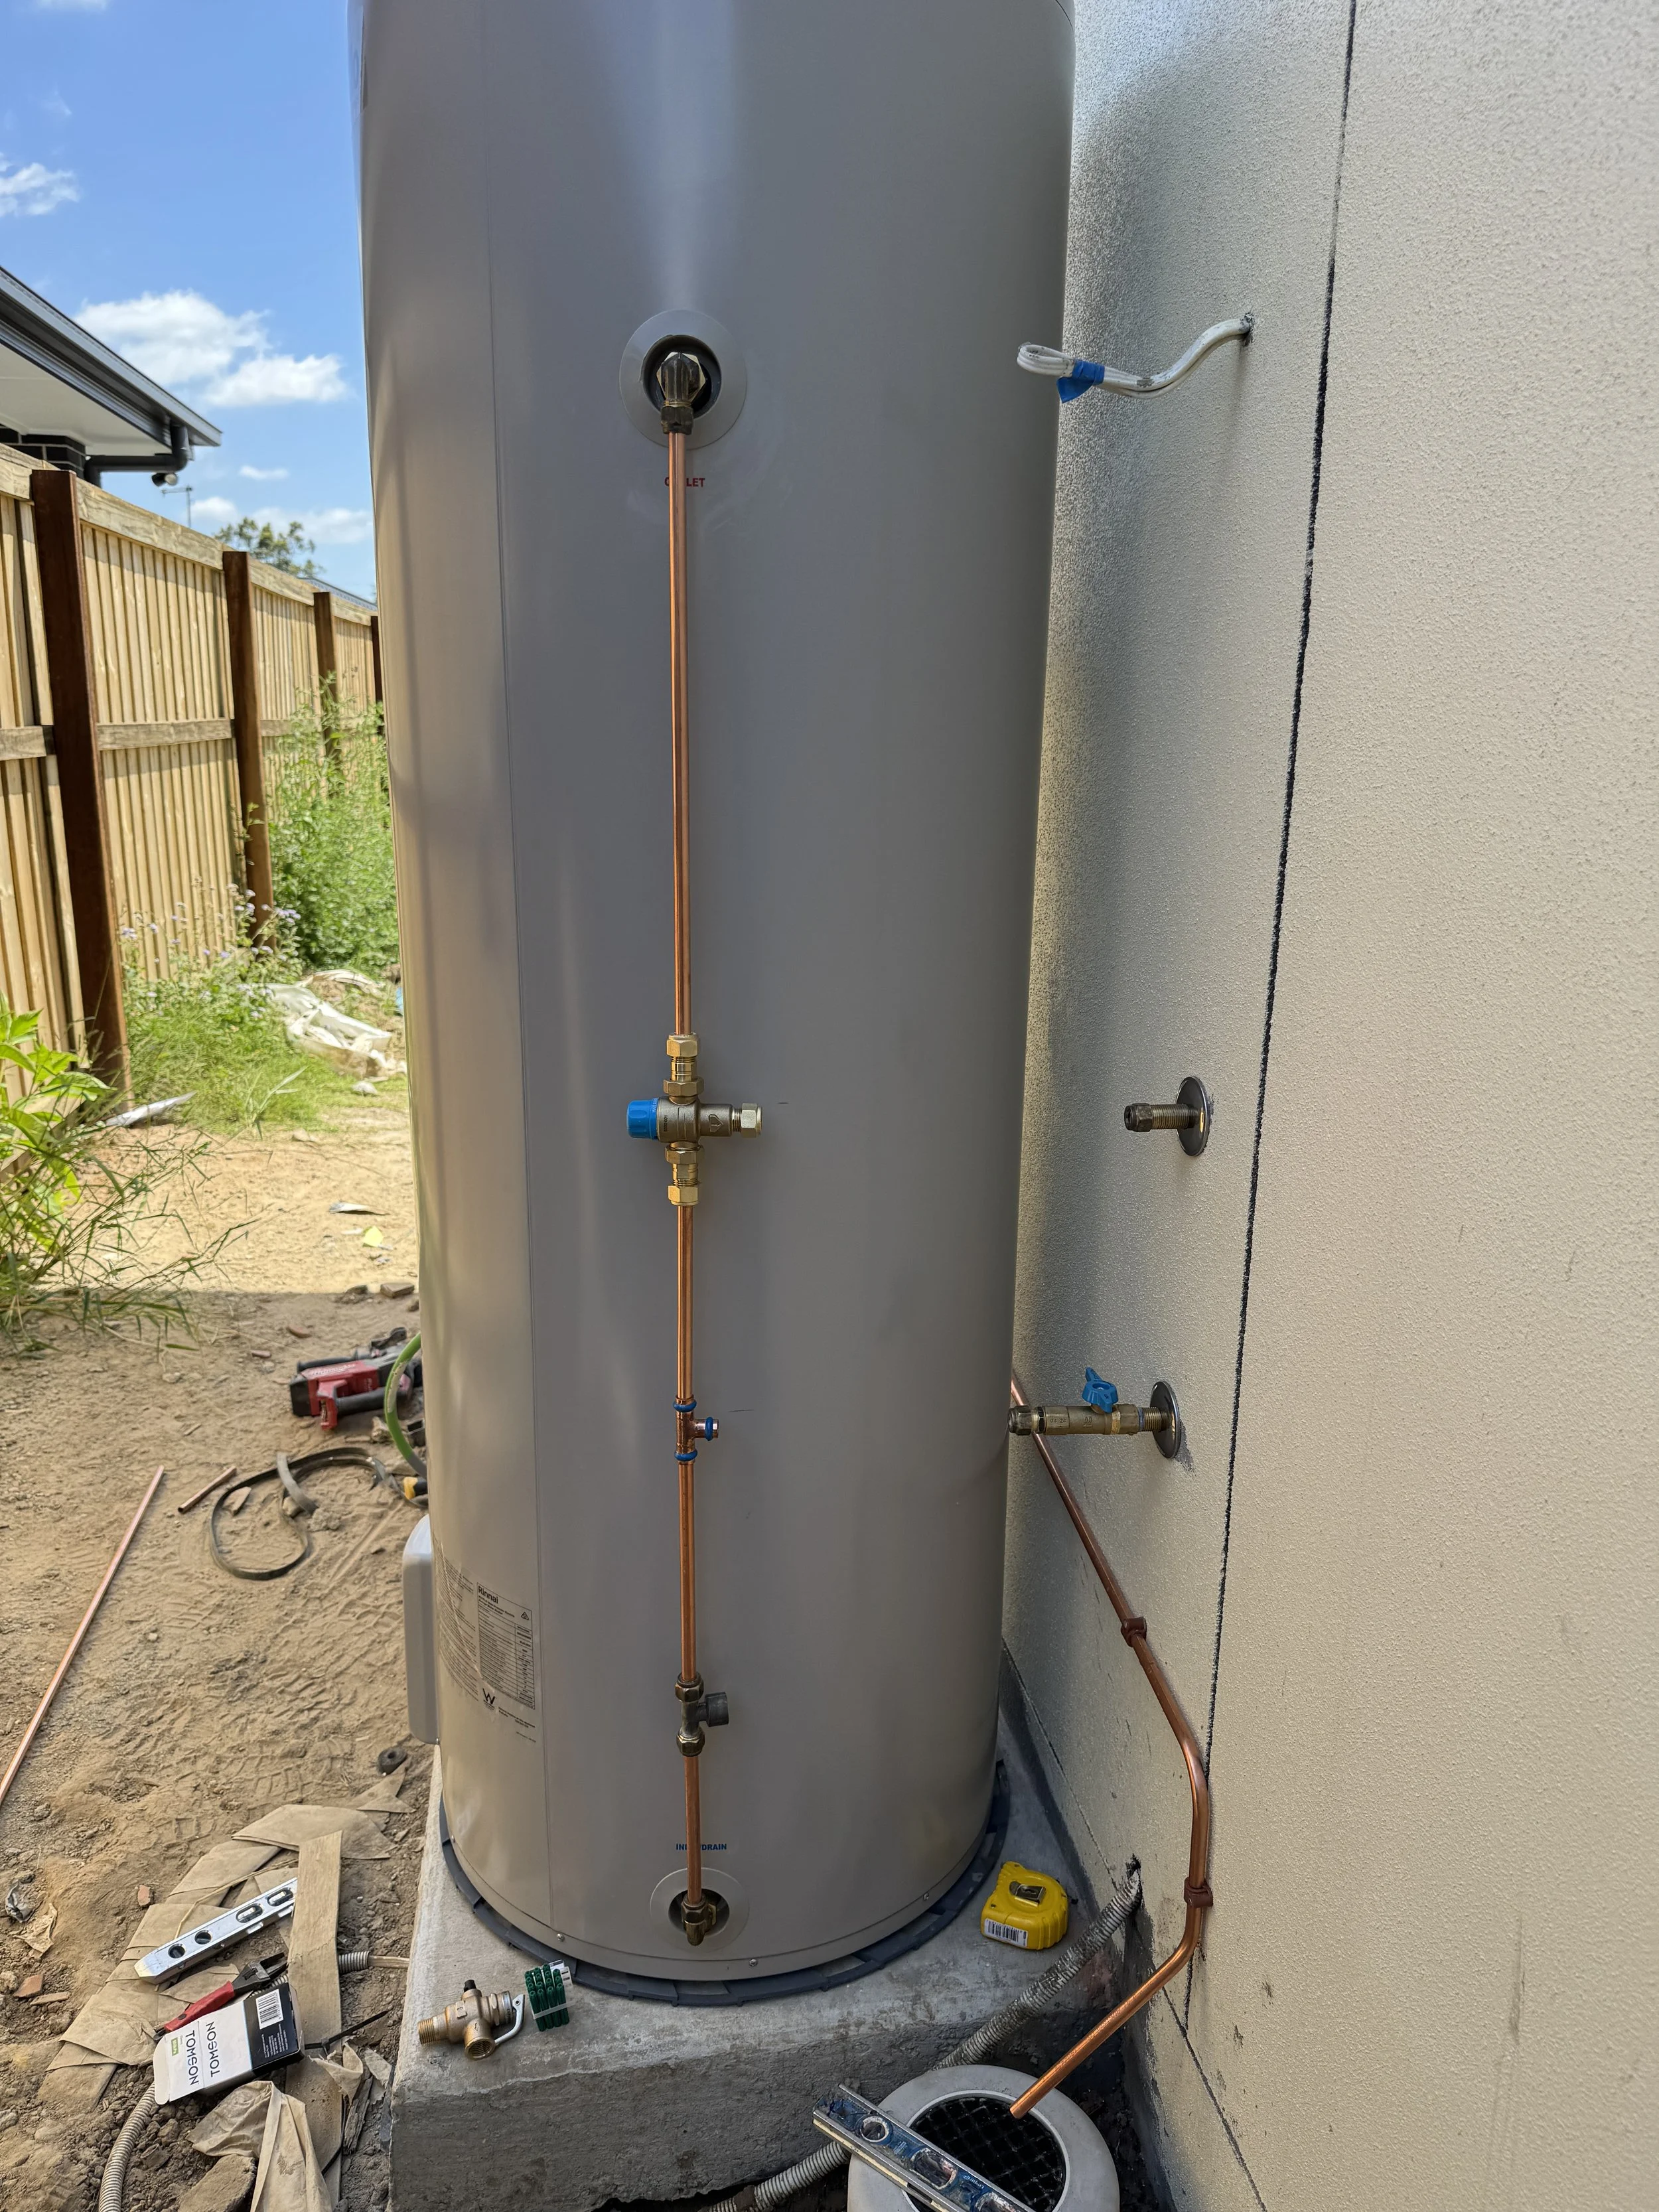
Put hot water system into place making sure that the electrical box has clear access for the sparkies or for future maintenance.
Make sure the hot water system is centred over the pizza base. Equal amount of pizza base coming out from under the hottie.
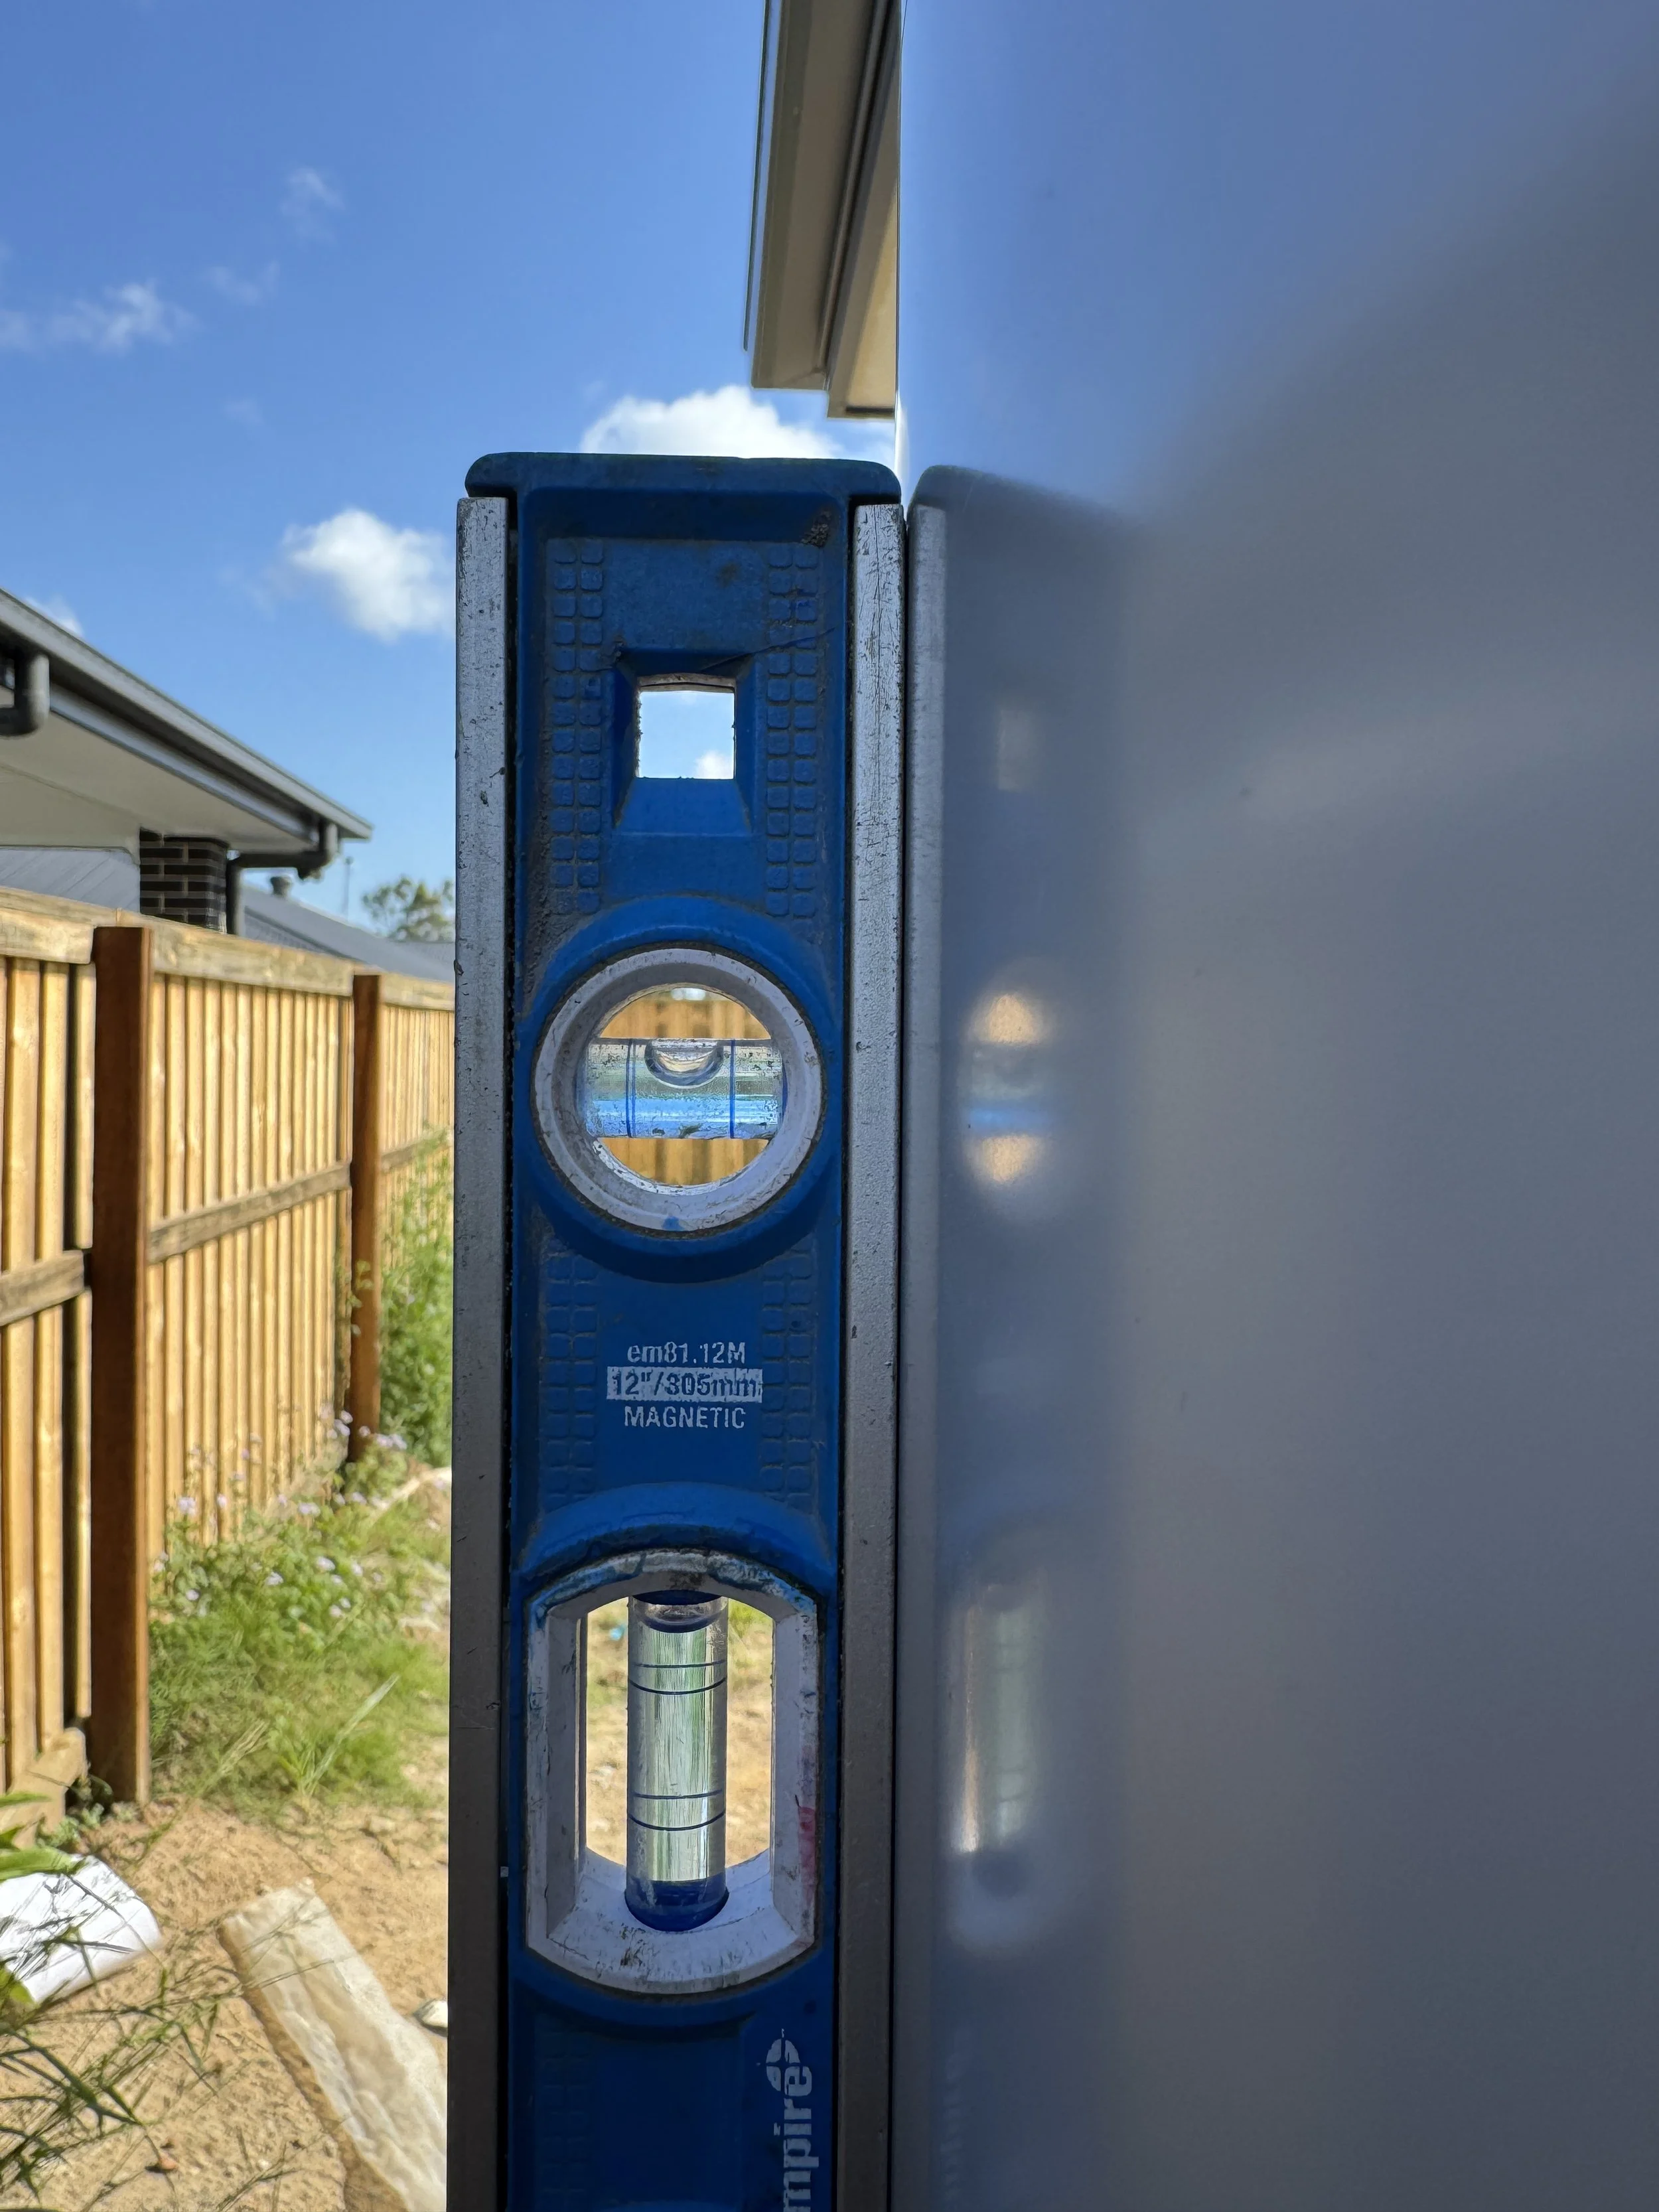
Double check the unit is level (a tiny bit off is okay)
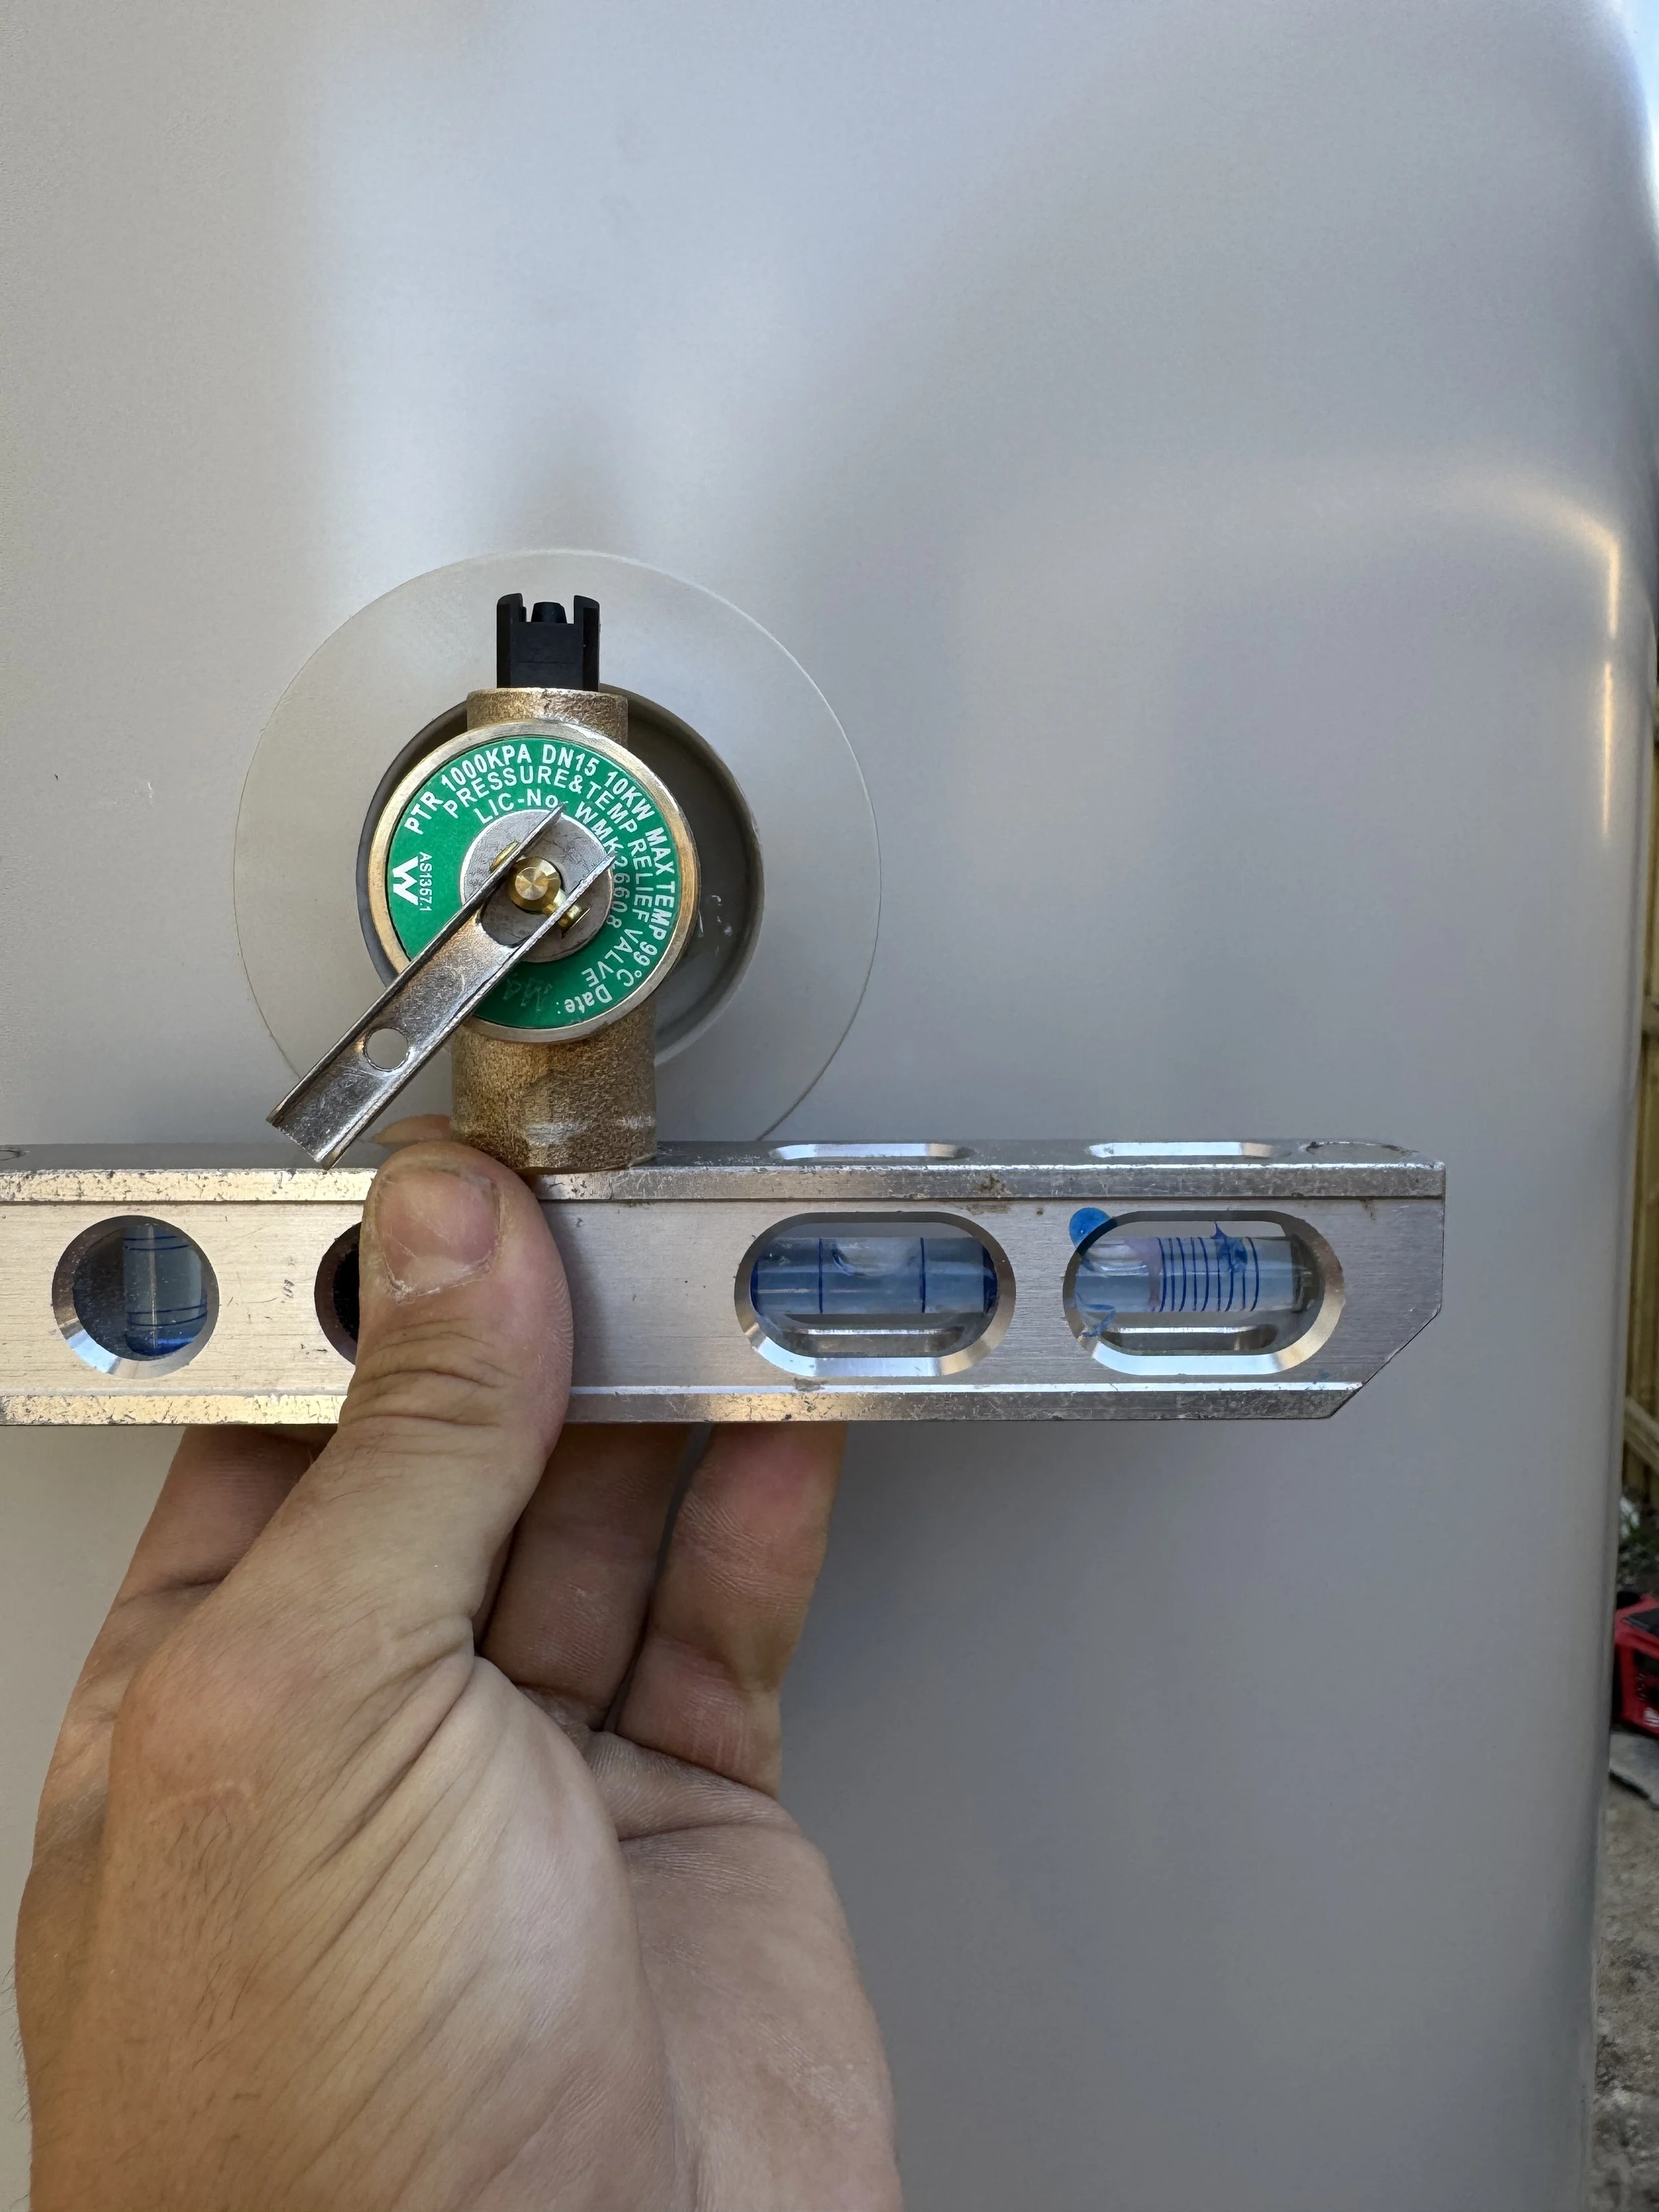
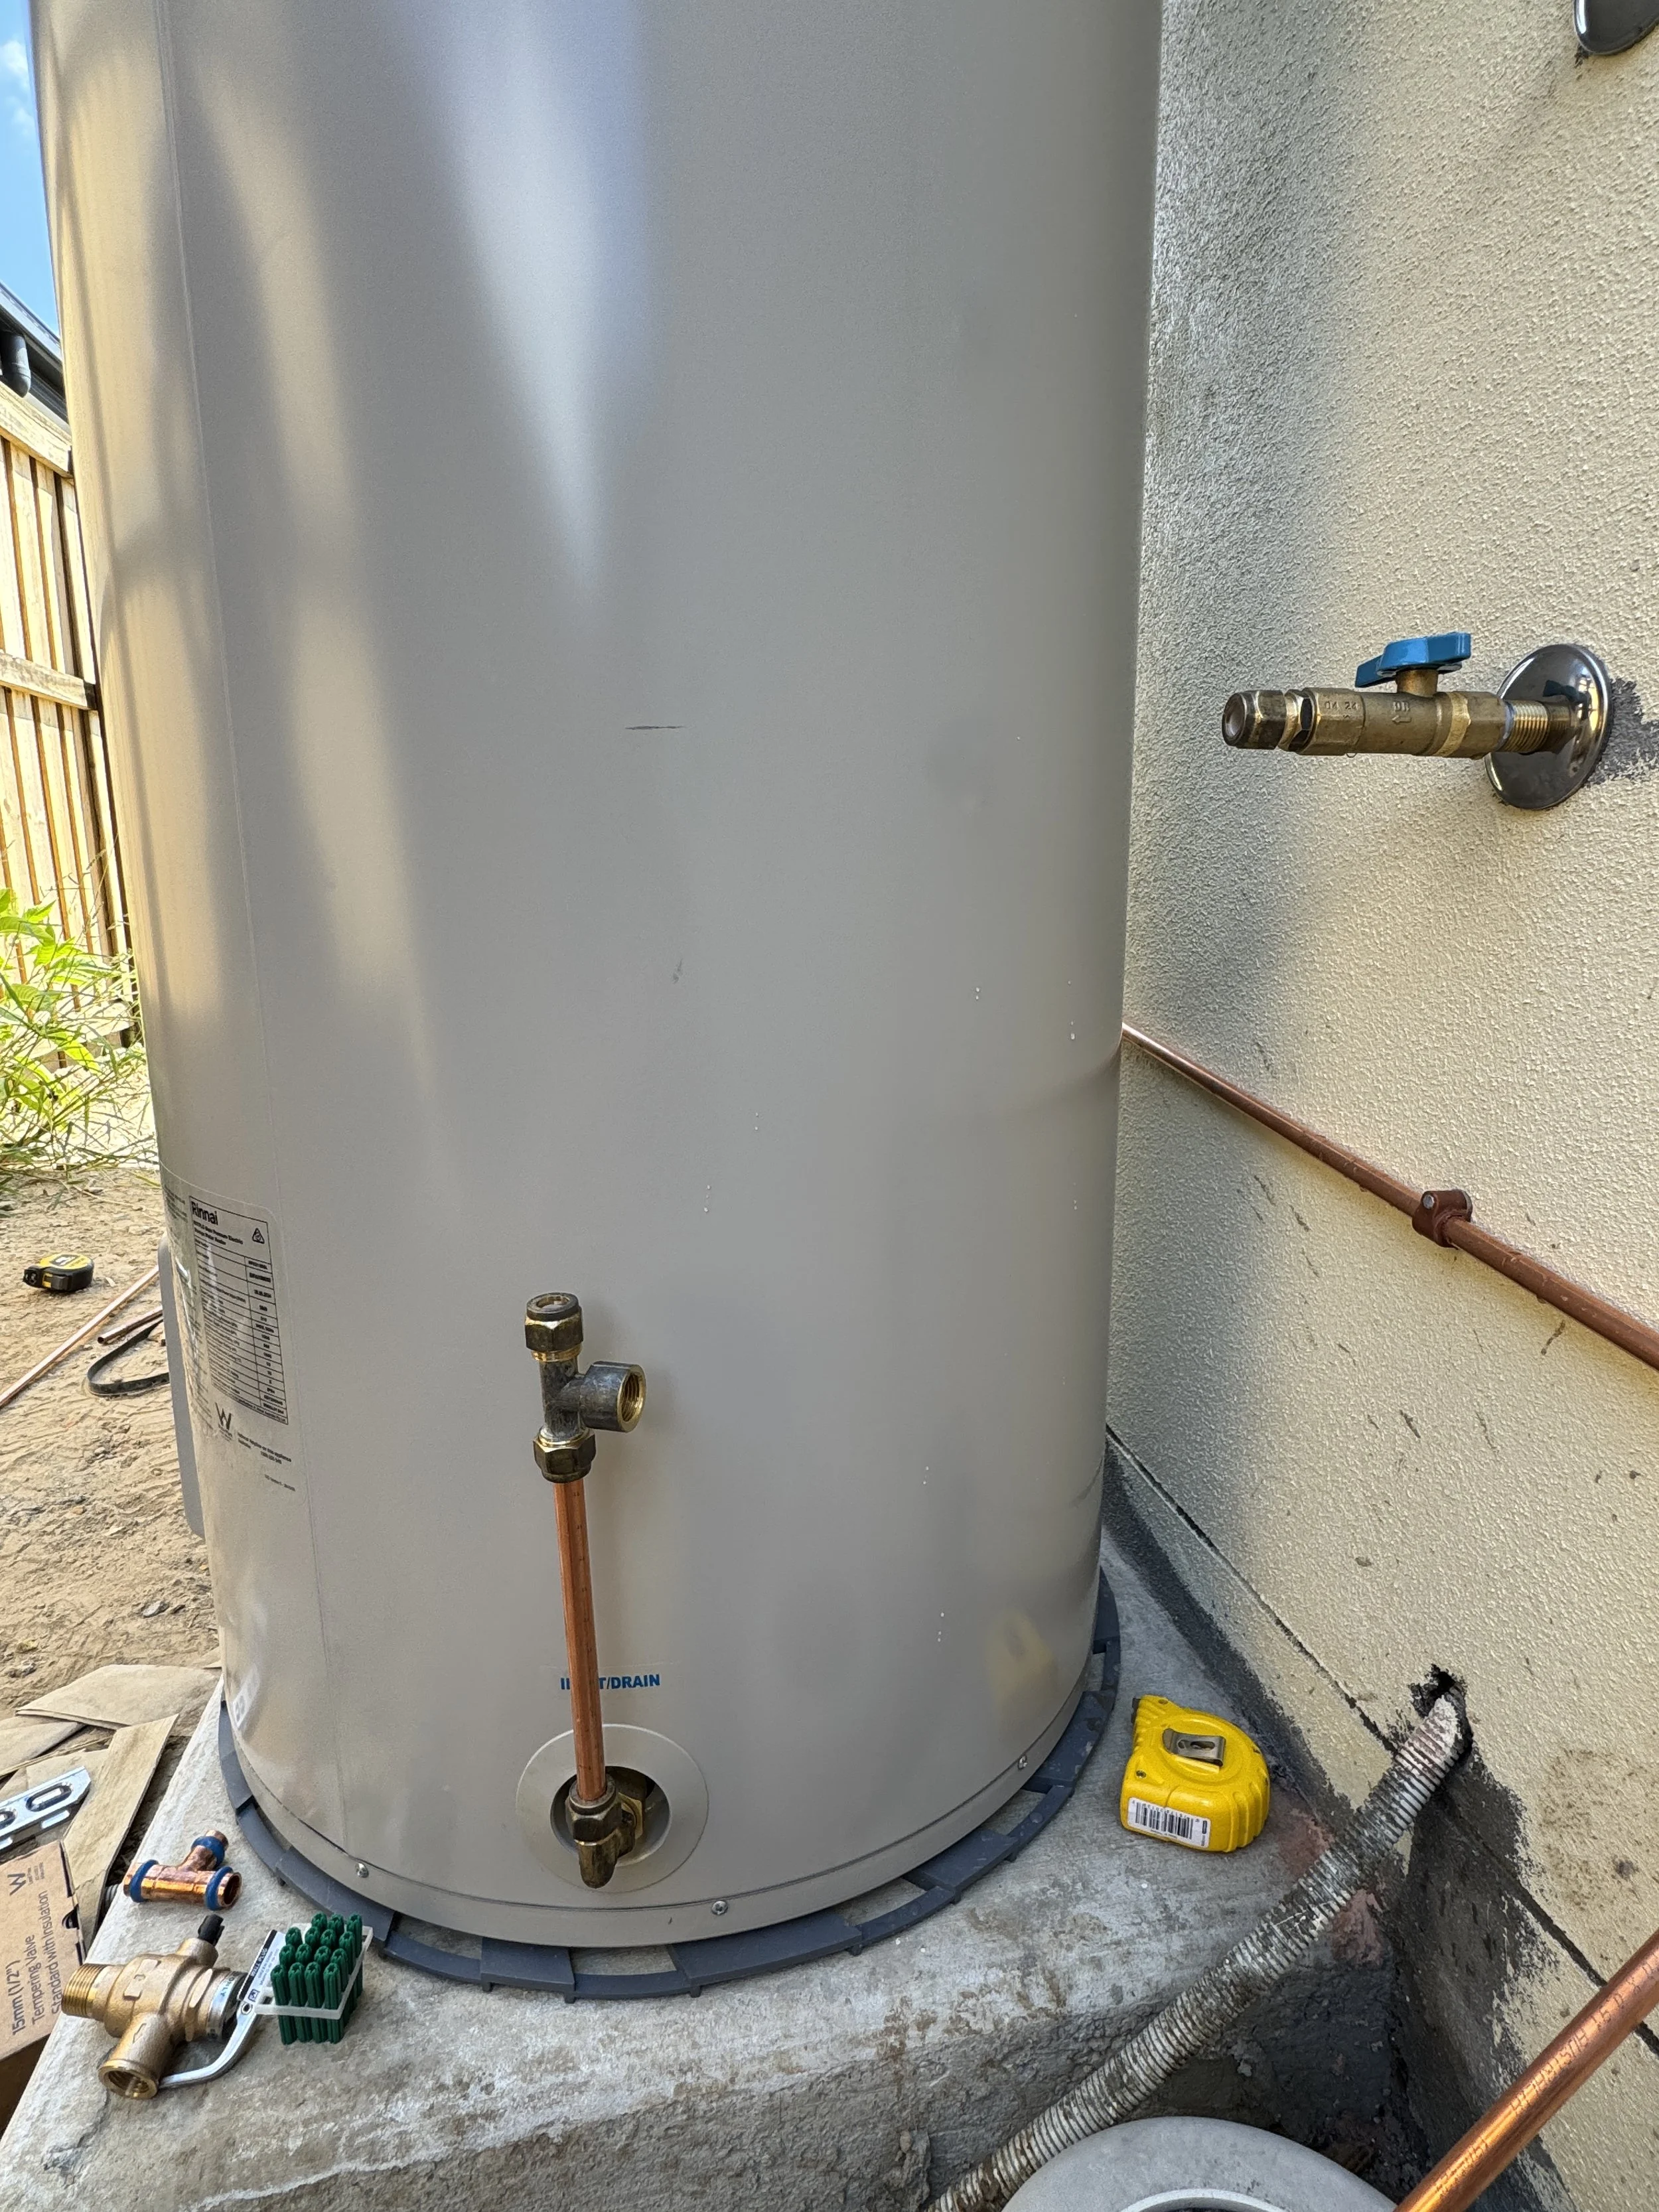
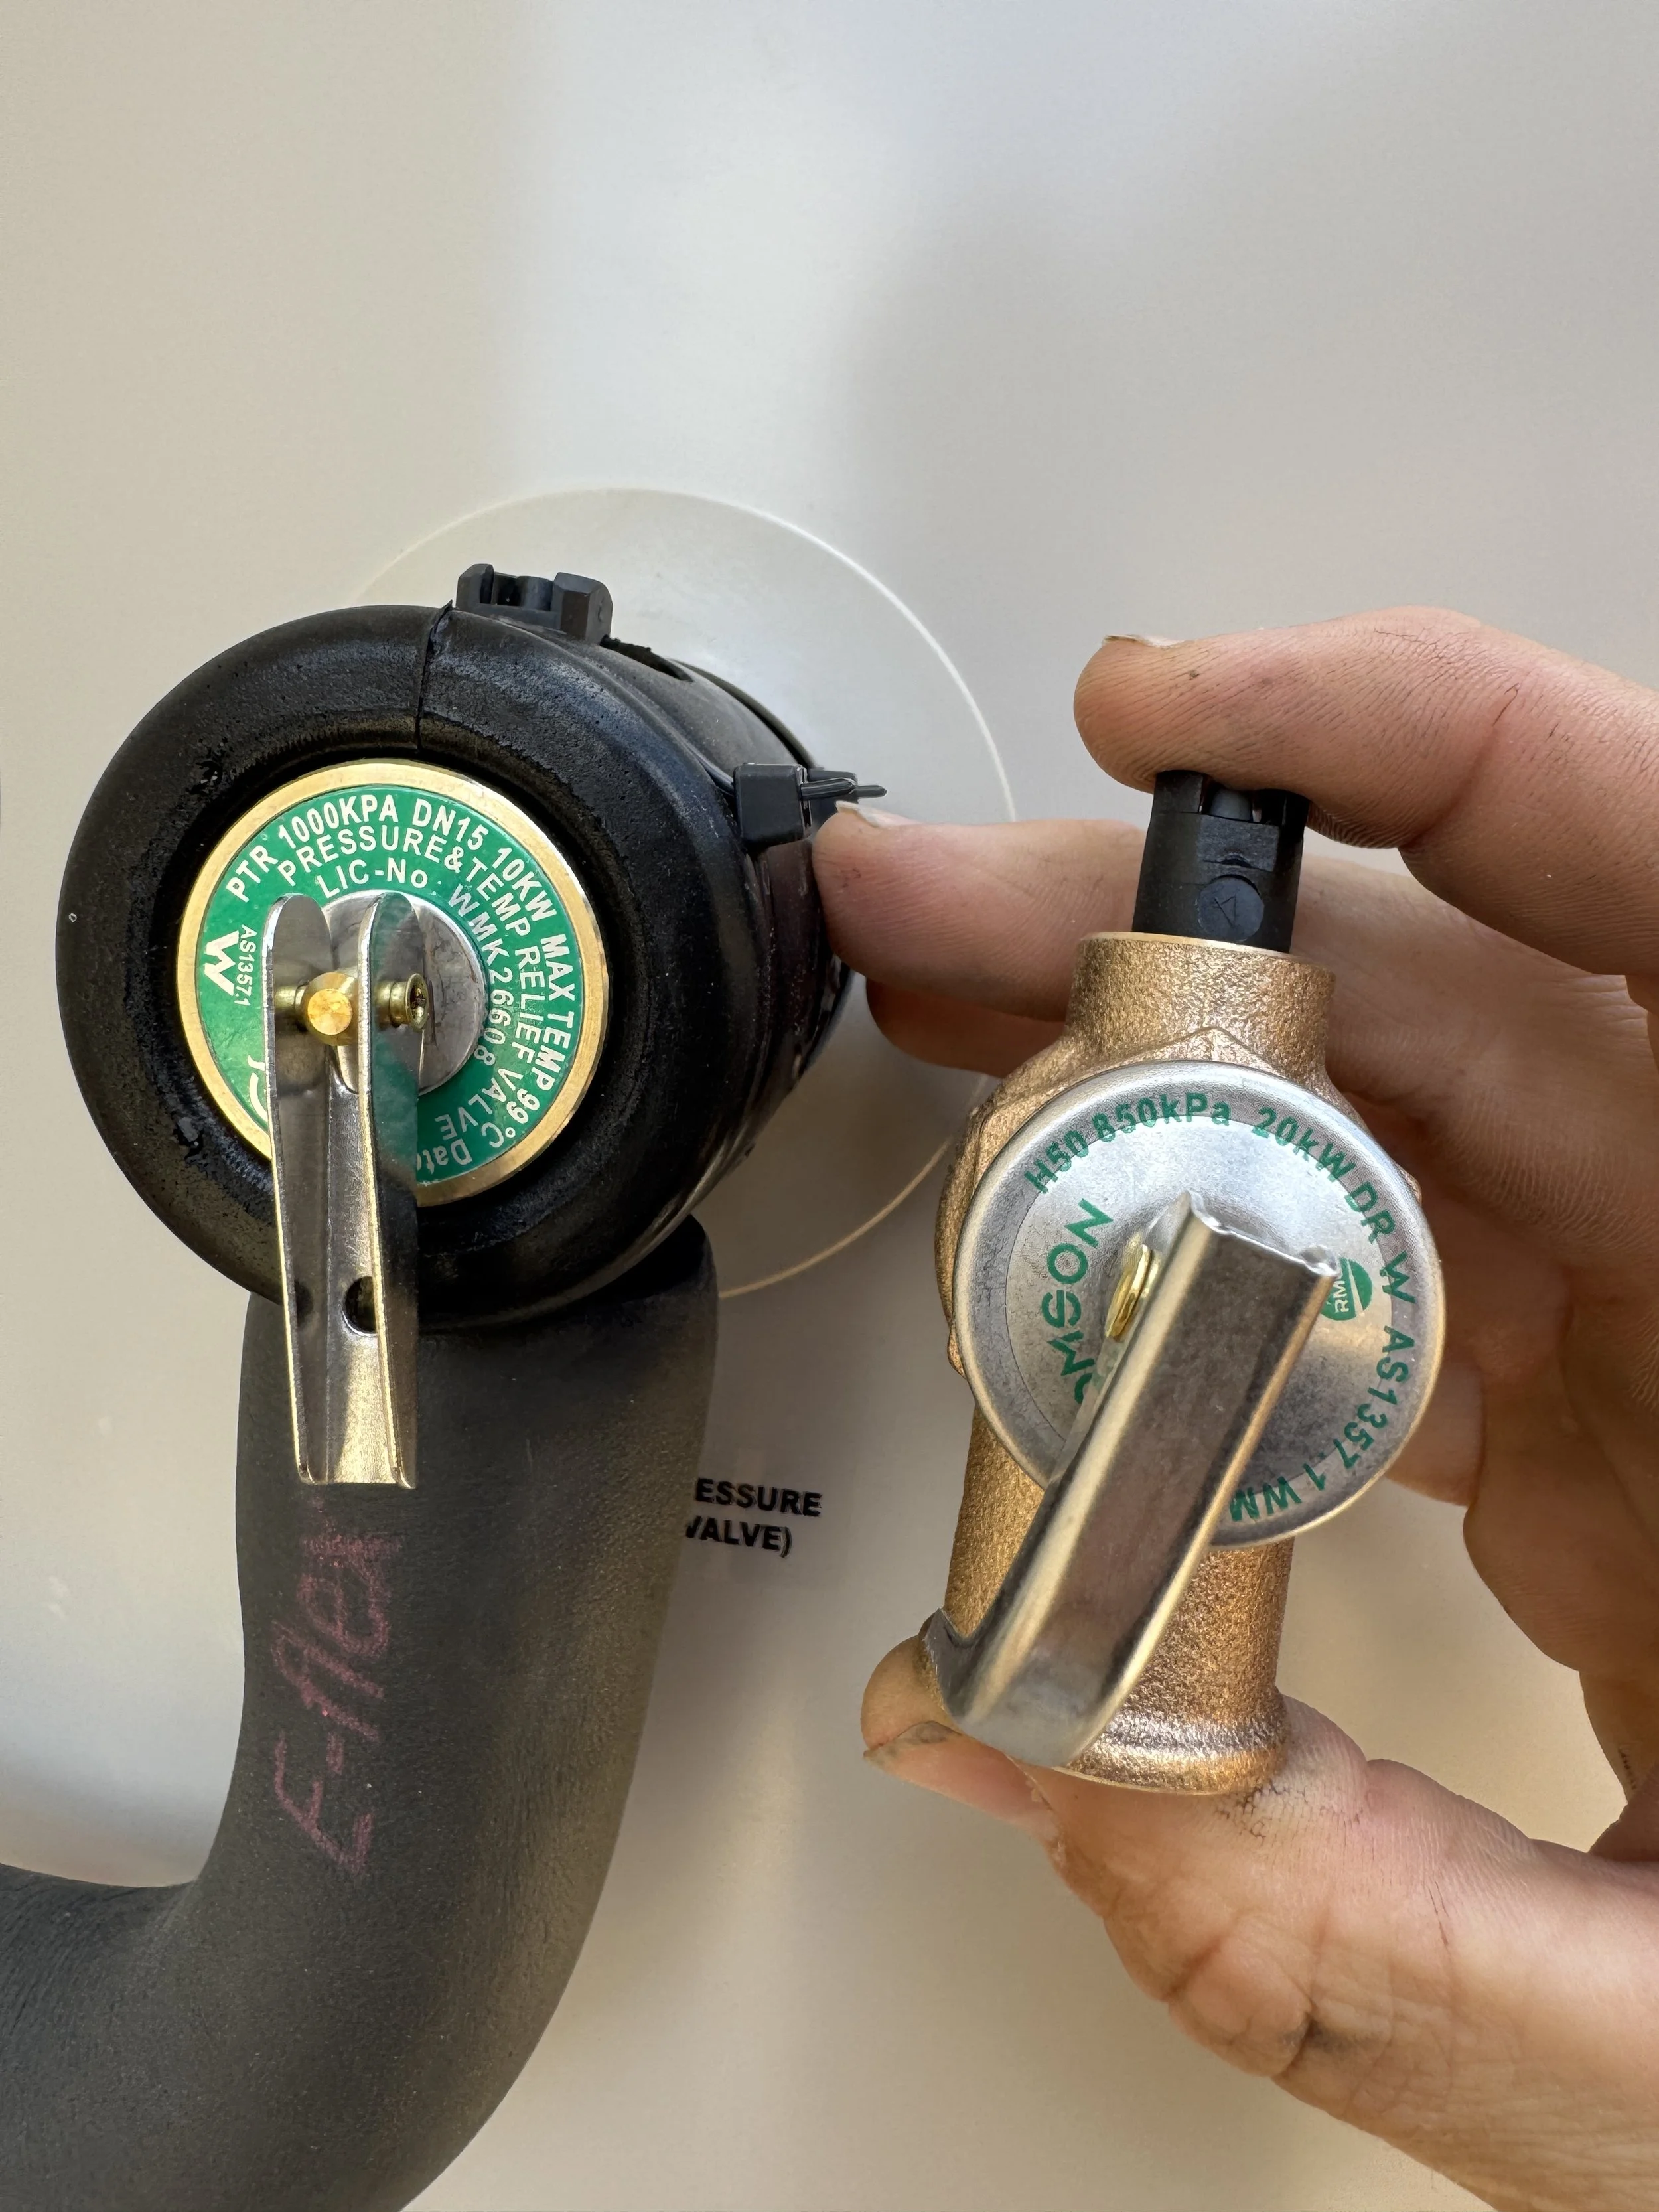
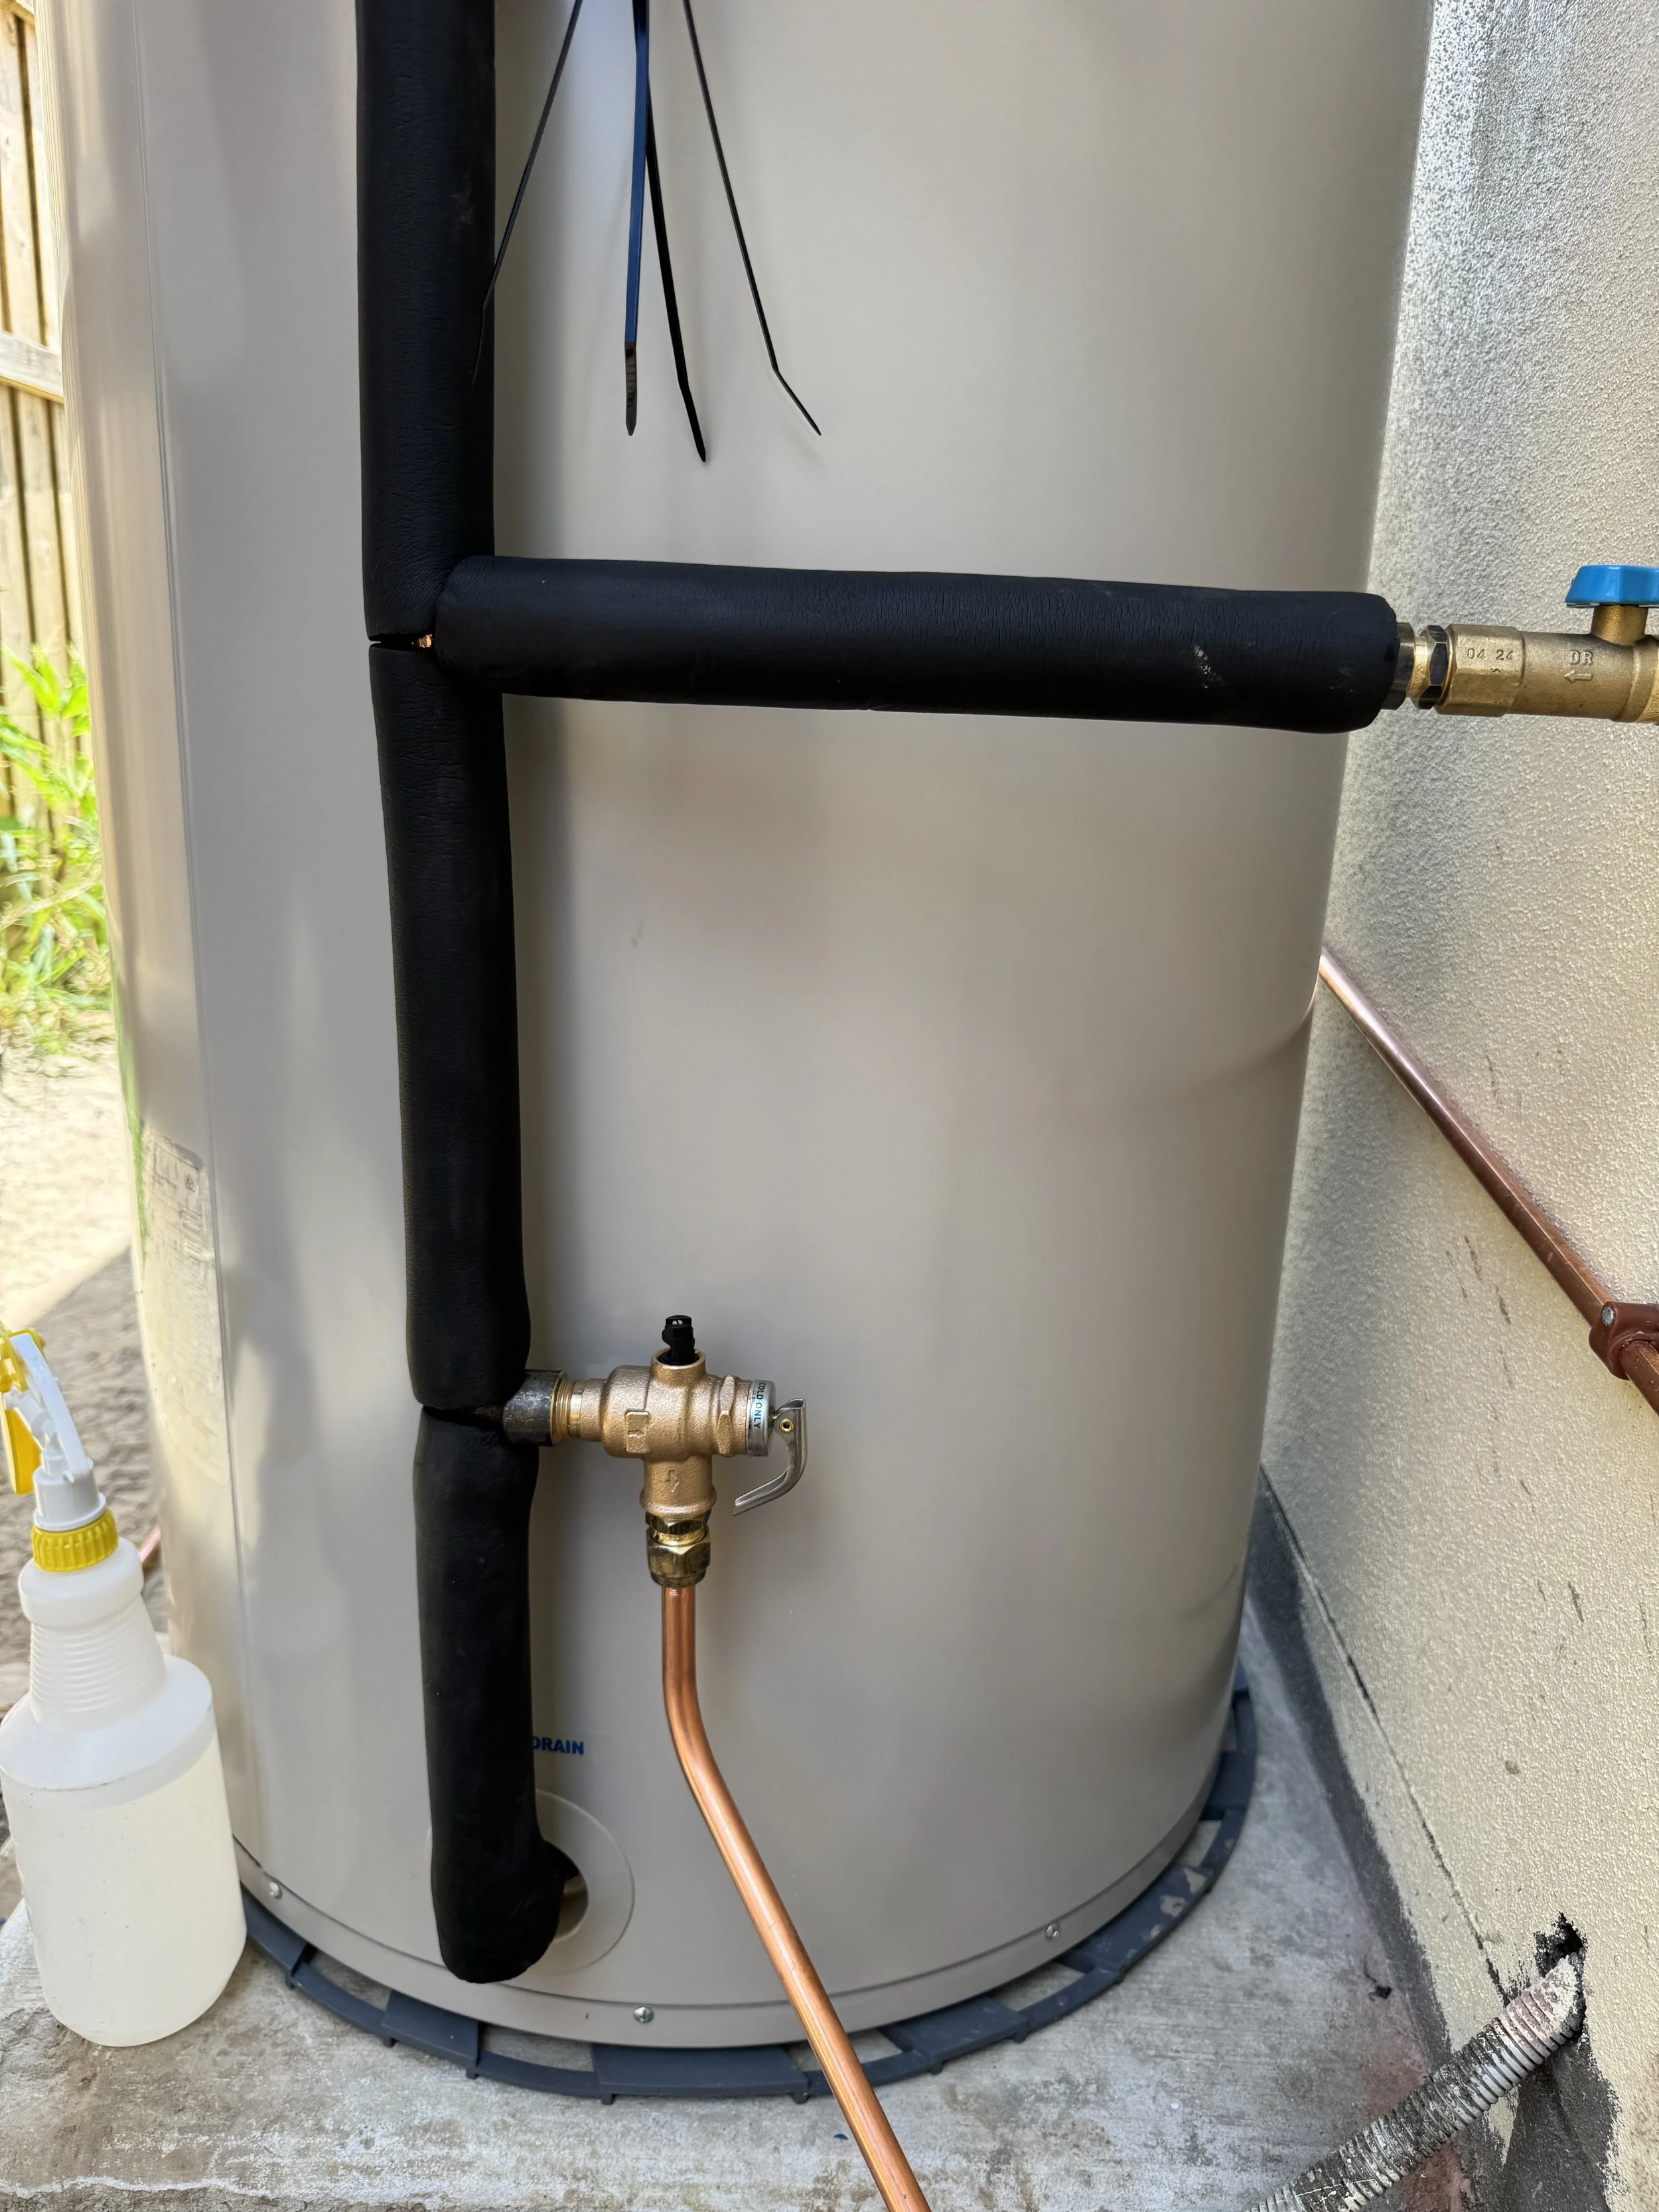
Loktite the TP&R (temperature & pressure relief valve) into place ensuring it is level. Wipe away any excess loktite.
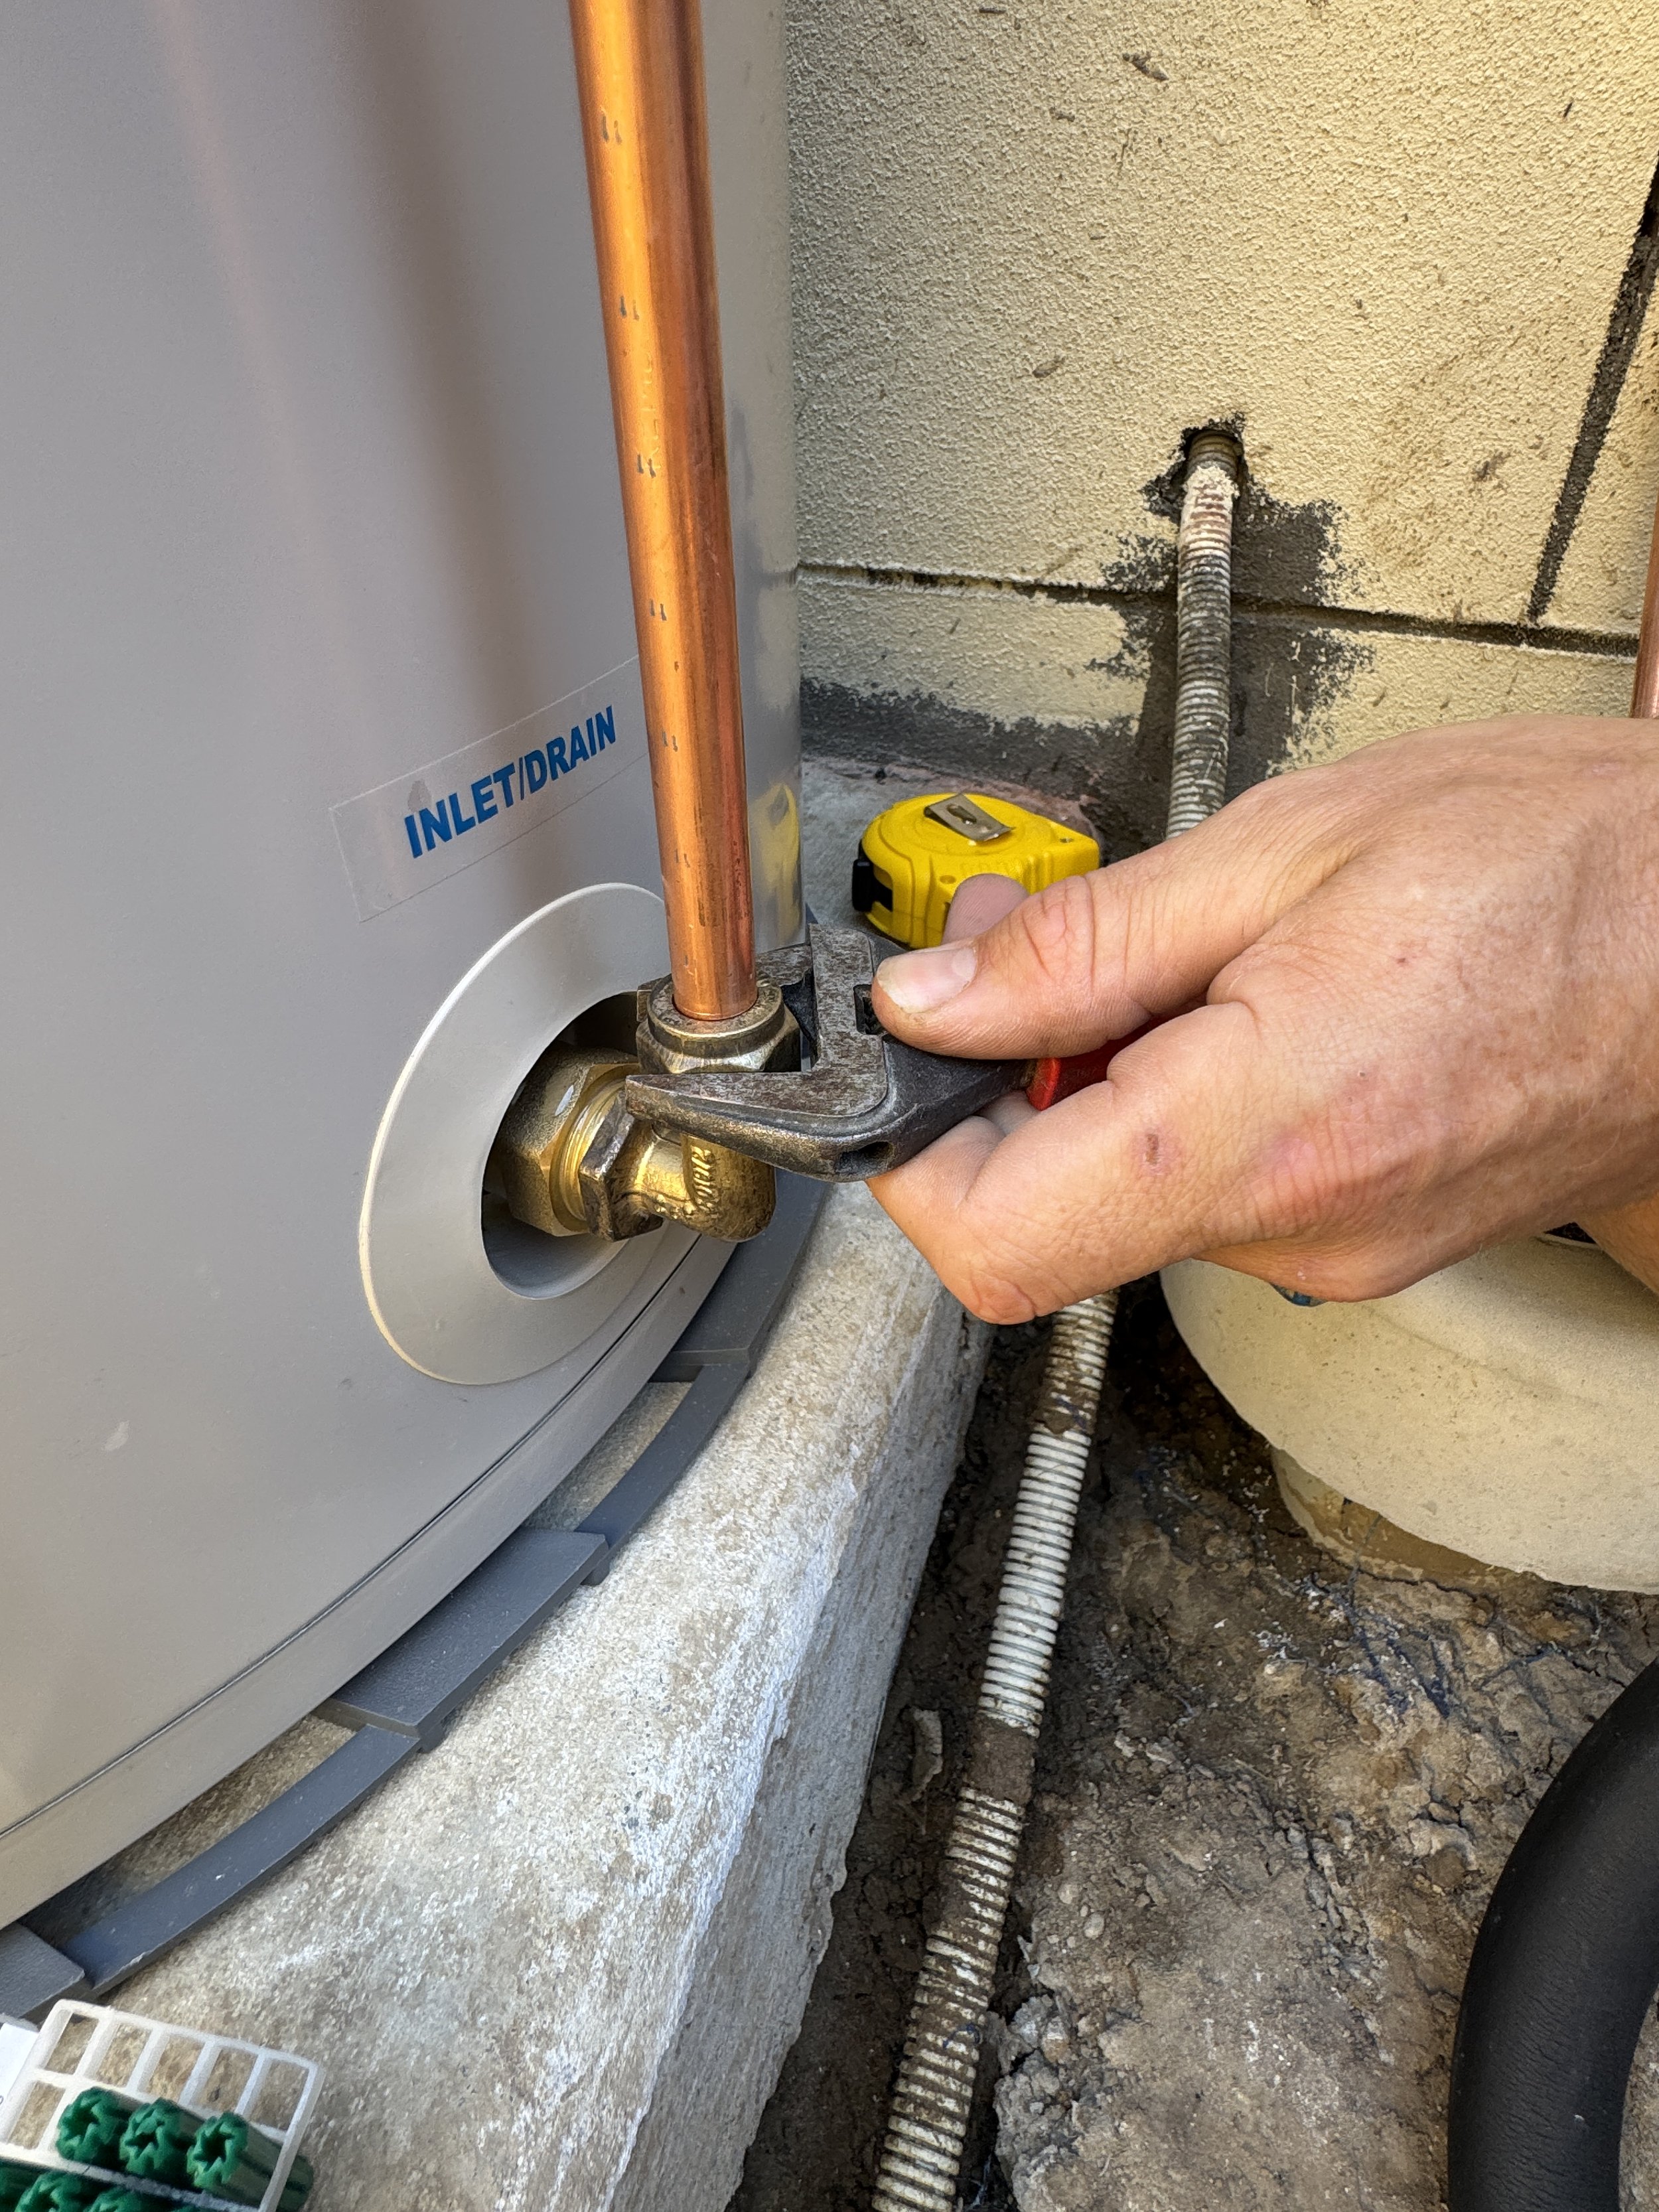
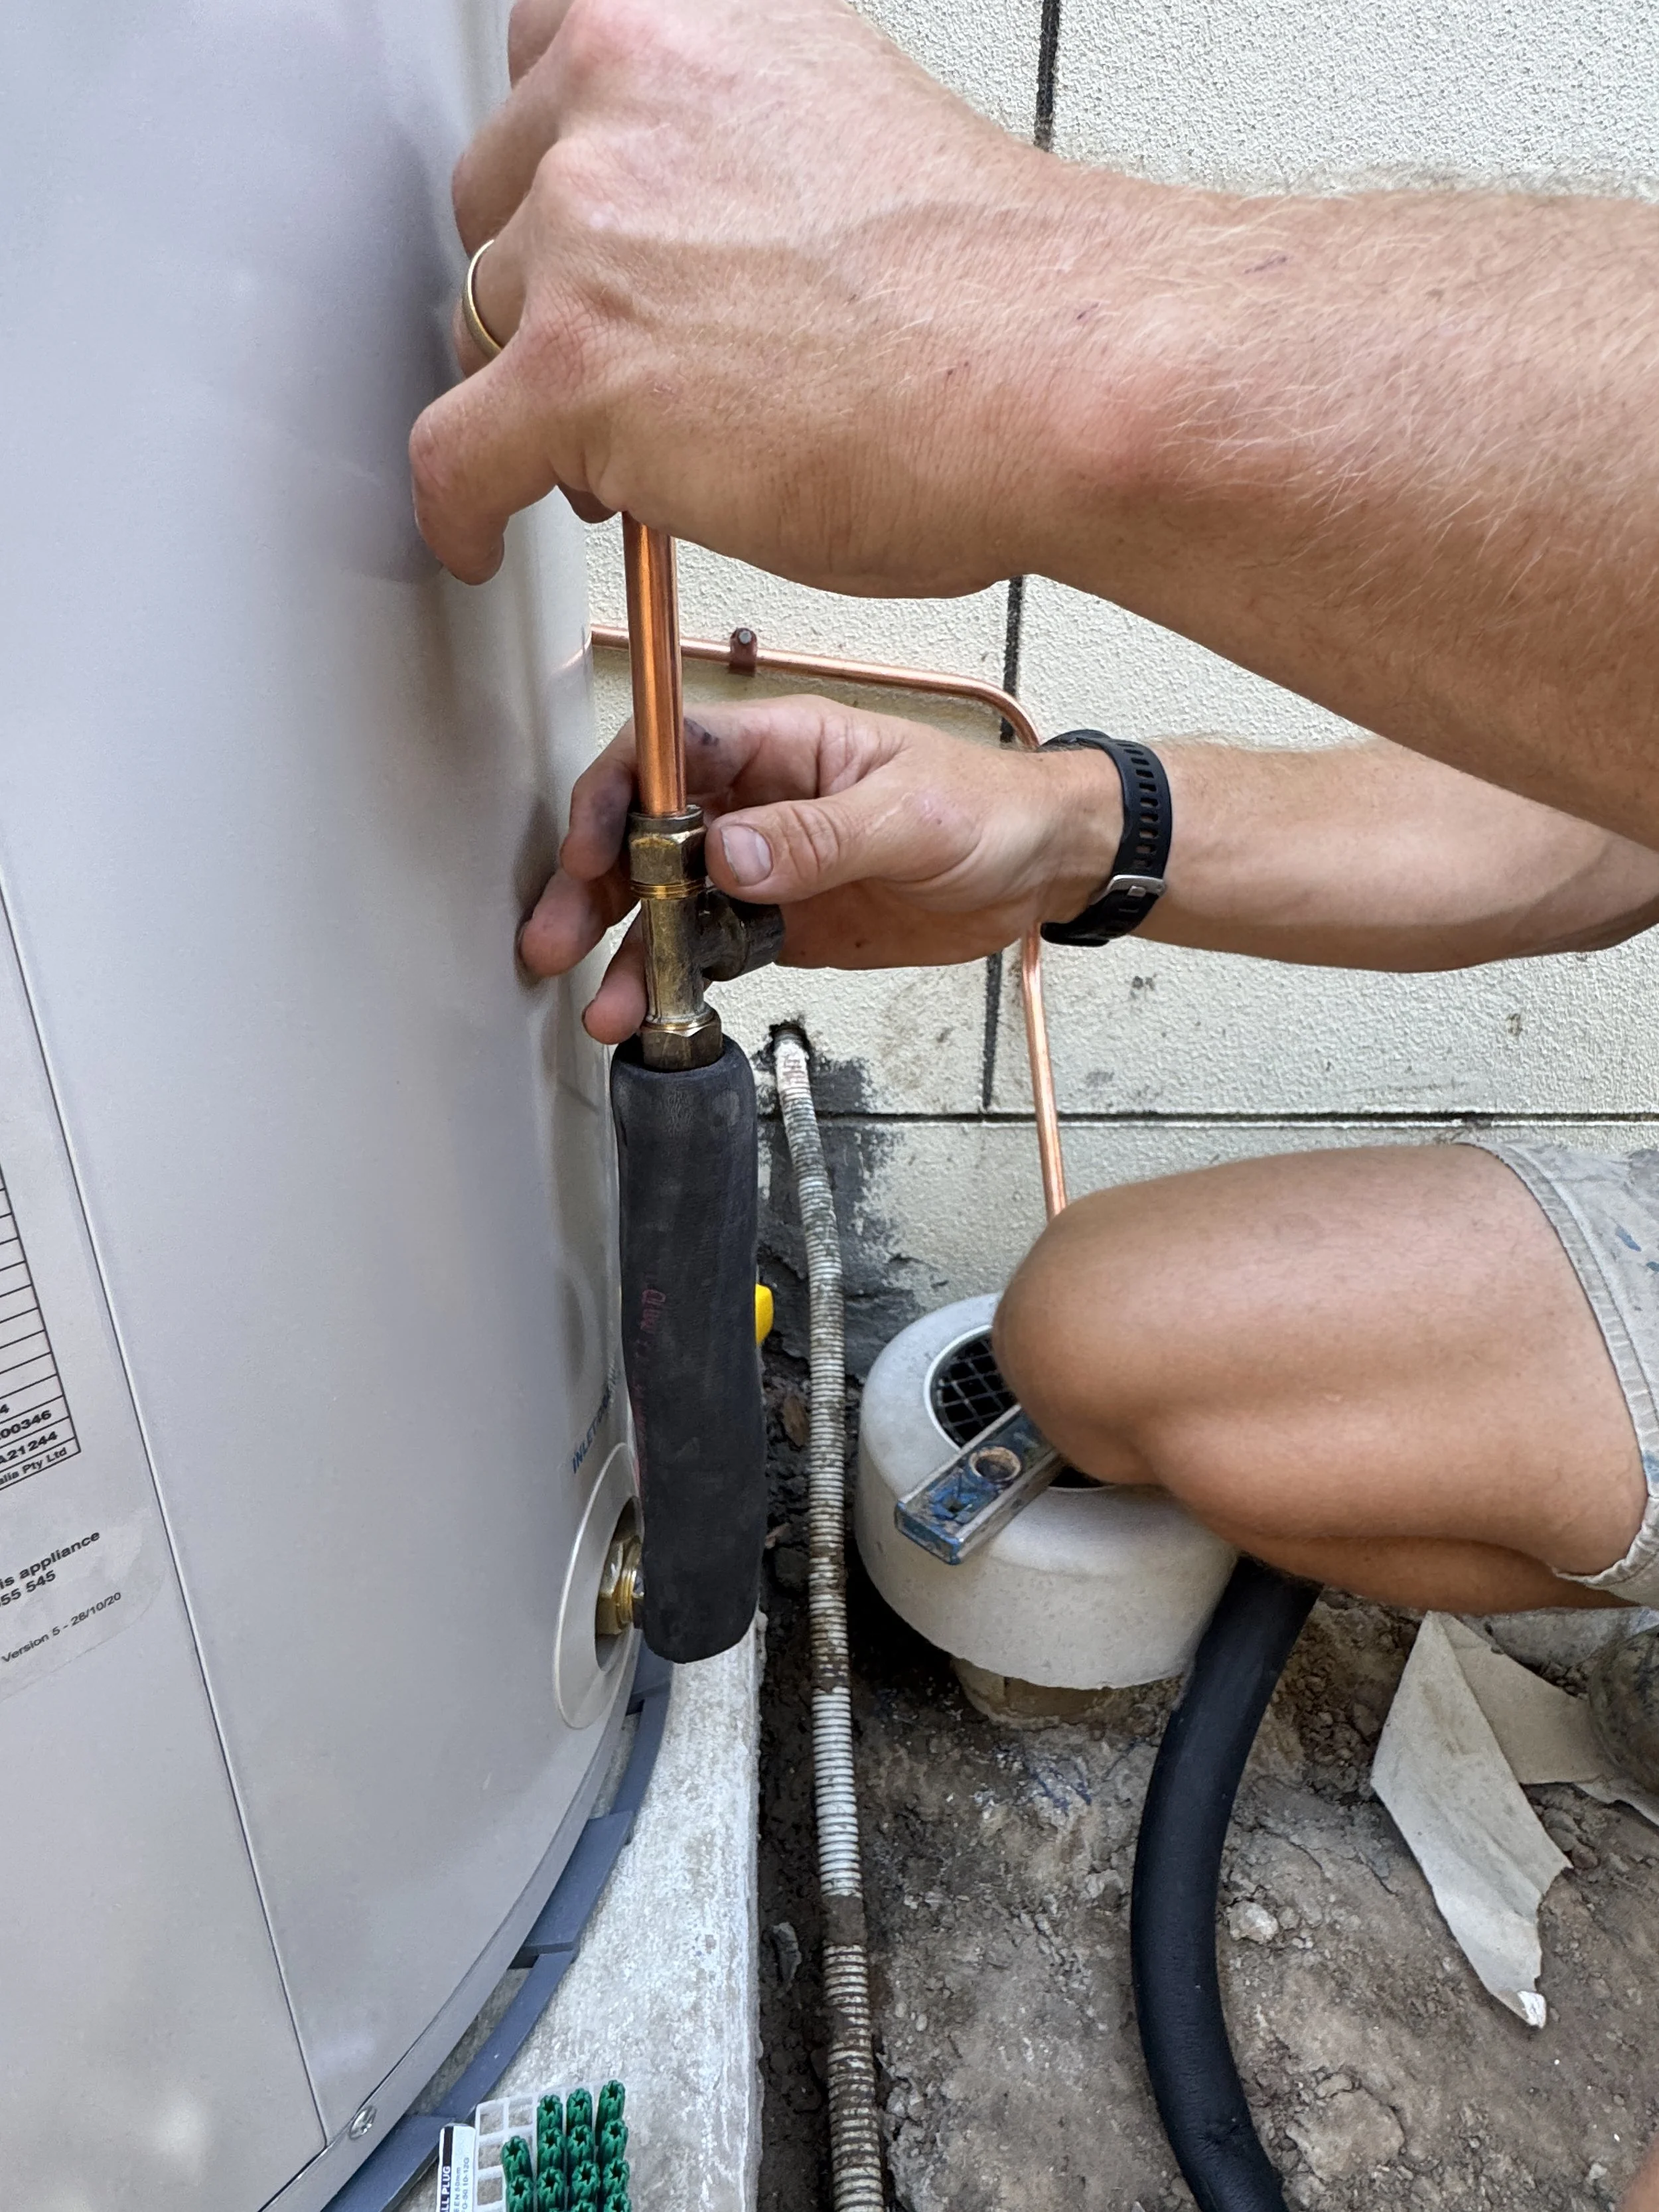
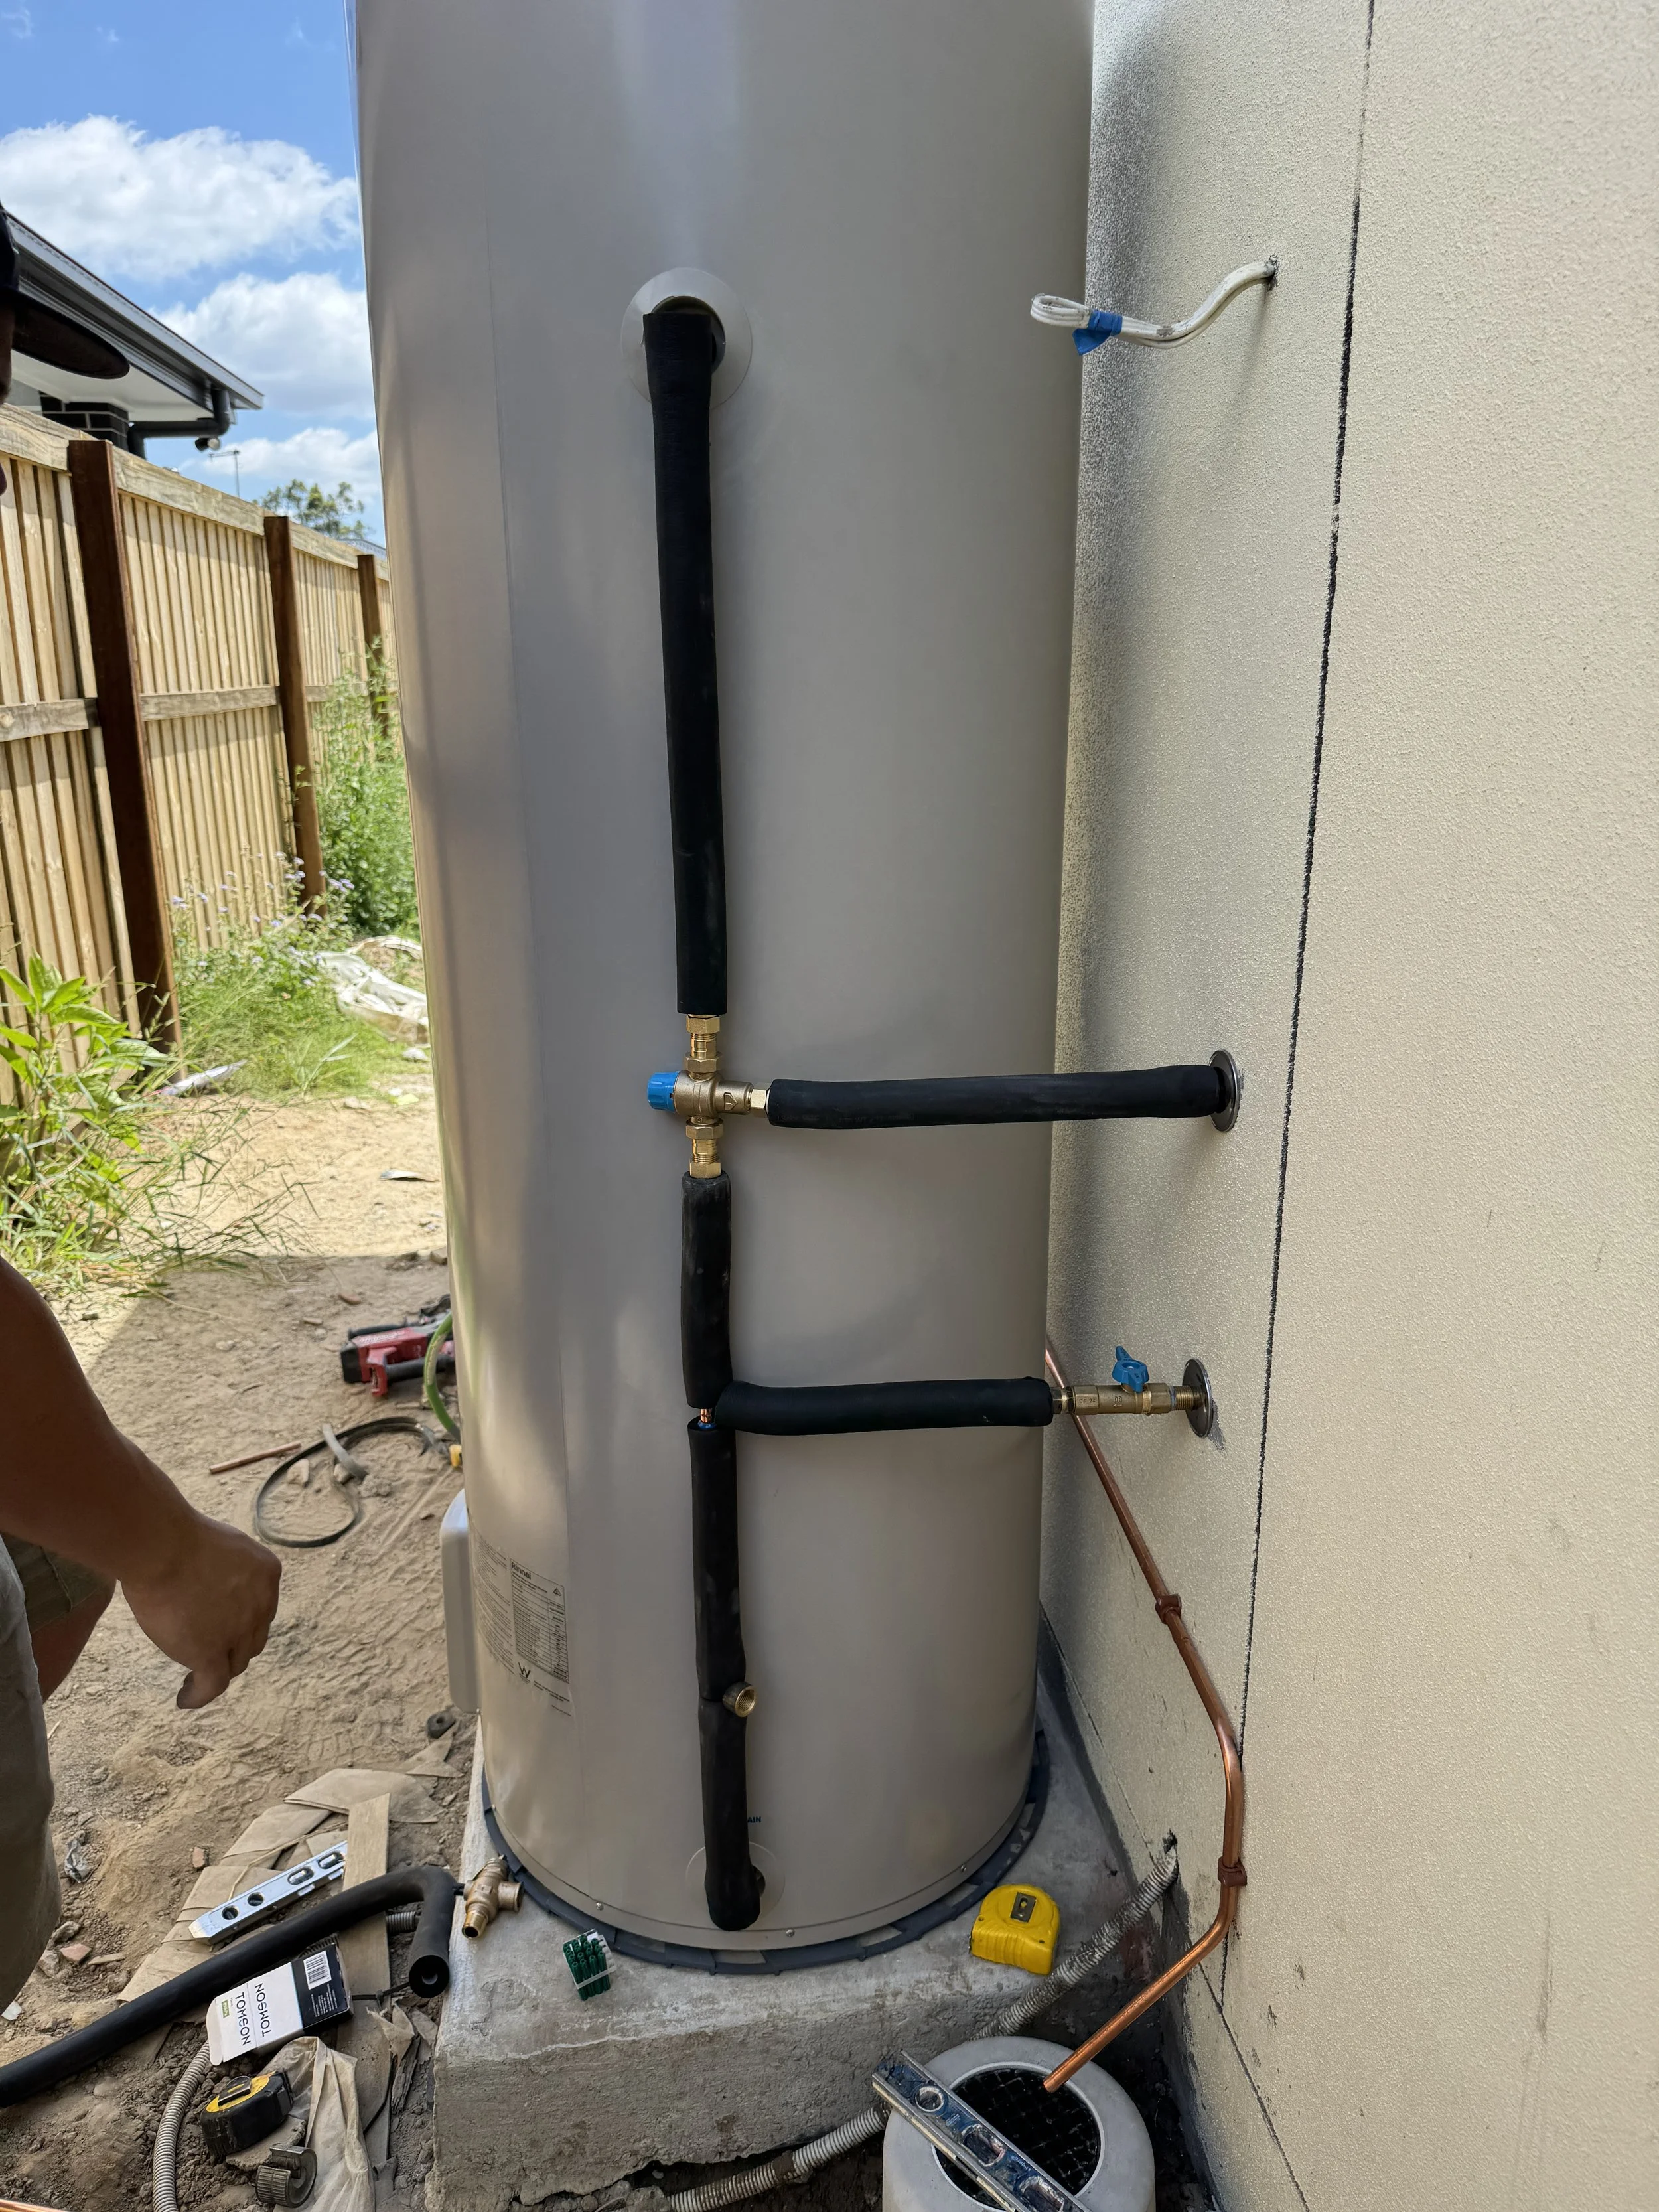
Loktite the Rheem elbows (20 Male x 15 compression elbow) pointing up from the bottom point and down for the top point. (You can also use straight versions of these if you want to do it that way)
Loktite the caps that come with the unit into the side you are not using if it is a dual sided model.
Clean any excess loktite.
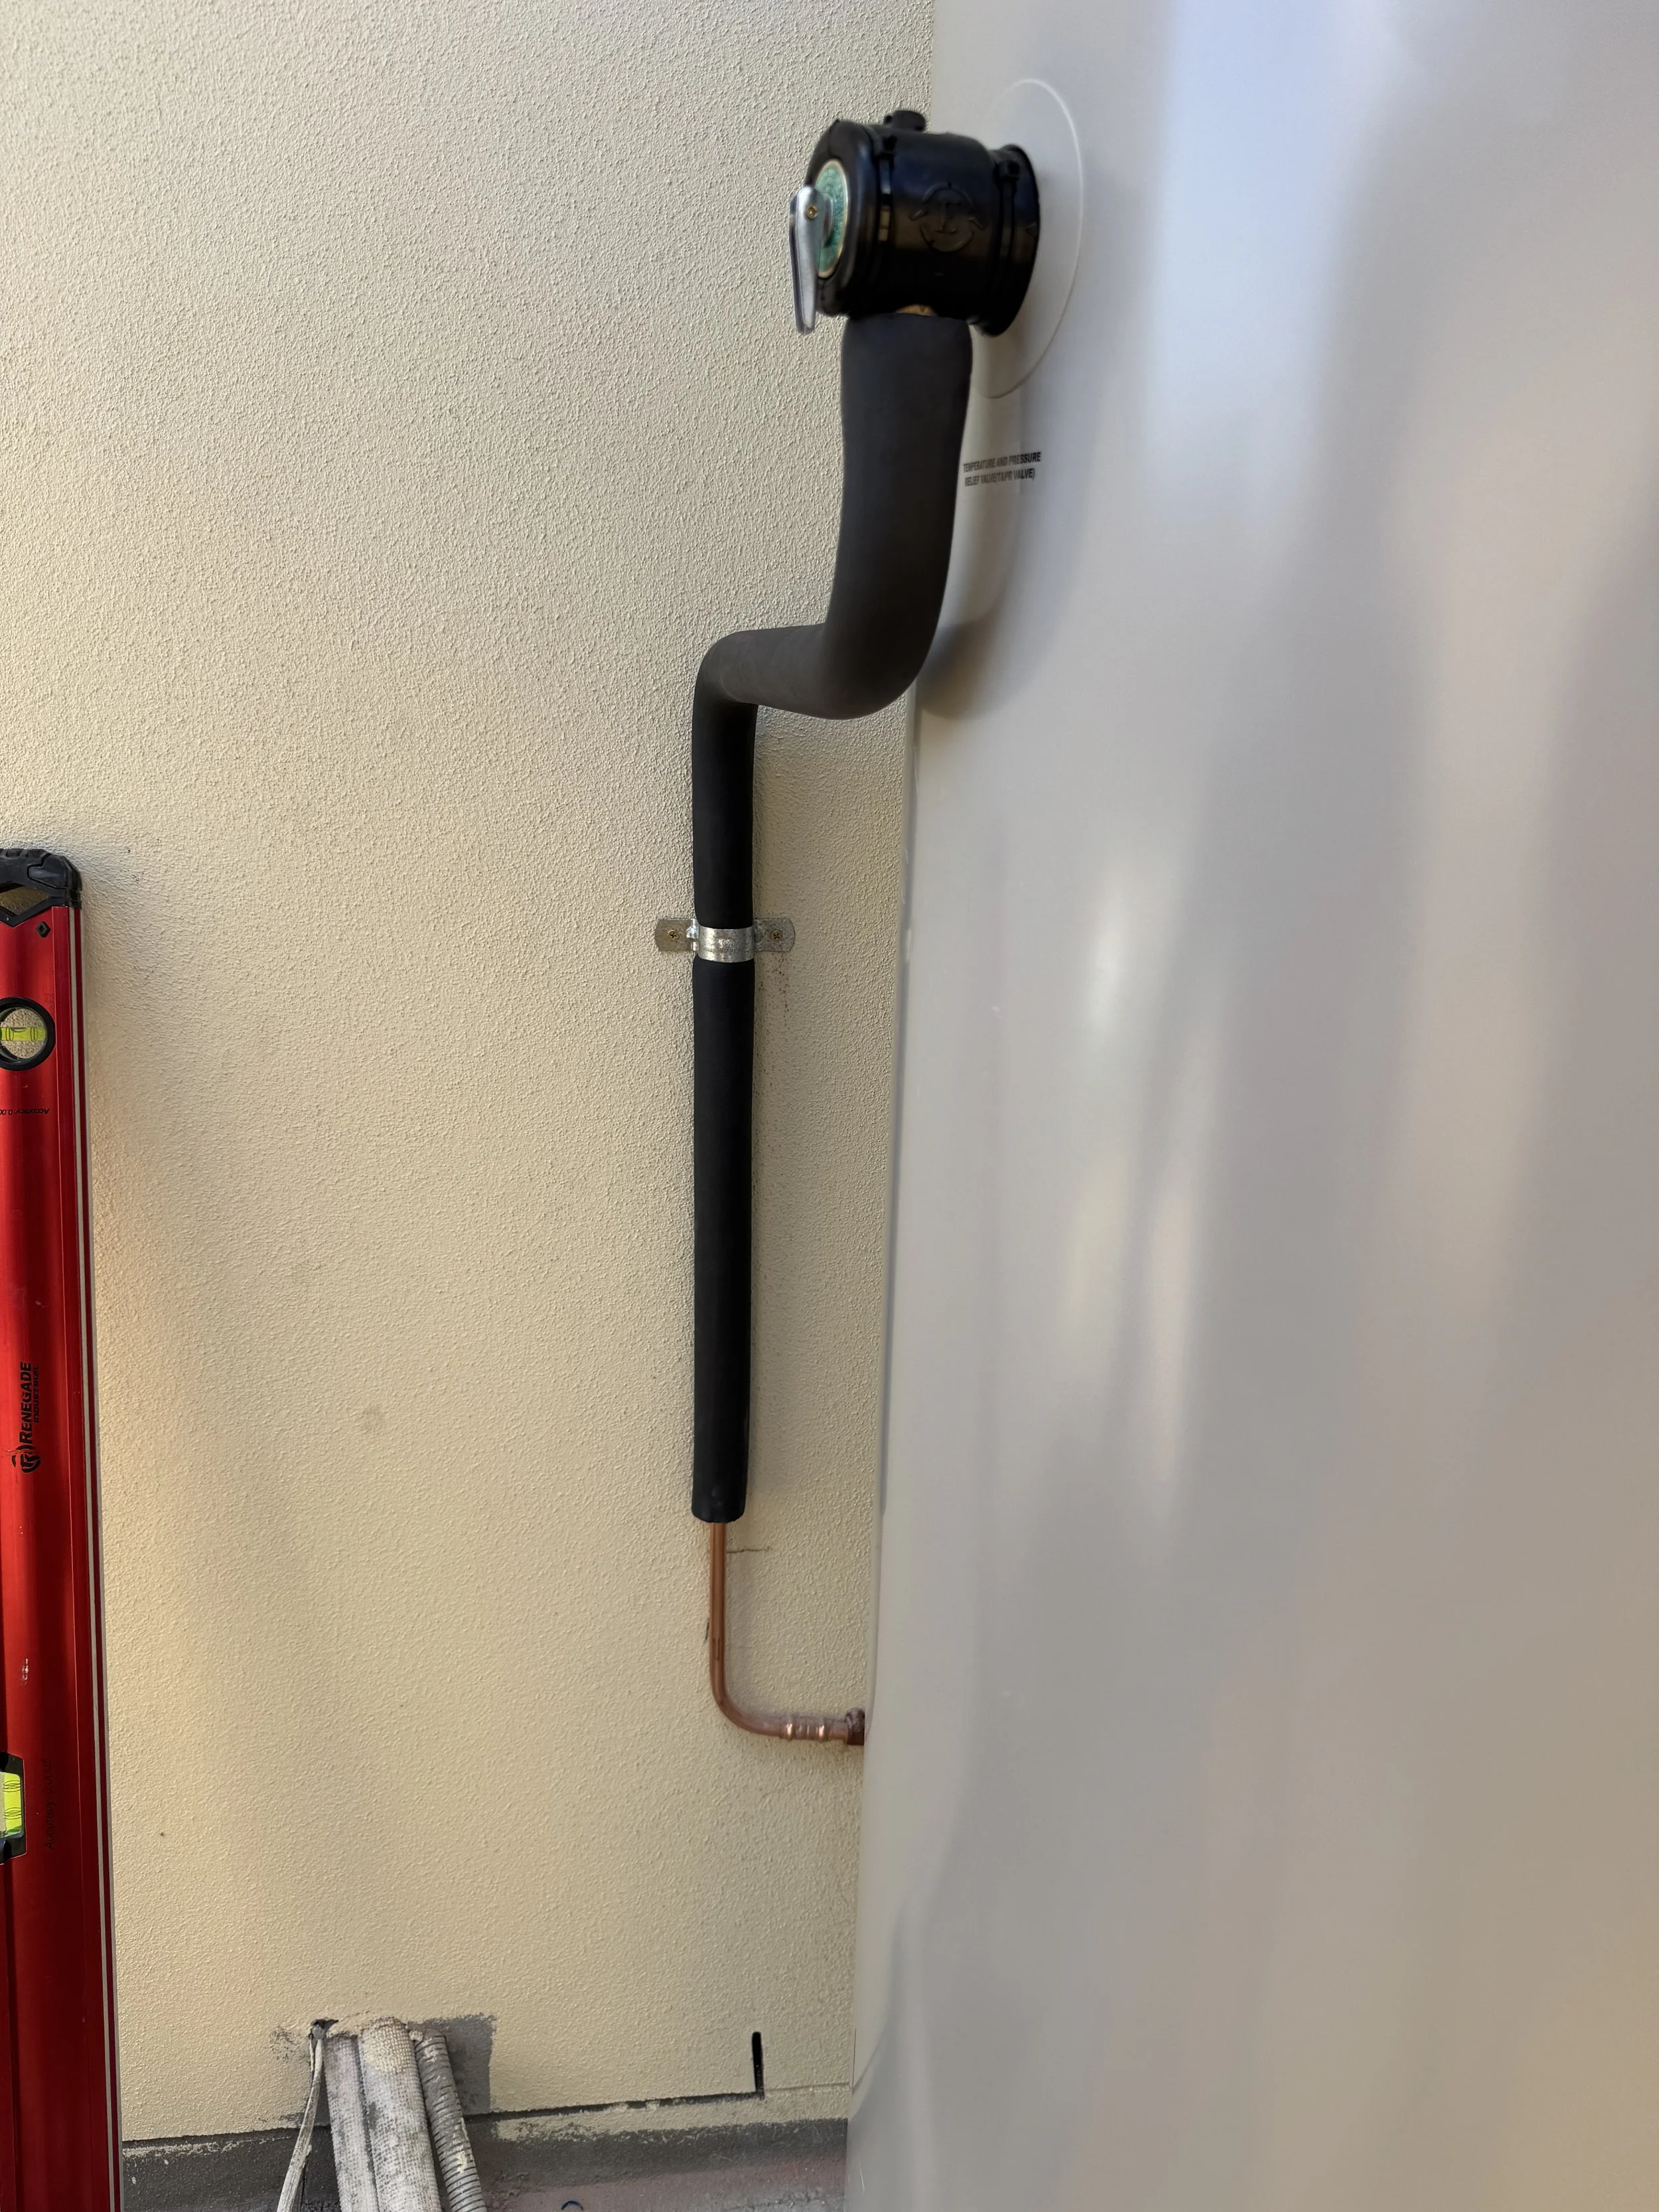
Decide how you are going to run the pipework and in what order. For this install we decided to run the relief drain first as the other pipework would get in the way later.
Make sure all pipework is level vertically and horizontally unless it is meant to have fall.
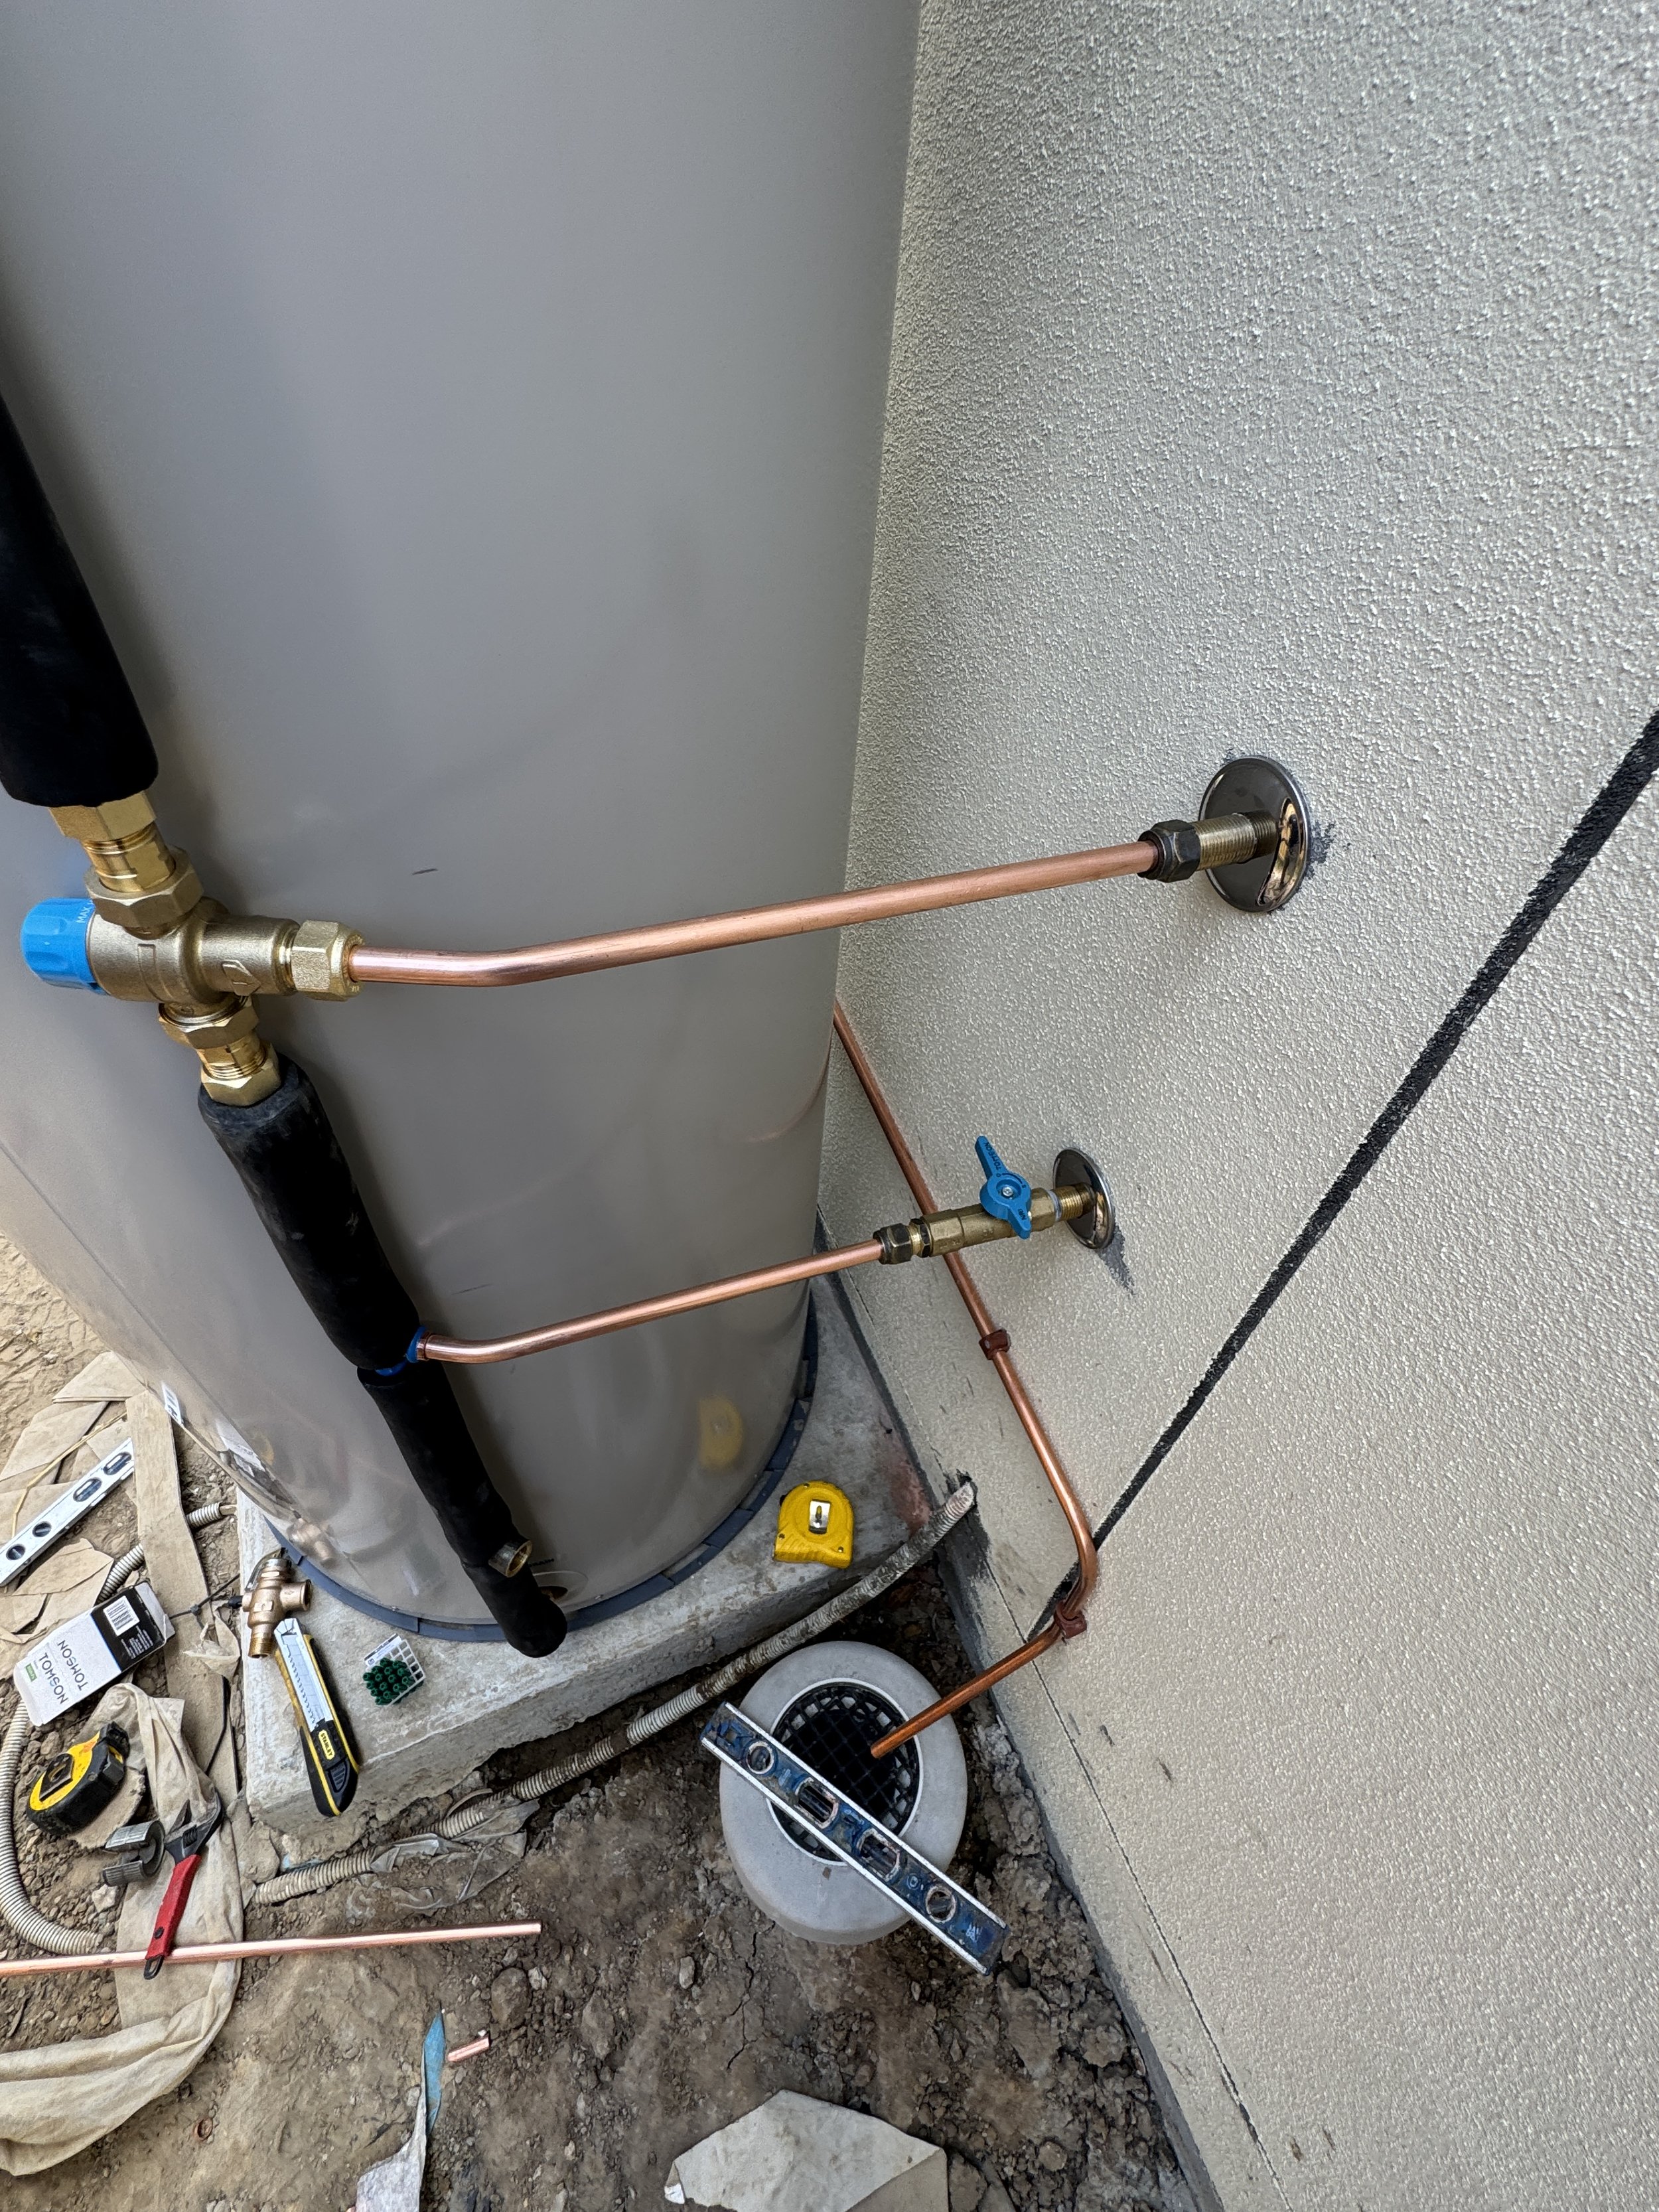
Drain lines need to have fall. We aim for 40mm per metre on horizontal runs.
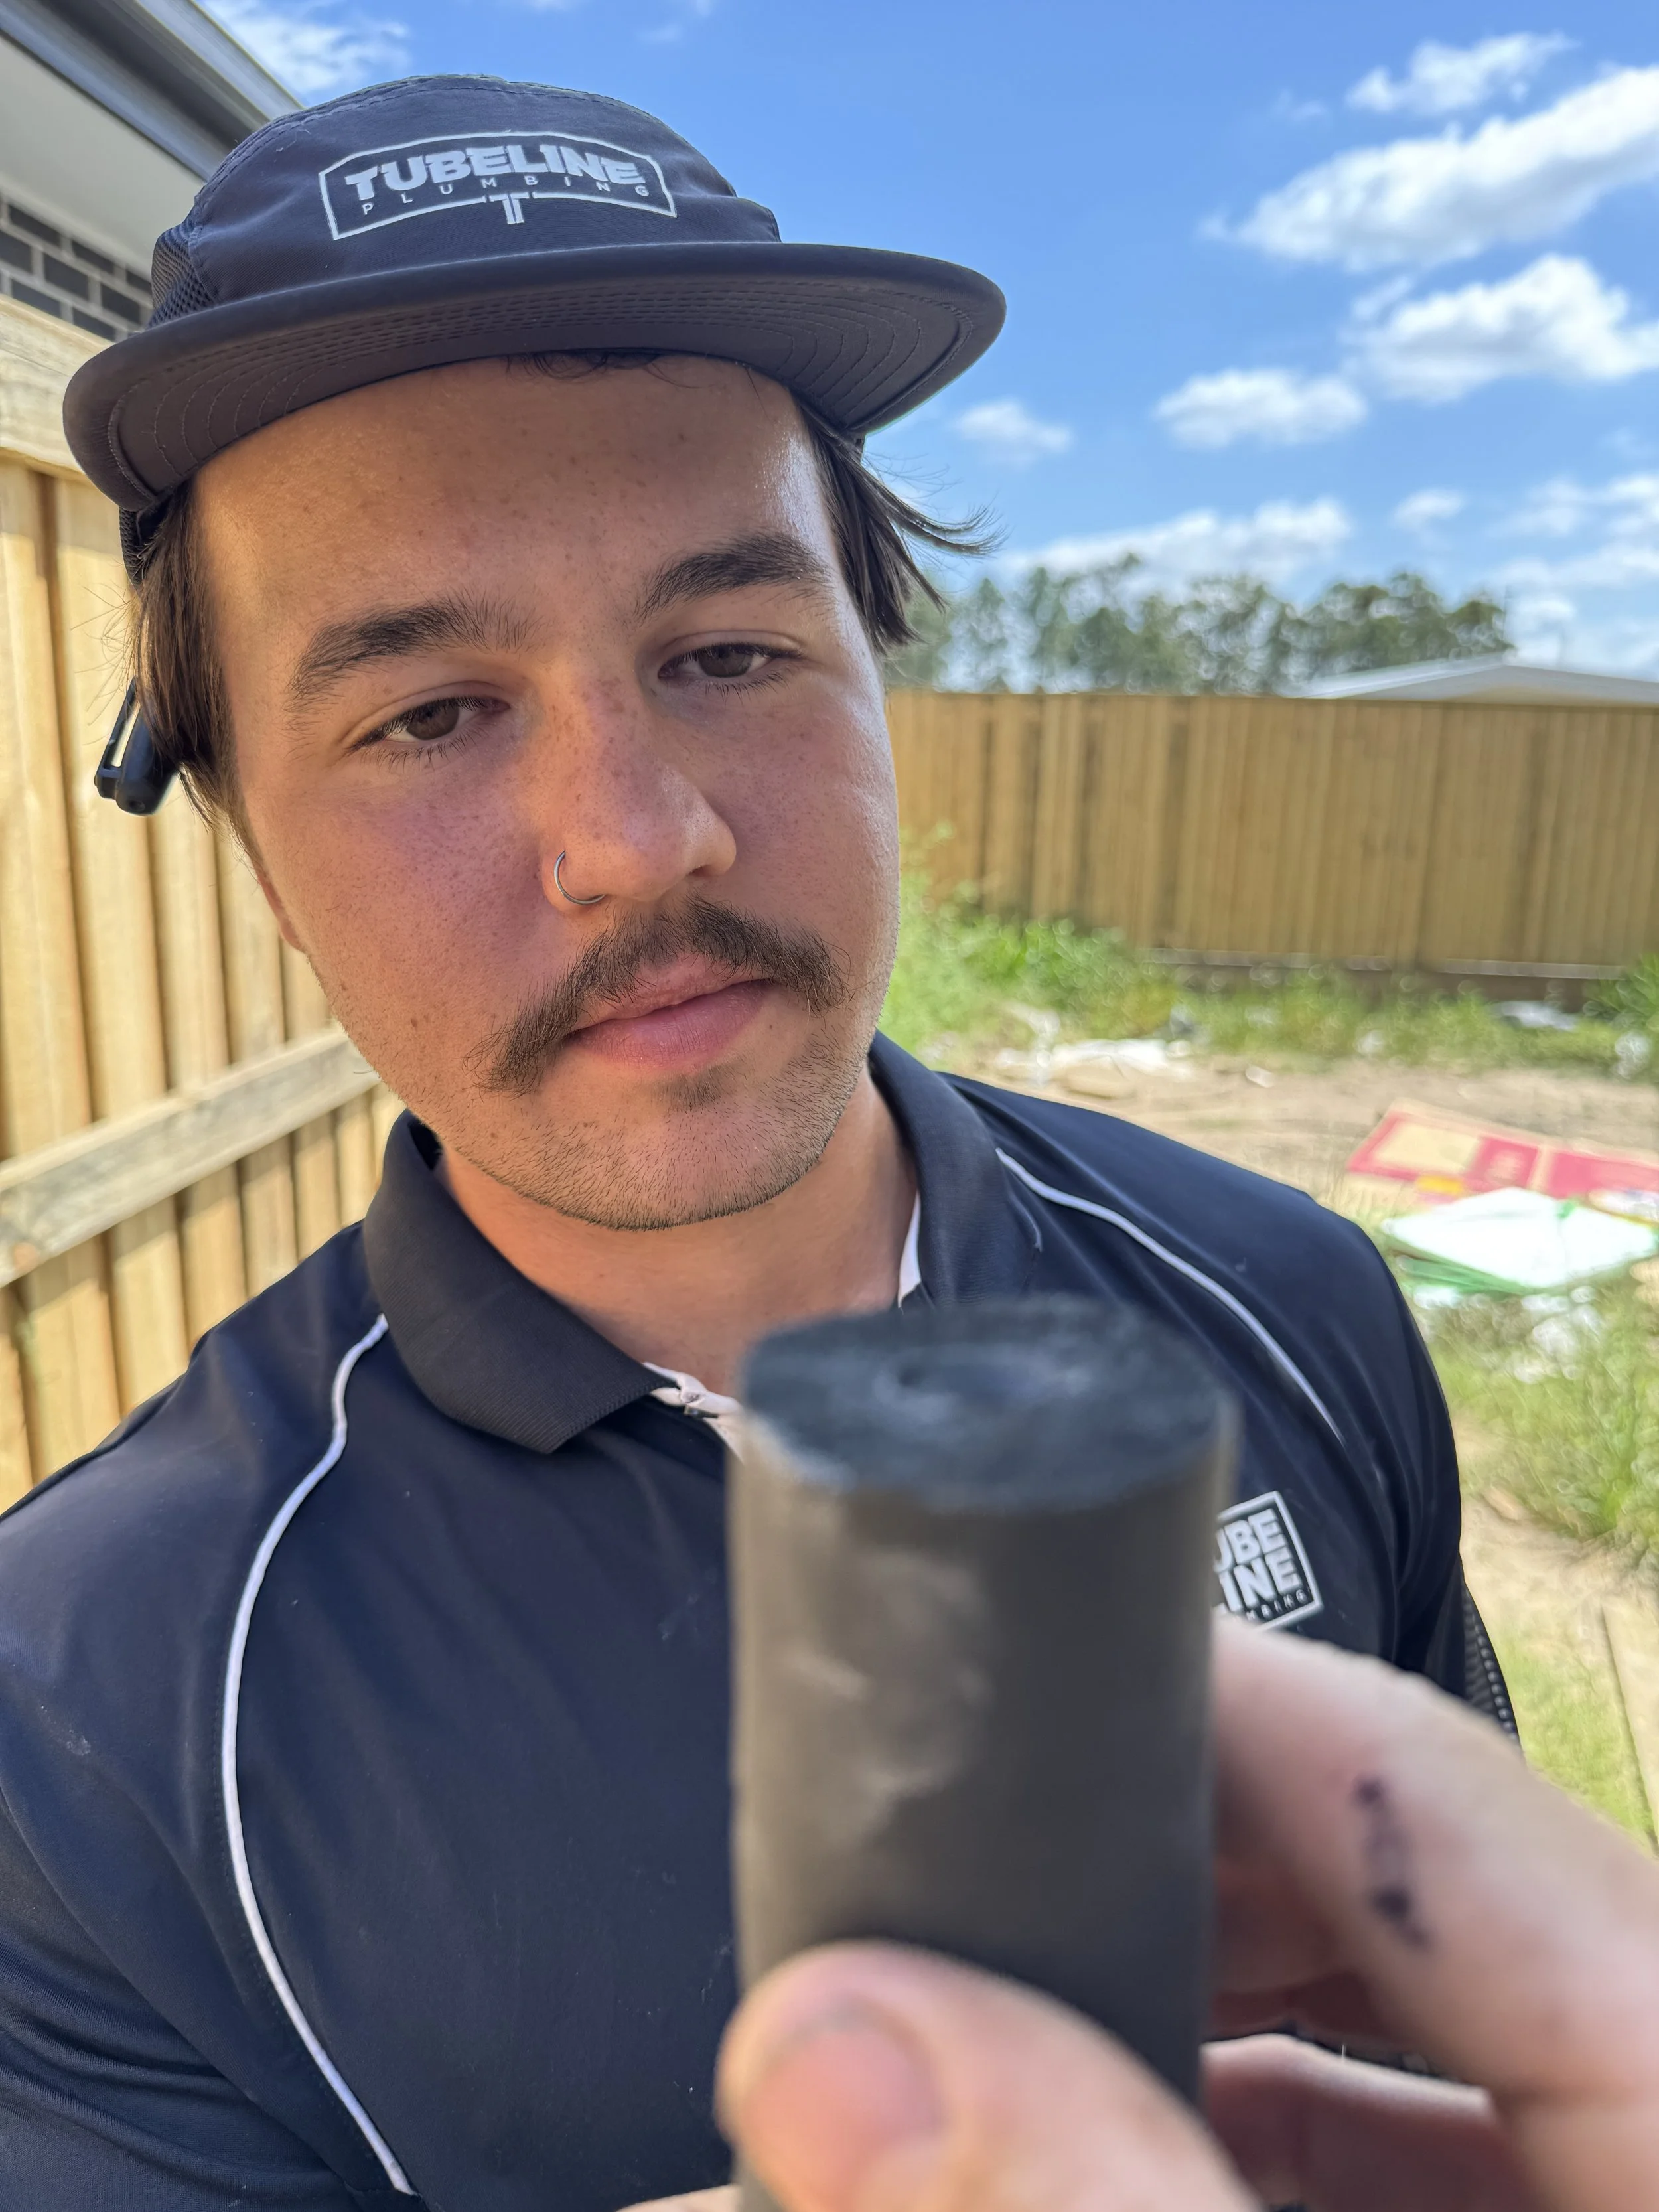
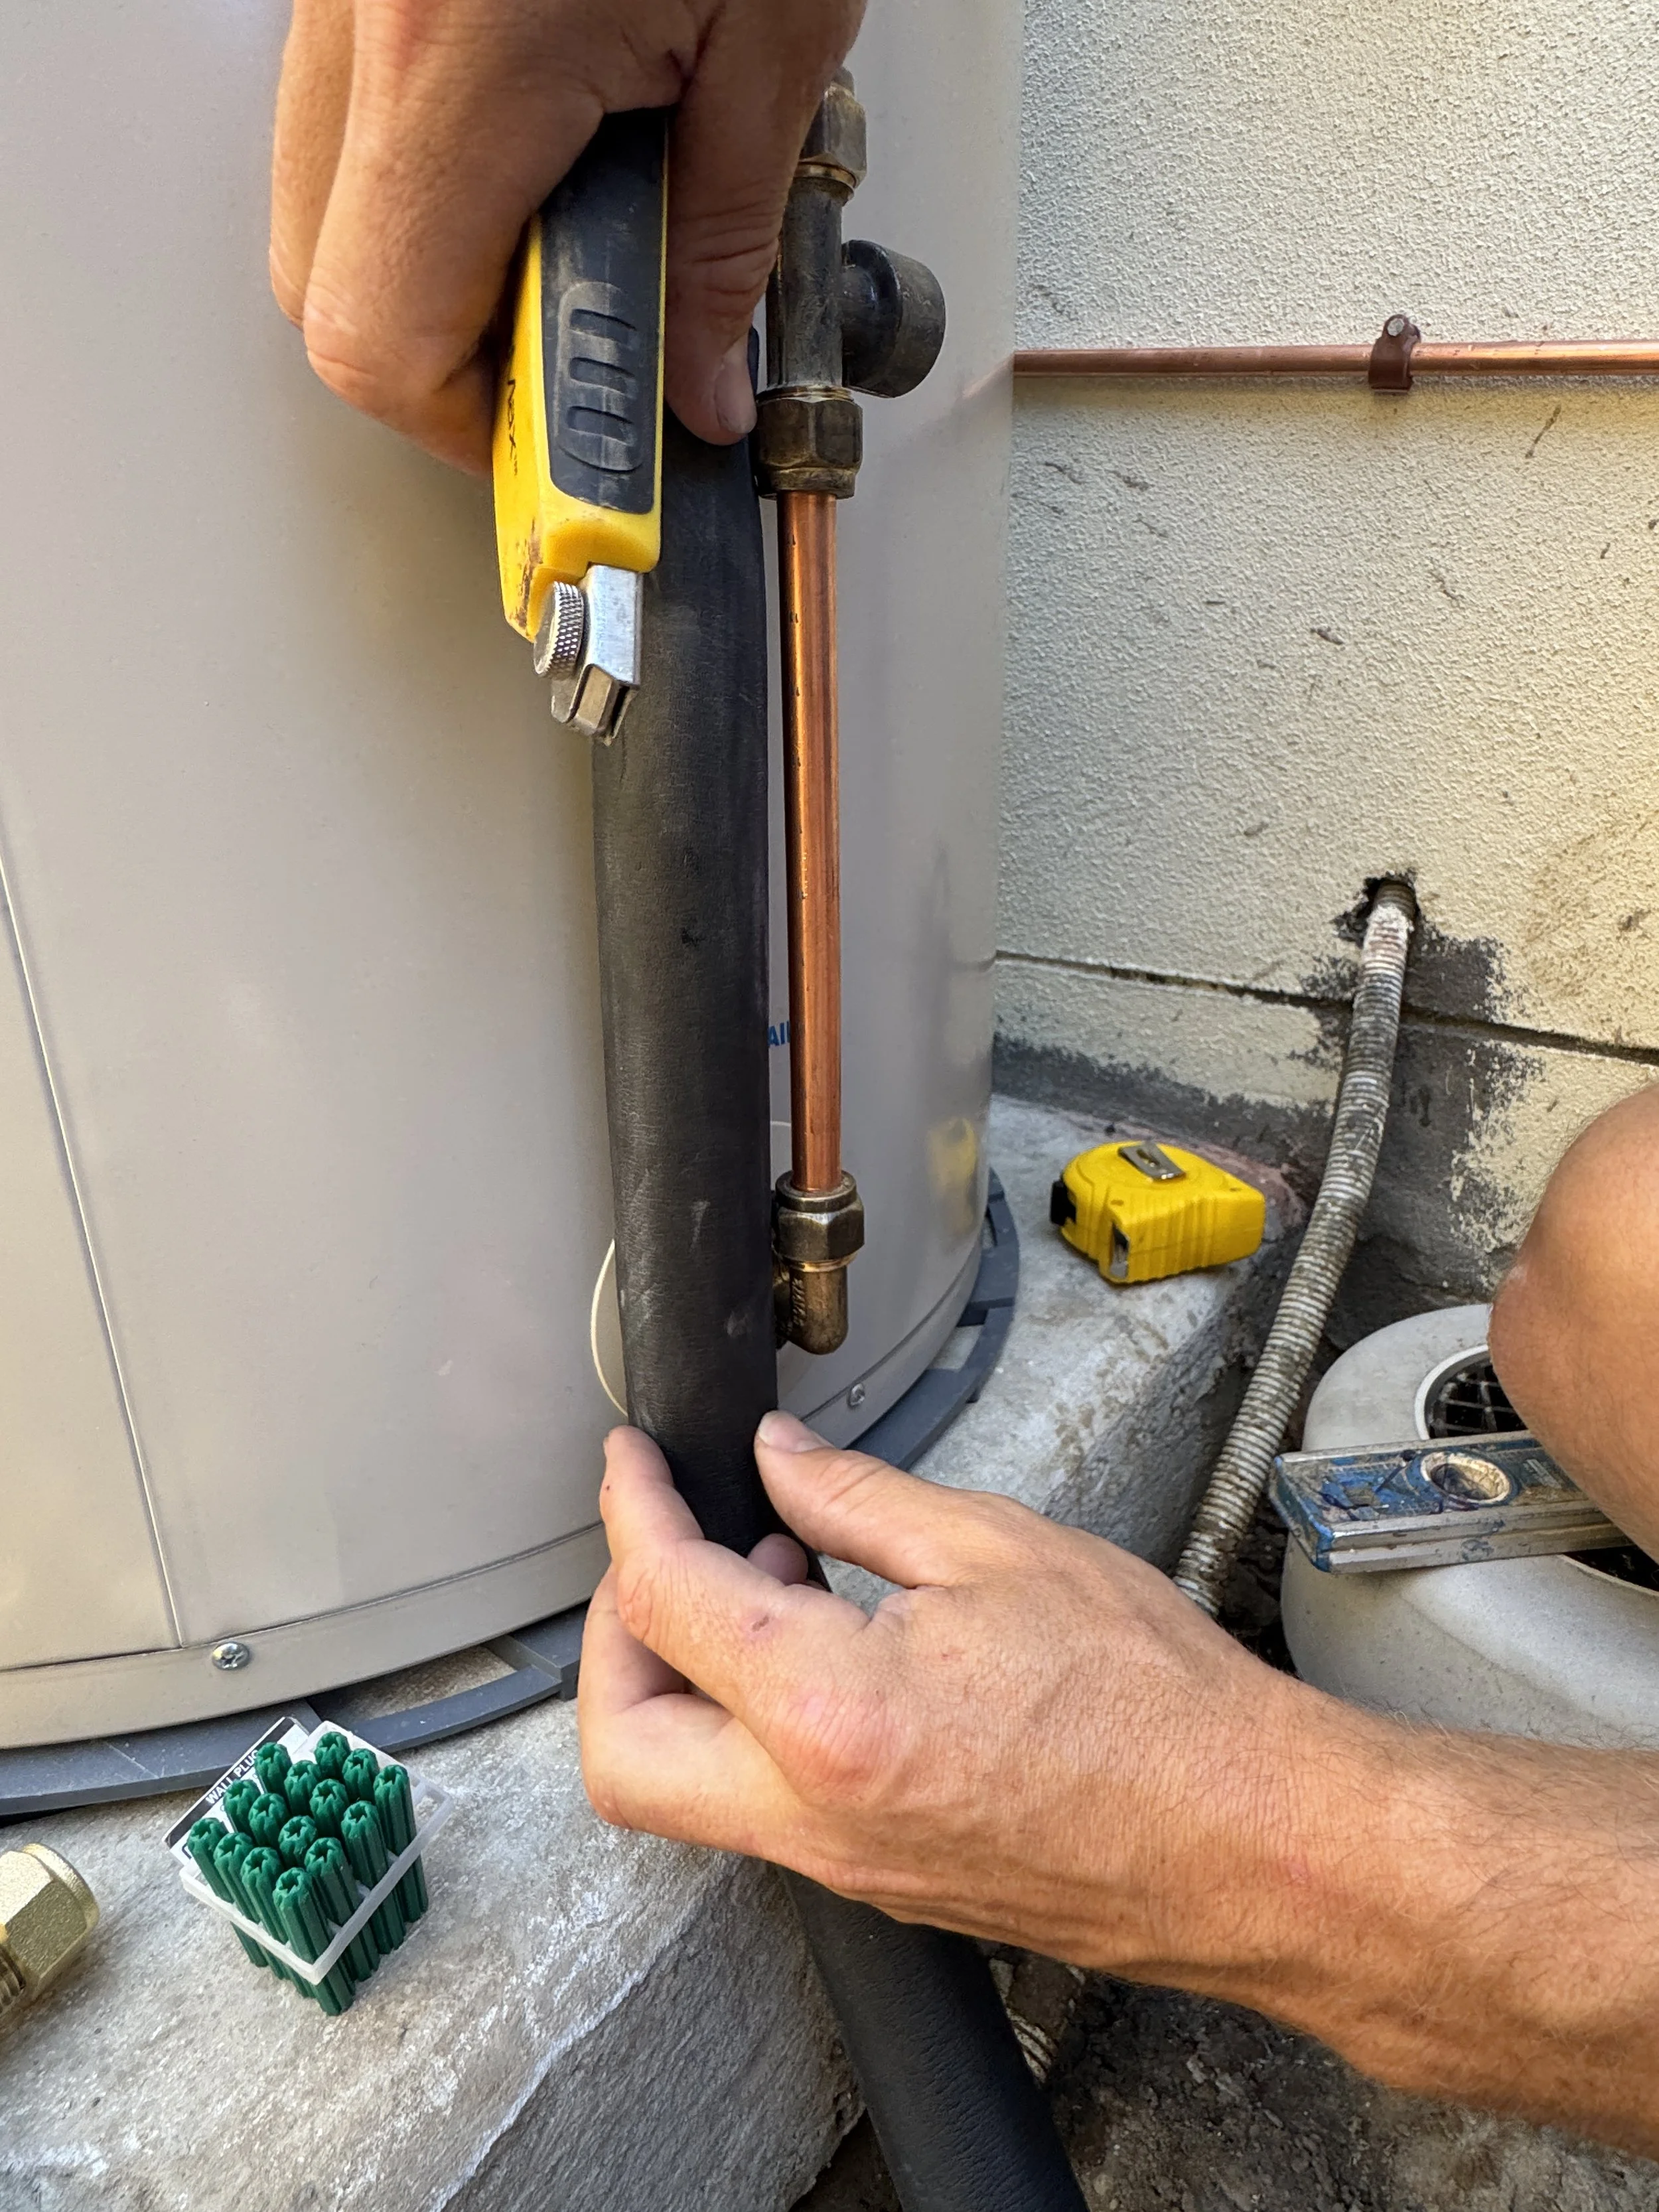
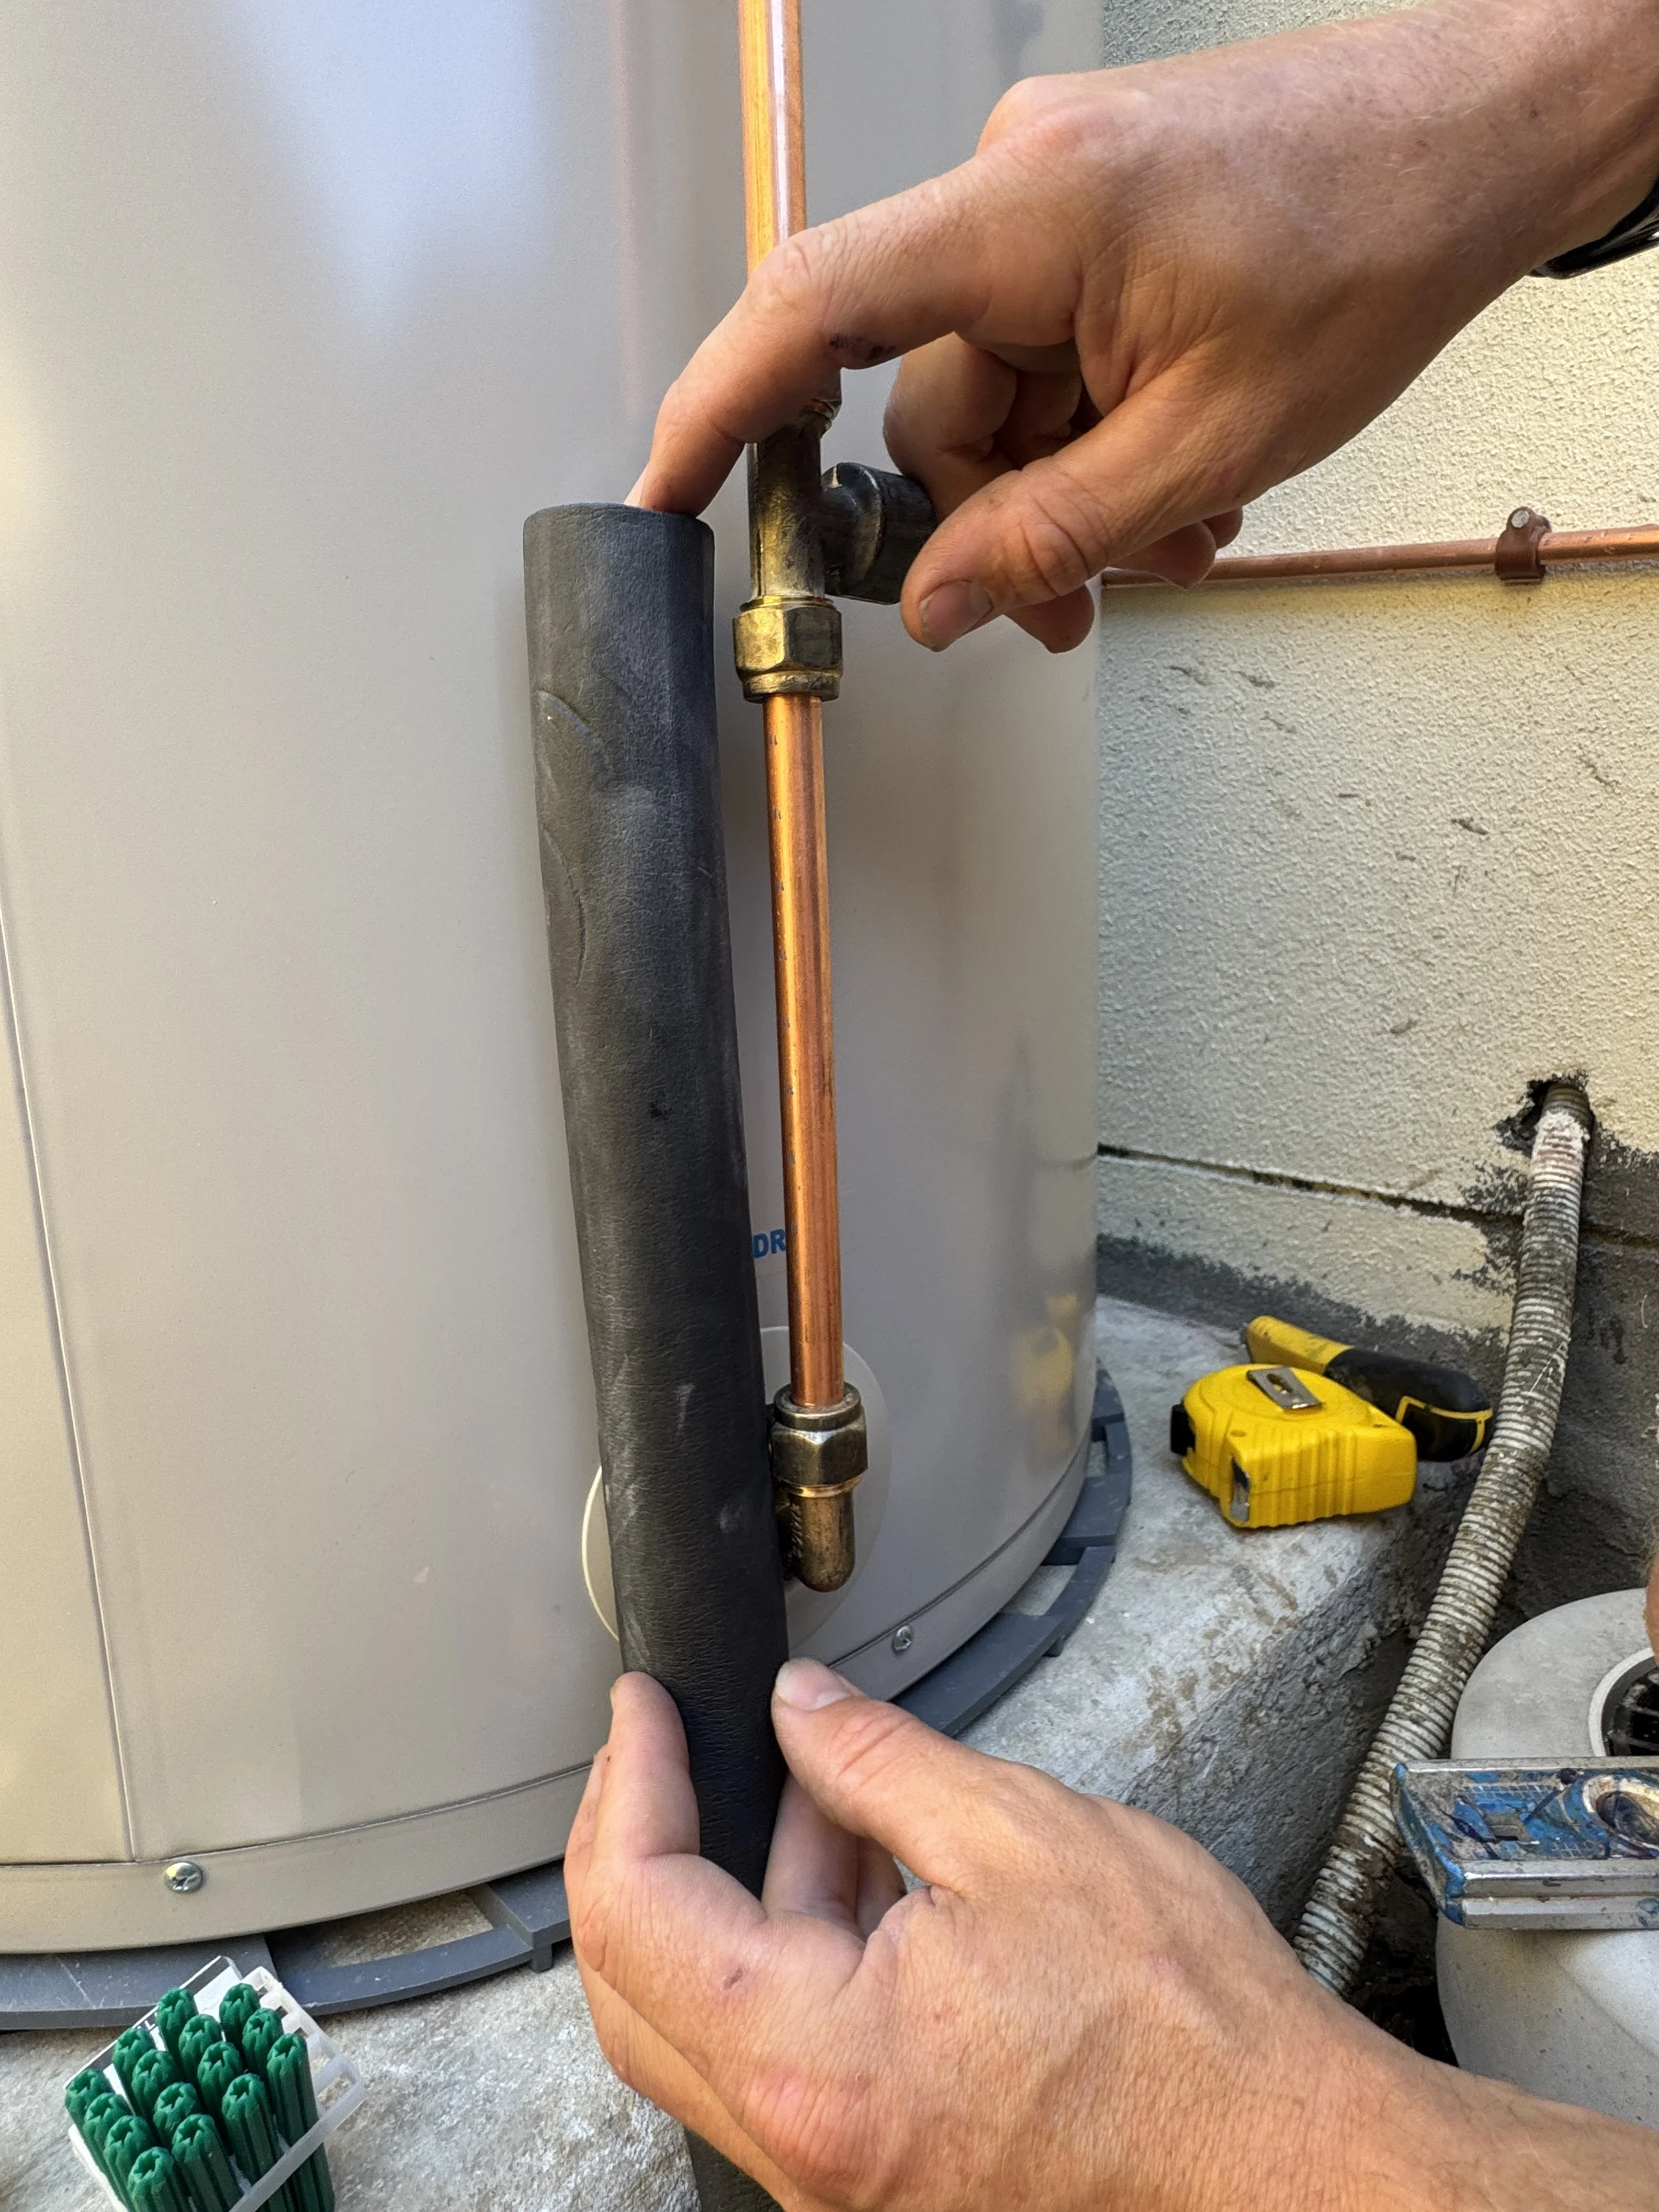
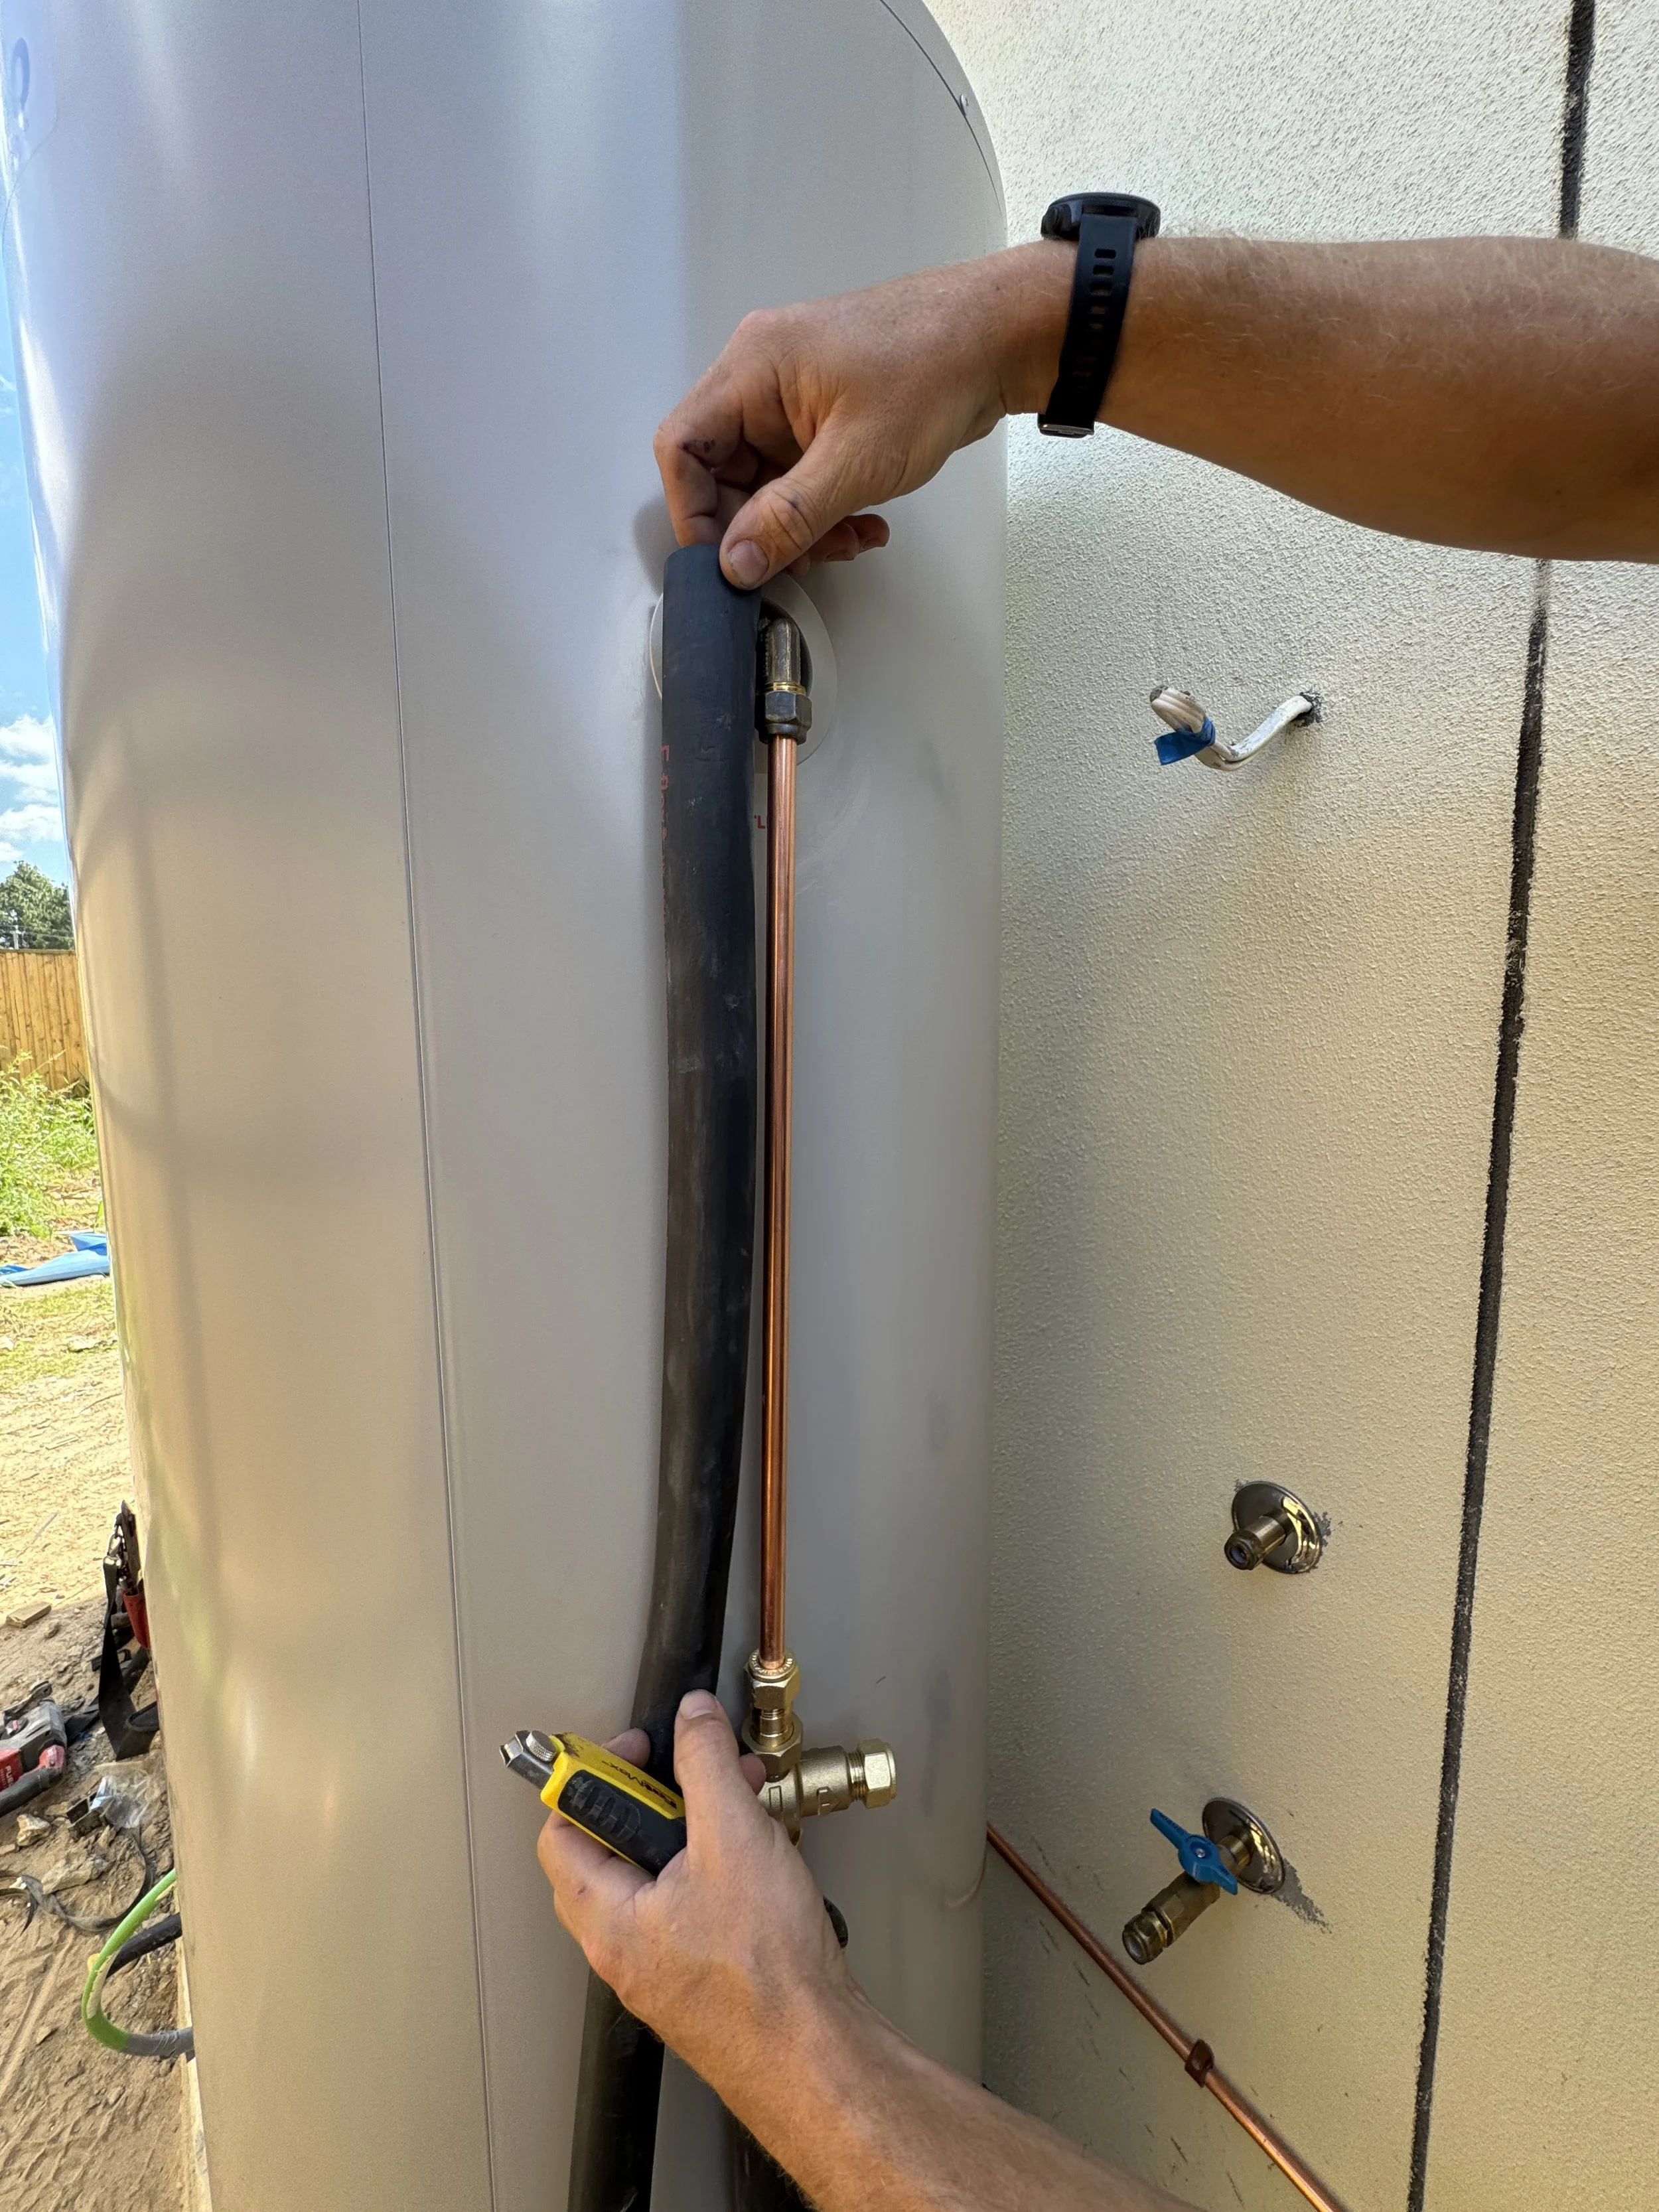
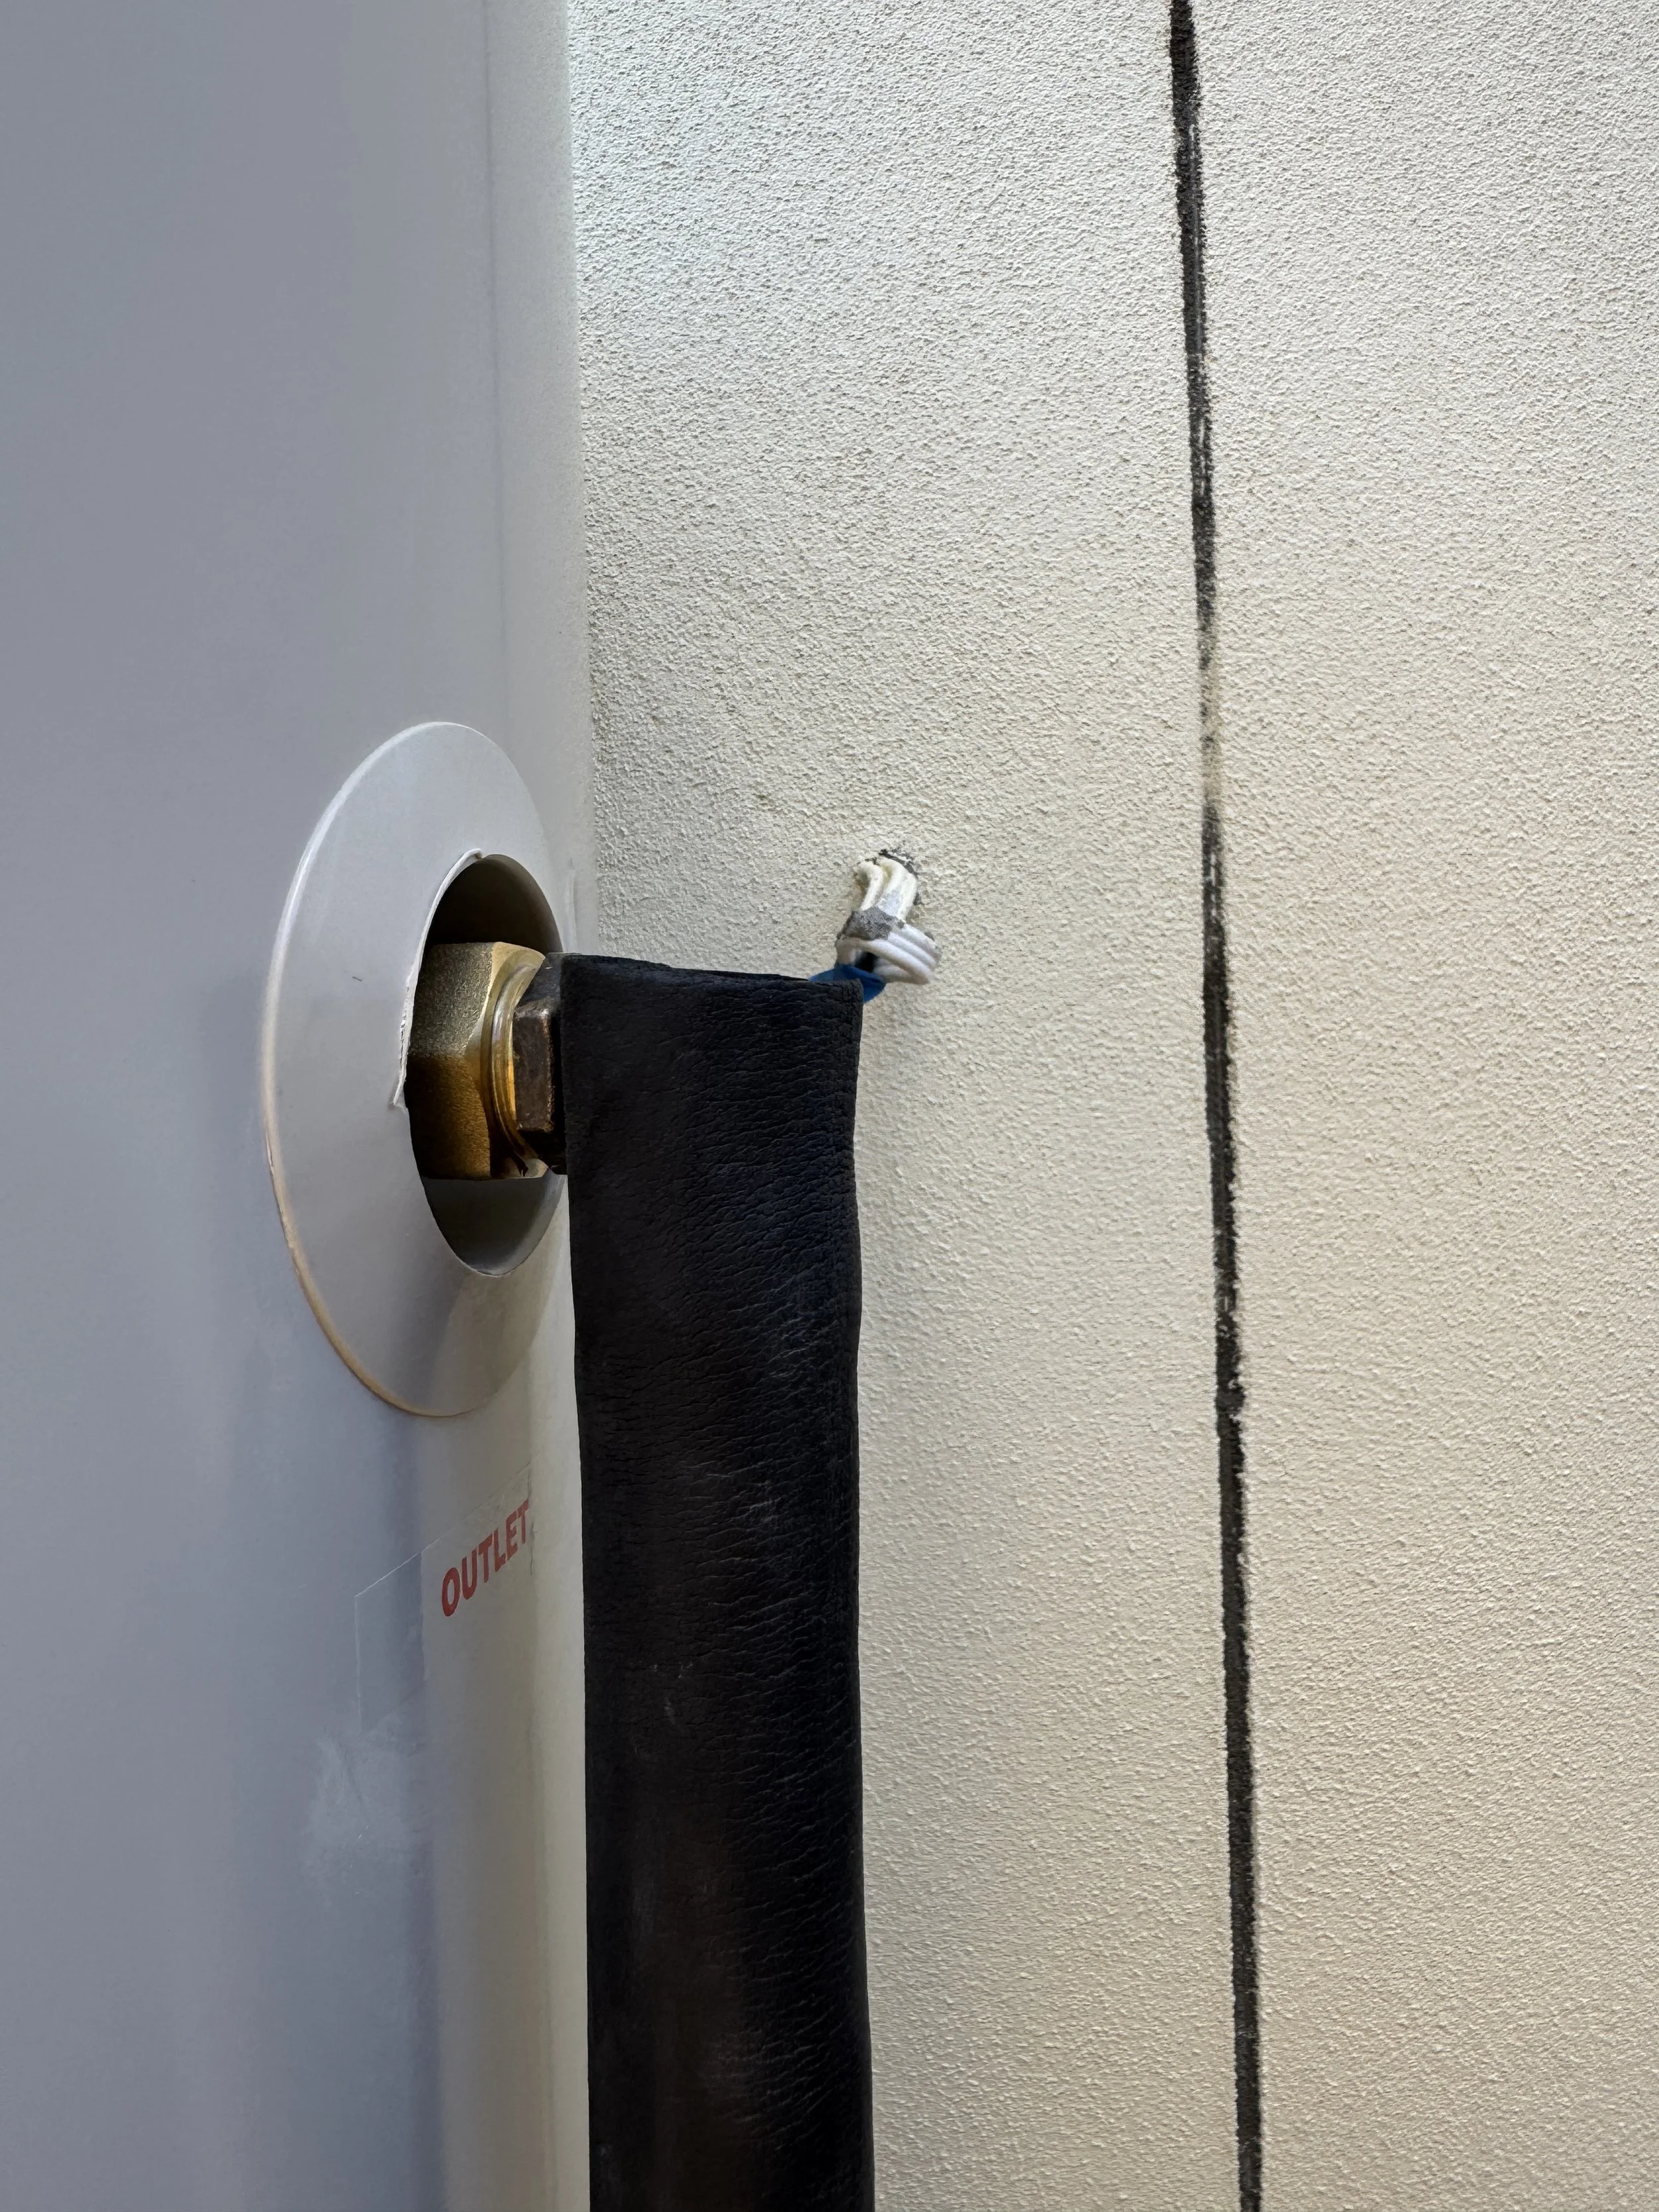
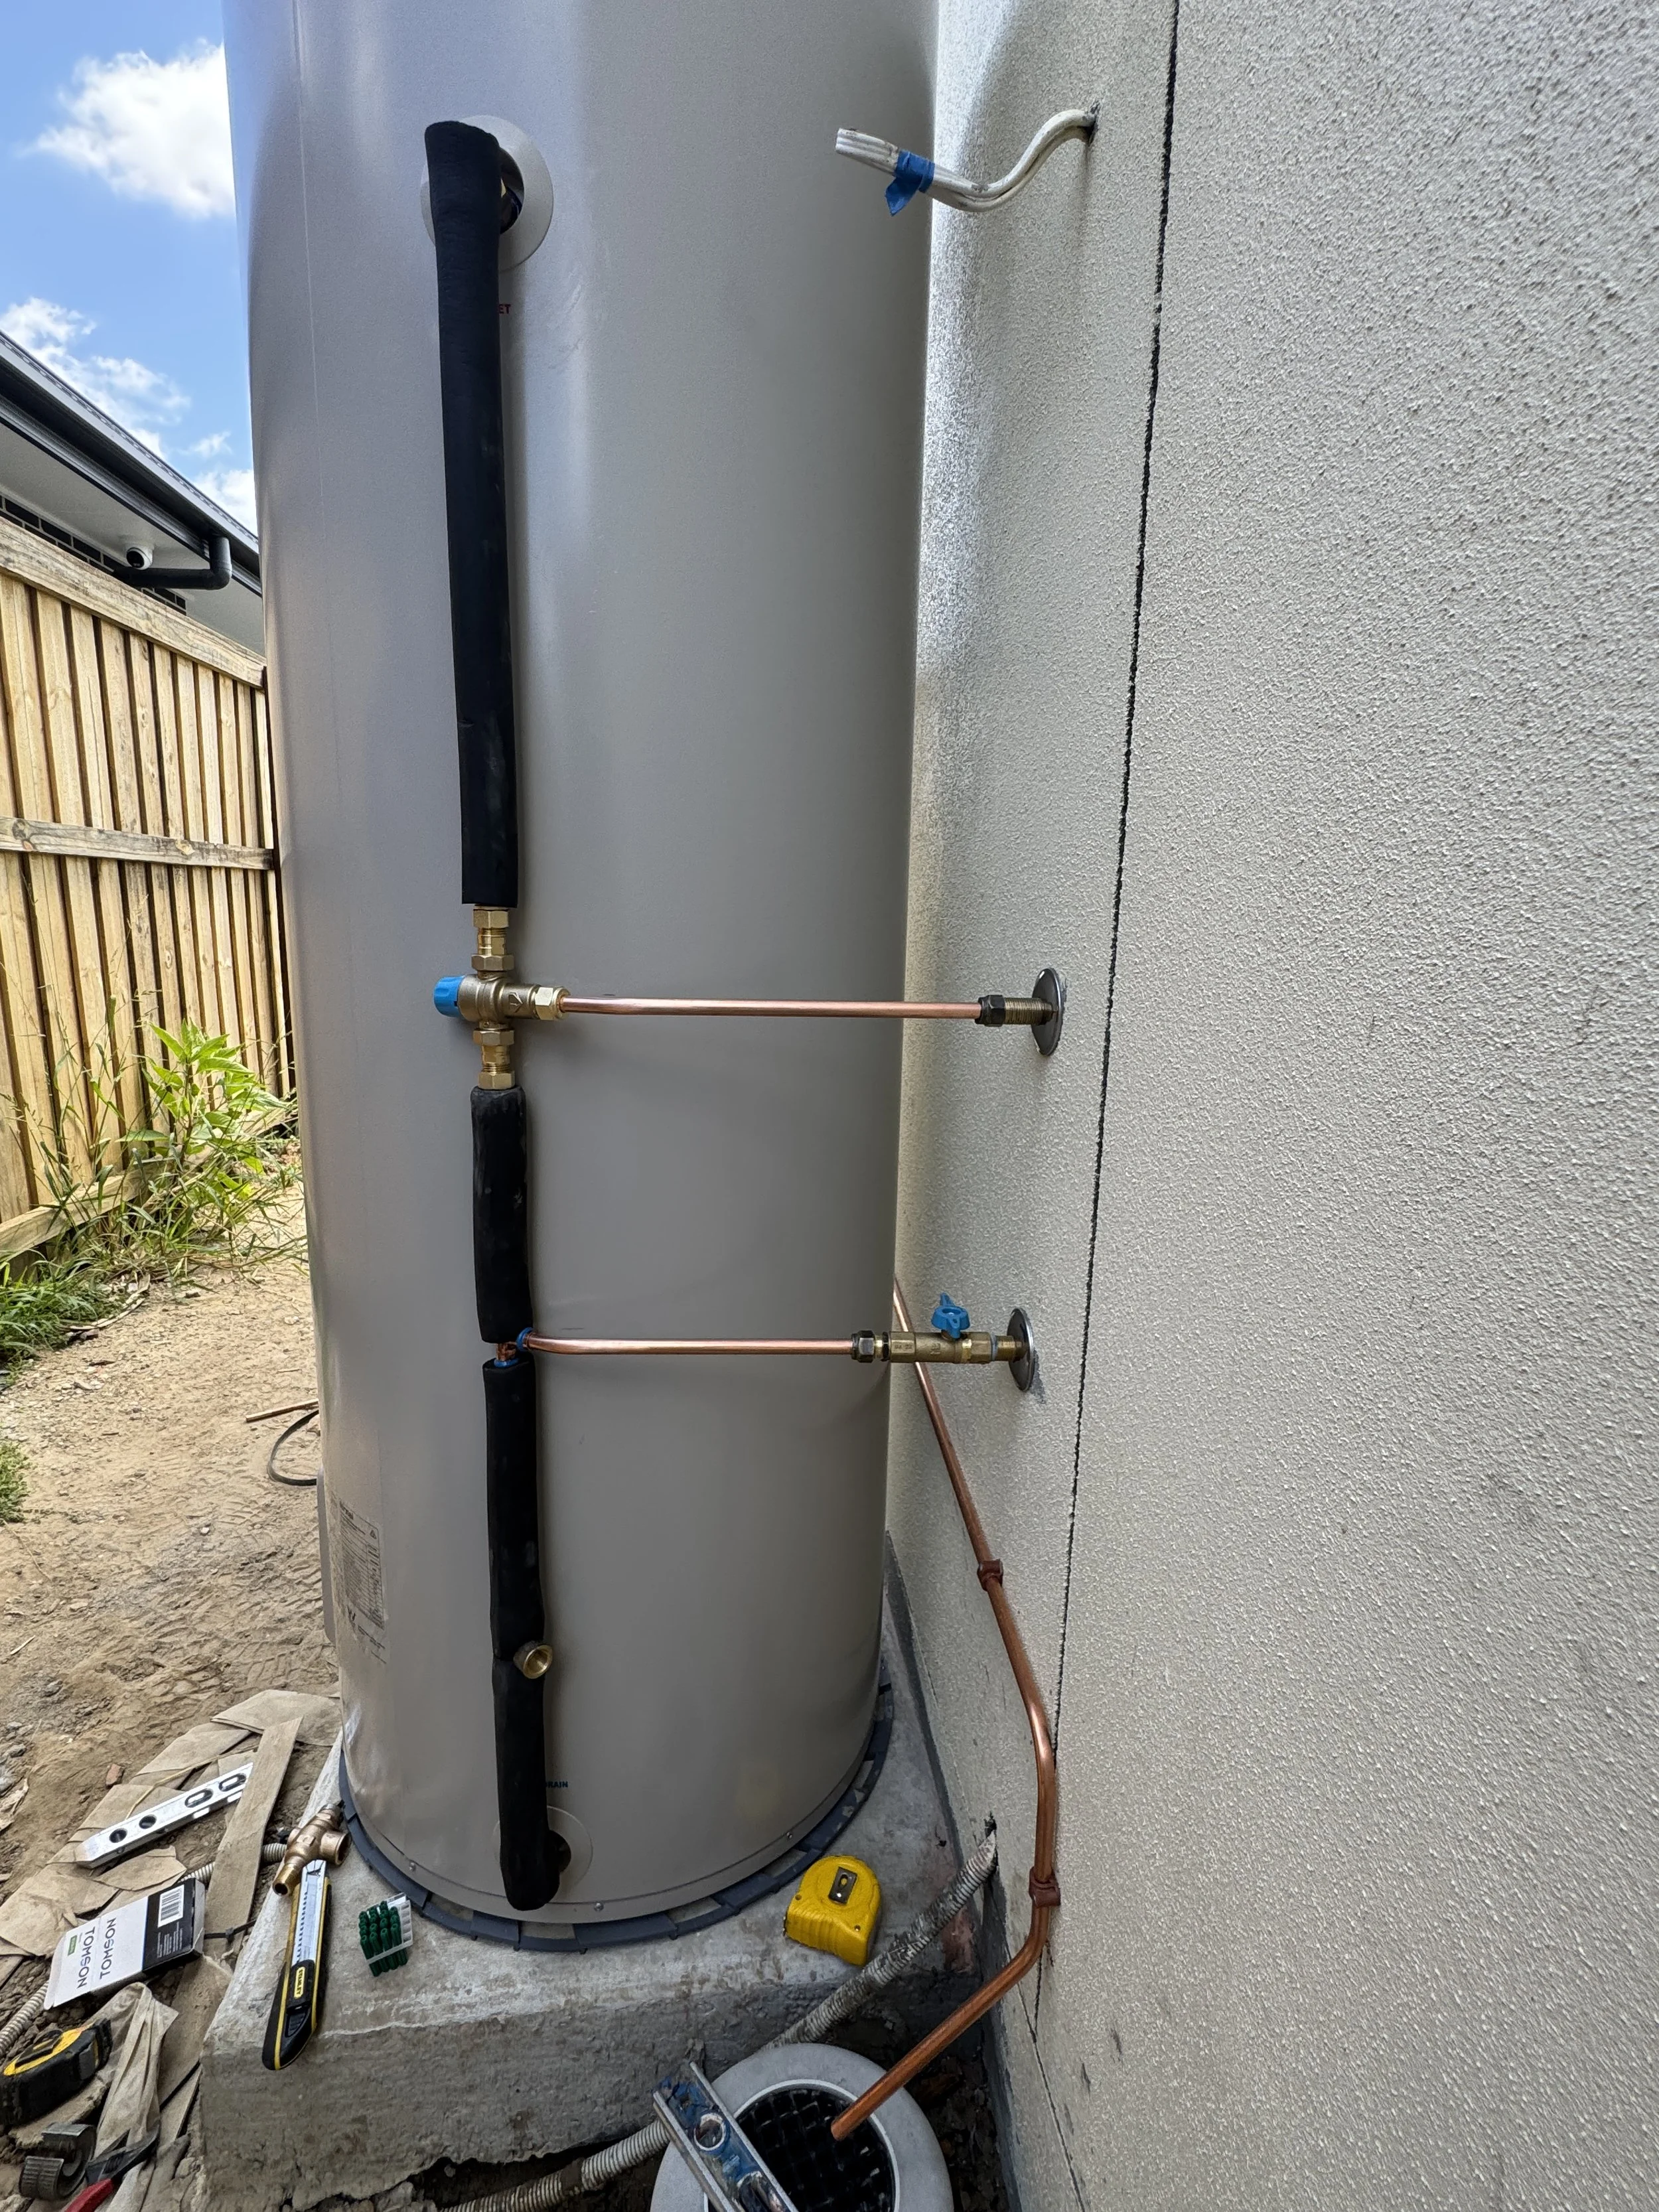
Lag the pipework minimum 500mm from the unit. For this install that meant about 100mm down the vertical section. It would have looked strange if the pipework was angled away from the wall because of the 100mm of lagging so we decided to lag it to the bottom of the vertical section.
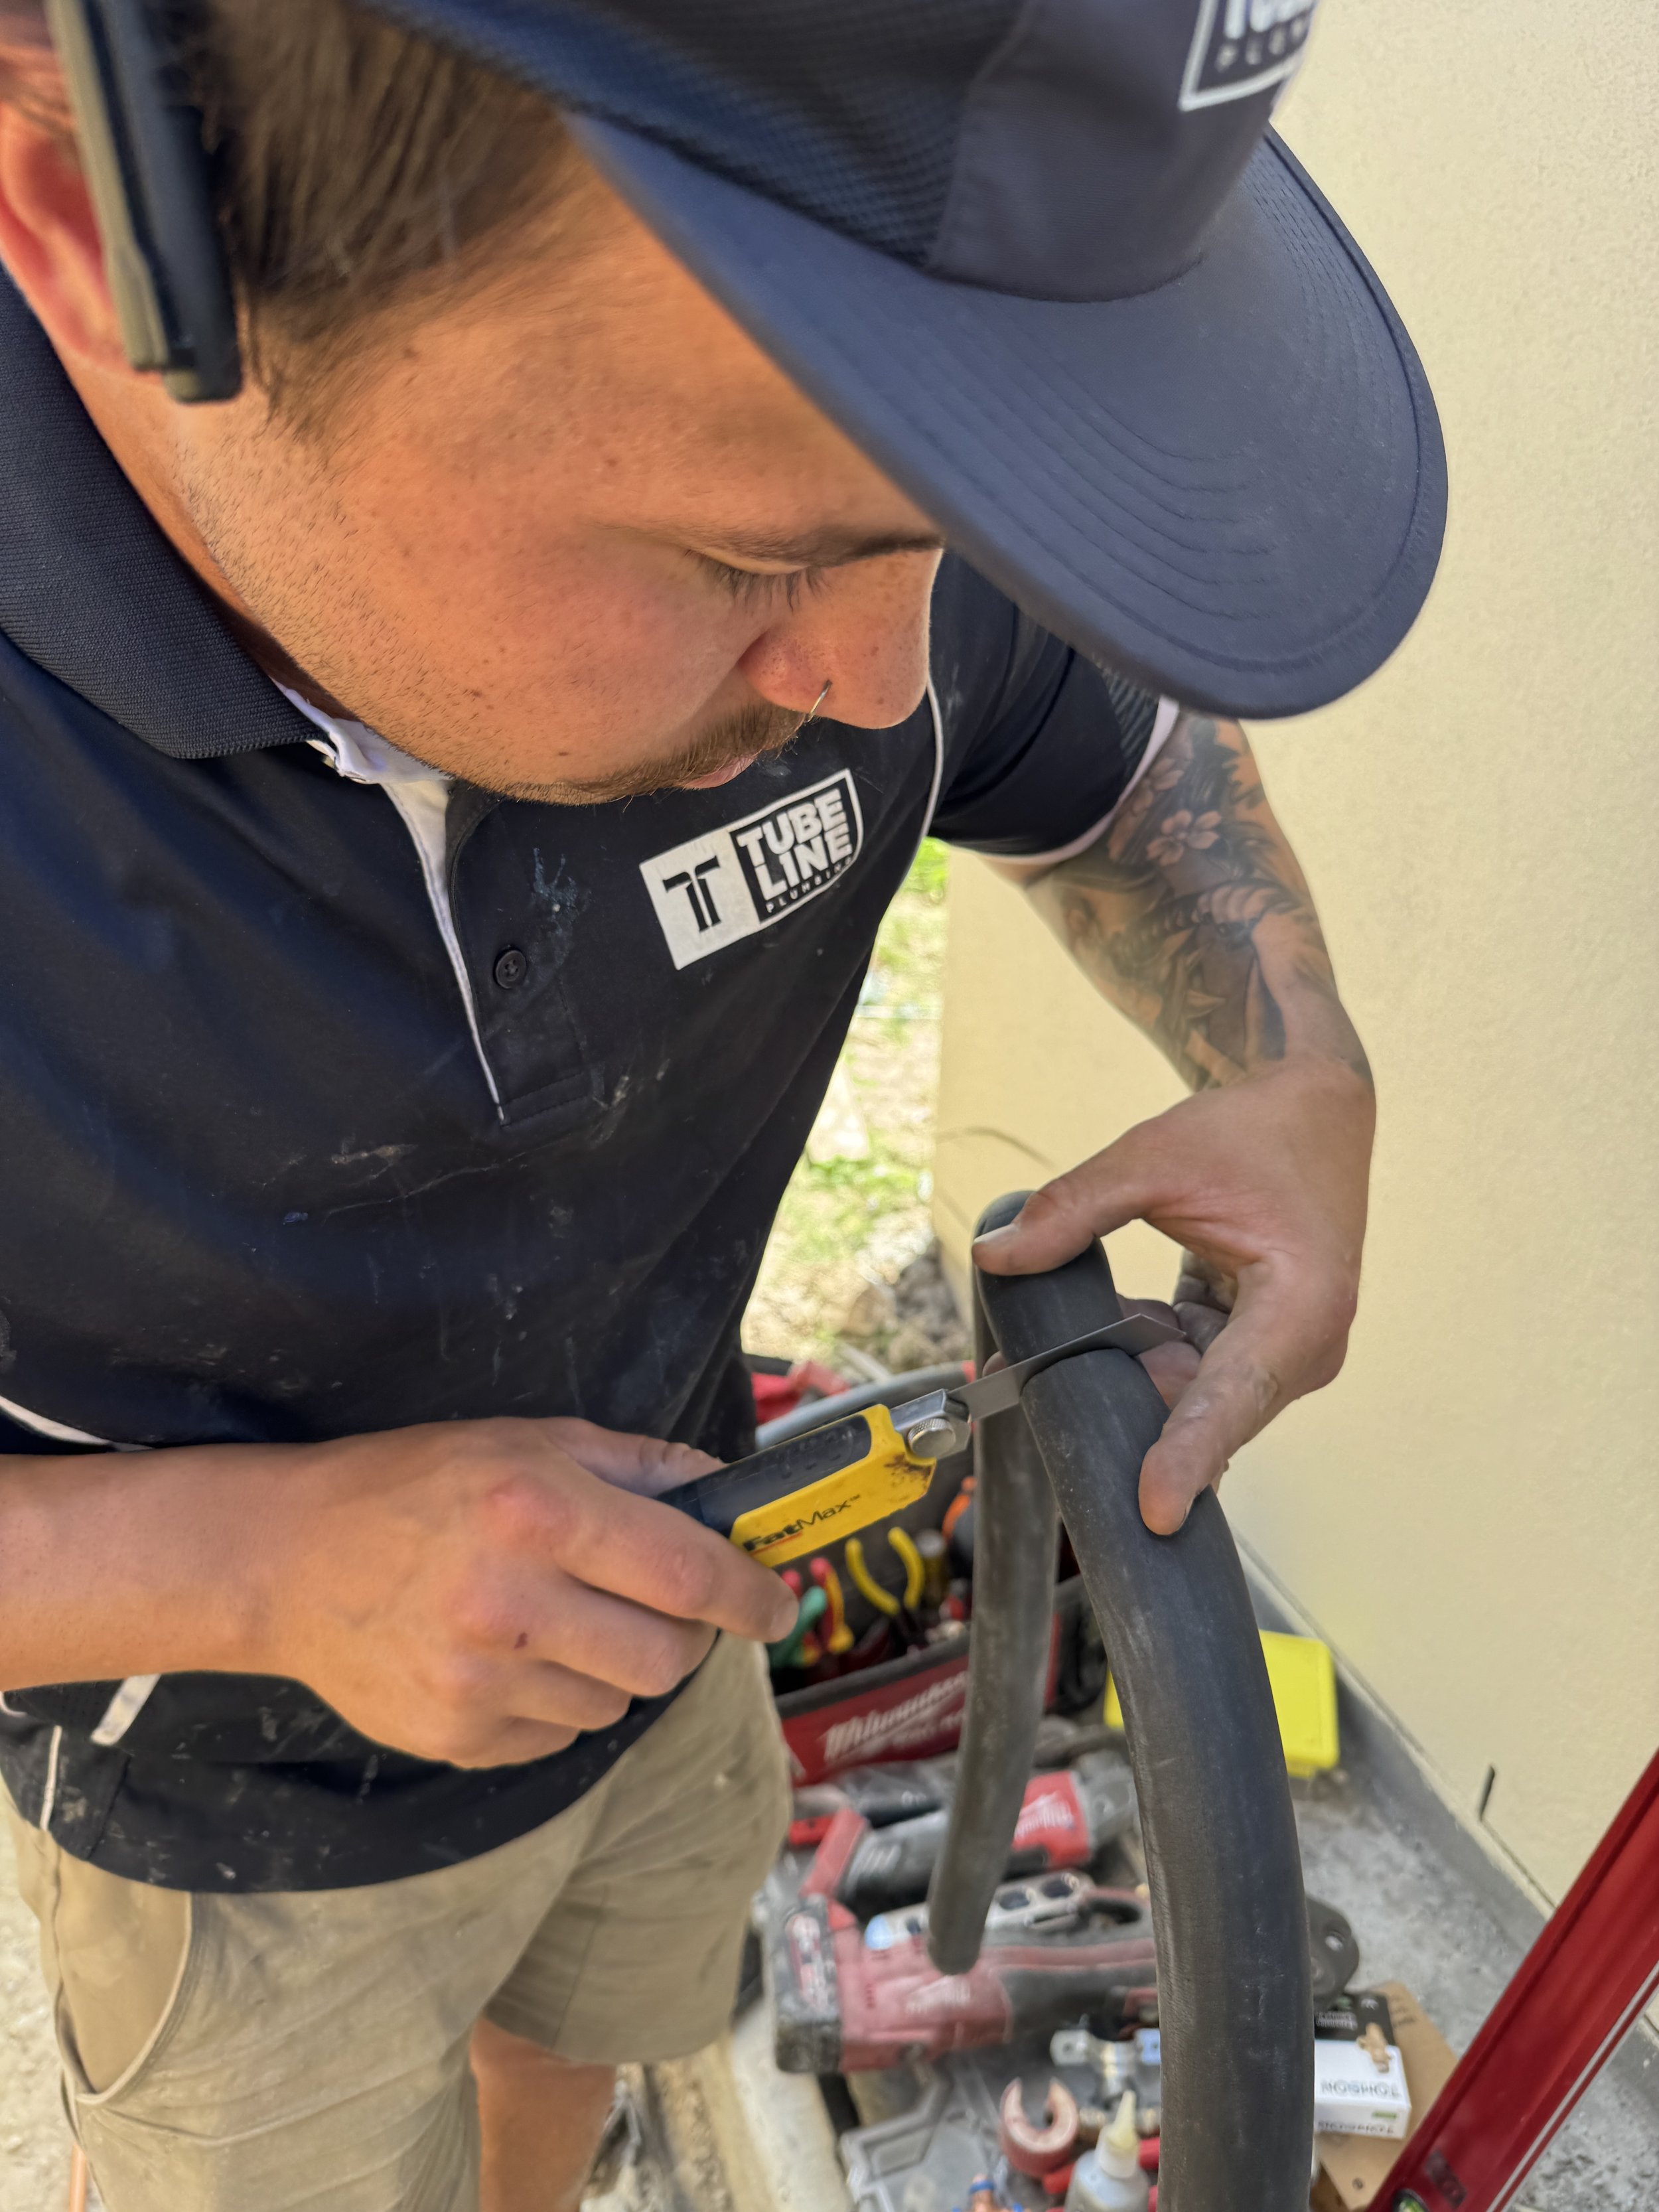
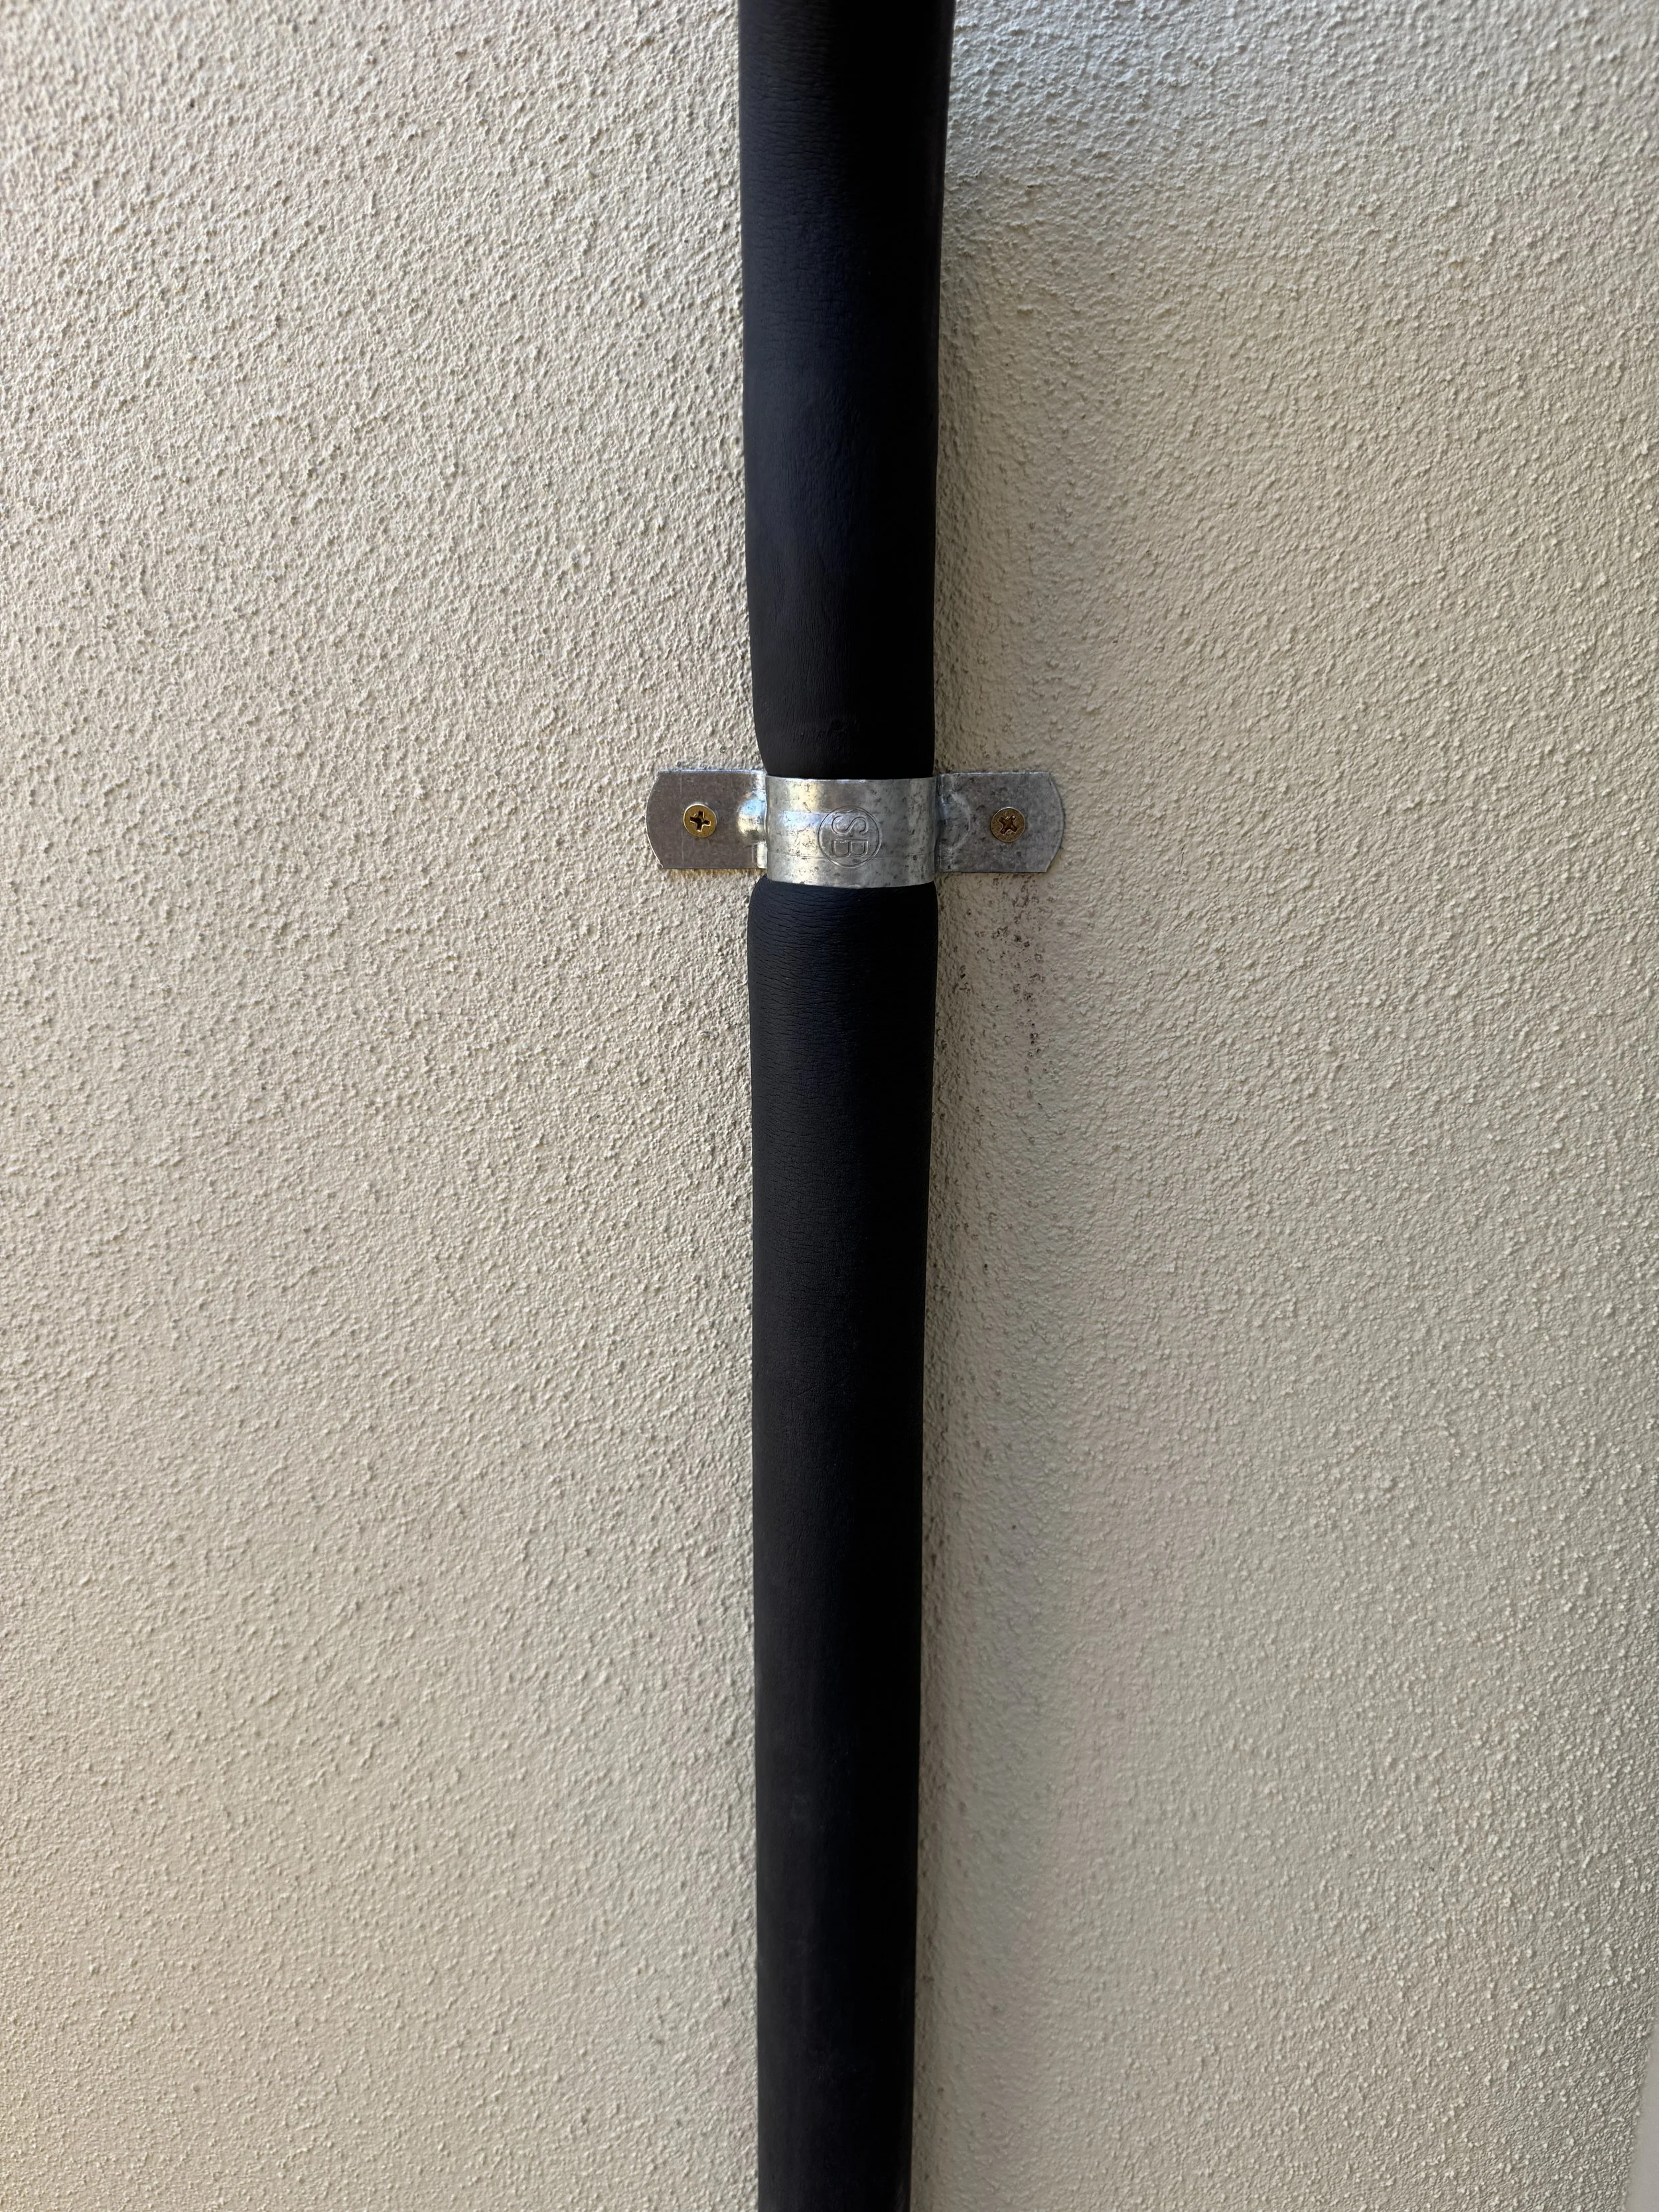
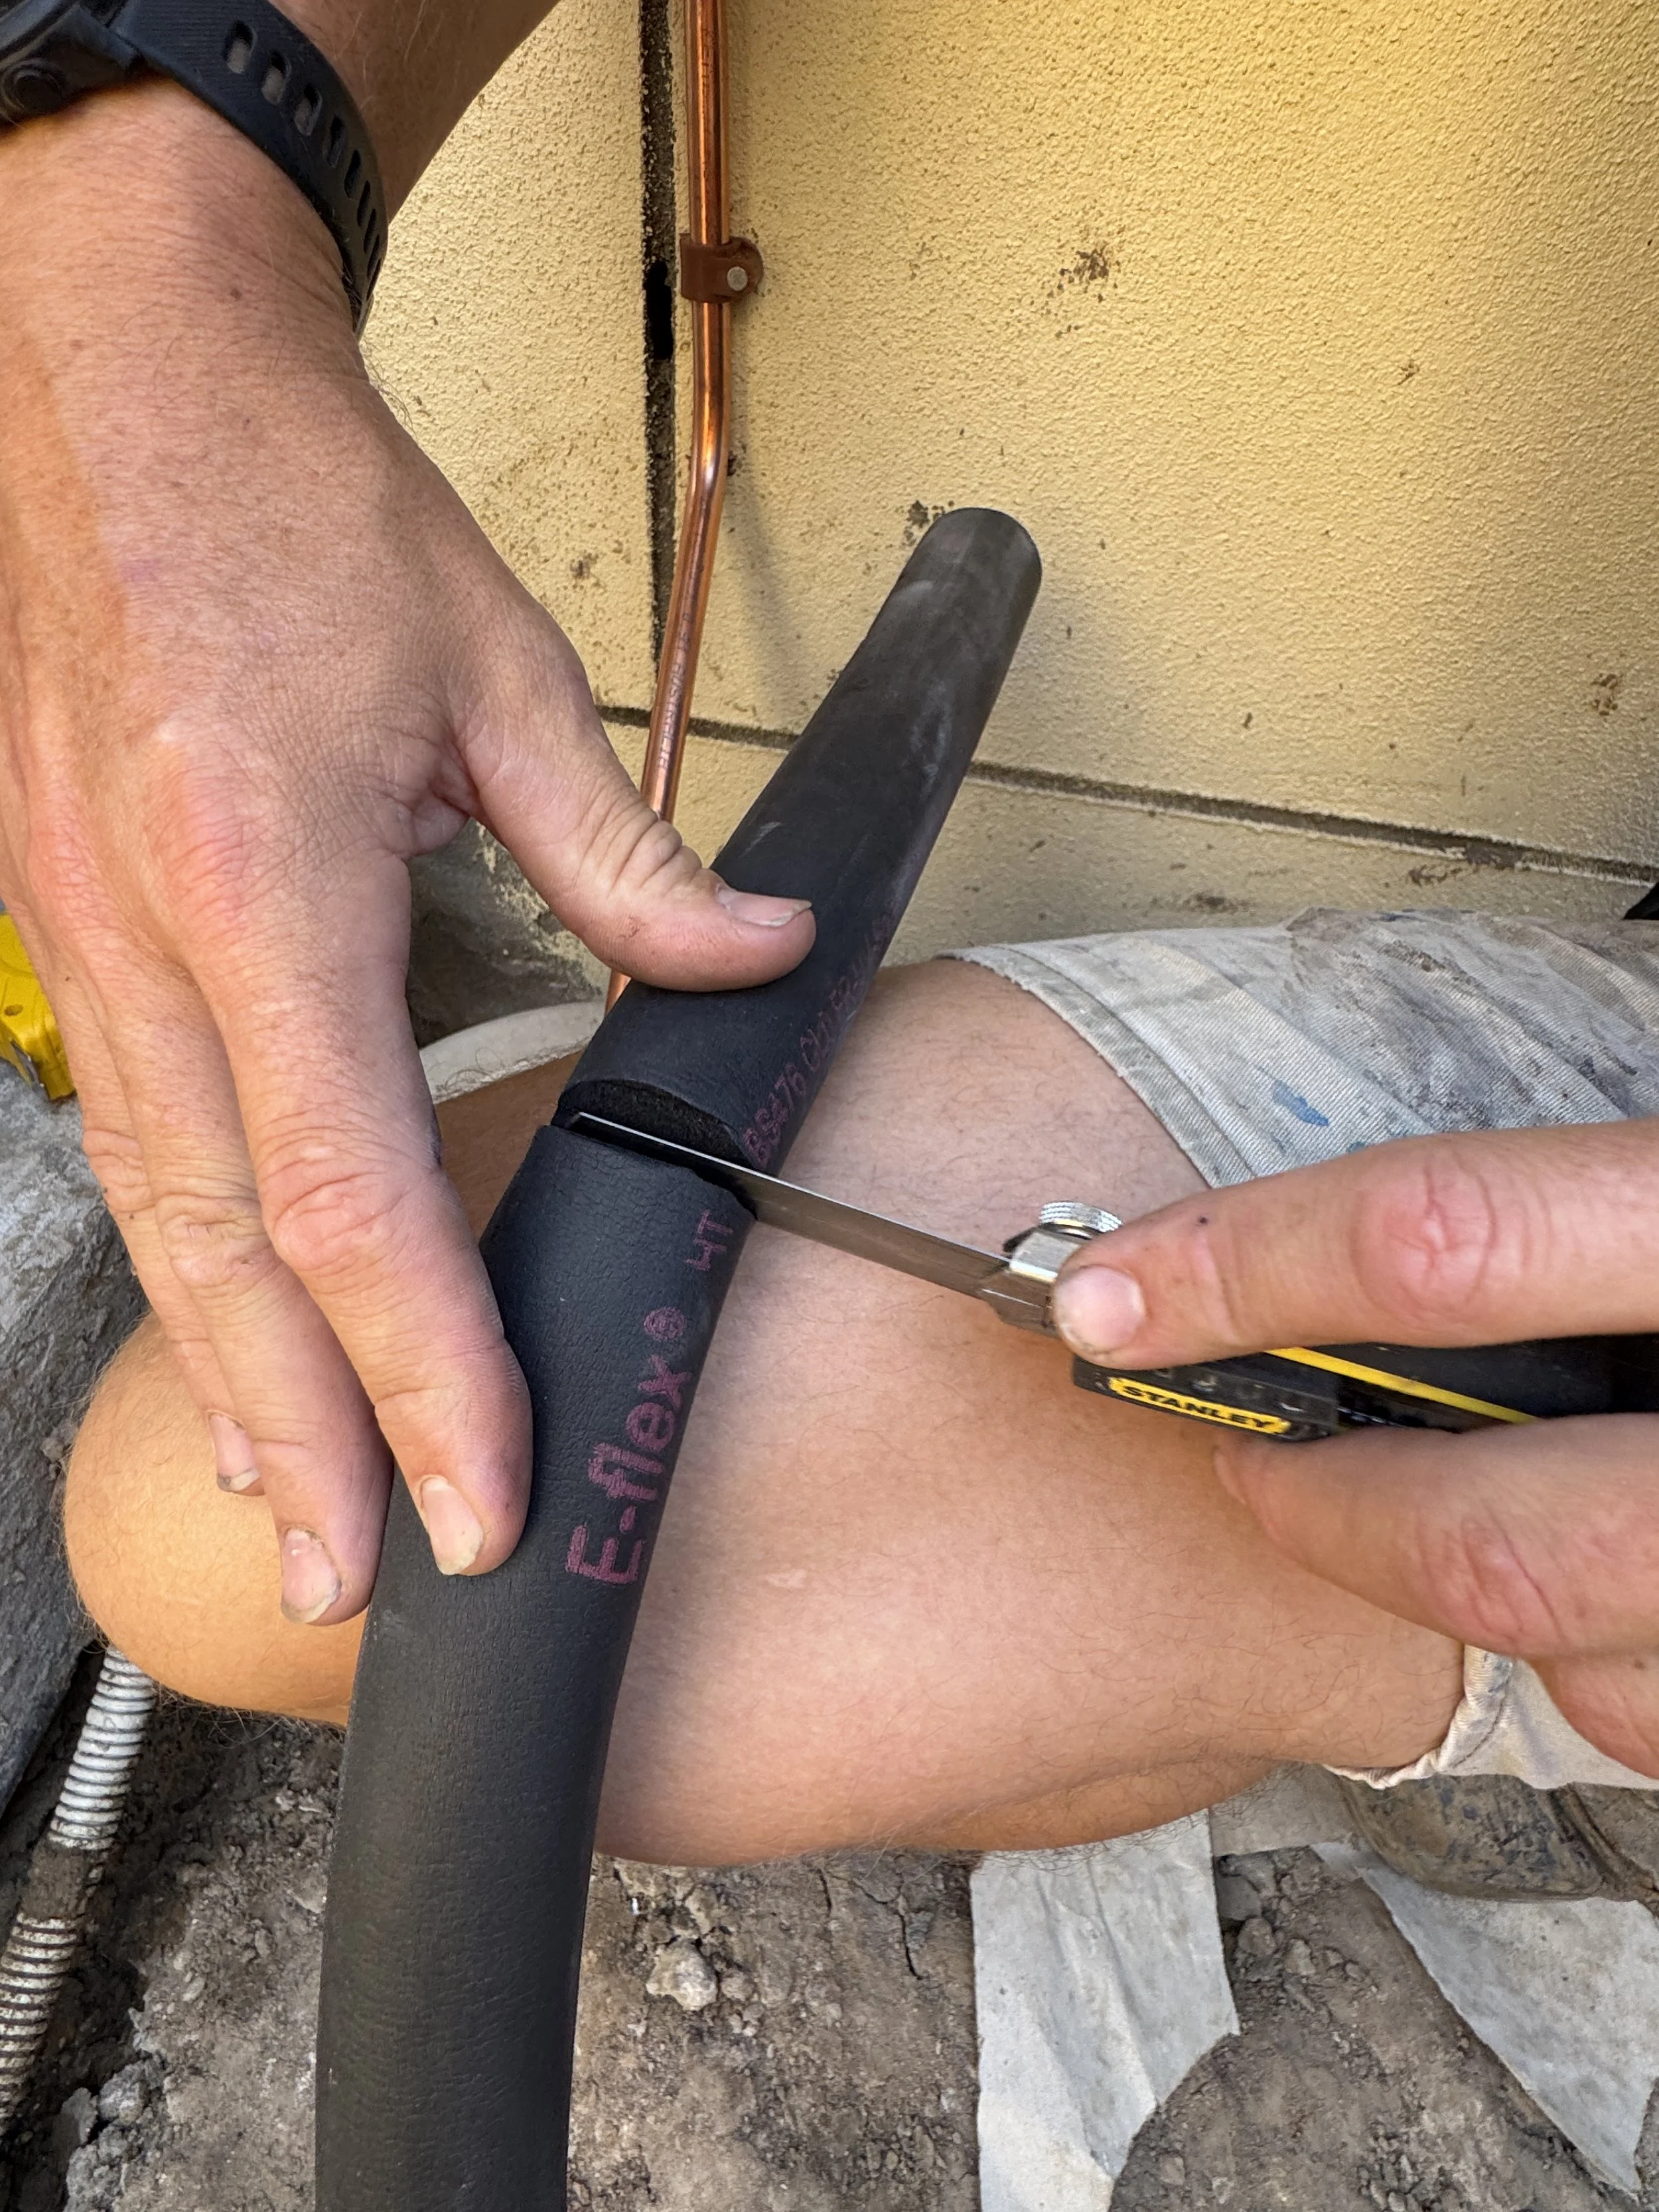
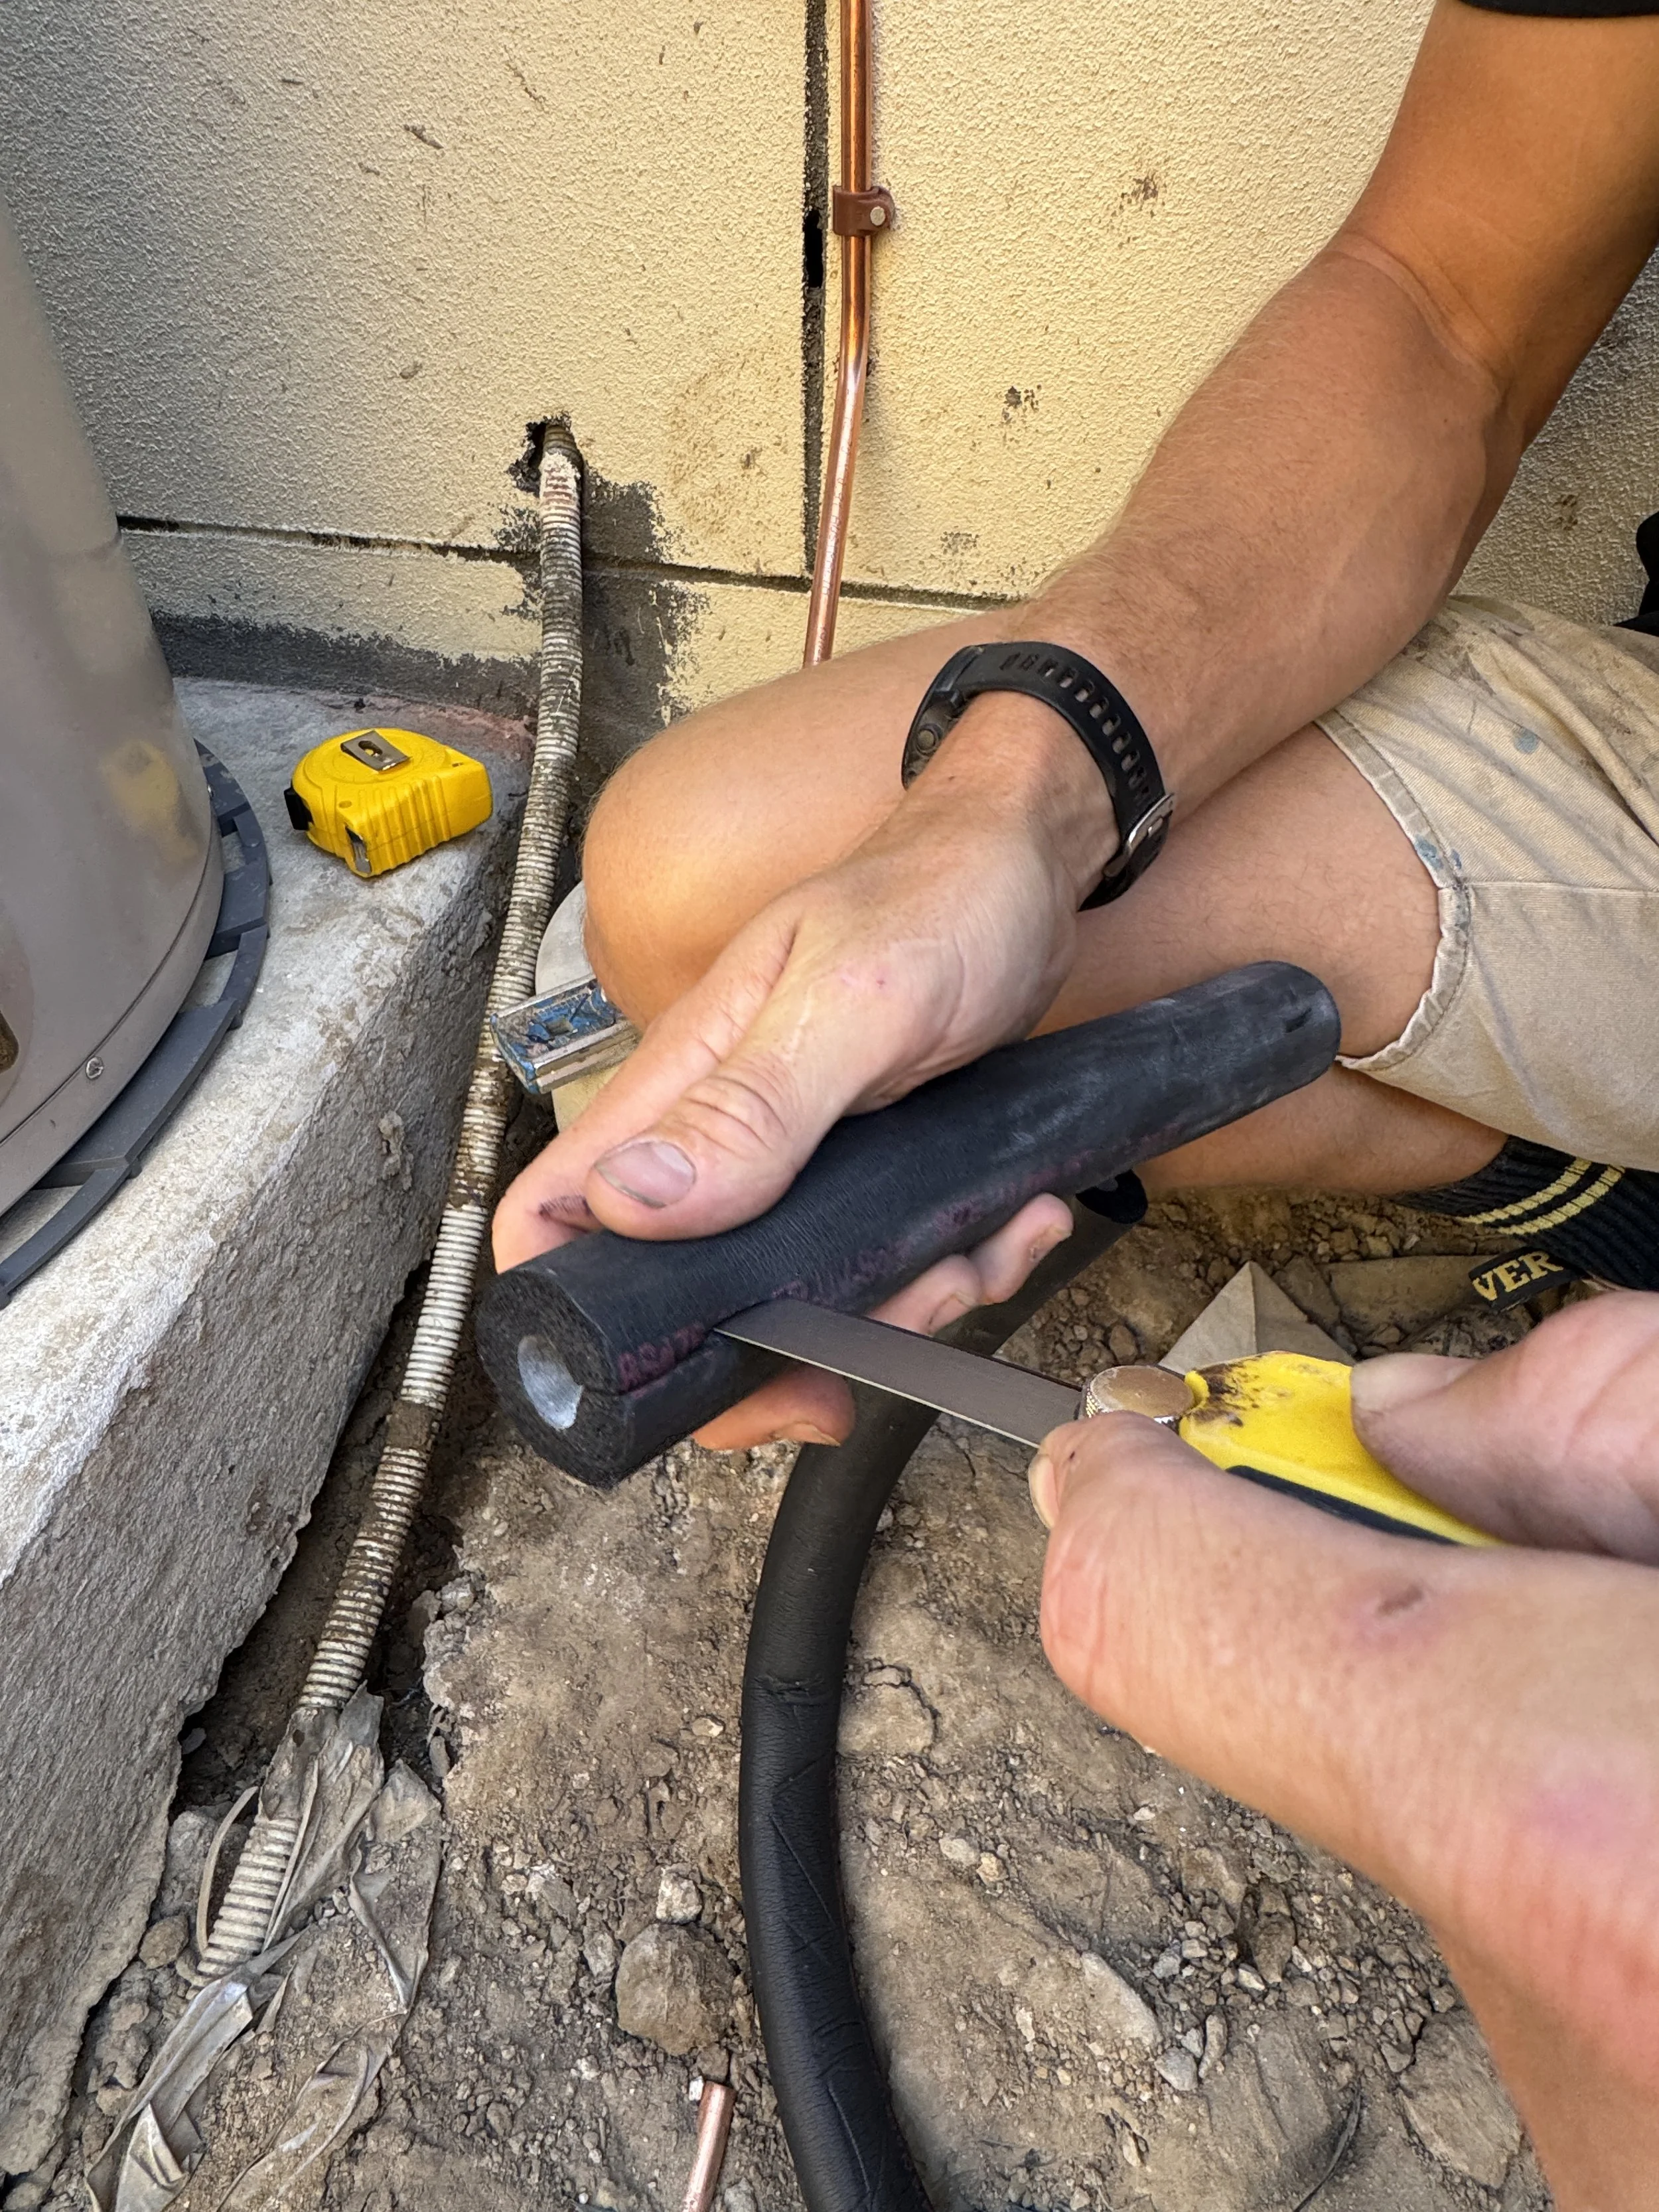
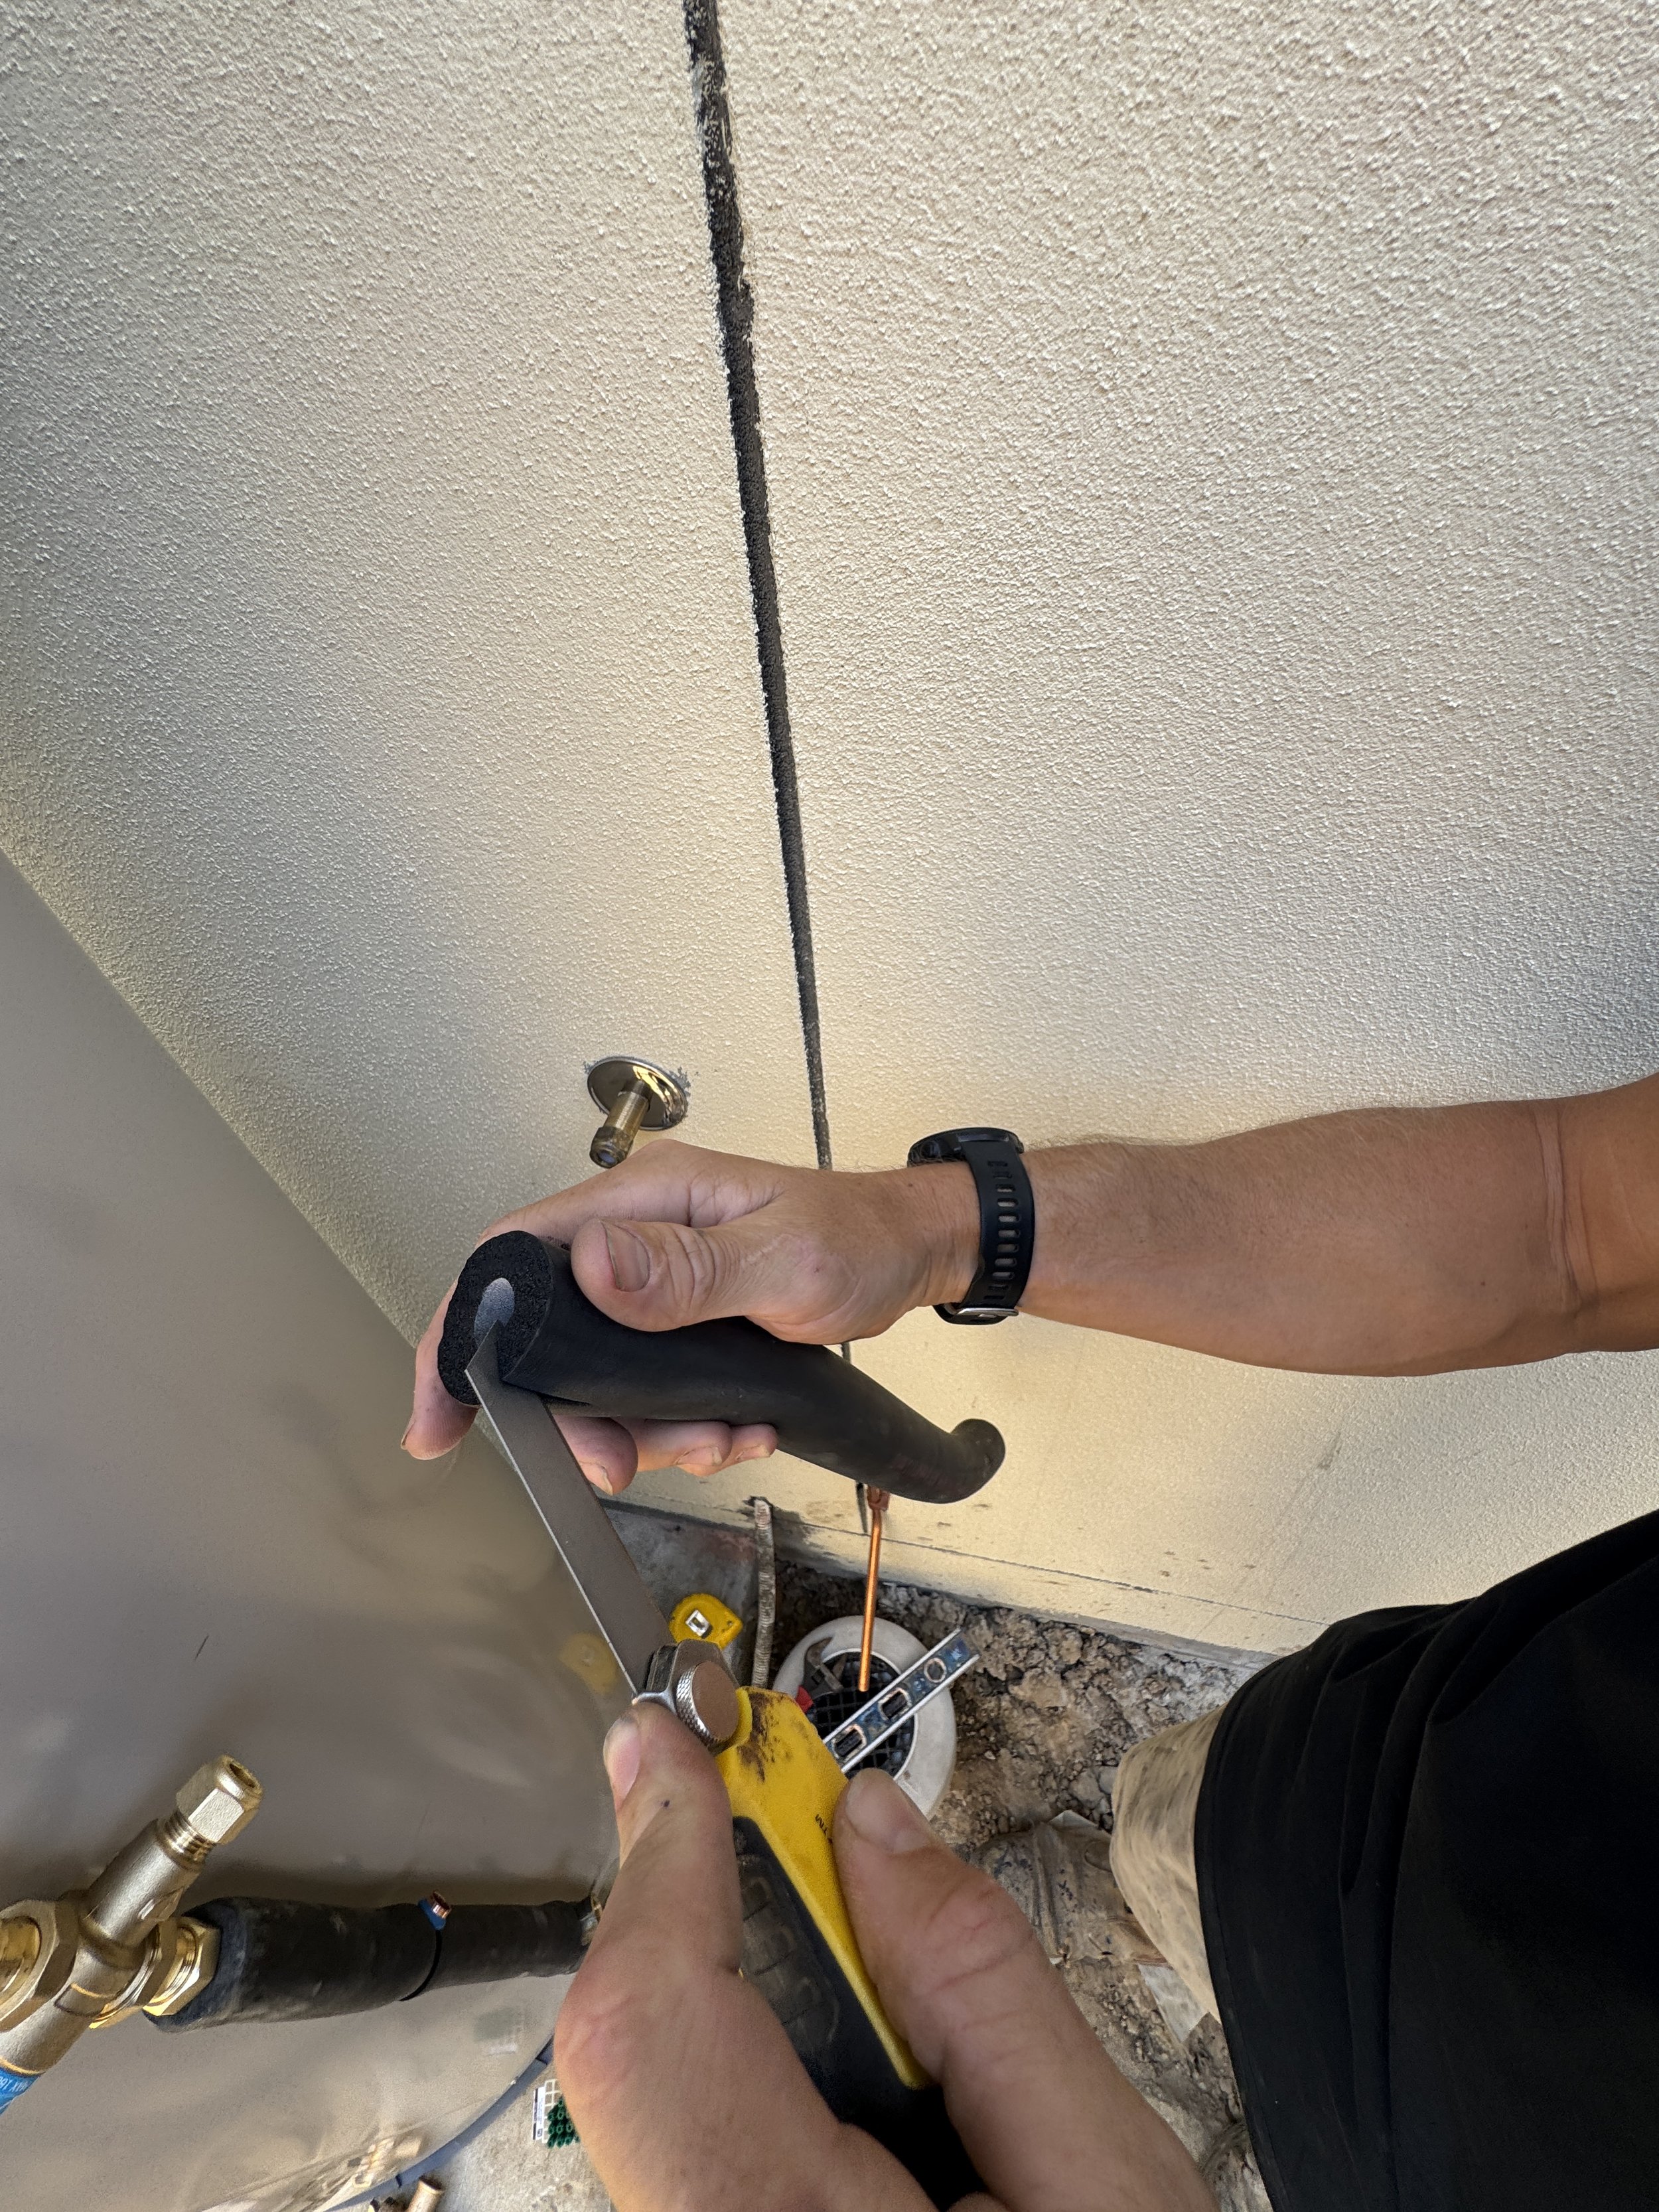
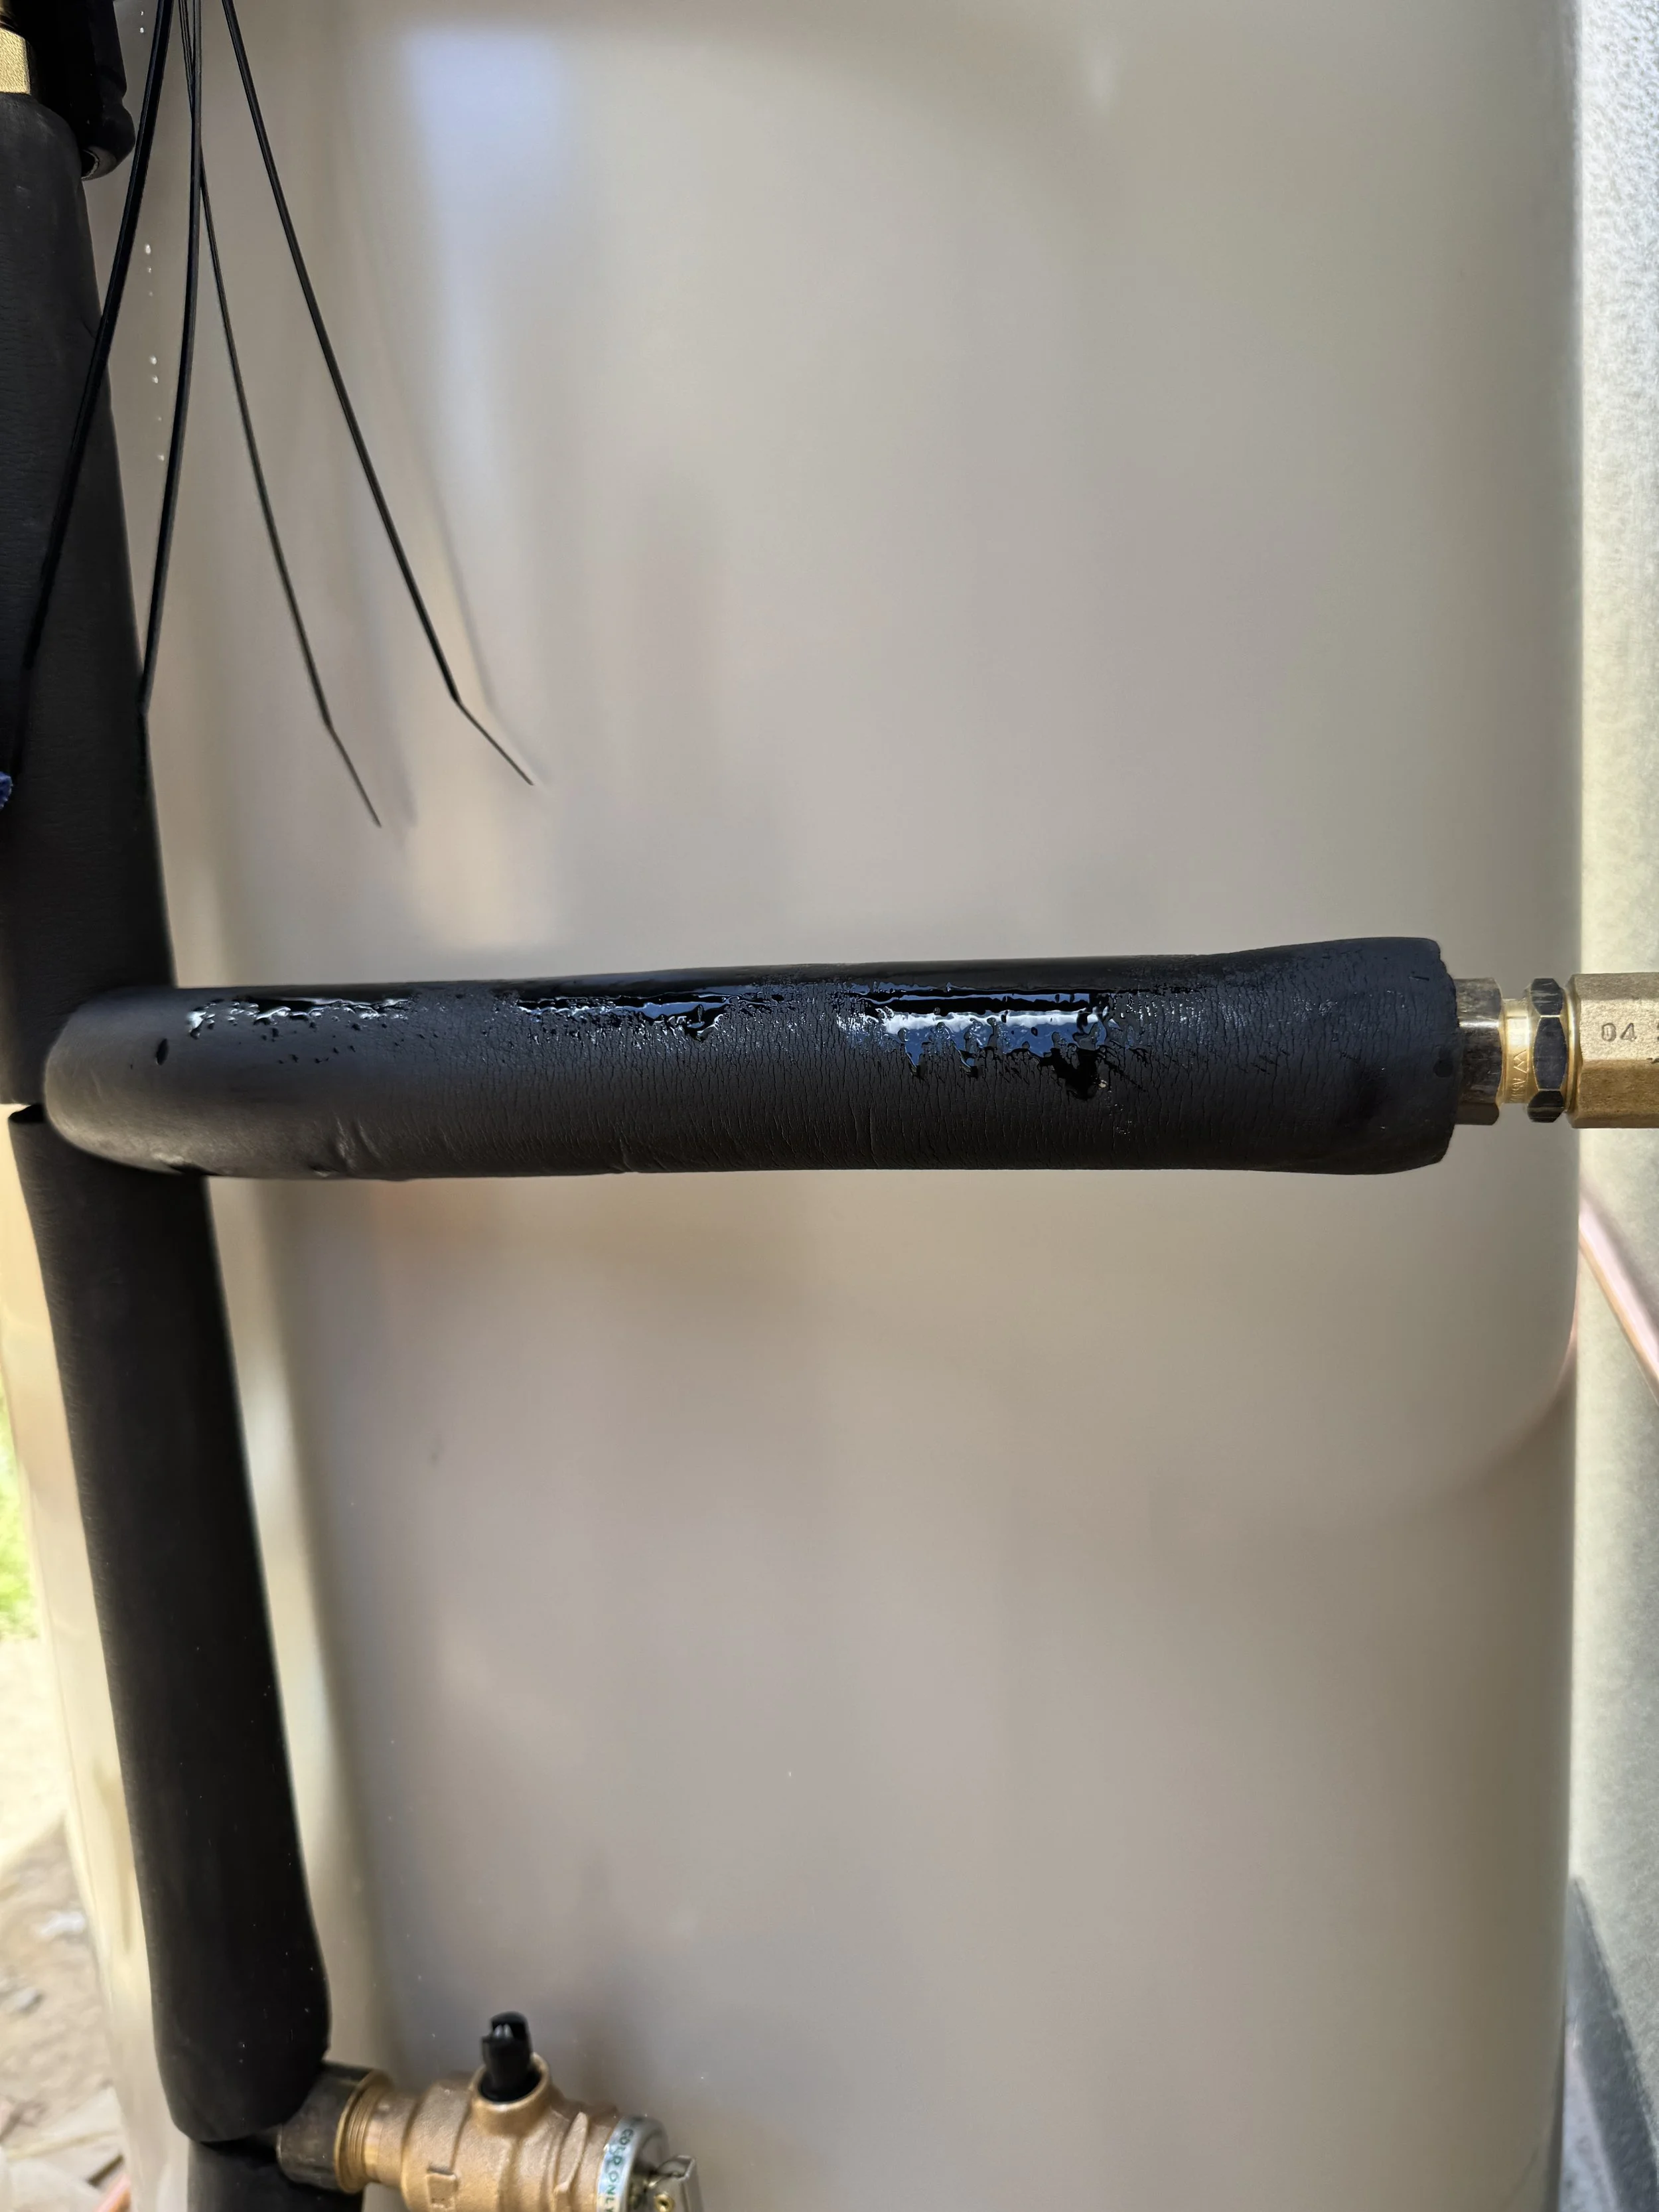
Make sure to cut your lagging with a very sharp knife (you might need to replace your blade or use the bottom of the blade that doesn’t get used much) The lagging is very important as it creates the finished product. If the lagging has big dents or marks in it, use another part or try and turn it away so it isn’t seen.
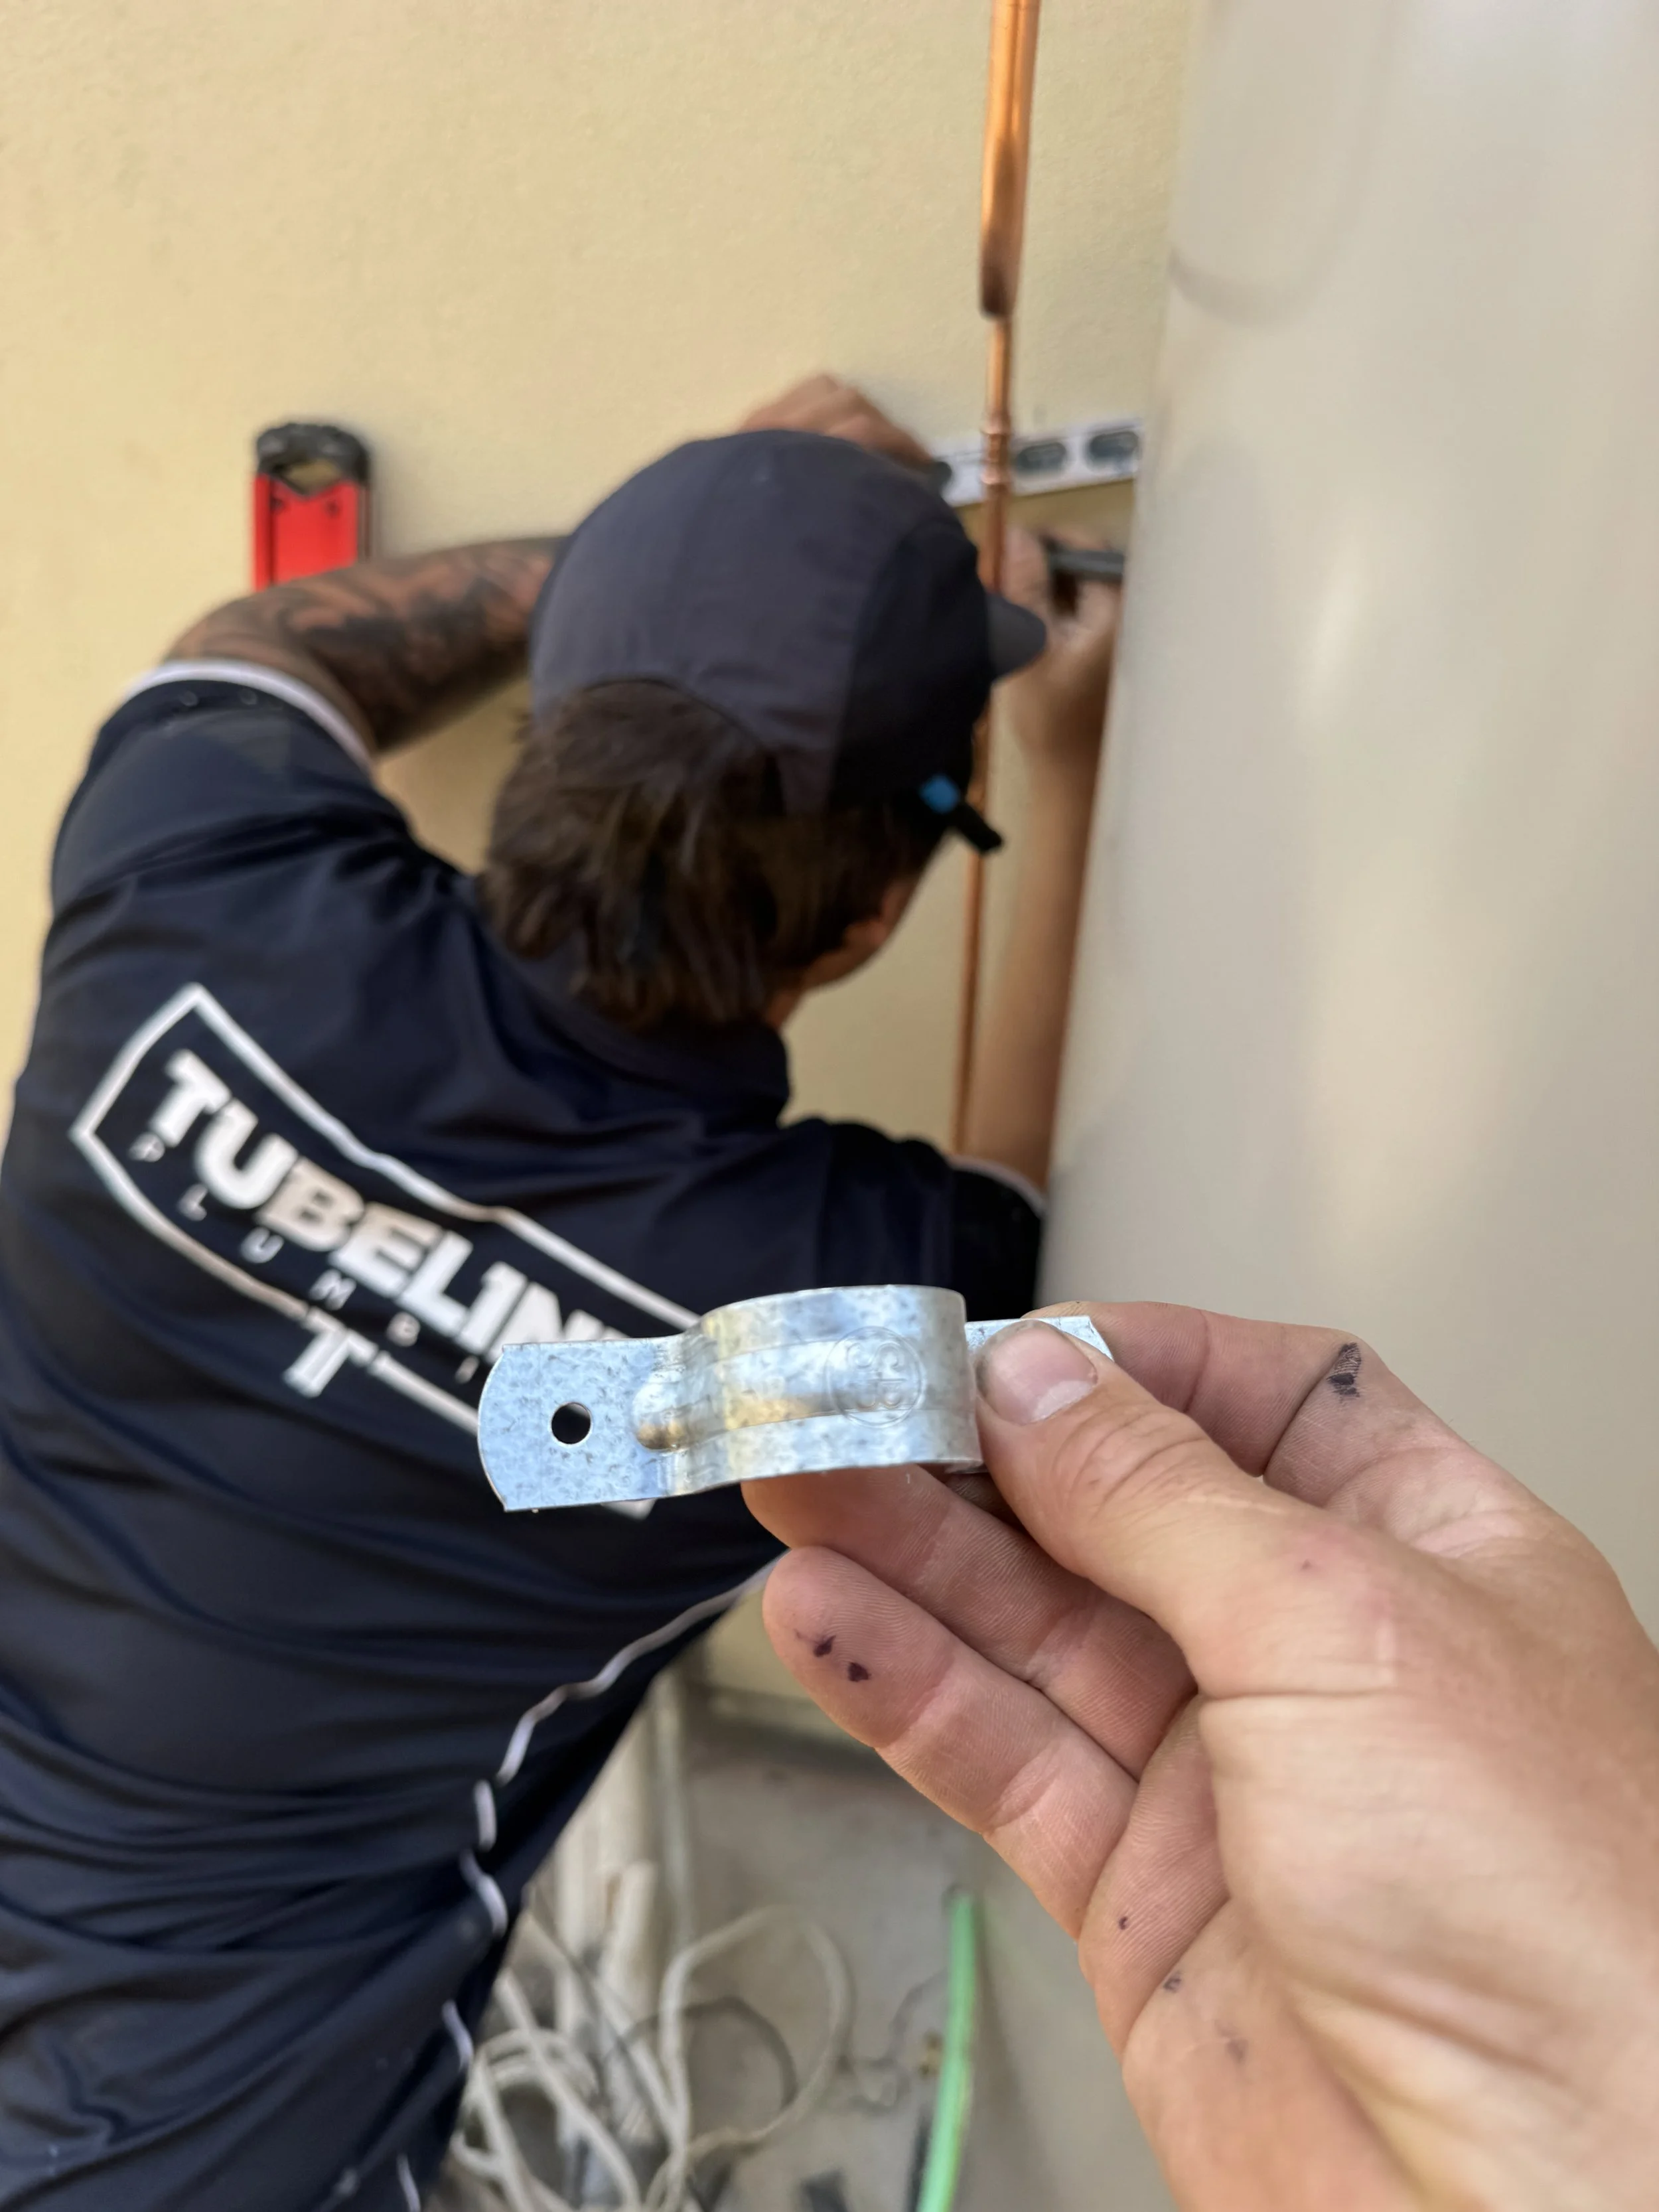
Use a level to mark your holes for any saddles requiring 2 screws. Very important.
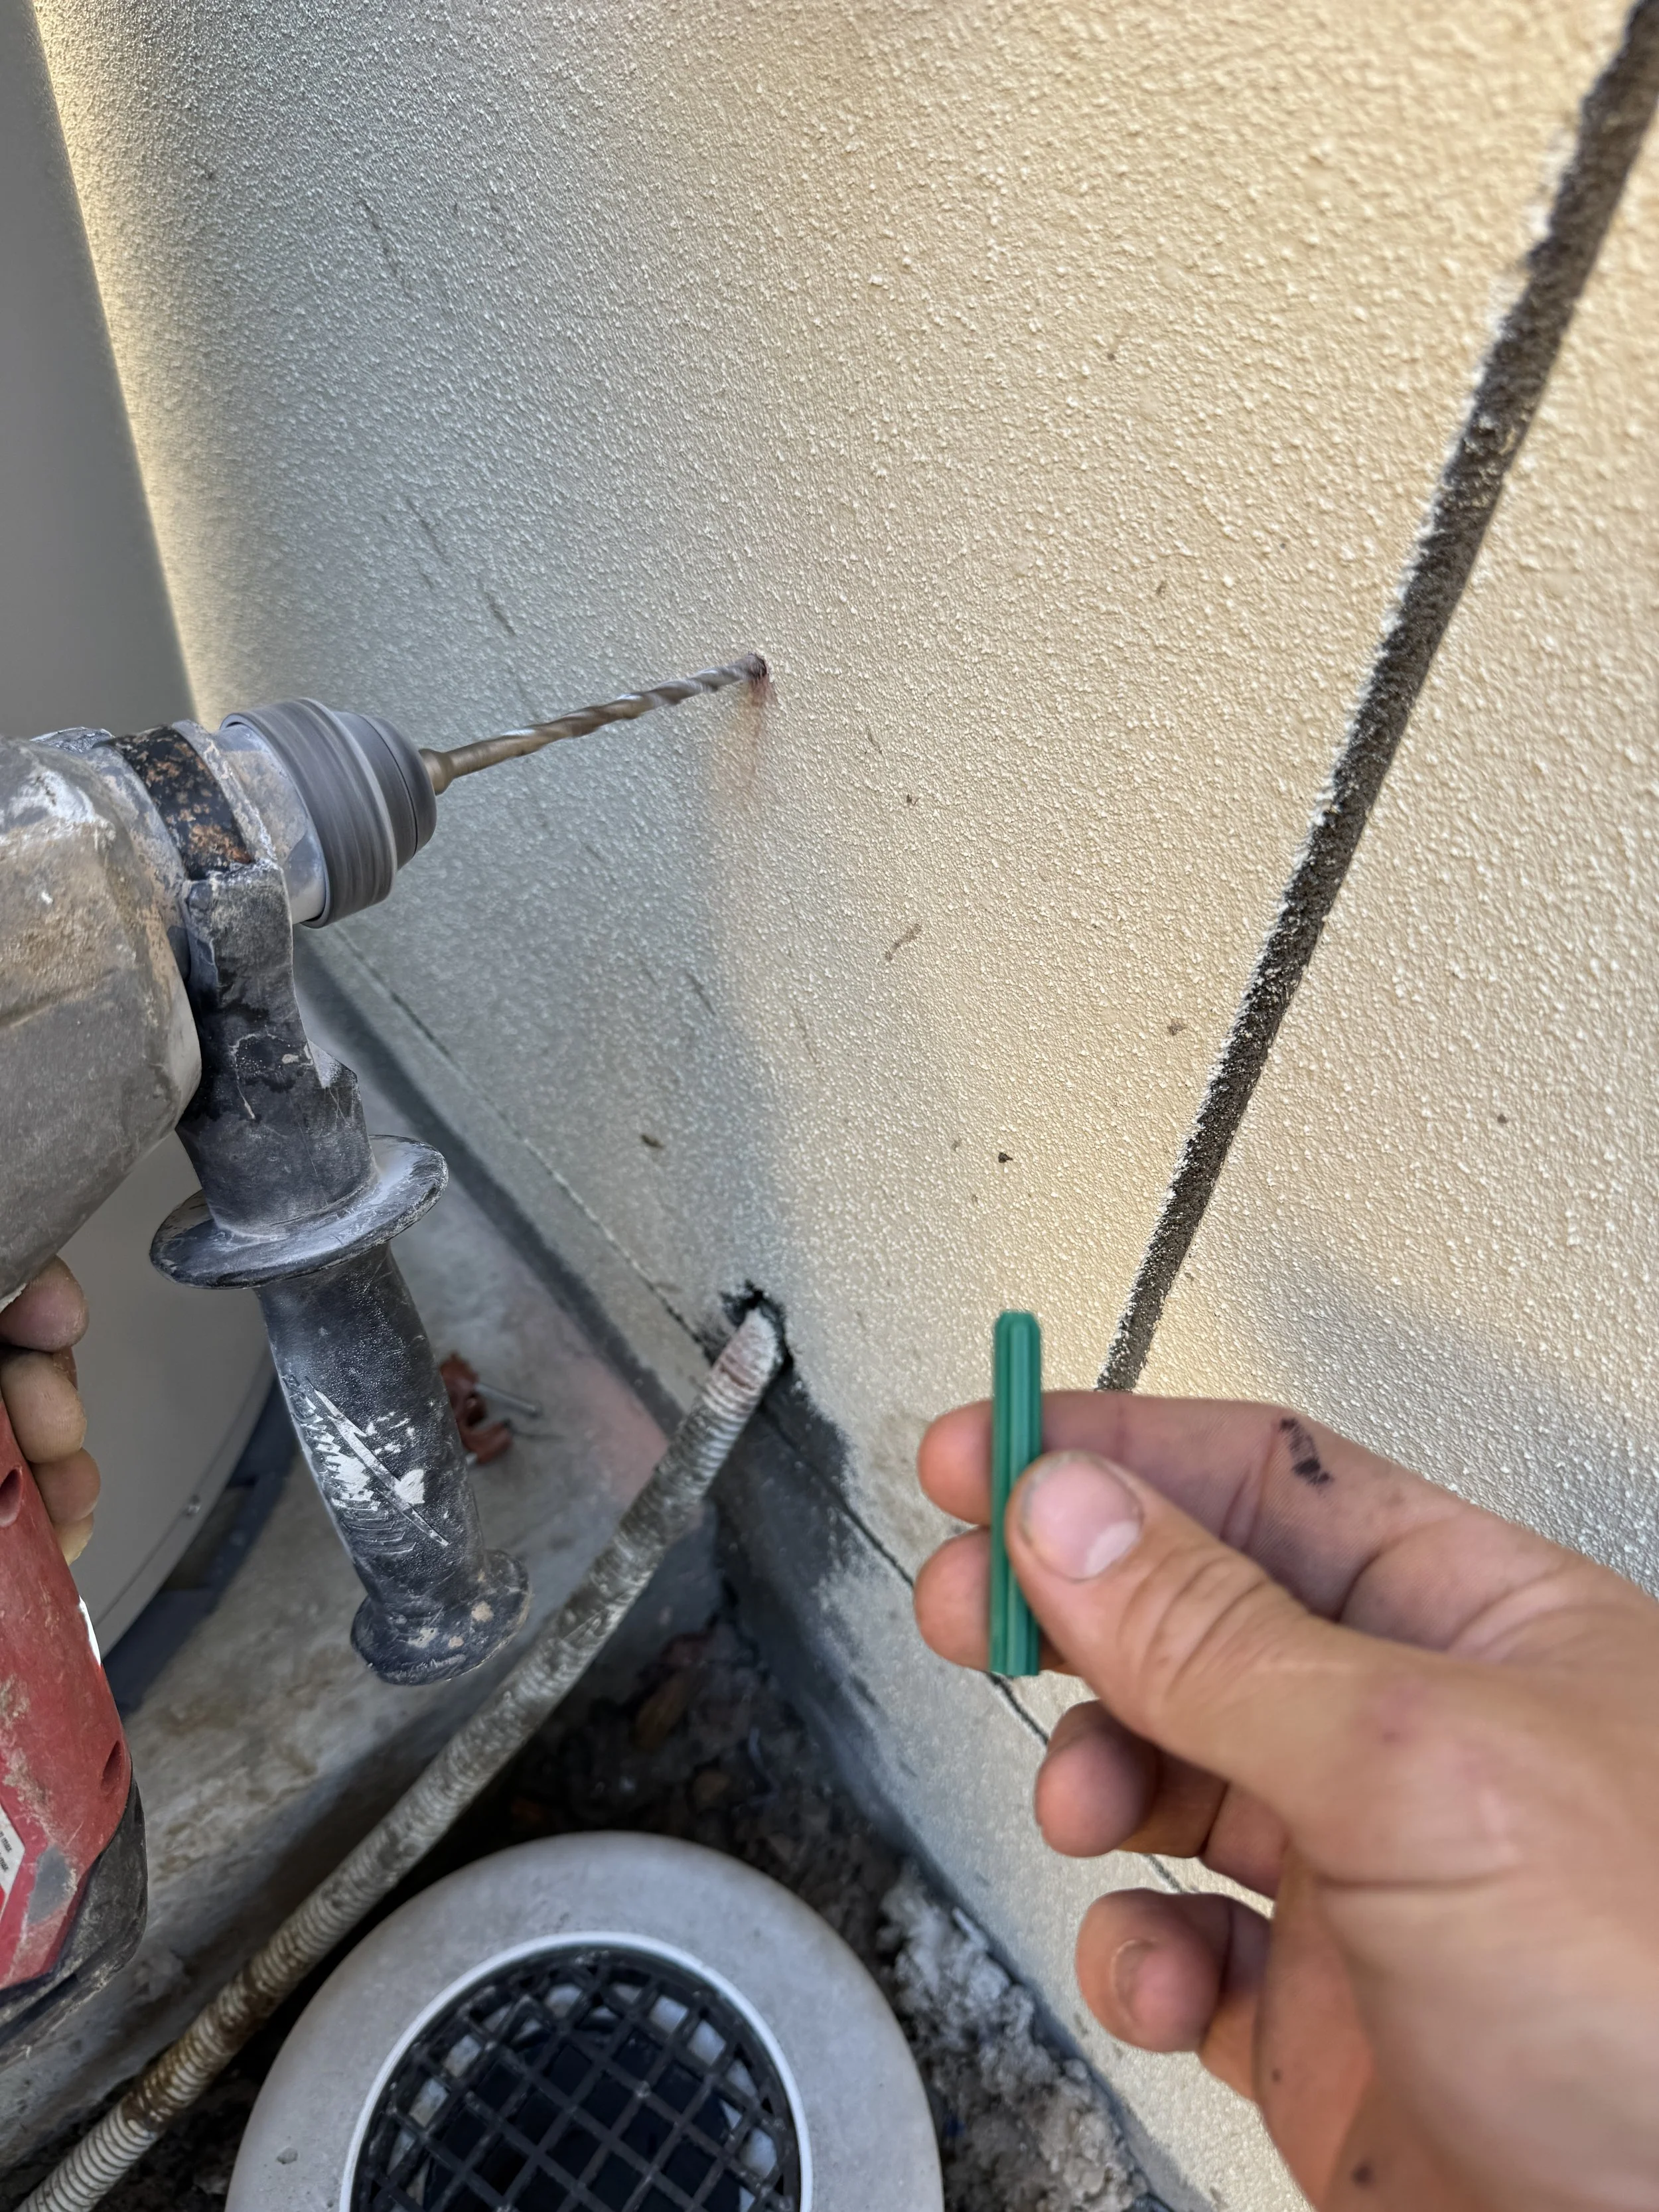
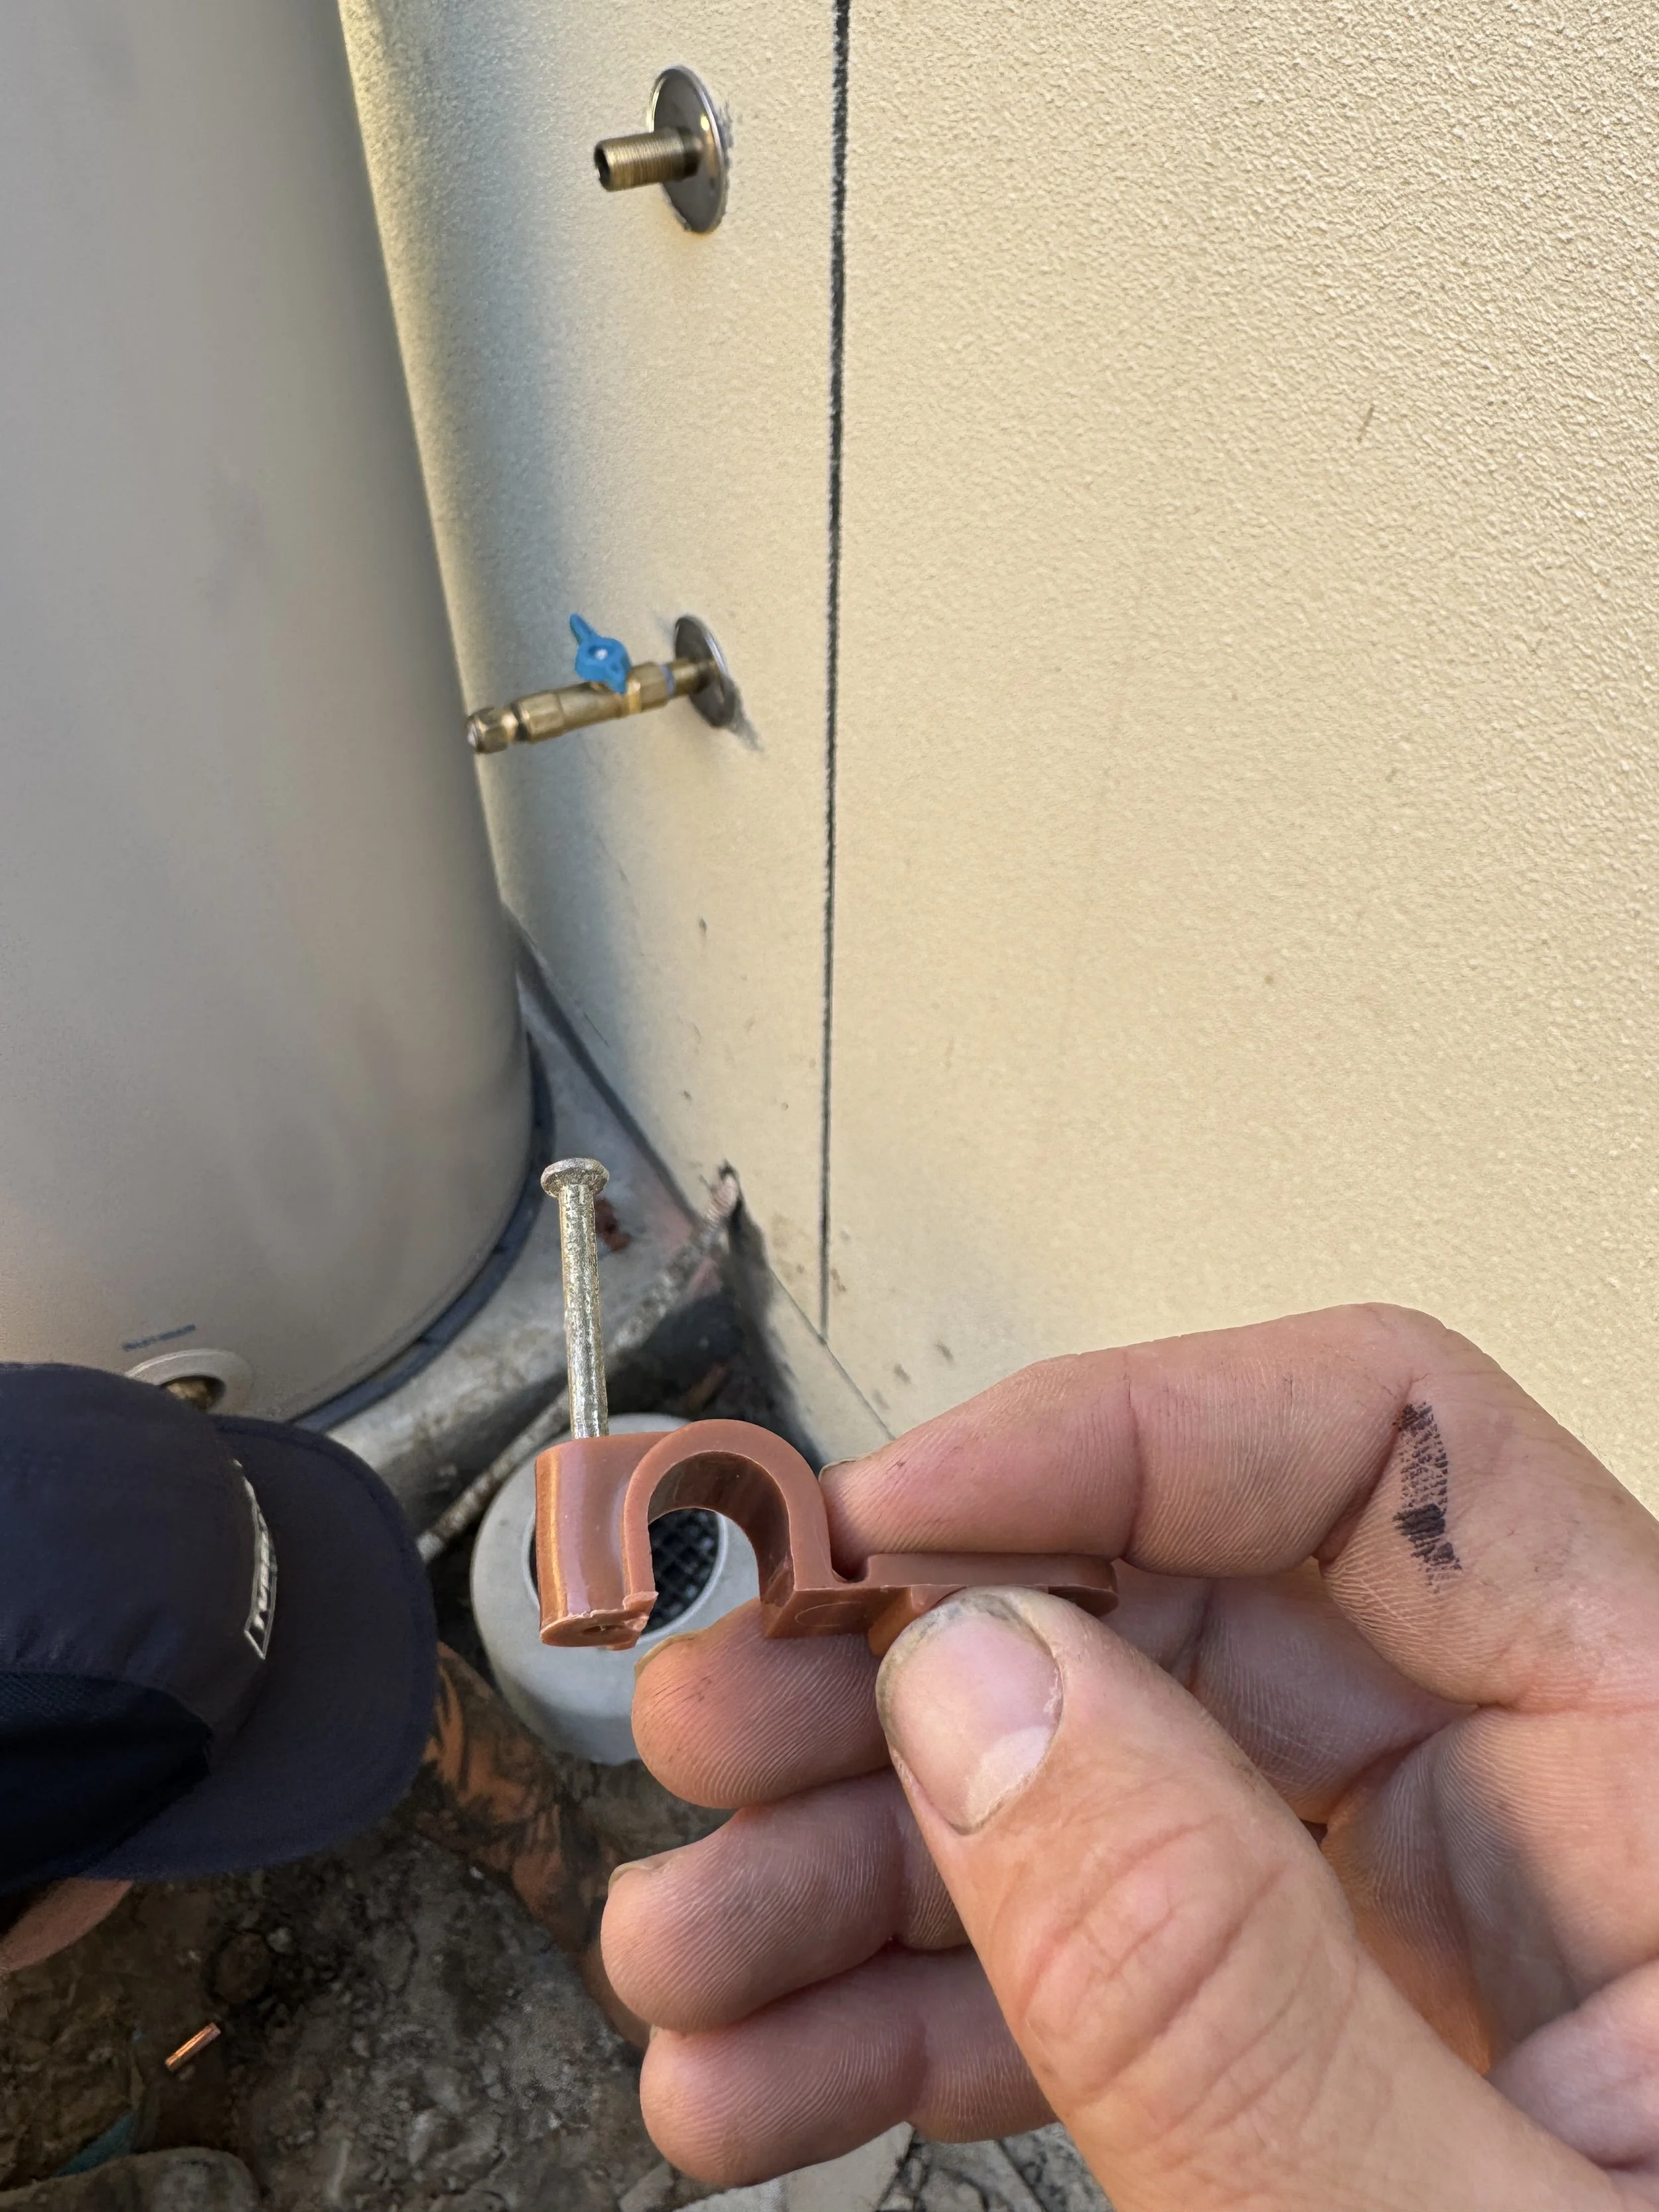
Green 6mm plugs into bricks walls. For render, you may not want to use the hammer function on your drill as this can cause the render to blow off. For these holes we didn’t use hammer at all and it went in easily.
Quickclips for exposed pipe on hot water systems.
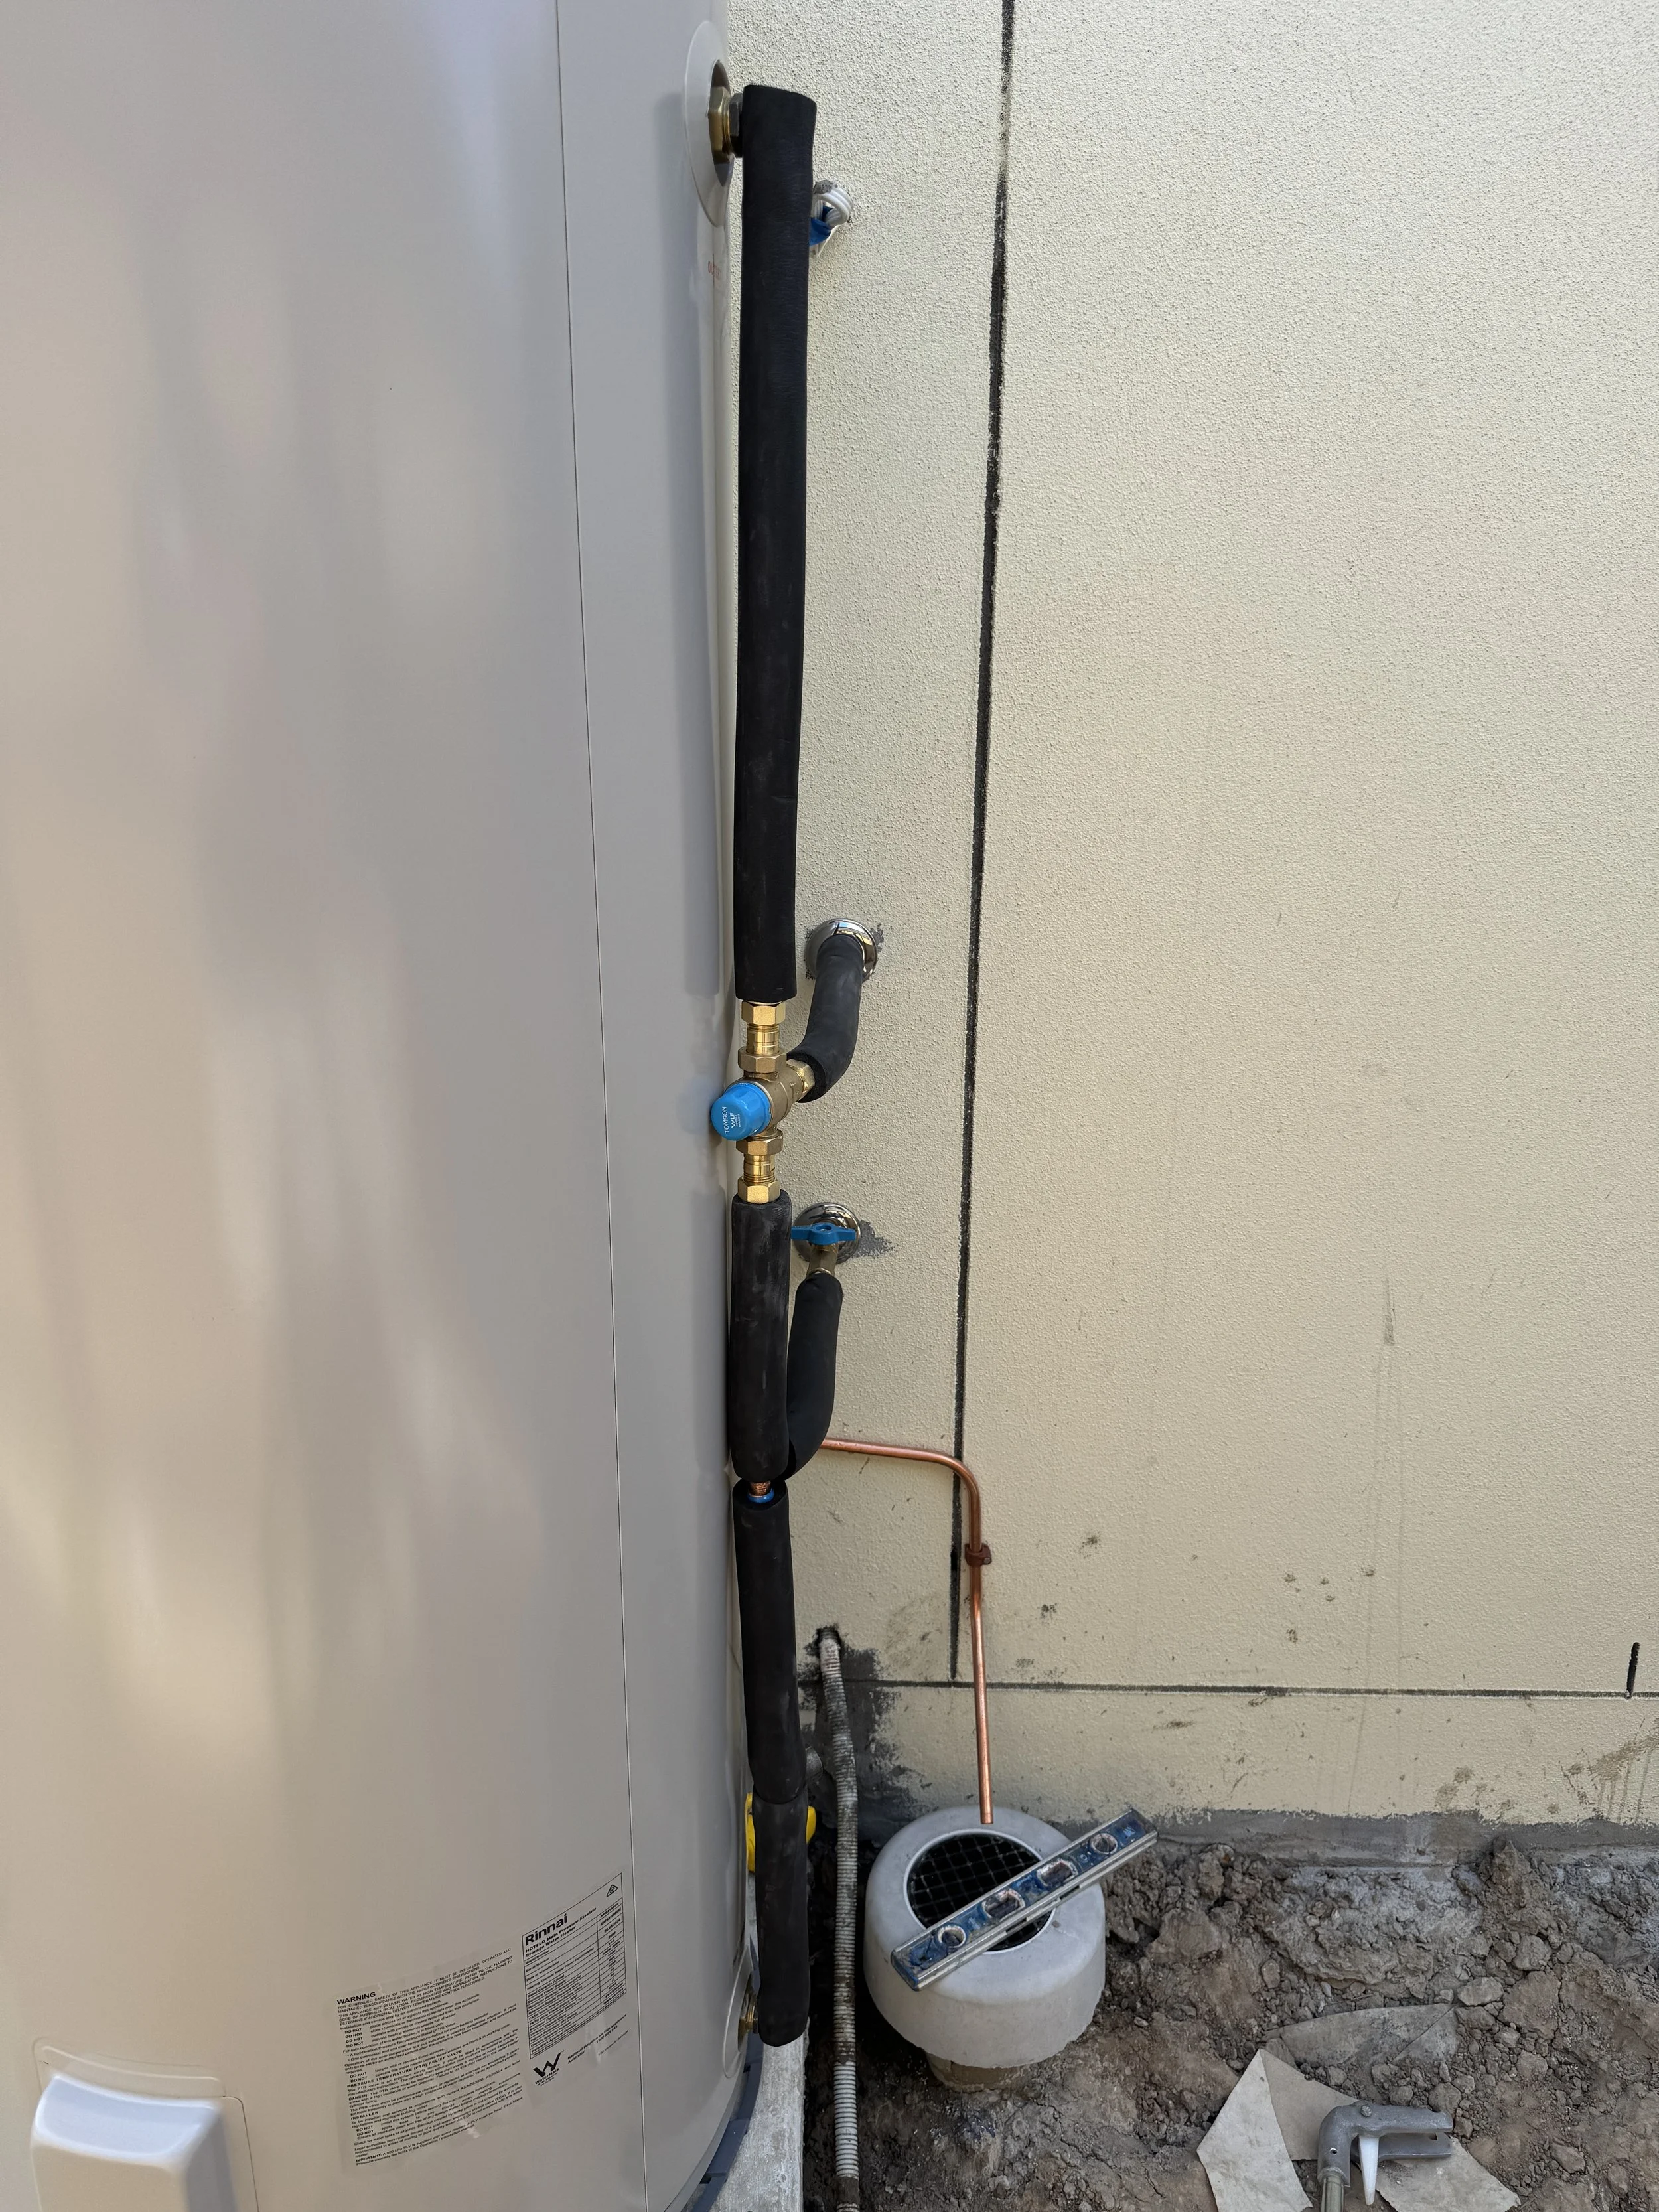
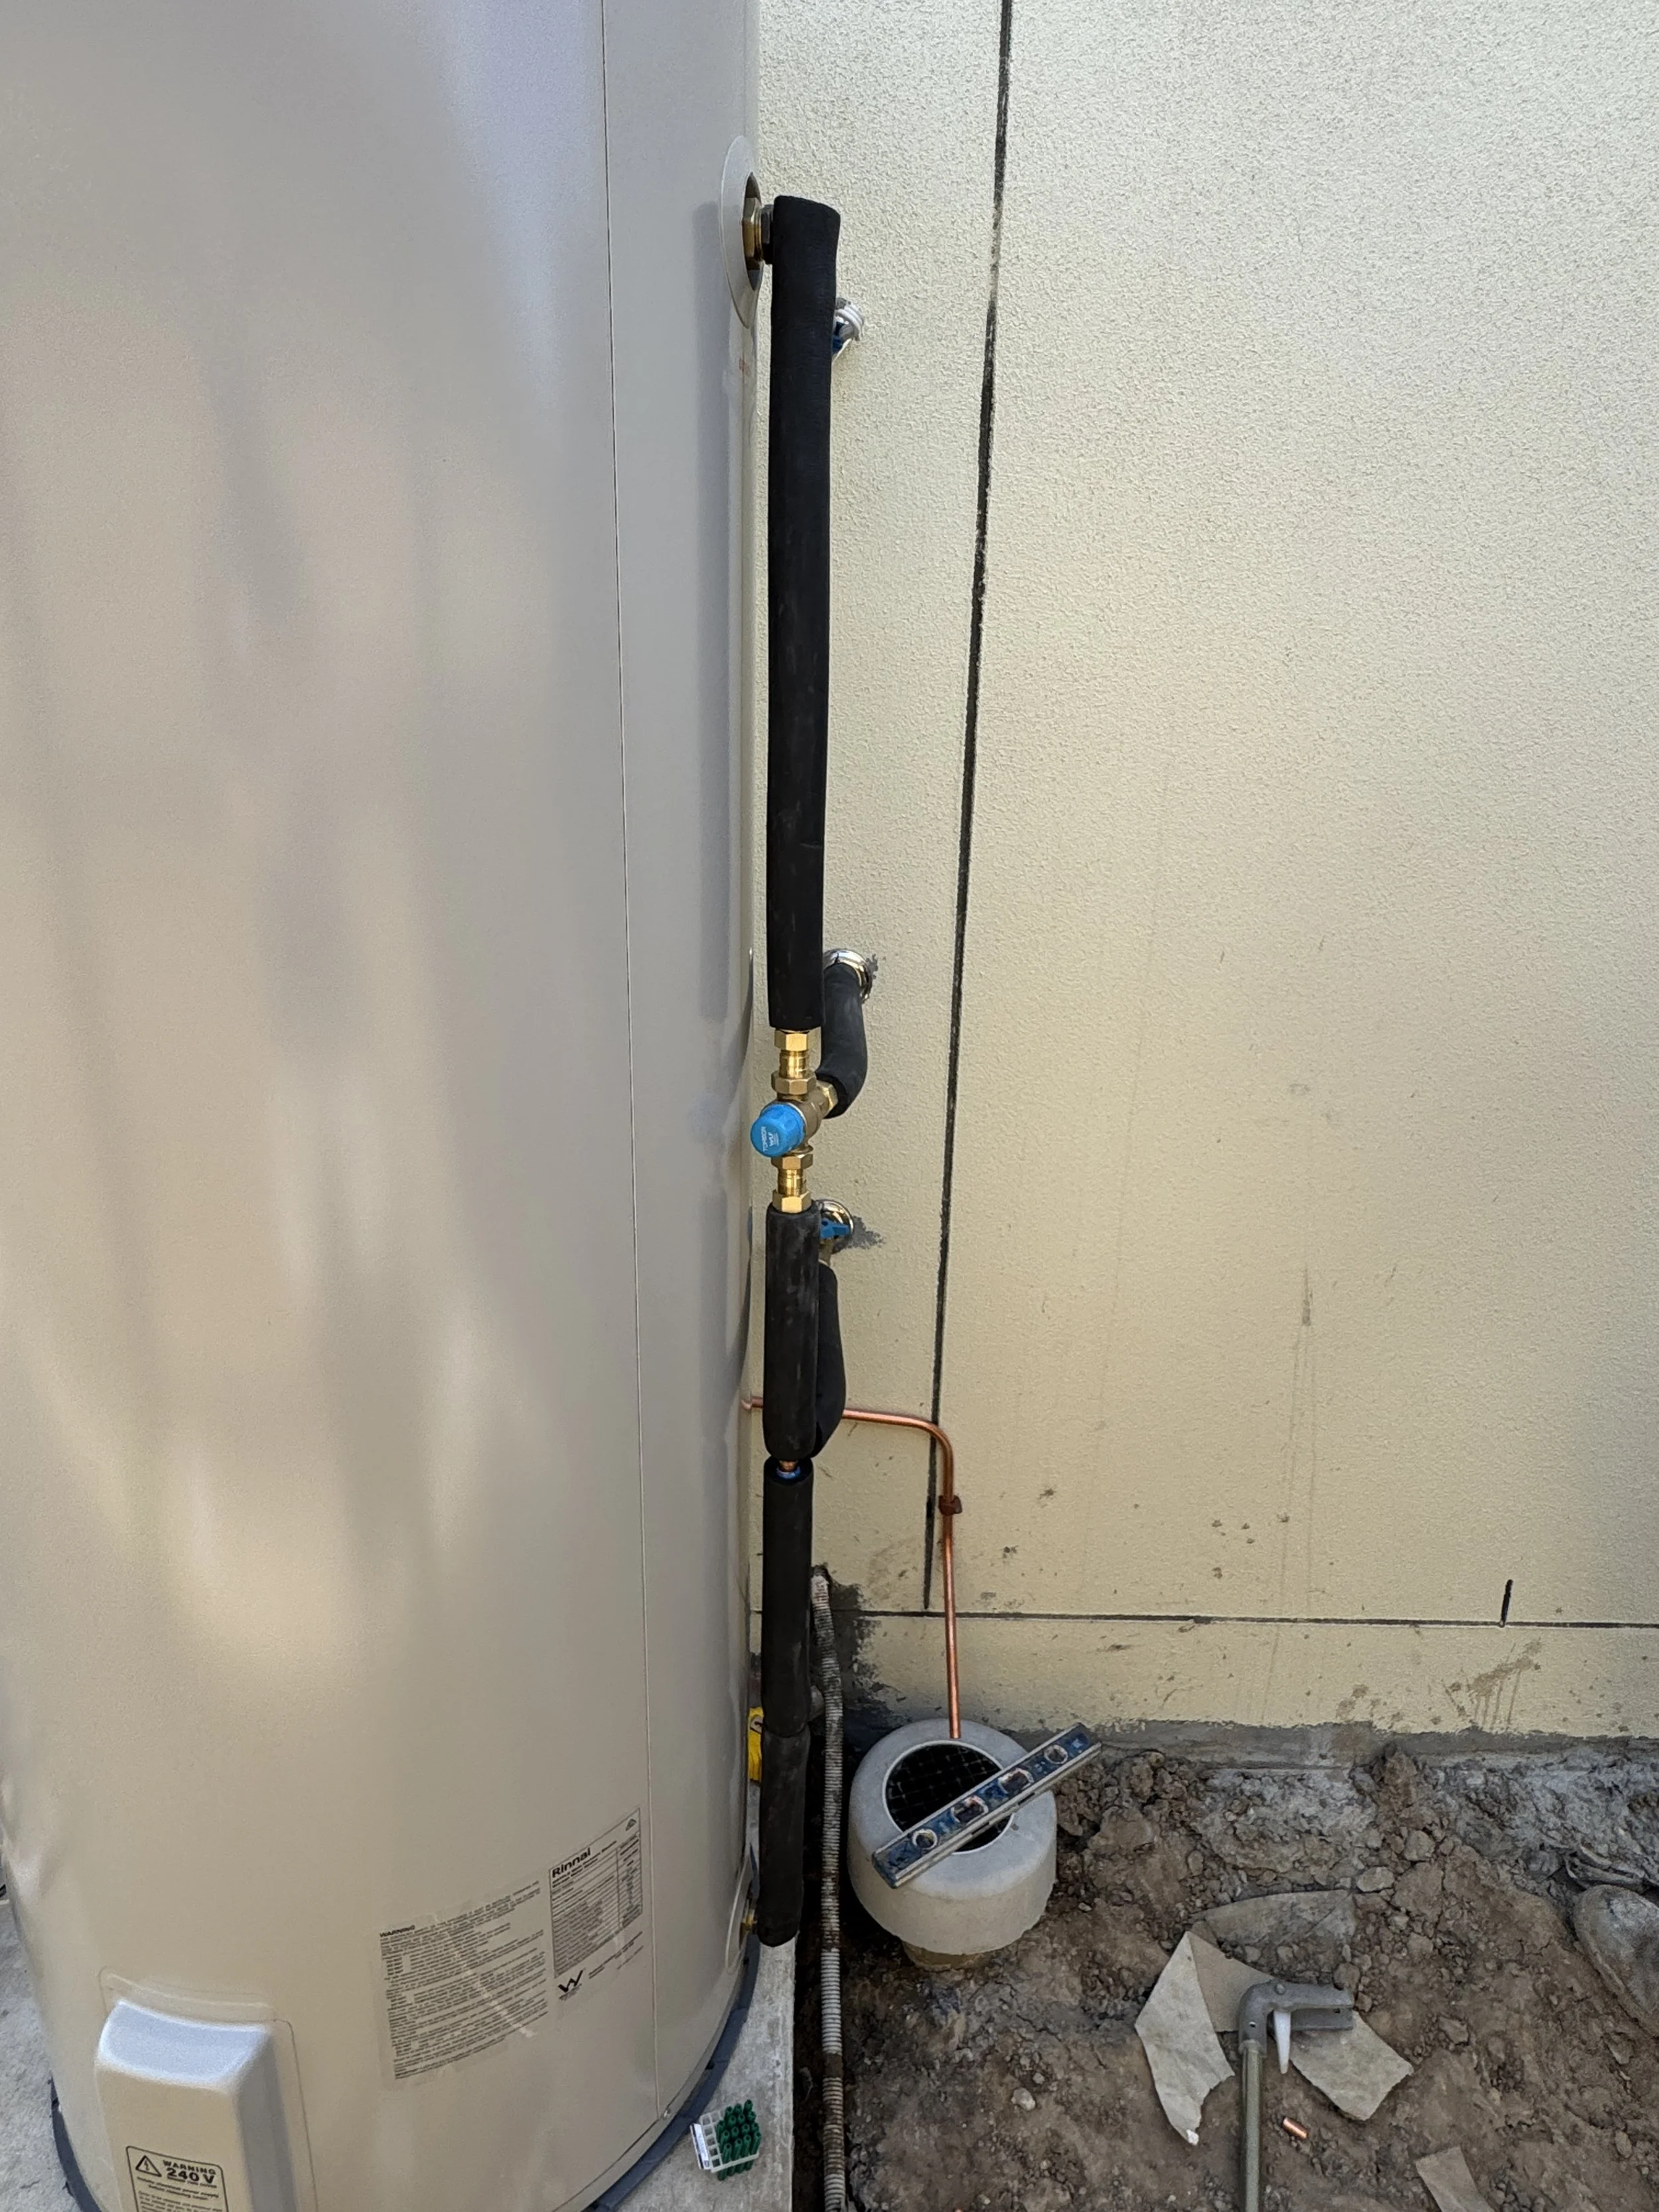
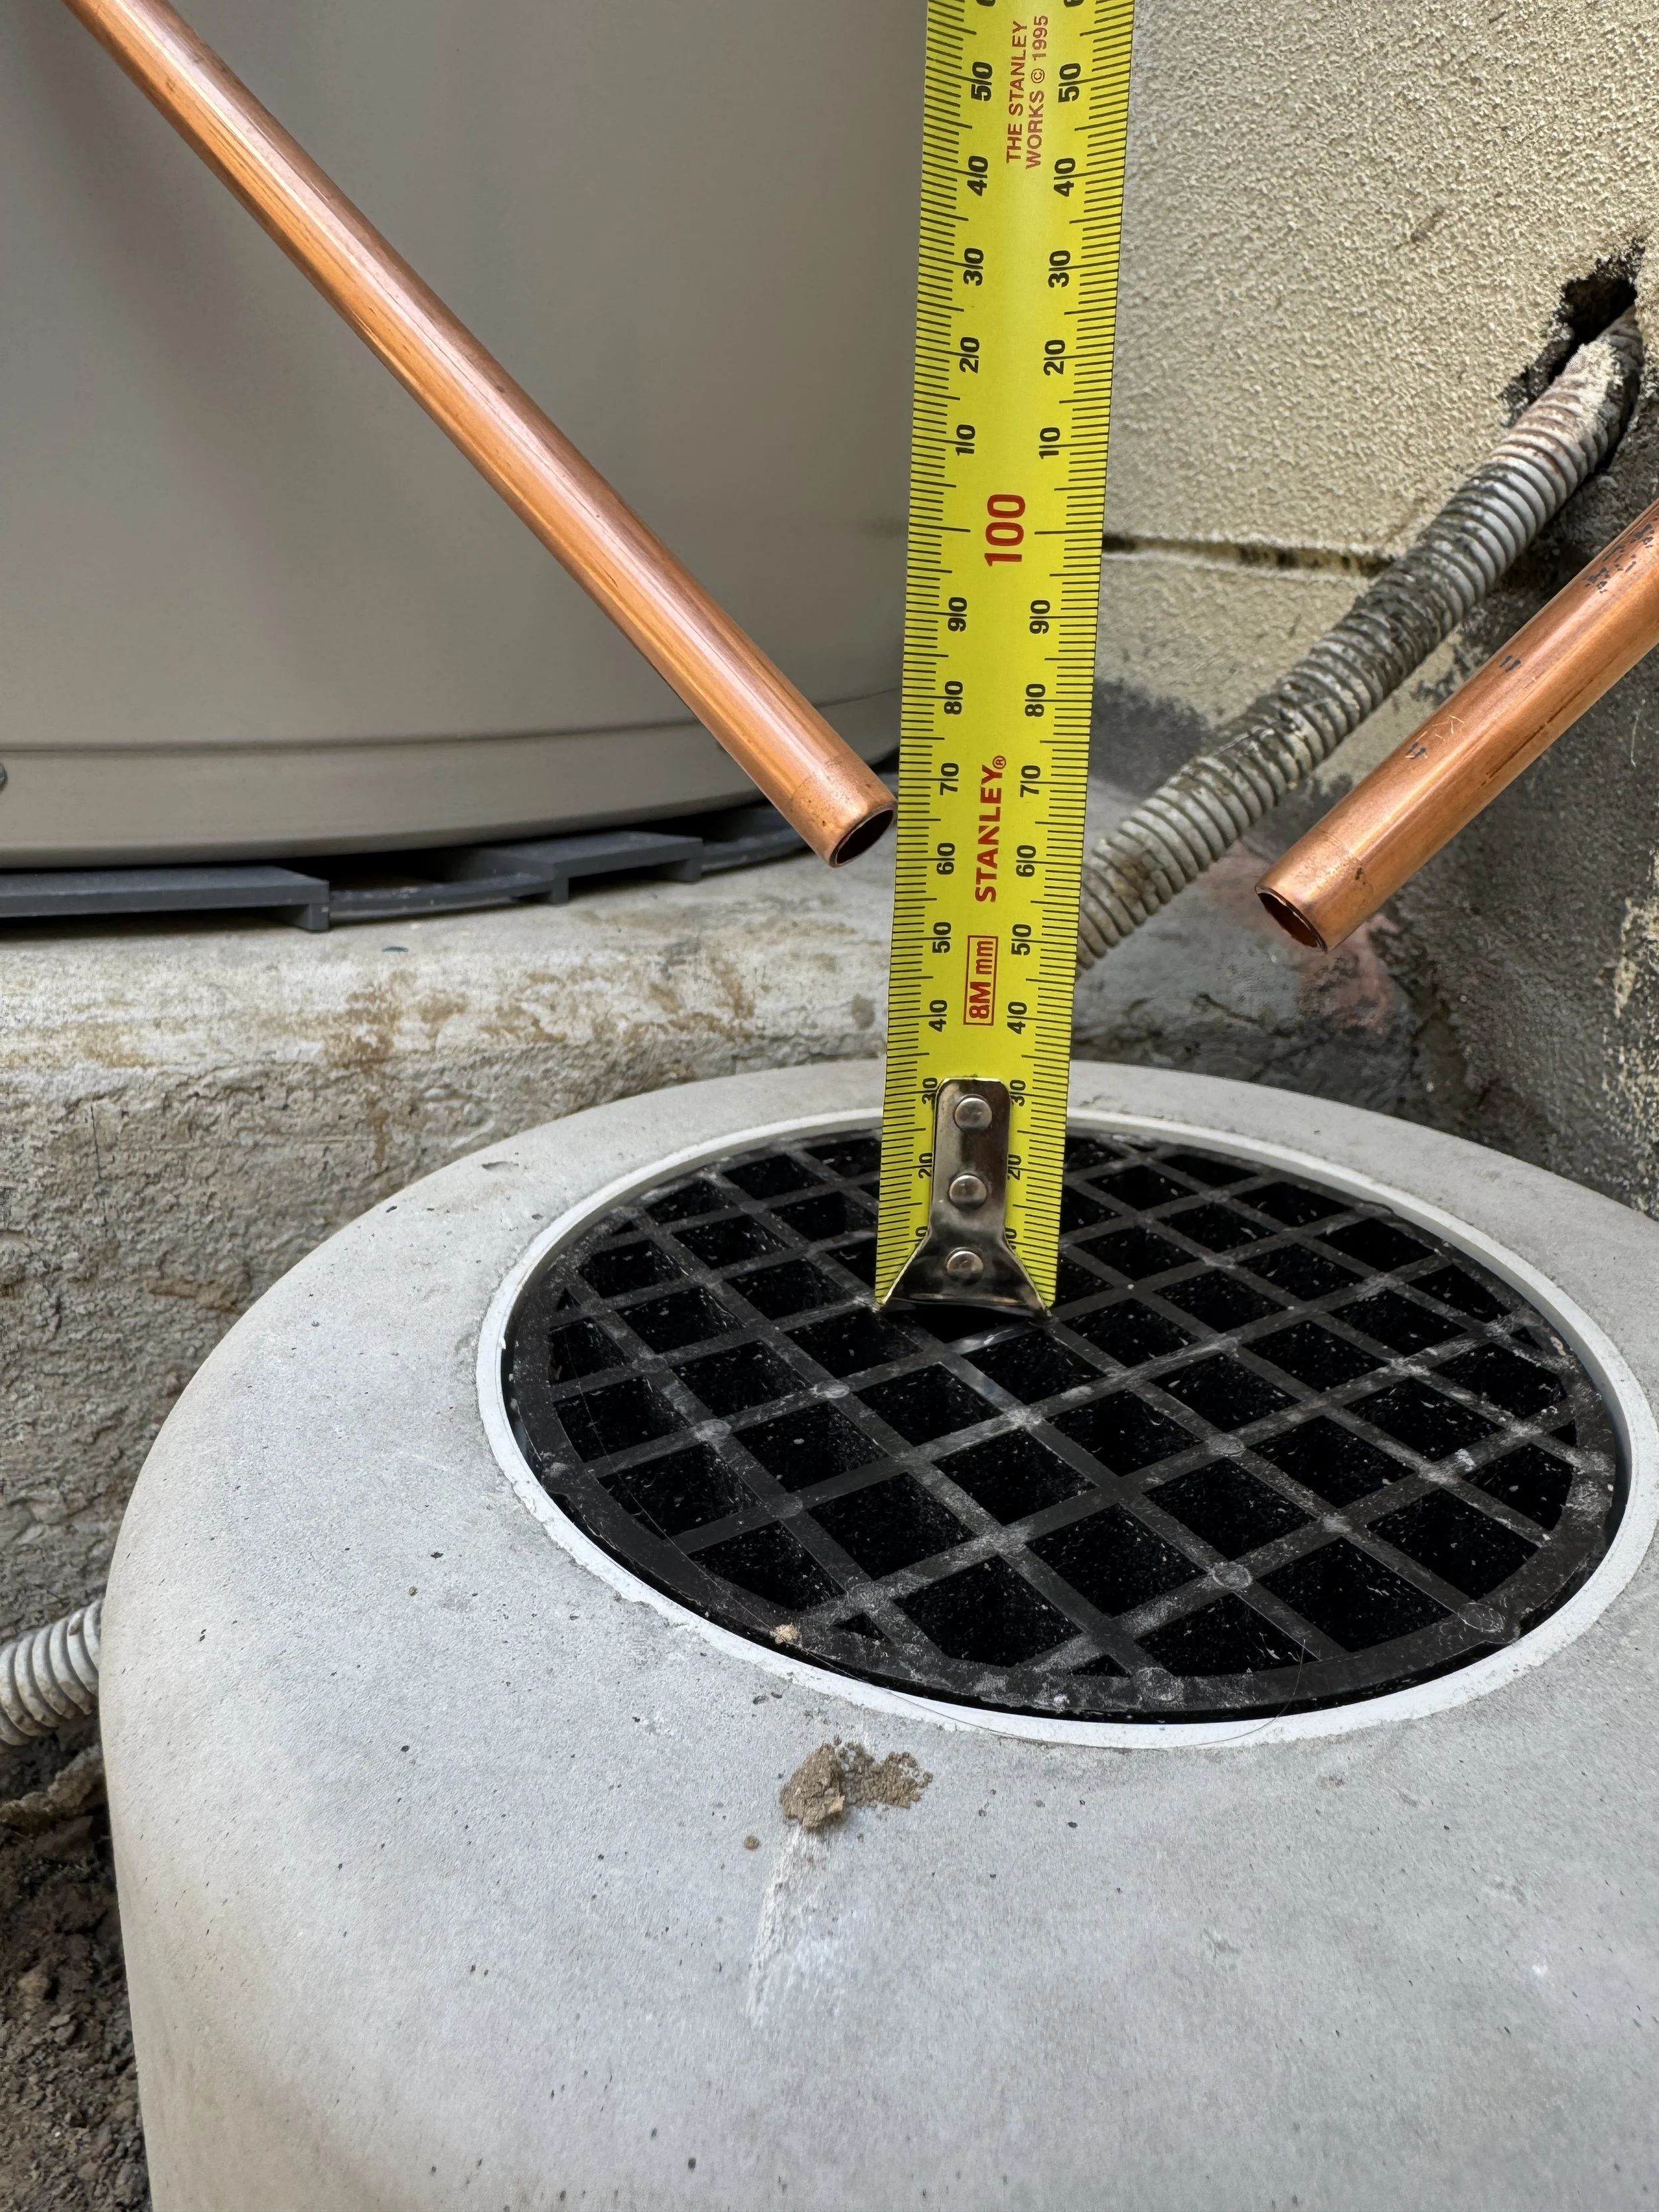
Aim the water from the relief valve to go into the centre of the drain. Ensure the air gap is maintained.
The air gap has to be double the diameter of the pipe if discharging over a tundish or stormwater drain. So for a 1/2” copper pipe the air gap is 25mm.
If it discharging over an overflow relief gully (ORG) it must be 75mm above the grate.
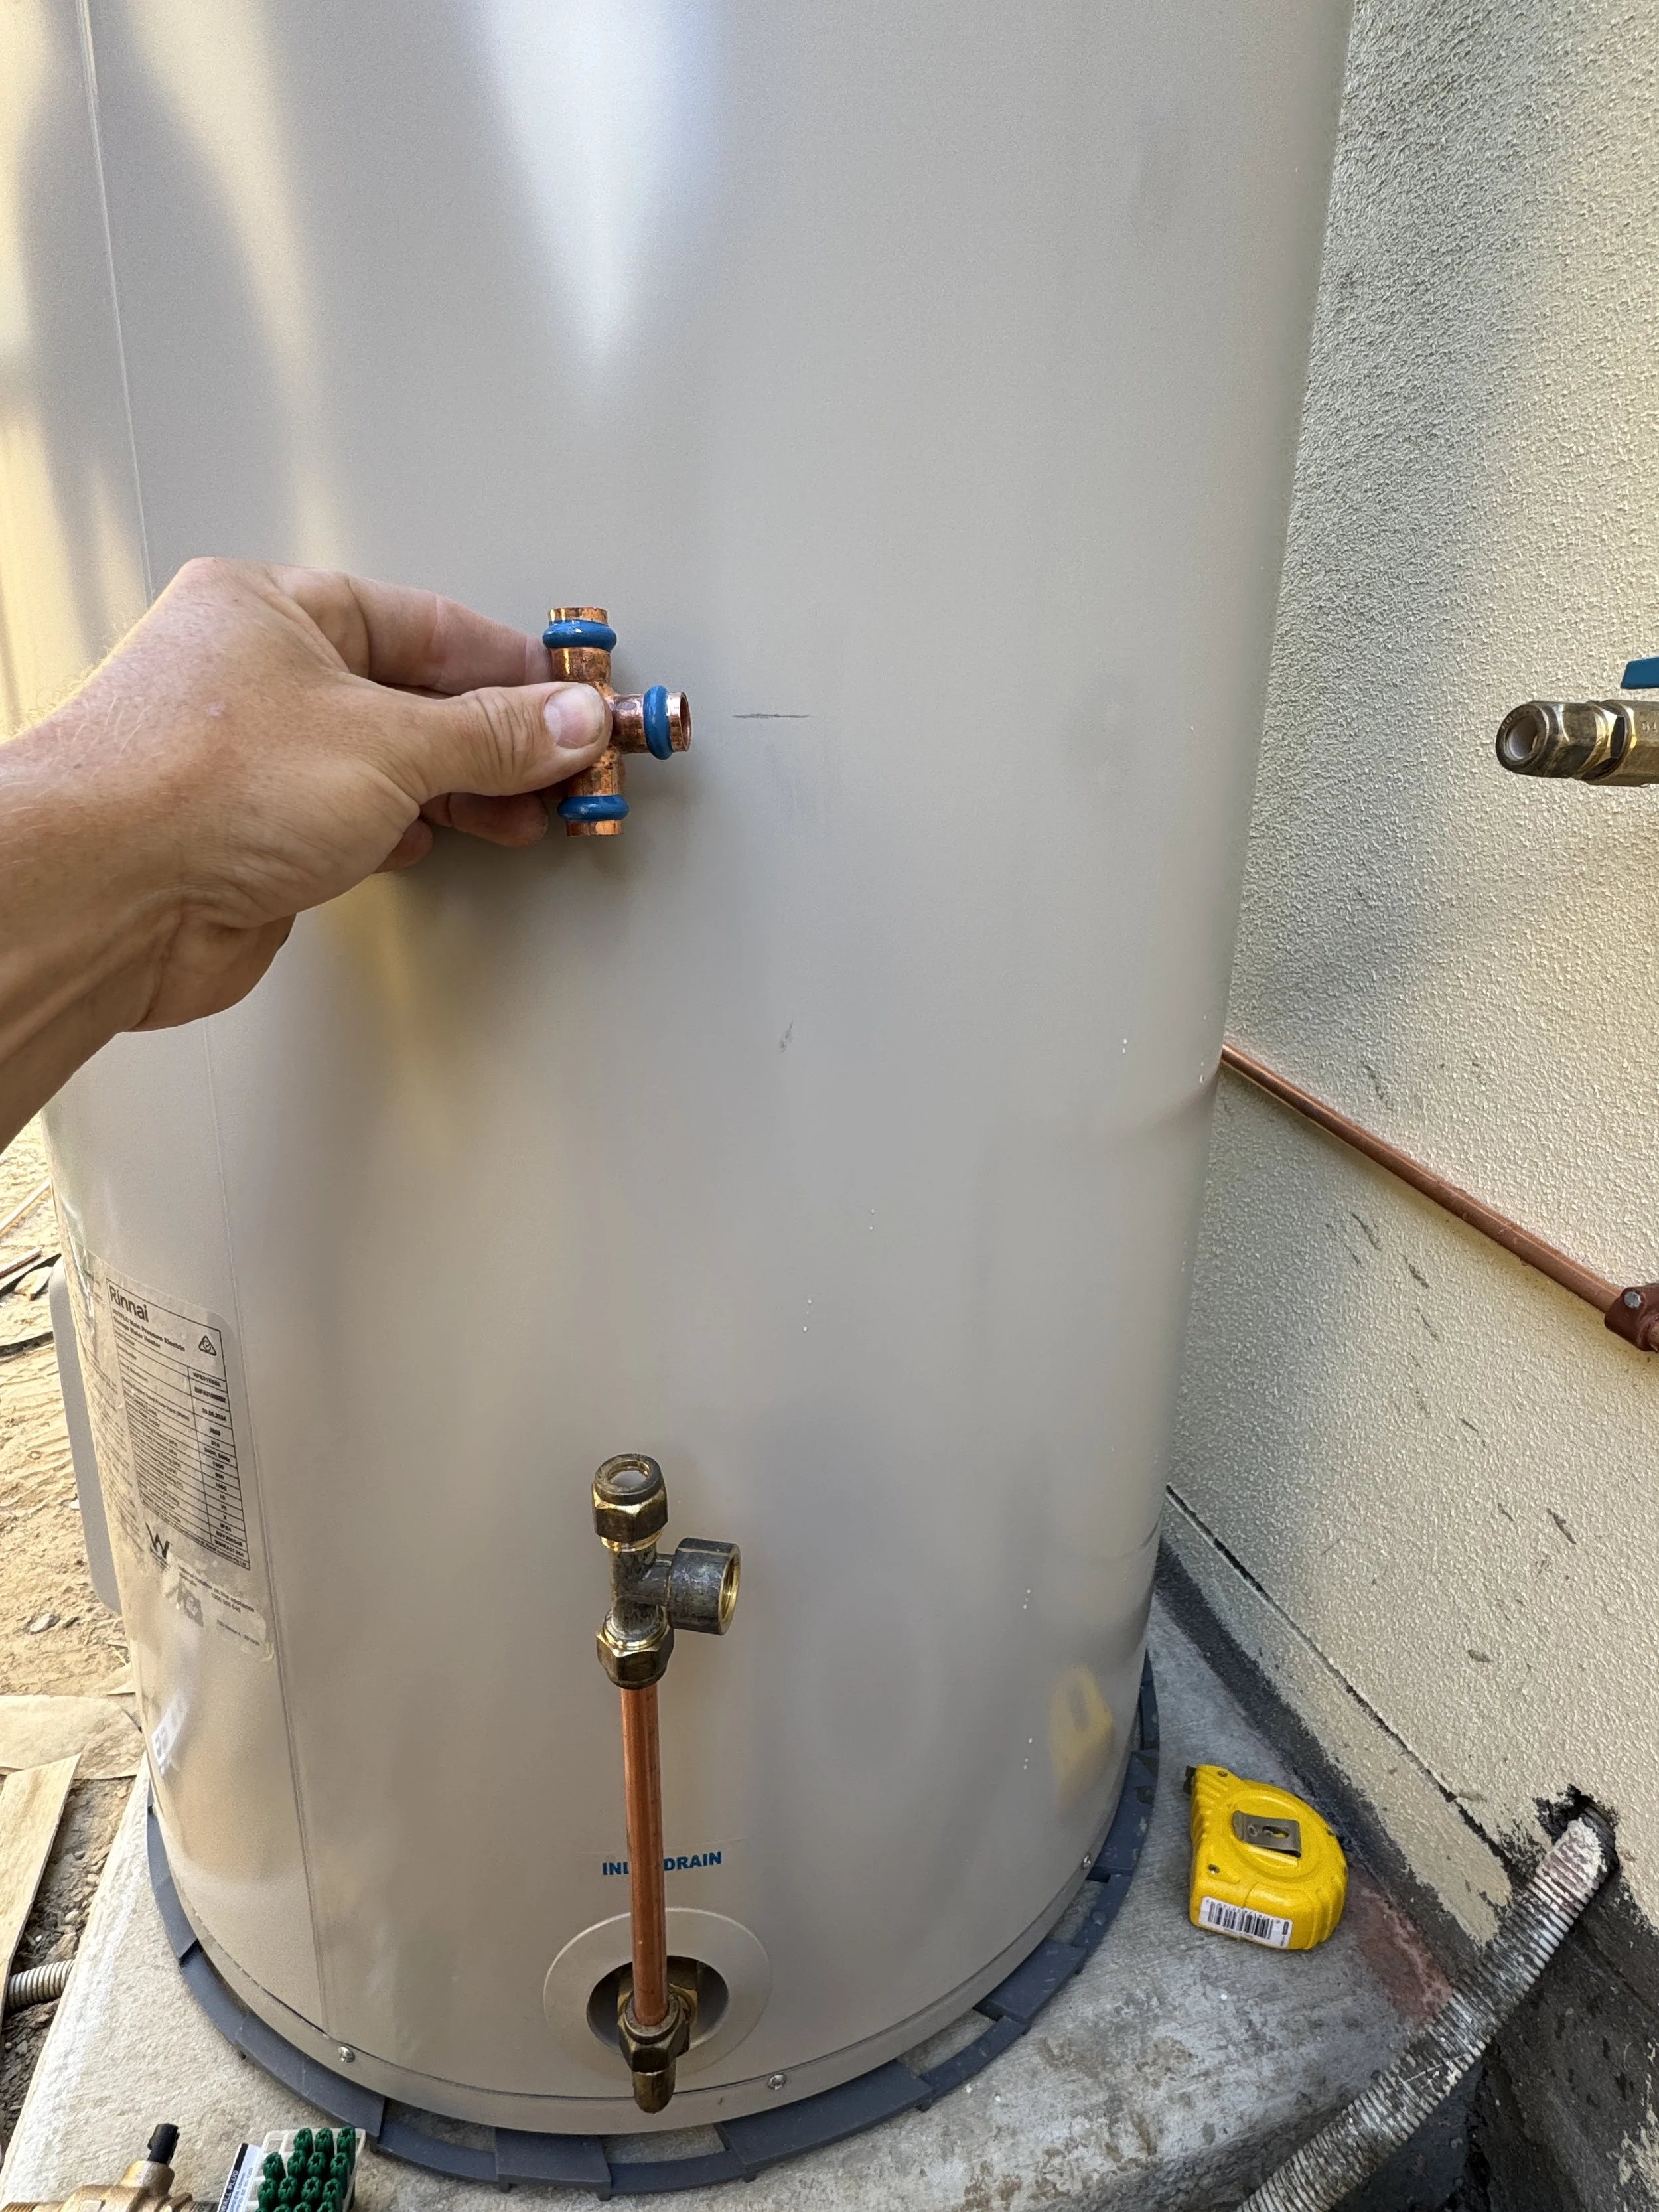
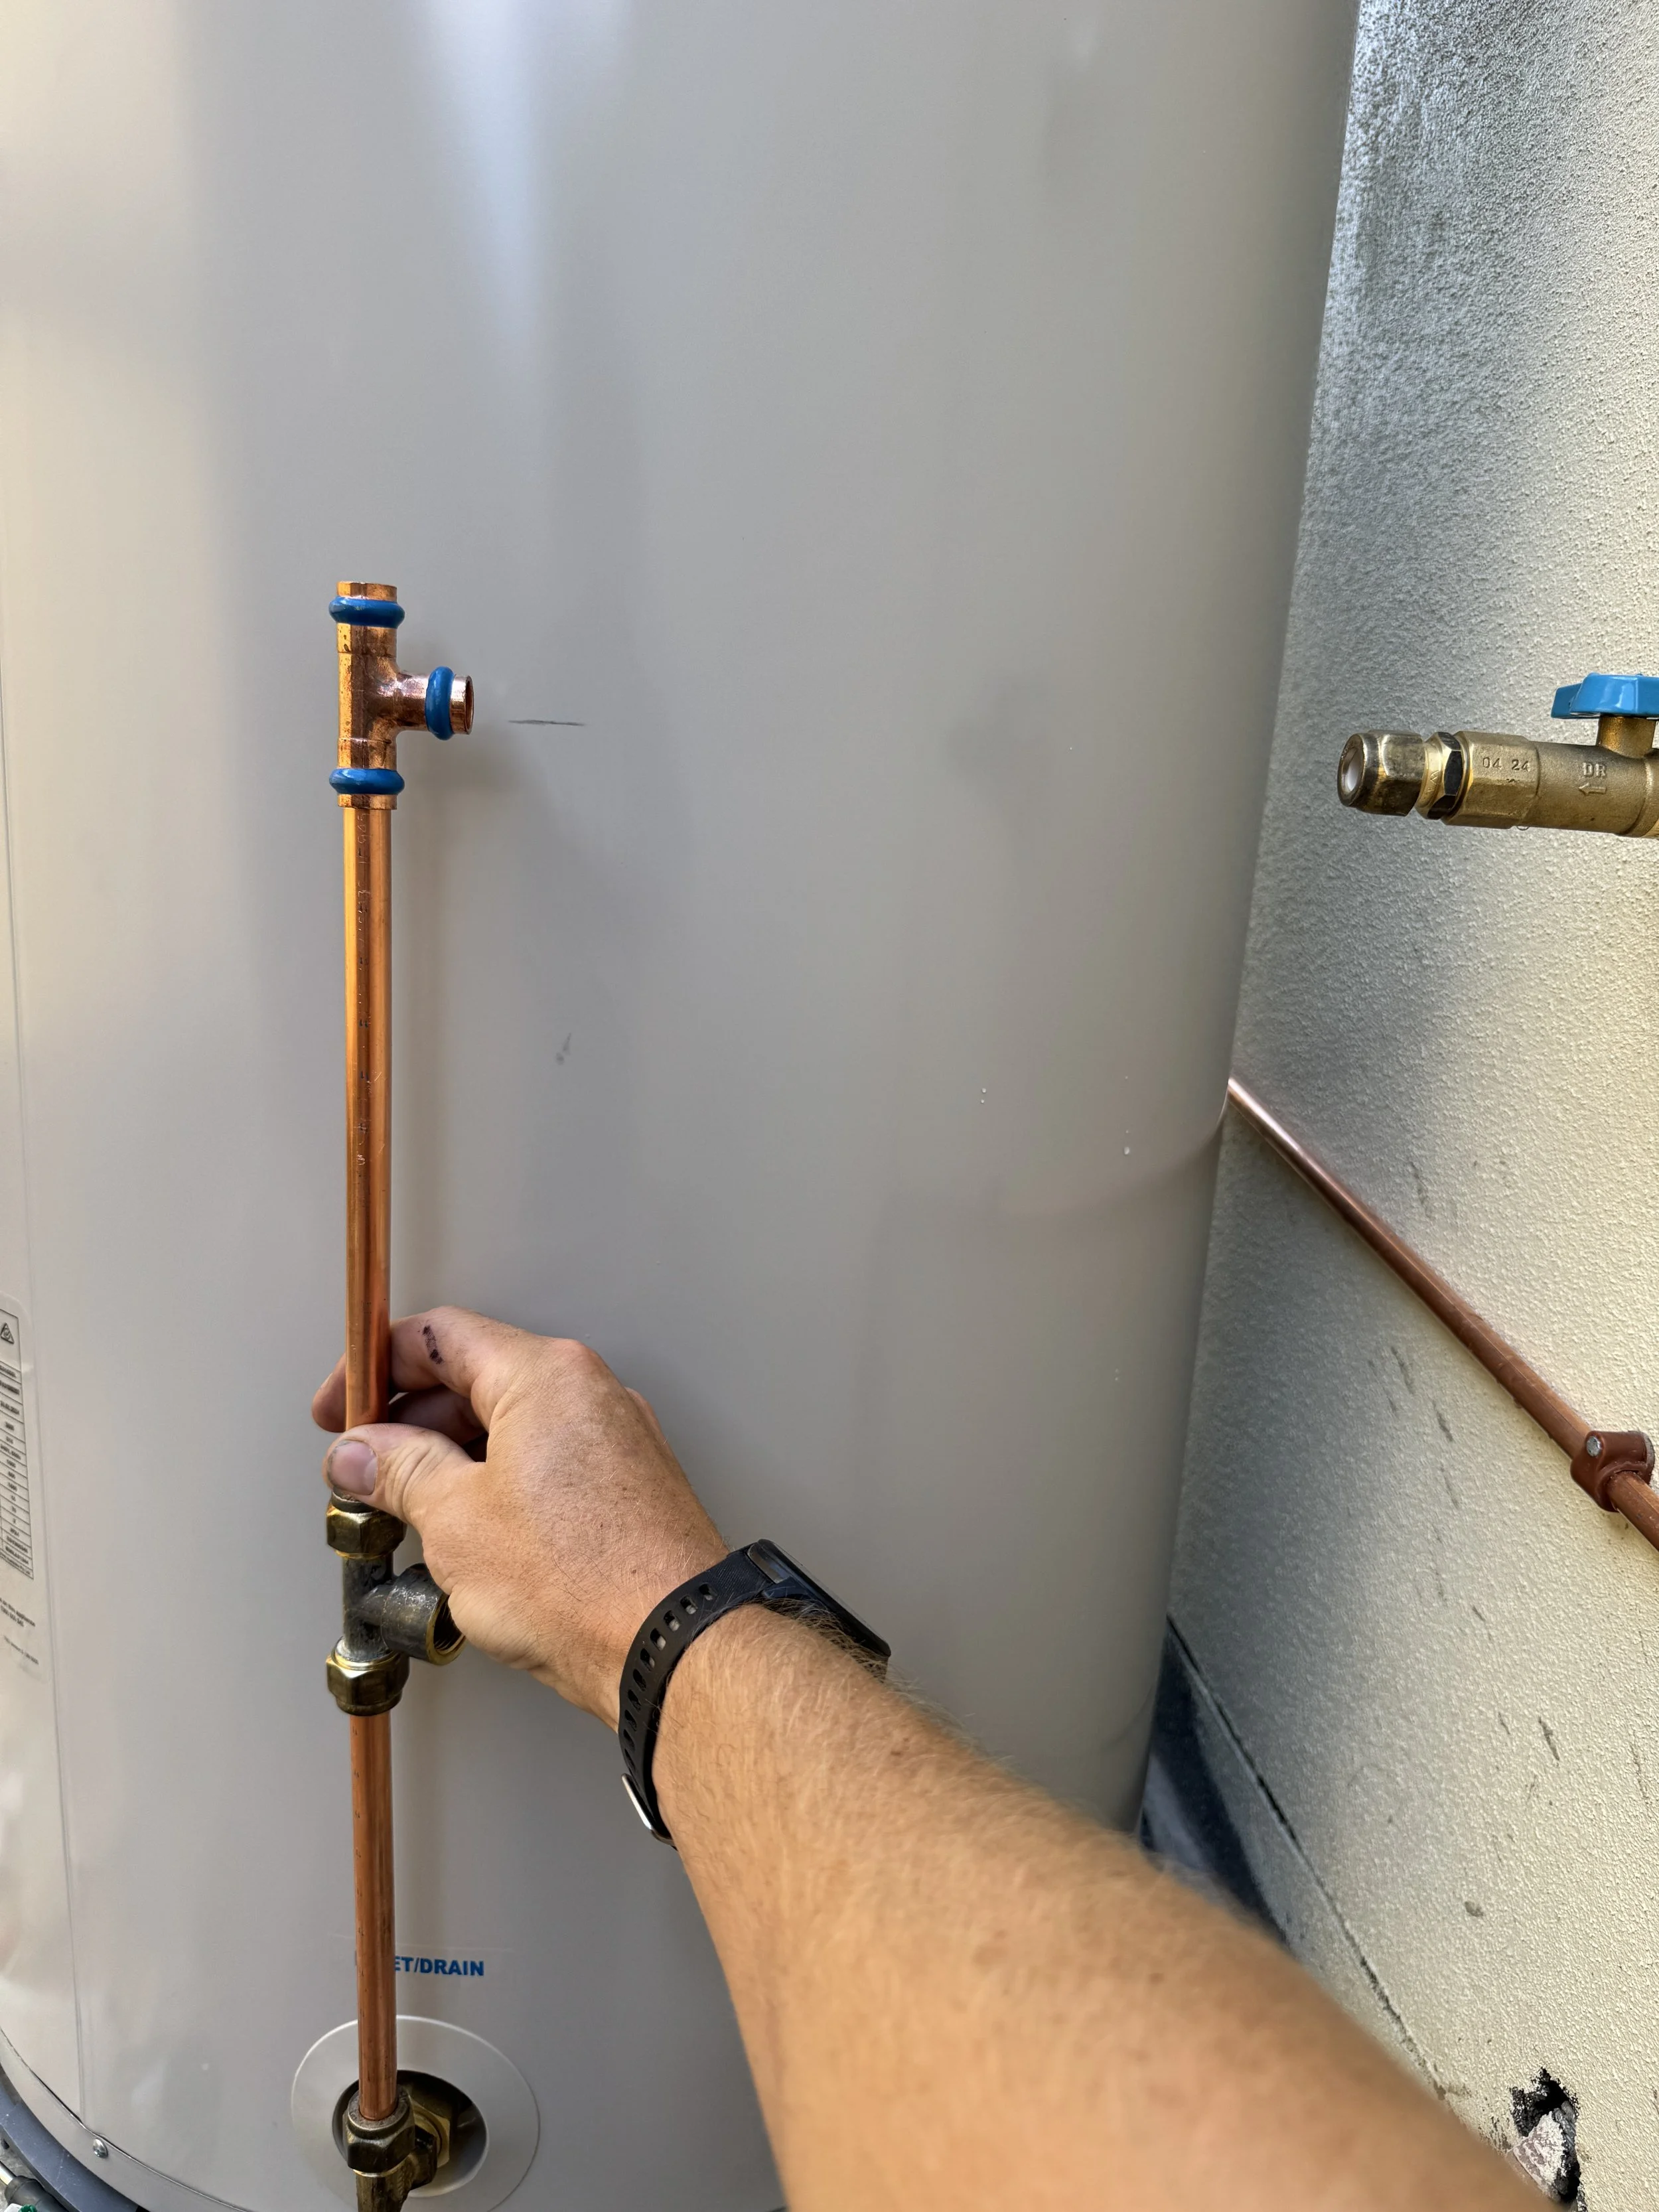
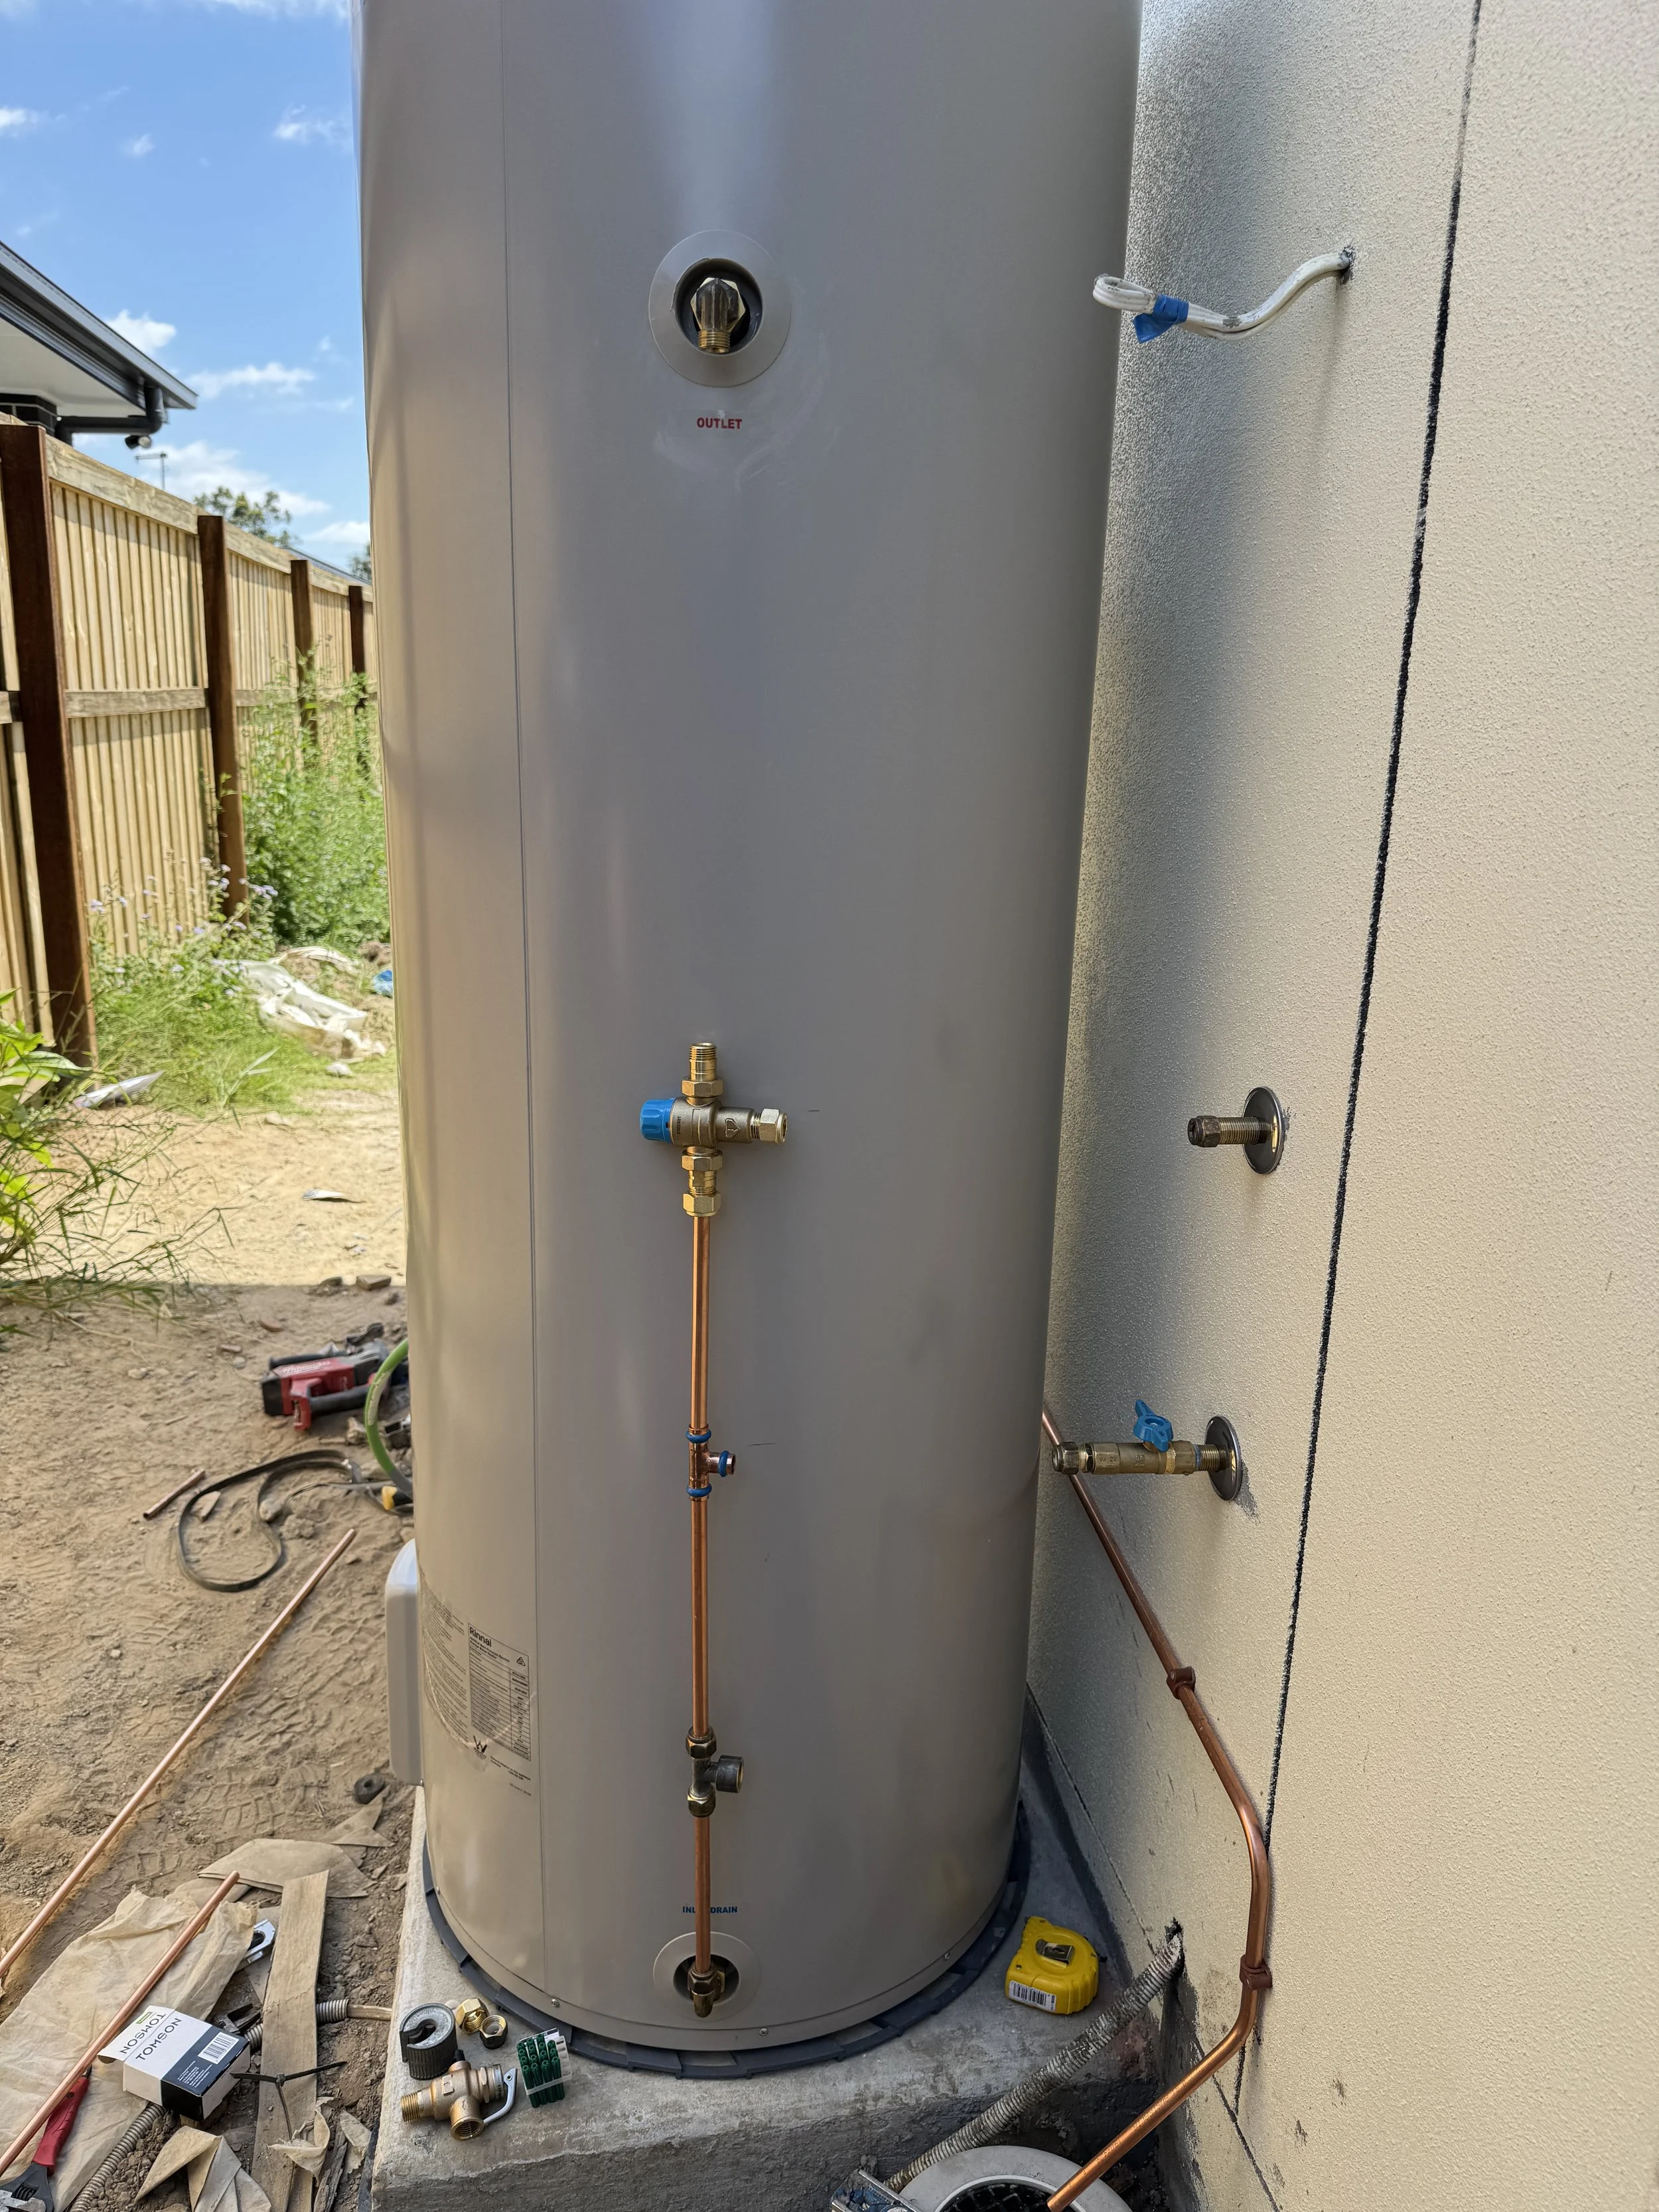
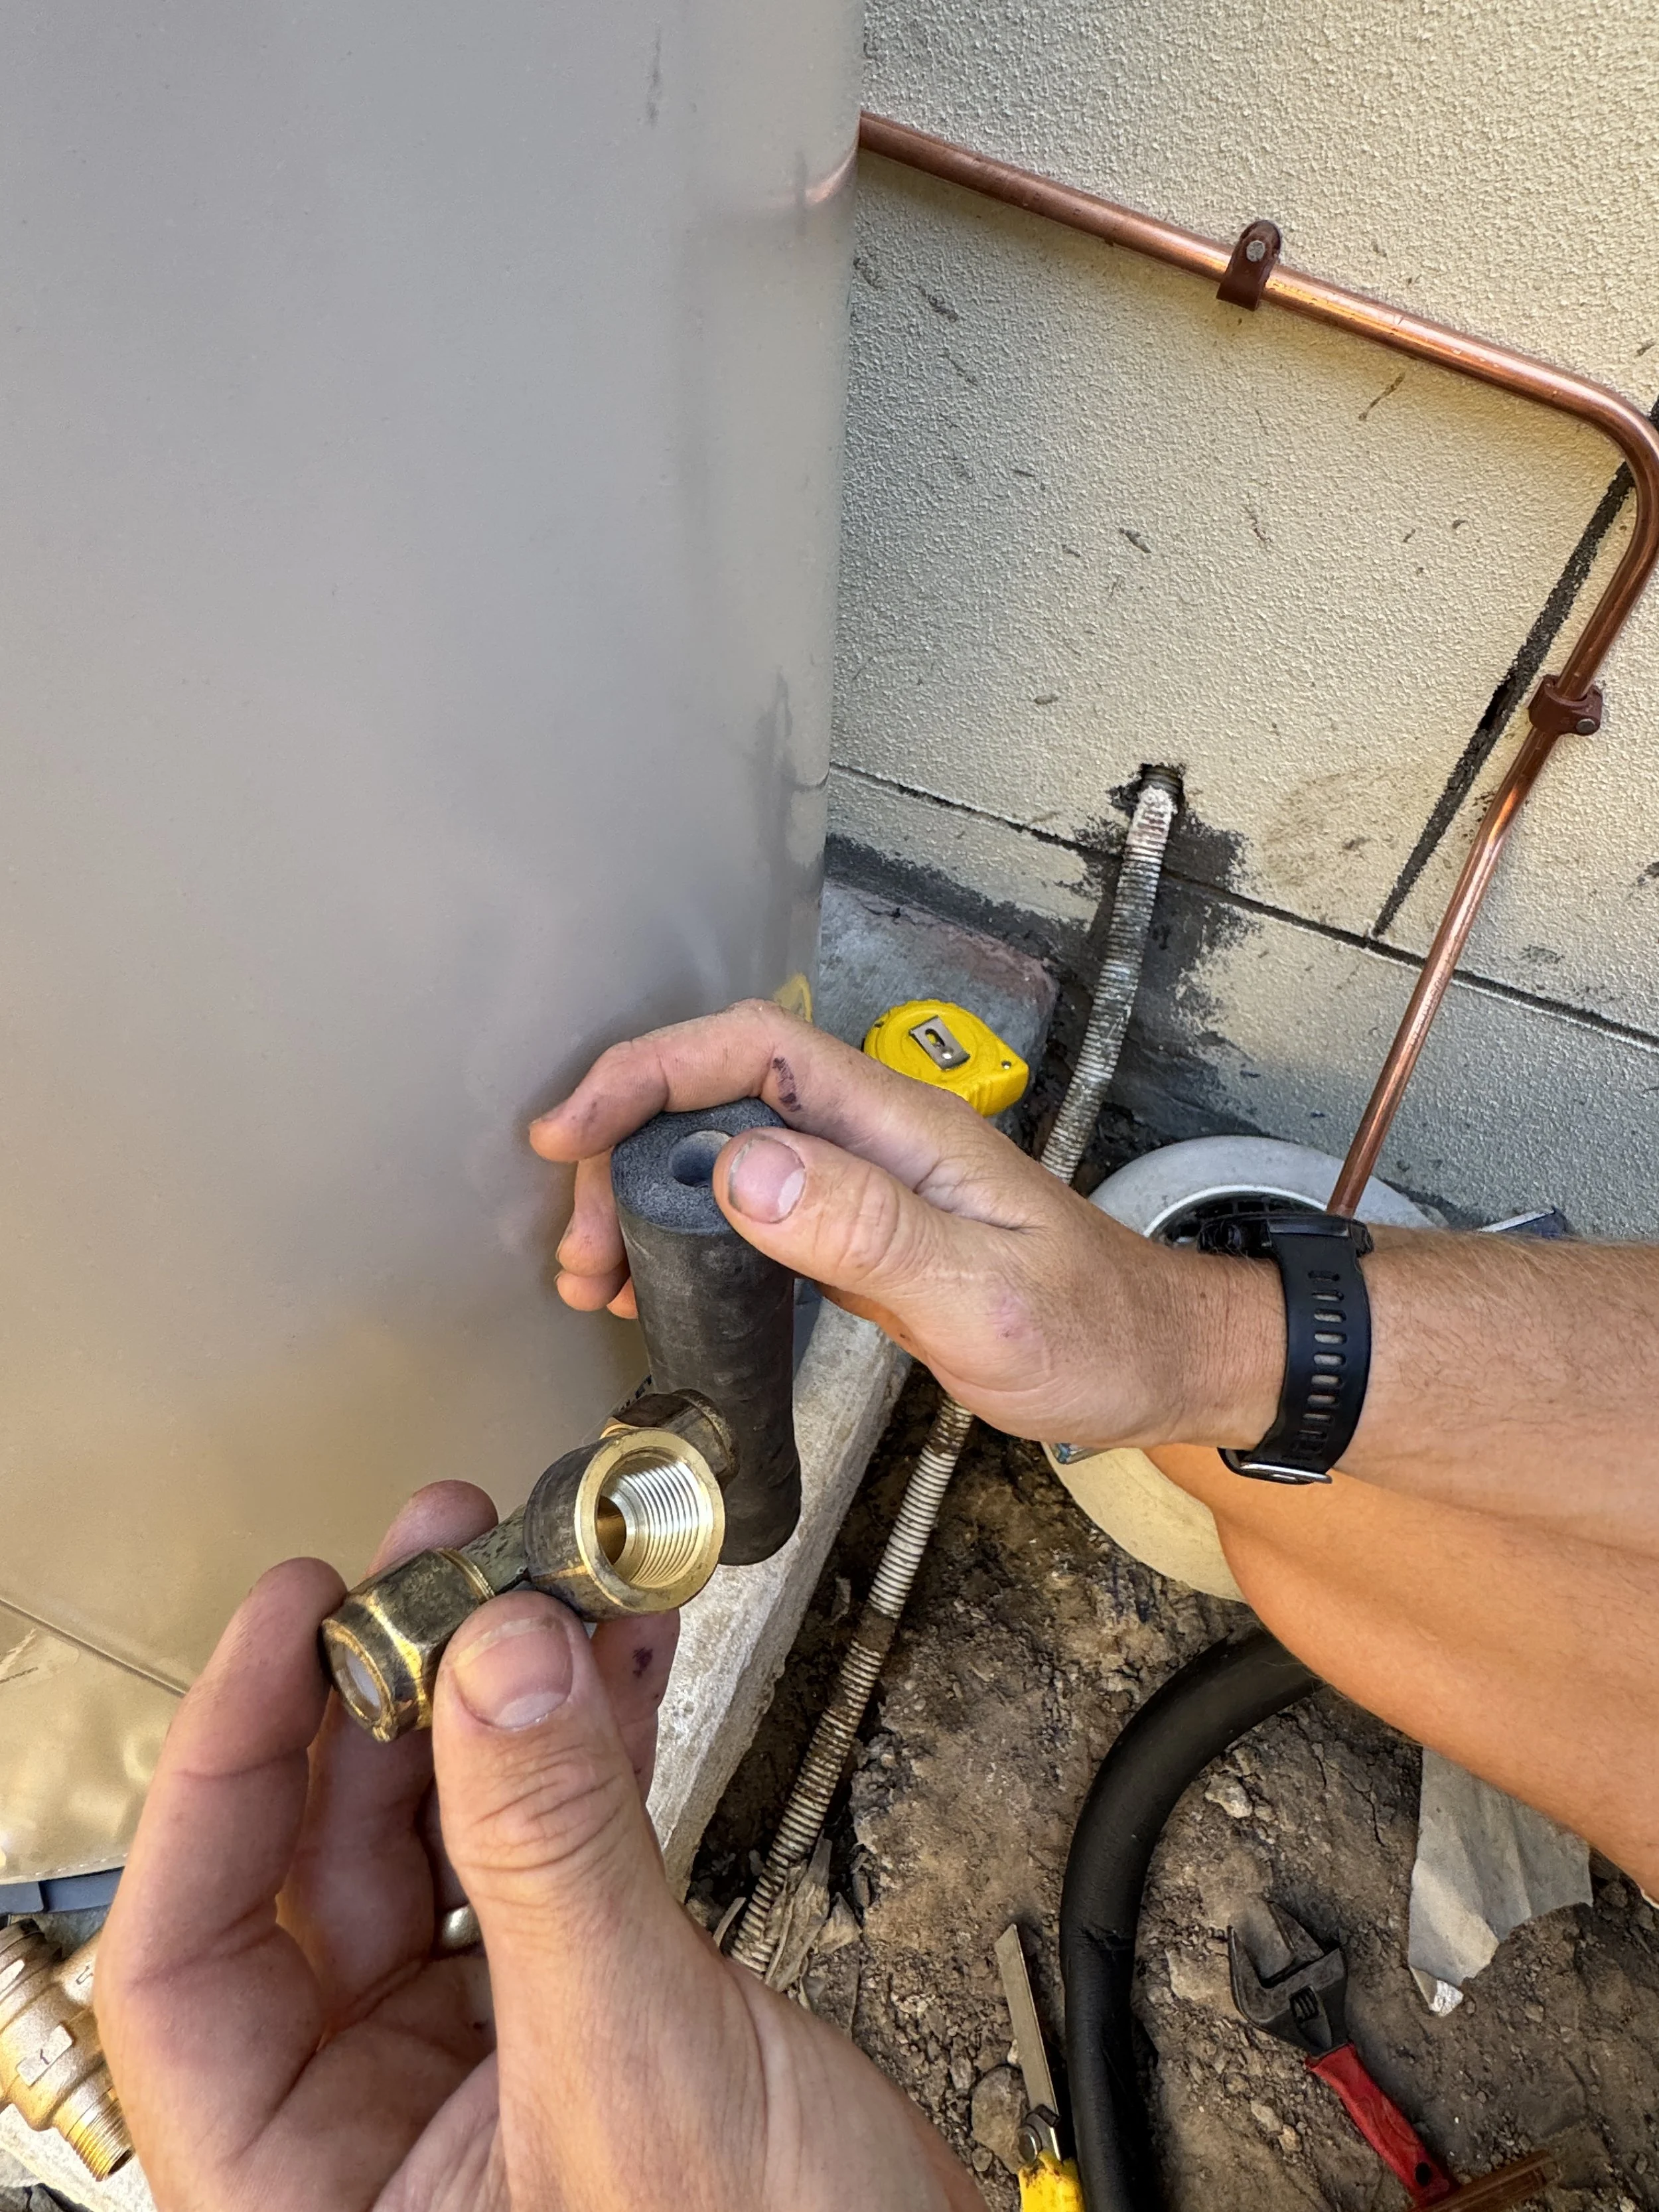
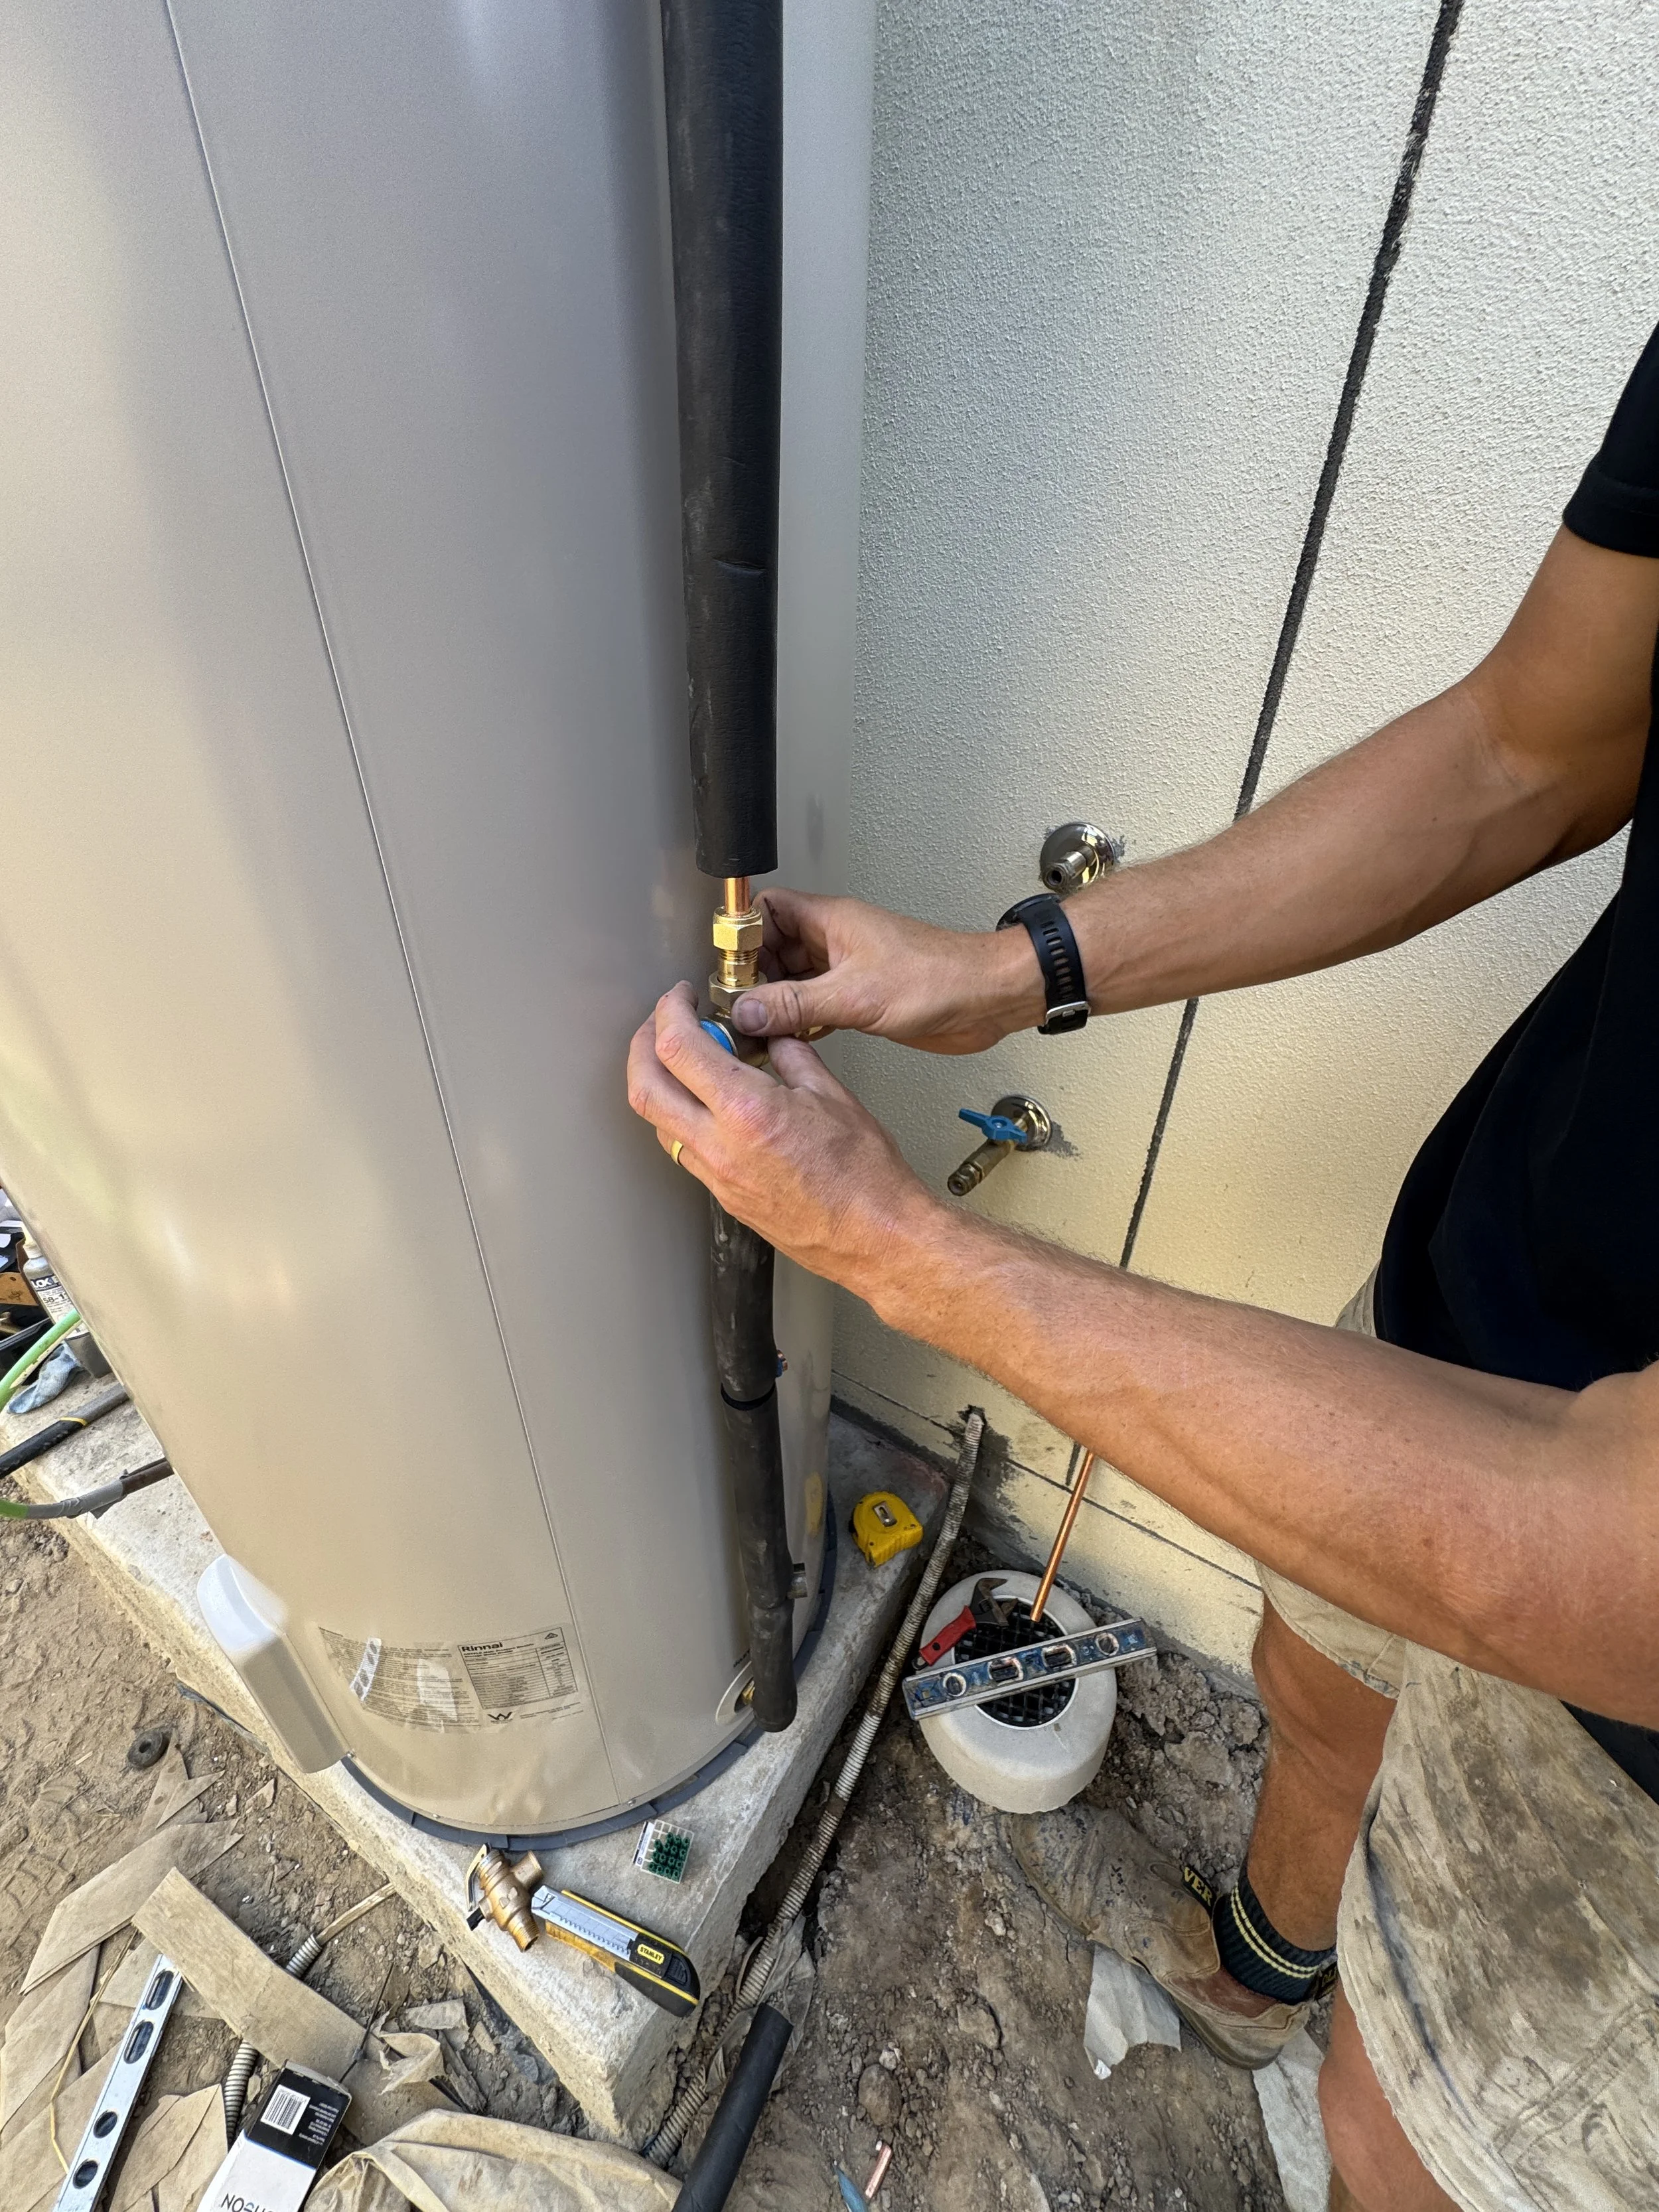
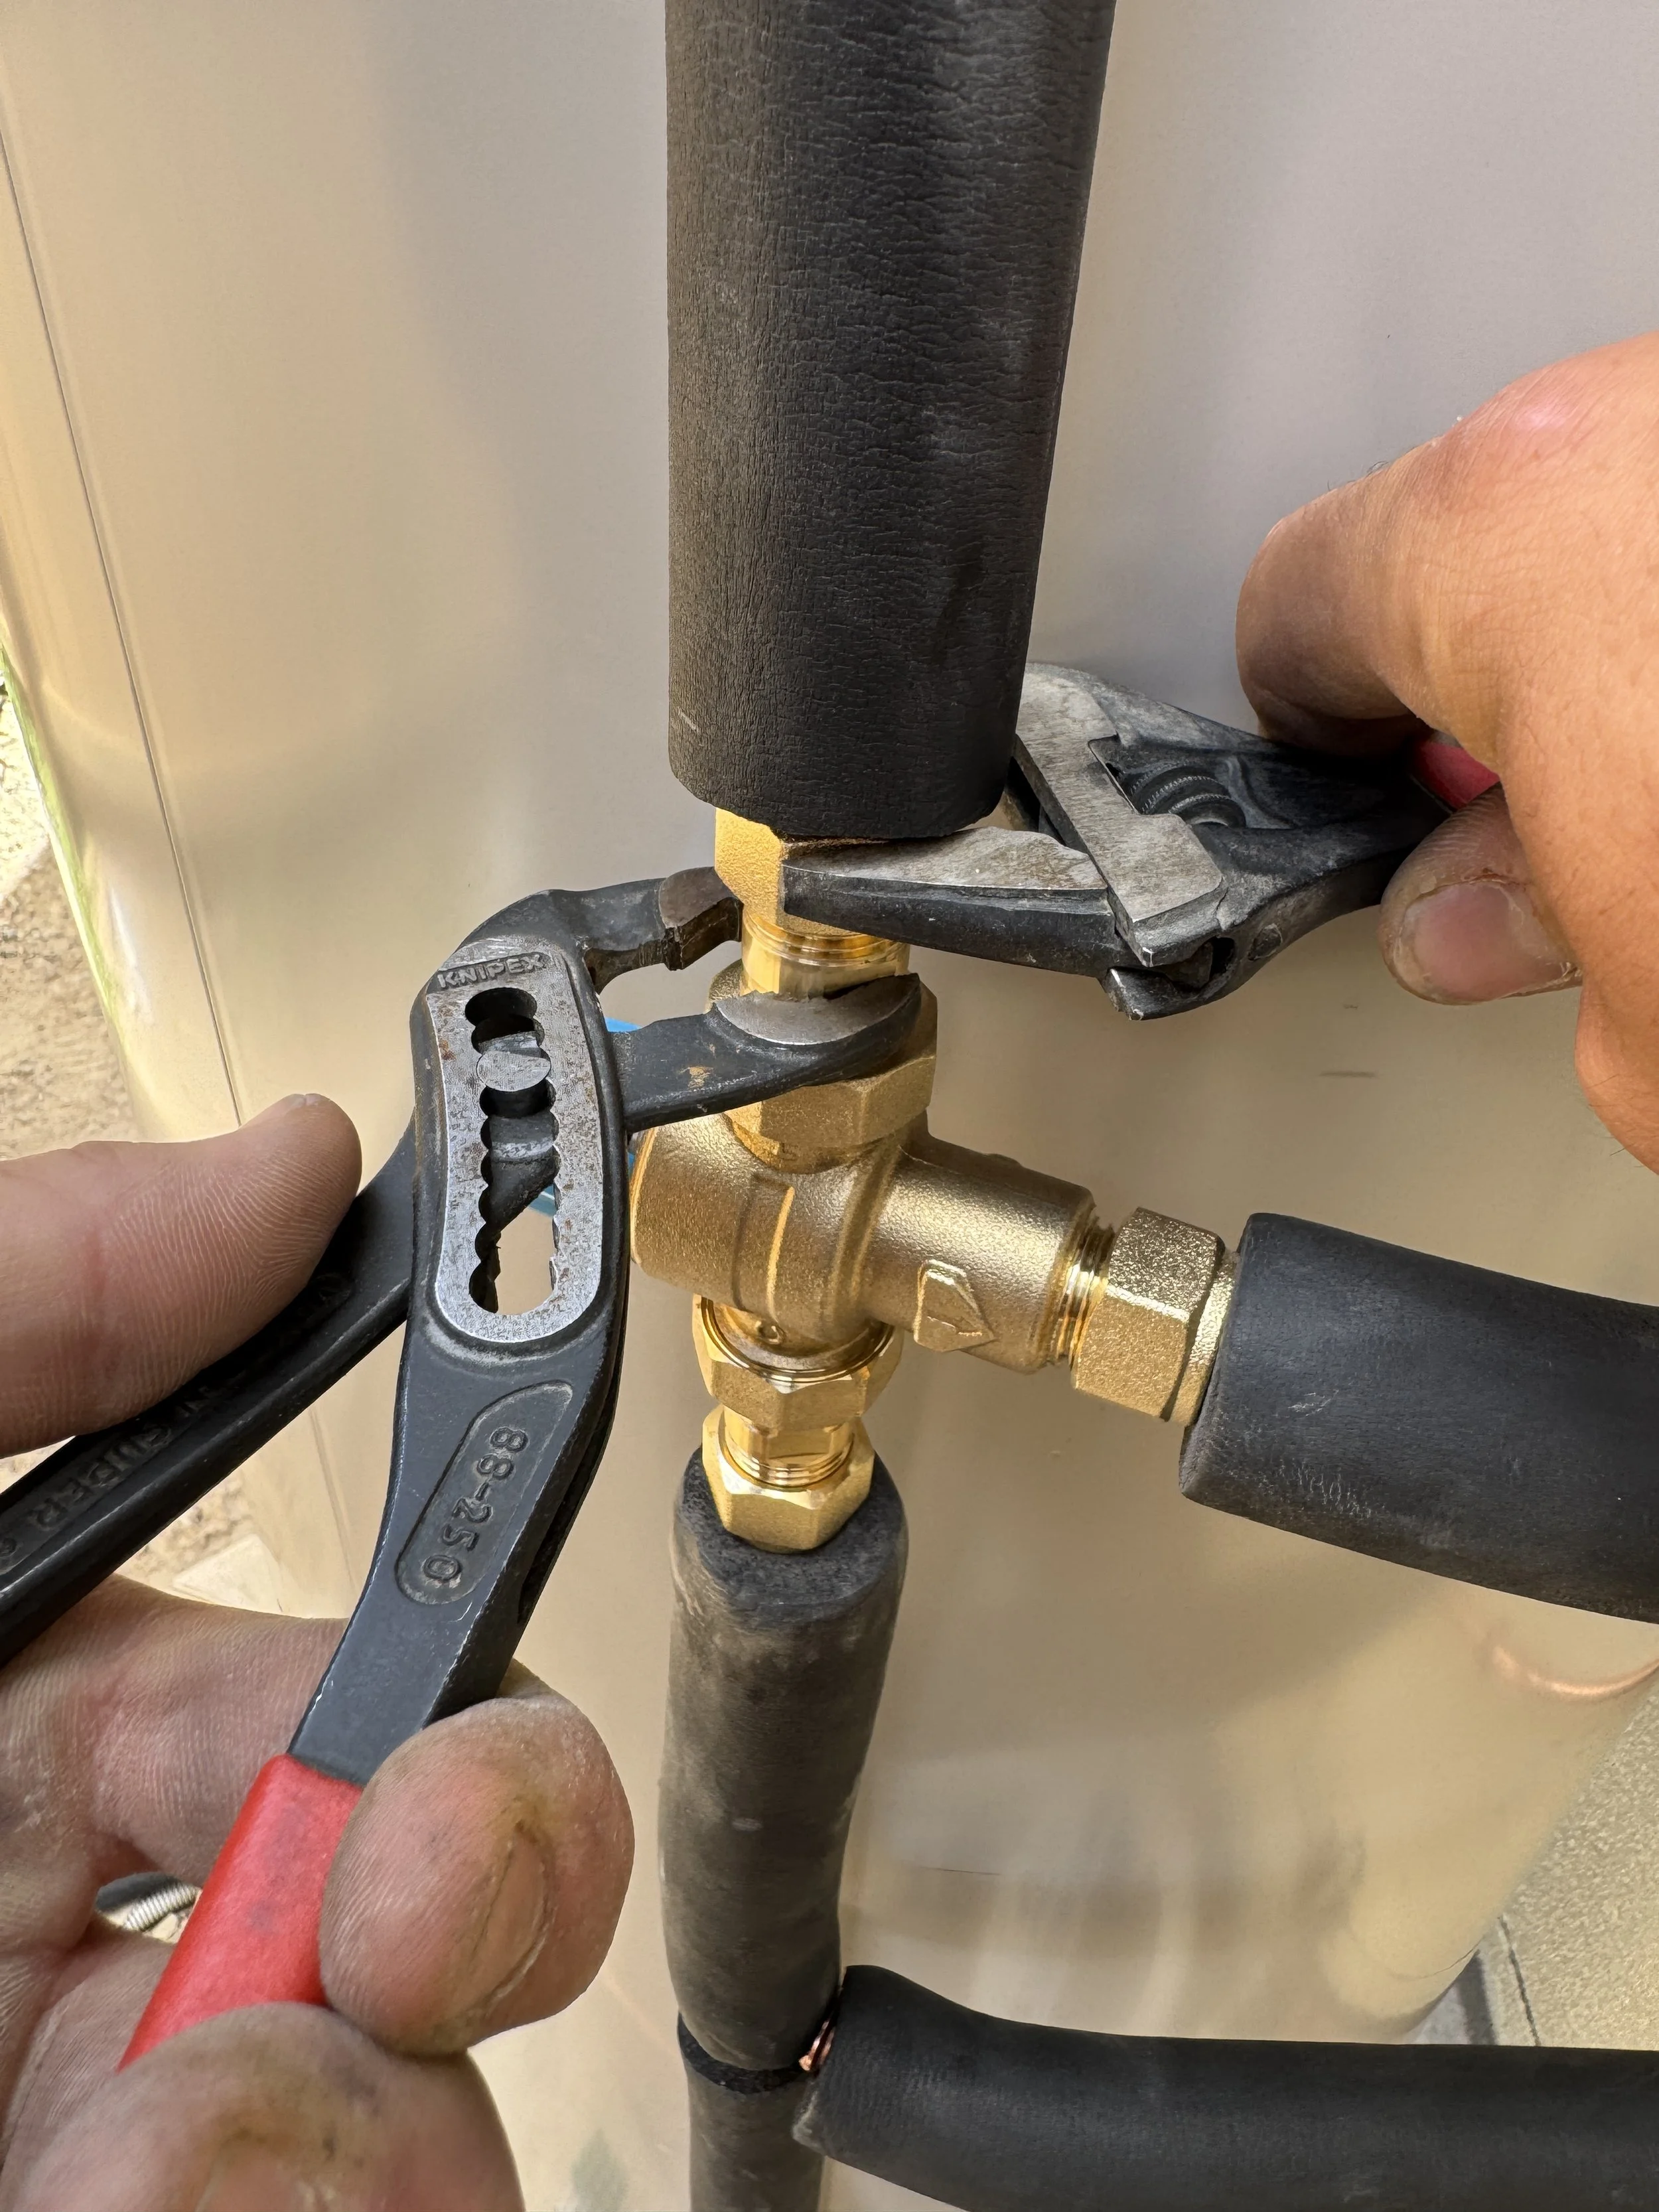
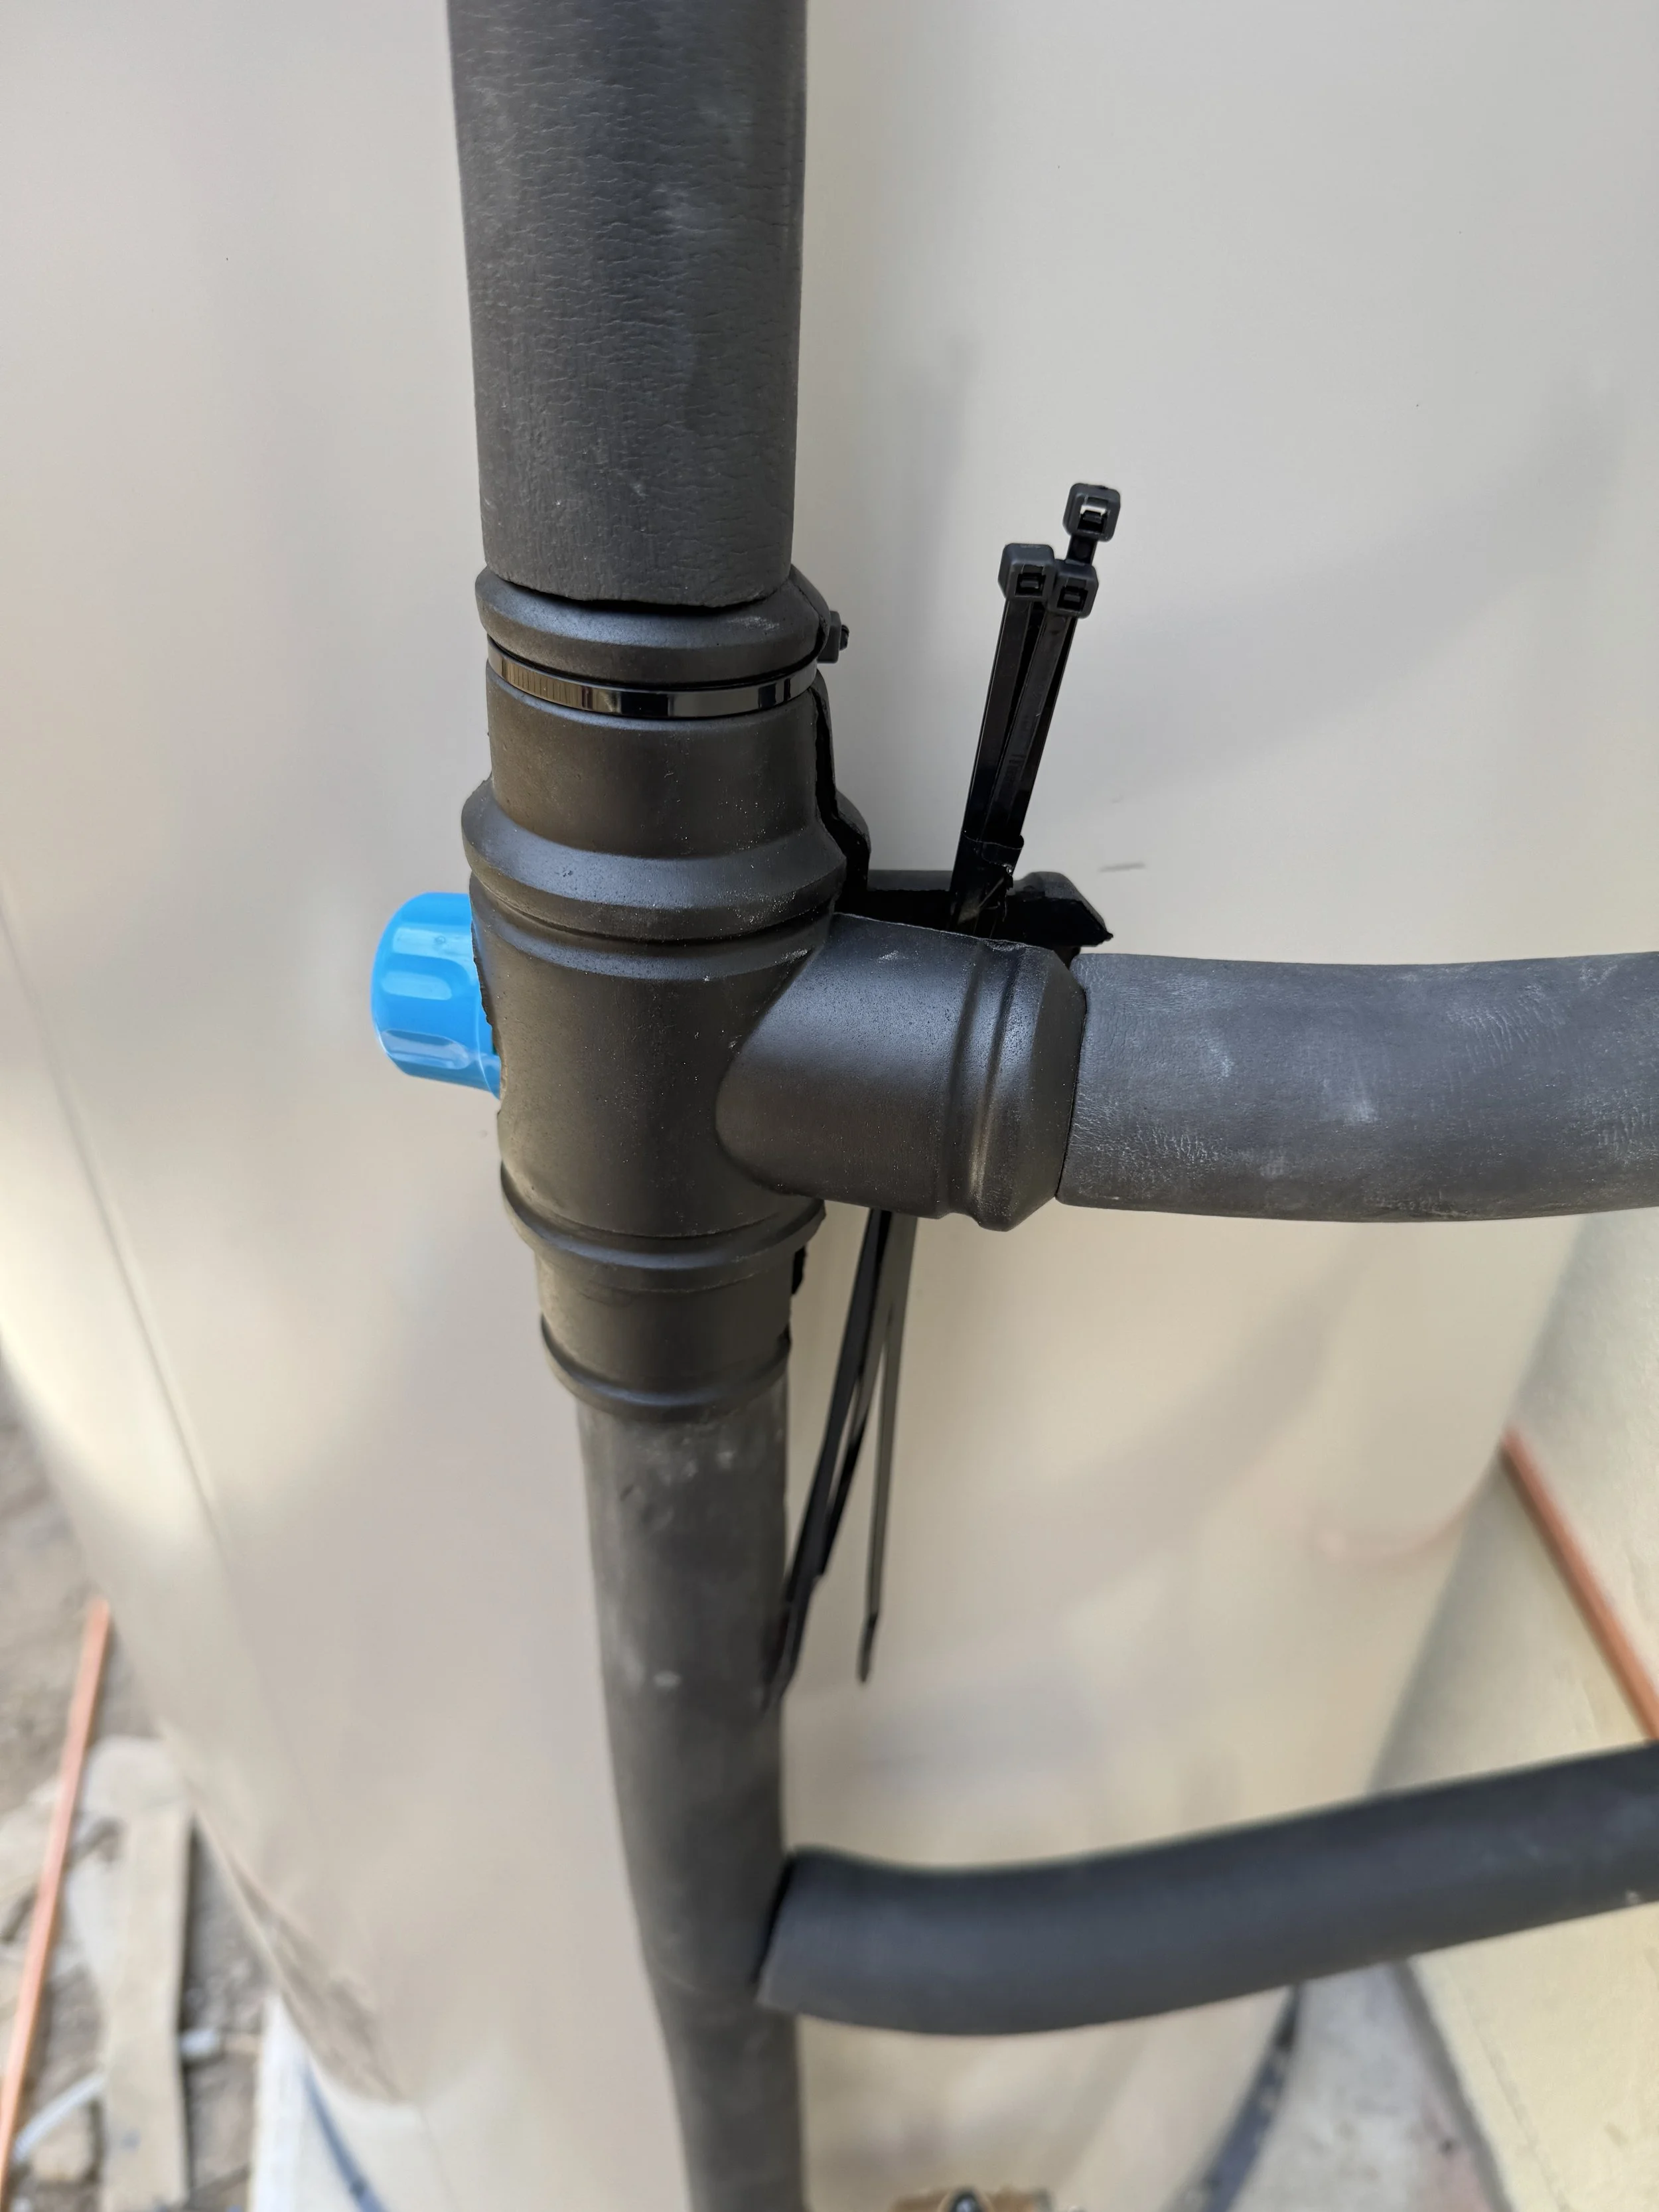
Next build the valve train. For this install the female centre tee is first for the Expansion Control Valve. This valve can go anywhere between the duo and the hot water system on the cold line.
We don’t need a pressure limiting valve for new builds as we have one at the entry to the house.
Lightly mark with a pencil level with the cold water duo valve.
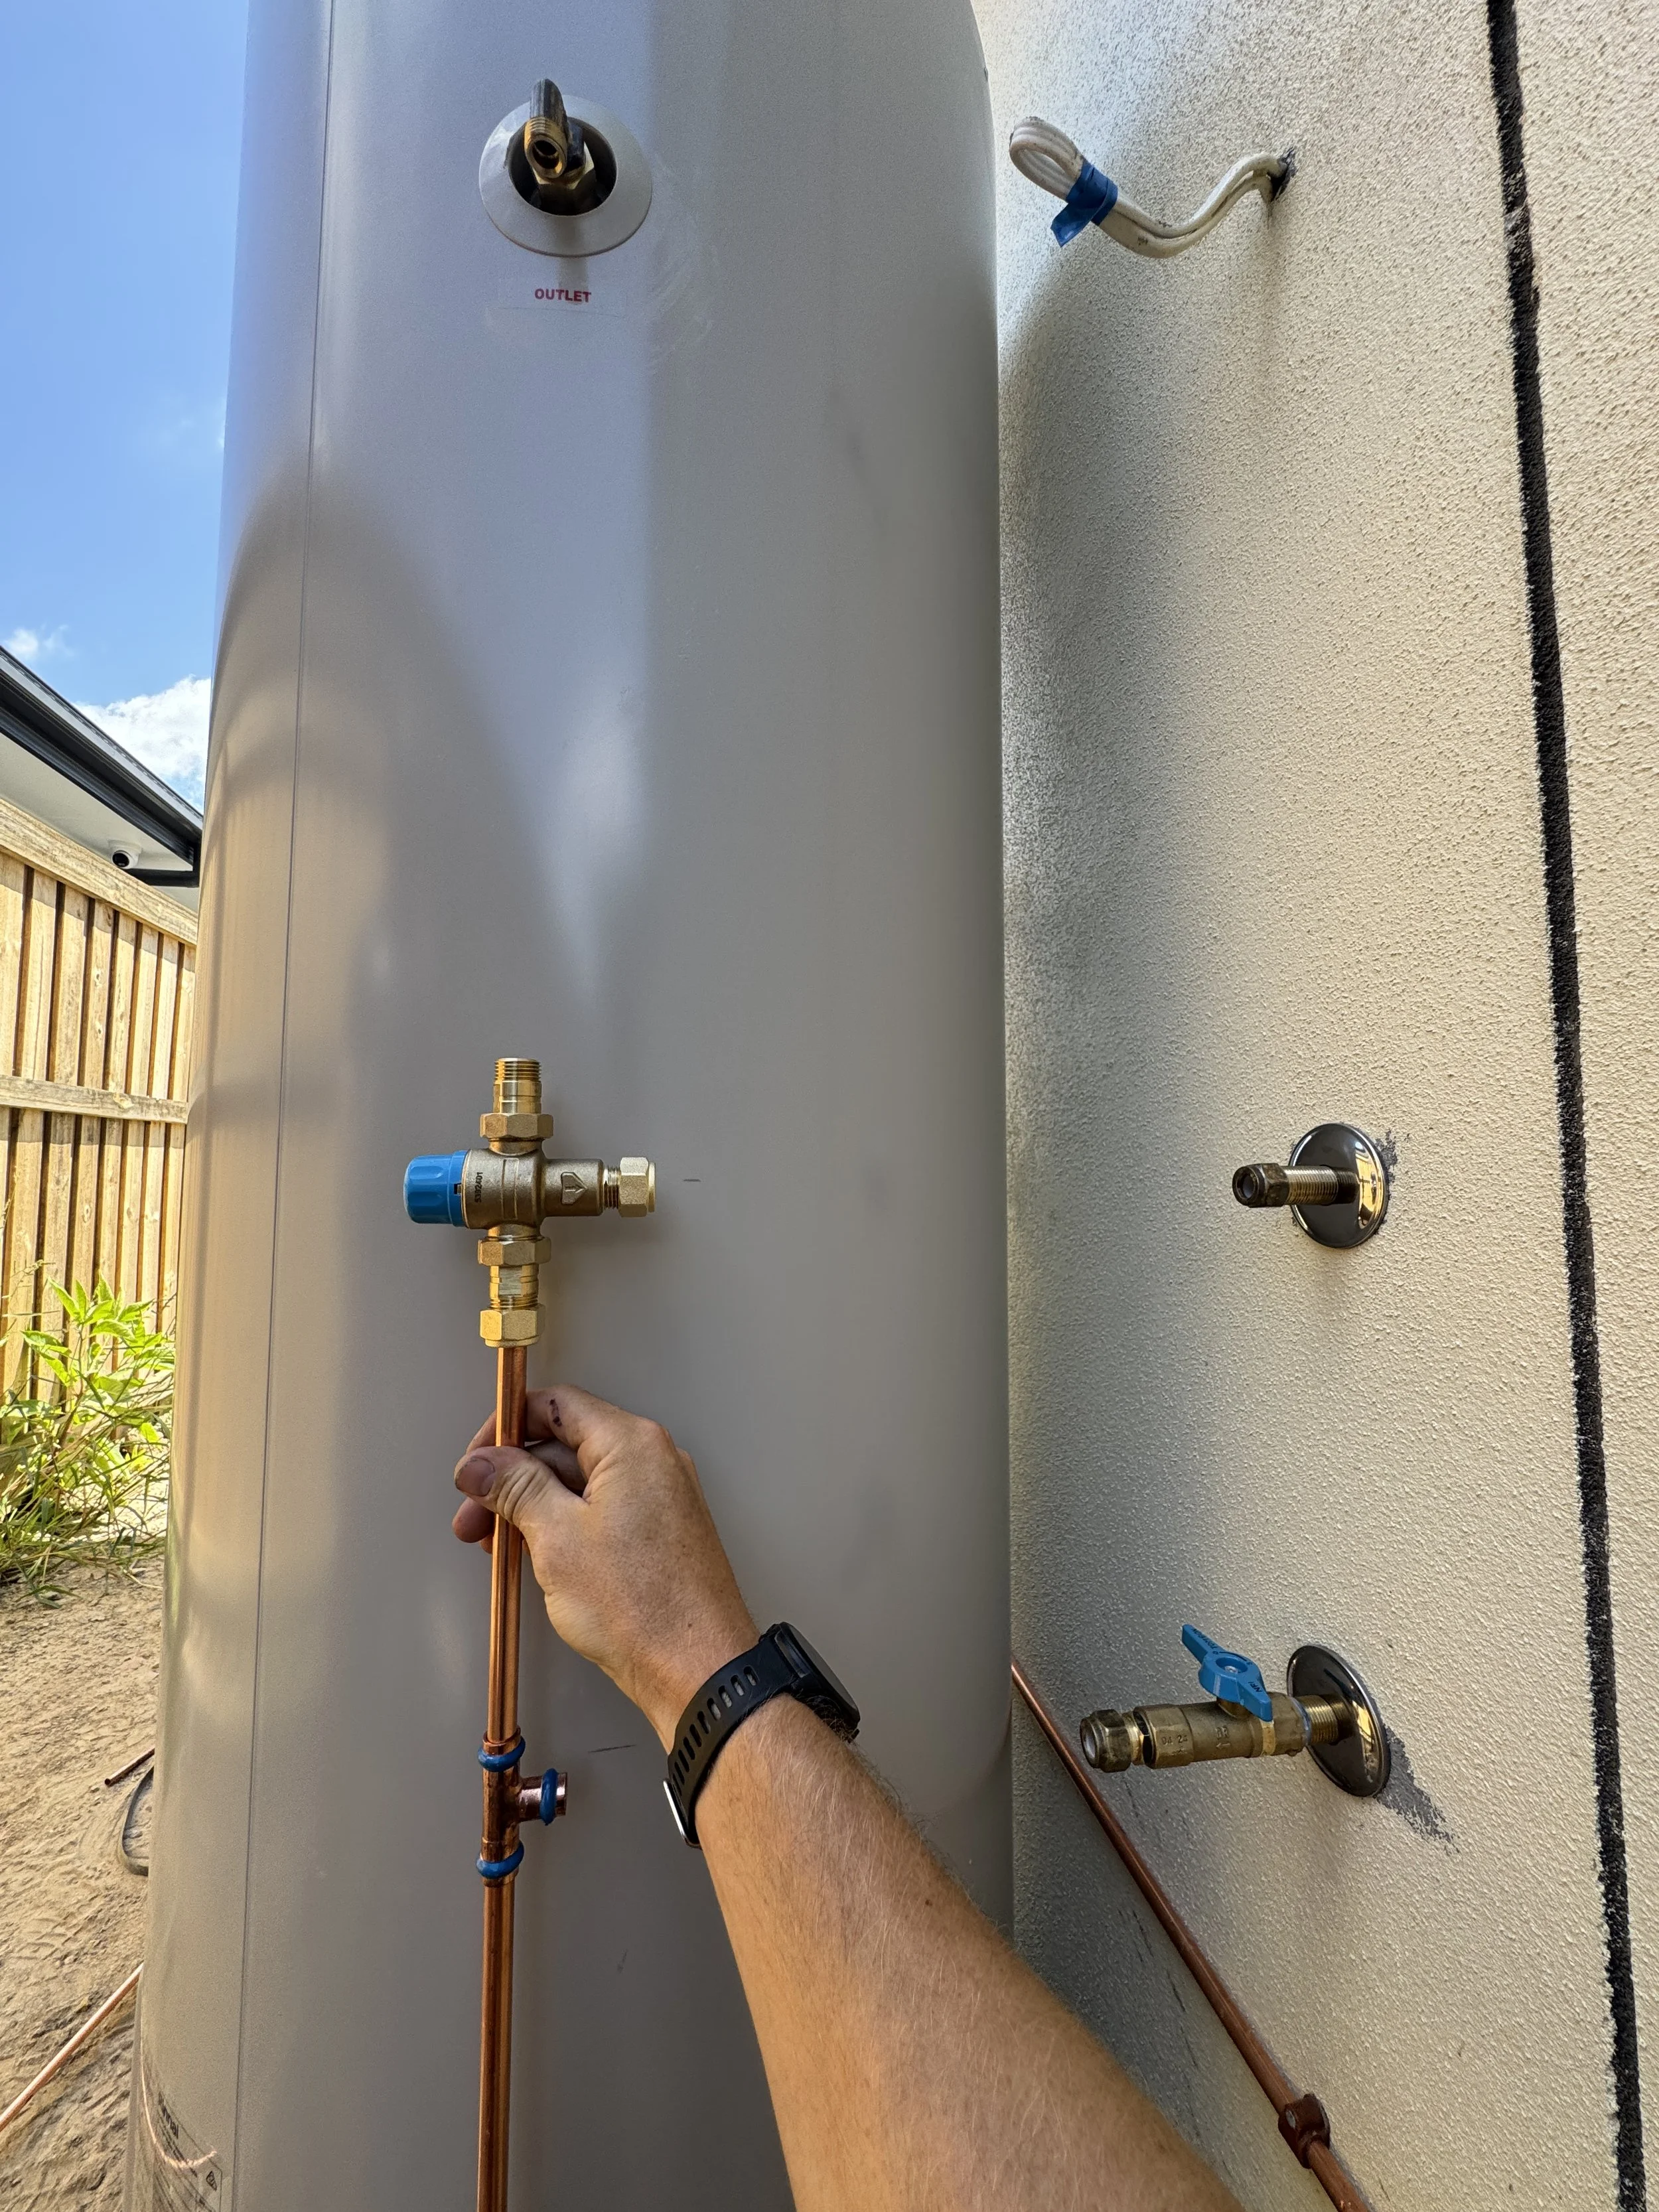
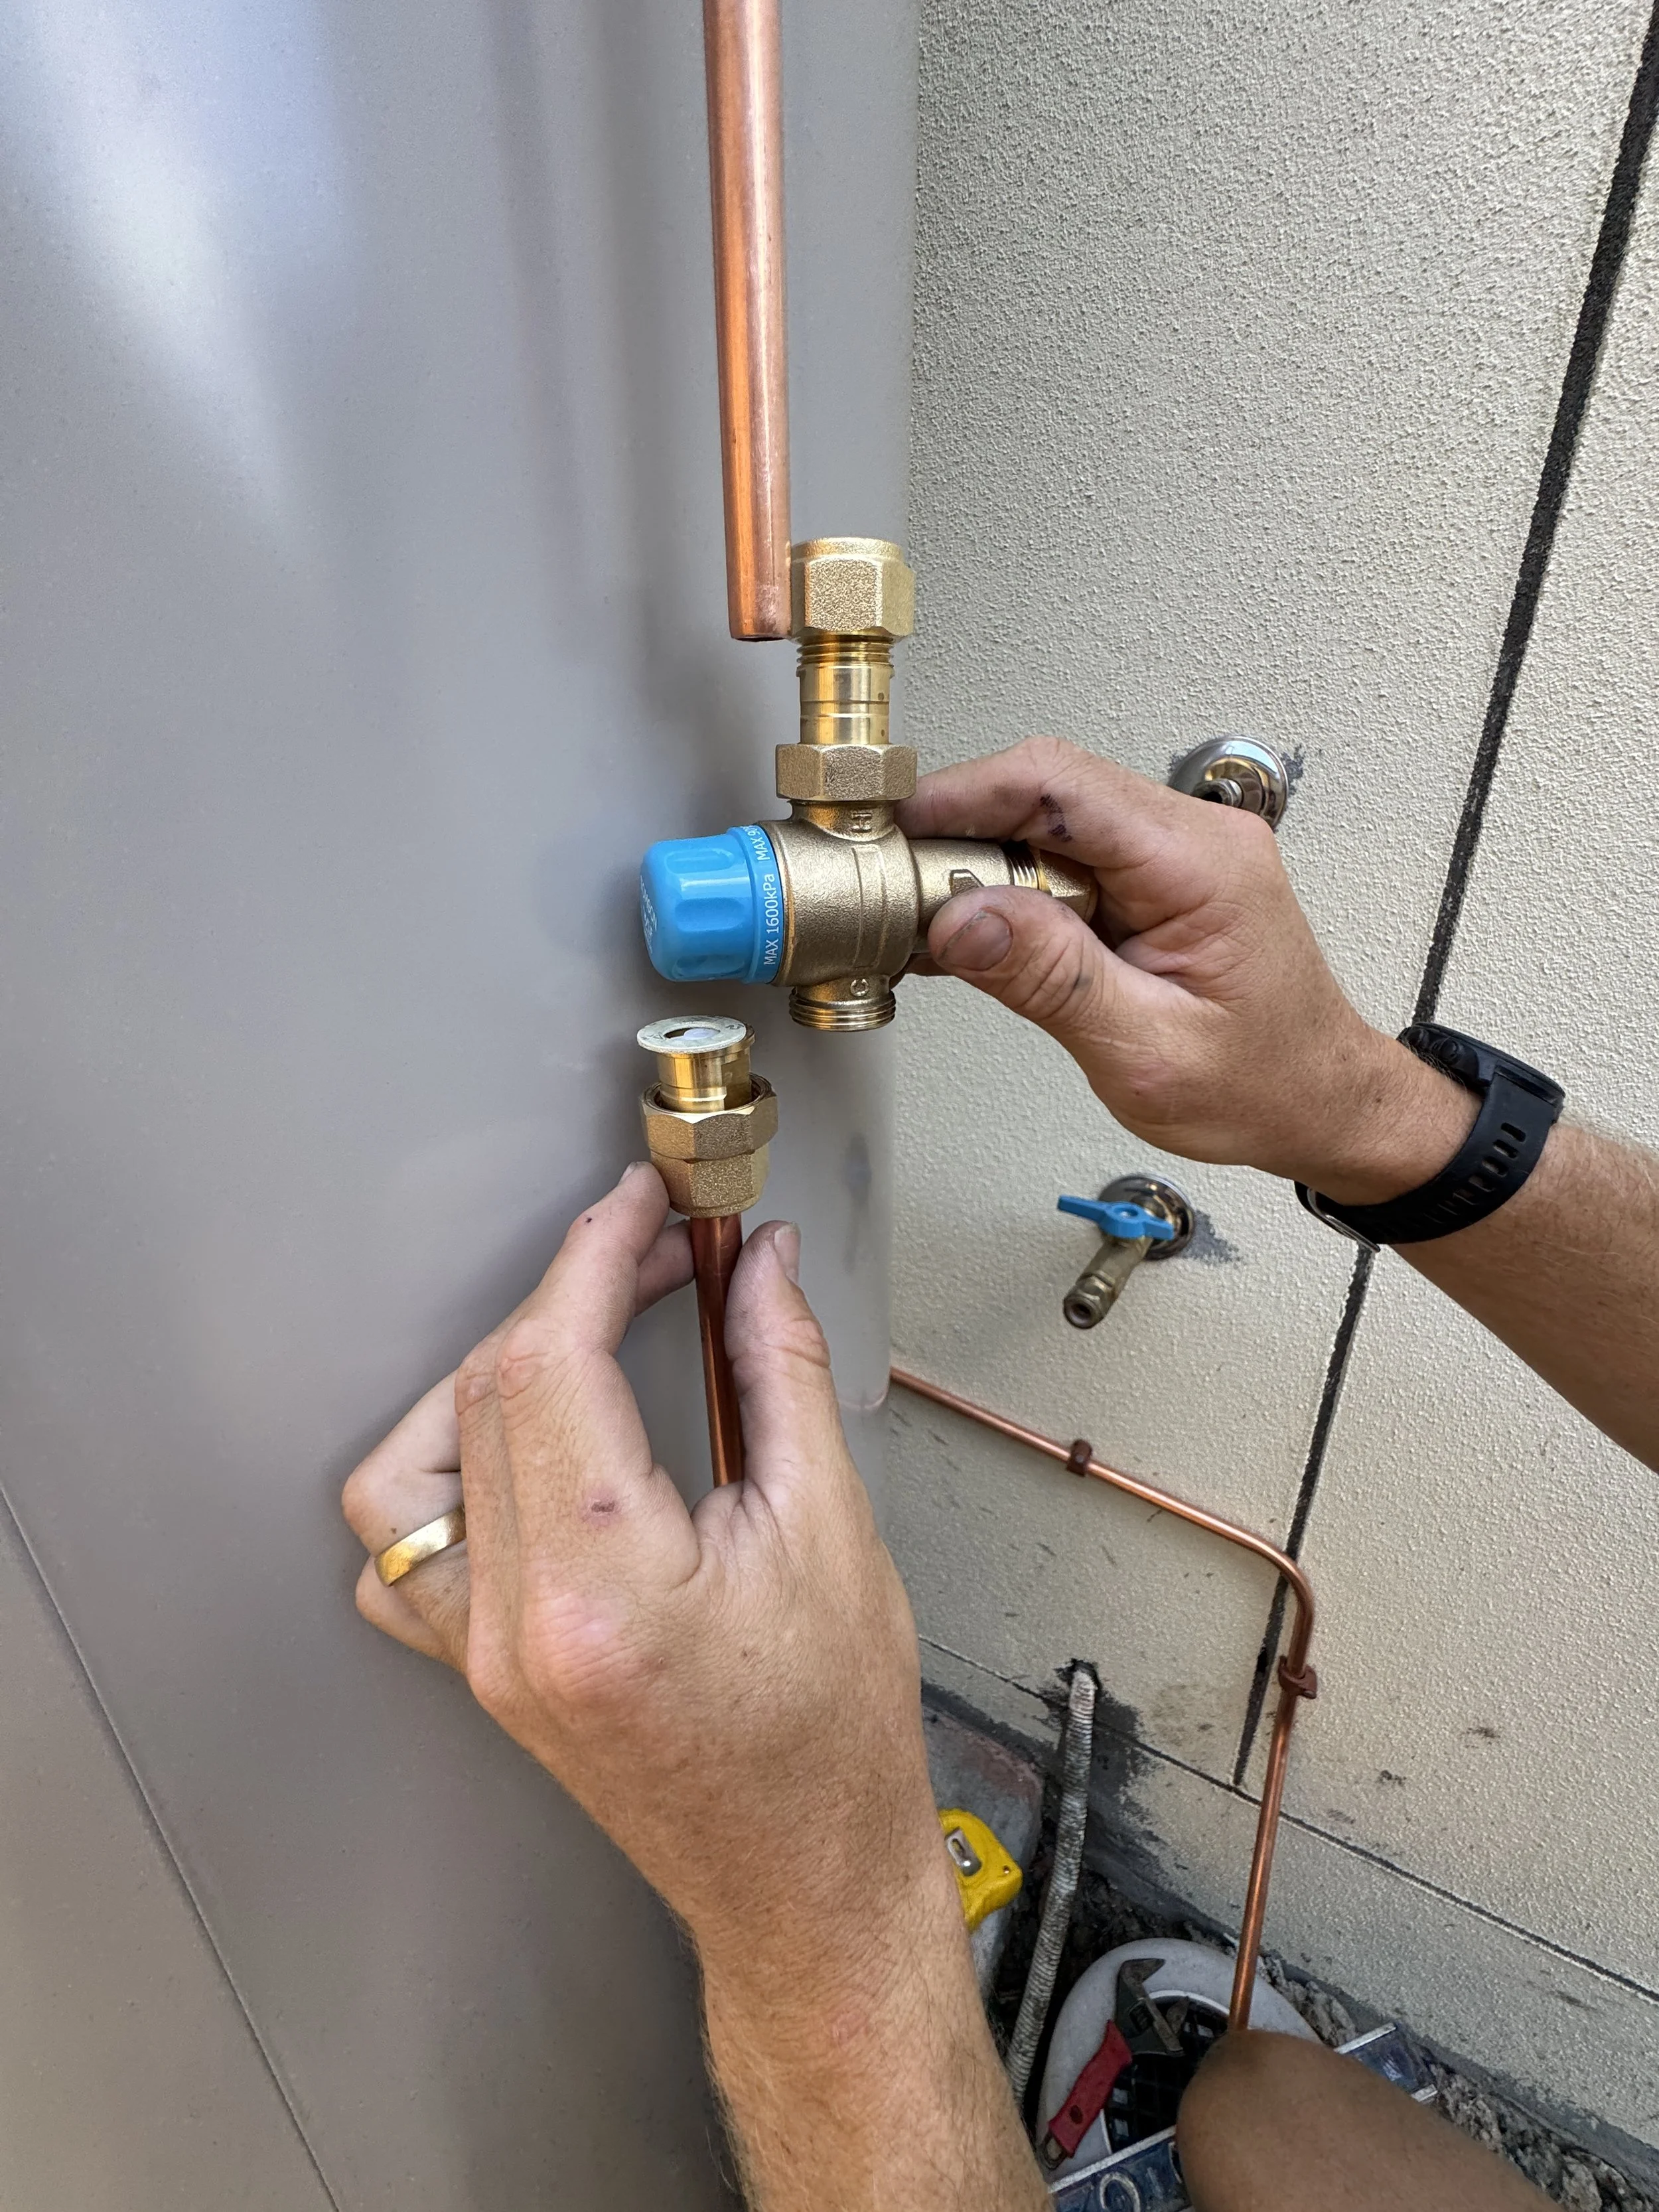
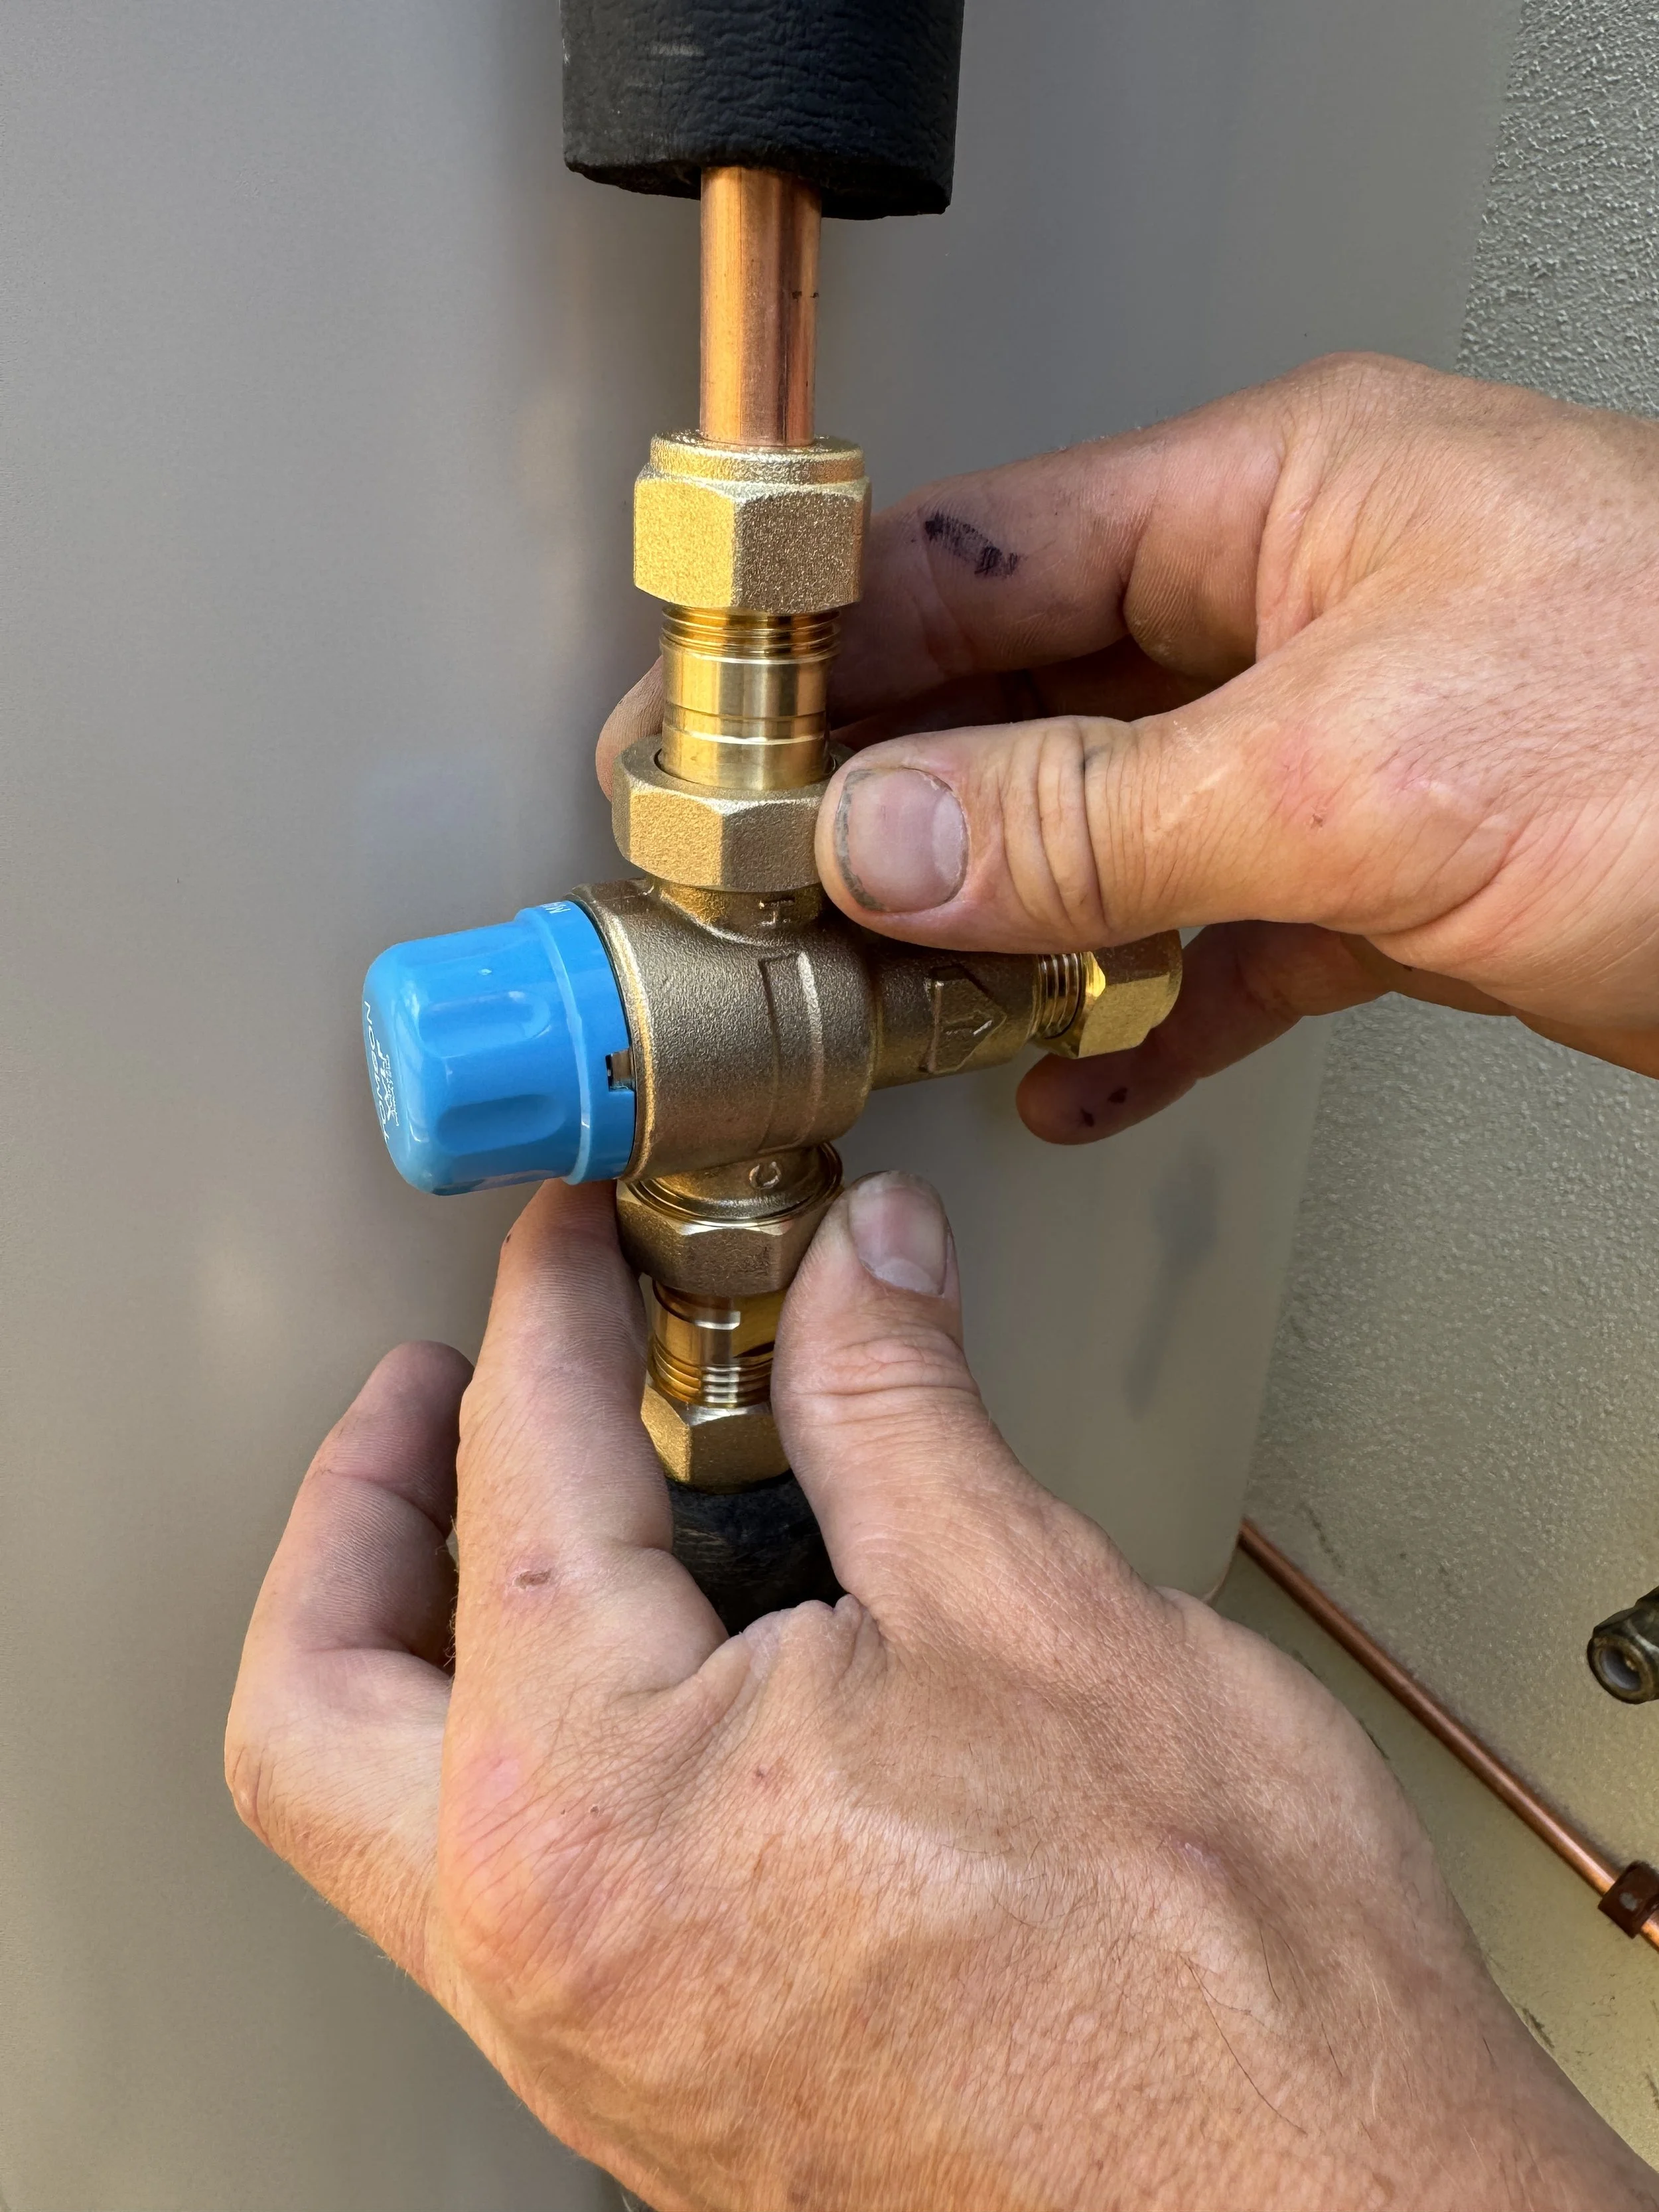
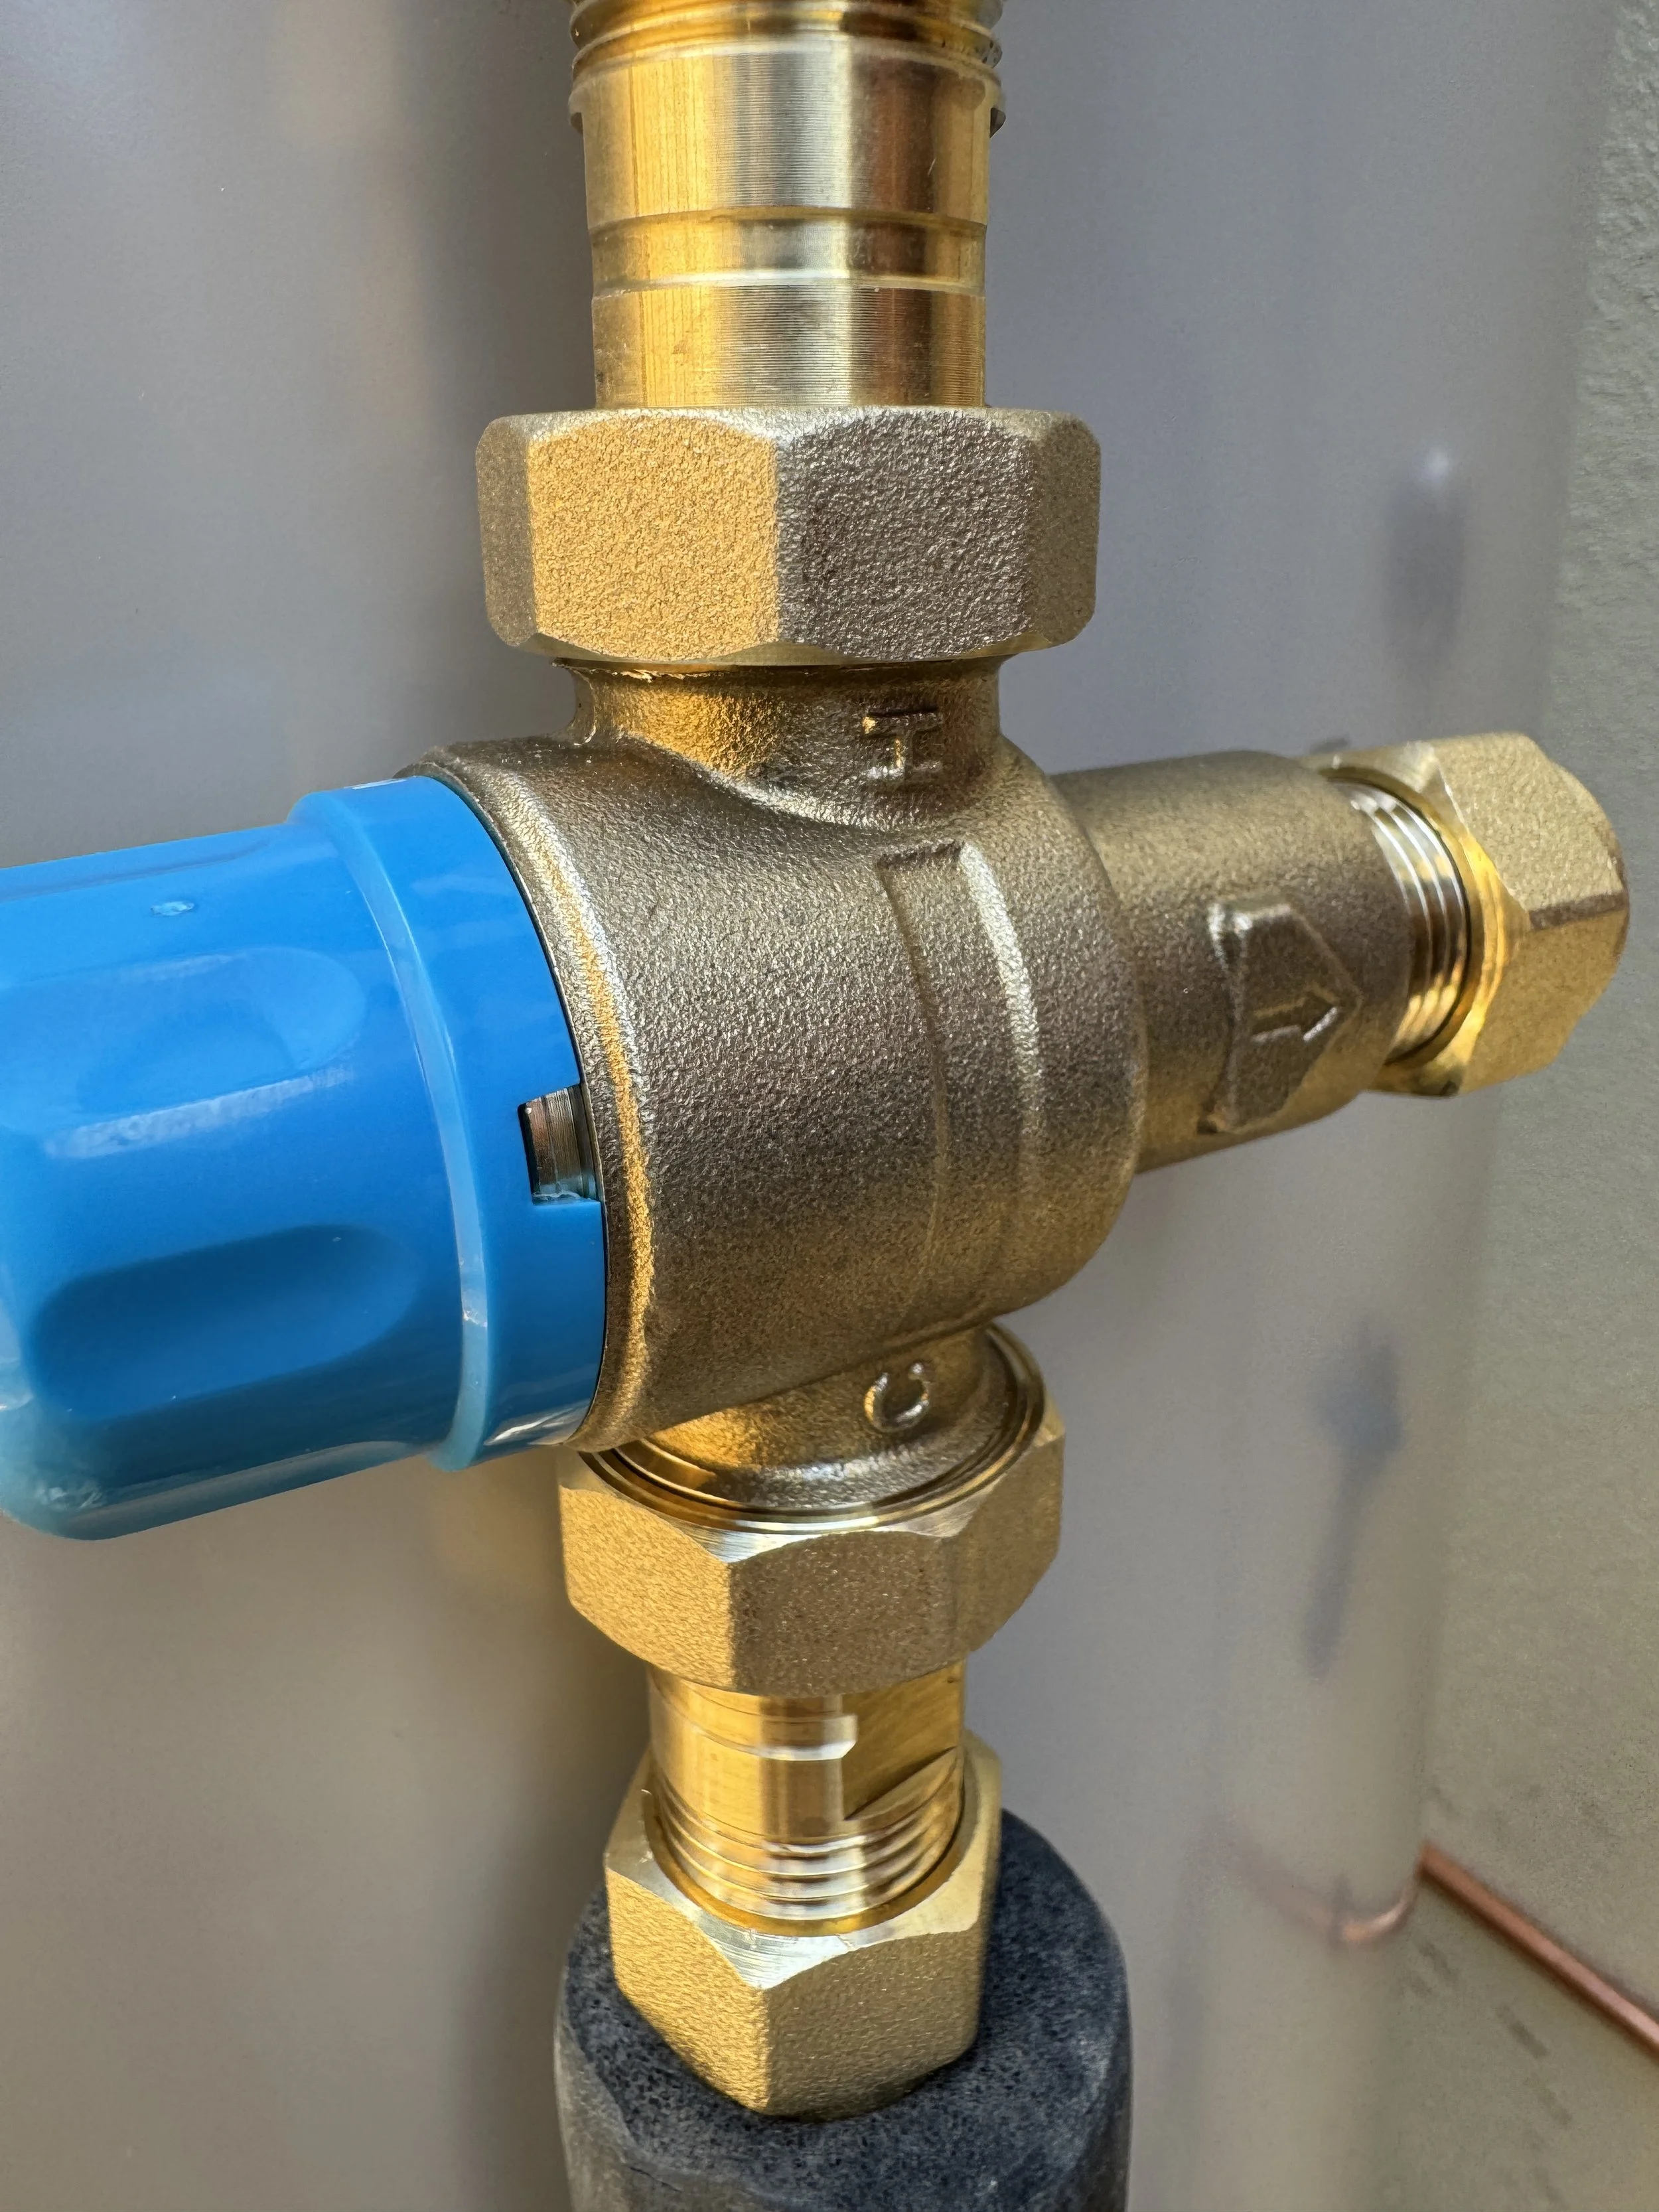
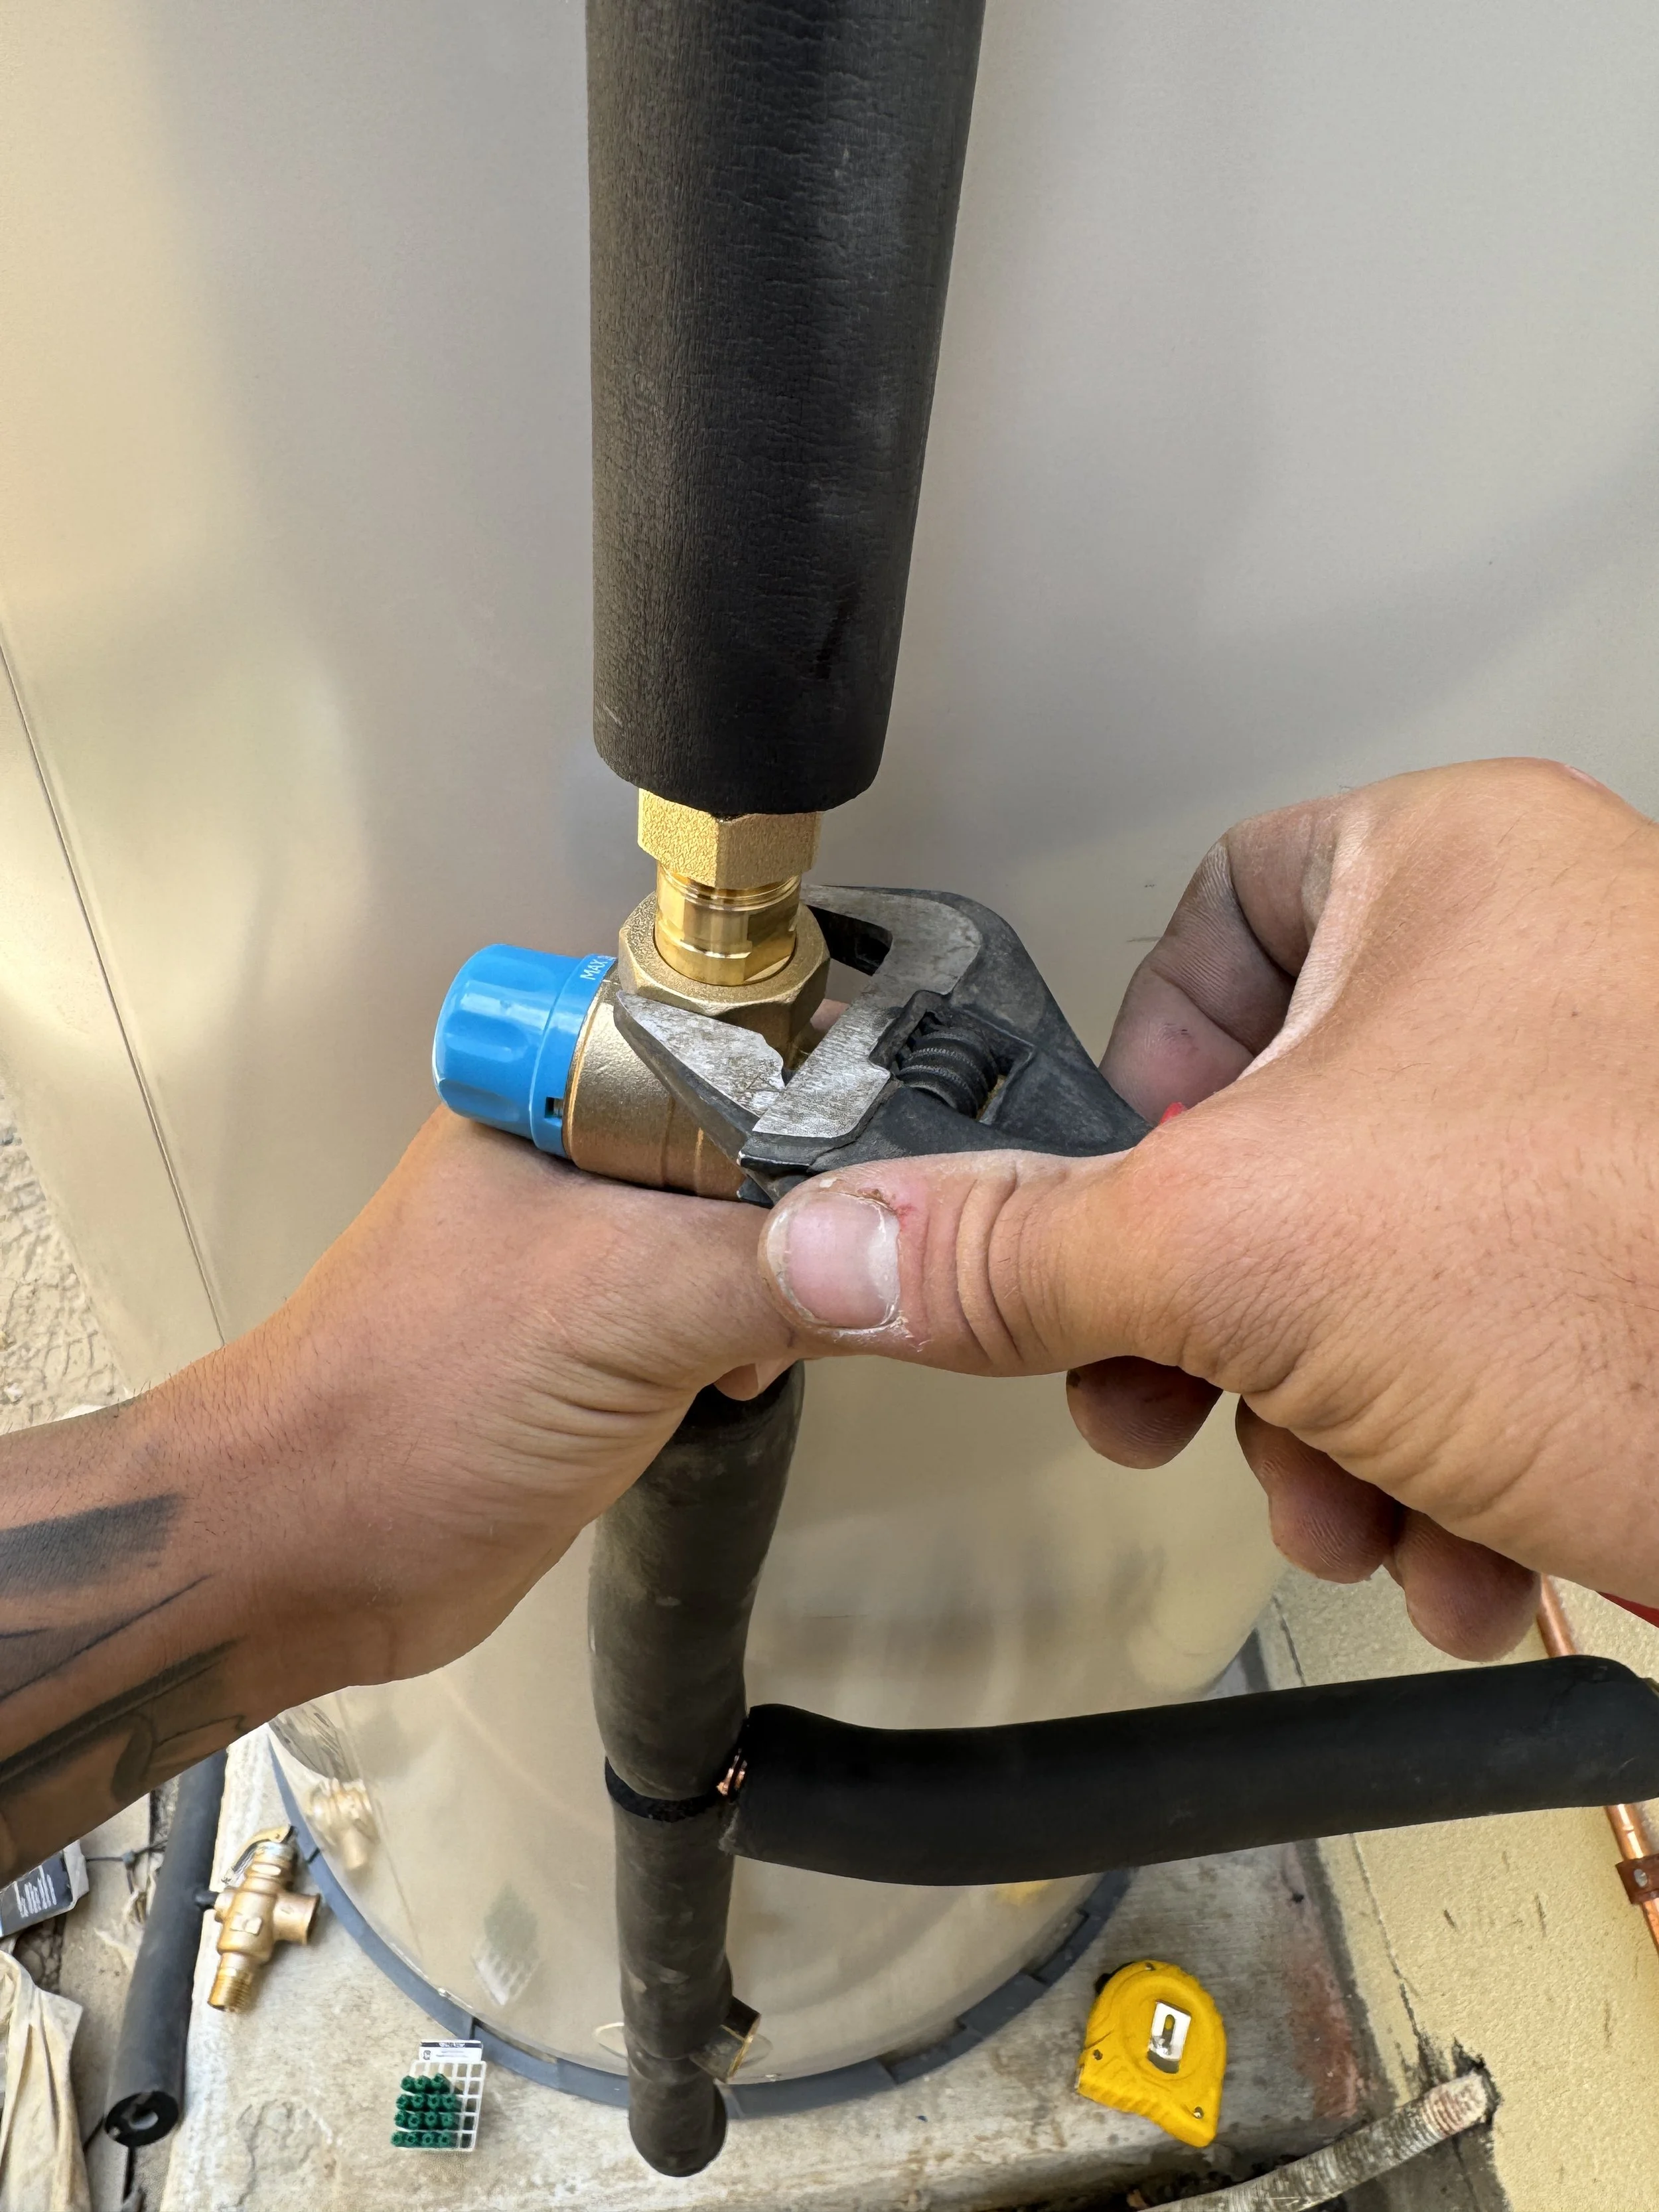
Next put in the tempering valve (make sure to replace the copper olives with nylon olives)
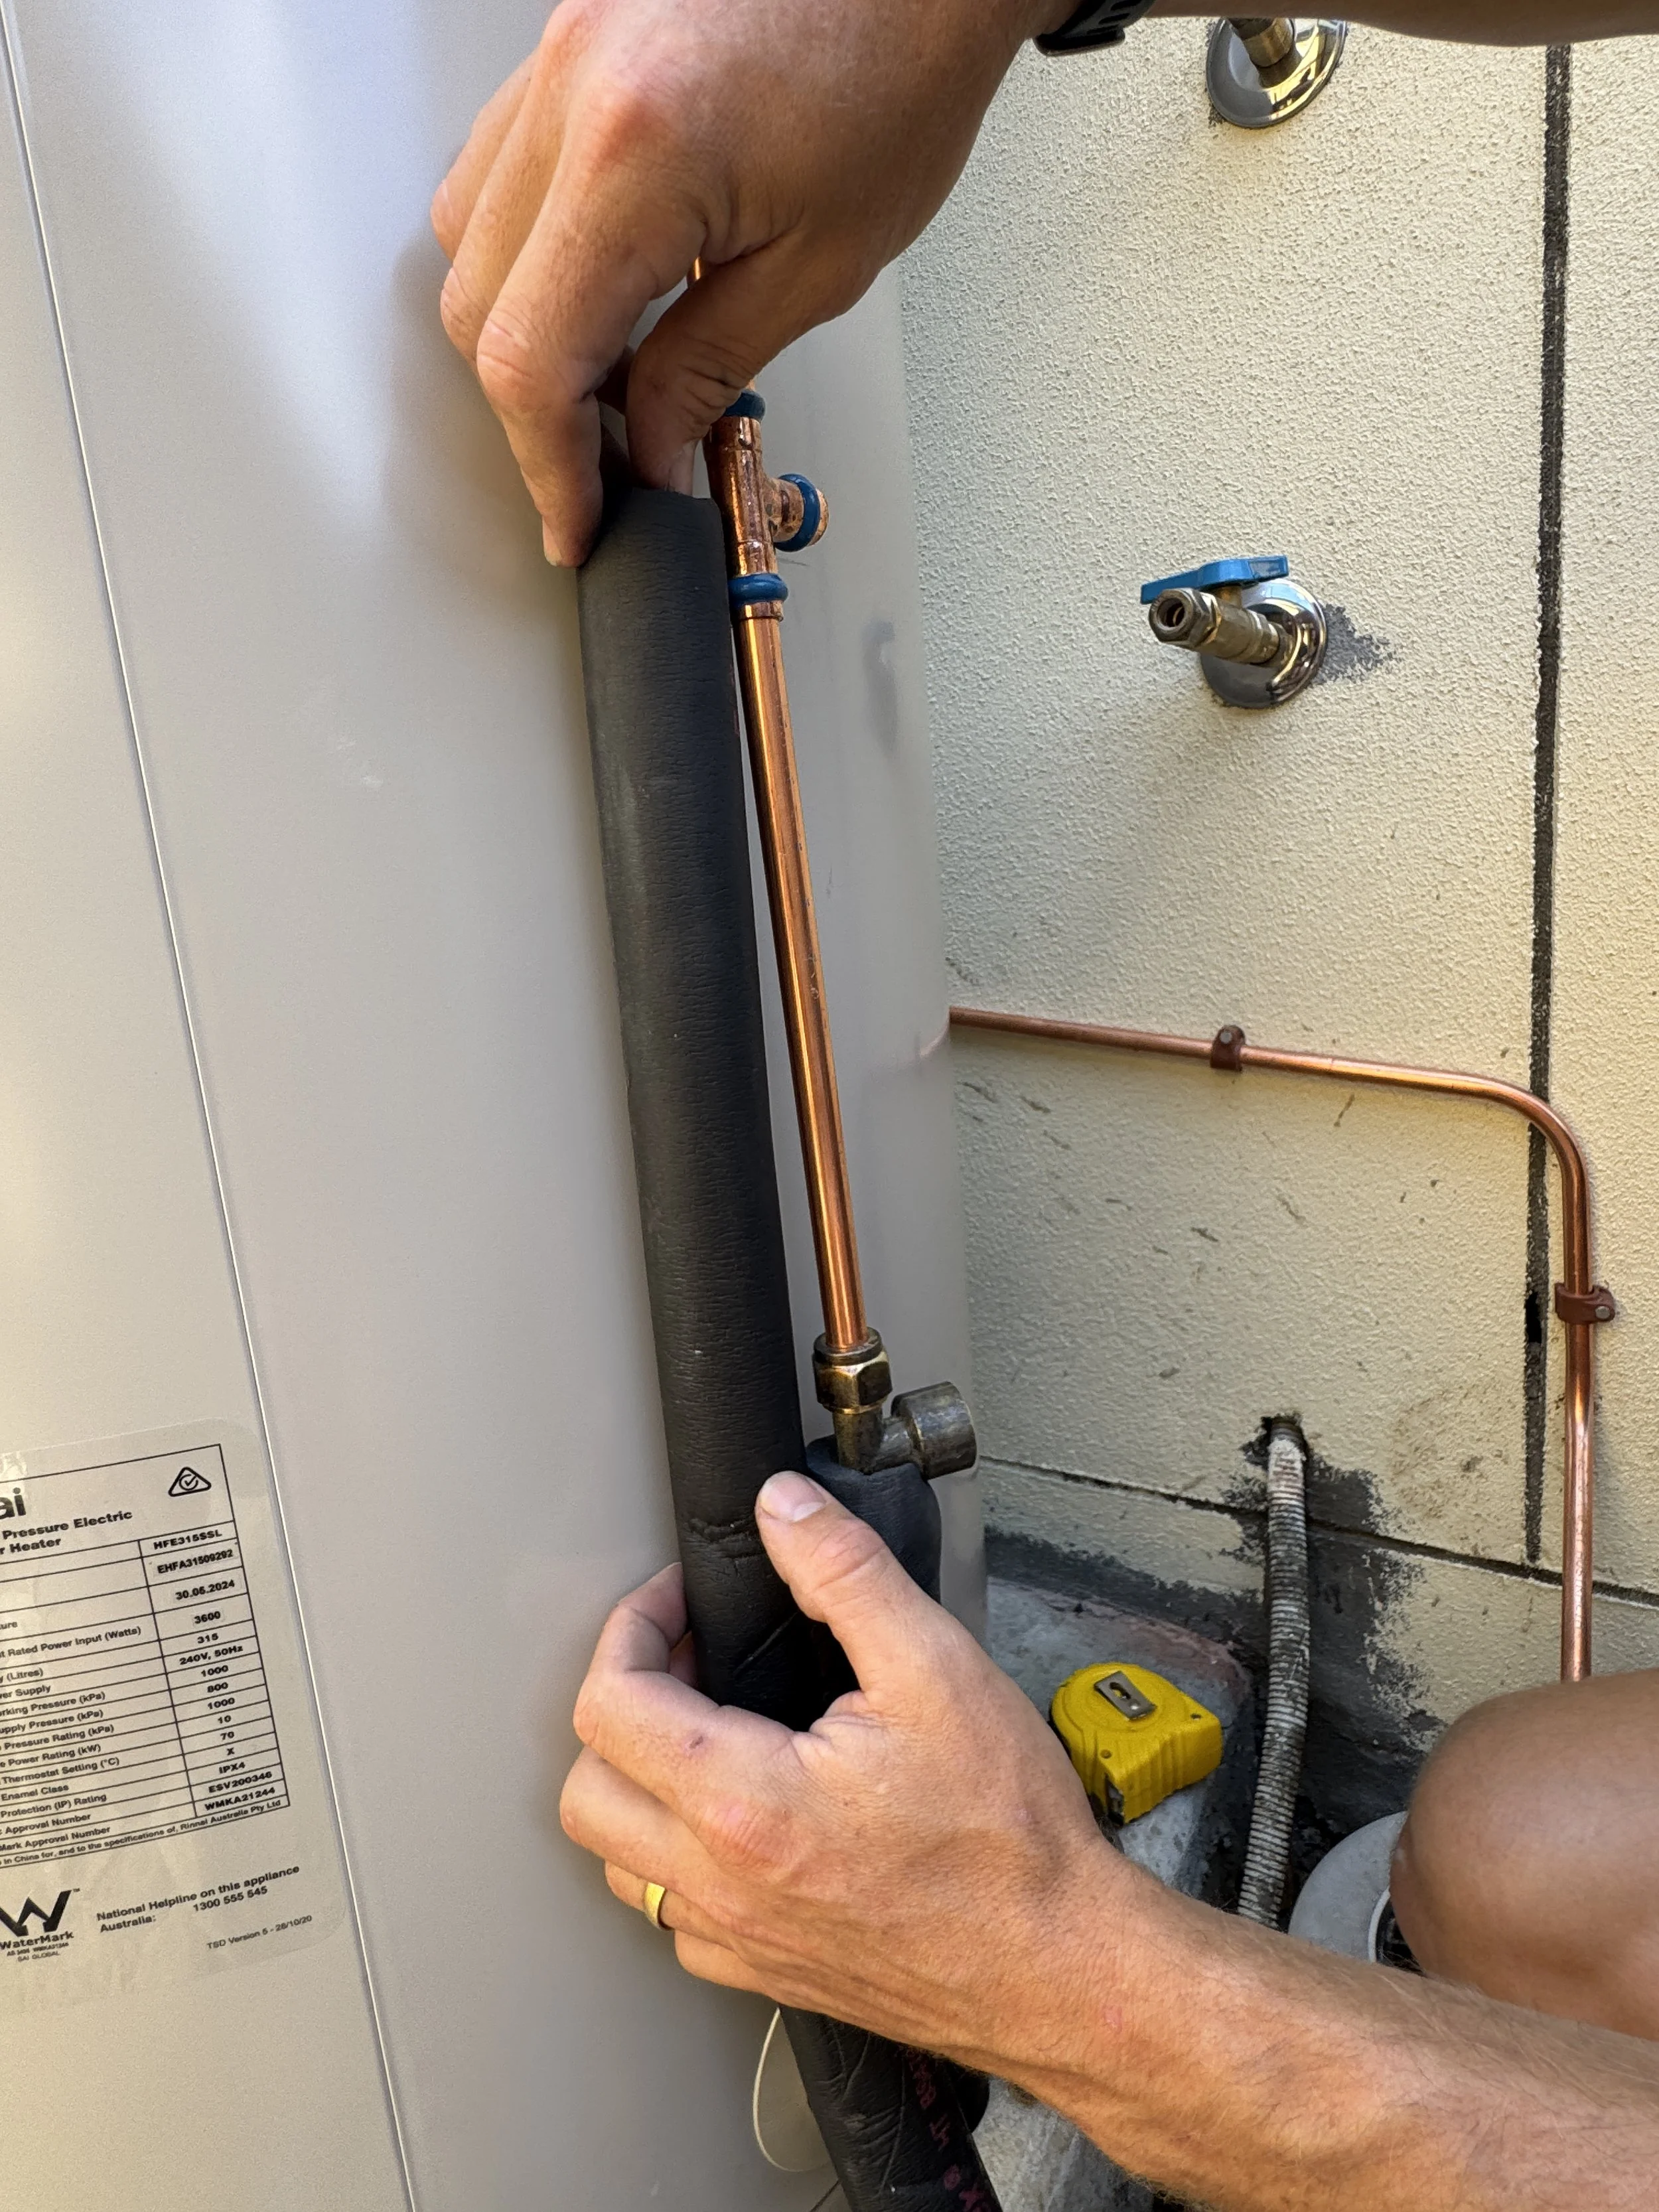
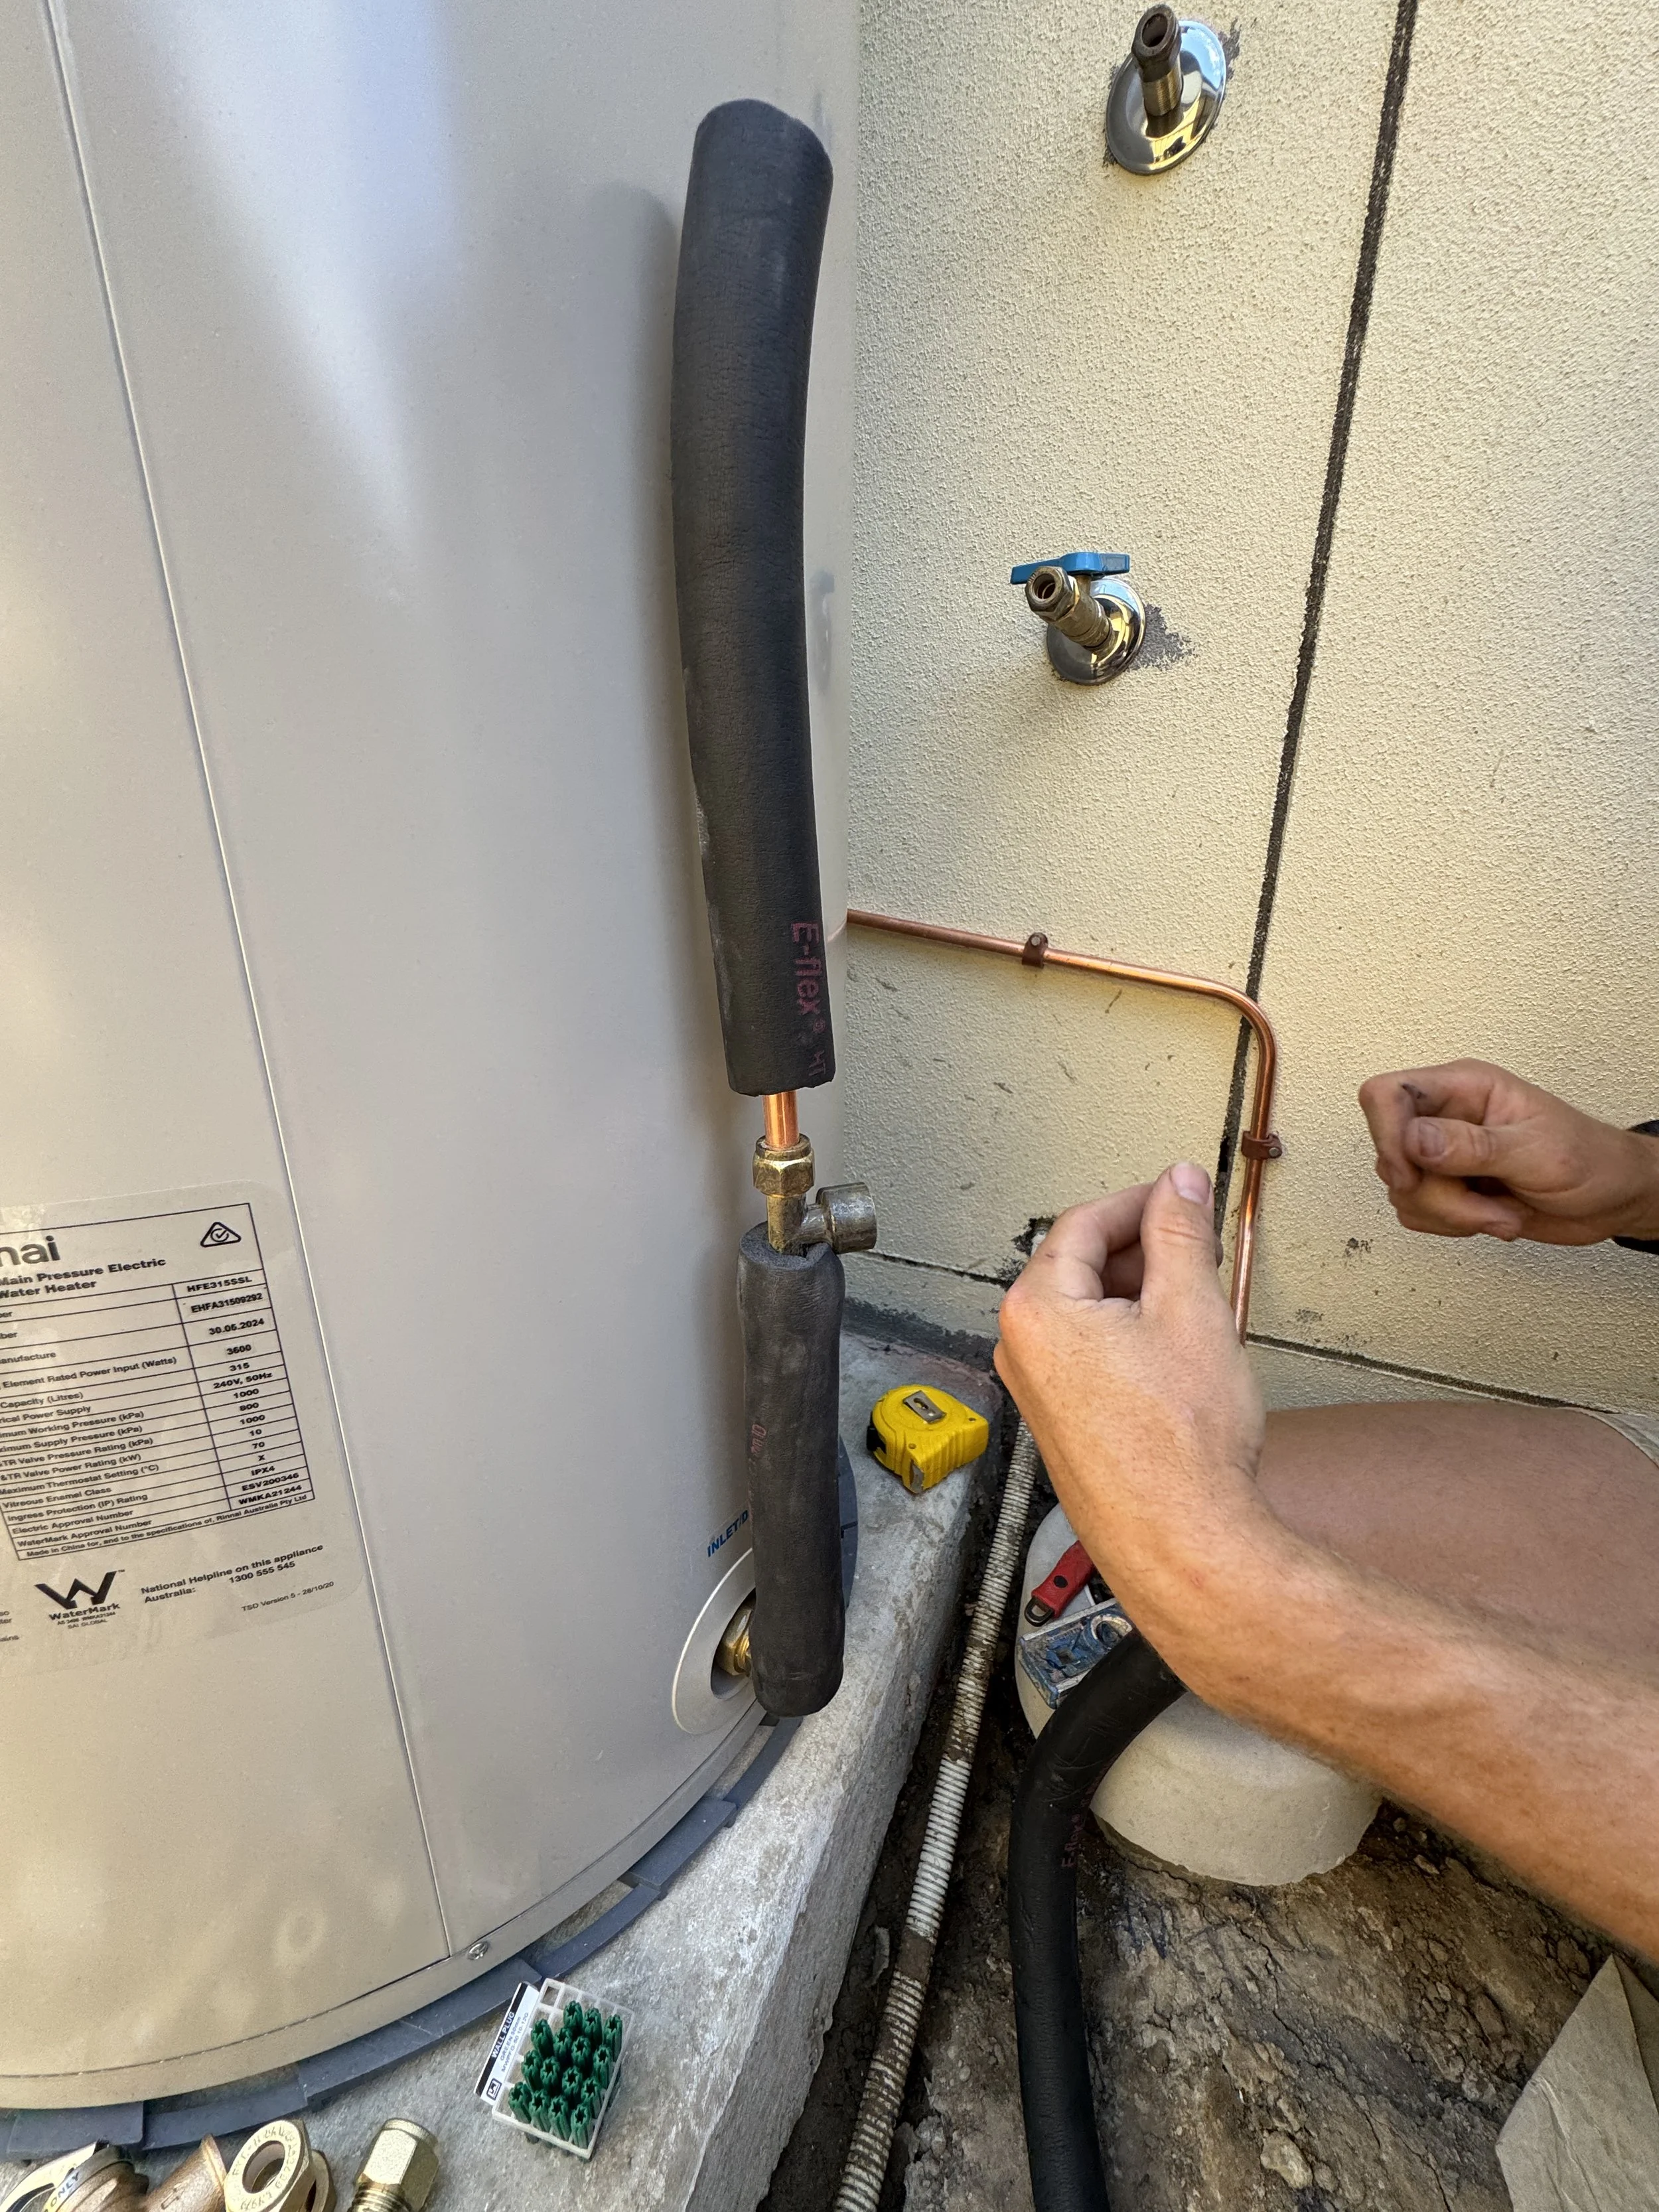
Next lag the unit from the bottom up. It is easiest to undo the loose nuts on the temp valve (be careful not to lose the fibre washers) which lets you pull the valves and pipe apart easily.
Line it up with the bottom of the rheem elbow as the valves and fittings are required to be lagged too.
Line up the centre of the tee.
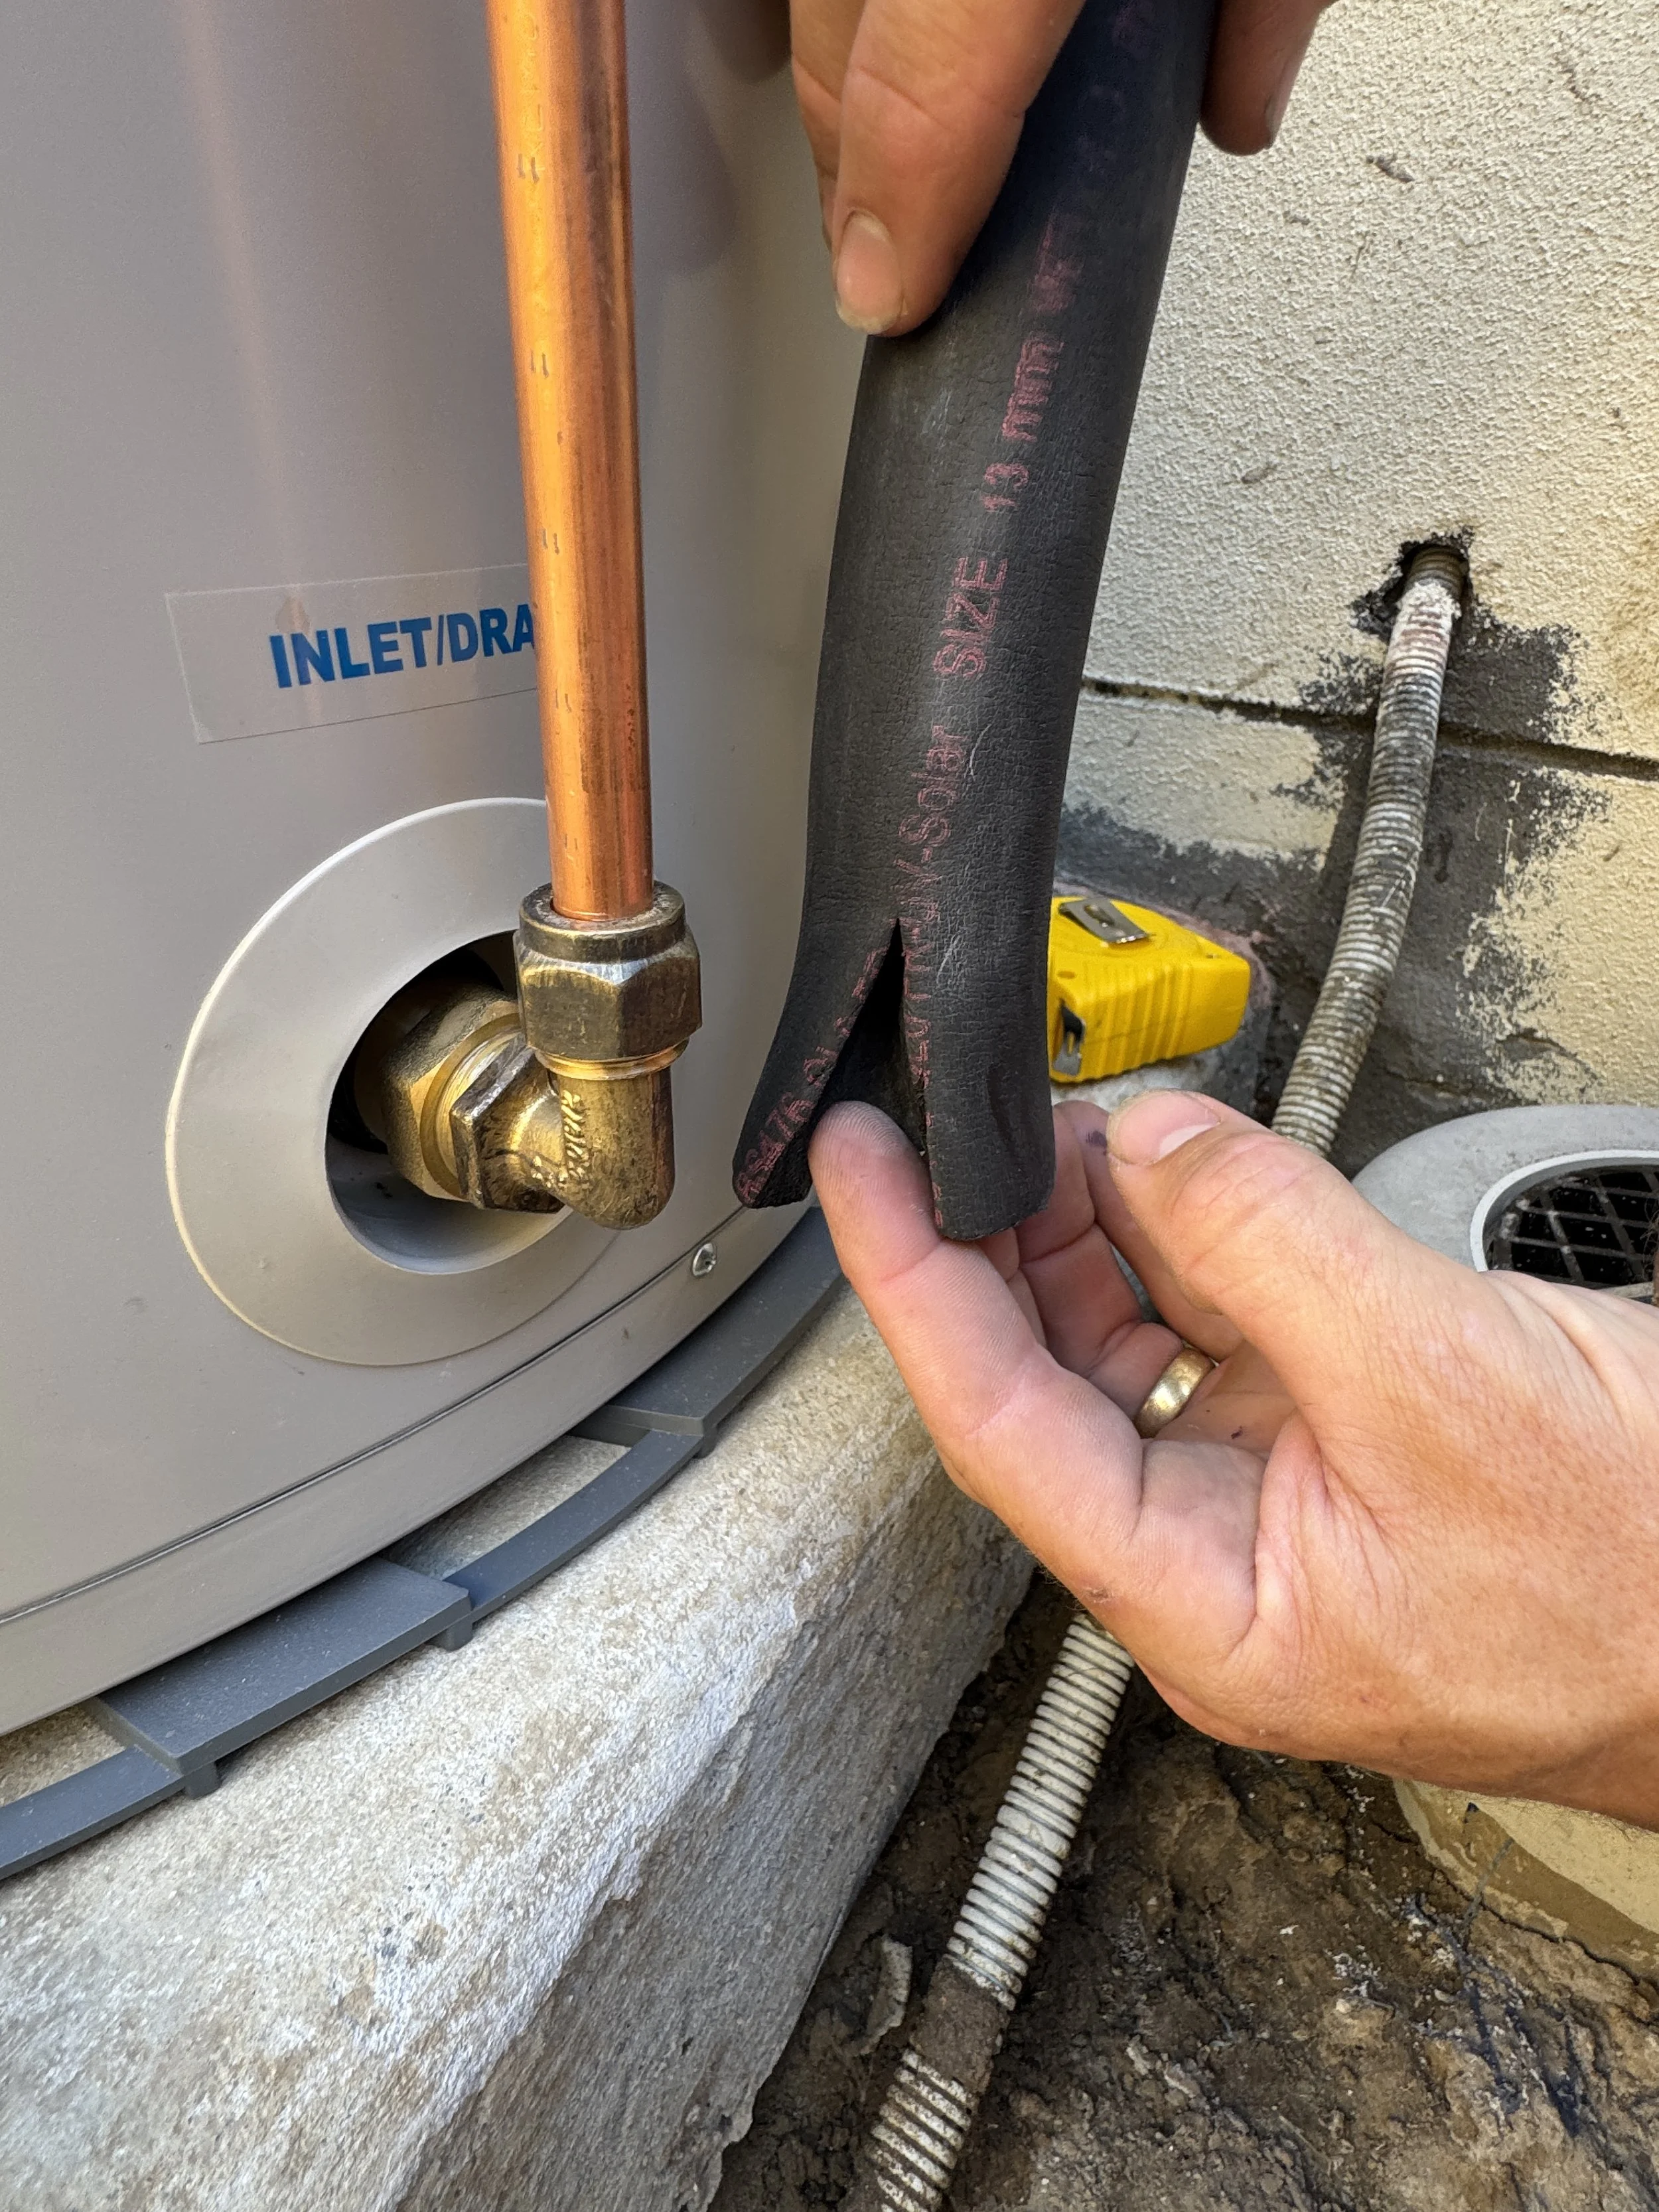
Cut about 40mm up on the side that the writing is on so that it will slide down over the rheem elbow and the writing will be hidden towards the unit.
Tighten the nut now.
Slide lagging on.
Pull lagging down and install female centre tee, doing nut up tight.
Work your way up the unit. Making sure to pull lagging down to cover the fittings.
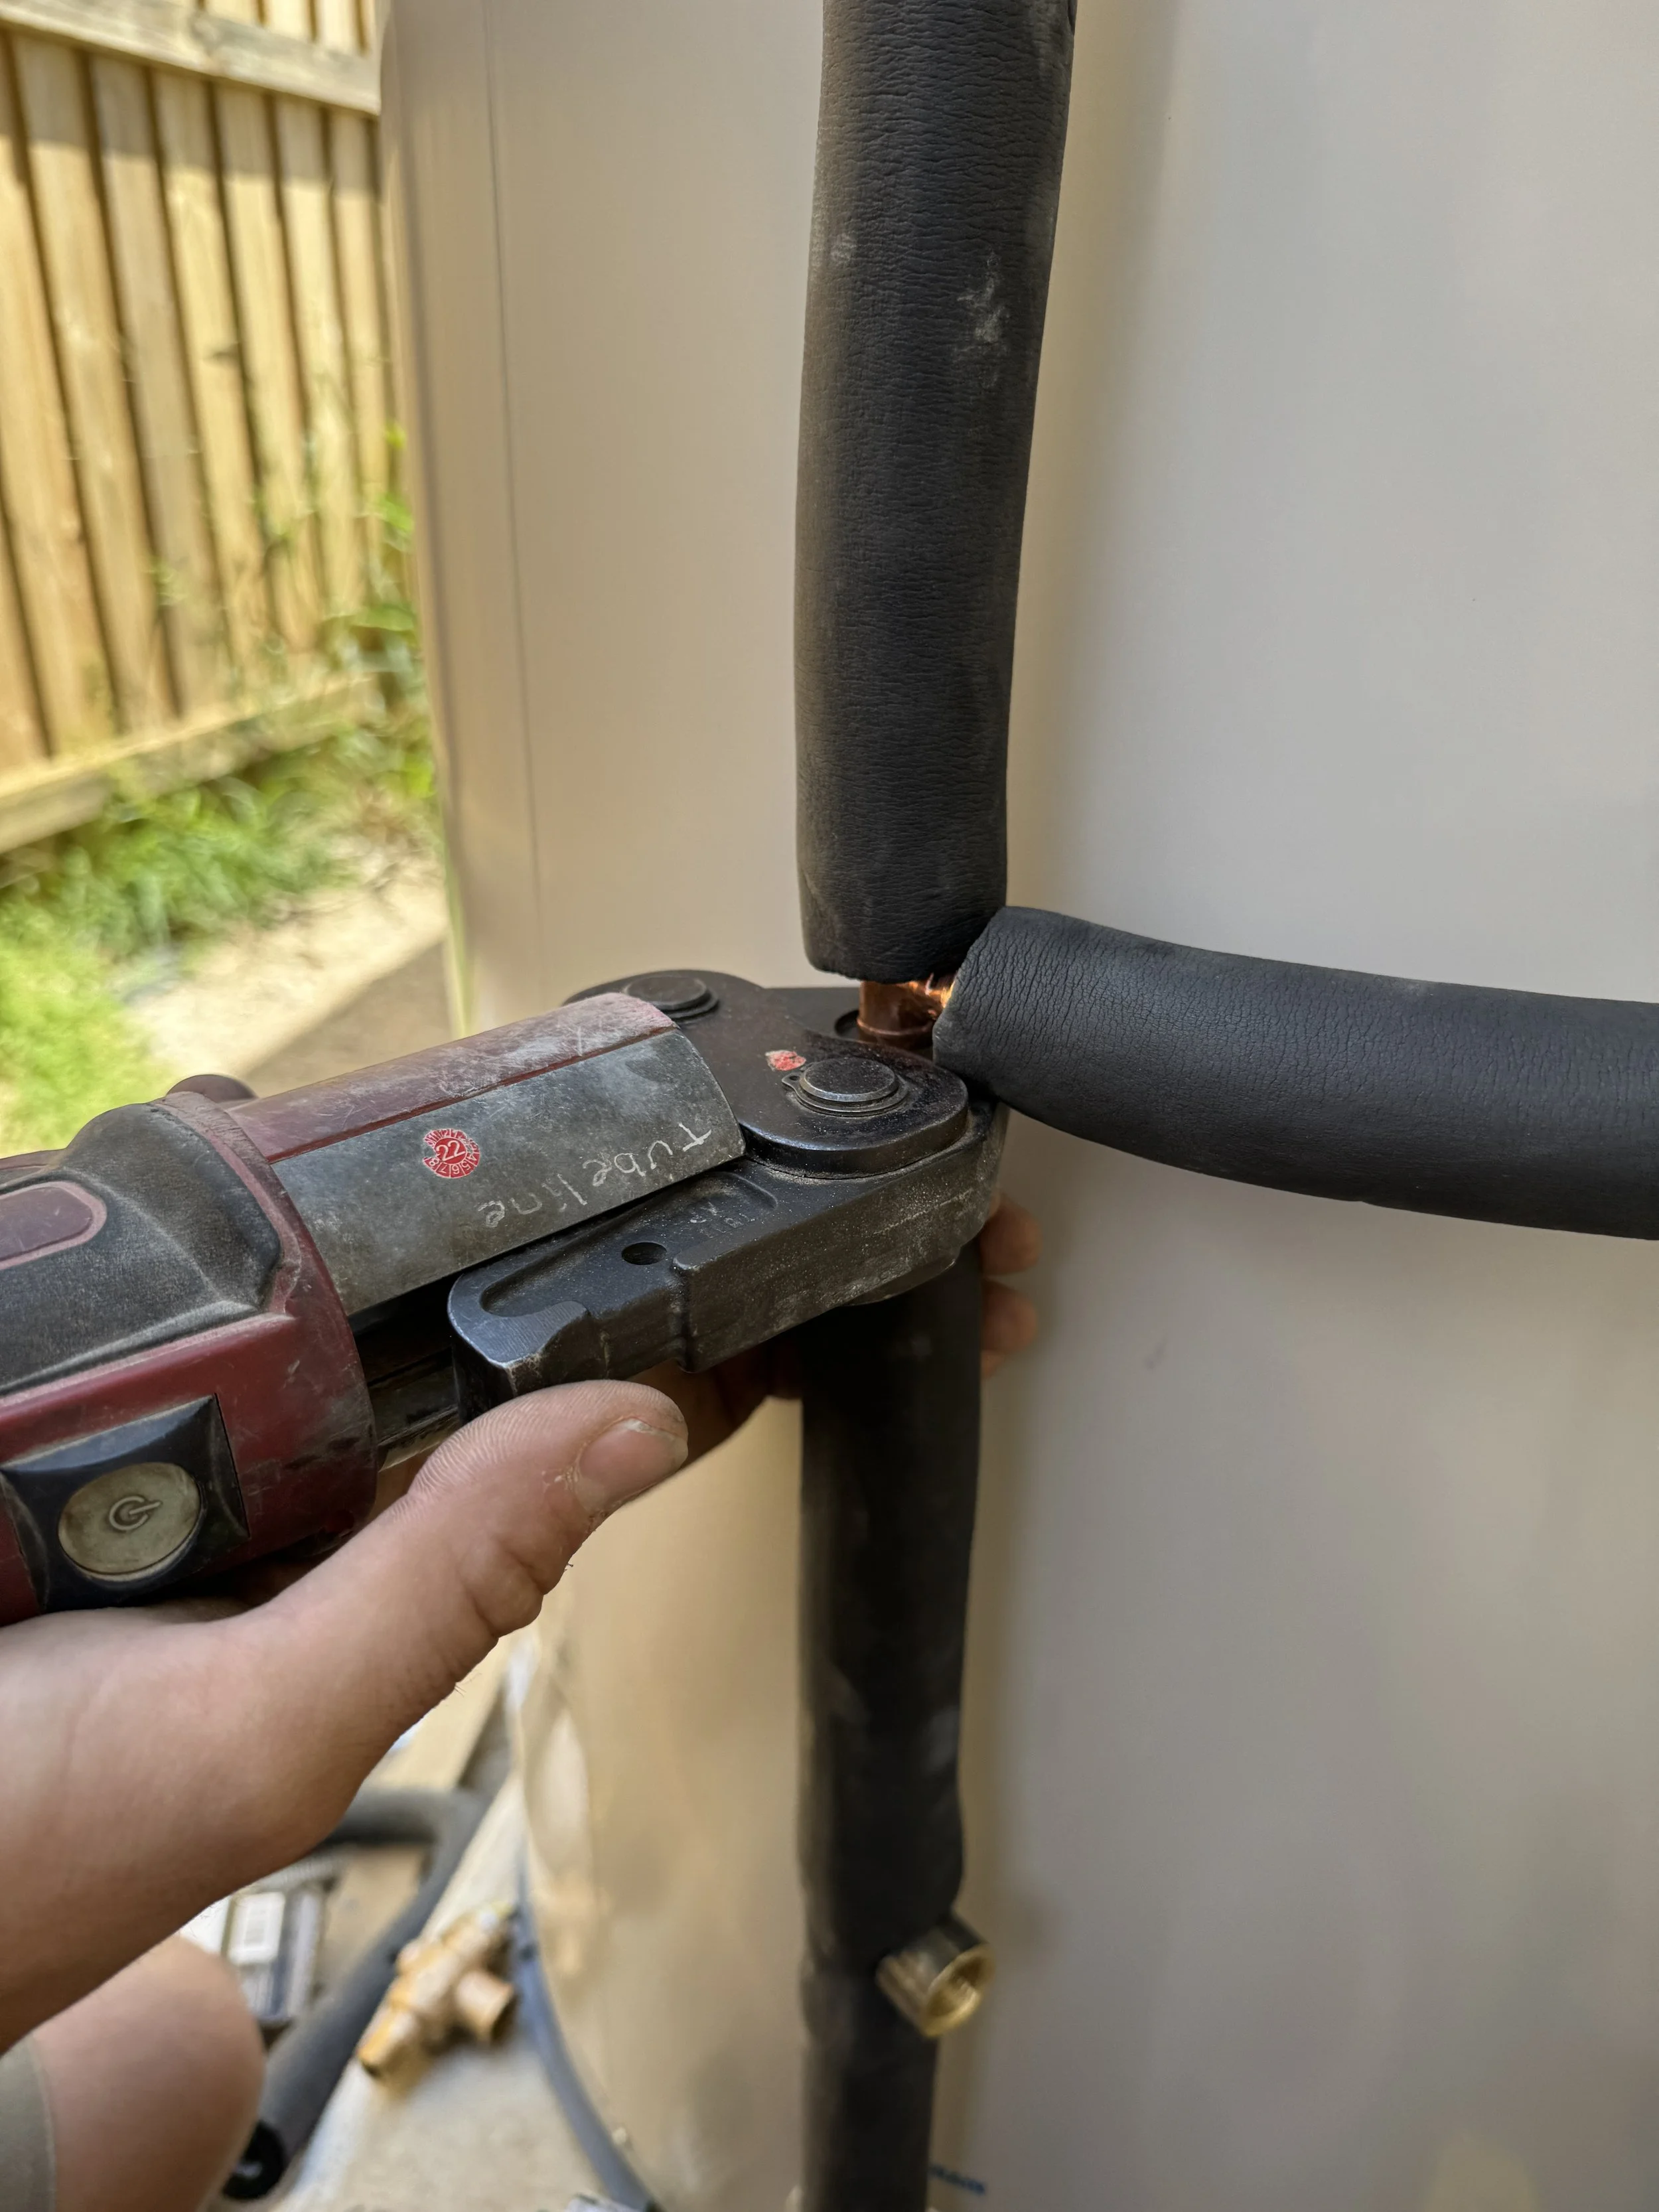
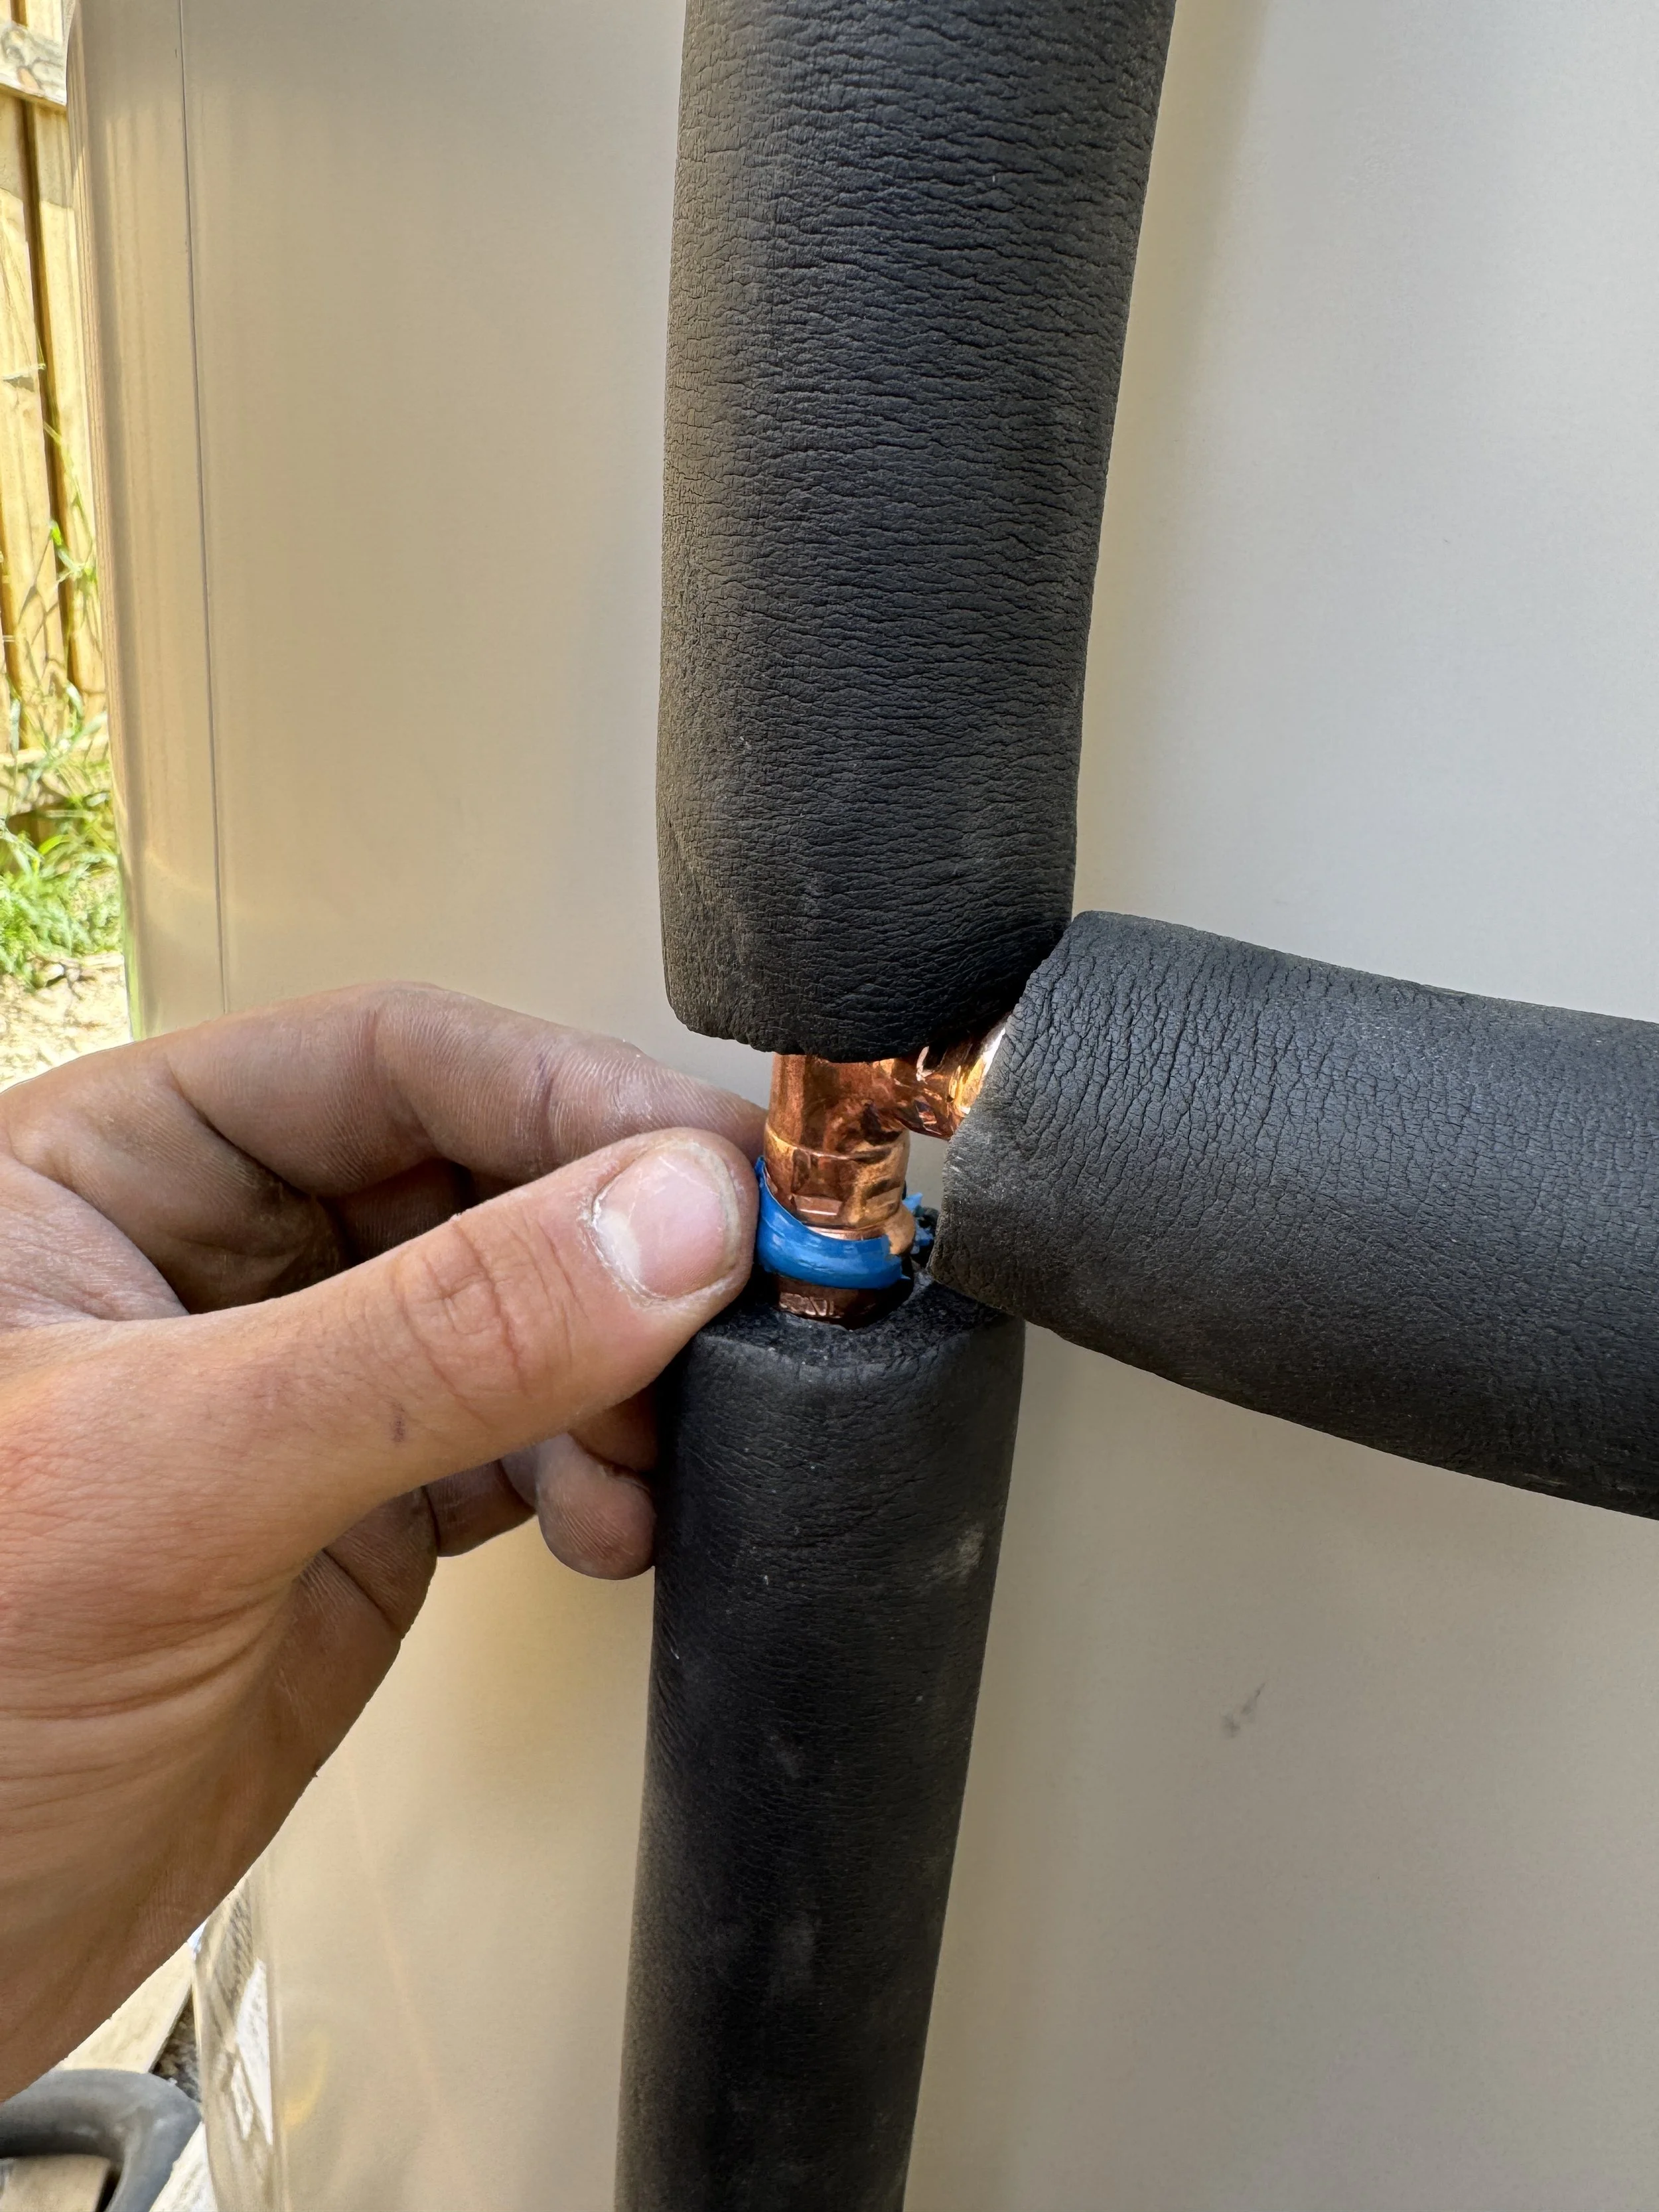
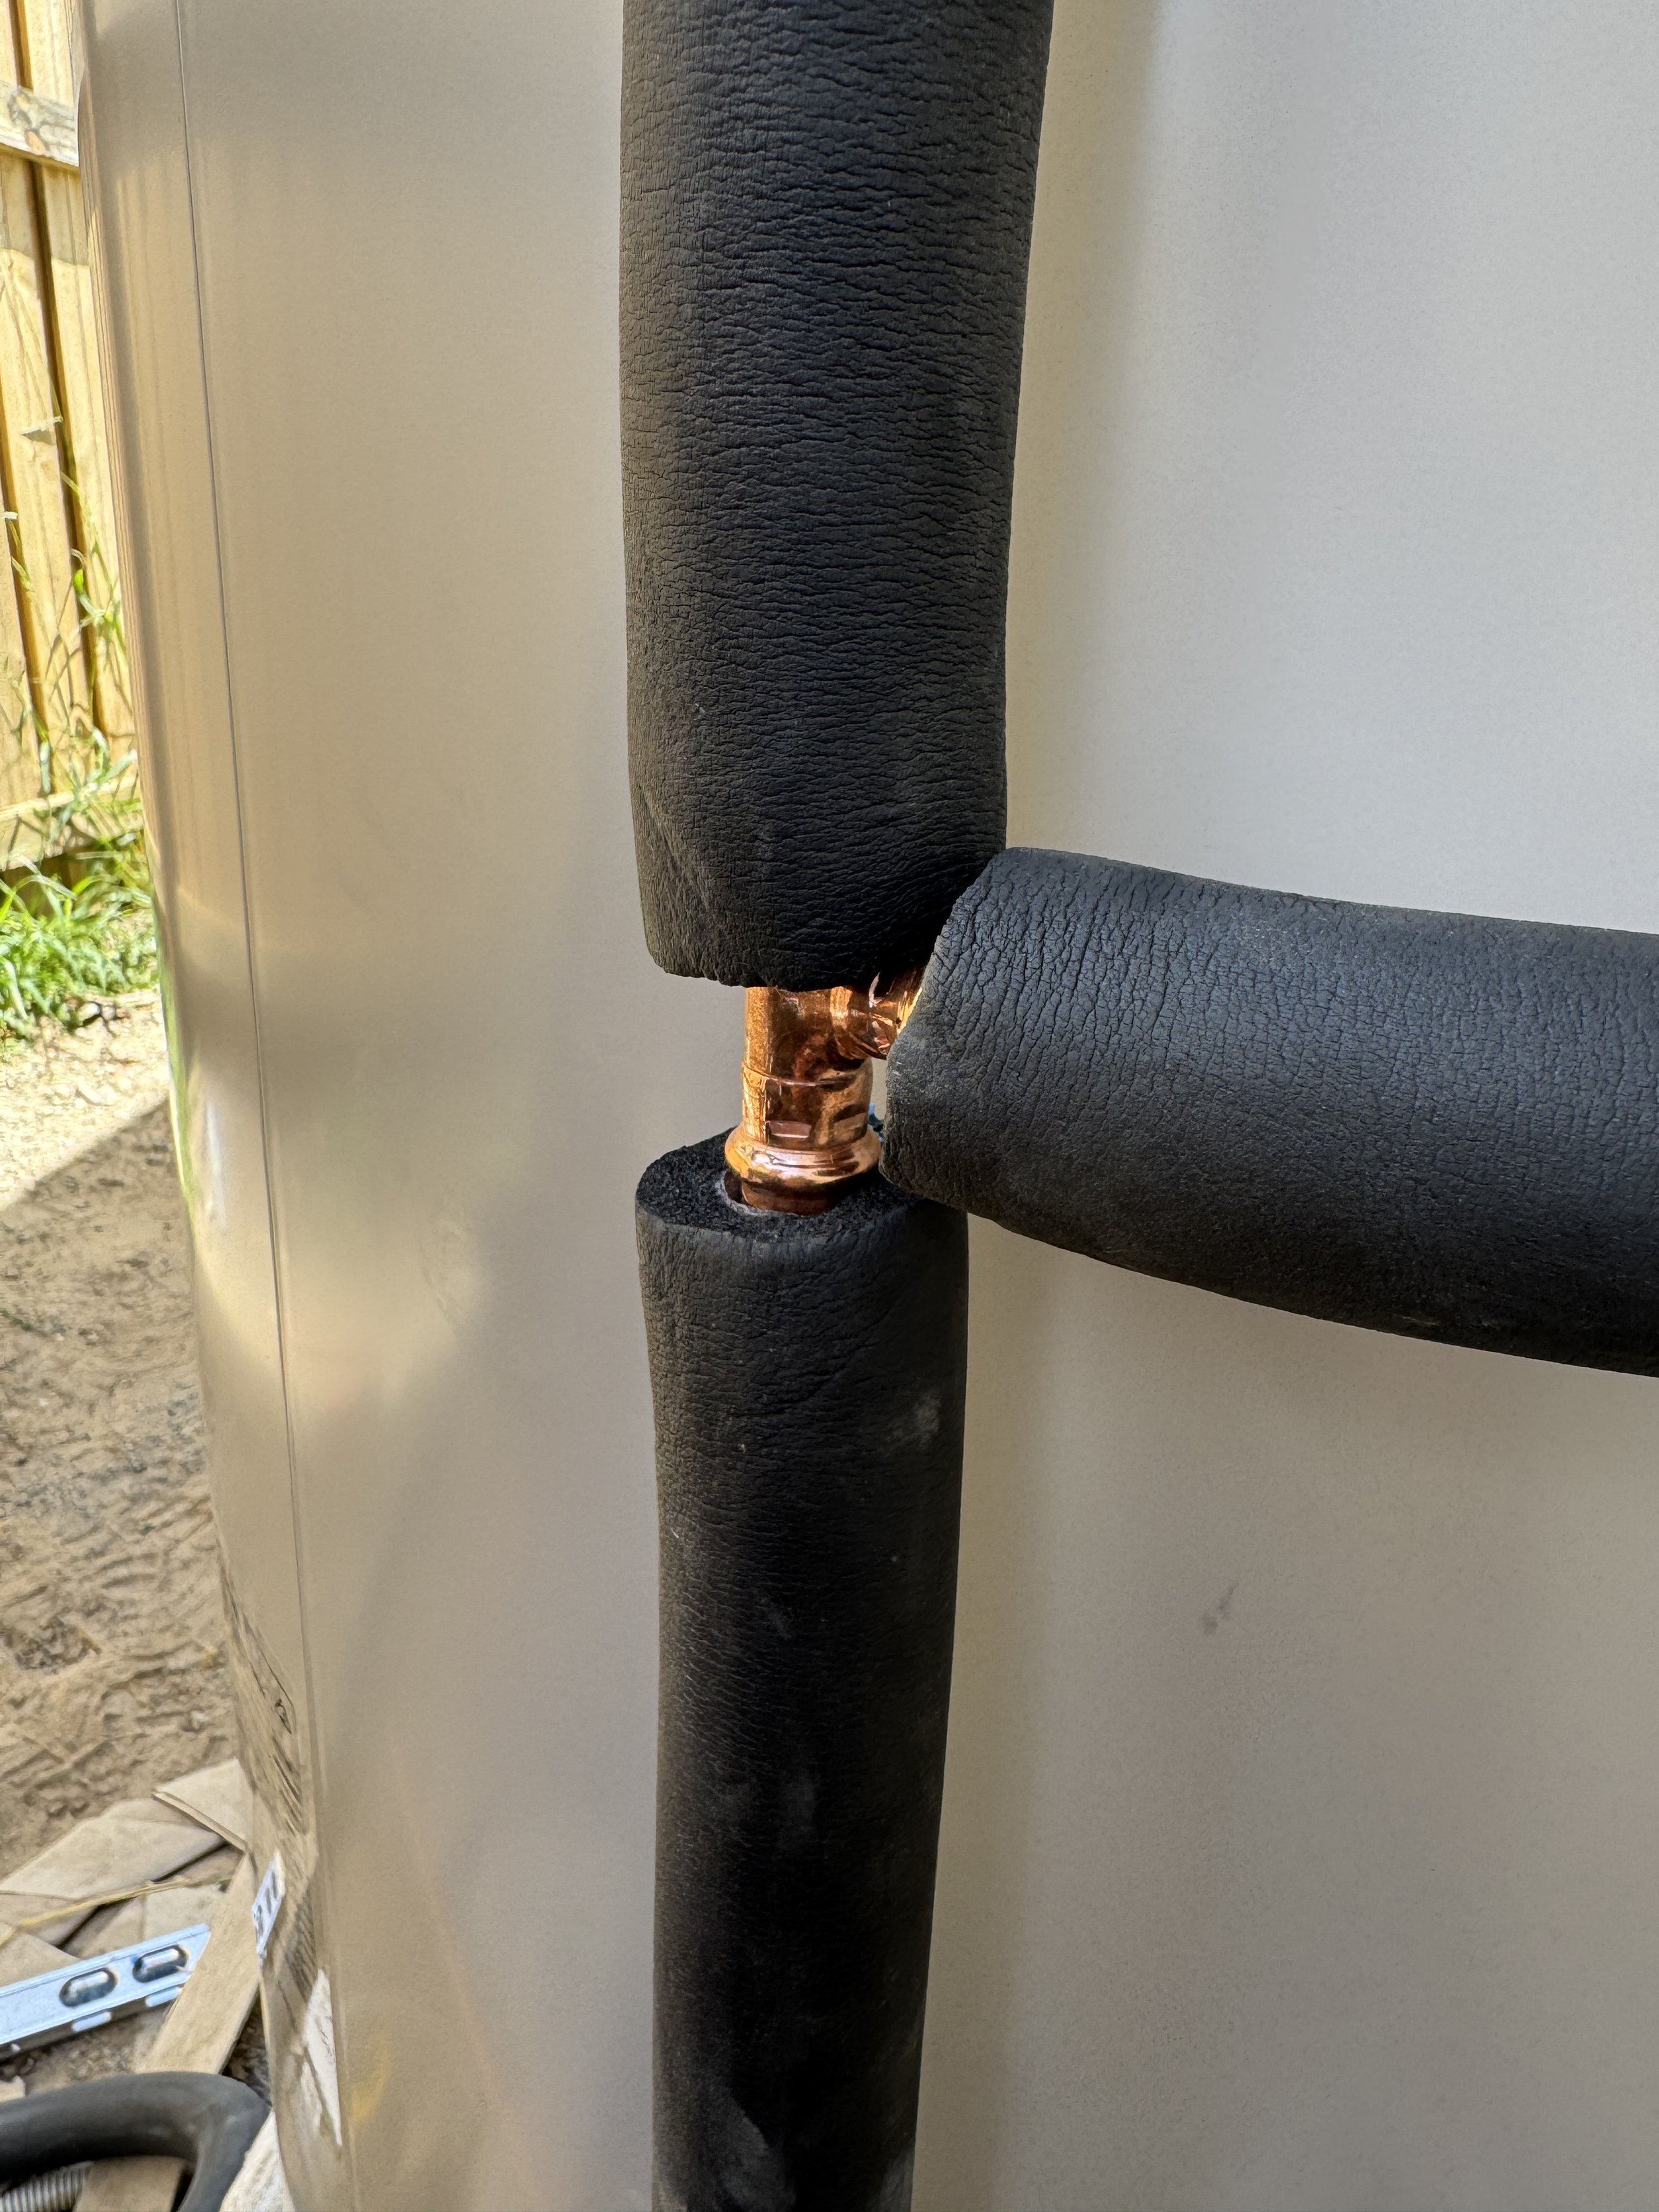
Dont use press tool on the tee yet.
Cut 40mm down the top piece of lagging like at the bottom.
Reinstall tempering valve making sure the H is on the top side coming from the hot outlet of the tank.
Install horizontal pipes from wall to valve train ensuring they are coming out square from the wall then bending to the valve train.
Check from both sides to make sure the pipework is lined up in a straight line. Sometimes it can flex in or out from the unit. Pull pipes to make sure it is straight.
Once lined up, press the tee and do up all nuts and olives tight. Starting with the fibre washers on the tempering valve to make sure they’re seated correctly. (this can prevent the most common leak on these valves)
Make sure to remove the blue rings from any crimped fittings.
Install Expansion control valve into the female centre tee using loktite on the male thread. The ECV is usually 200kPa lower than the TP&R valve pressure rating. Standard electric storage hot water system use an 850Kpa ECV.
Run the relief drain.
Use 1 zip tie to the top of the tempering valve and leave the rest in the lagging. These get finished off when the unit is full and has been tested for leaks.
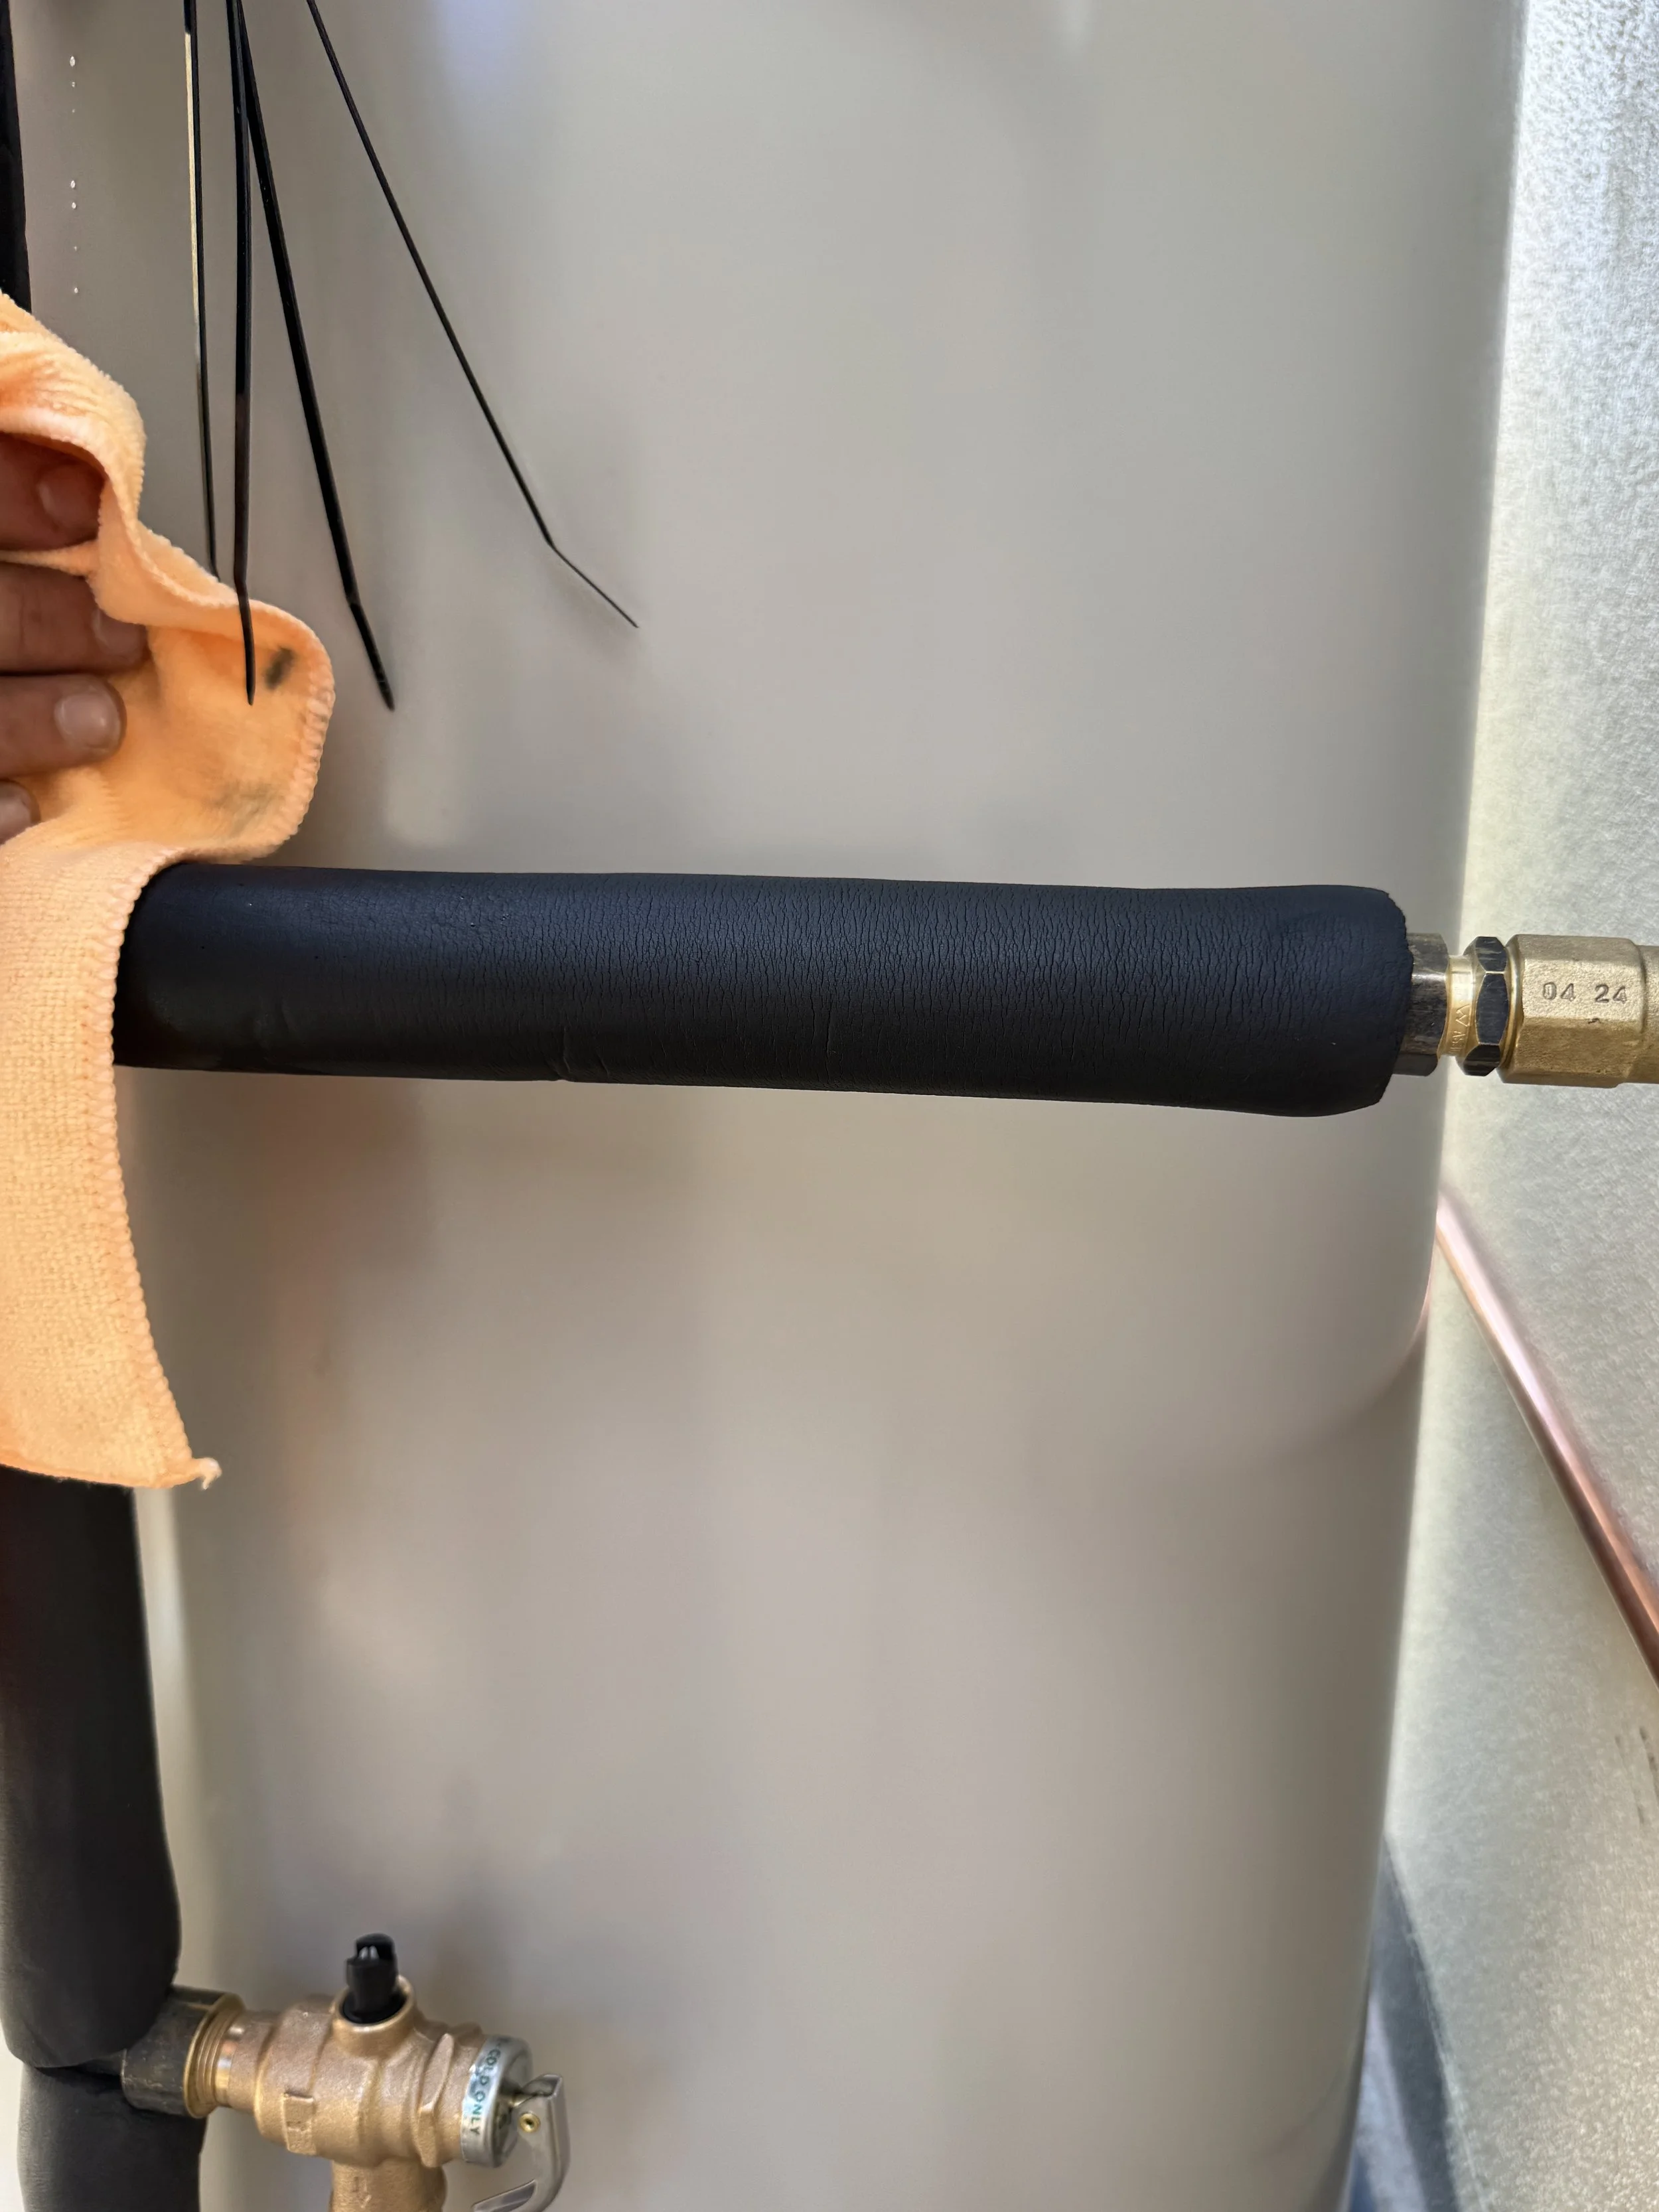
Use metho or soapy spray and a clean rag to clean the unit of any pencil marks, smudges or loktite.
Clean lagging as well of any marks. **This shit makes a difference.
Clean up all of your rubbish by putting it into the skip bin or if the skip is full or not on site, put all rubbish into garage or one room in a neat pile.
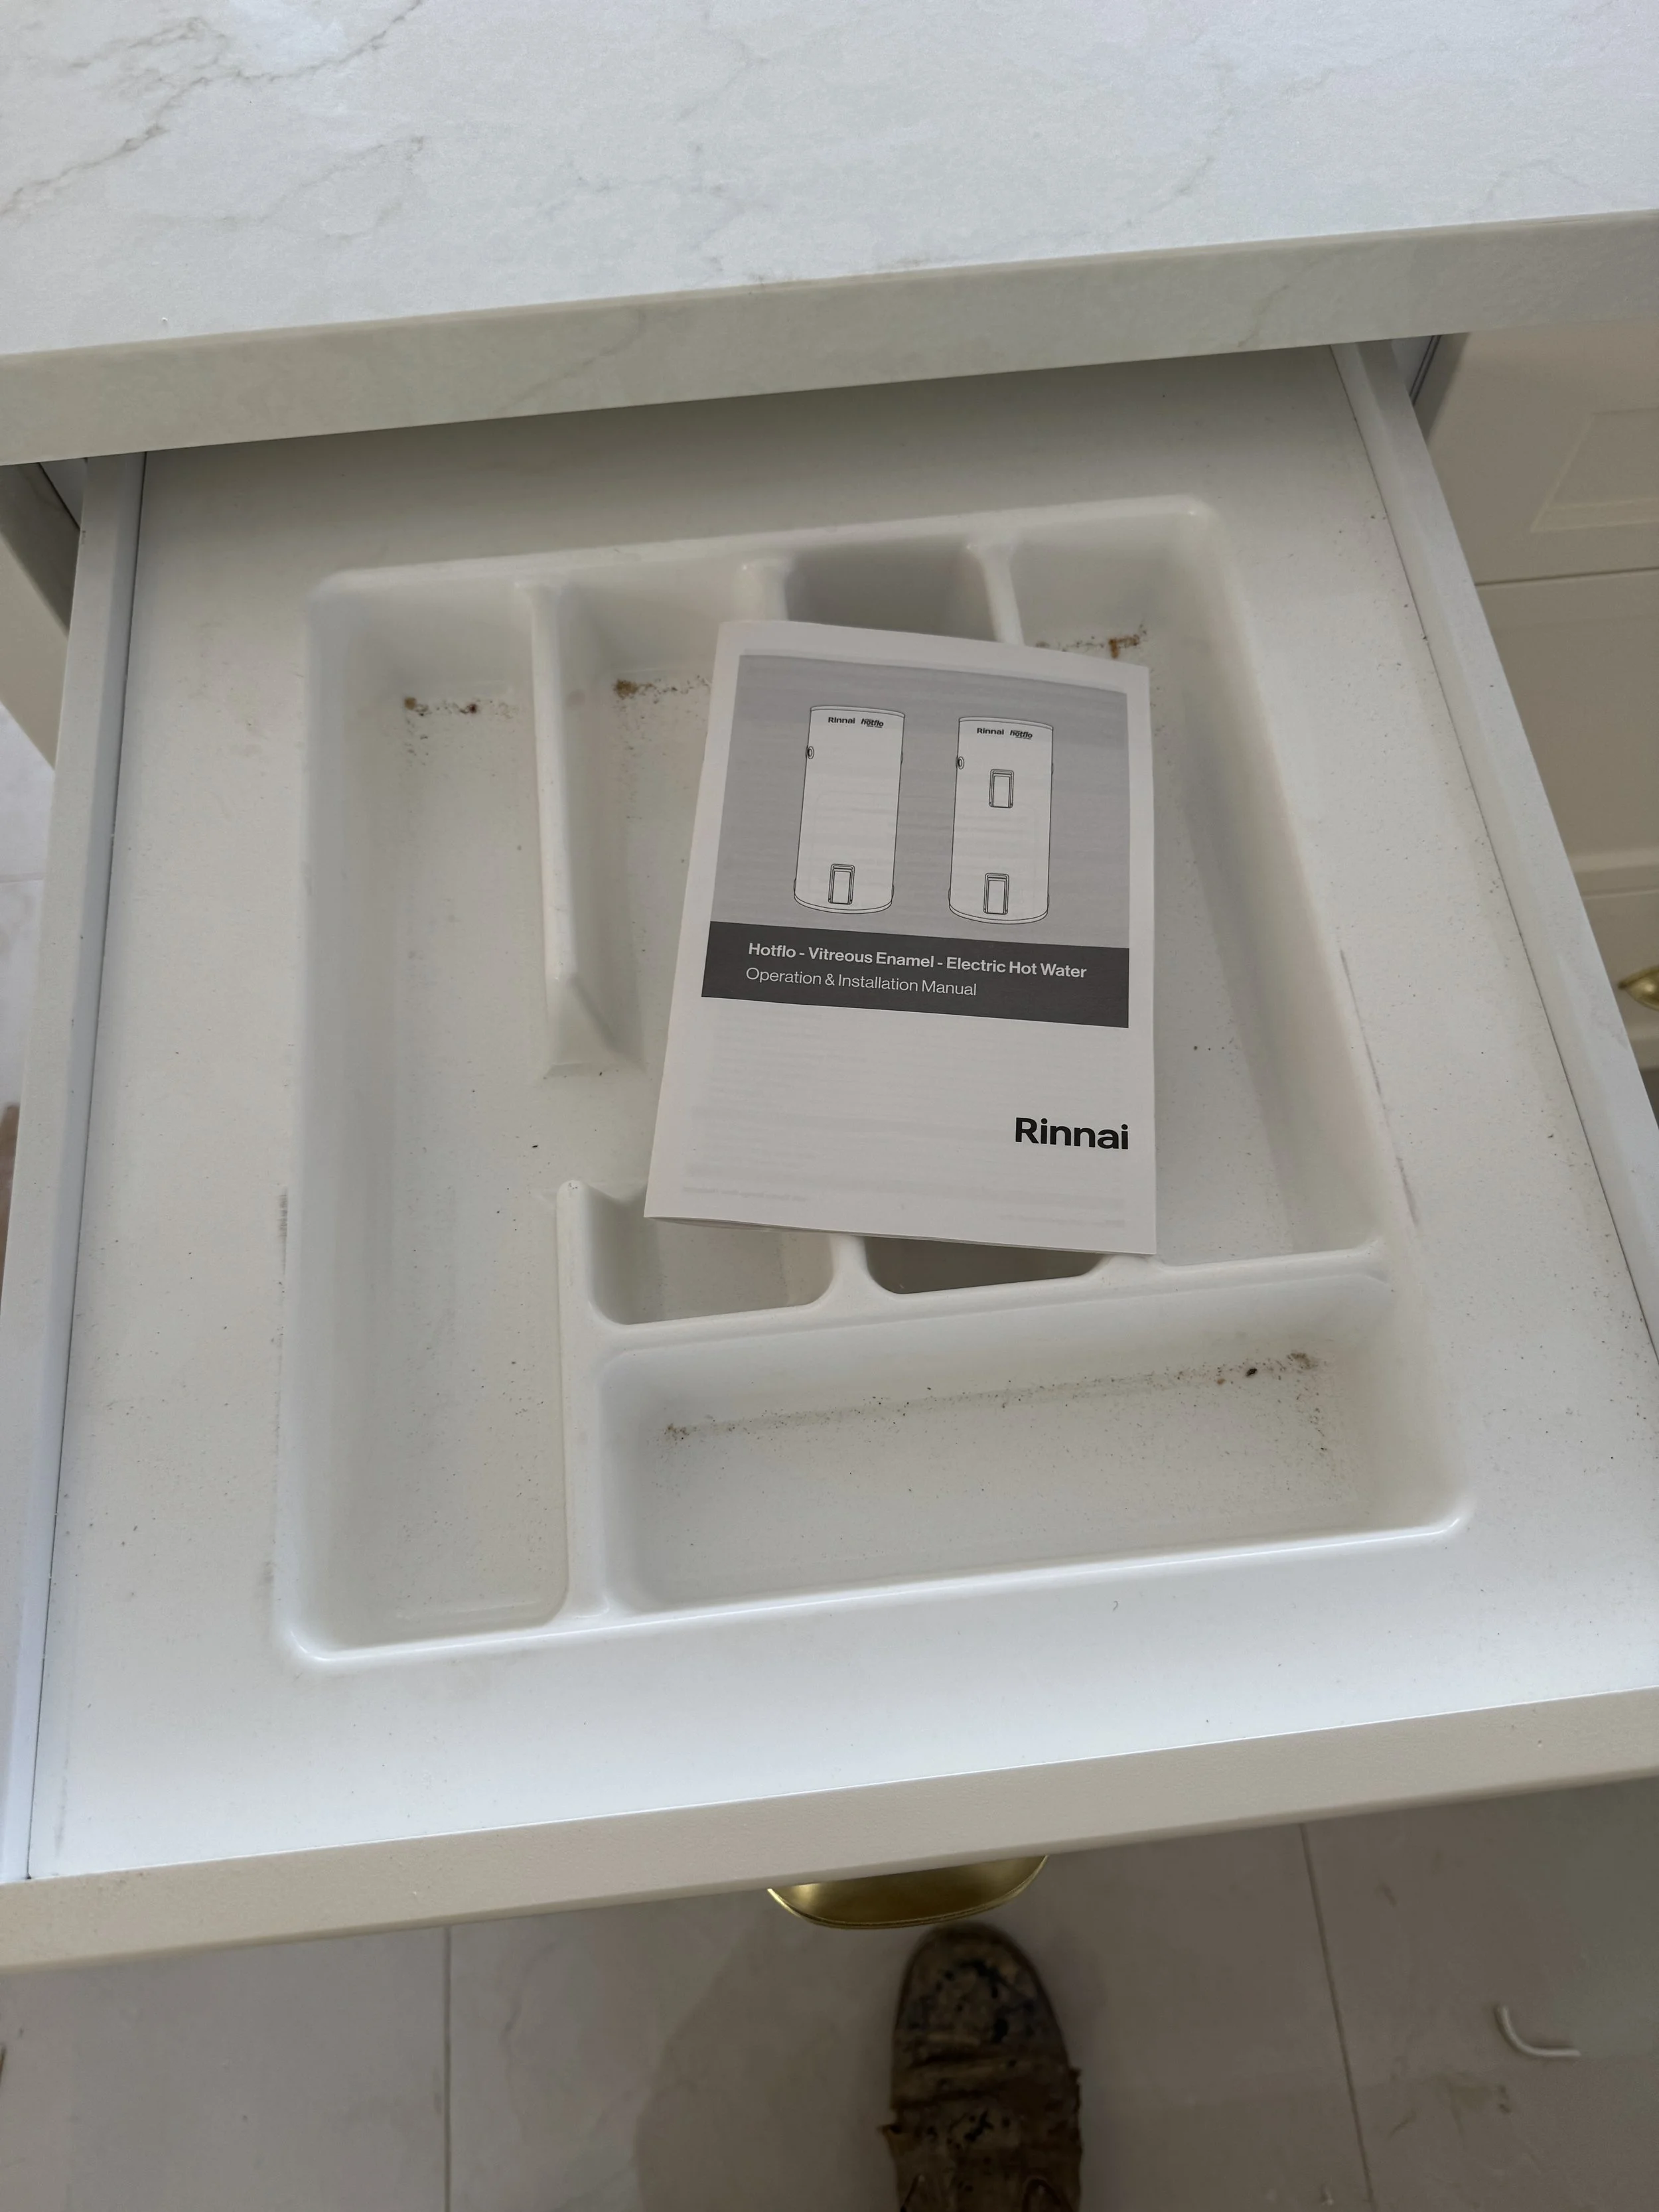
Put the owners manual in the cutlery drawer where we put all manuals.
Start filling unit up and open the TP&R valve to let the air purge out. Once full, close valve and check for leaks.
Set temperature of tempering valve to 50 degrees at a hot fixture when it has been turned on and heated up.
Stand back and admire your sexy pipes!
IF YOU THINK THAT THERE’S ANY INFO MISSING THAT COULD MAKE THIS EASIER TO FOLLOW JUST CHUCK IT INTO THE MESSAGE BELOW AND WE’LL MAKE SURE WE GET THIS RUNNING AS SMOOTH AS POSSIBLE

