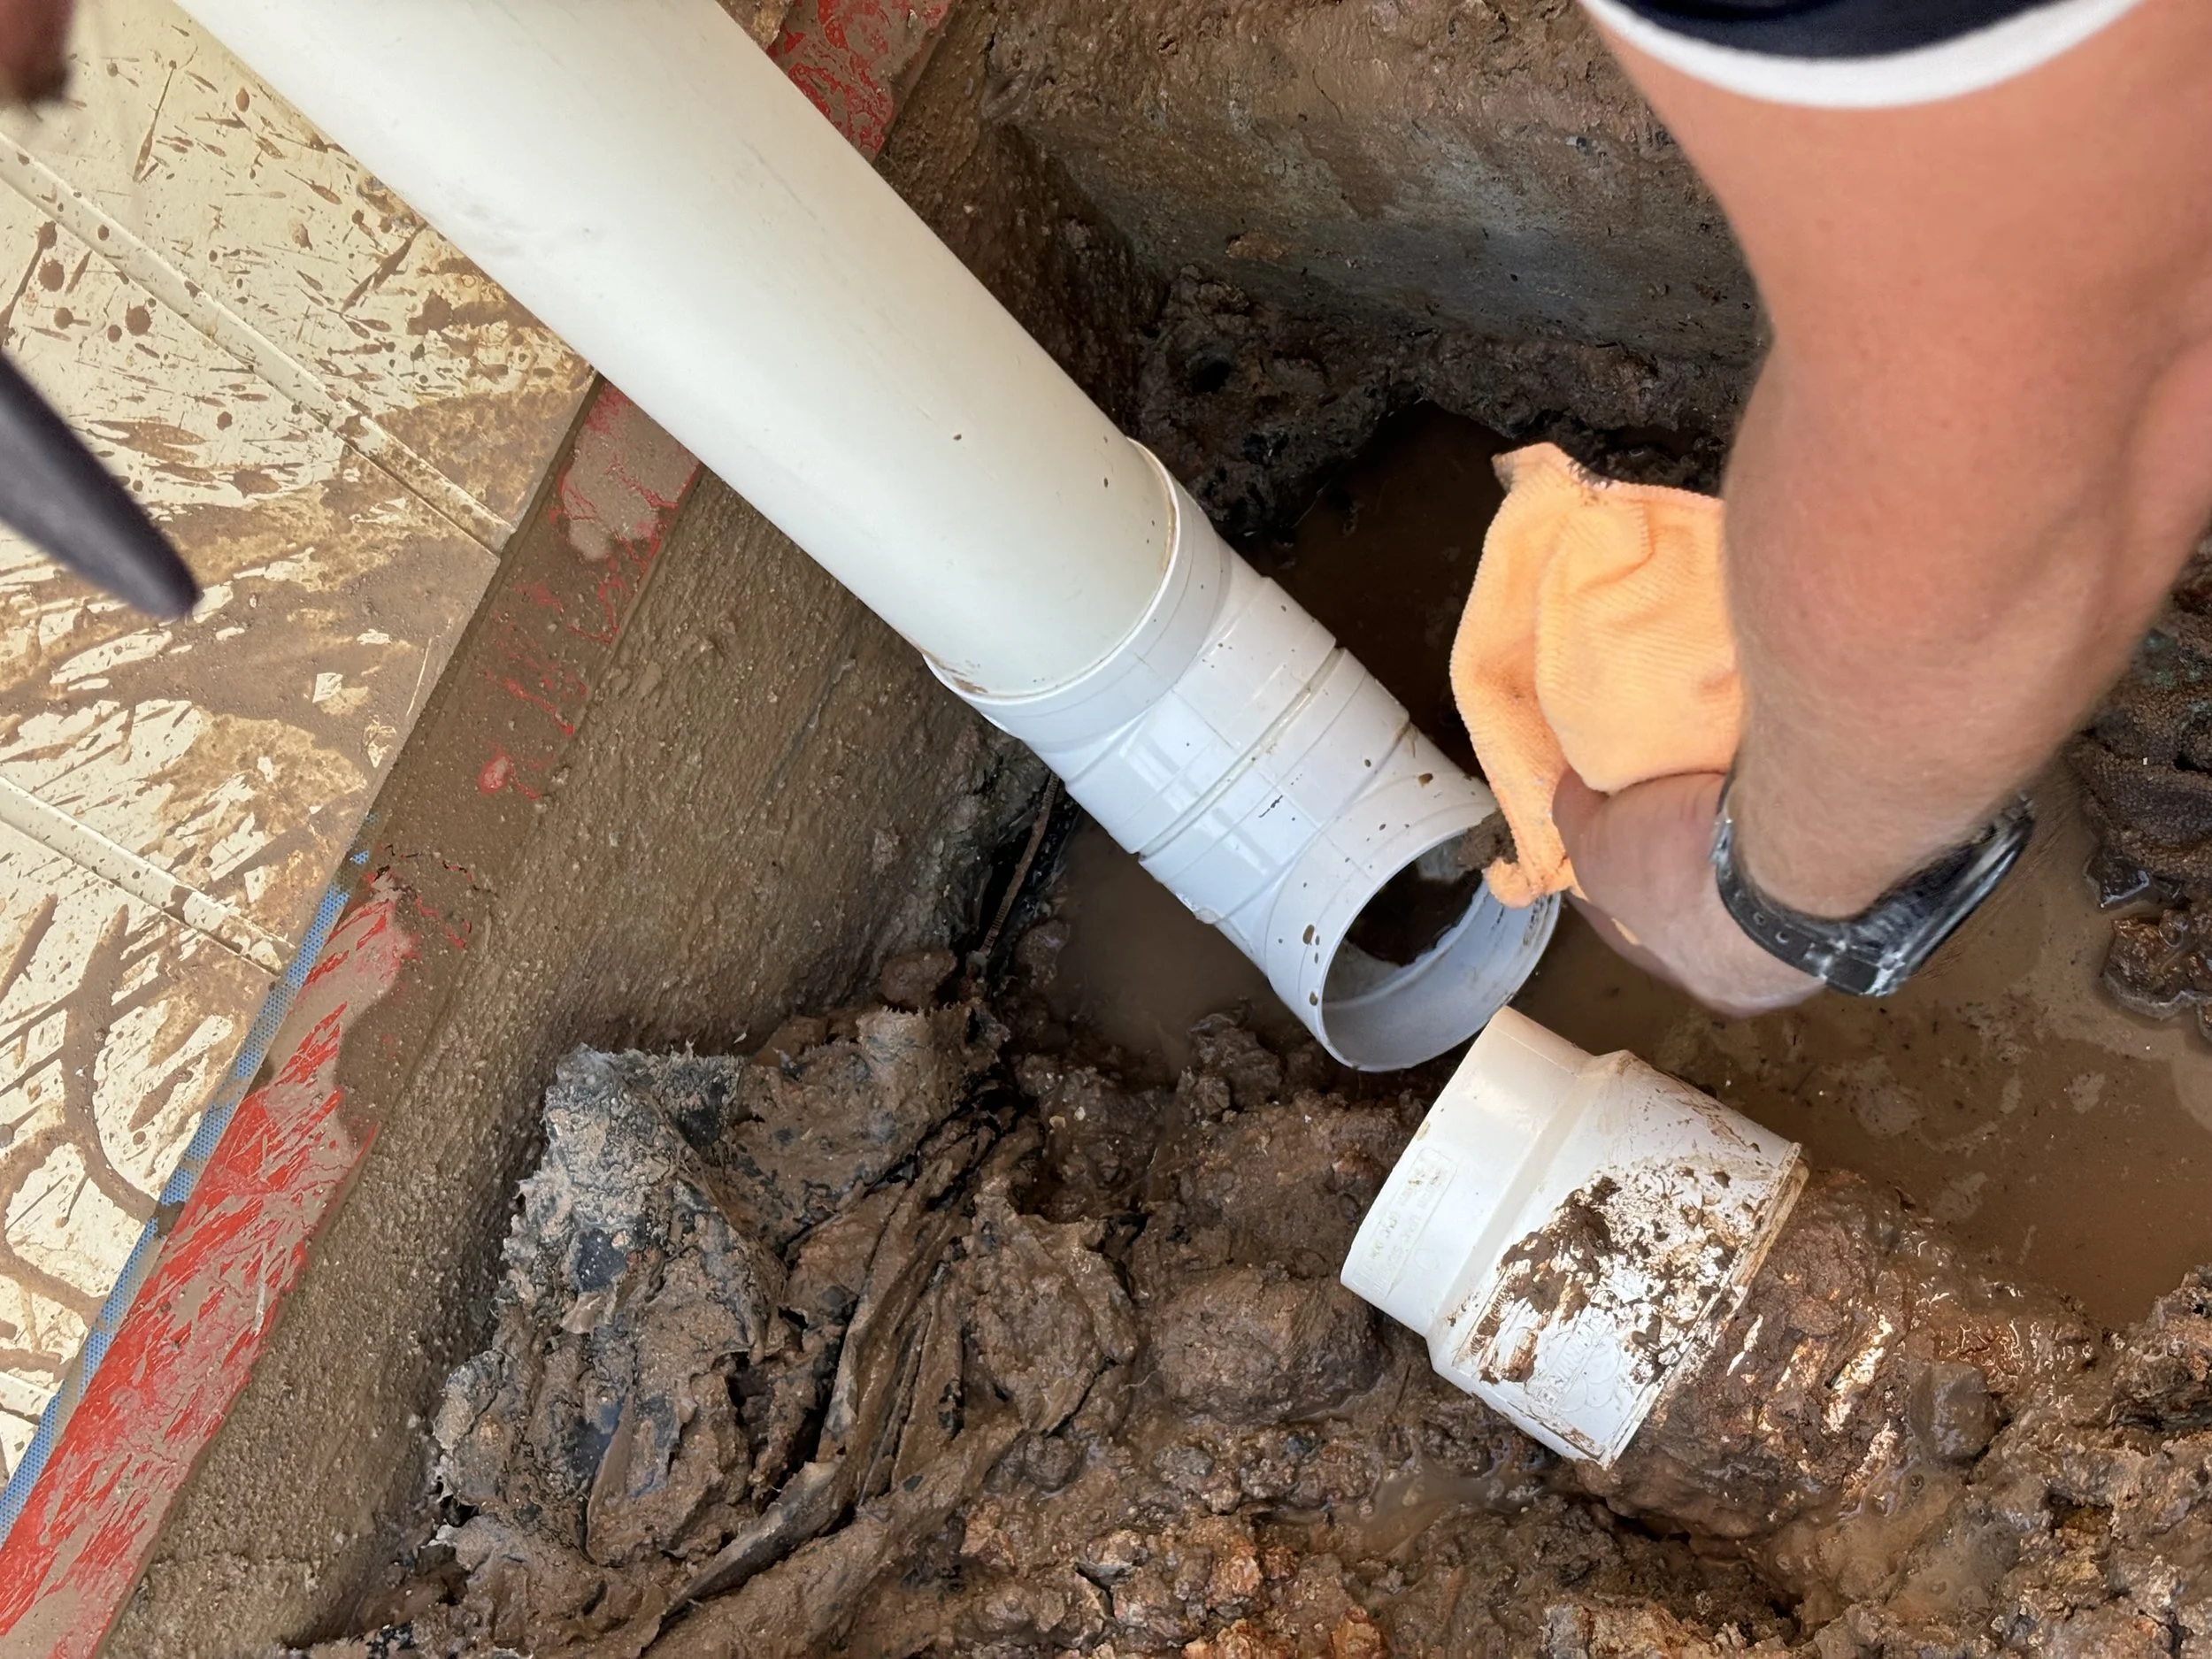
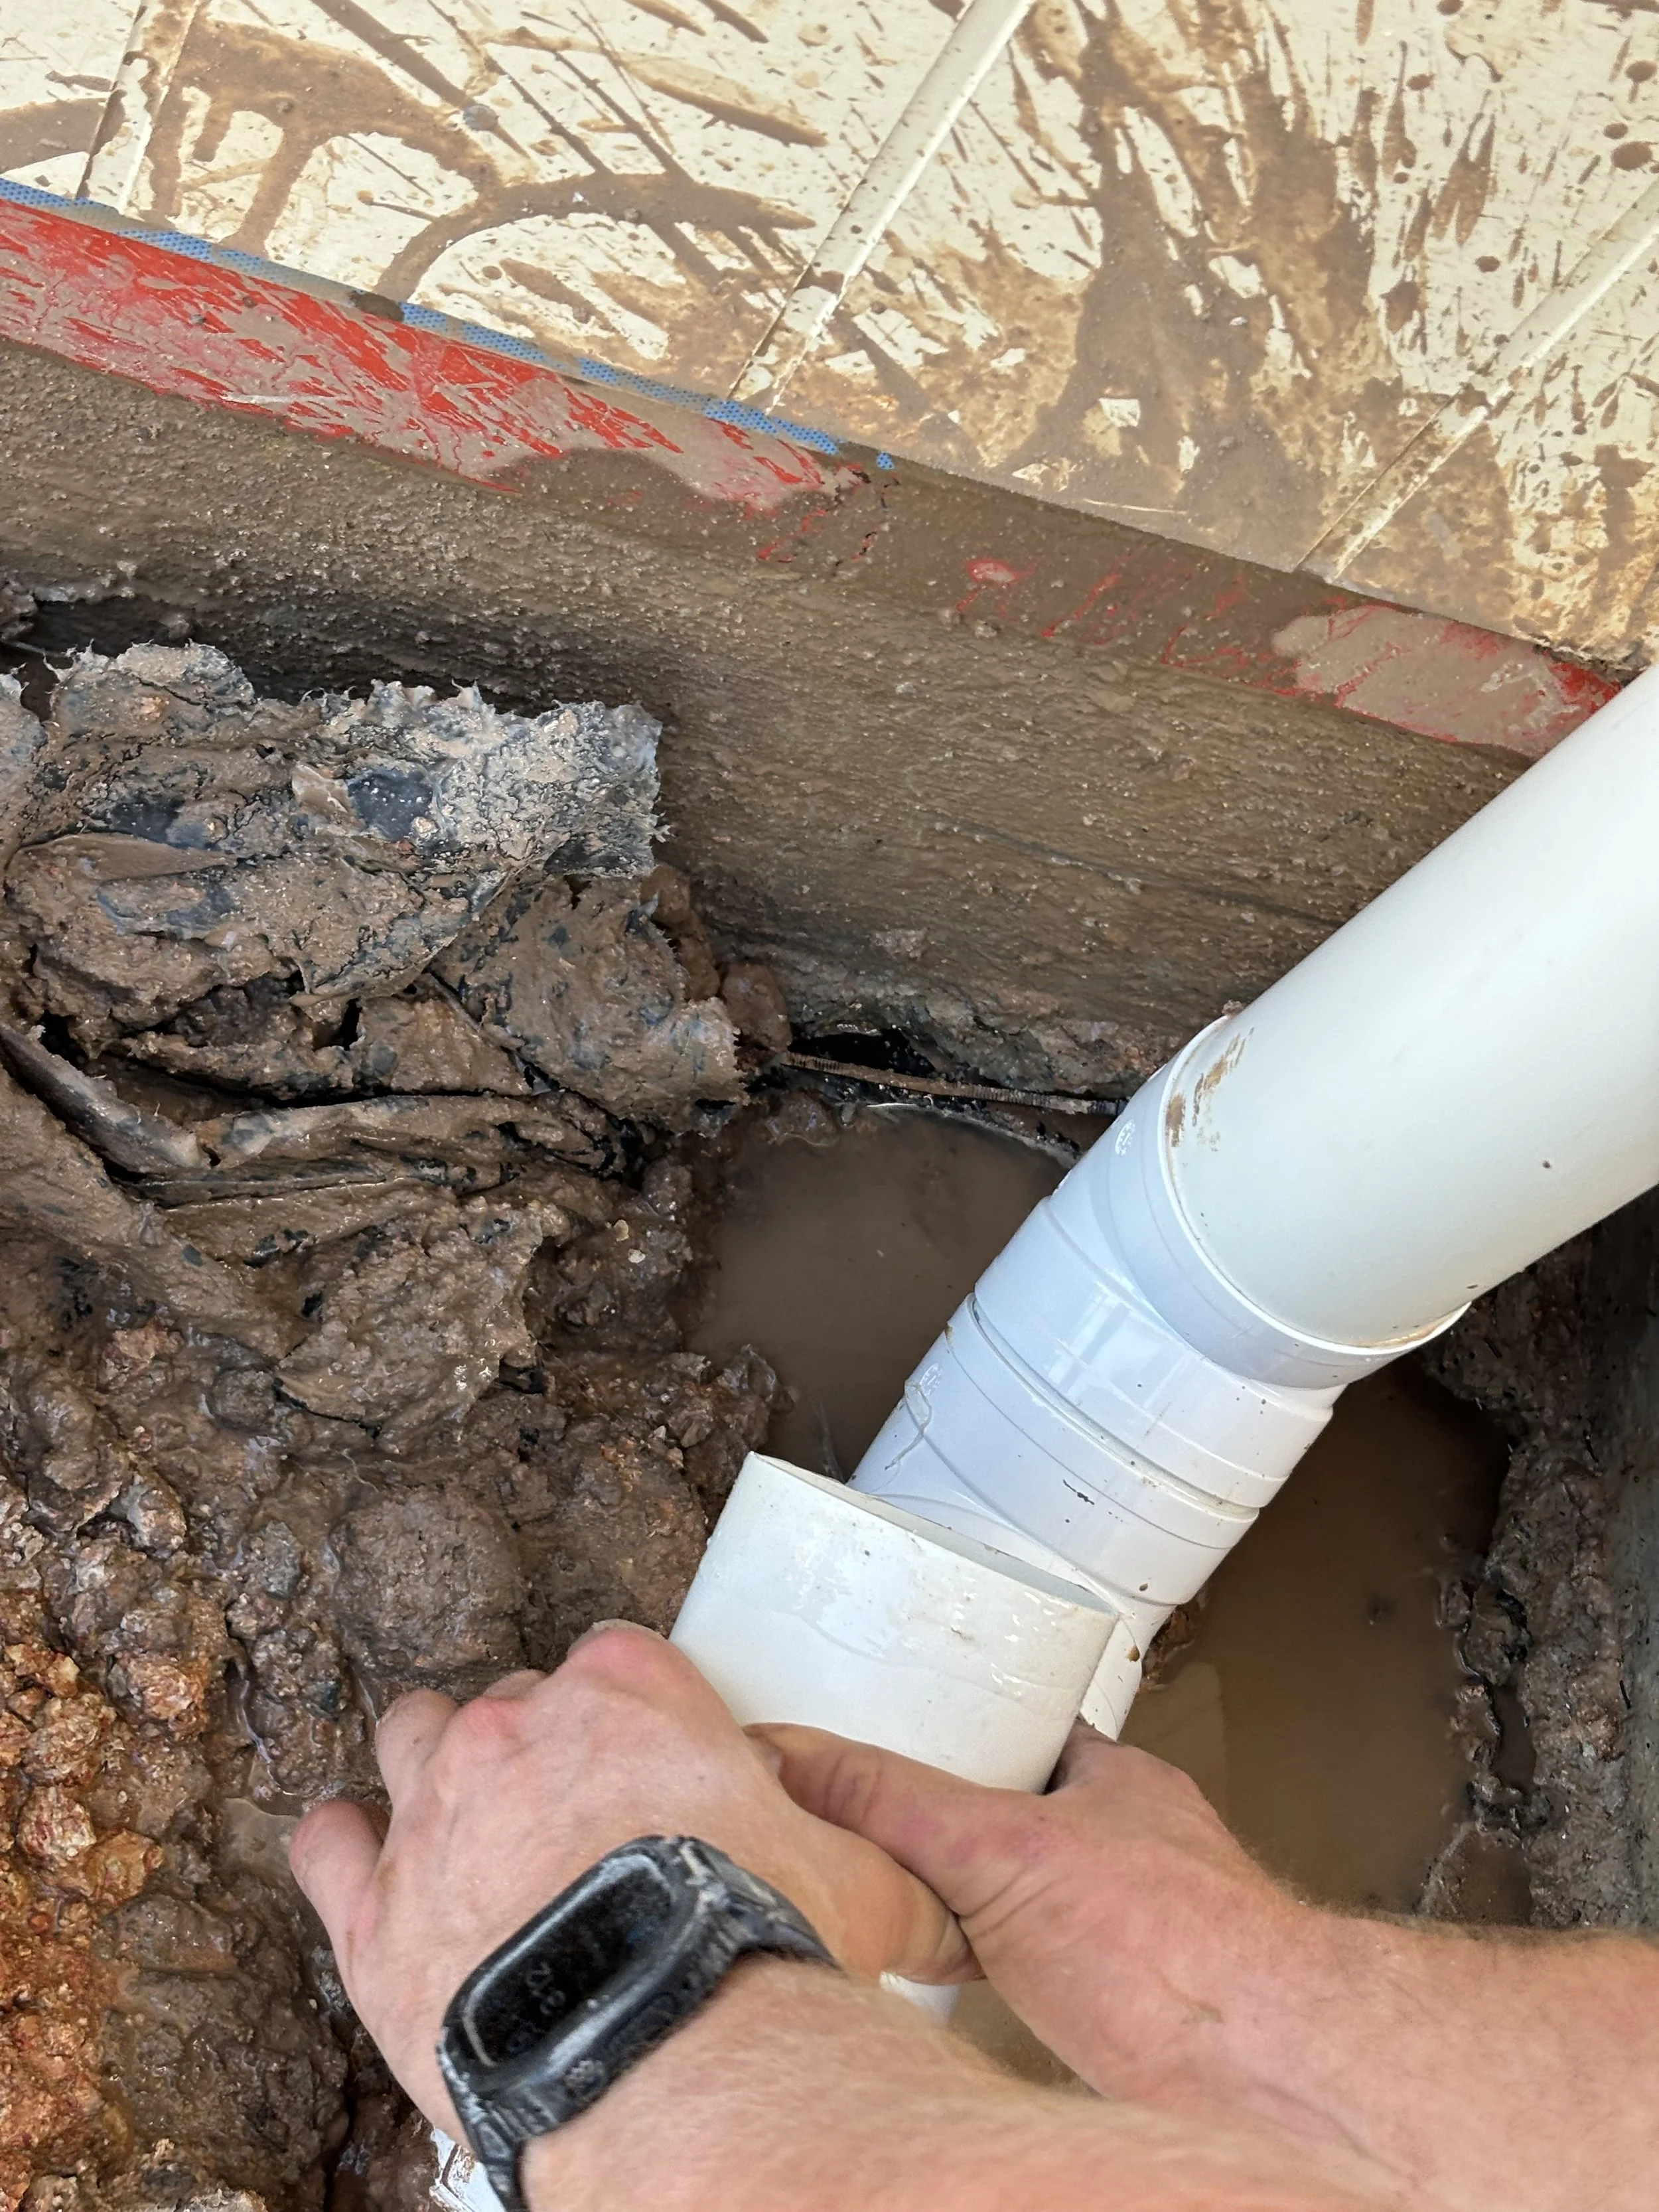
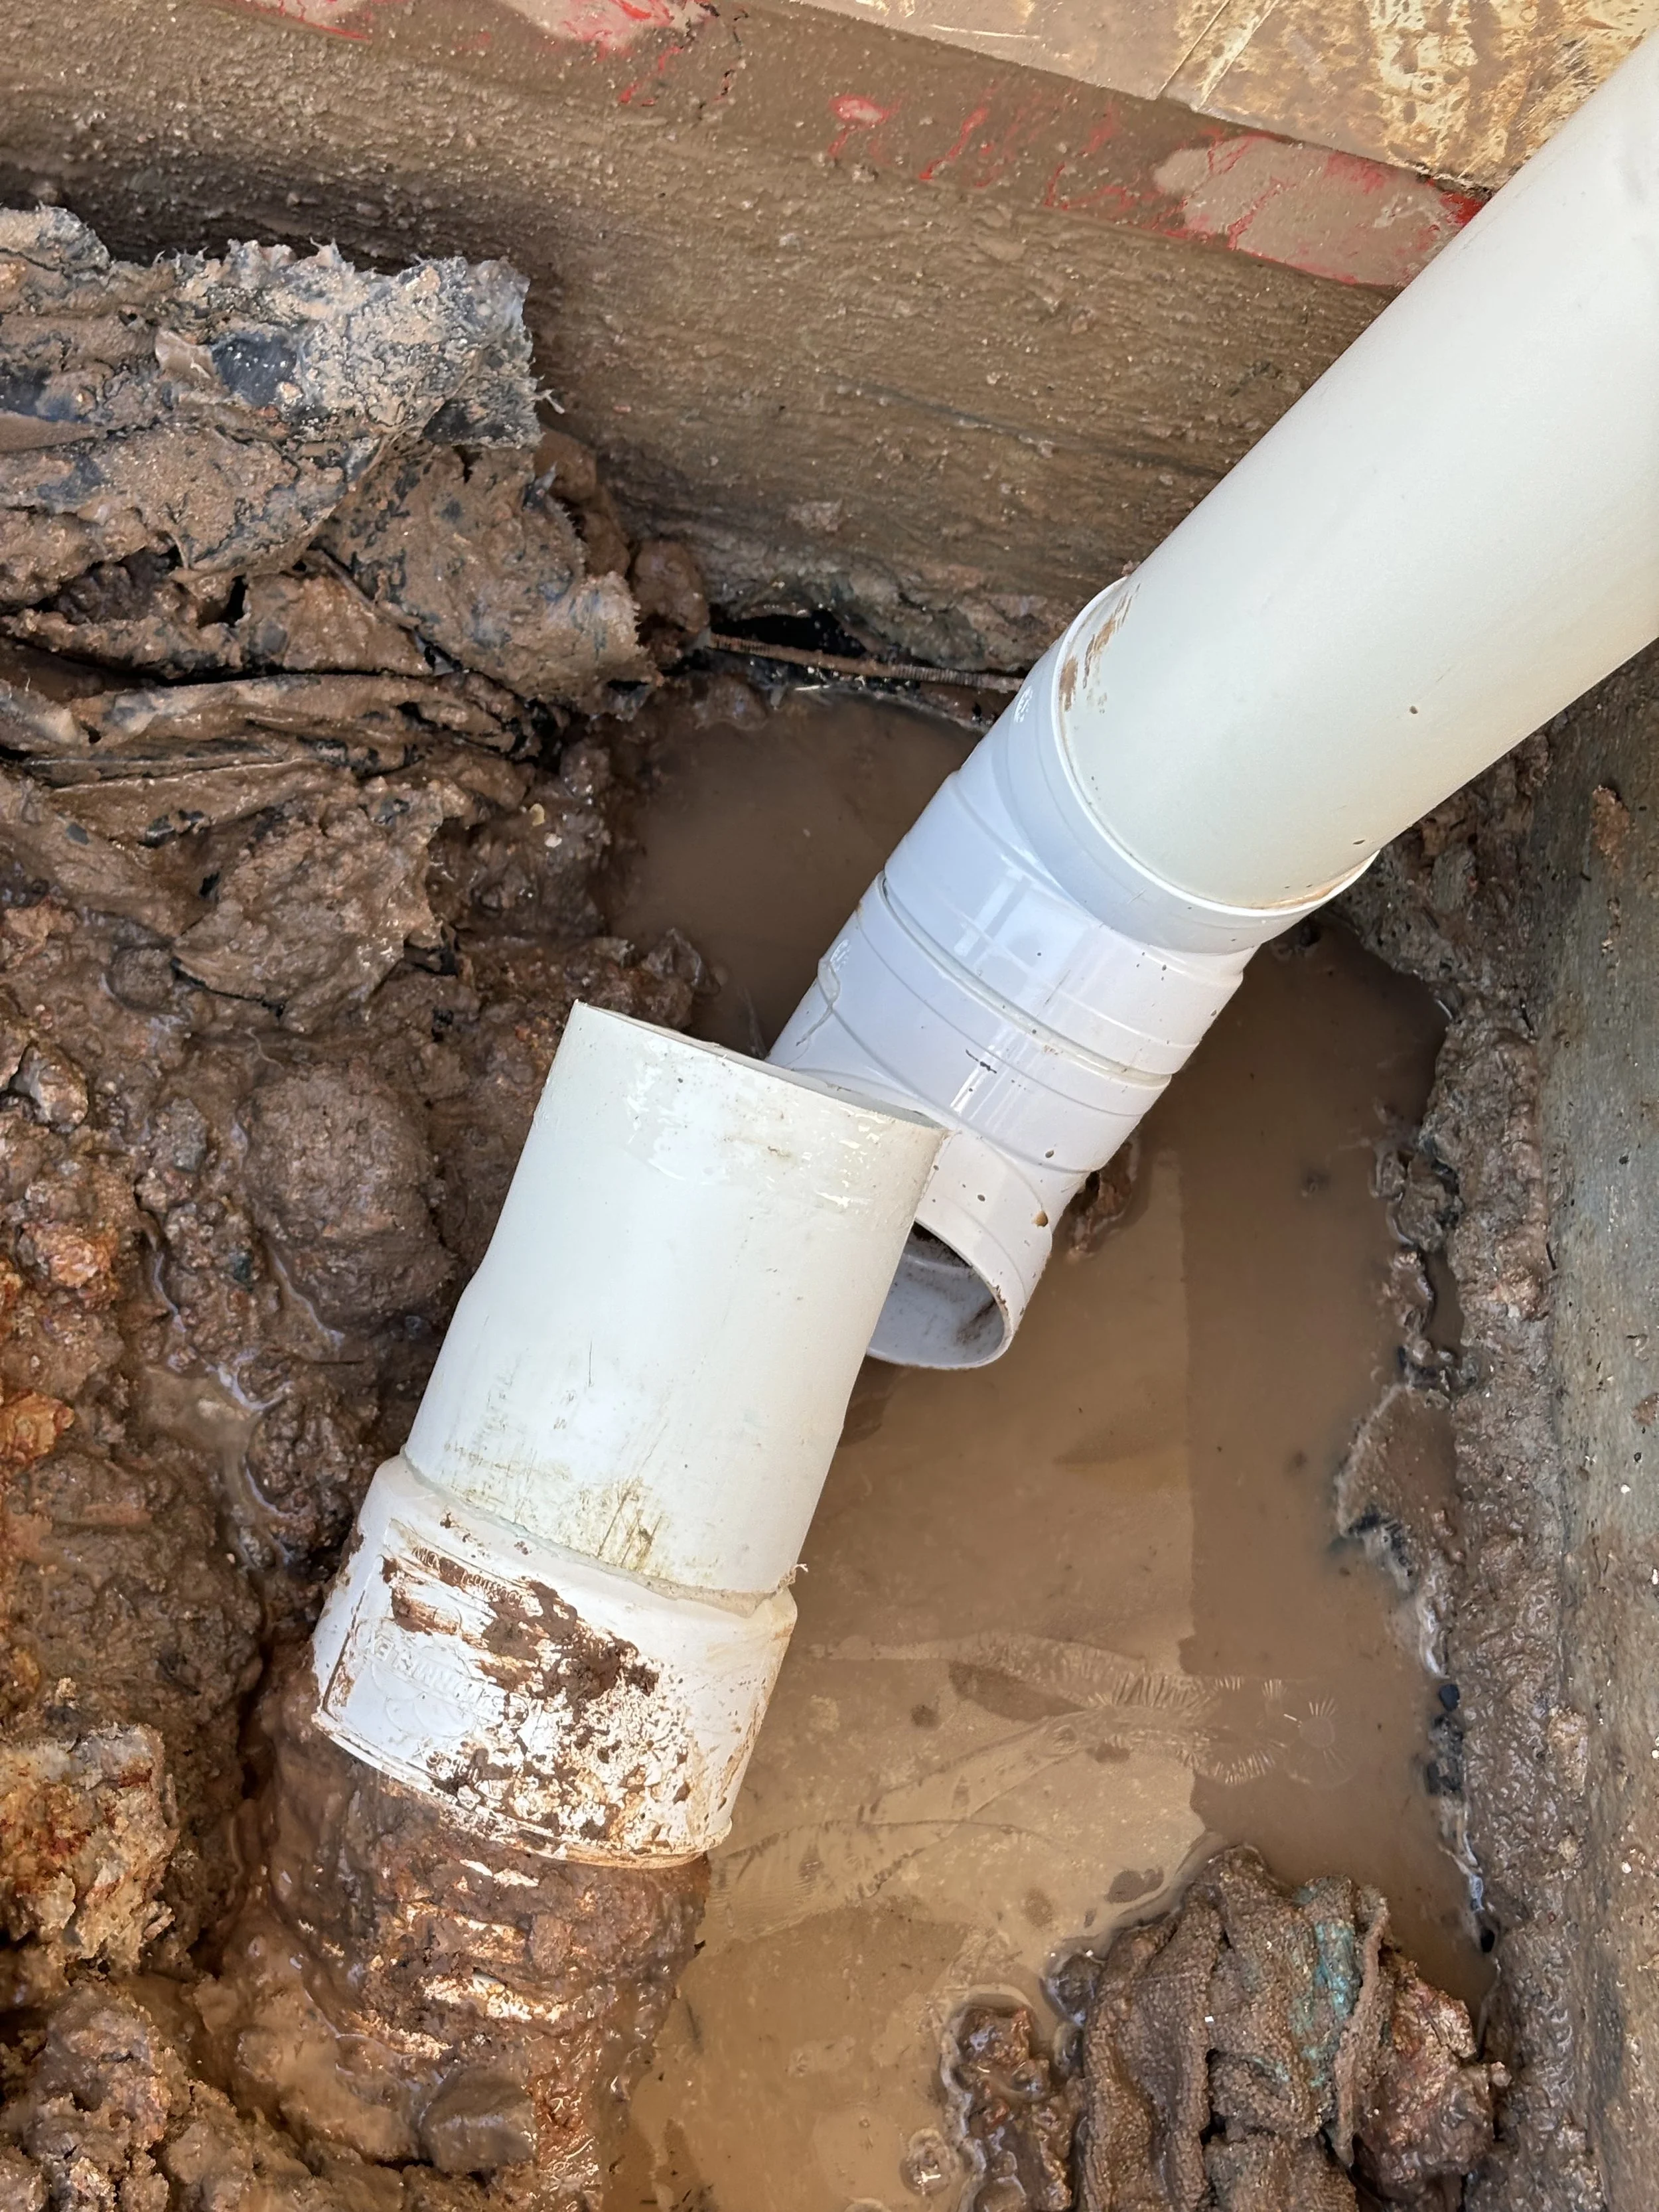
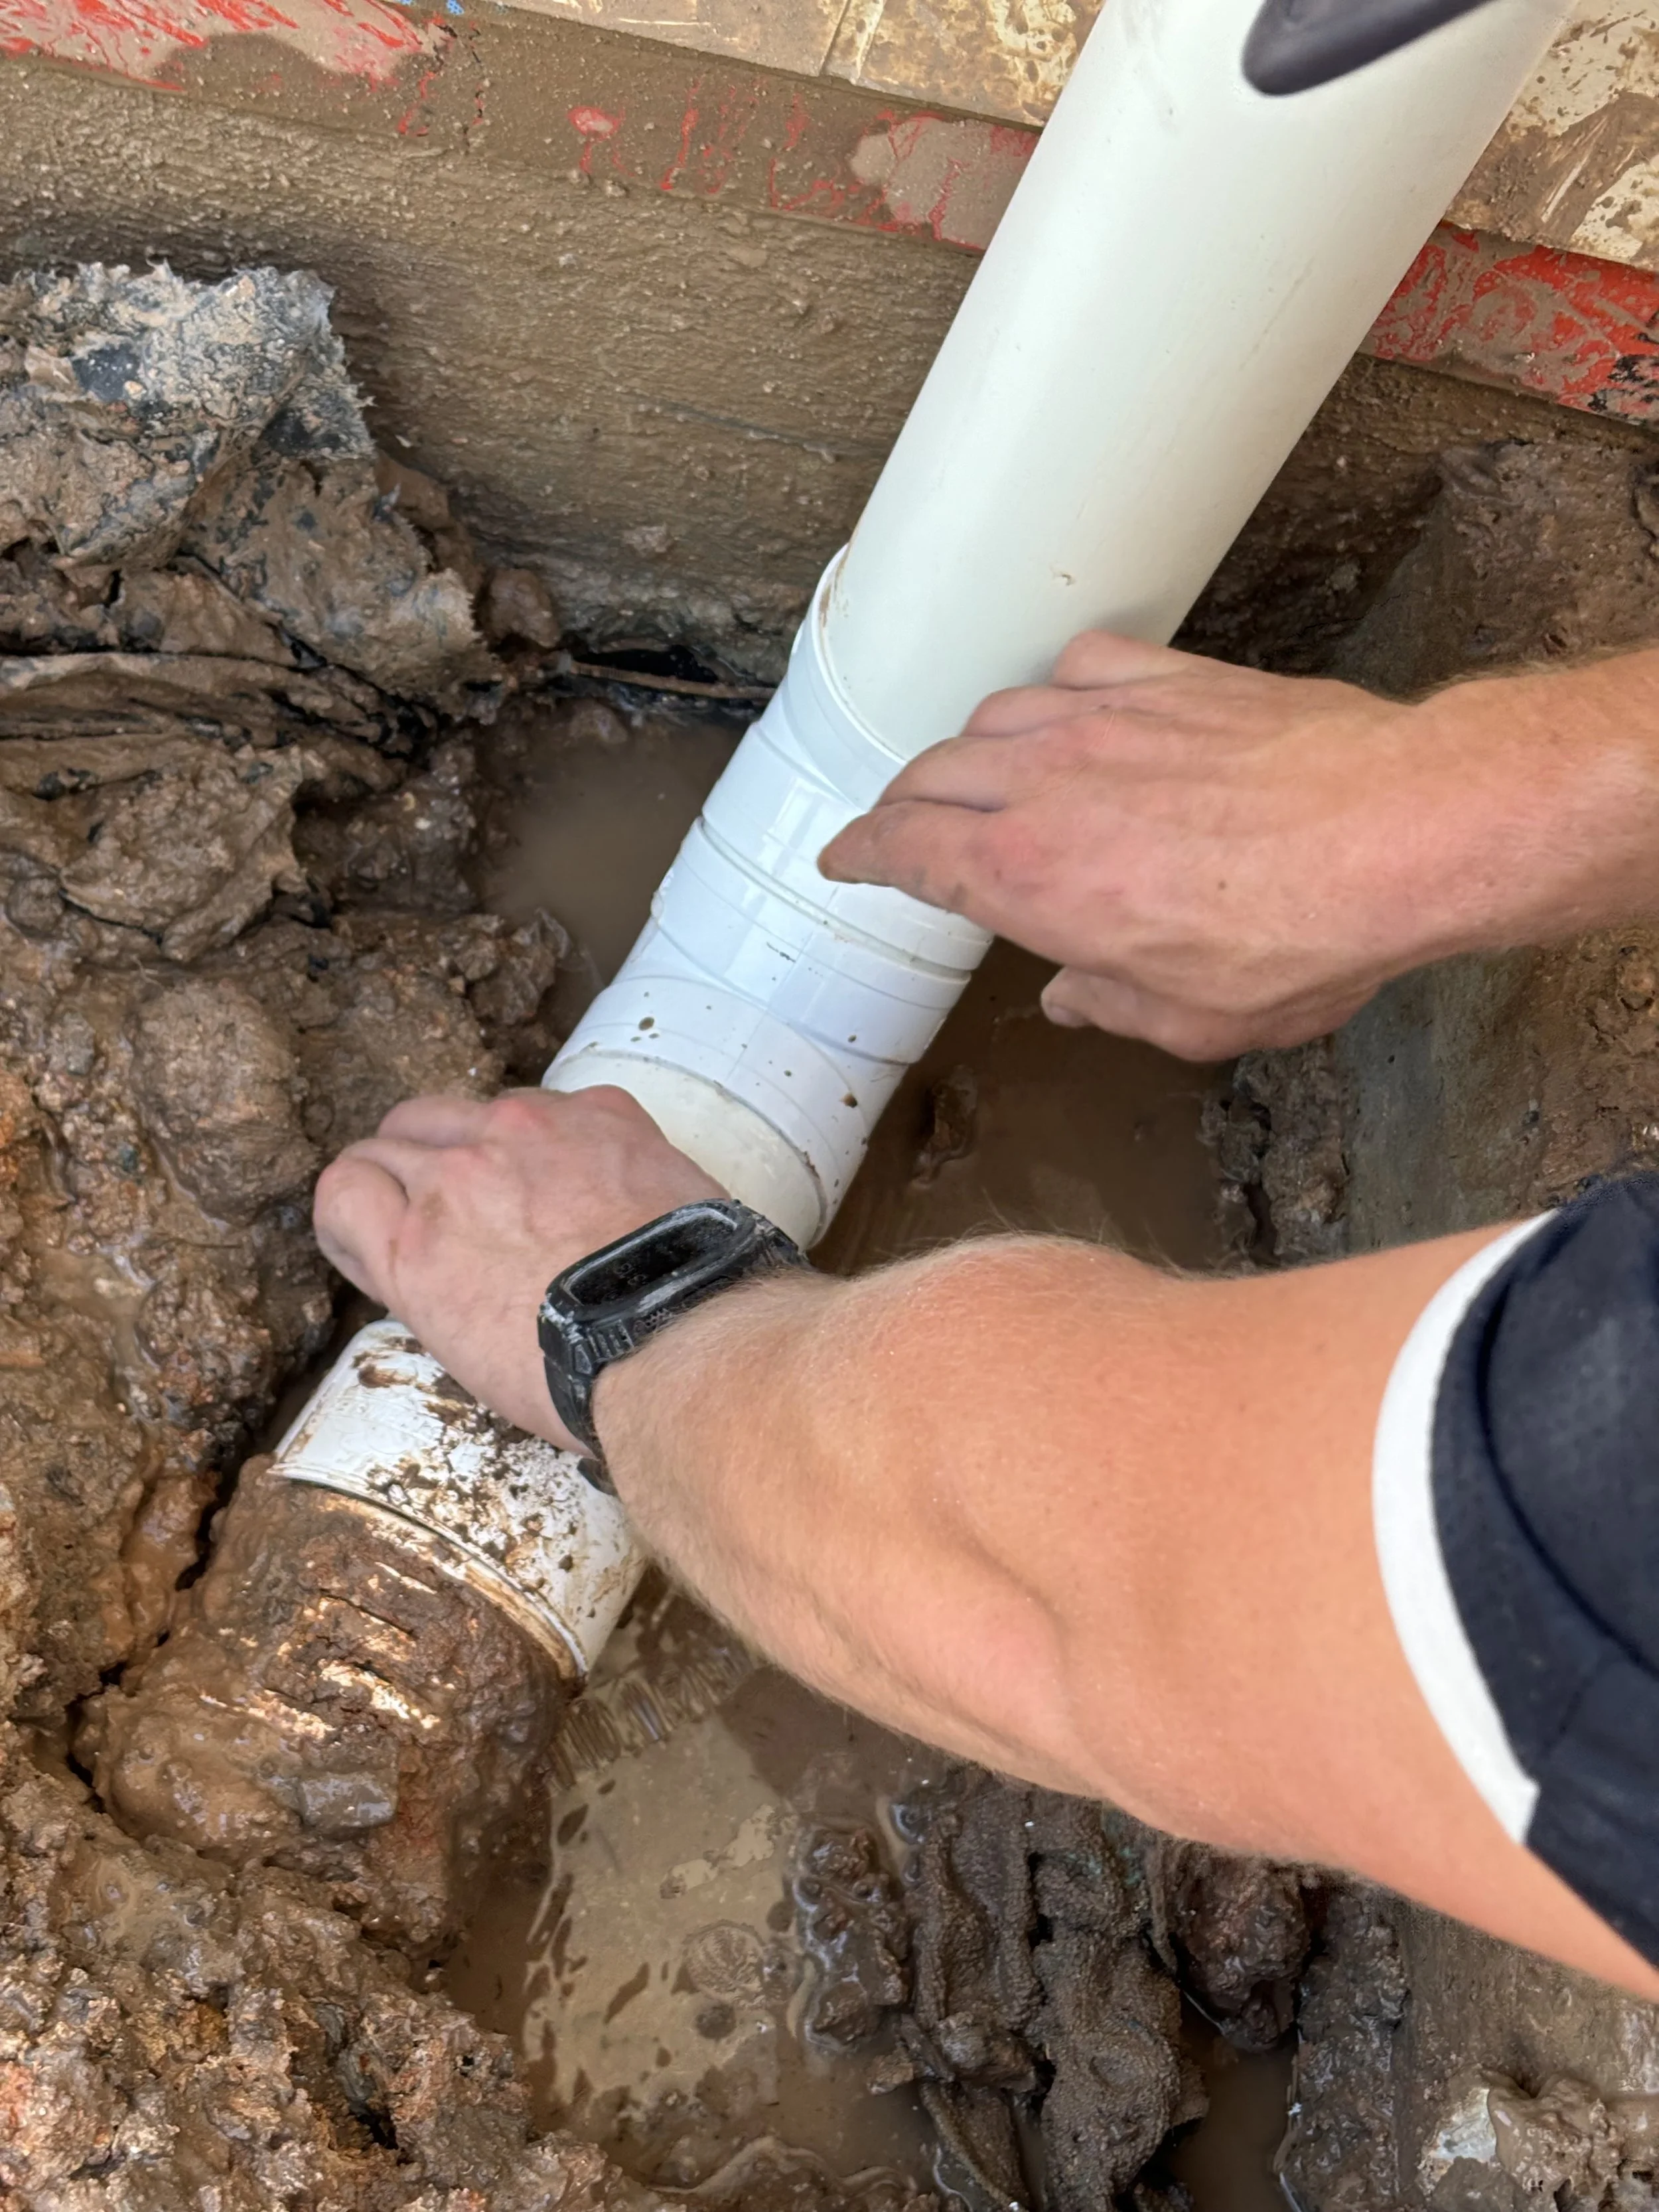
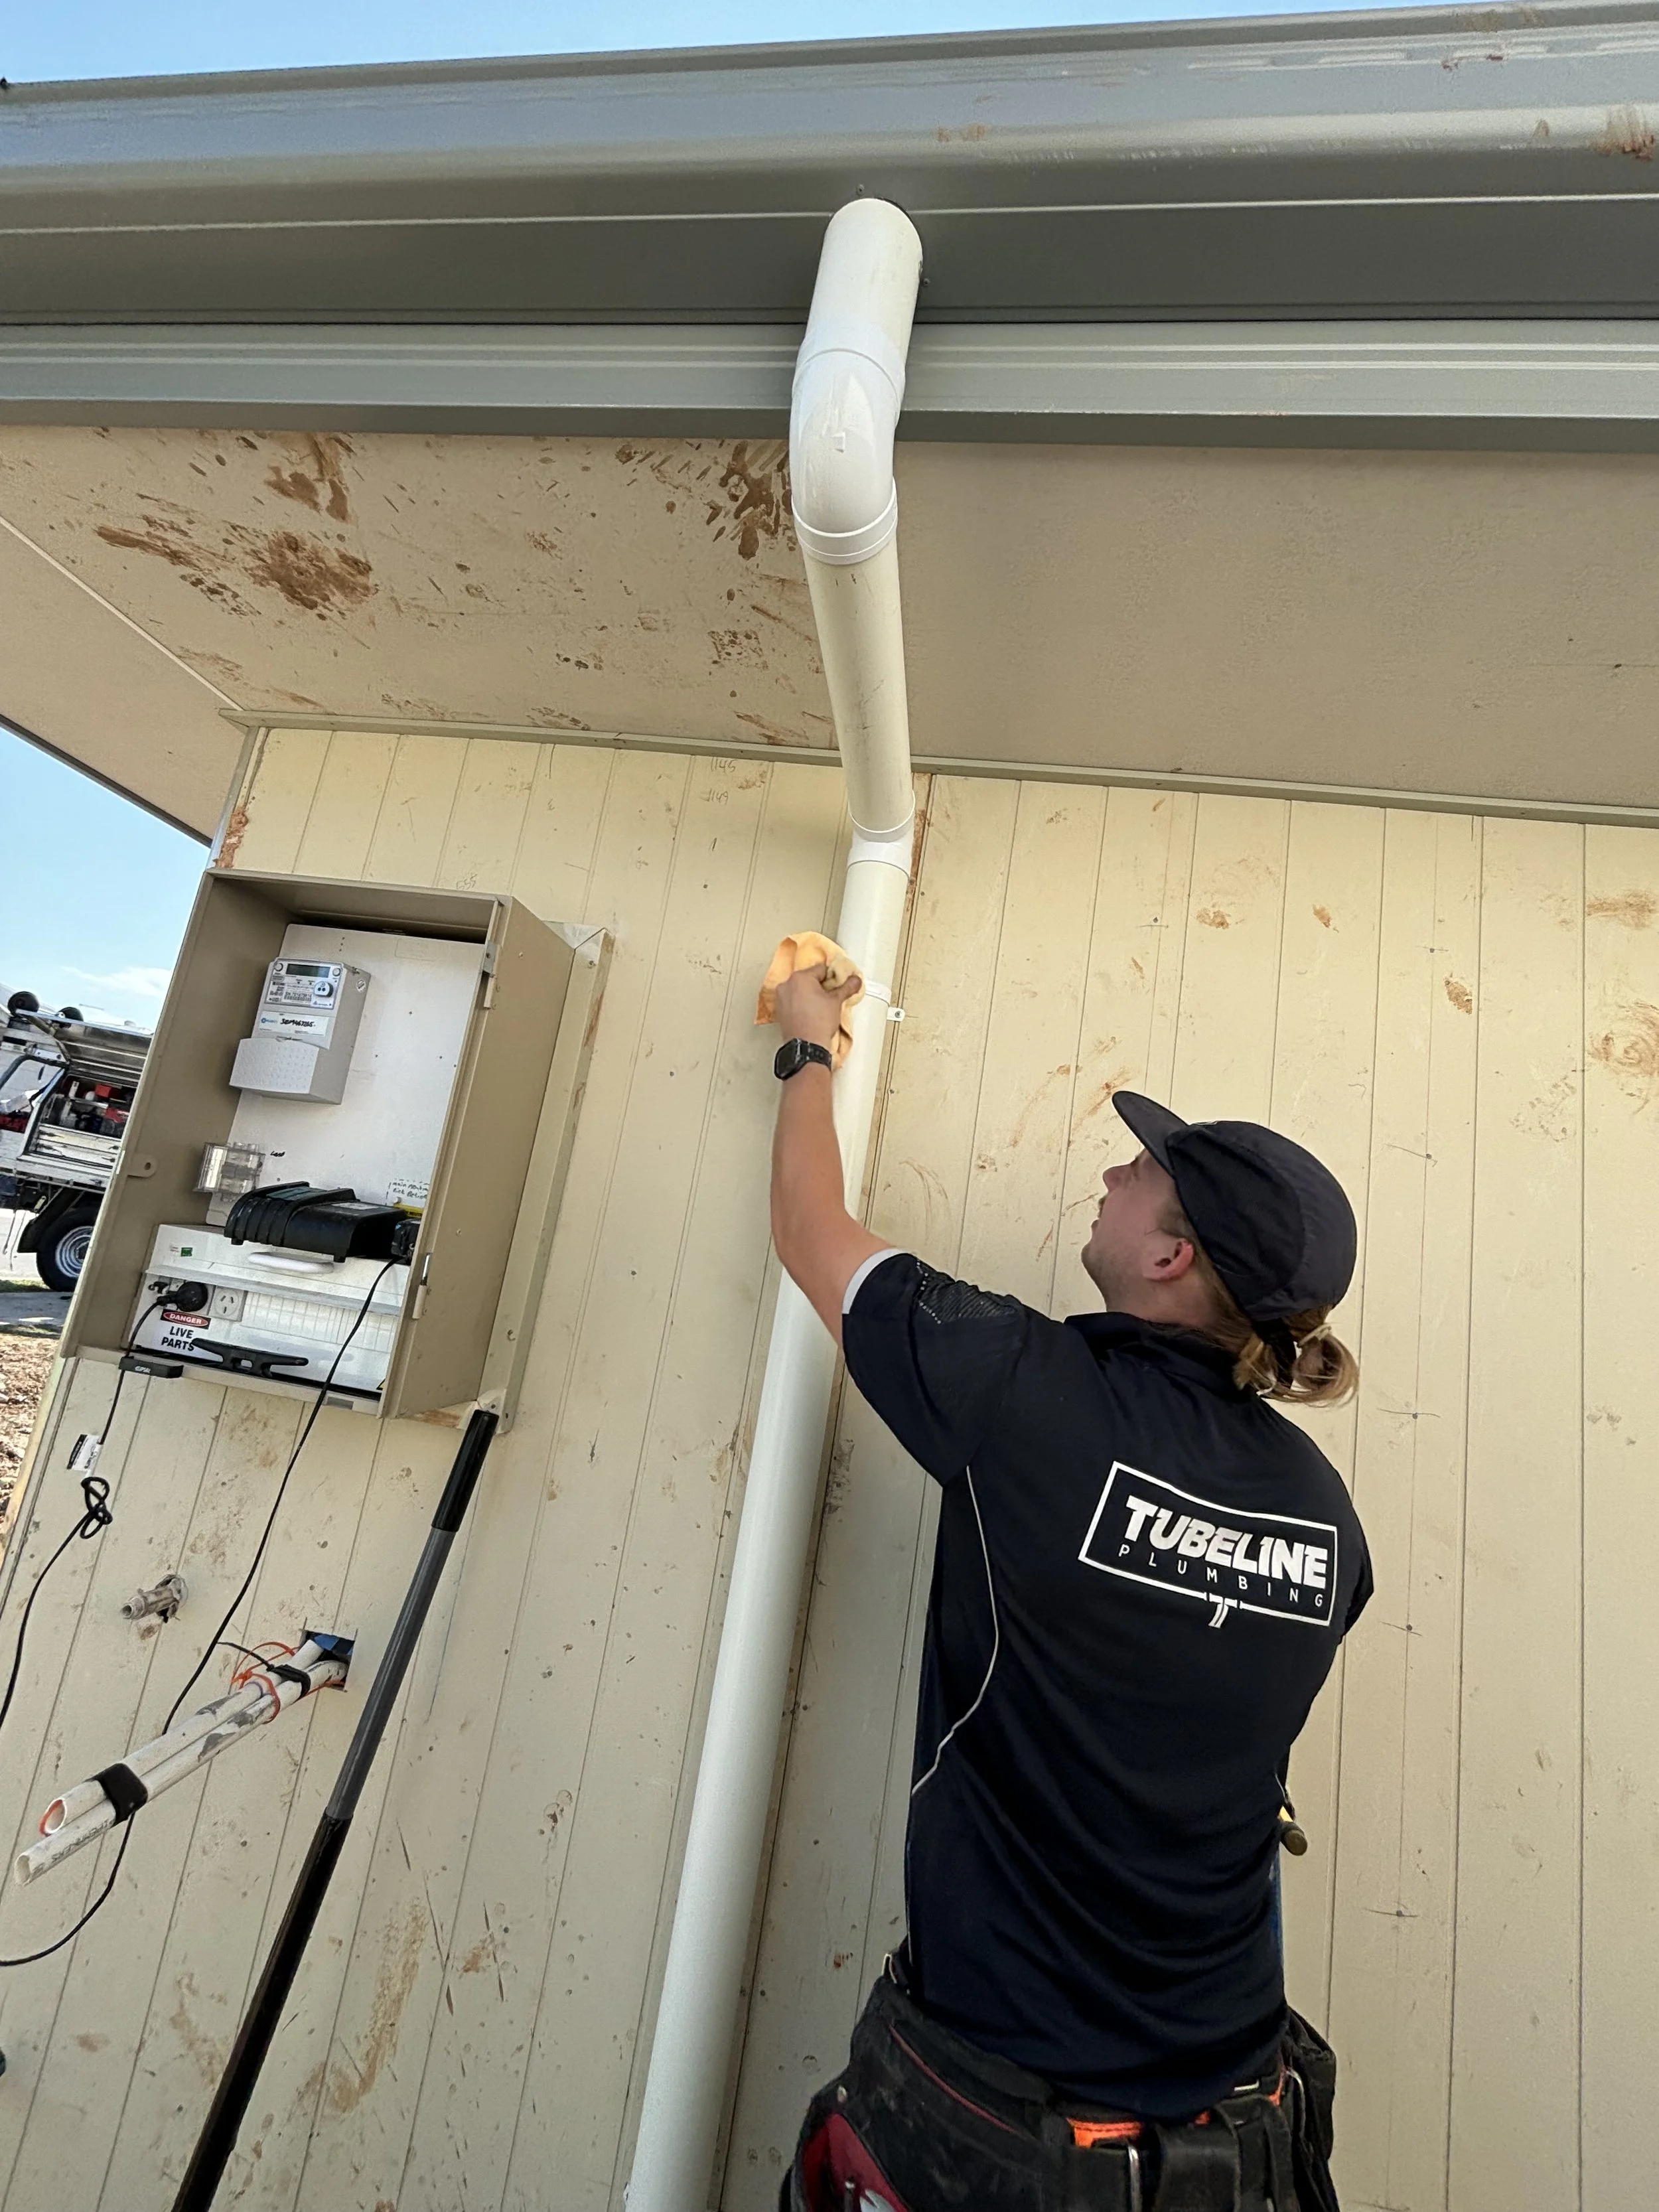
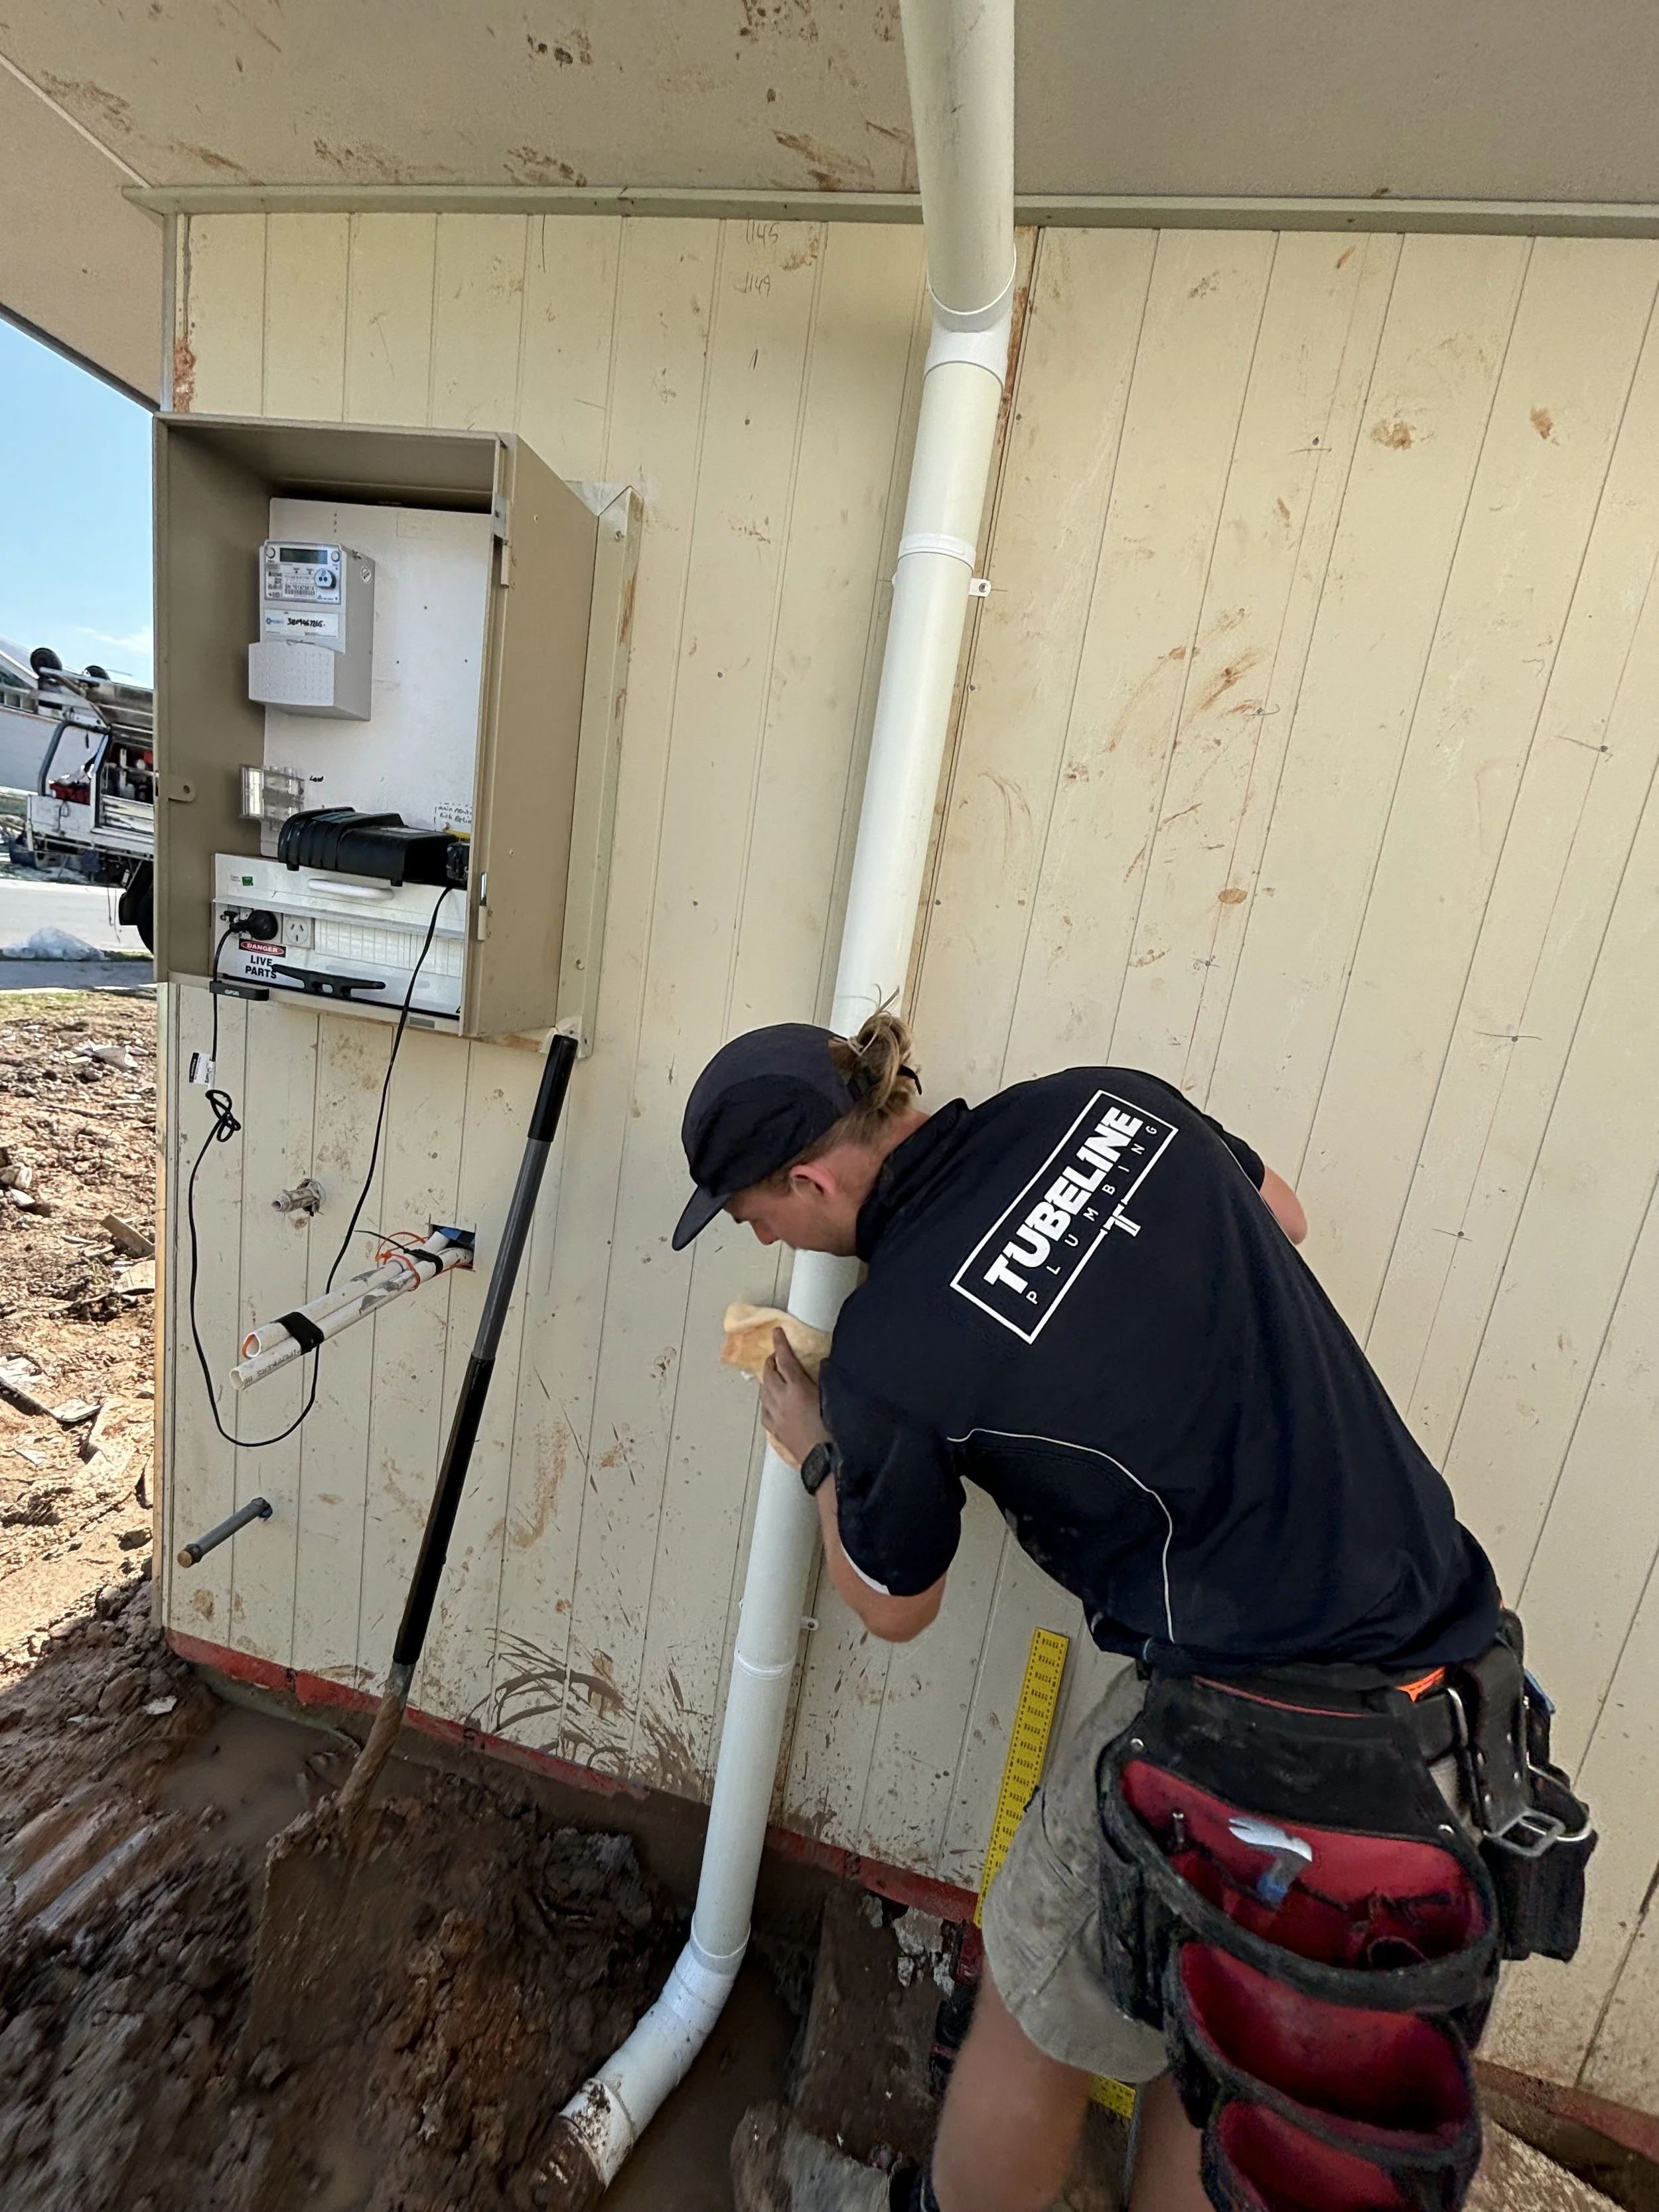
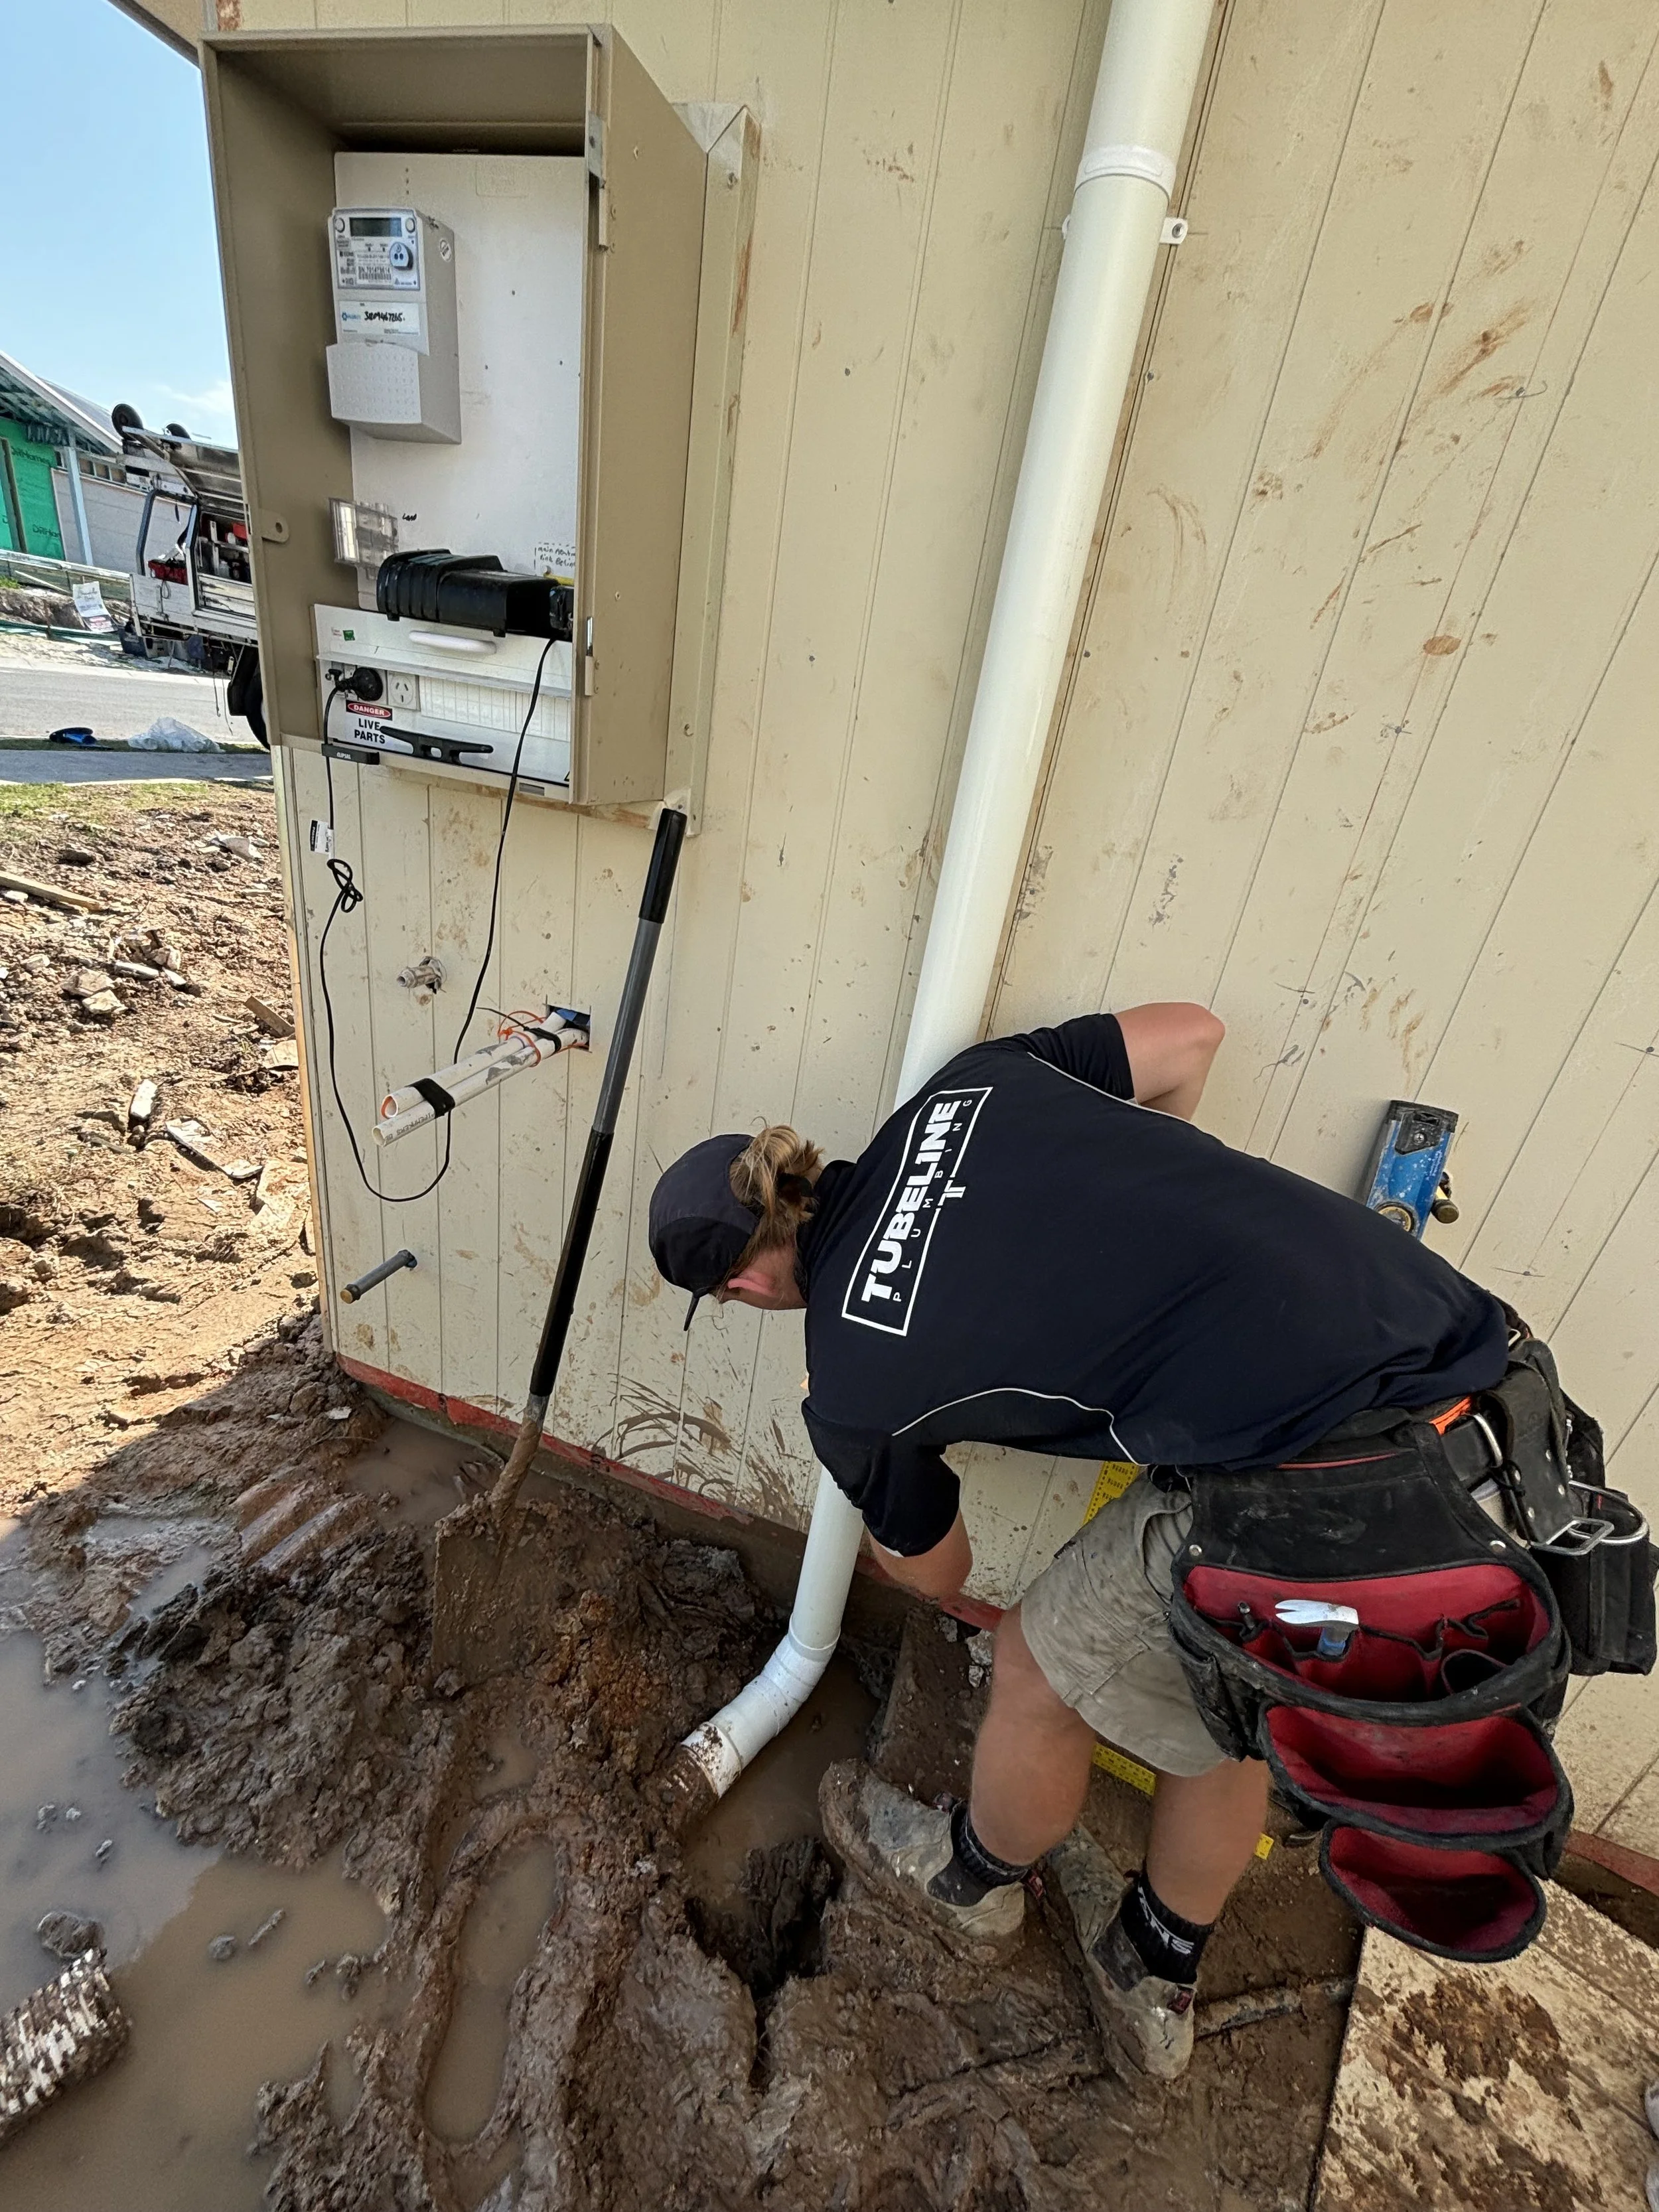
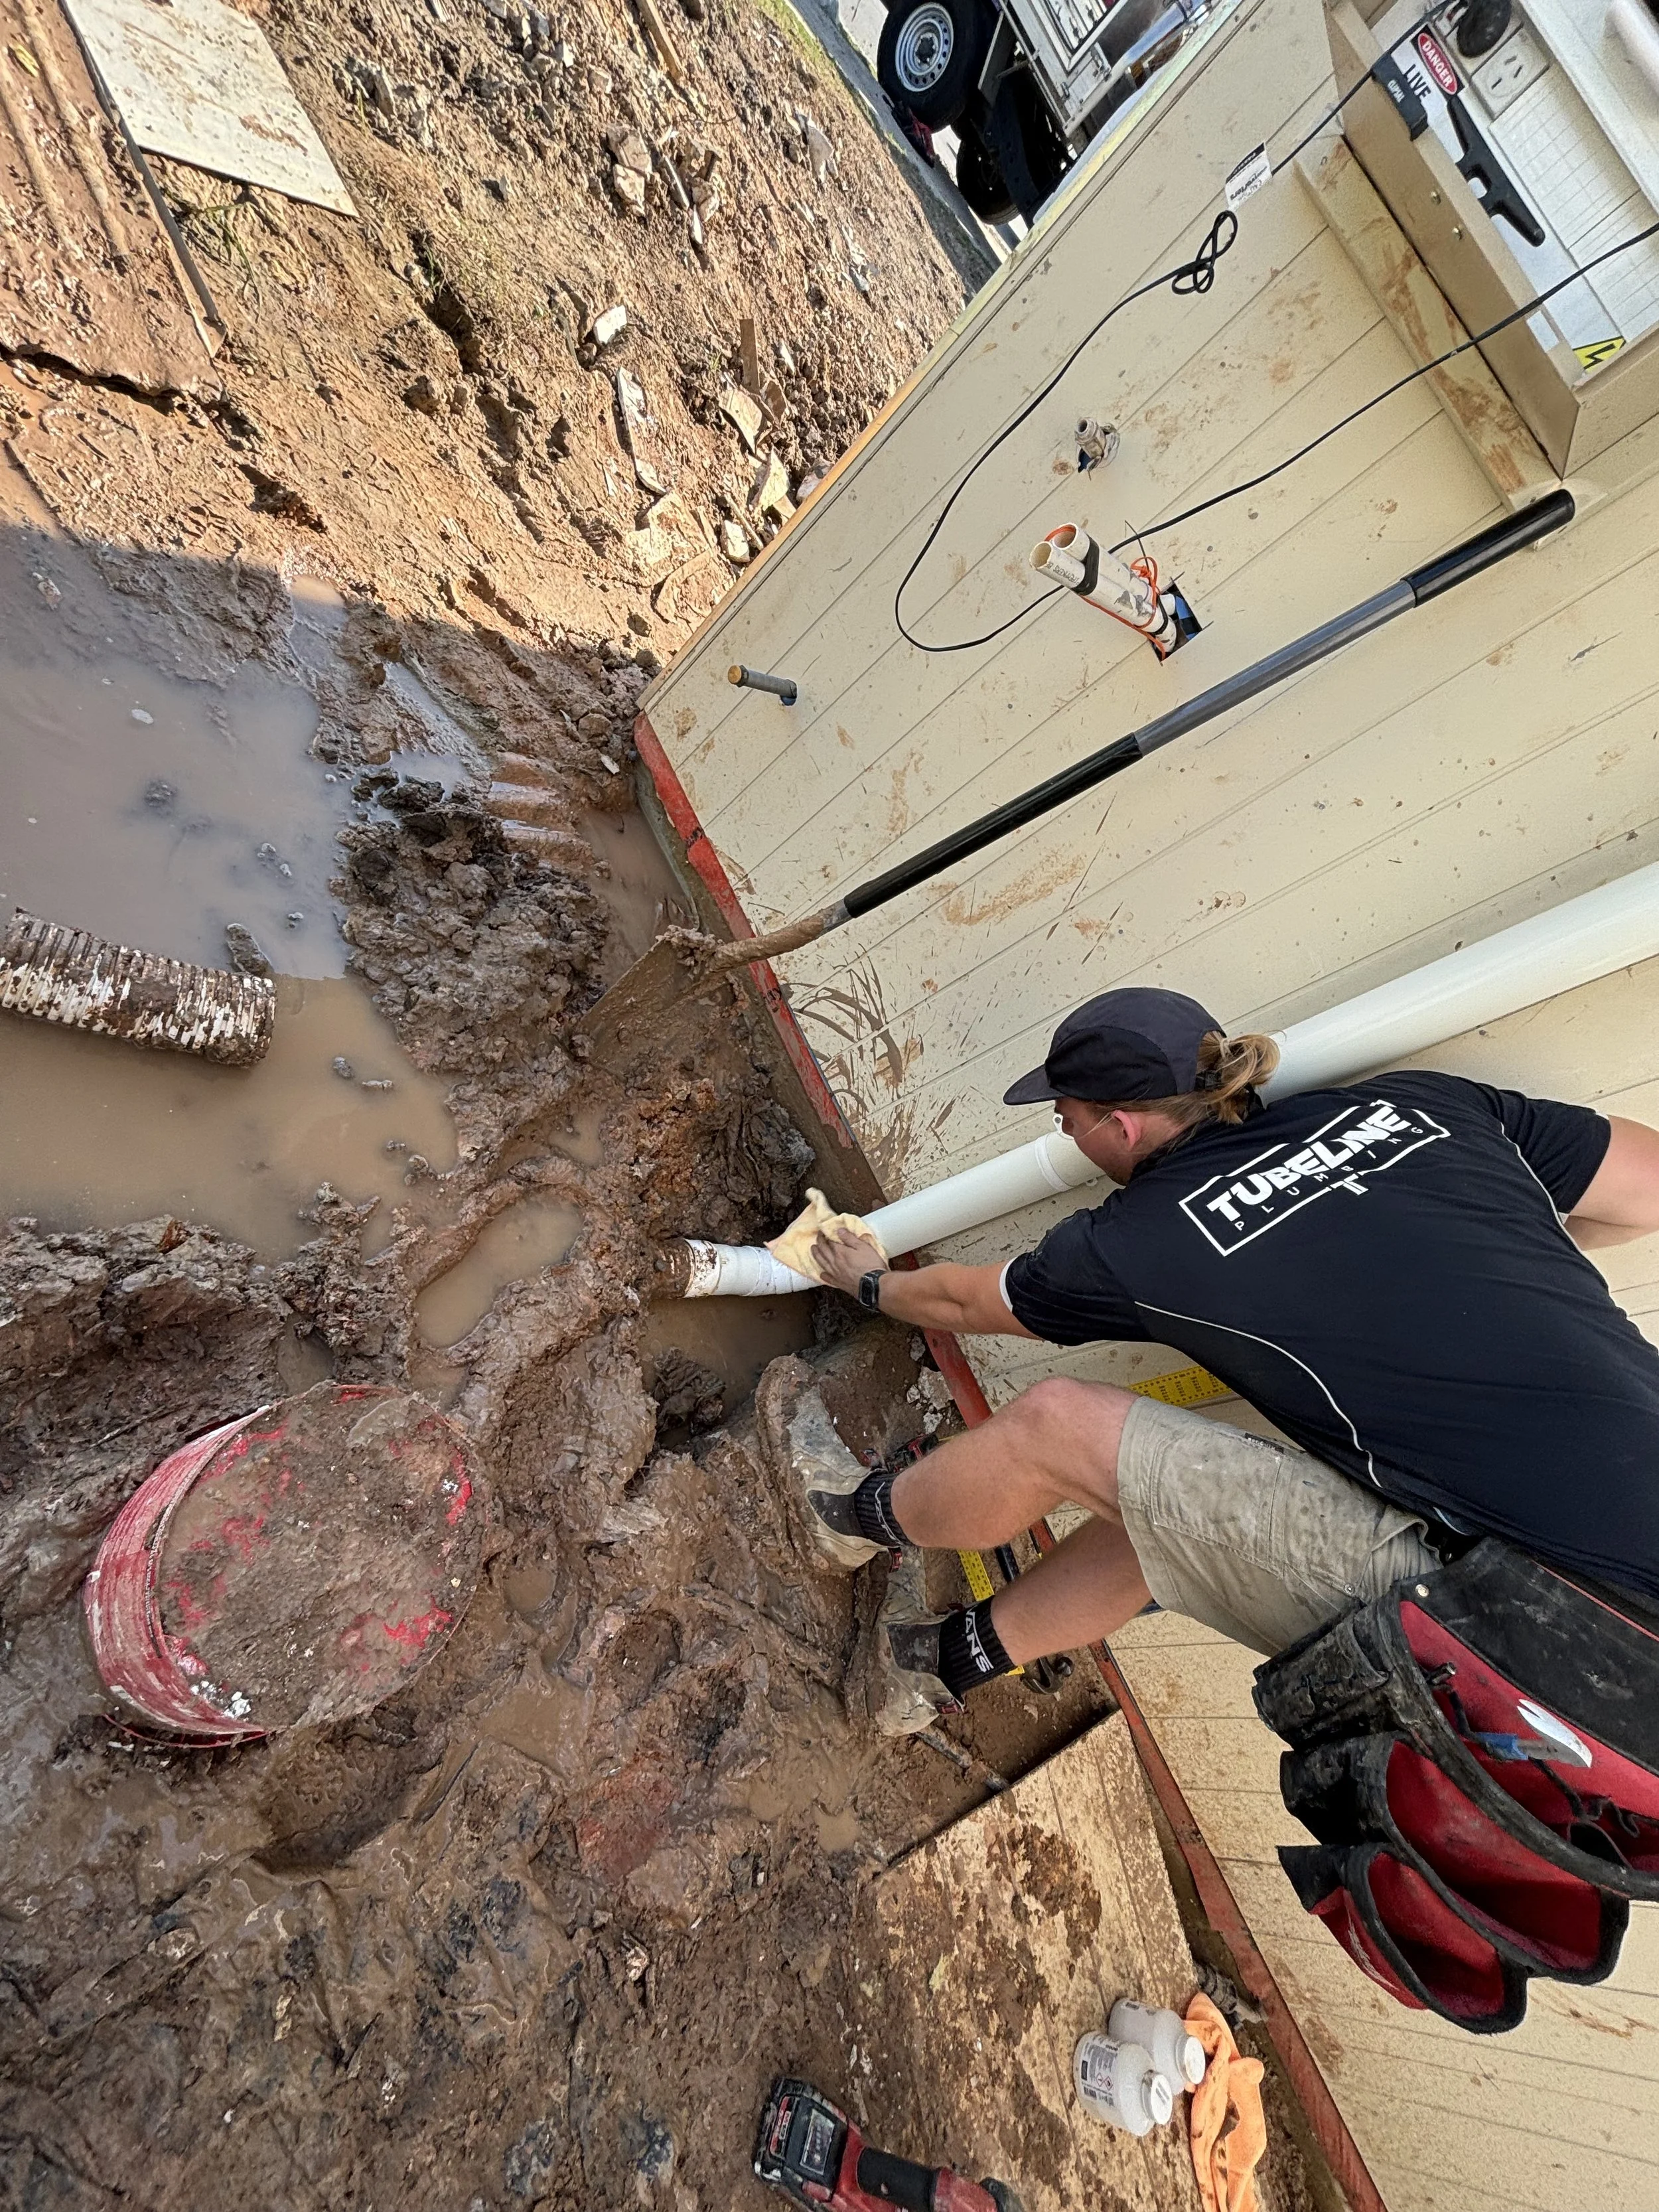
How to install downpipes for new builds with stormflex connections.
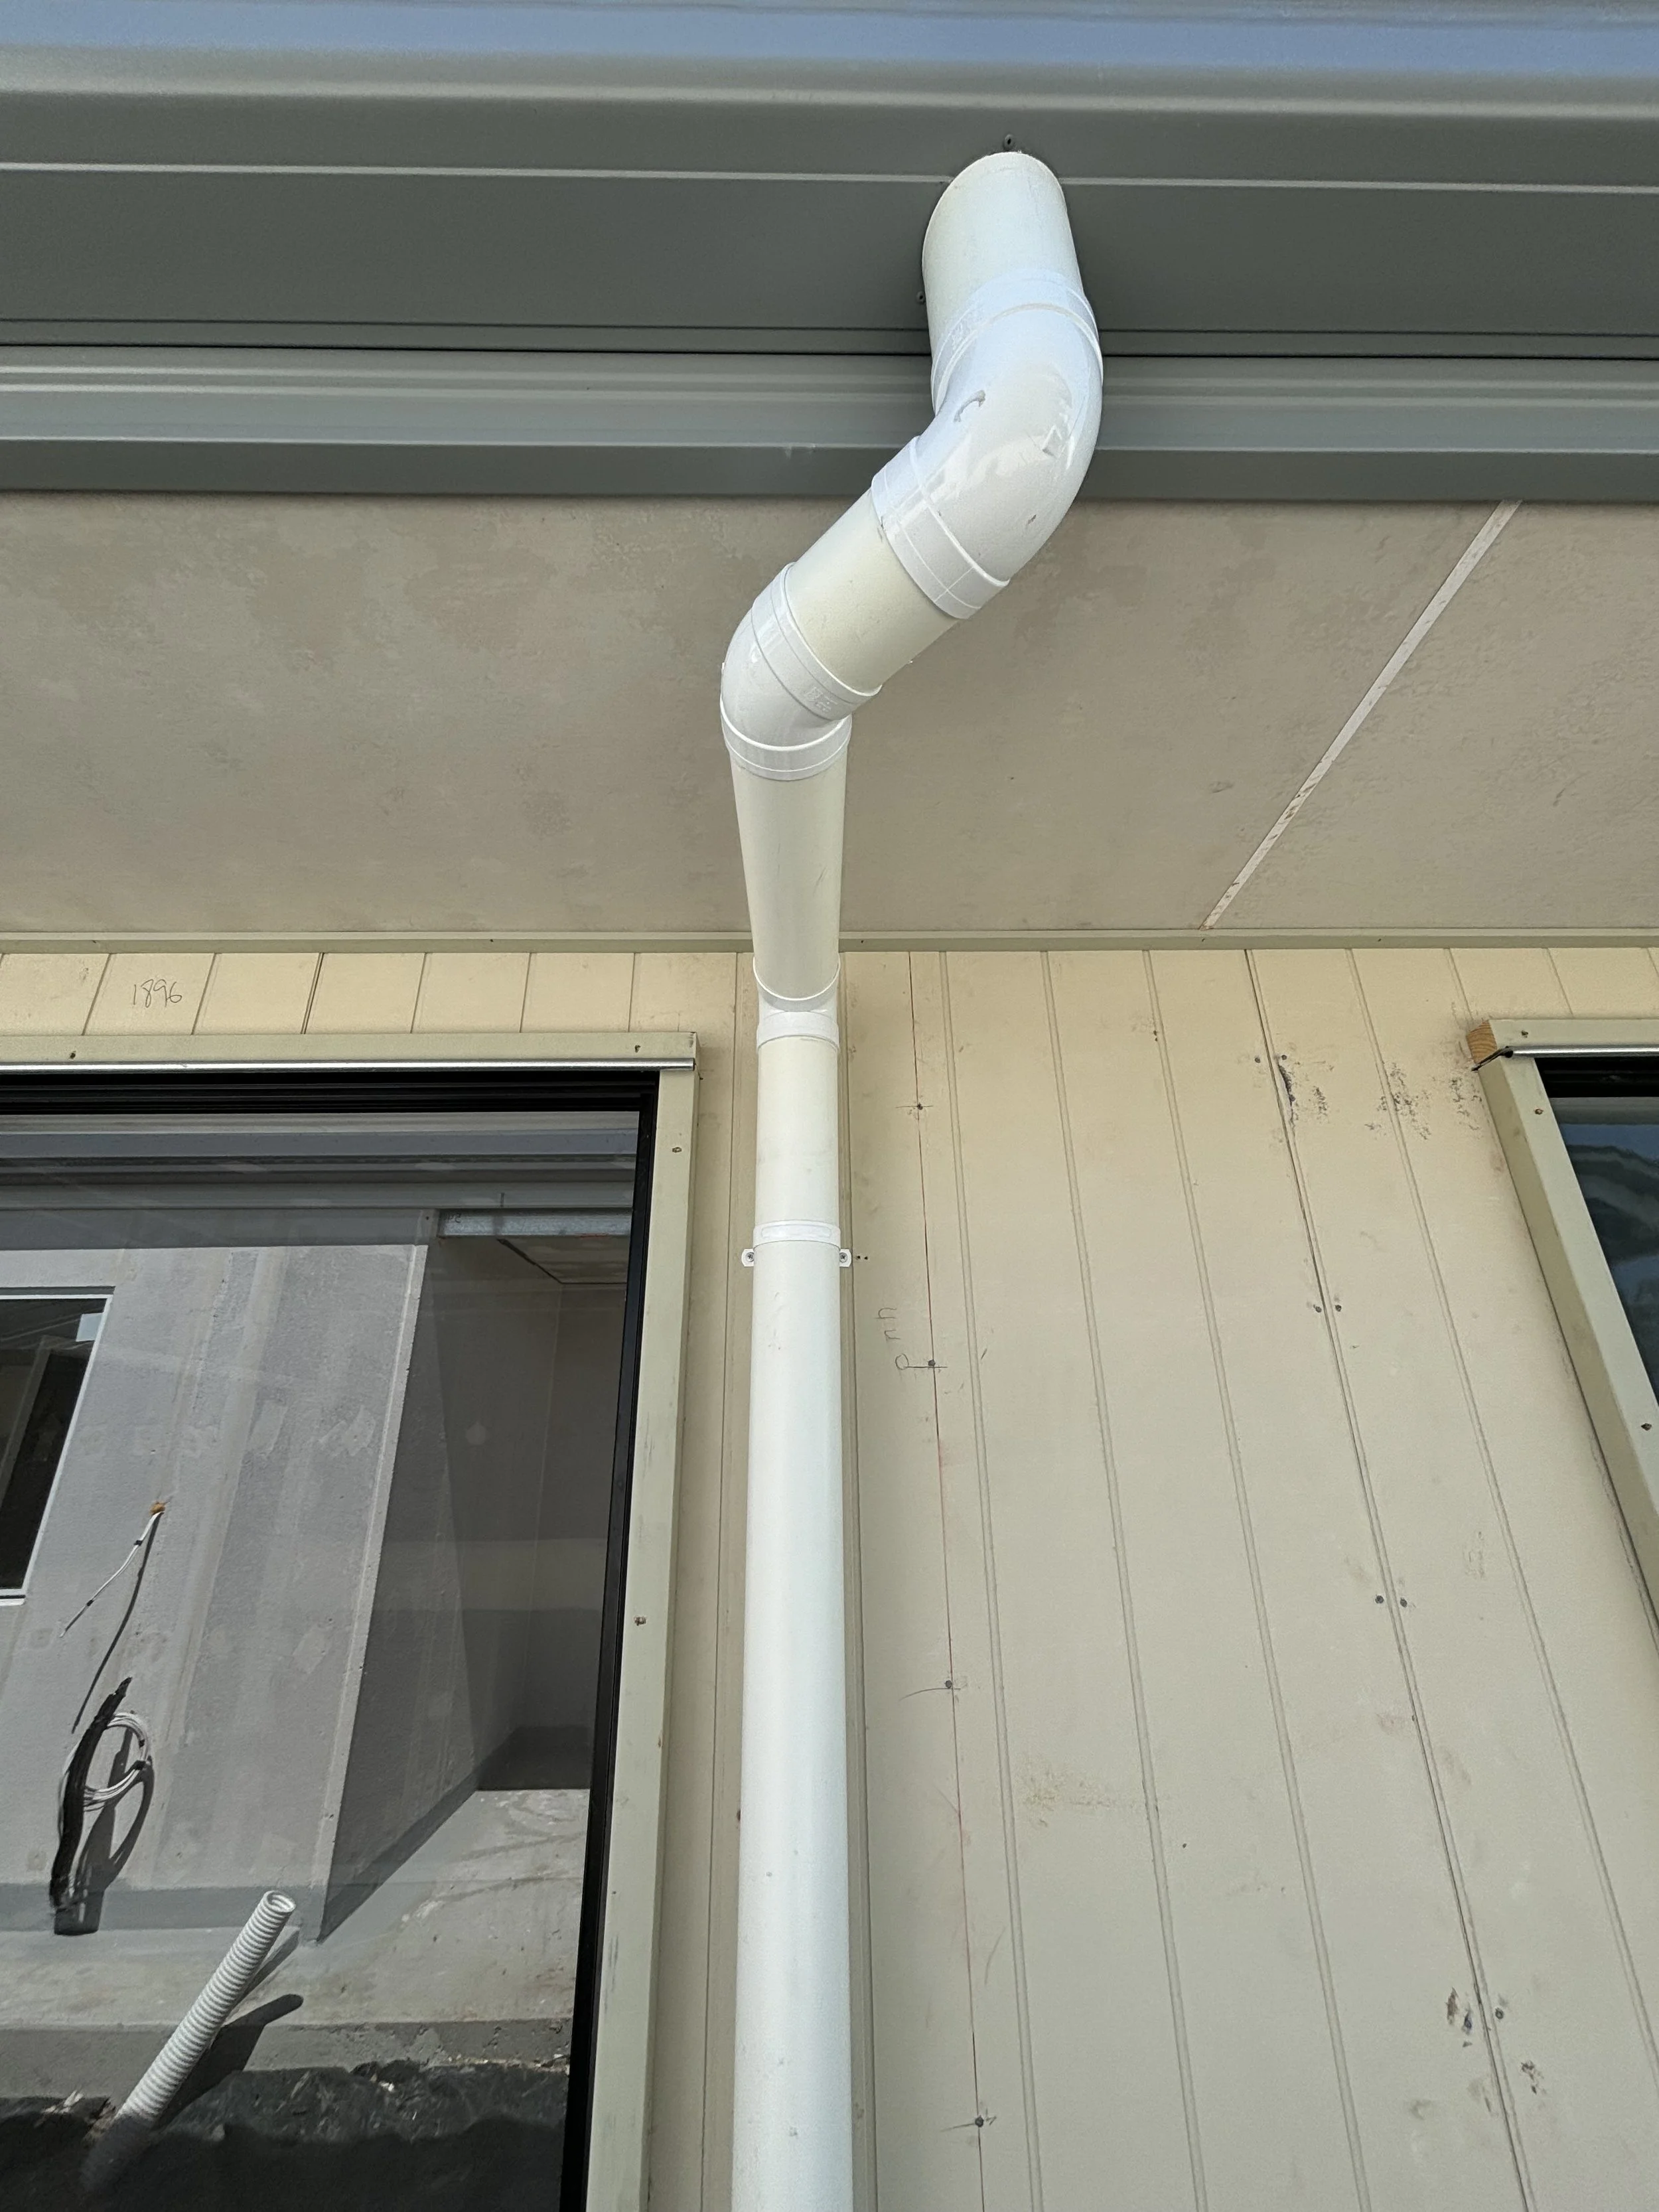
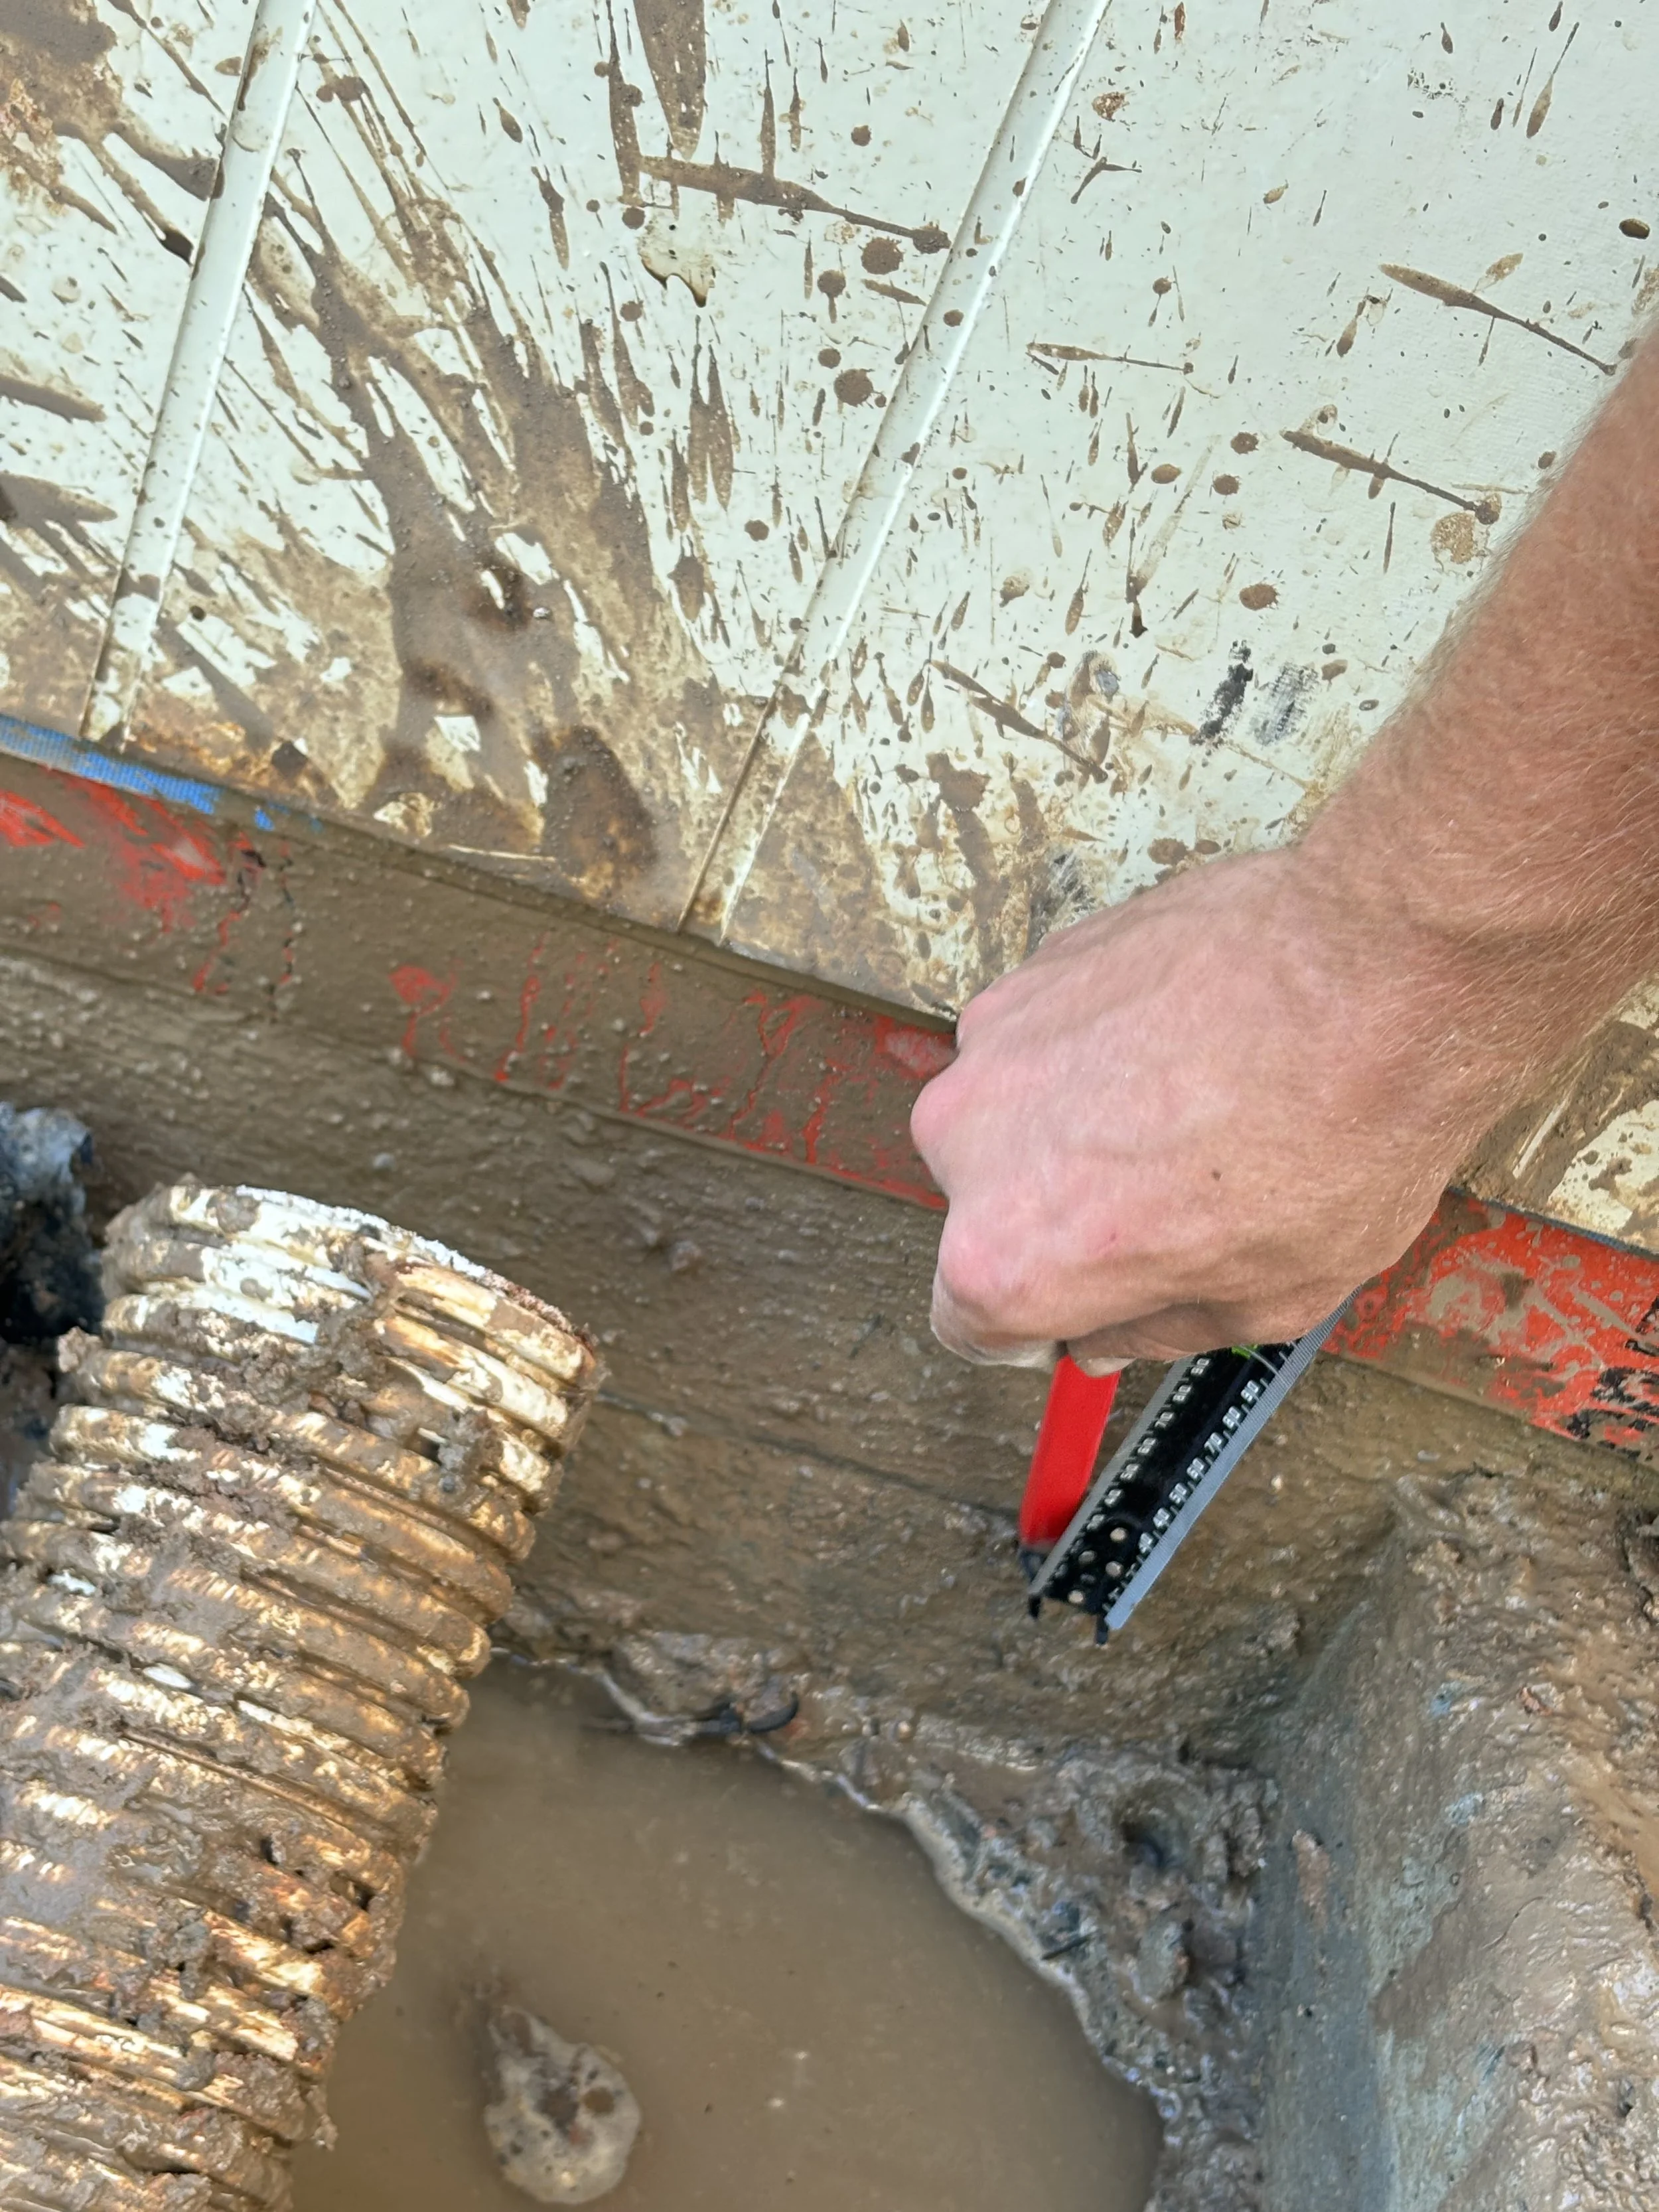
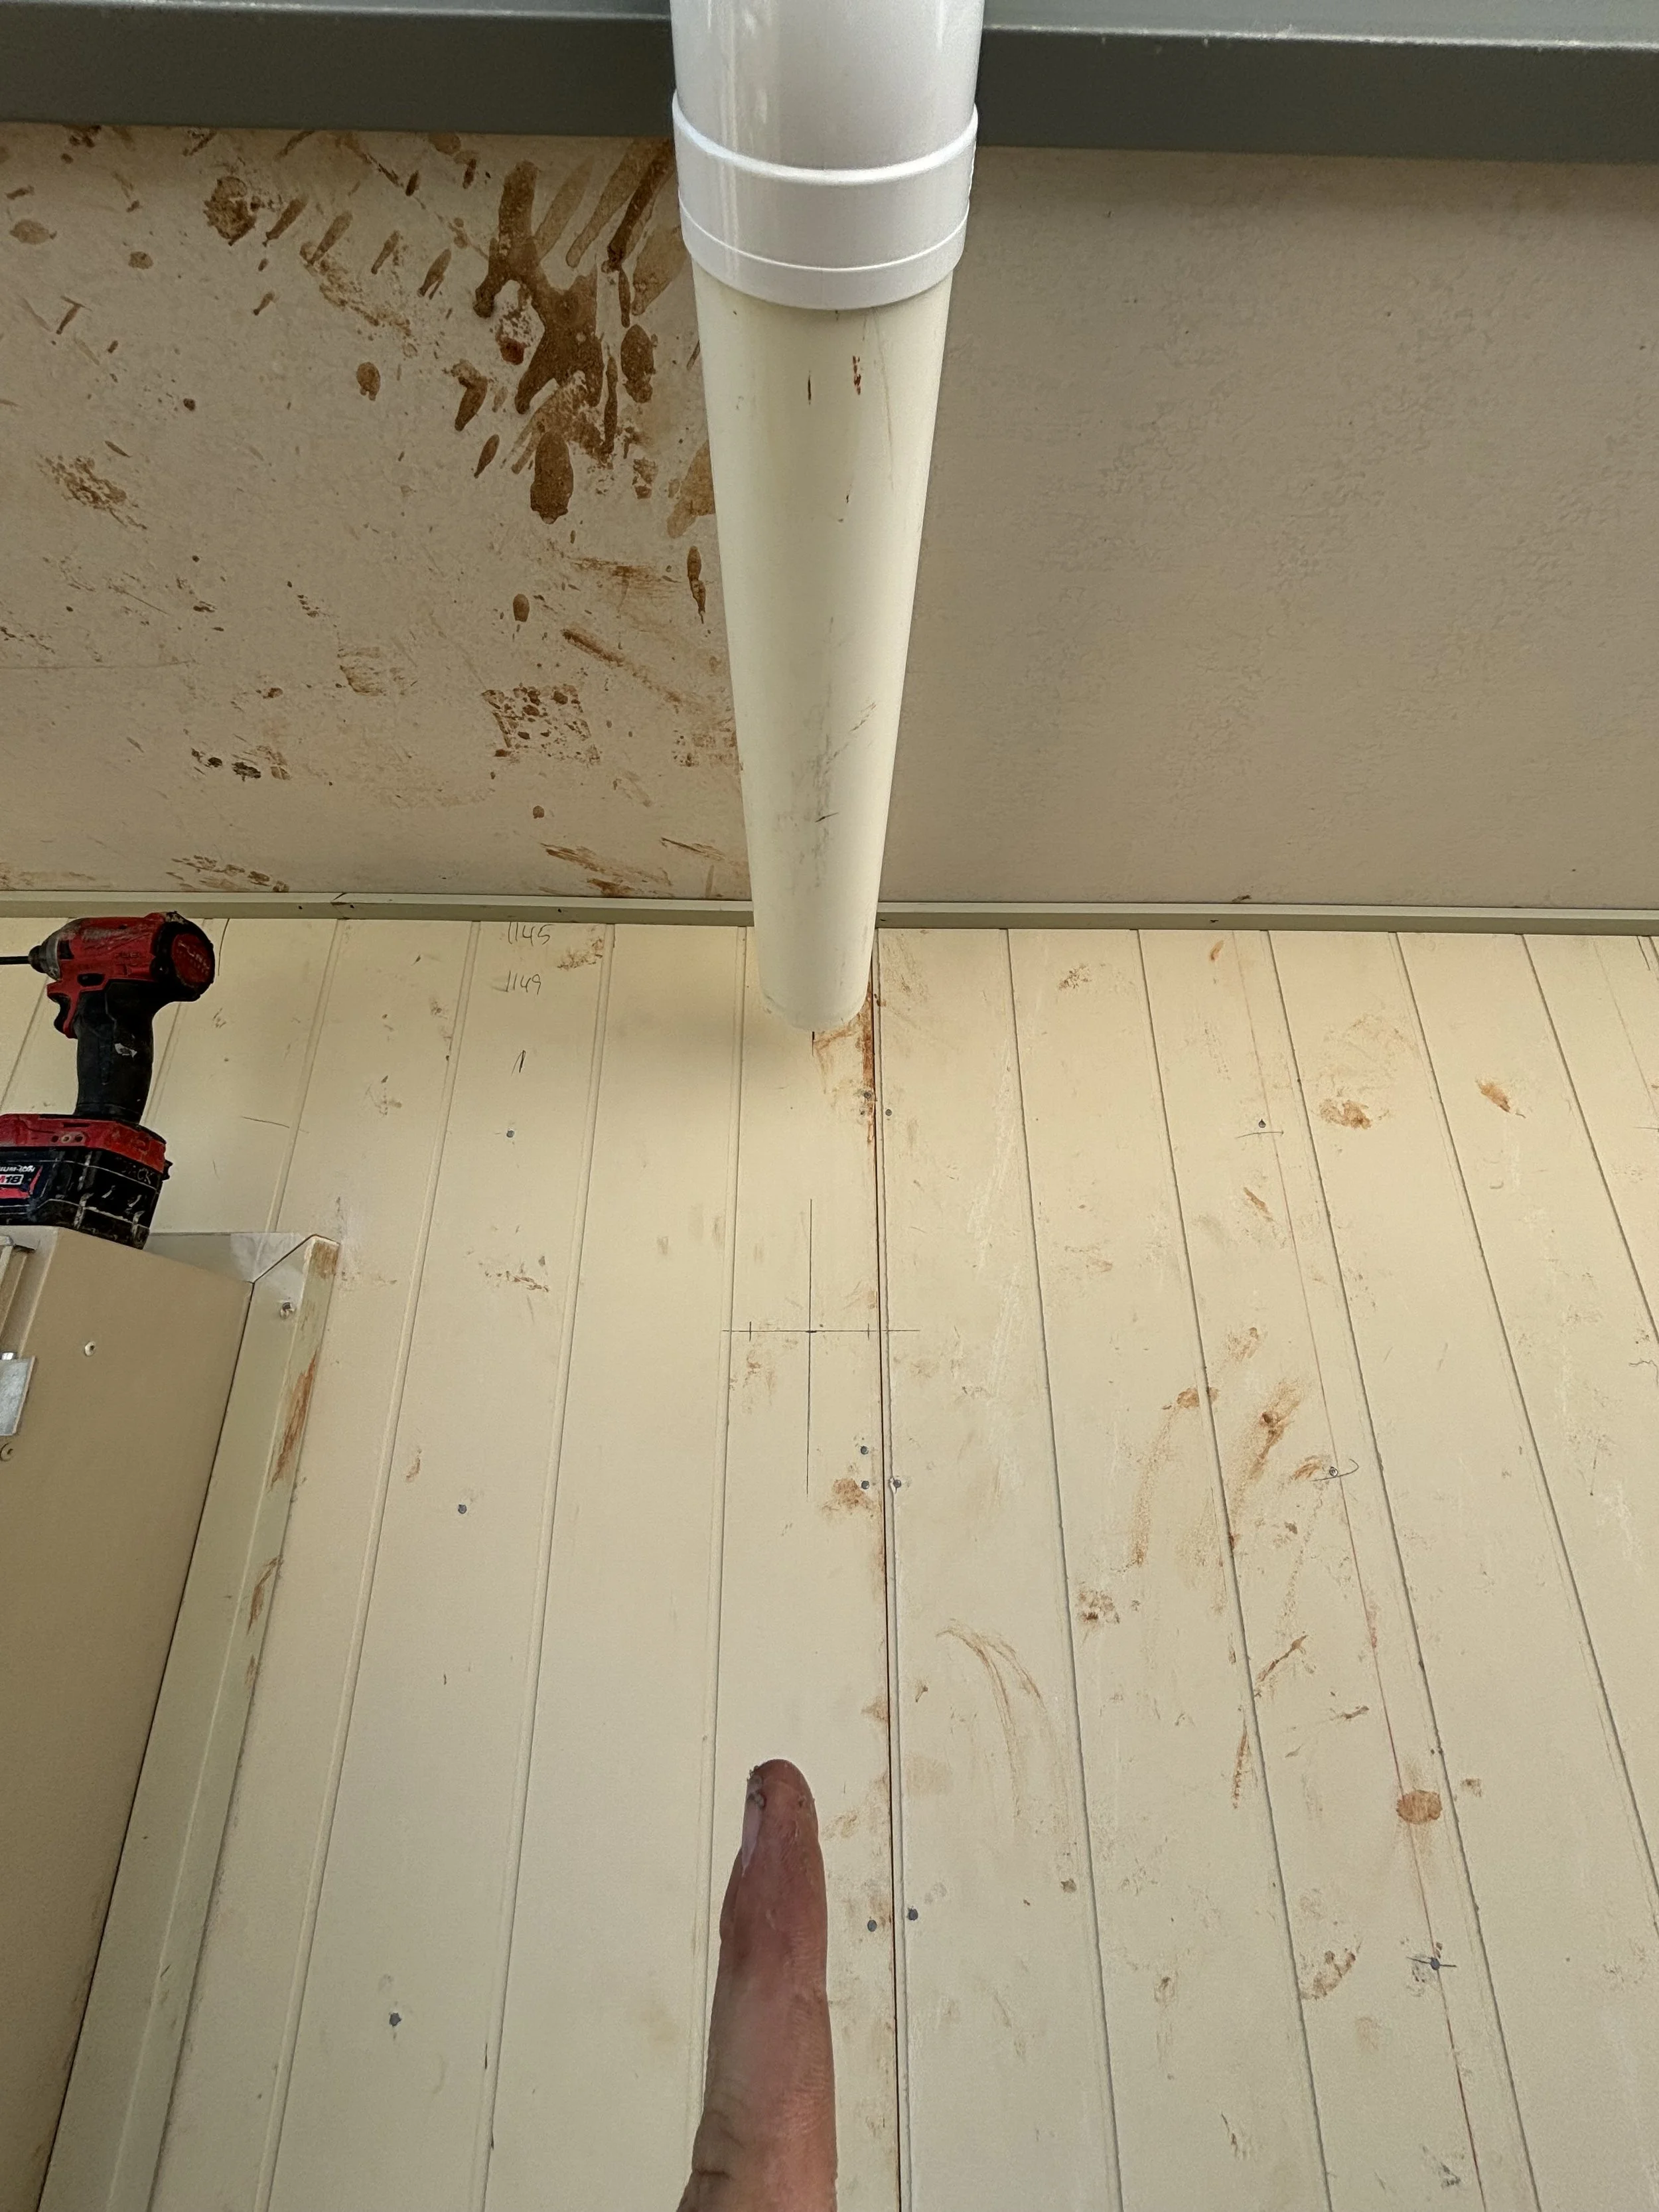
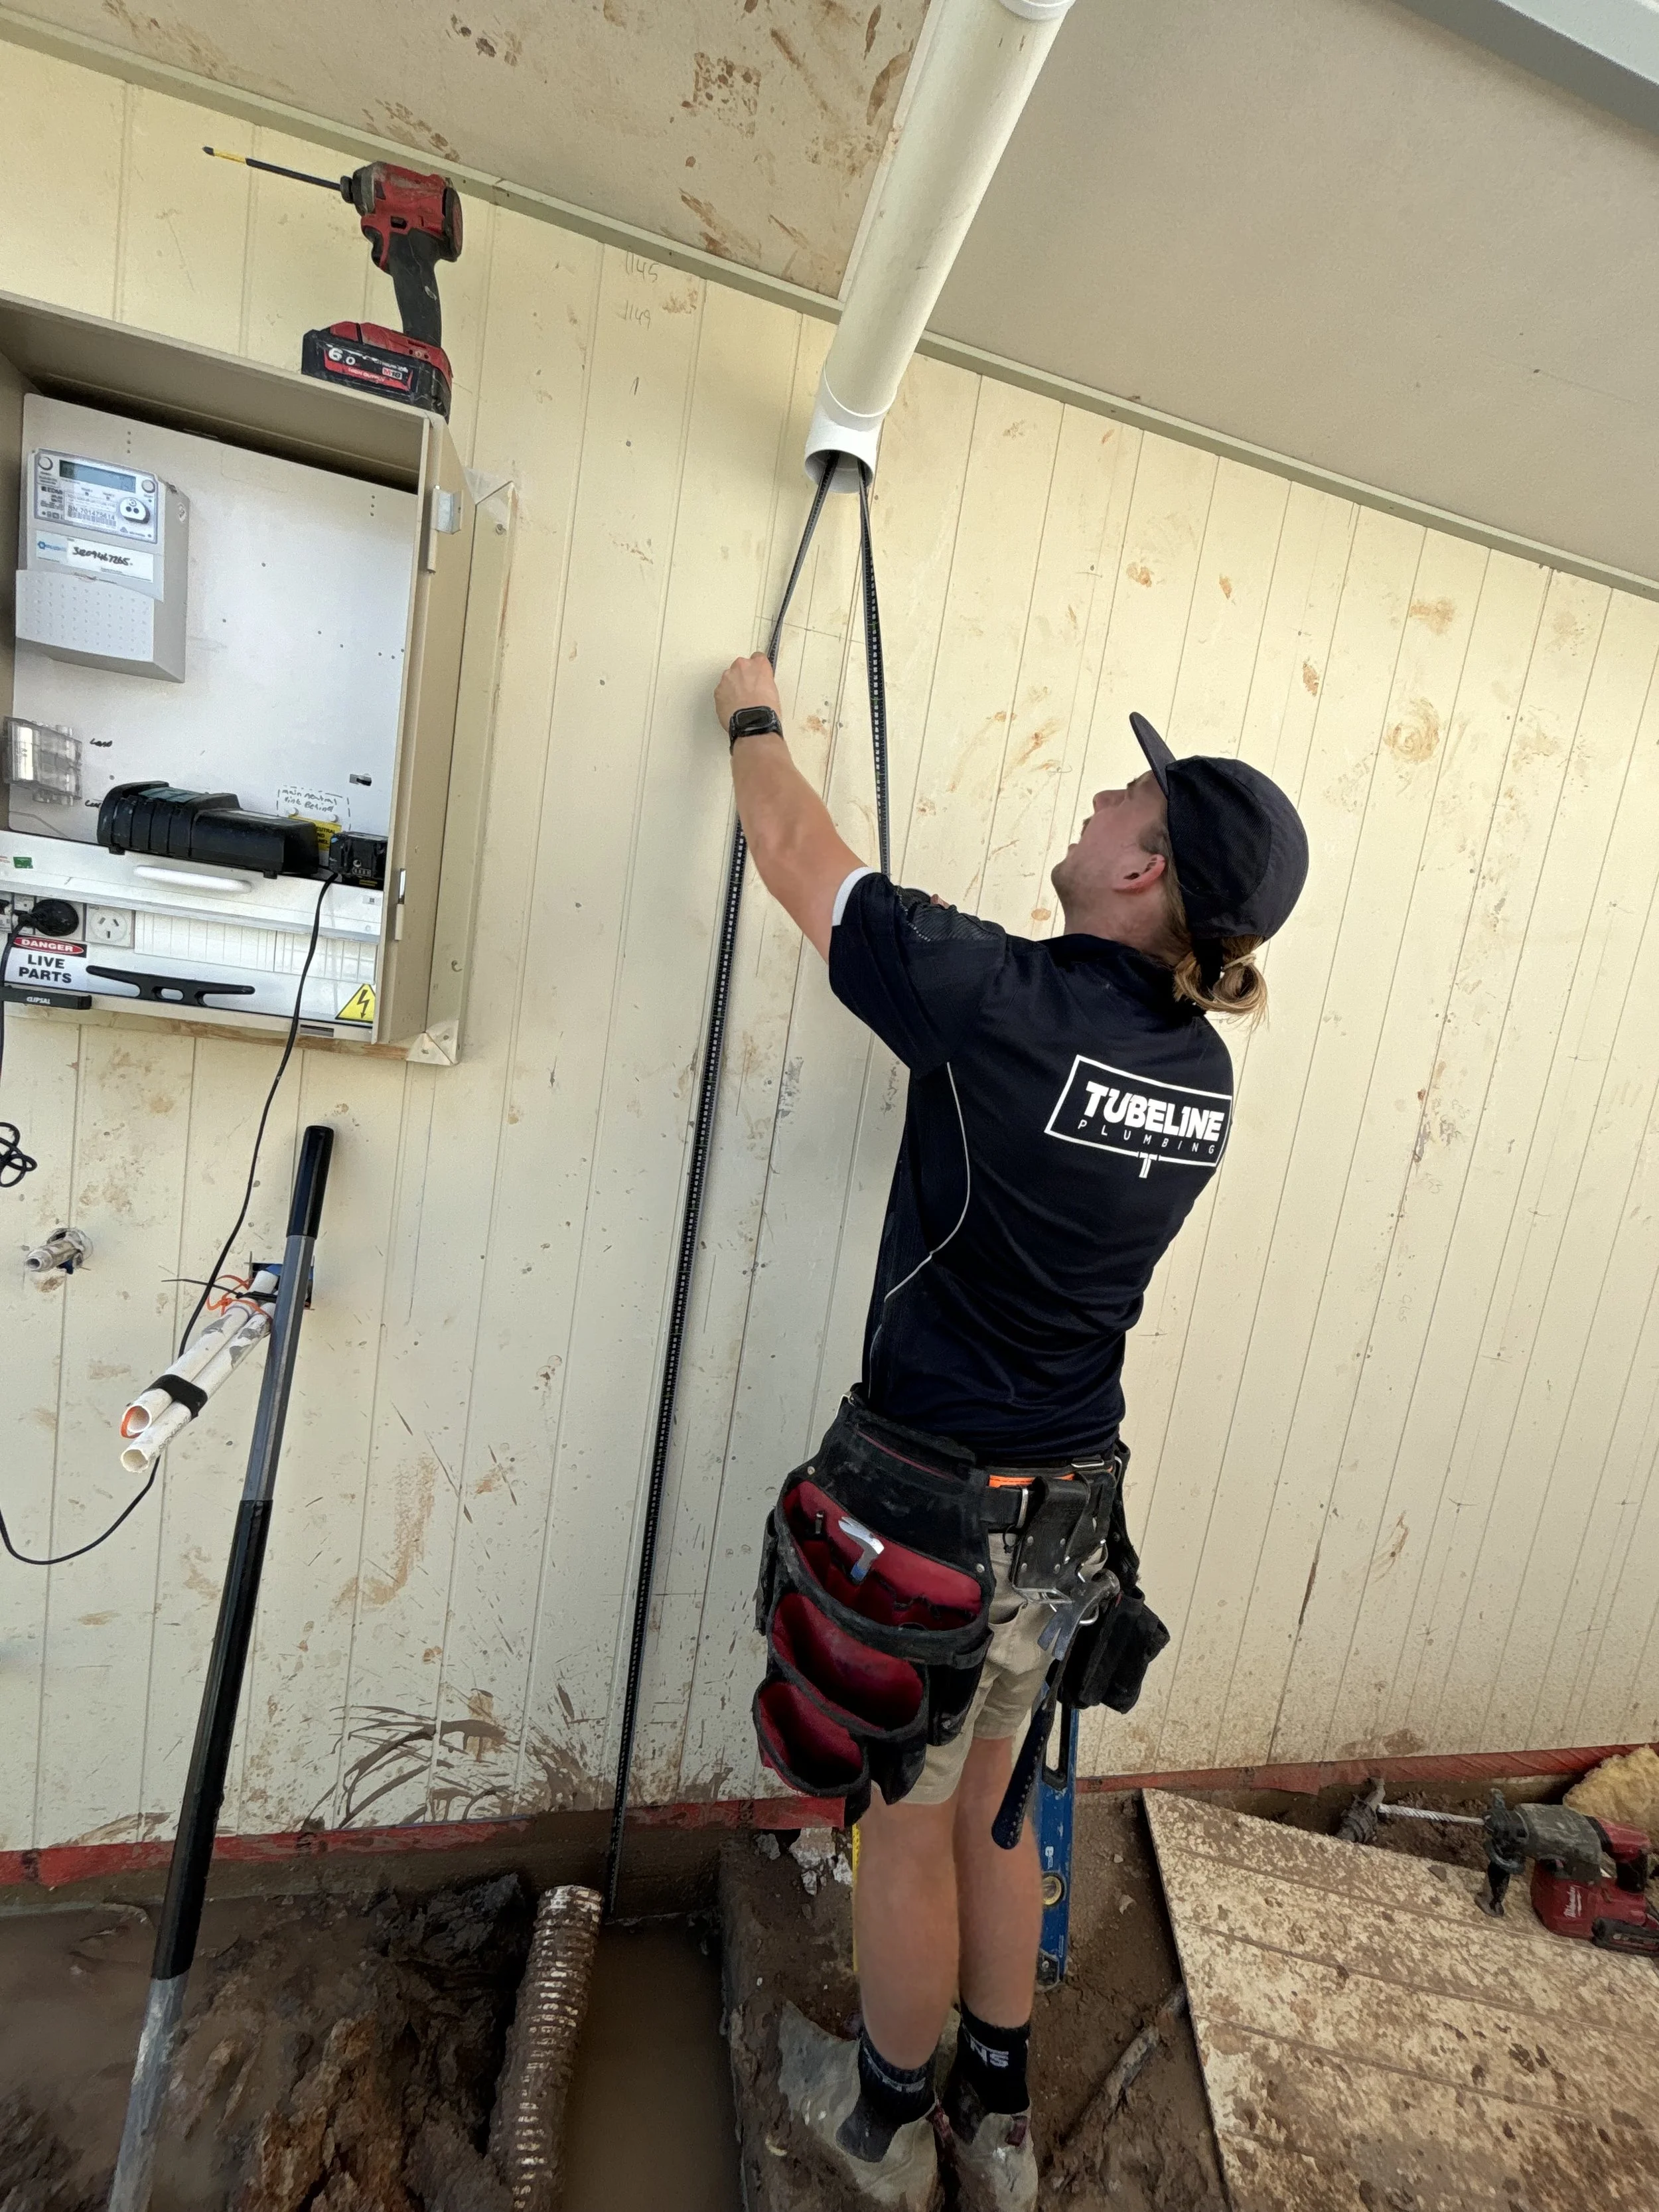
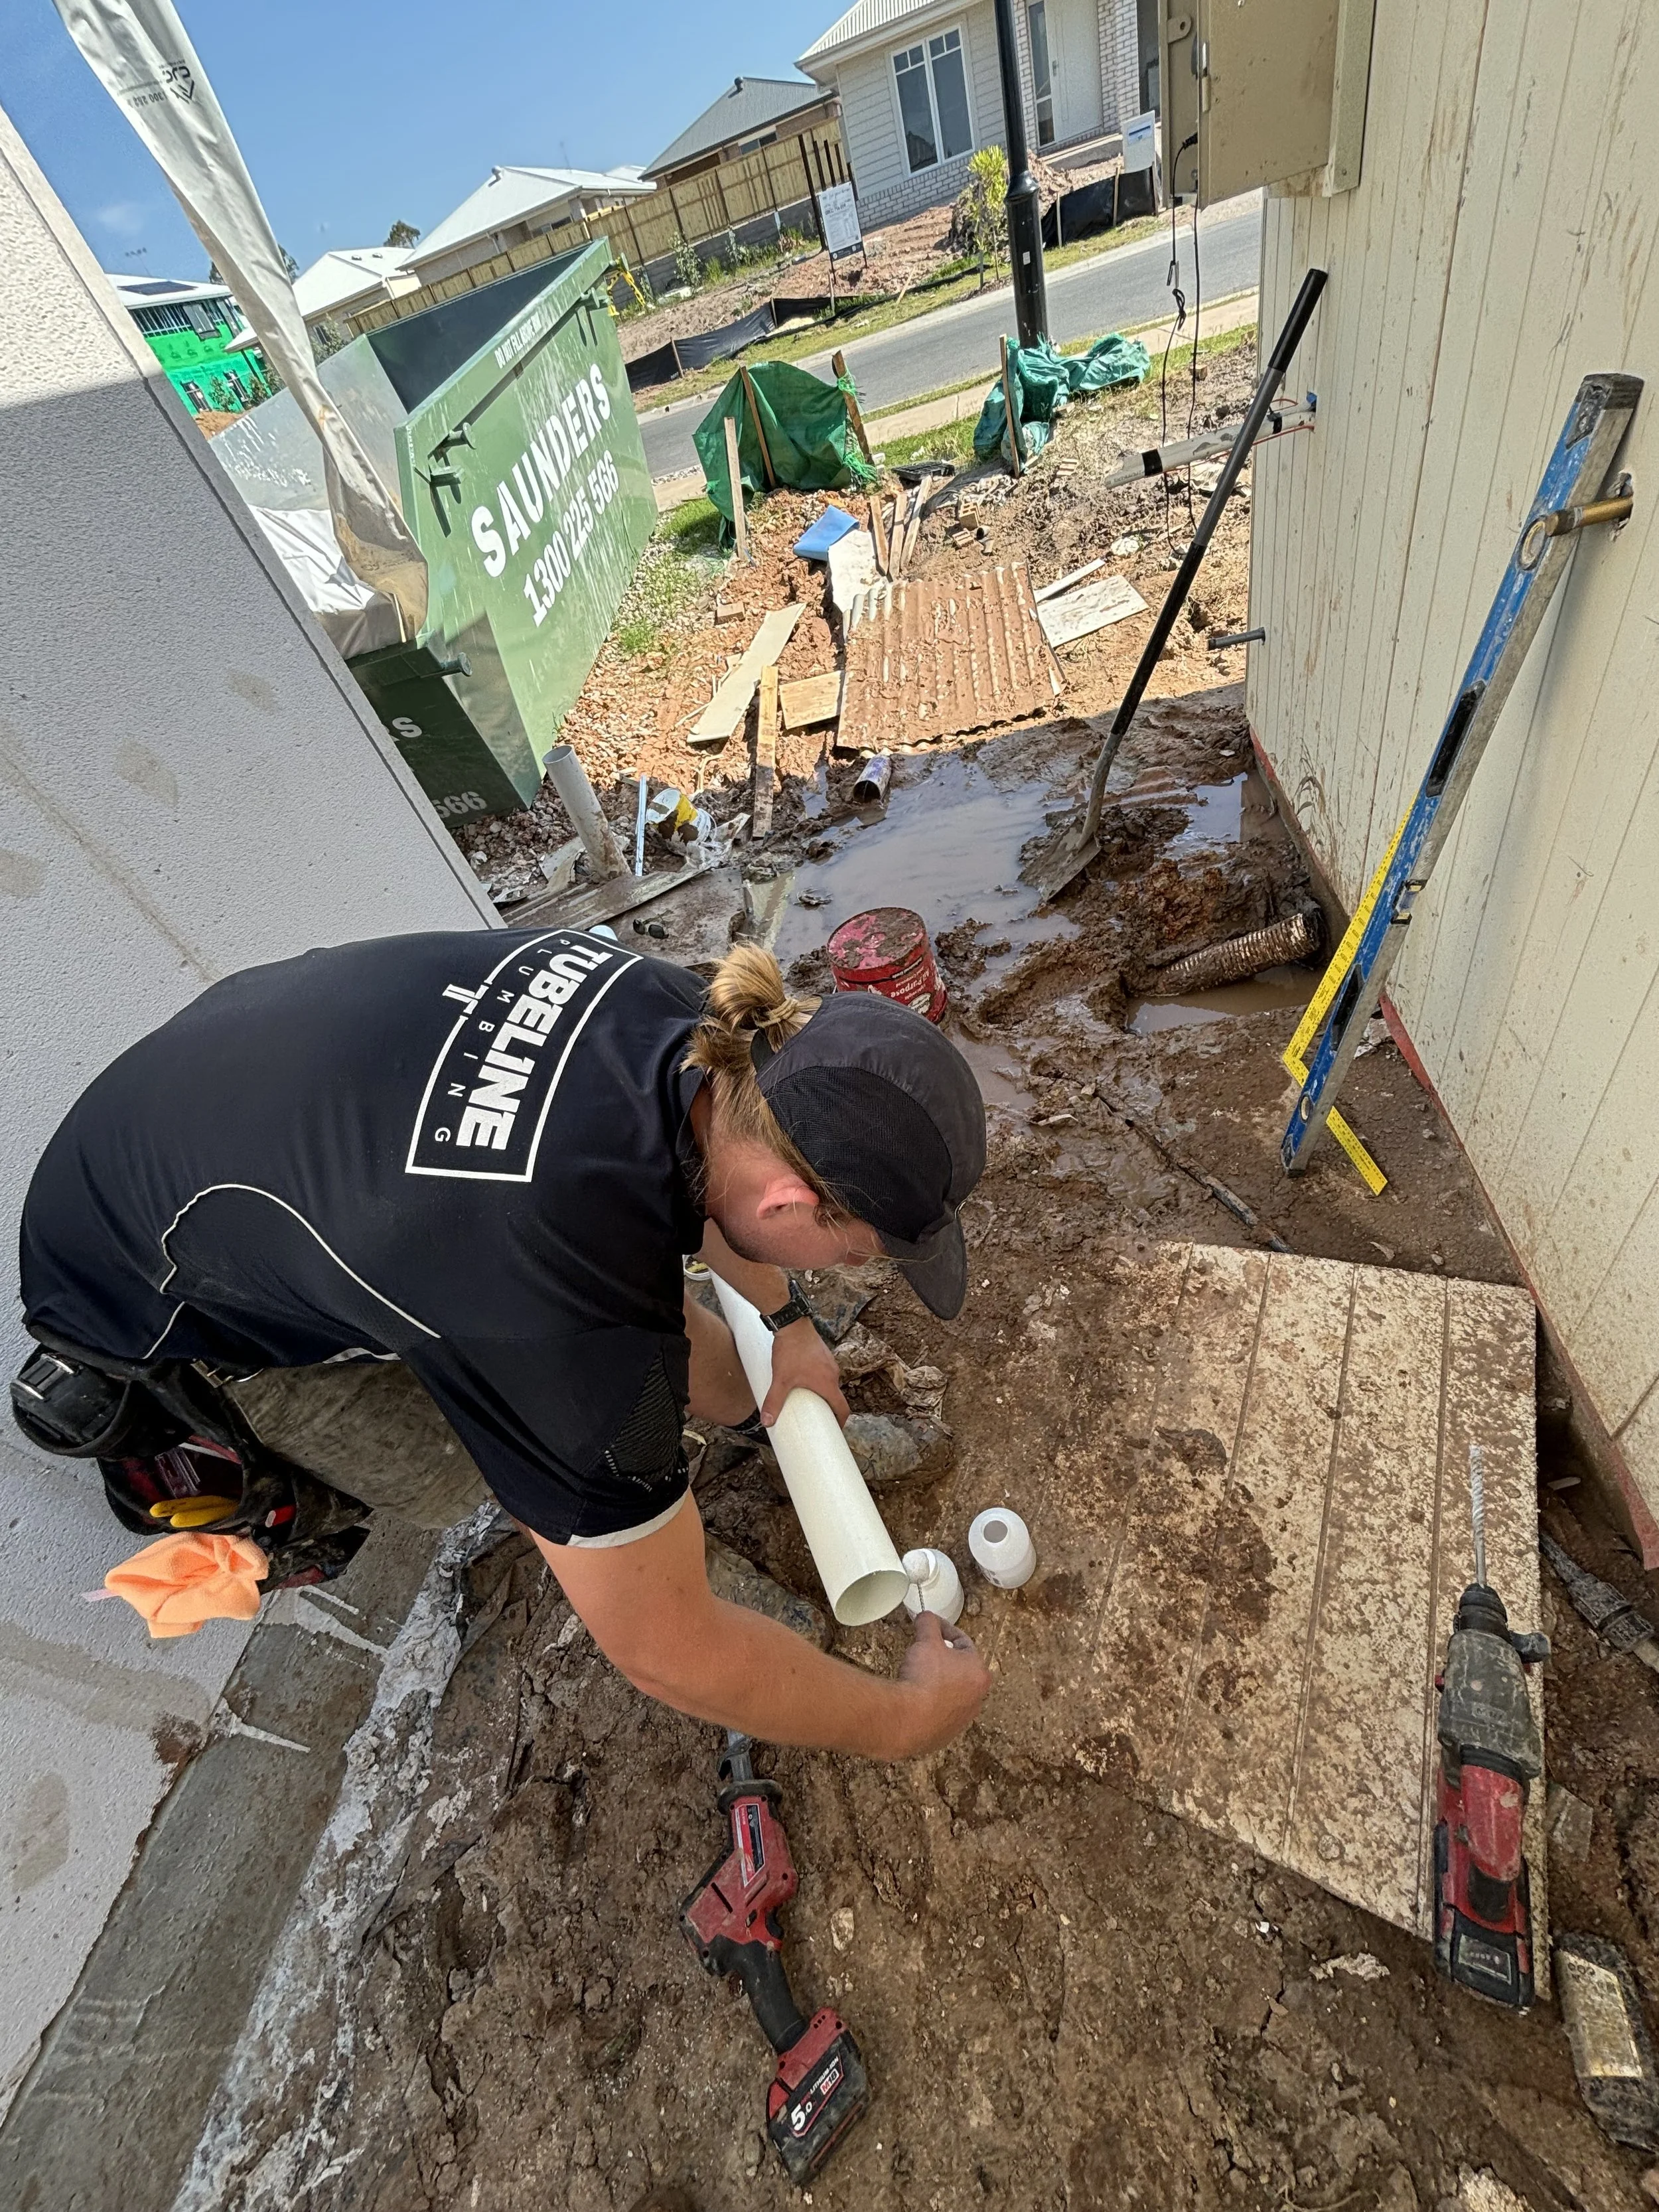
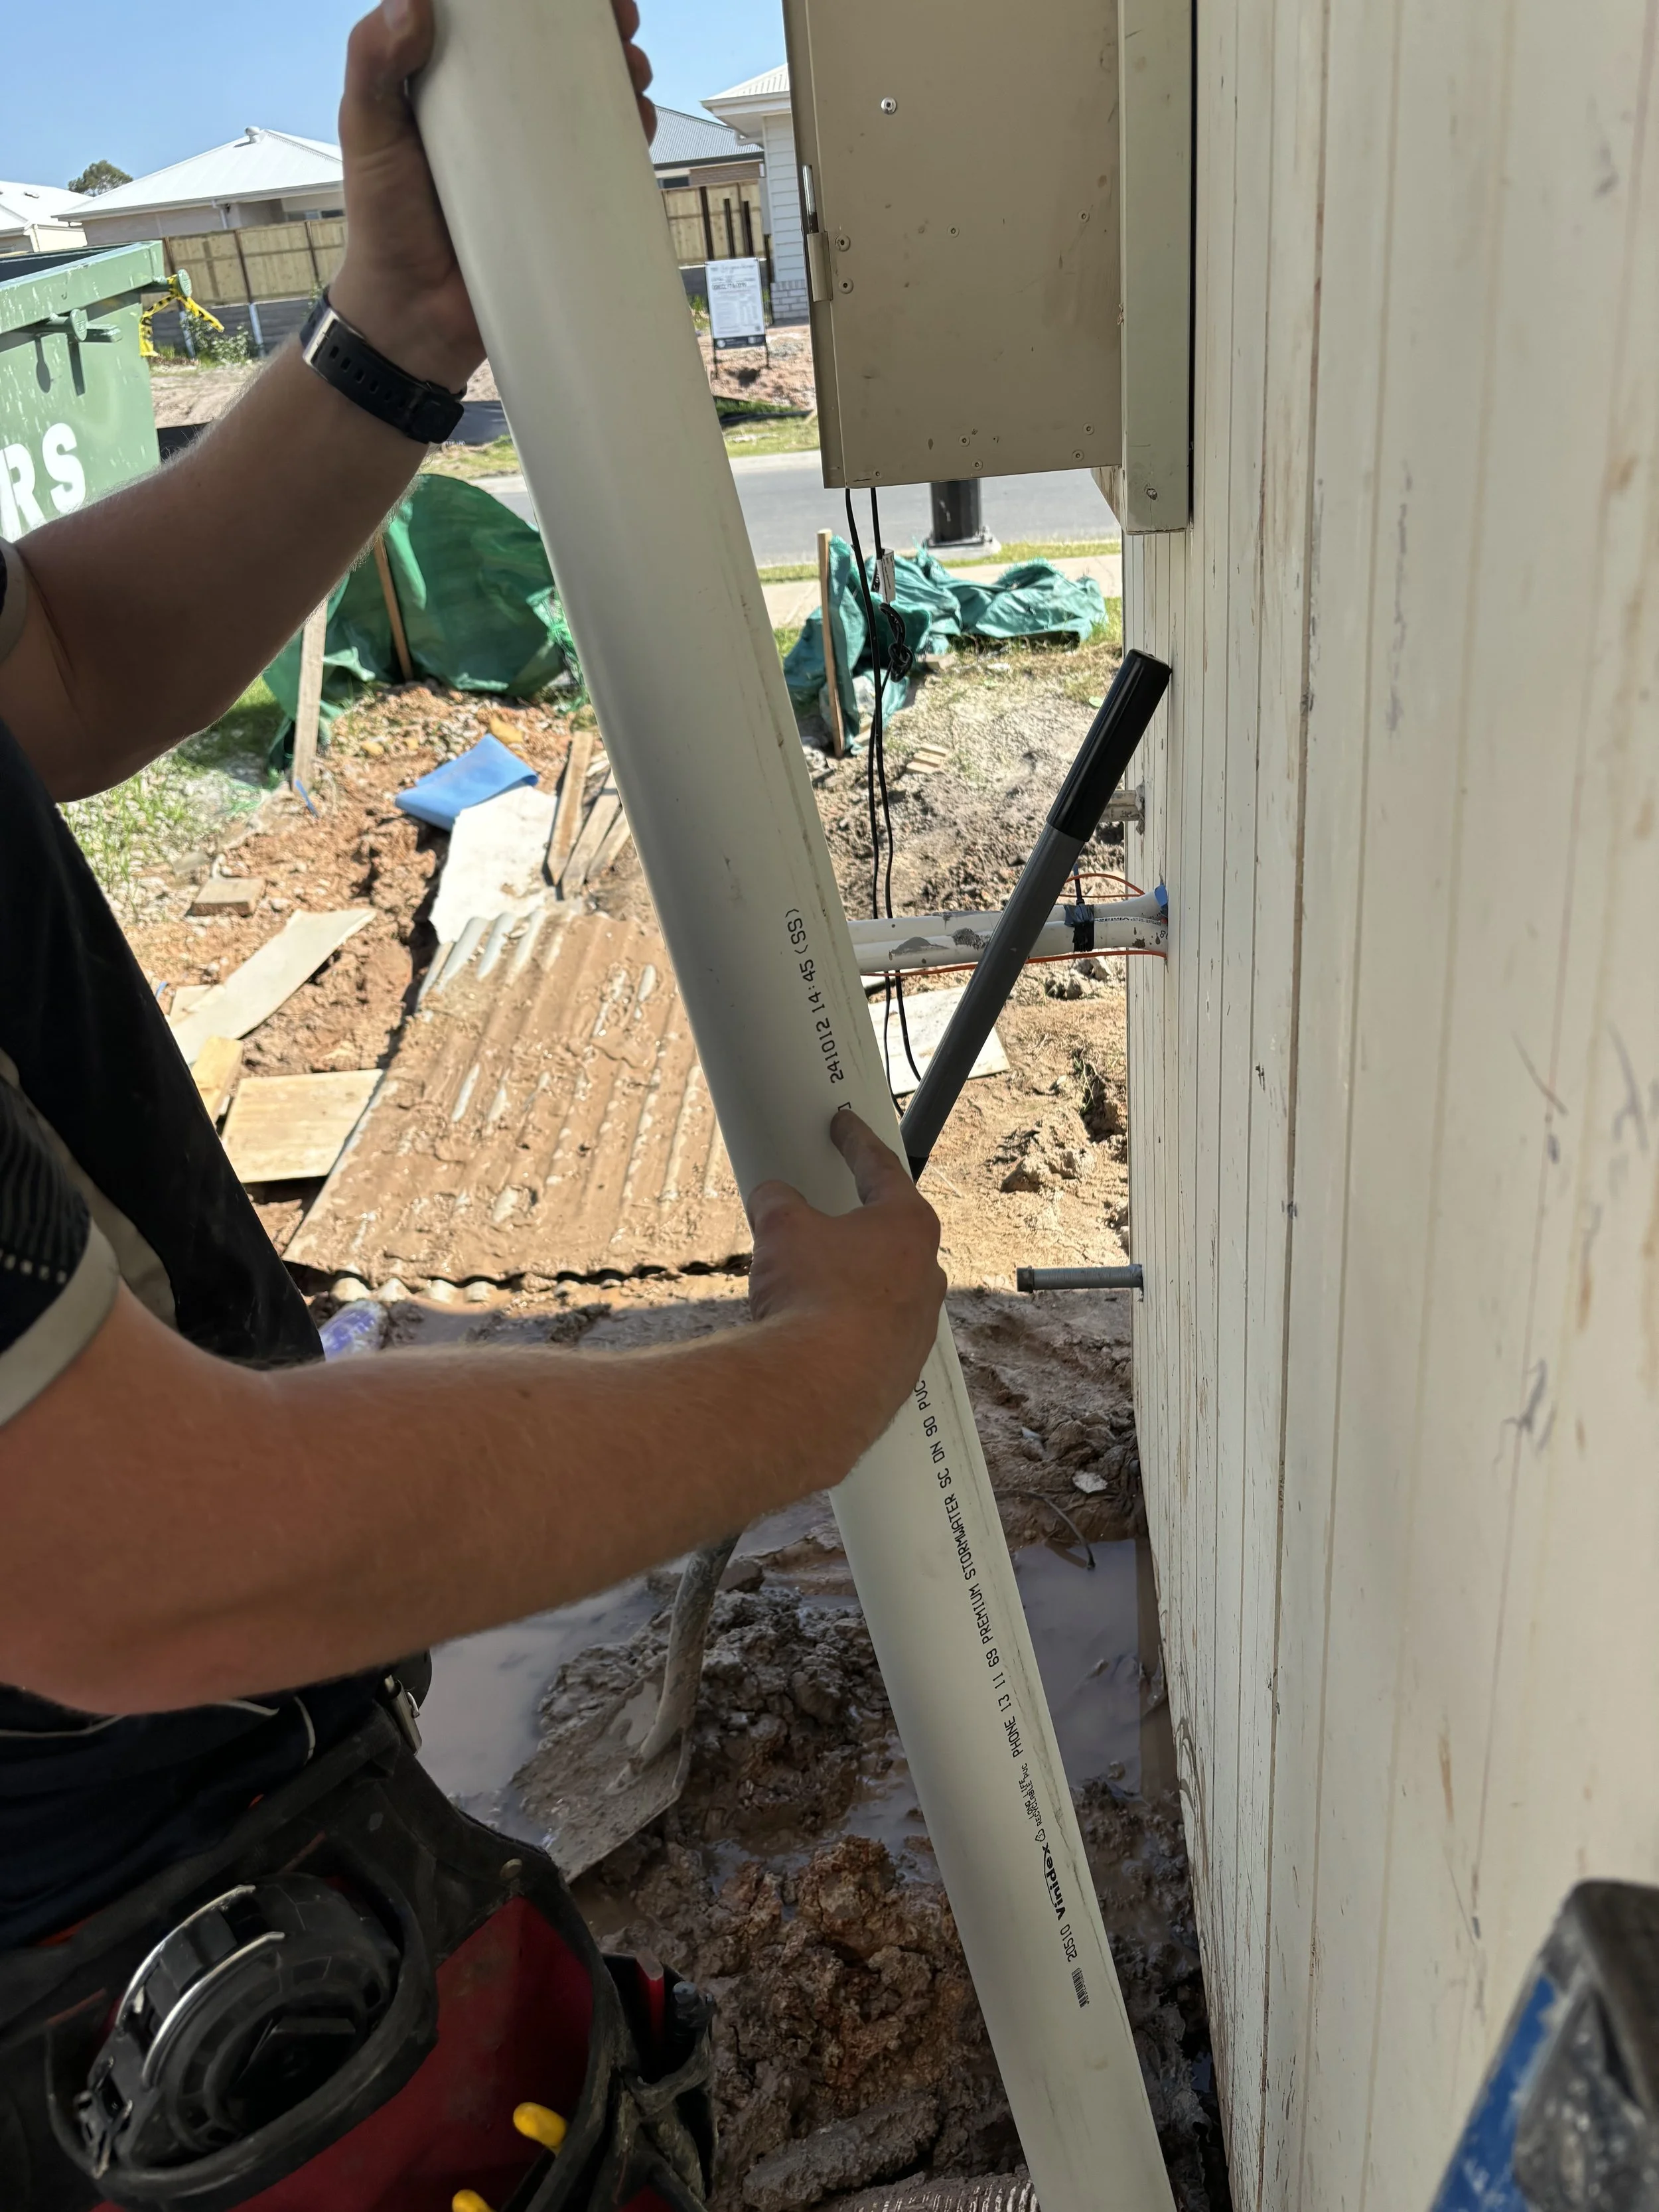
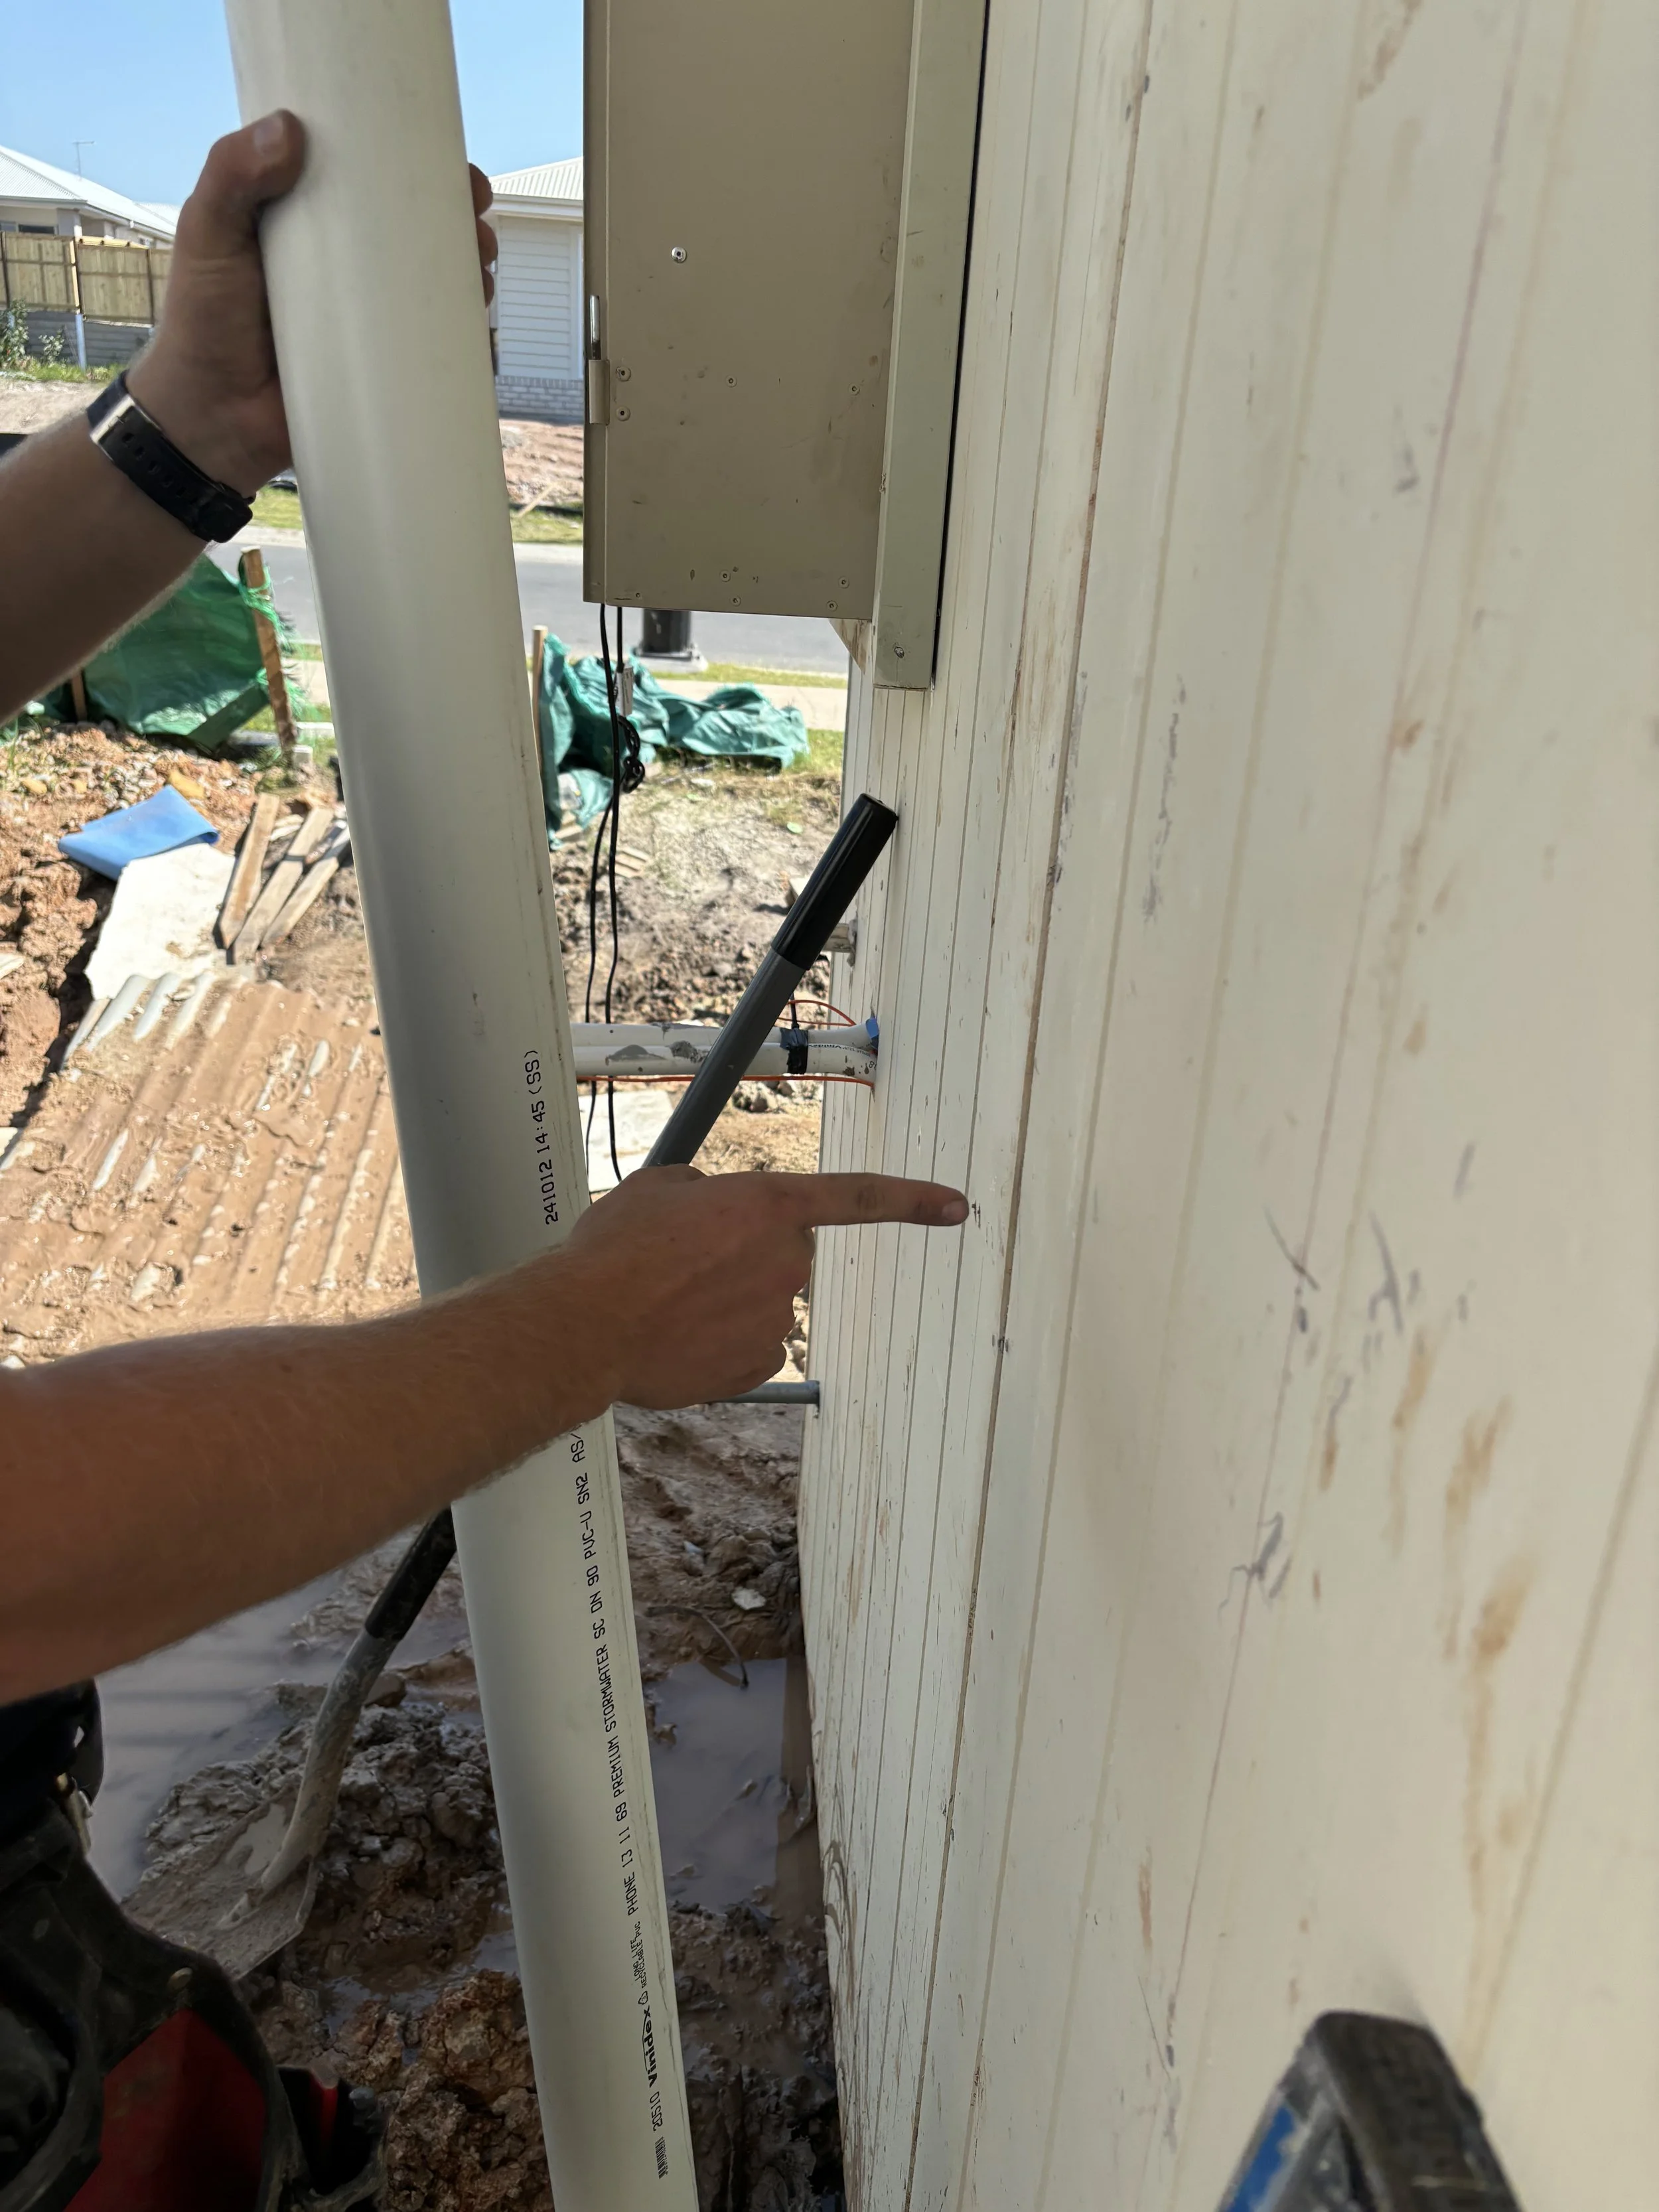
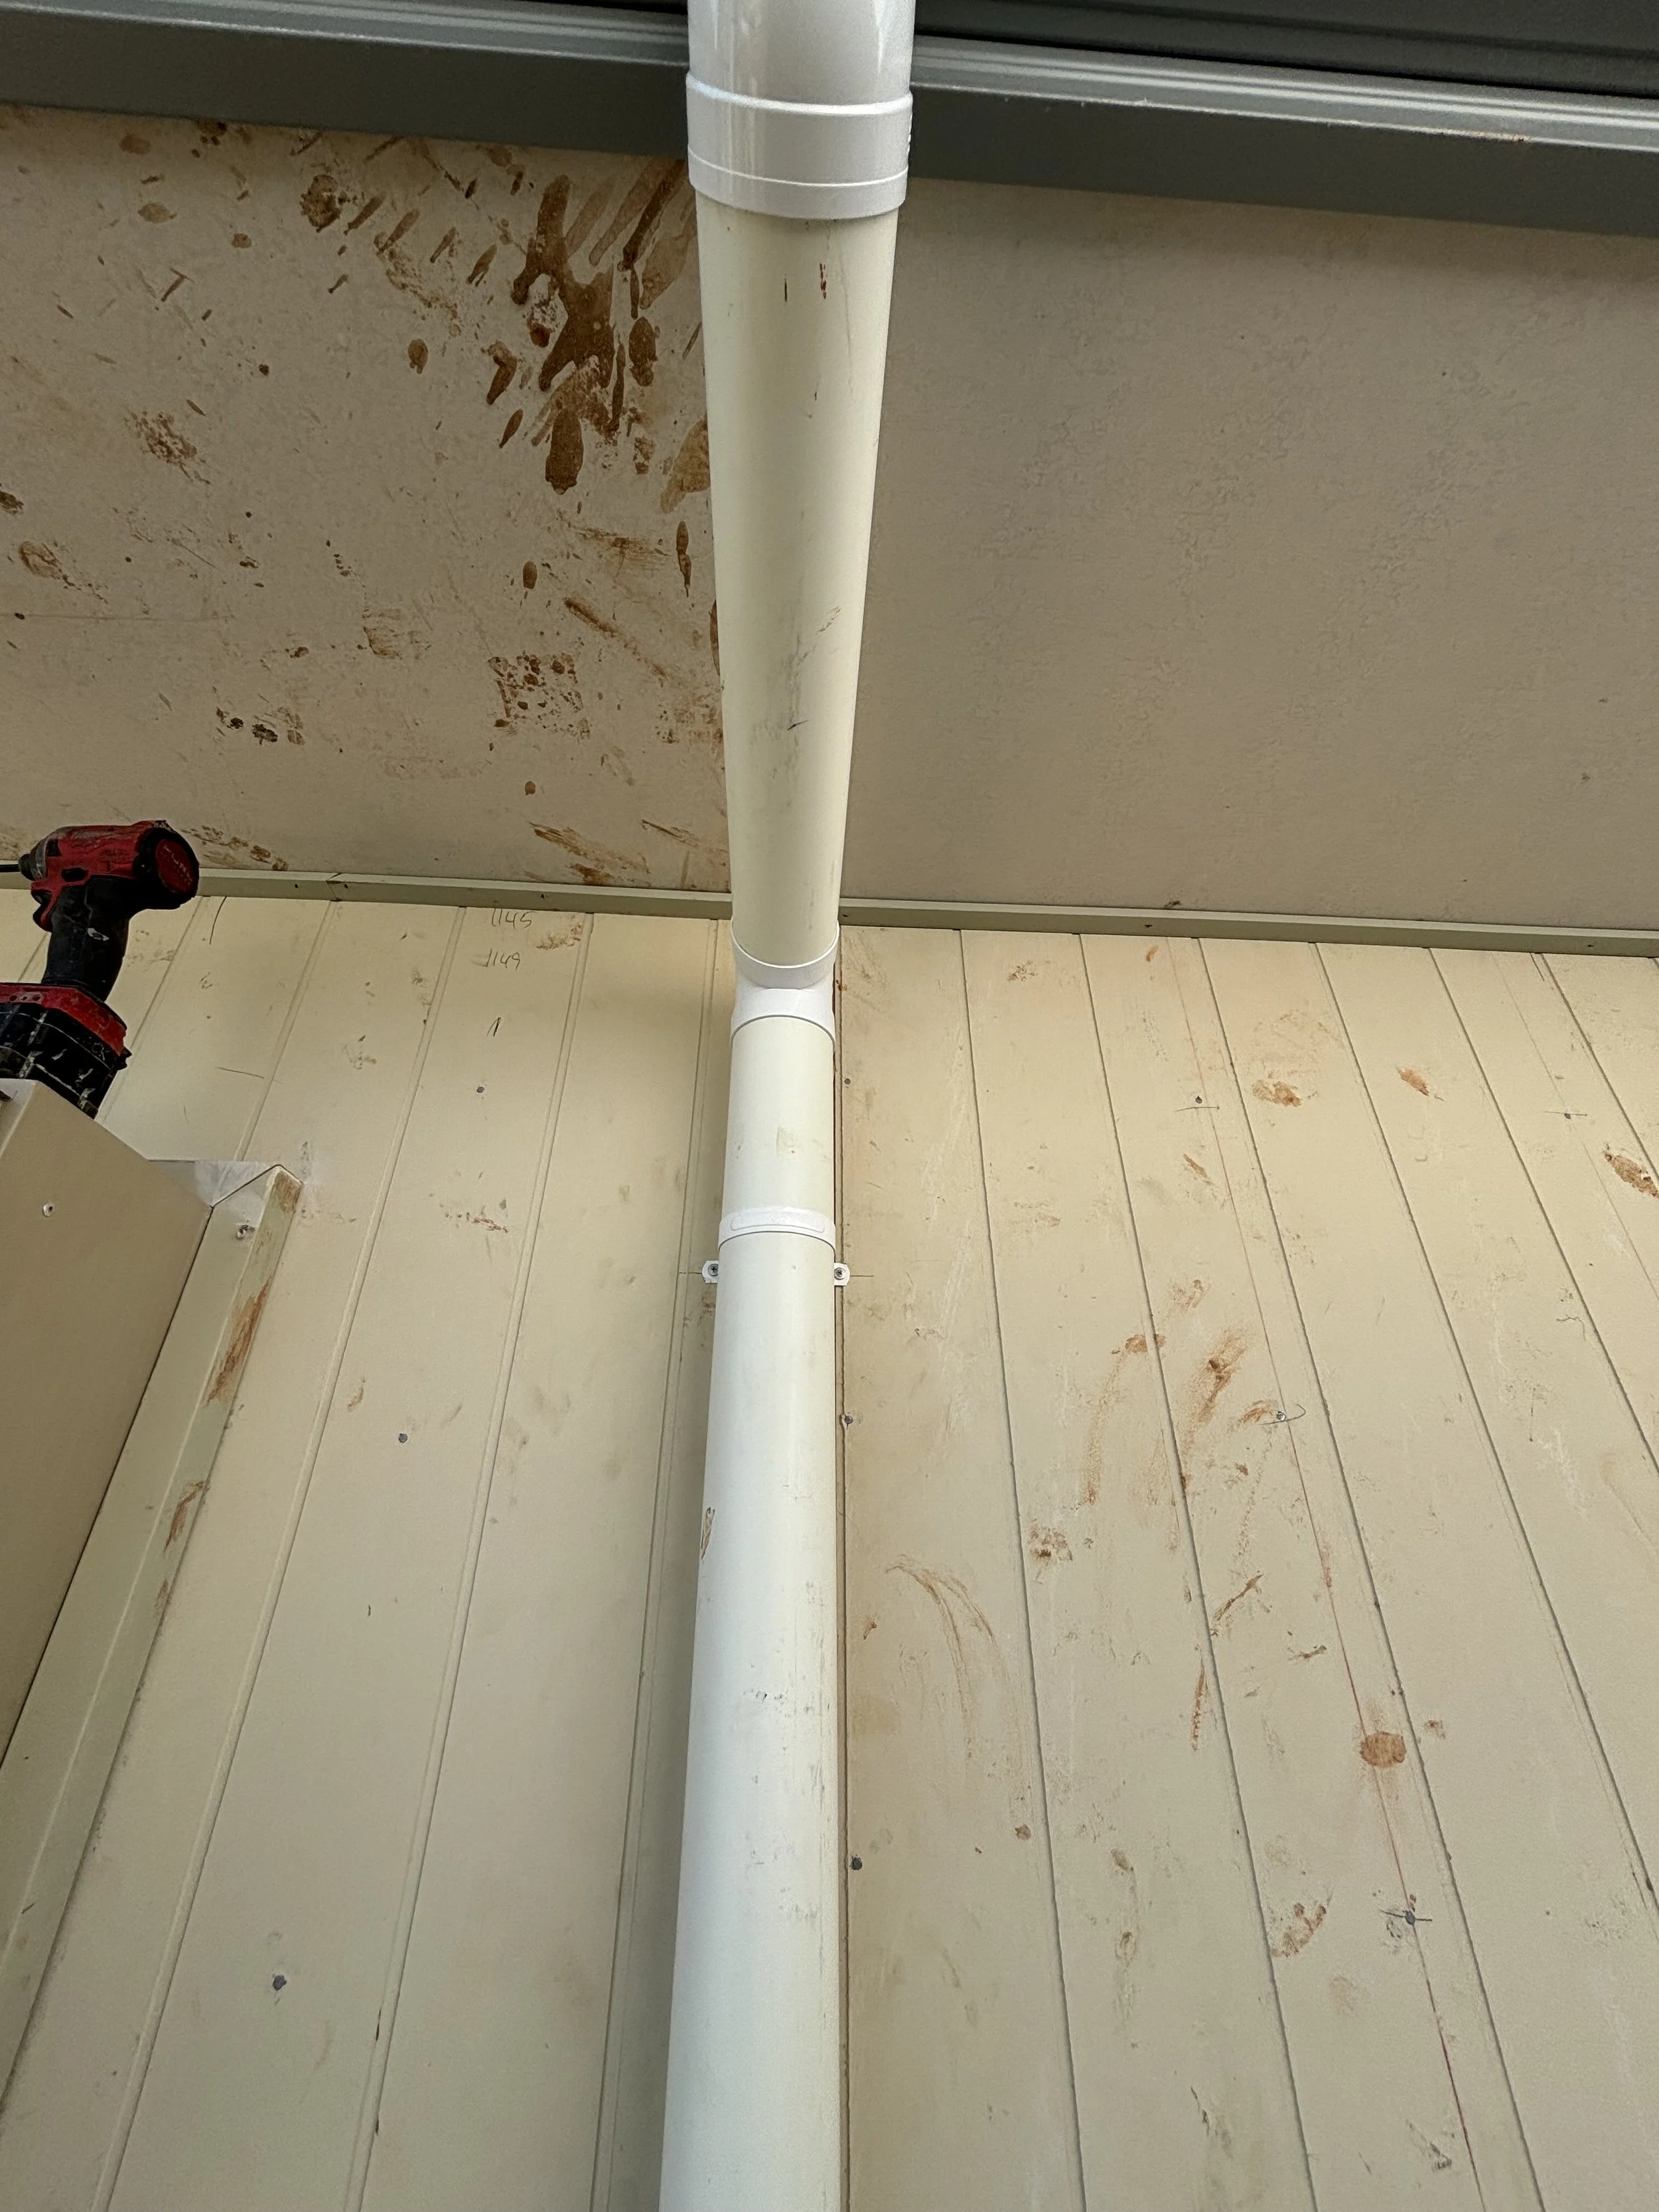
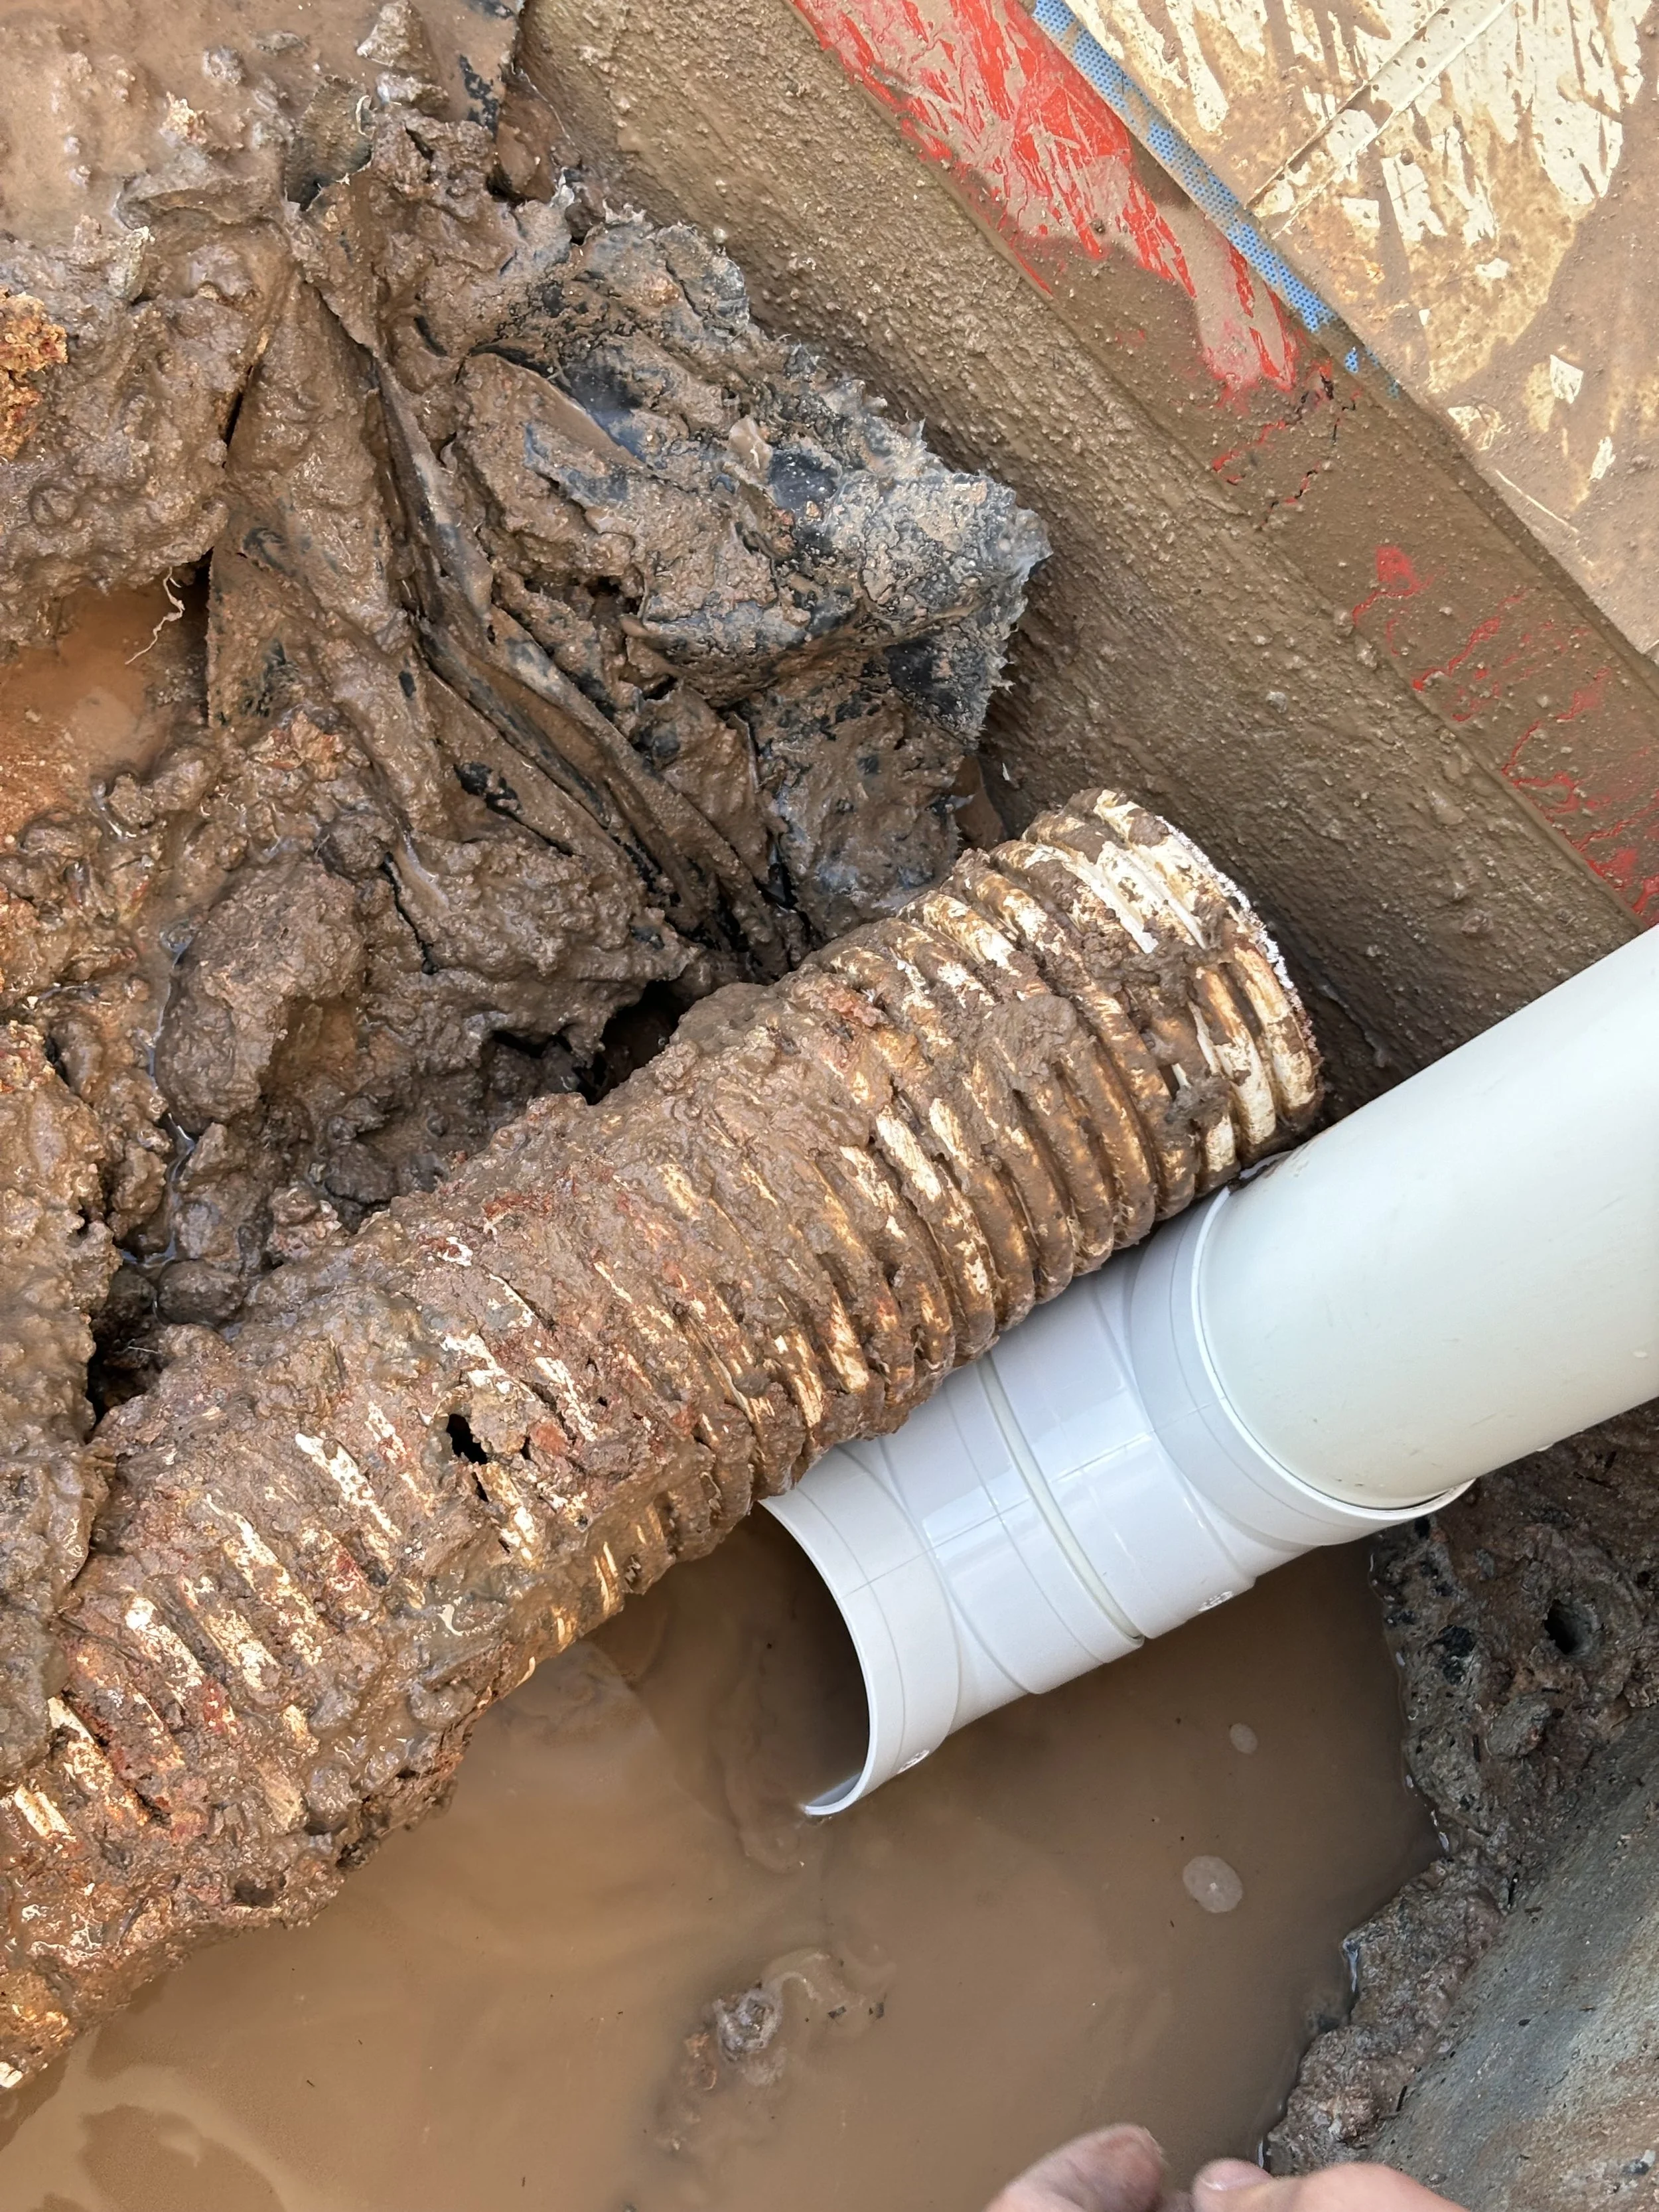
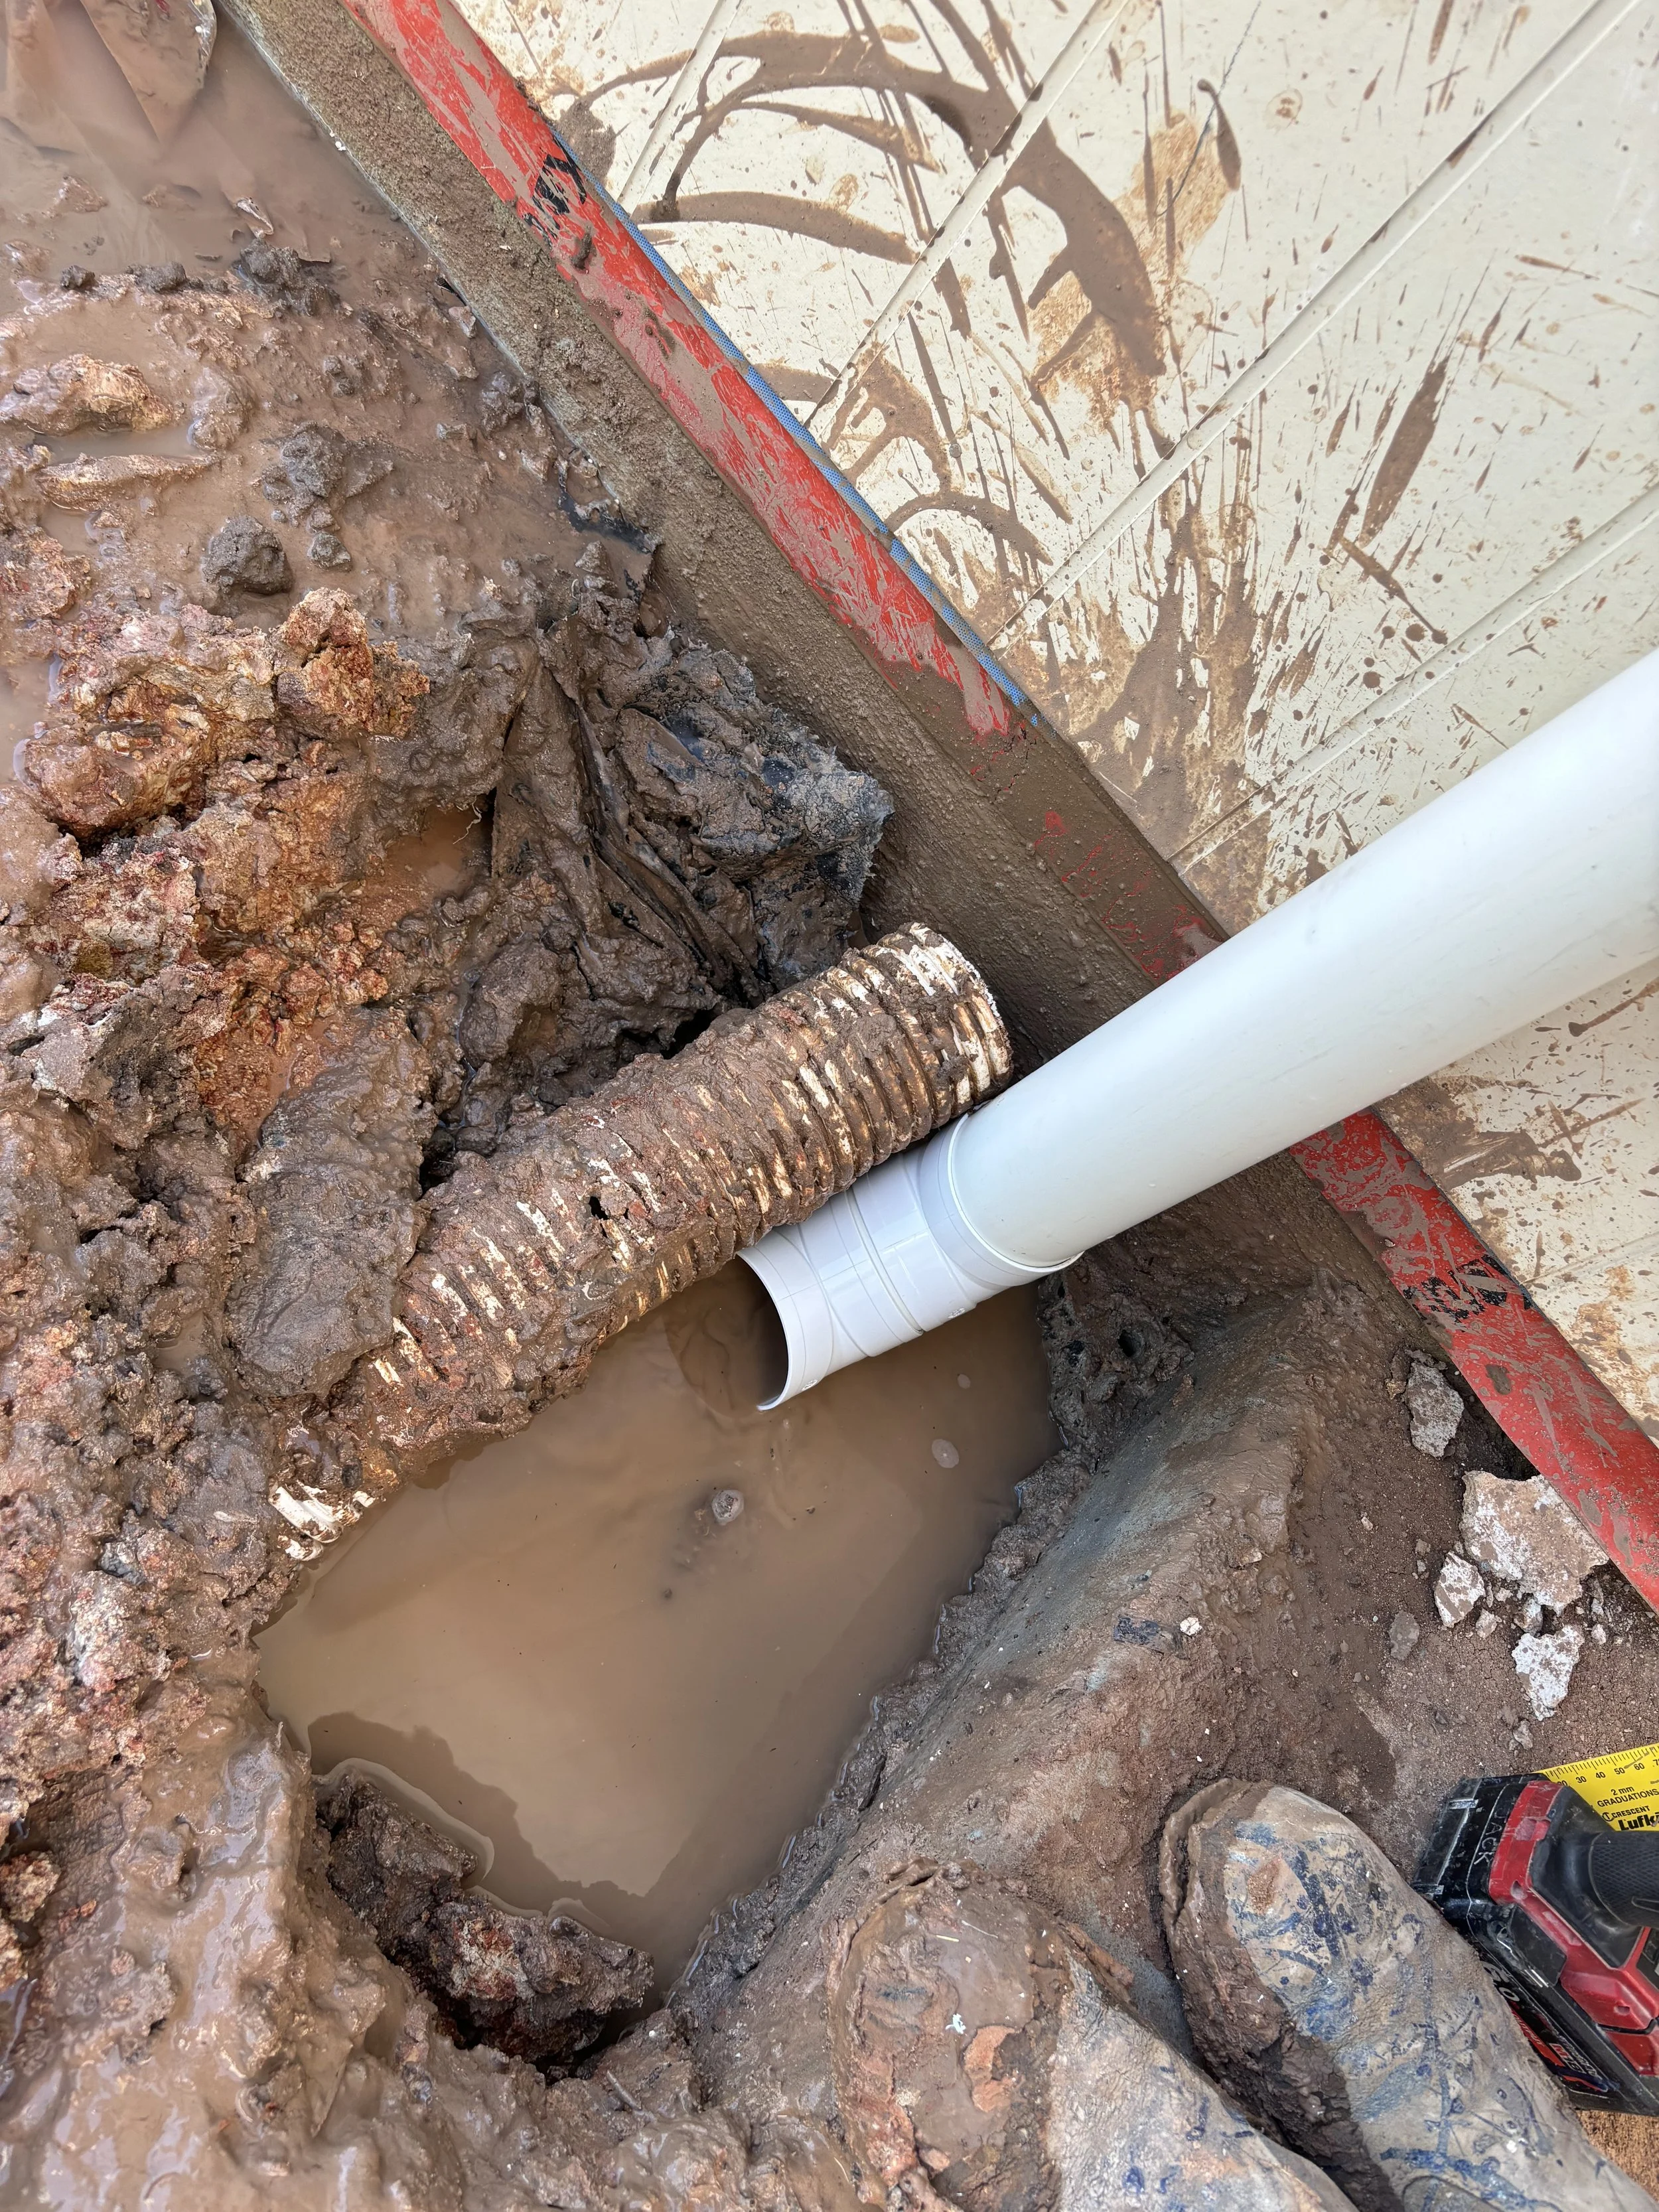
Example of what to do if the downpipe dropper lines up with something that can’t be moved at the base. In this case it’s the ORG.
This is the step by step for Downpipes with flexible connections.
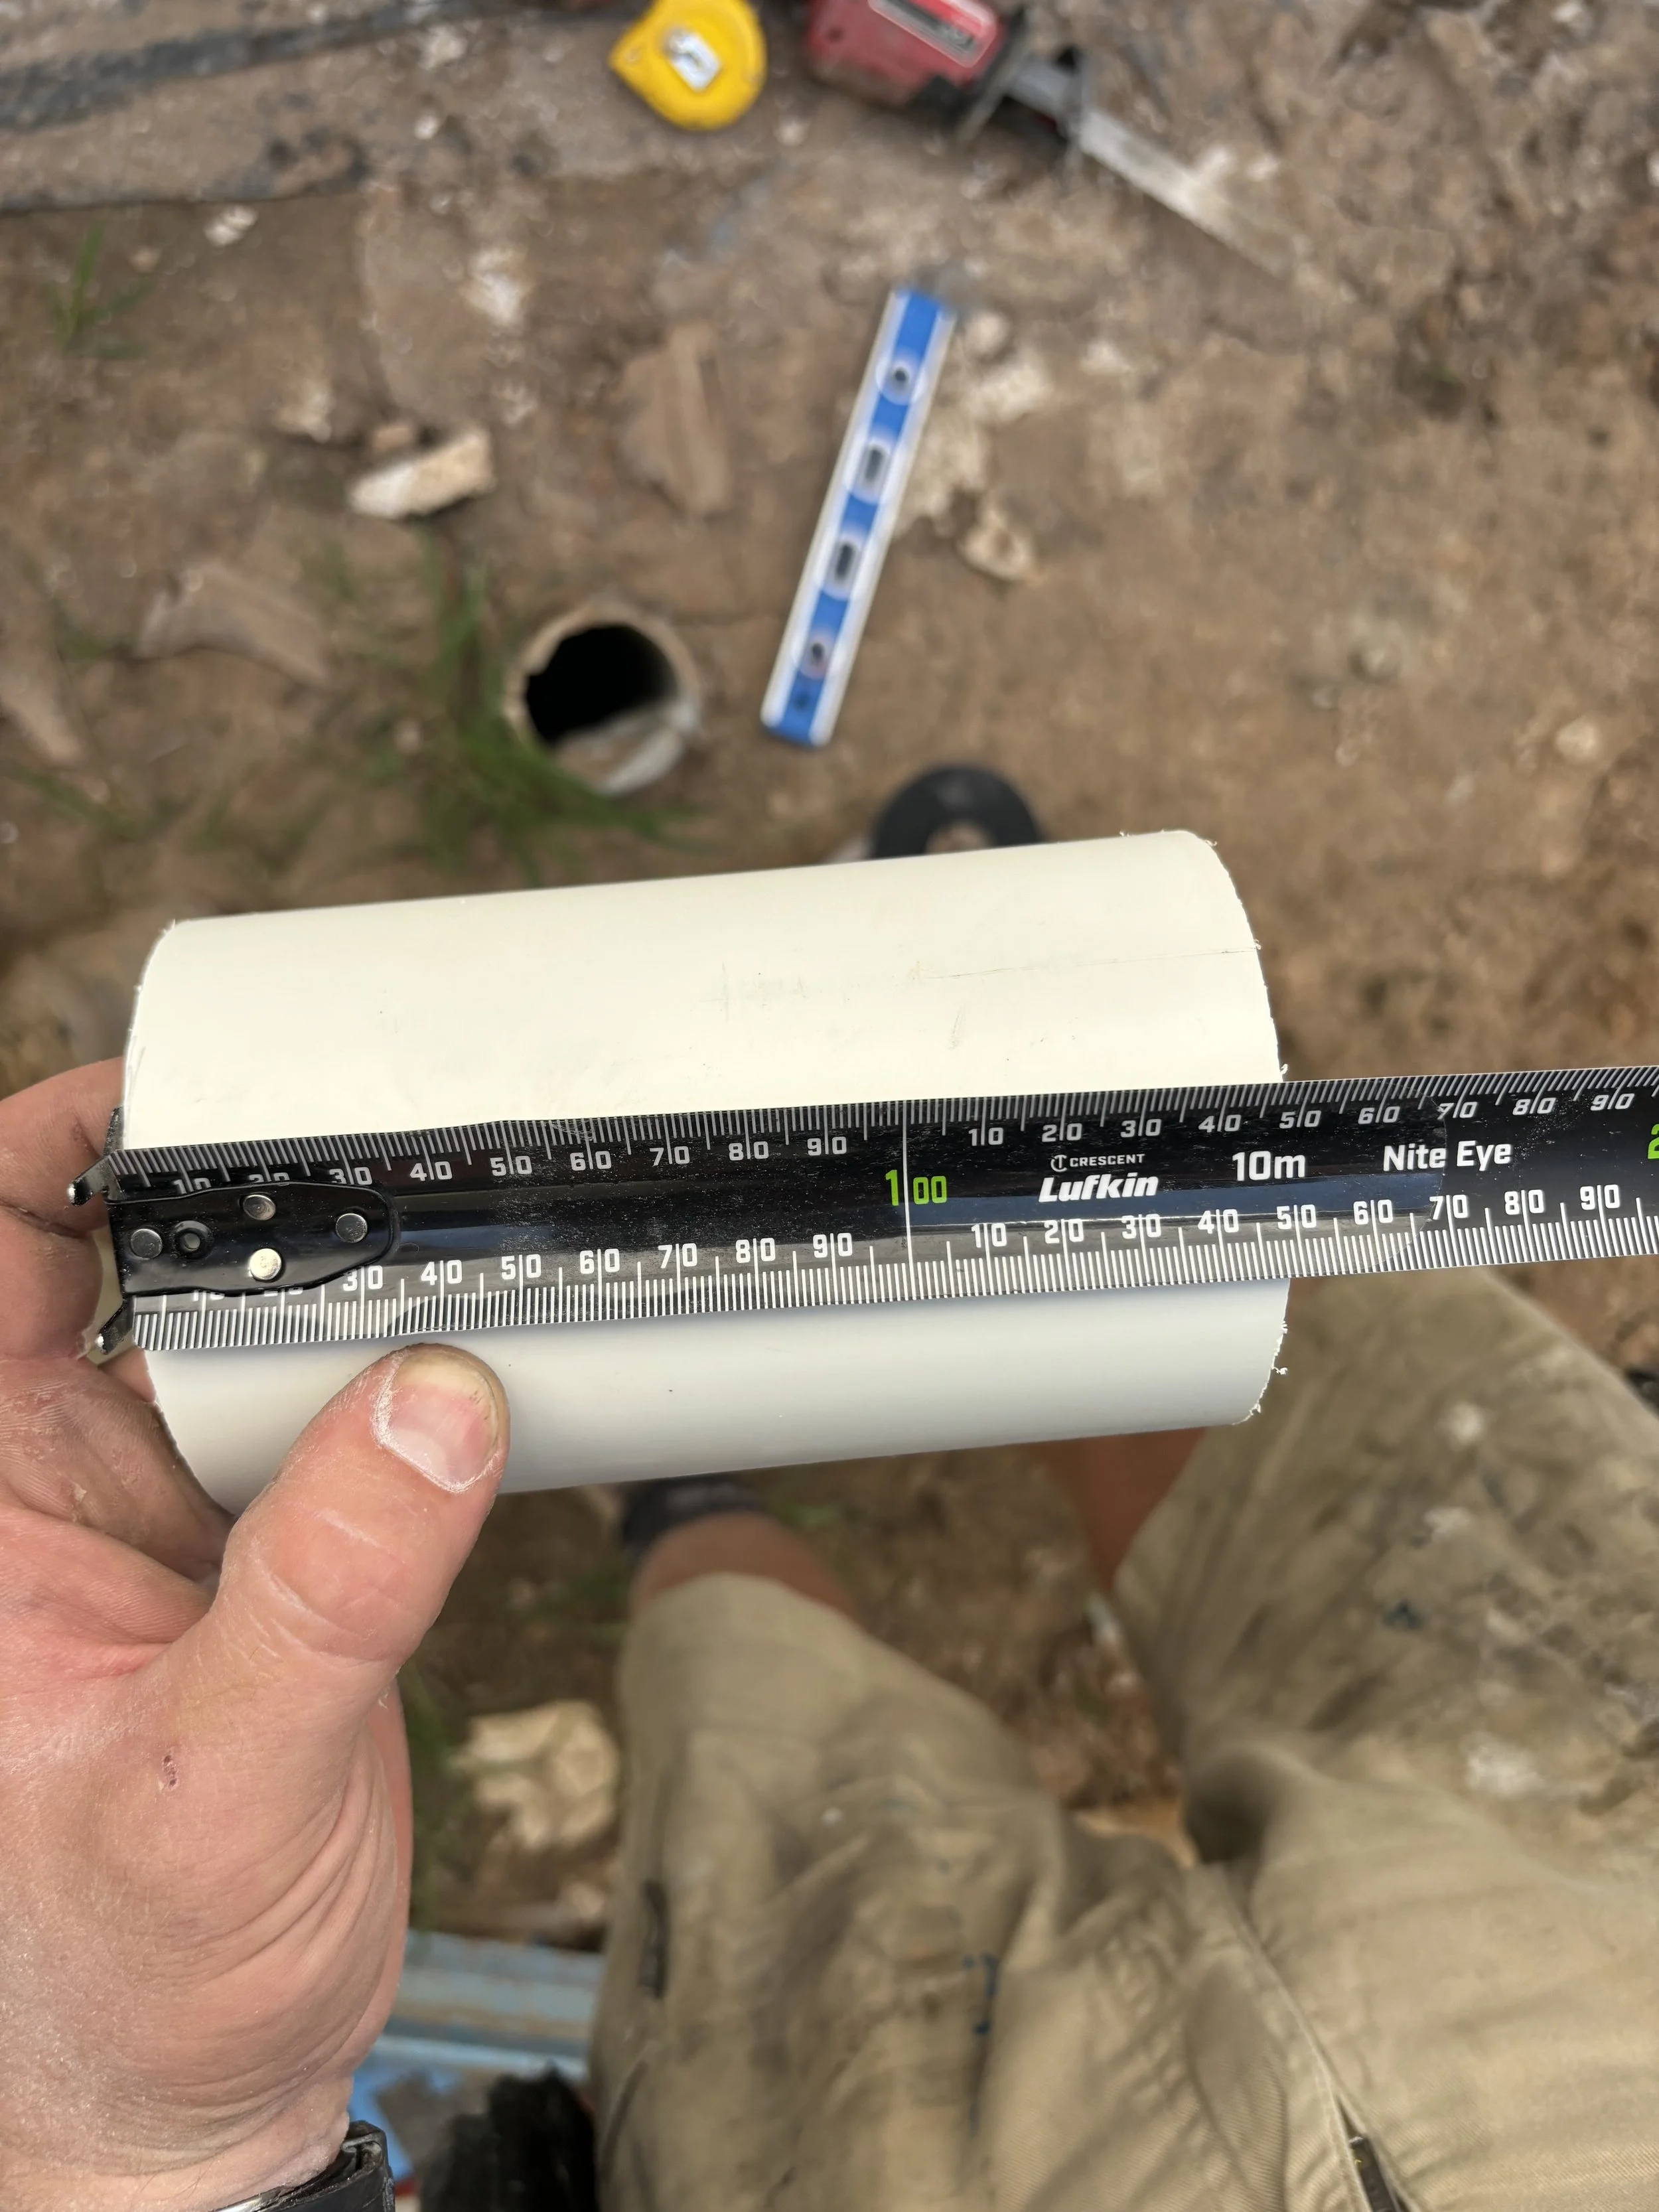
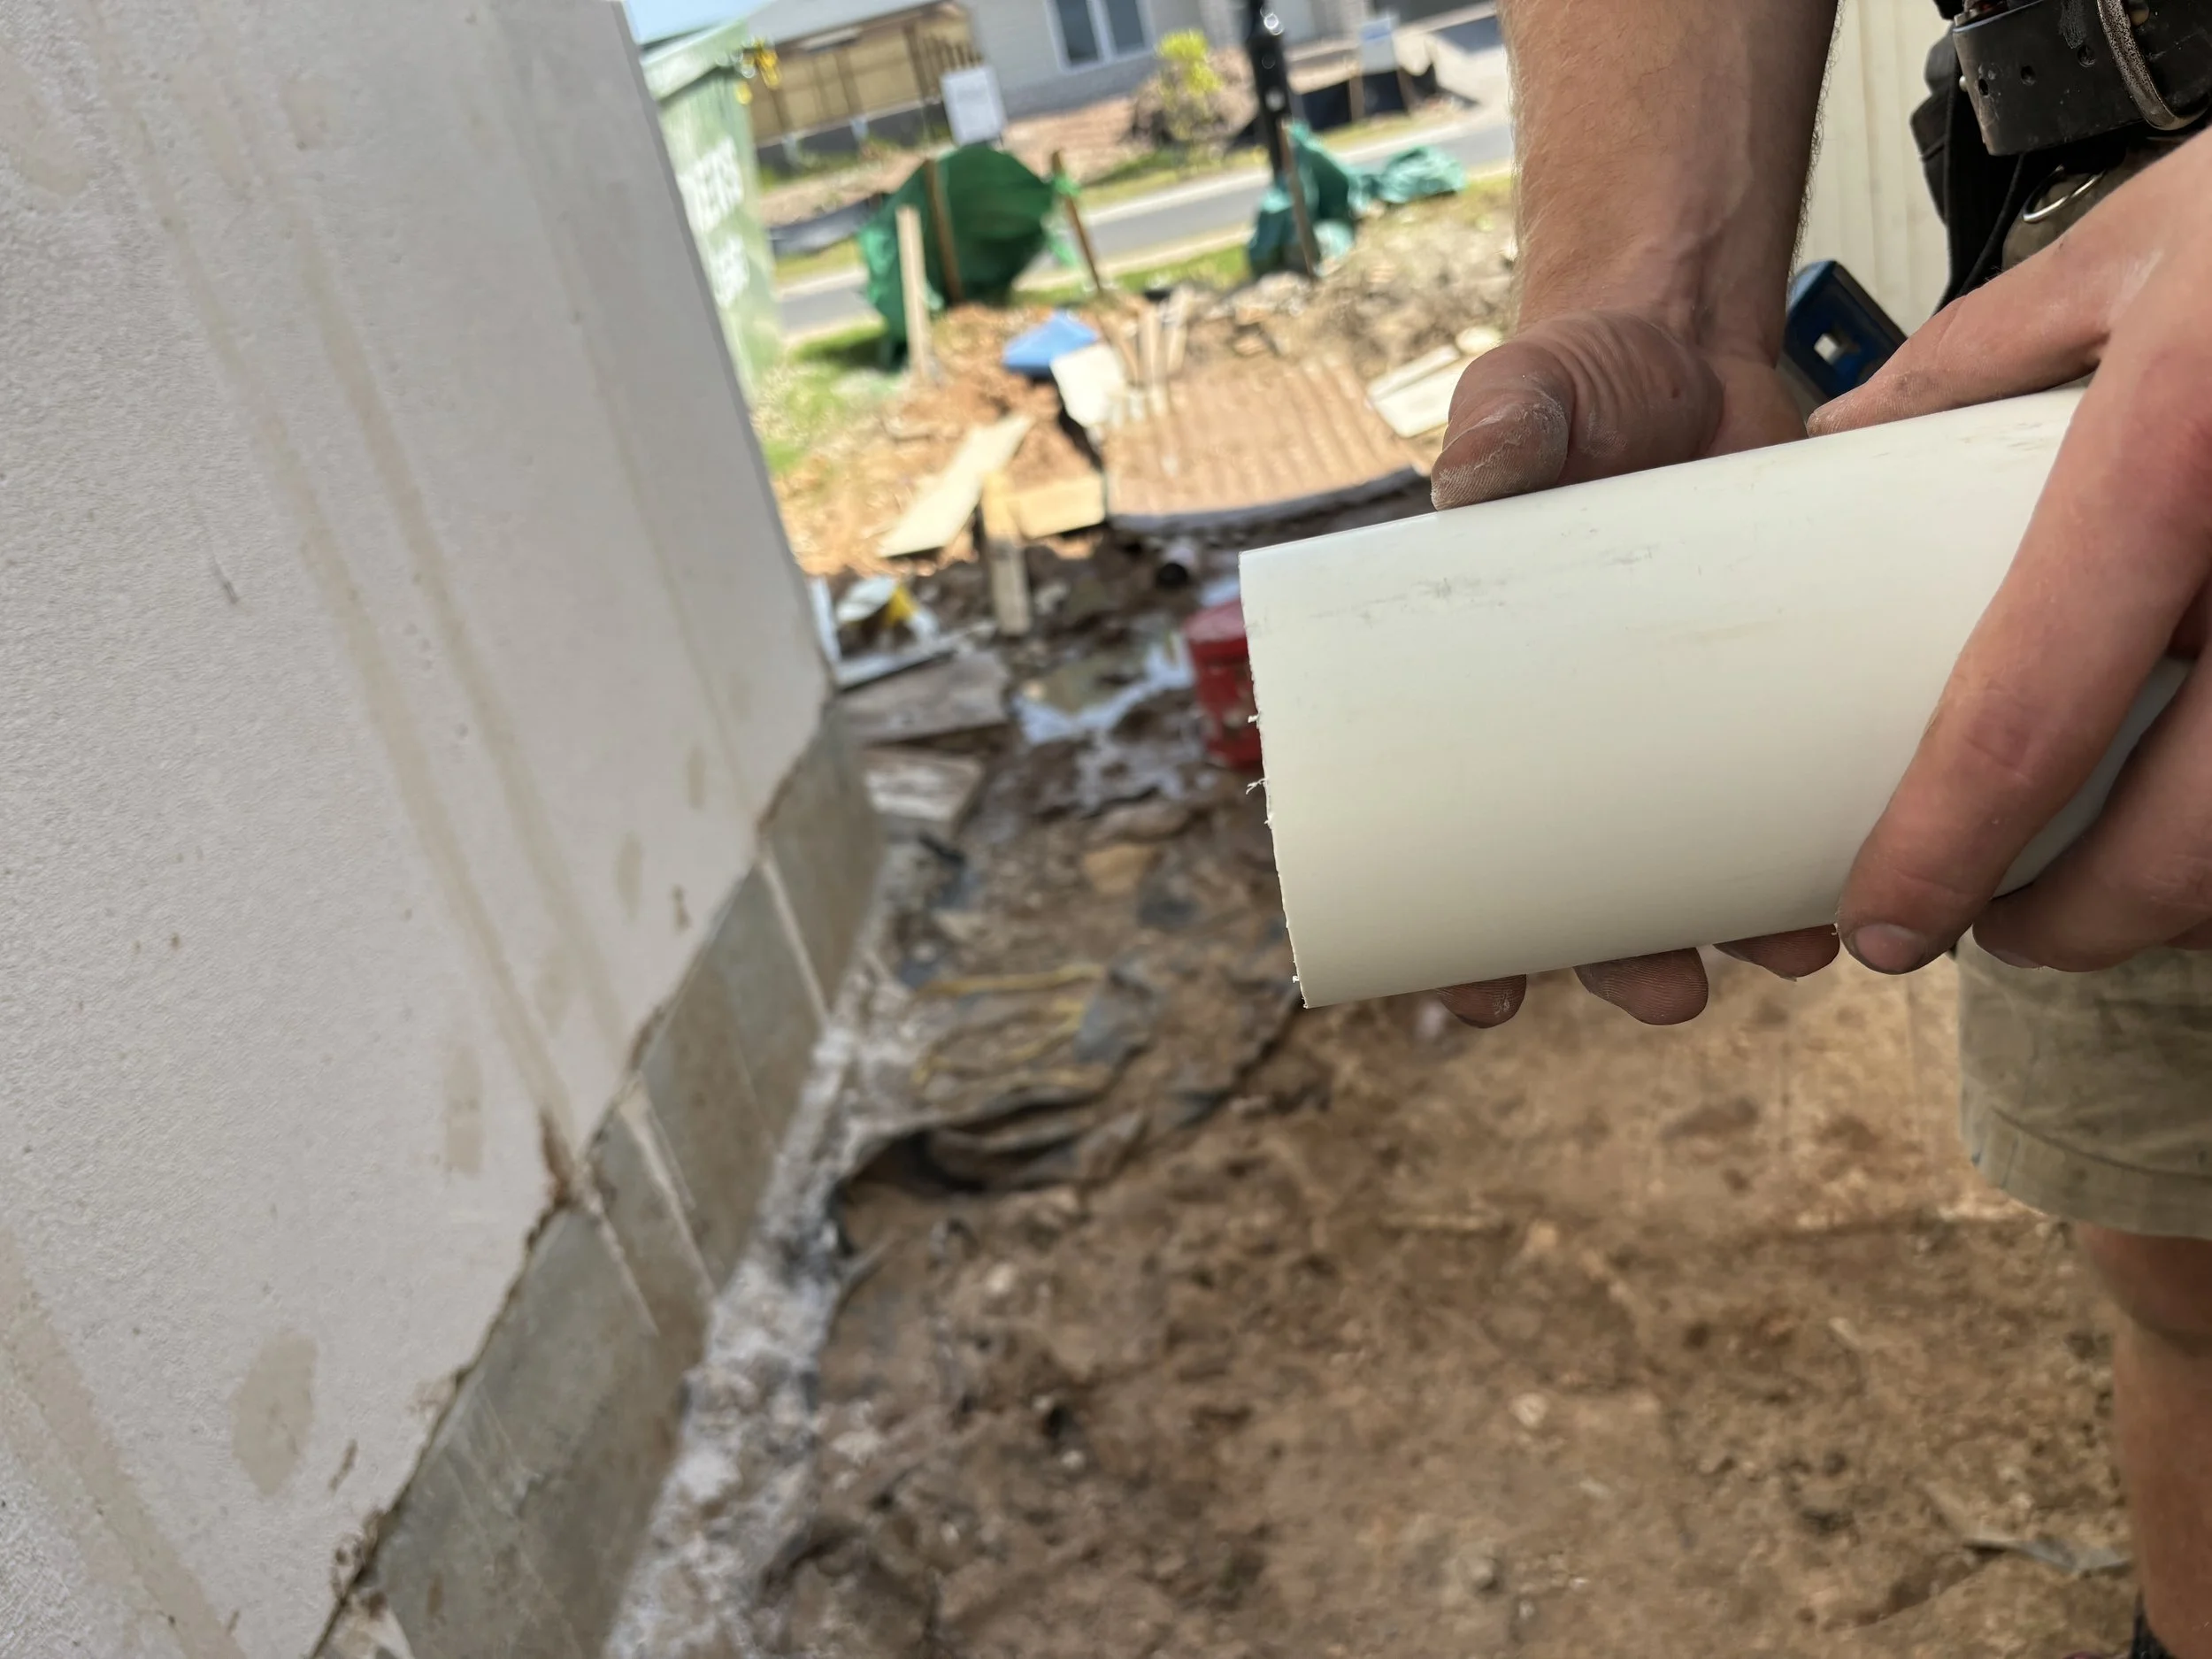
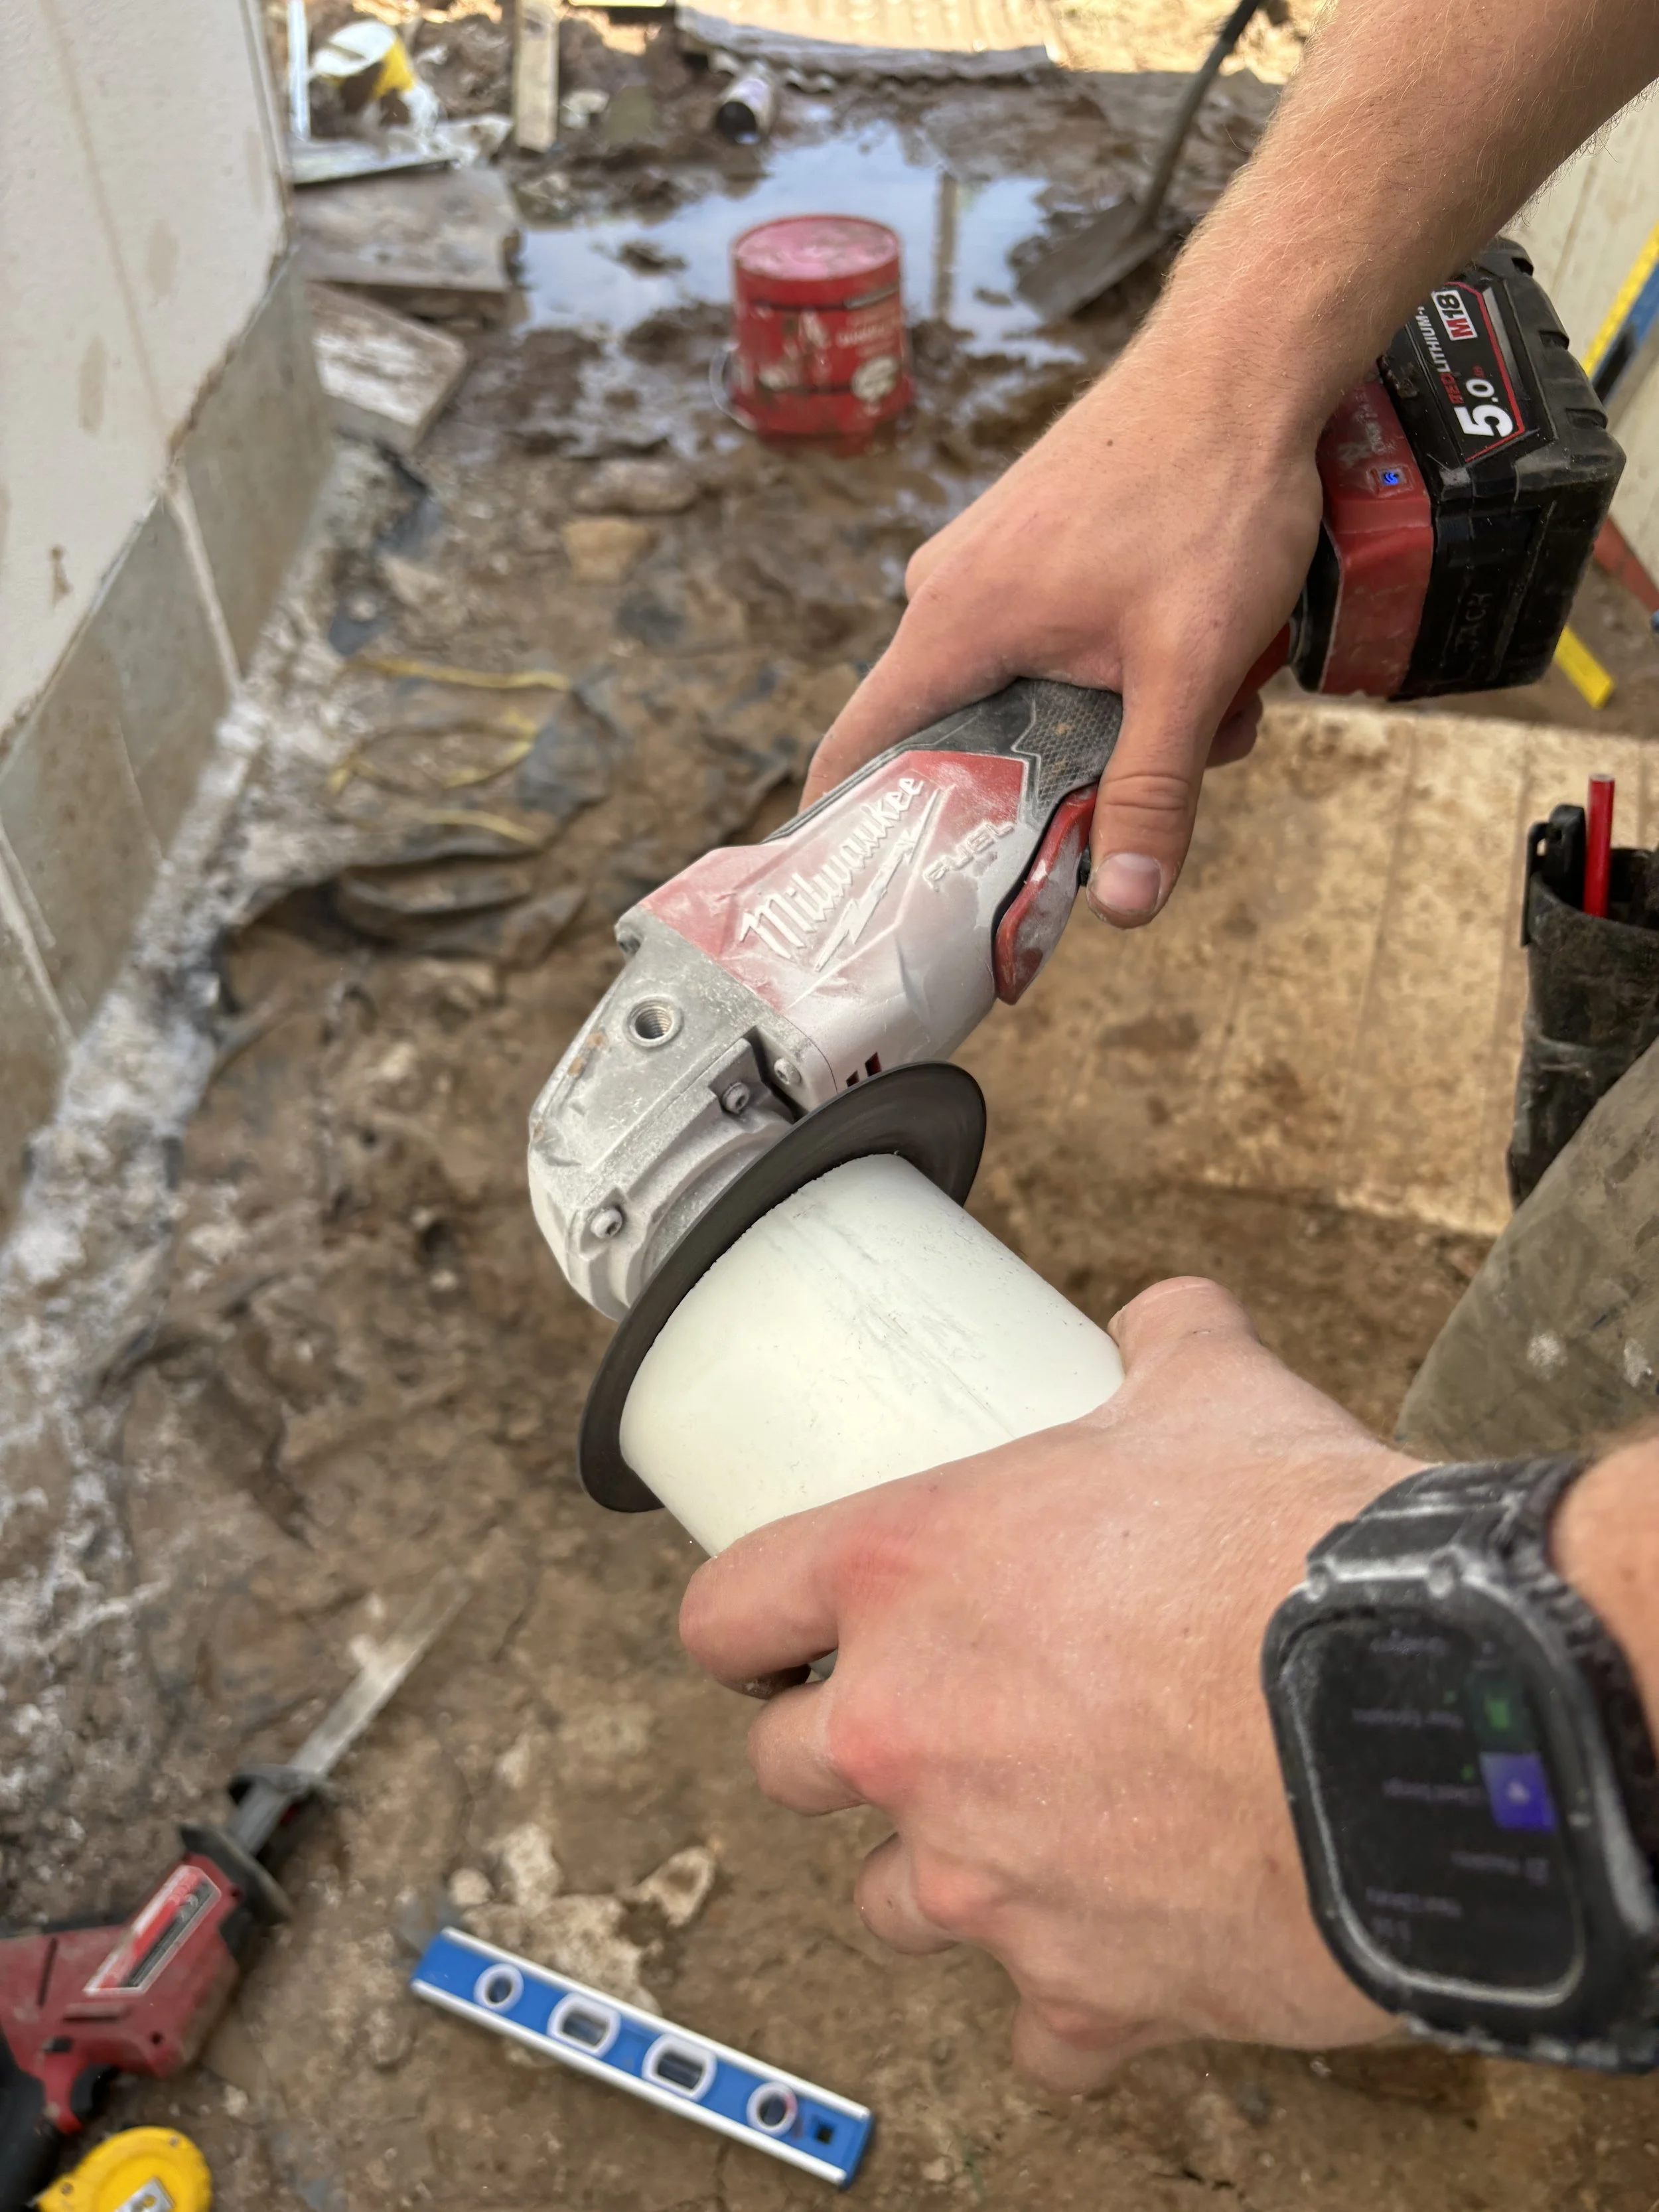
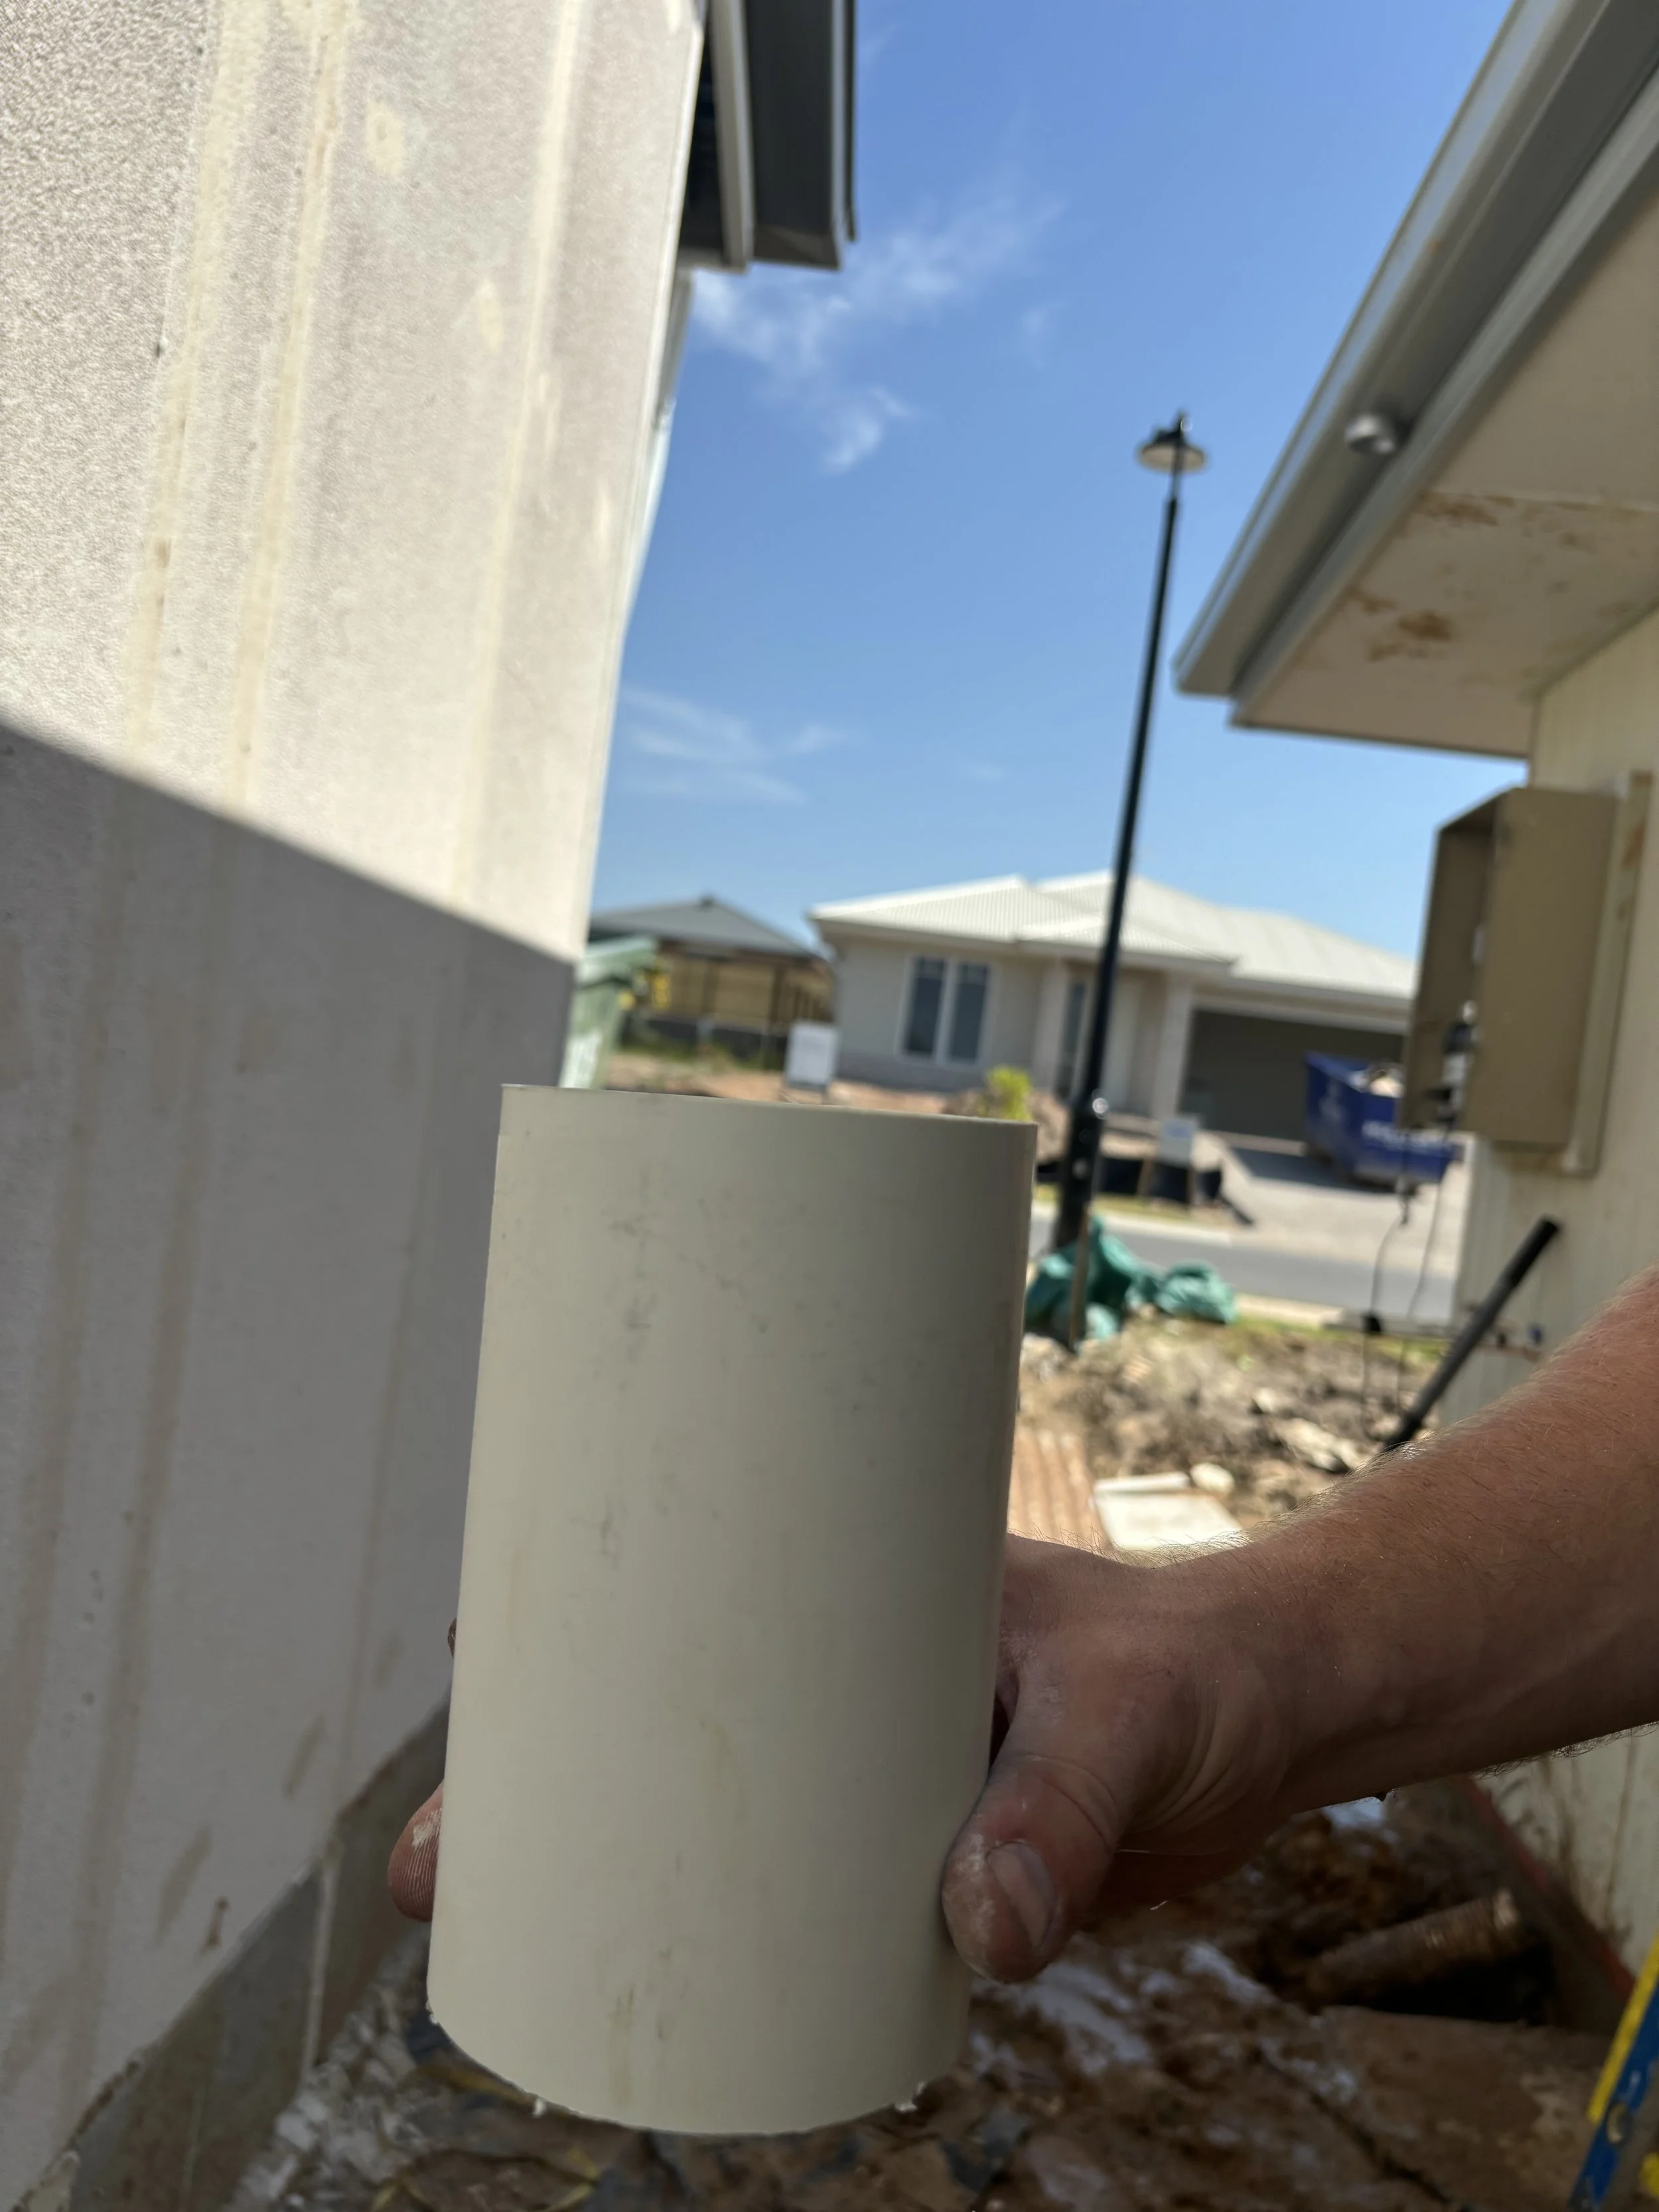
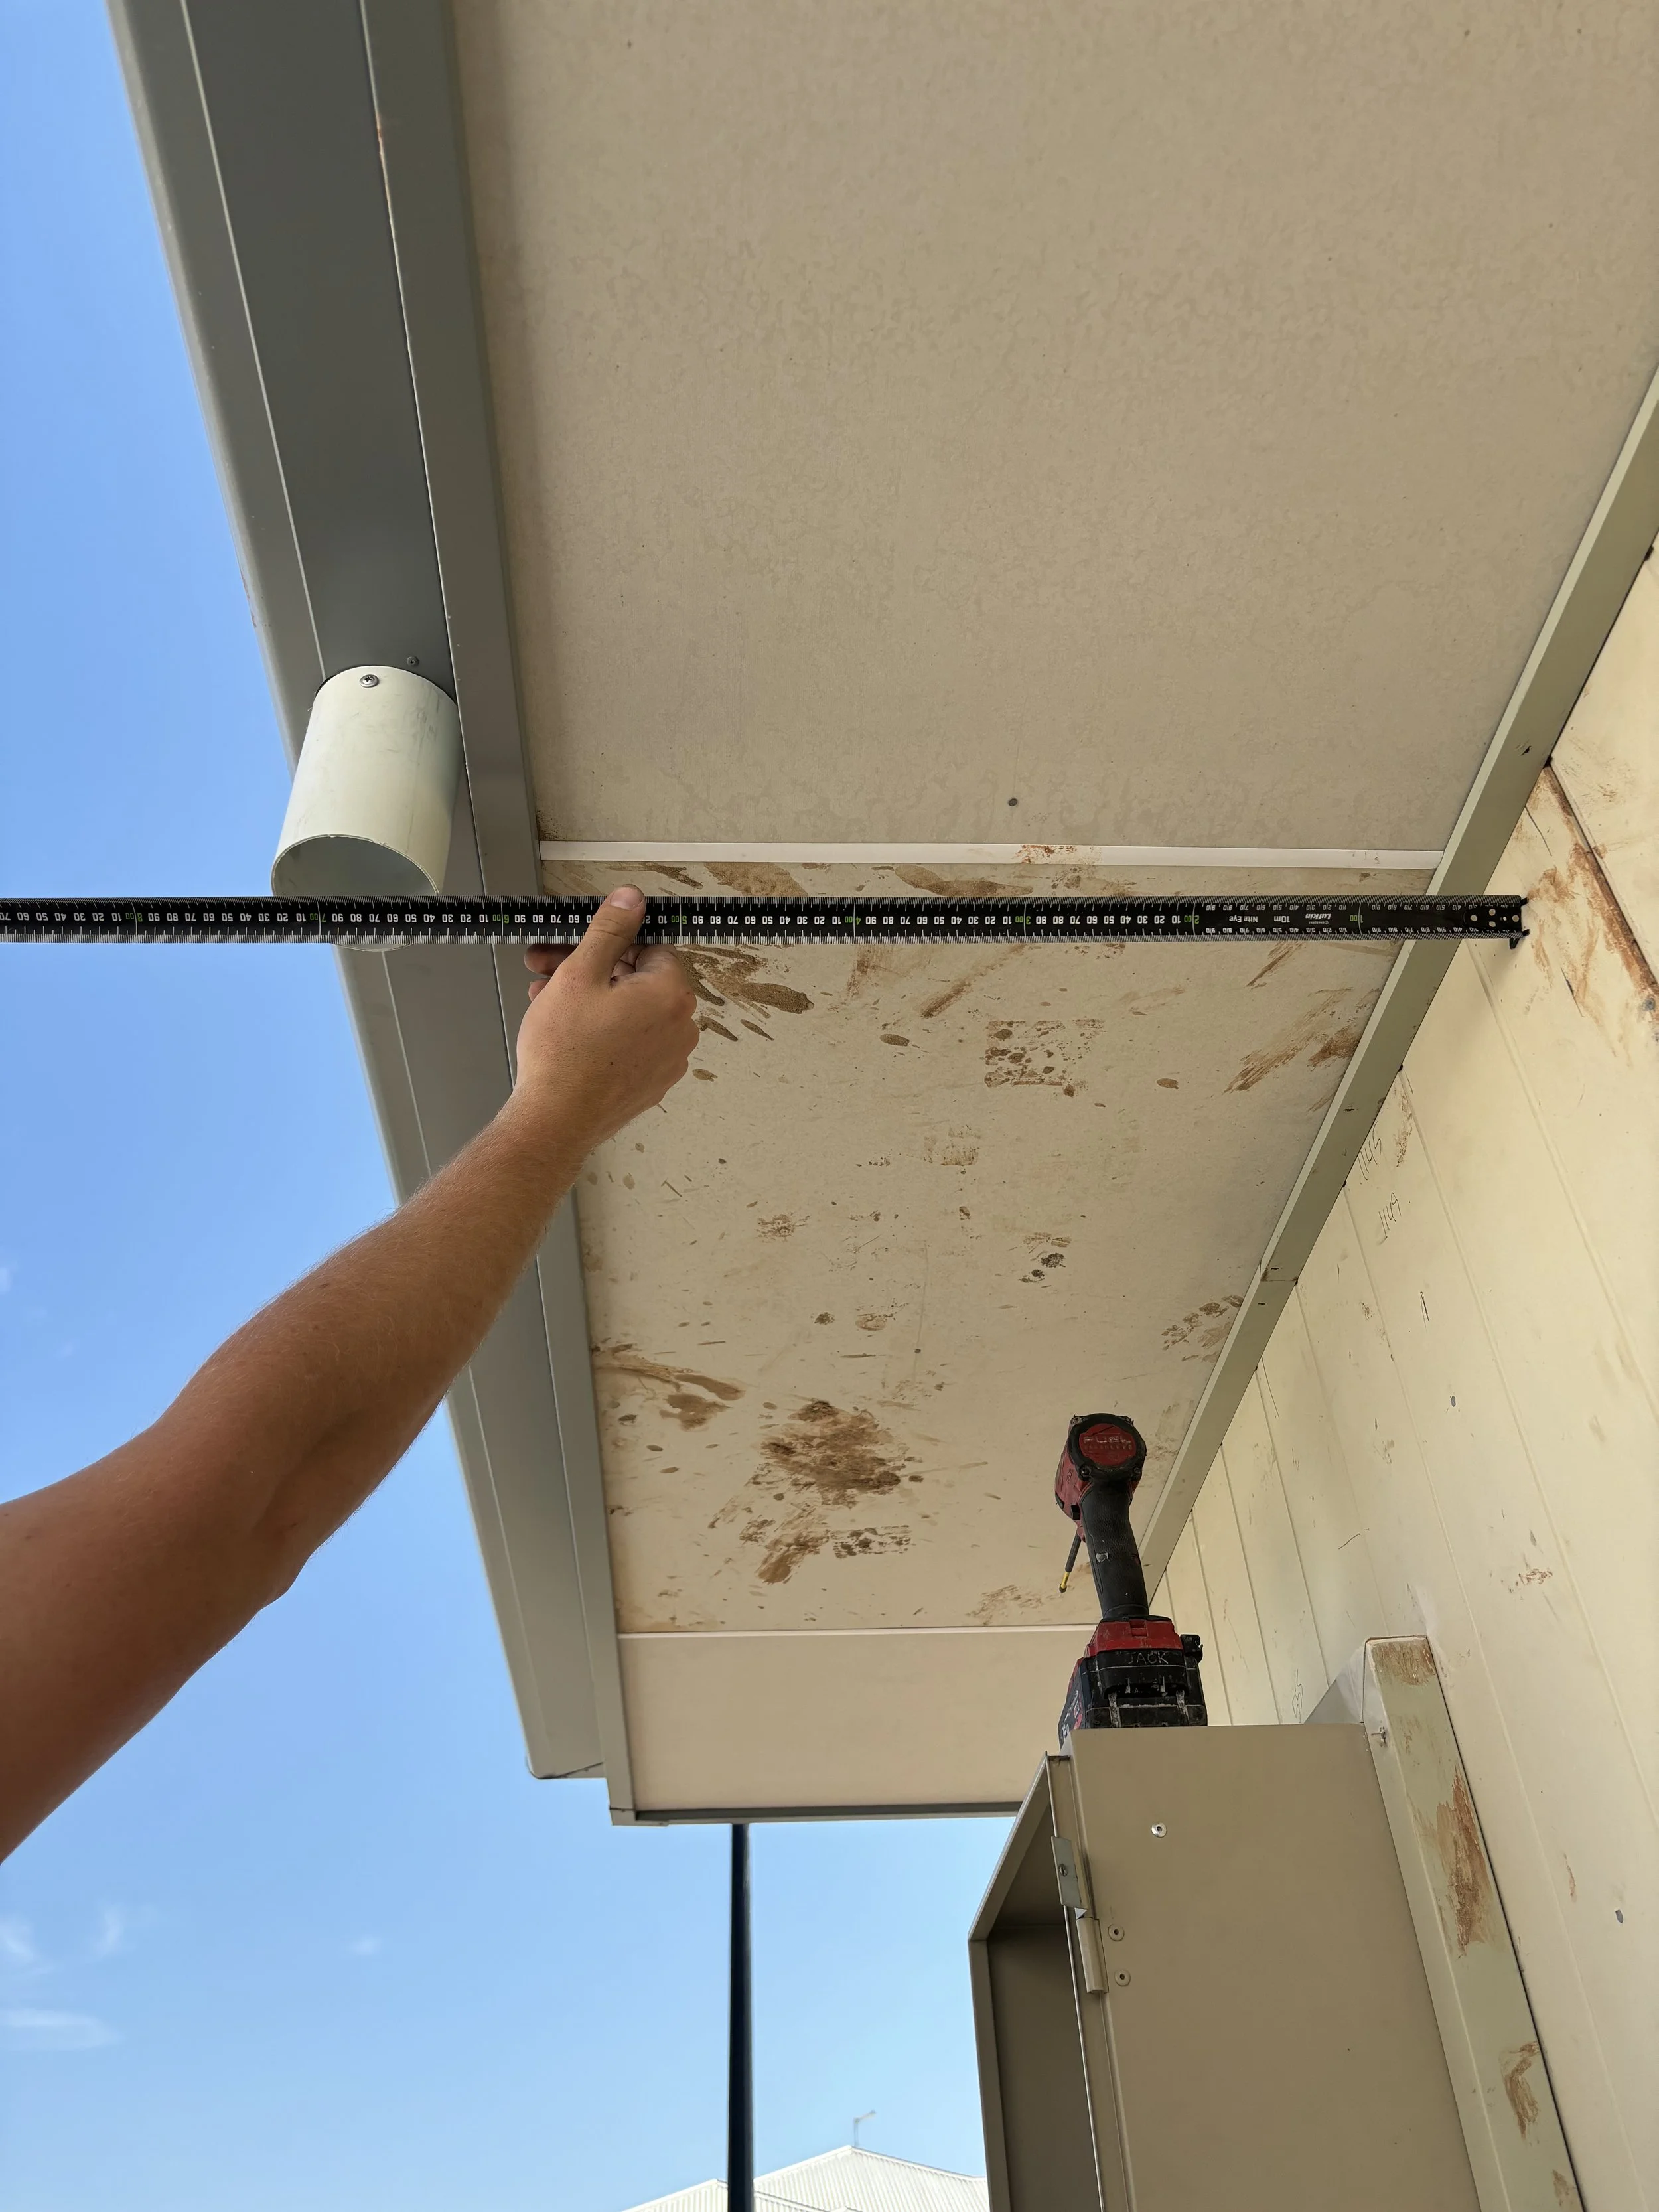
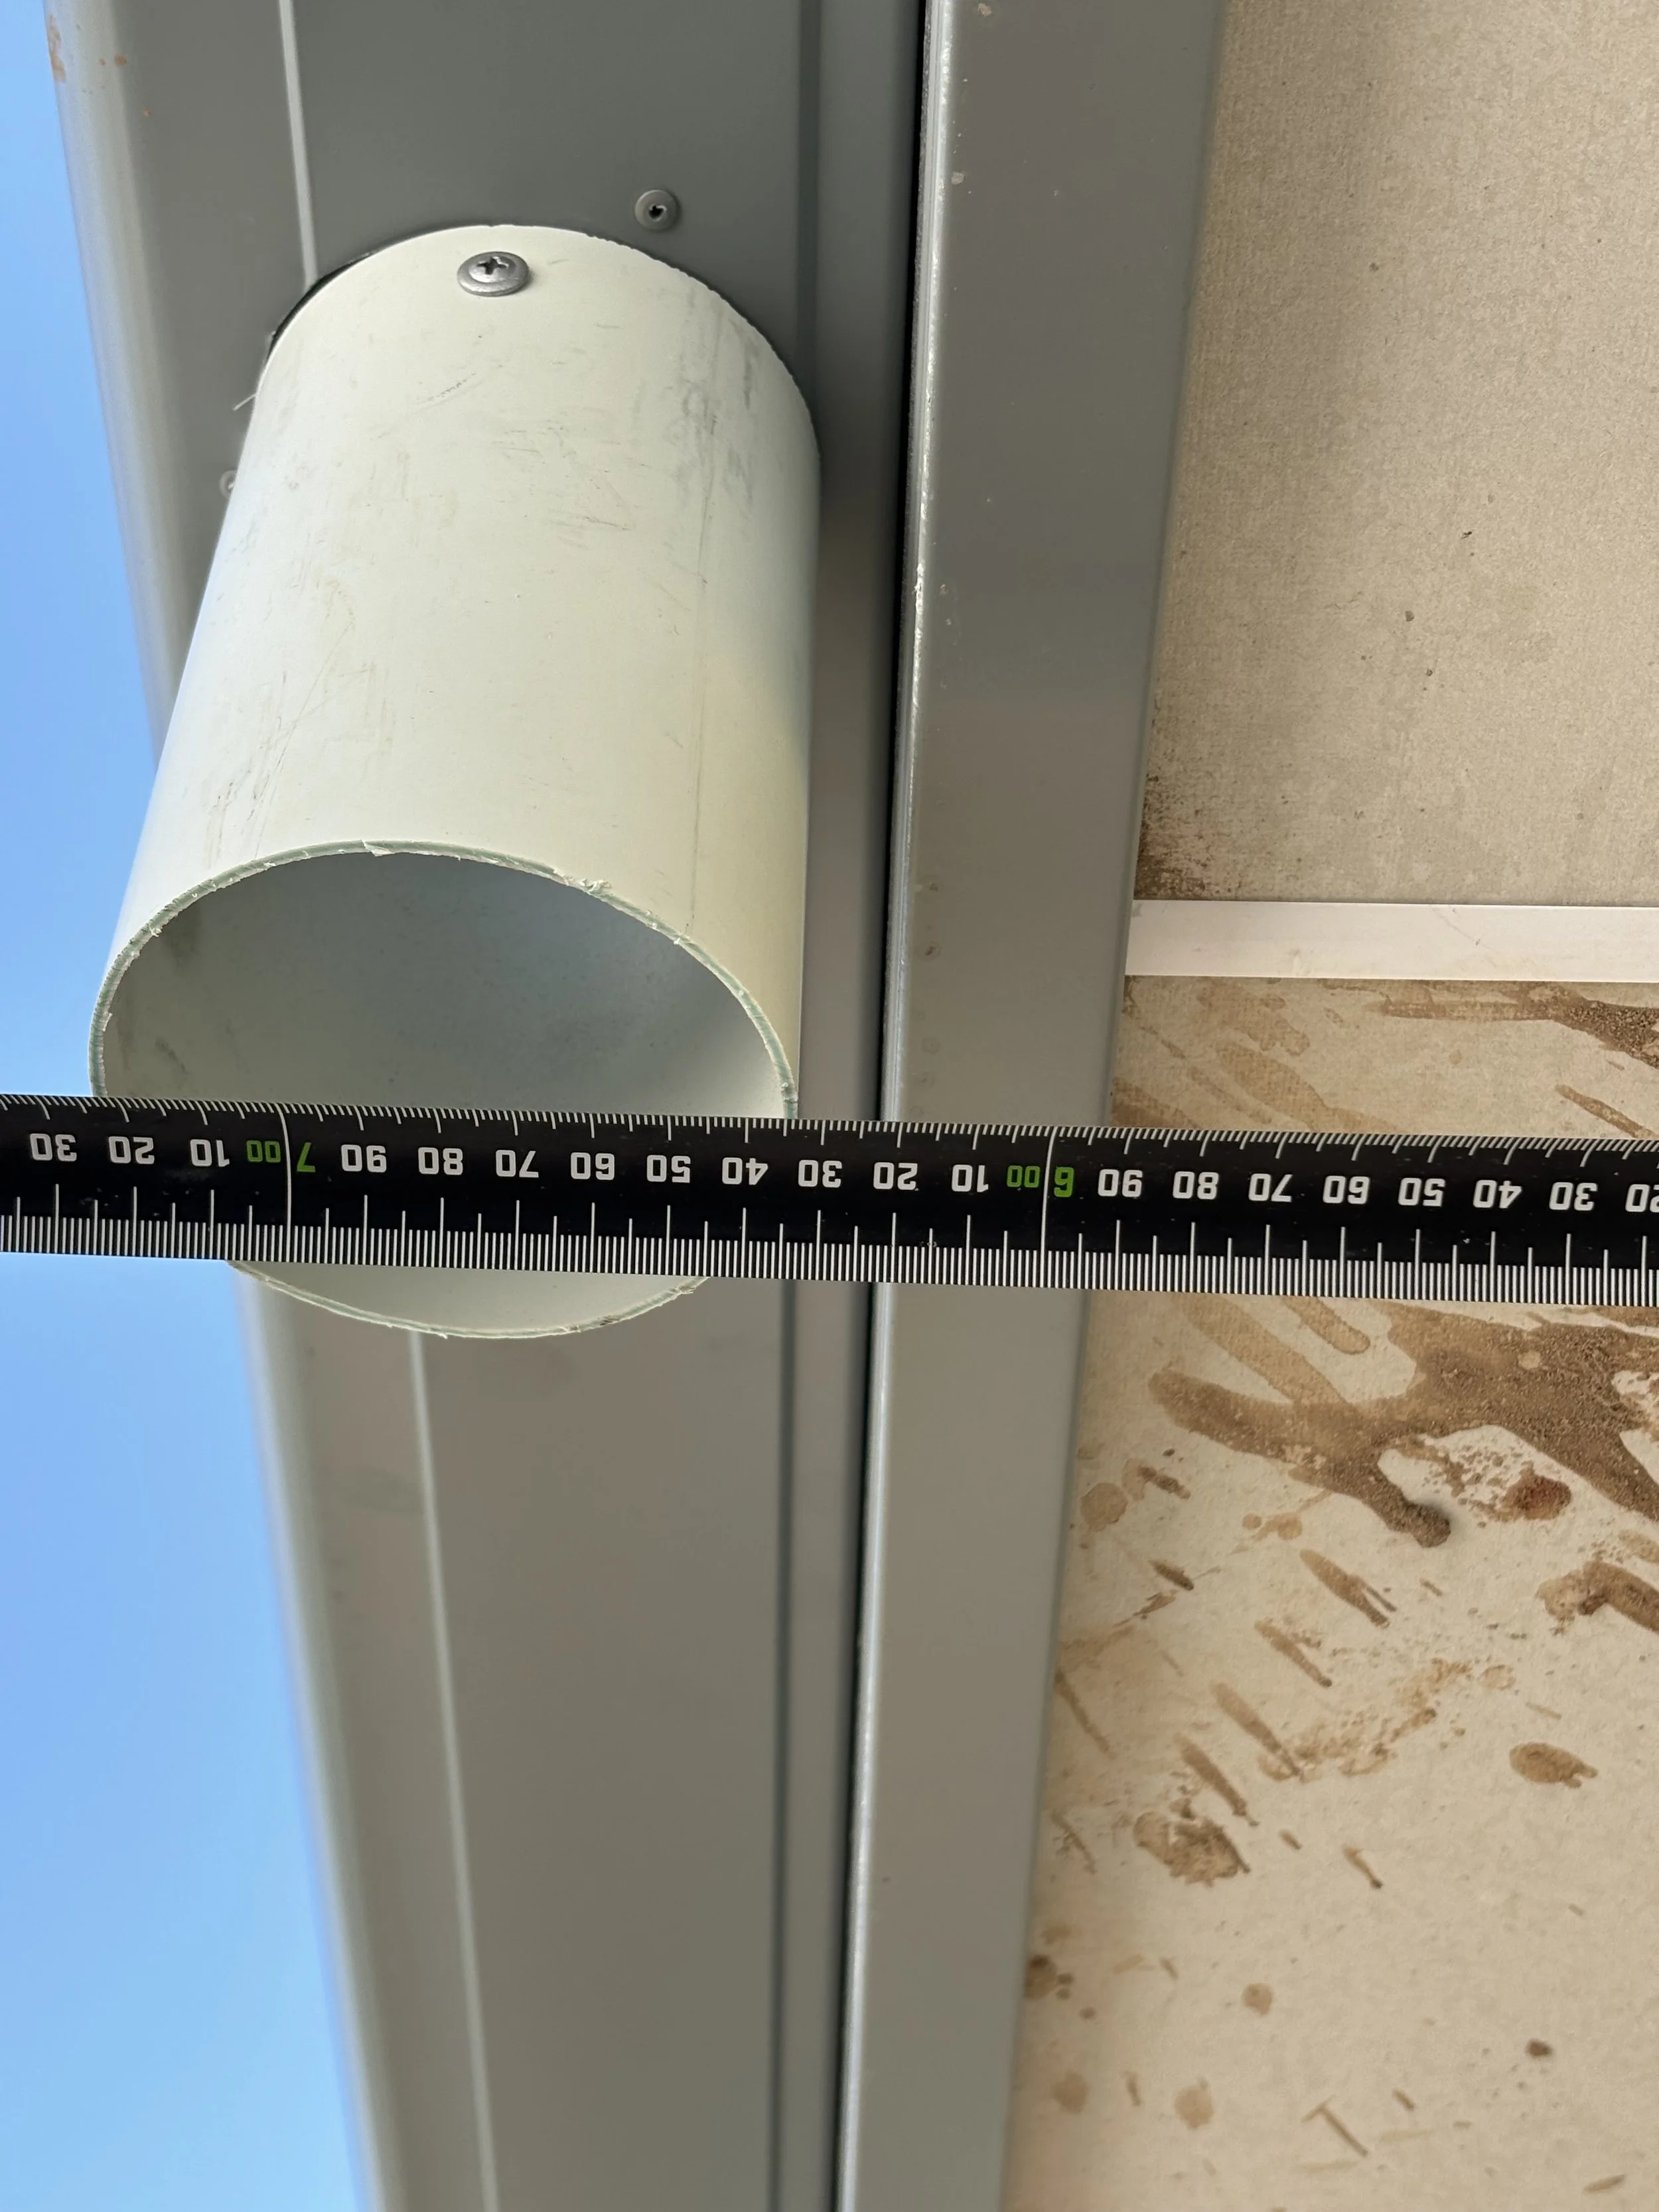
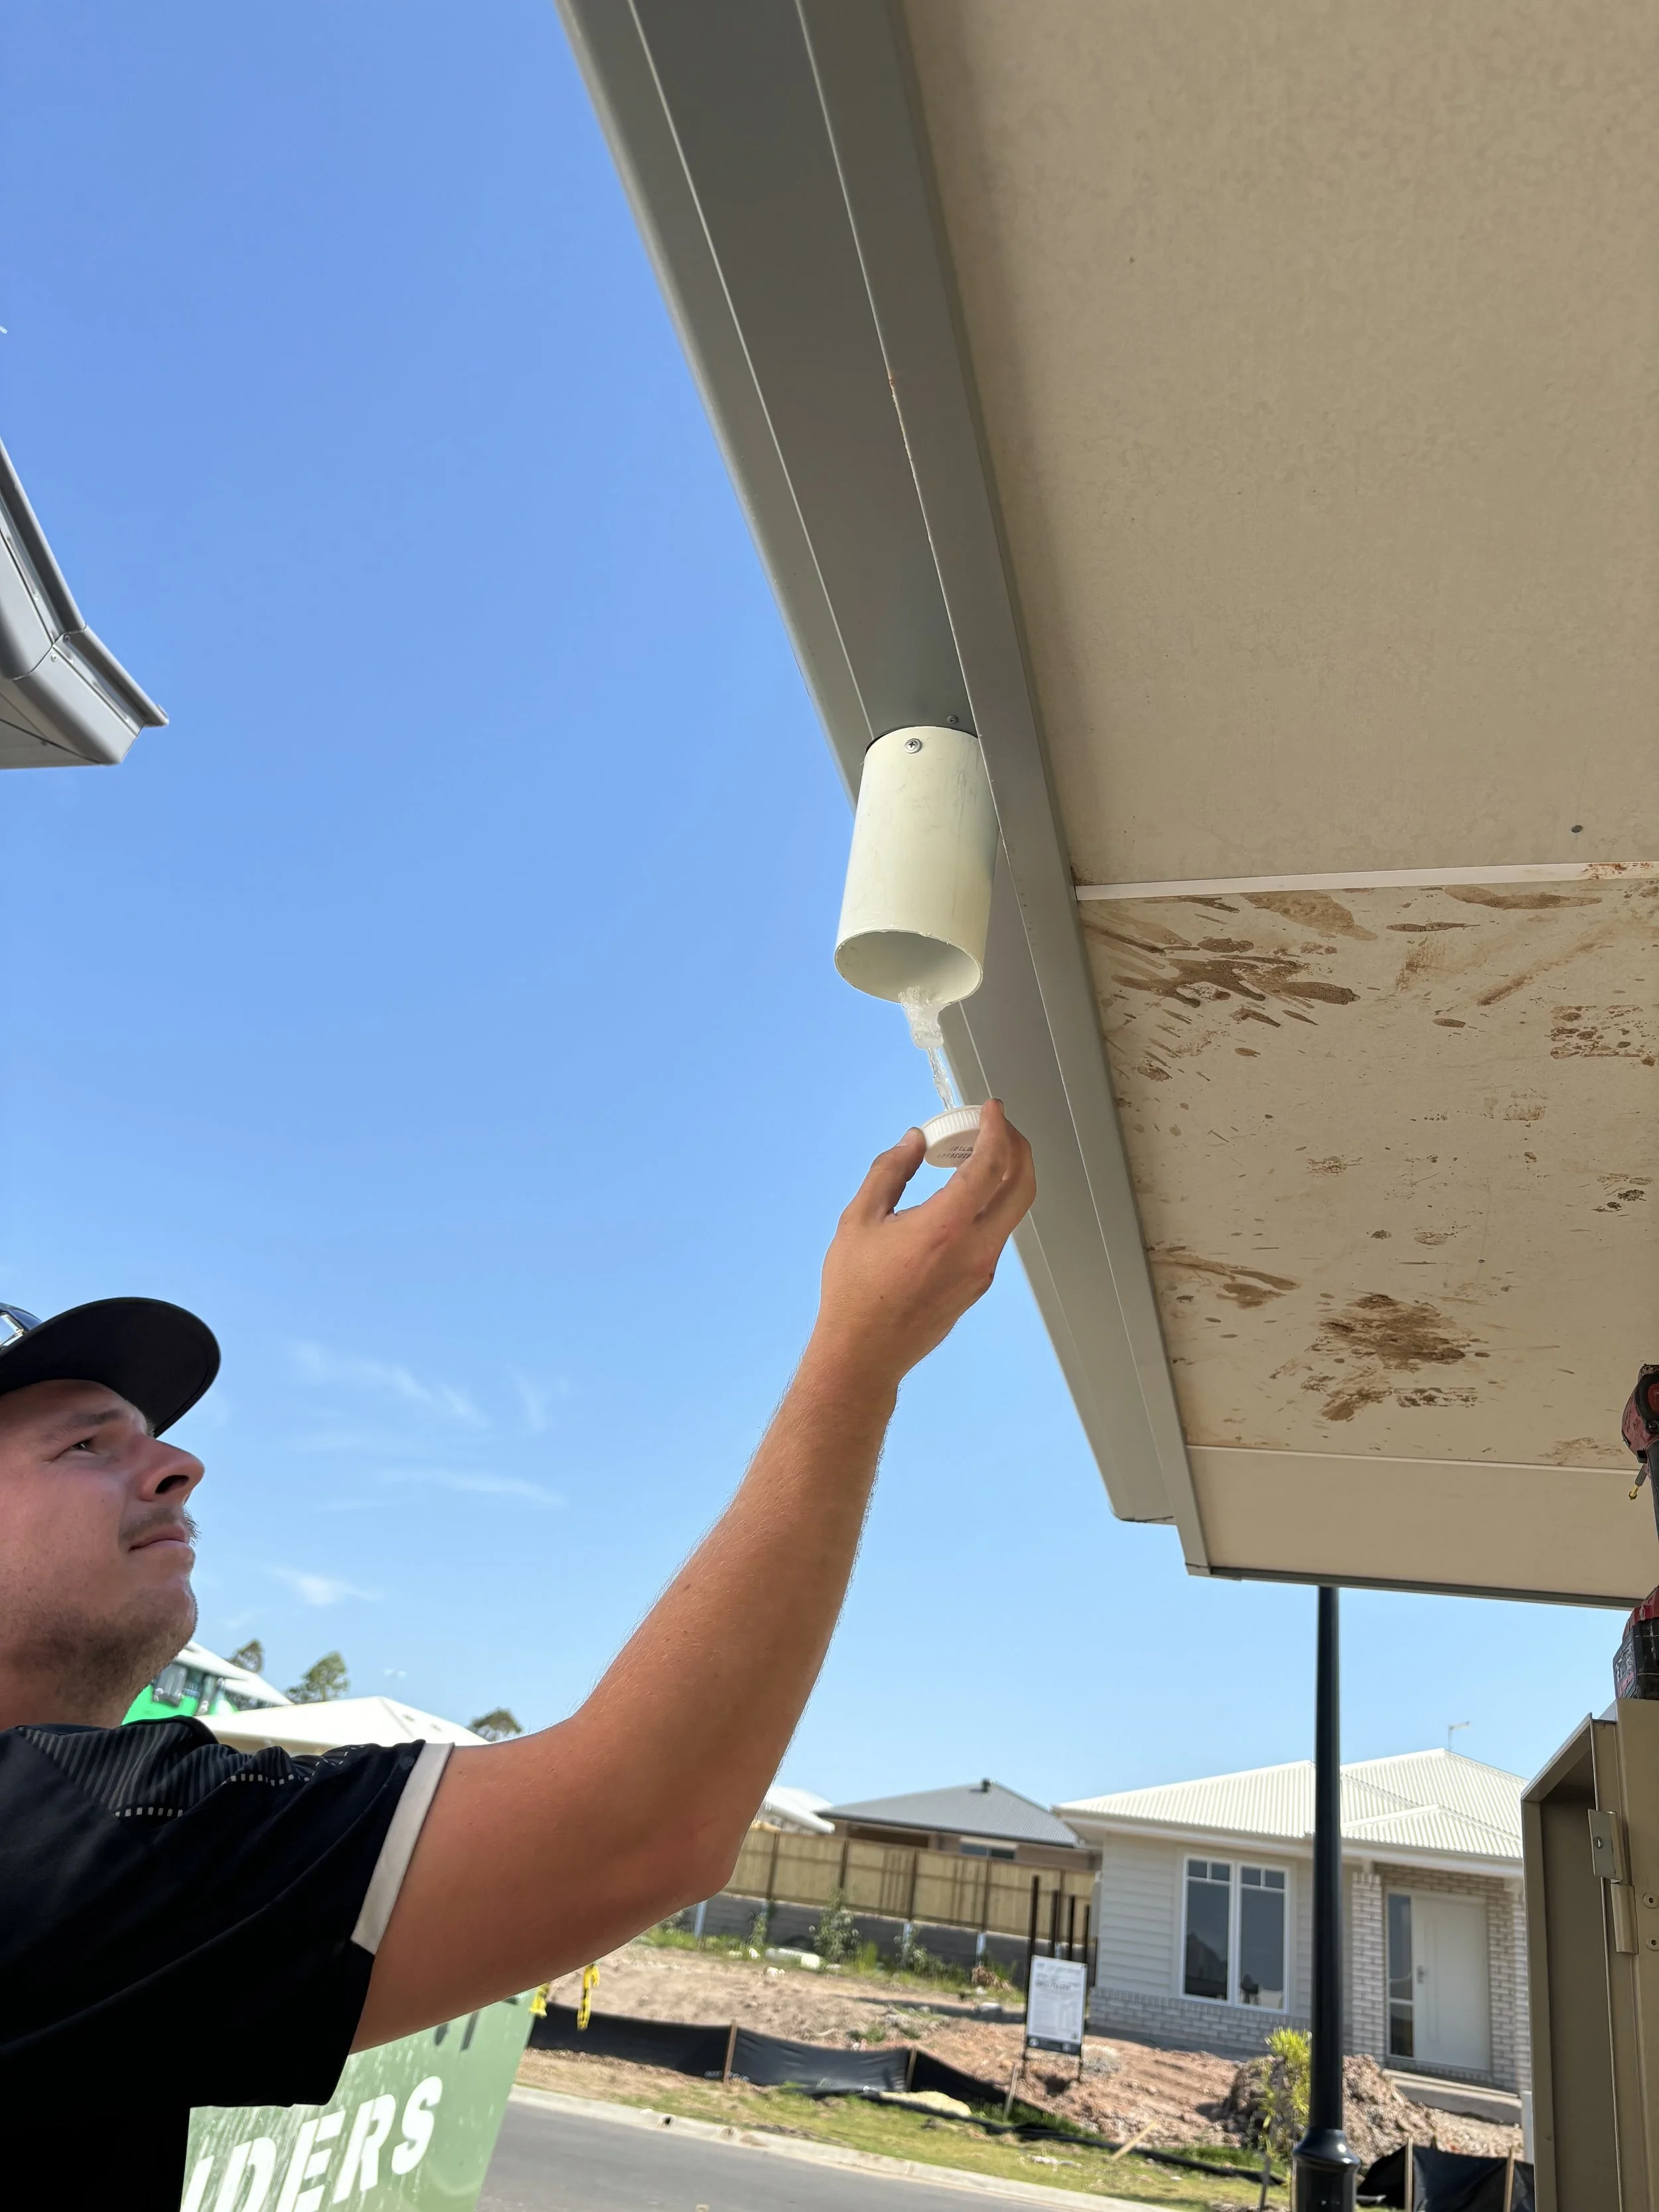
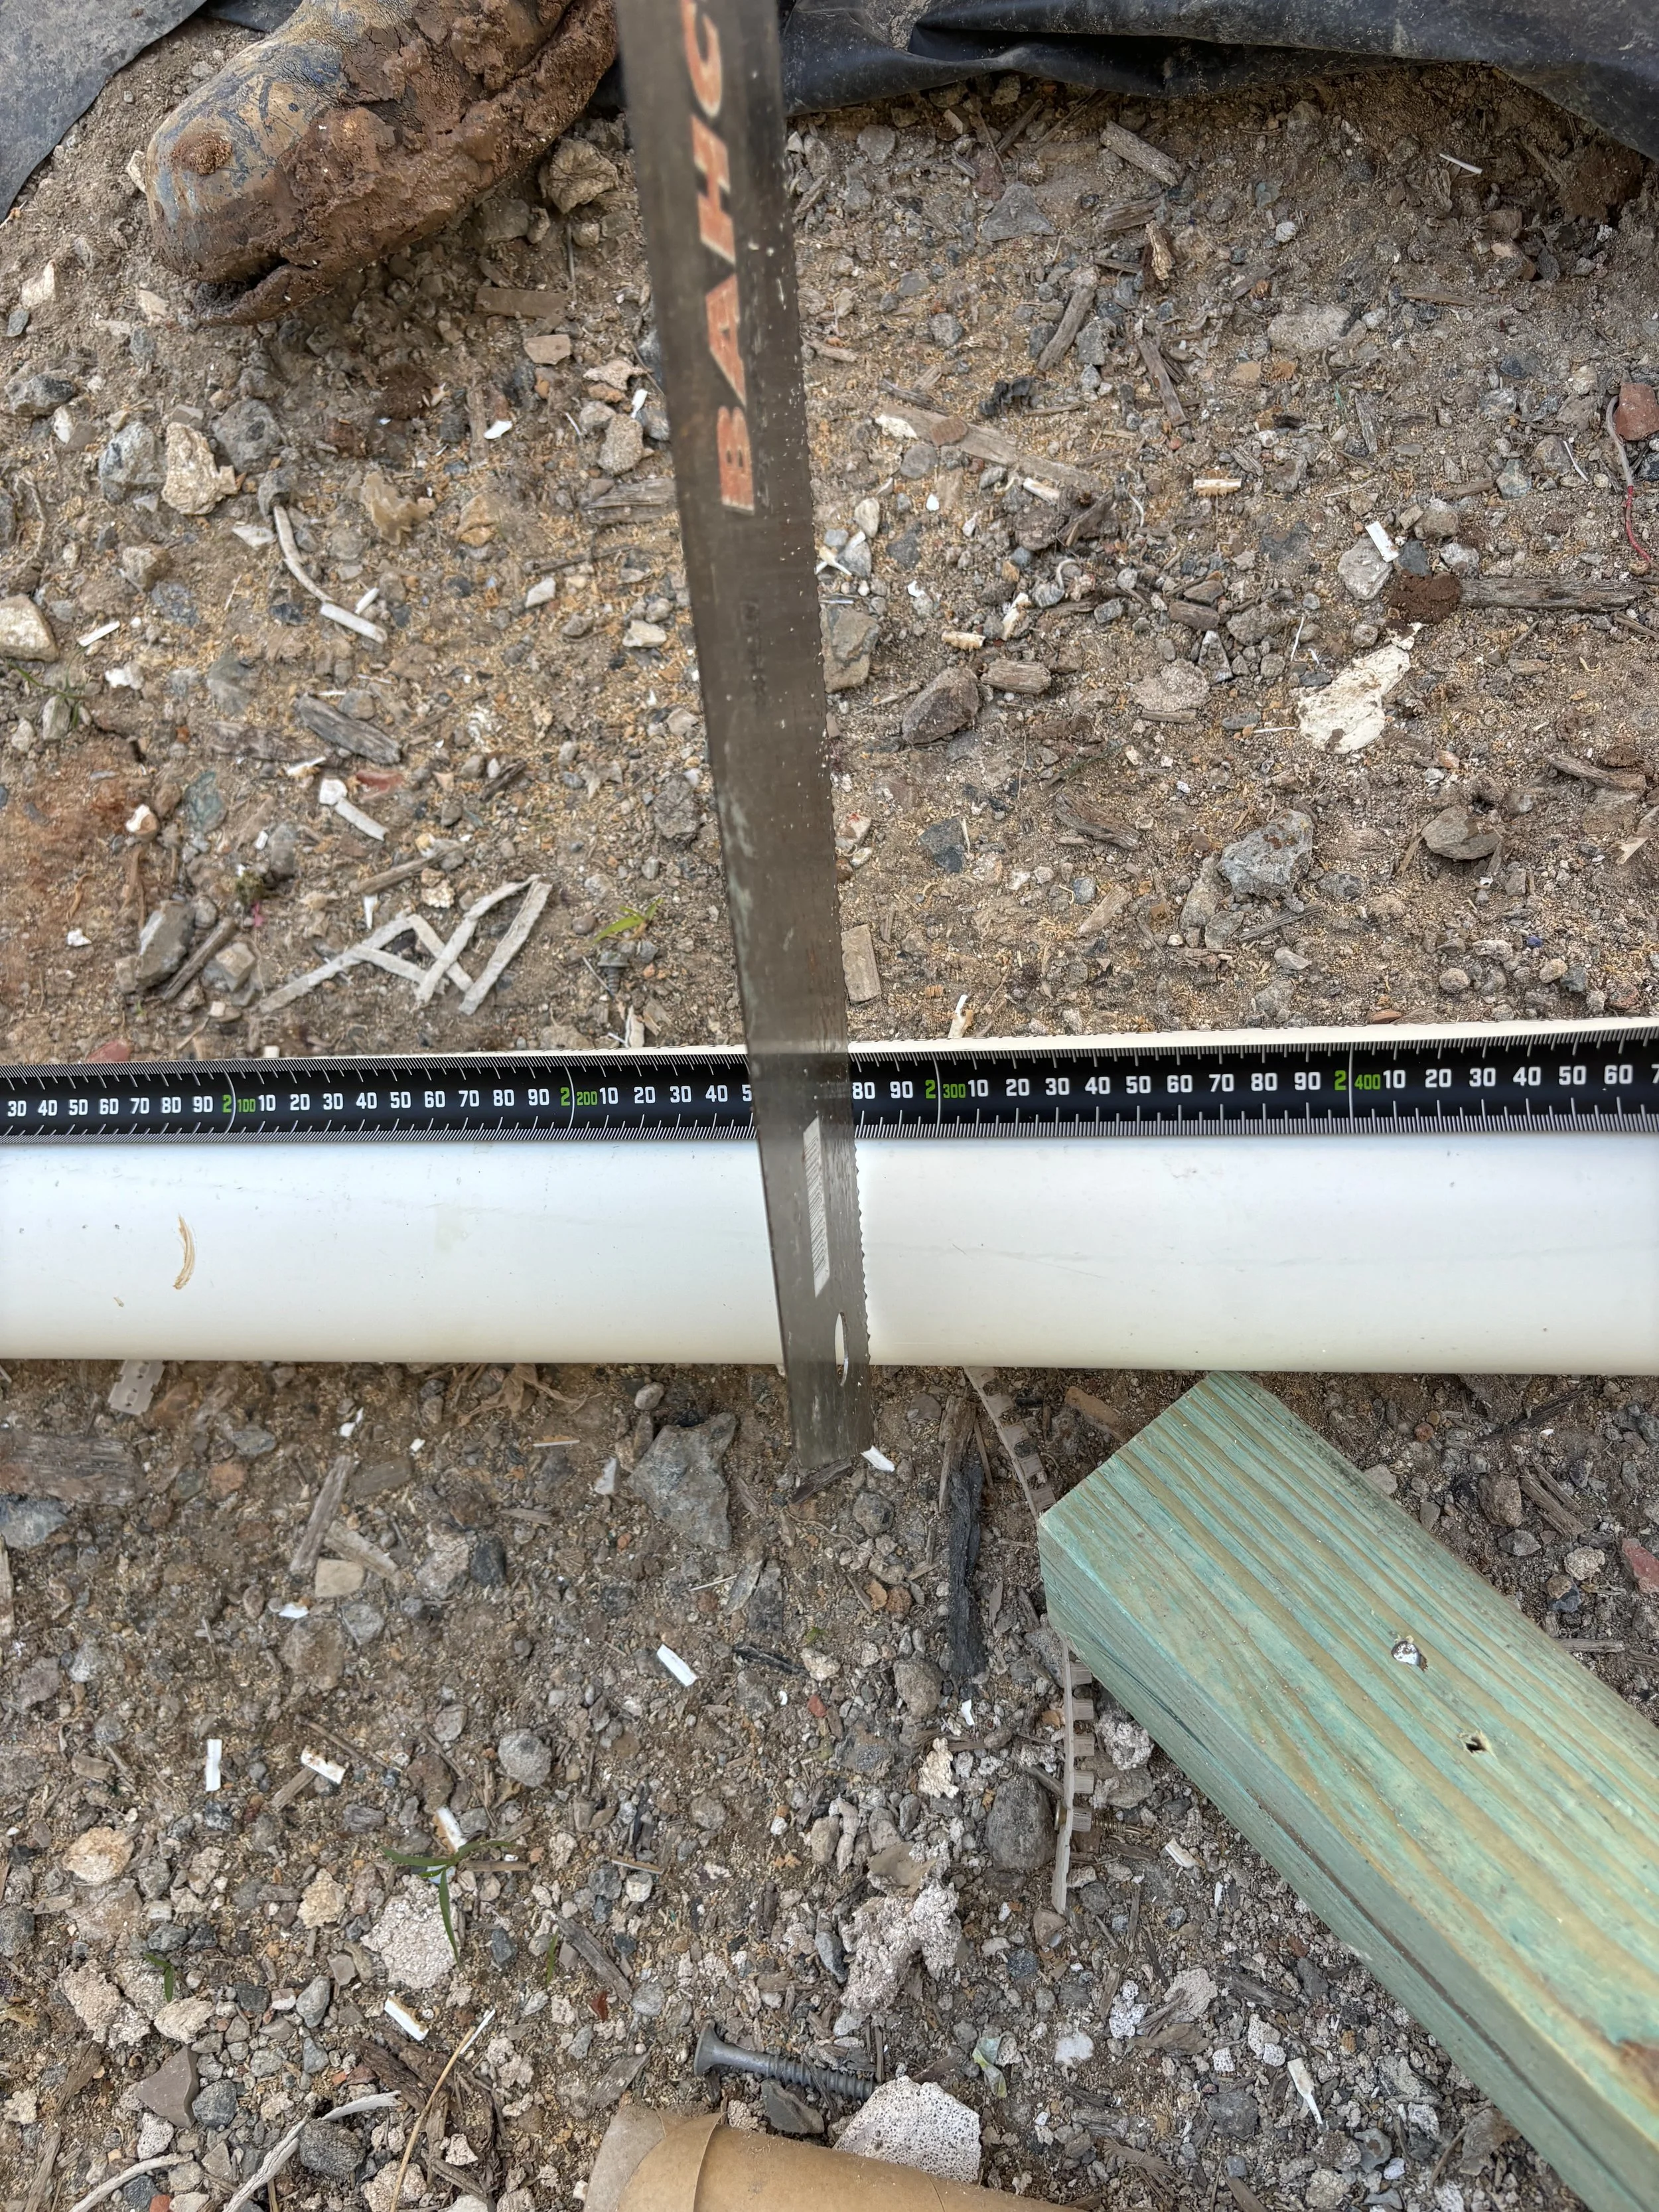
Cut a 150mm dropper (cut it as straight as possible as it will be seen)
Smooth off the cut and square it up with a grinder with metal disc on it.
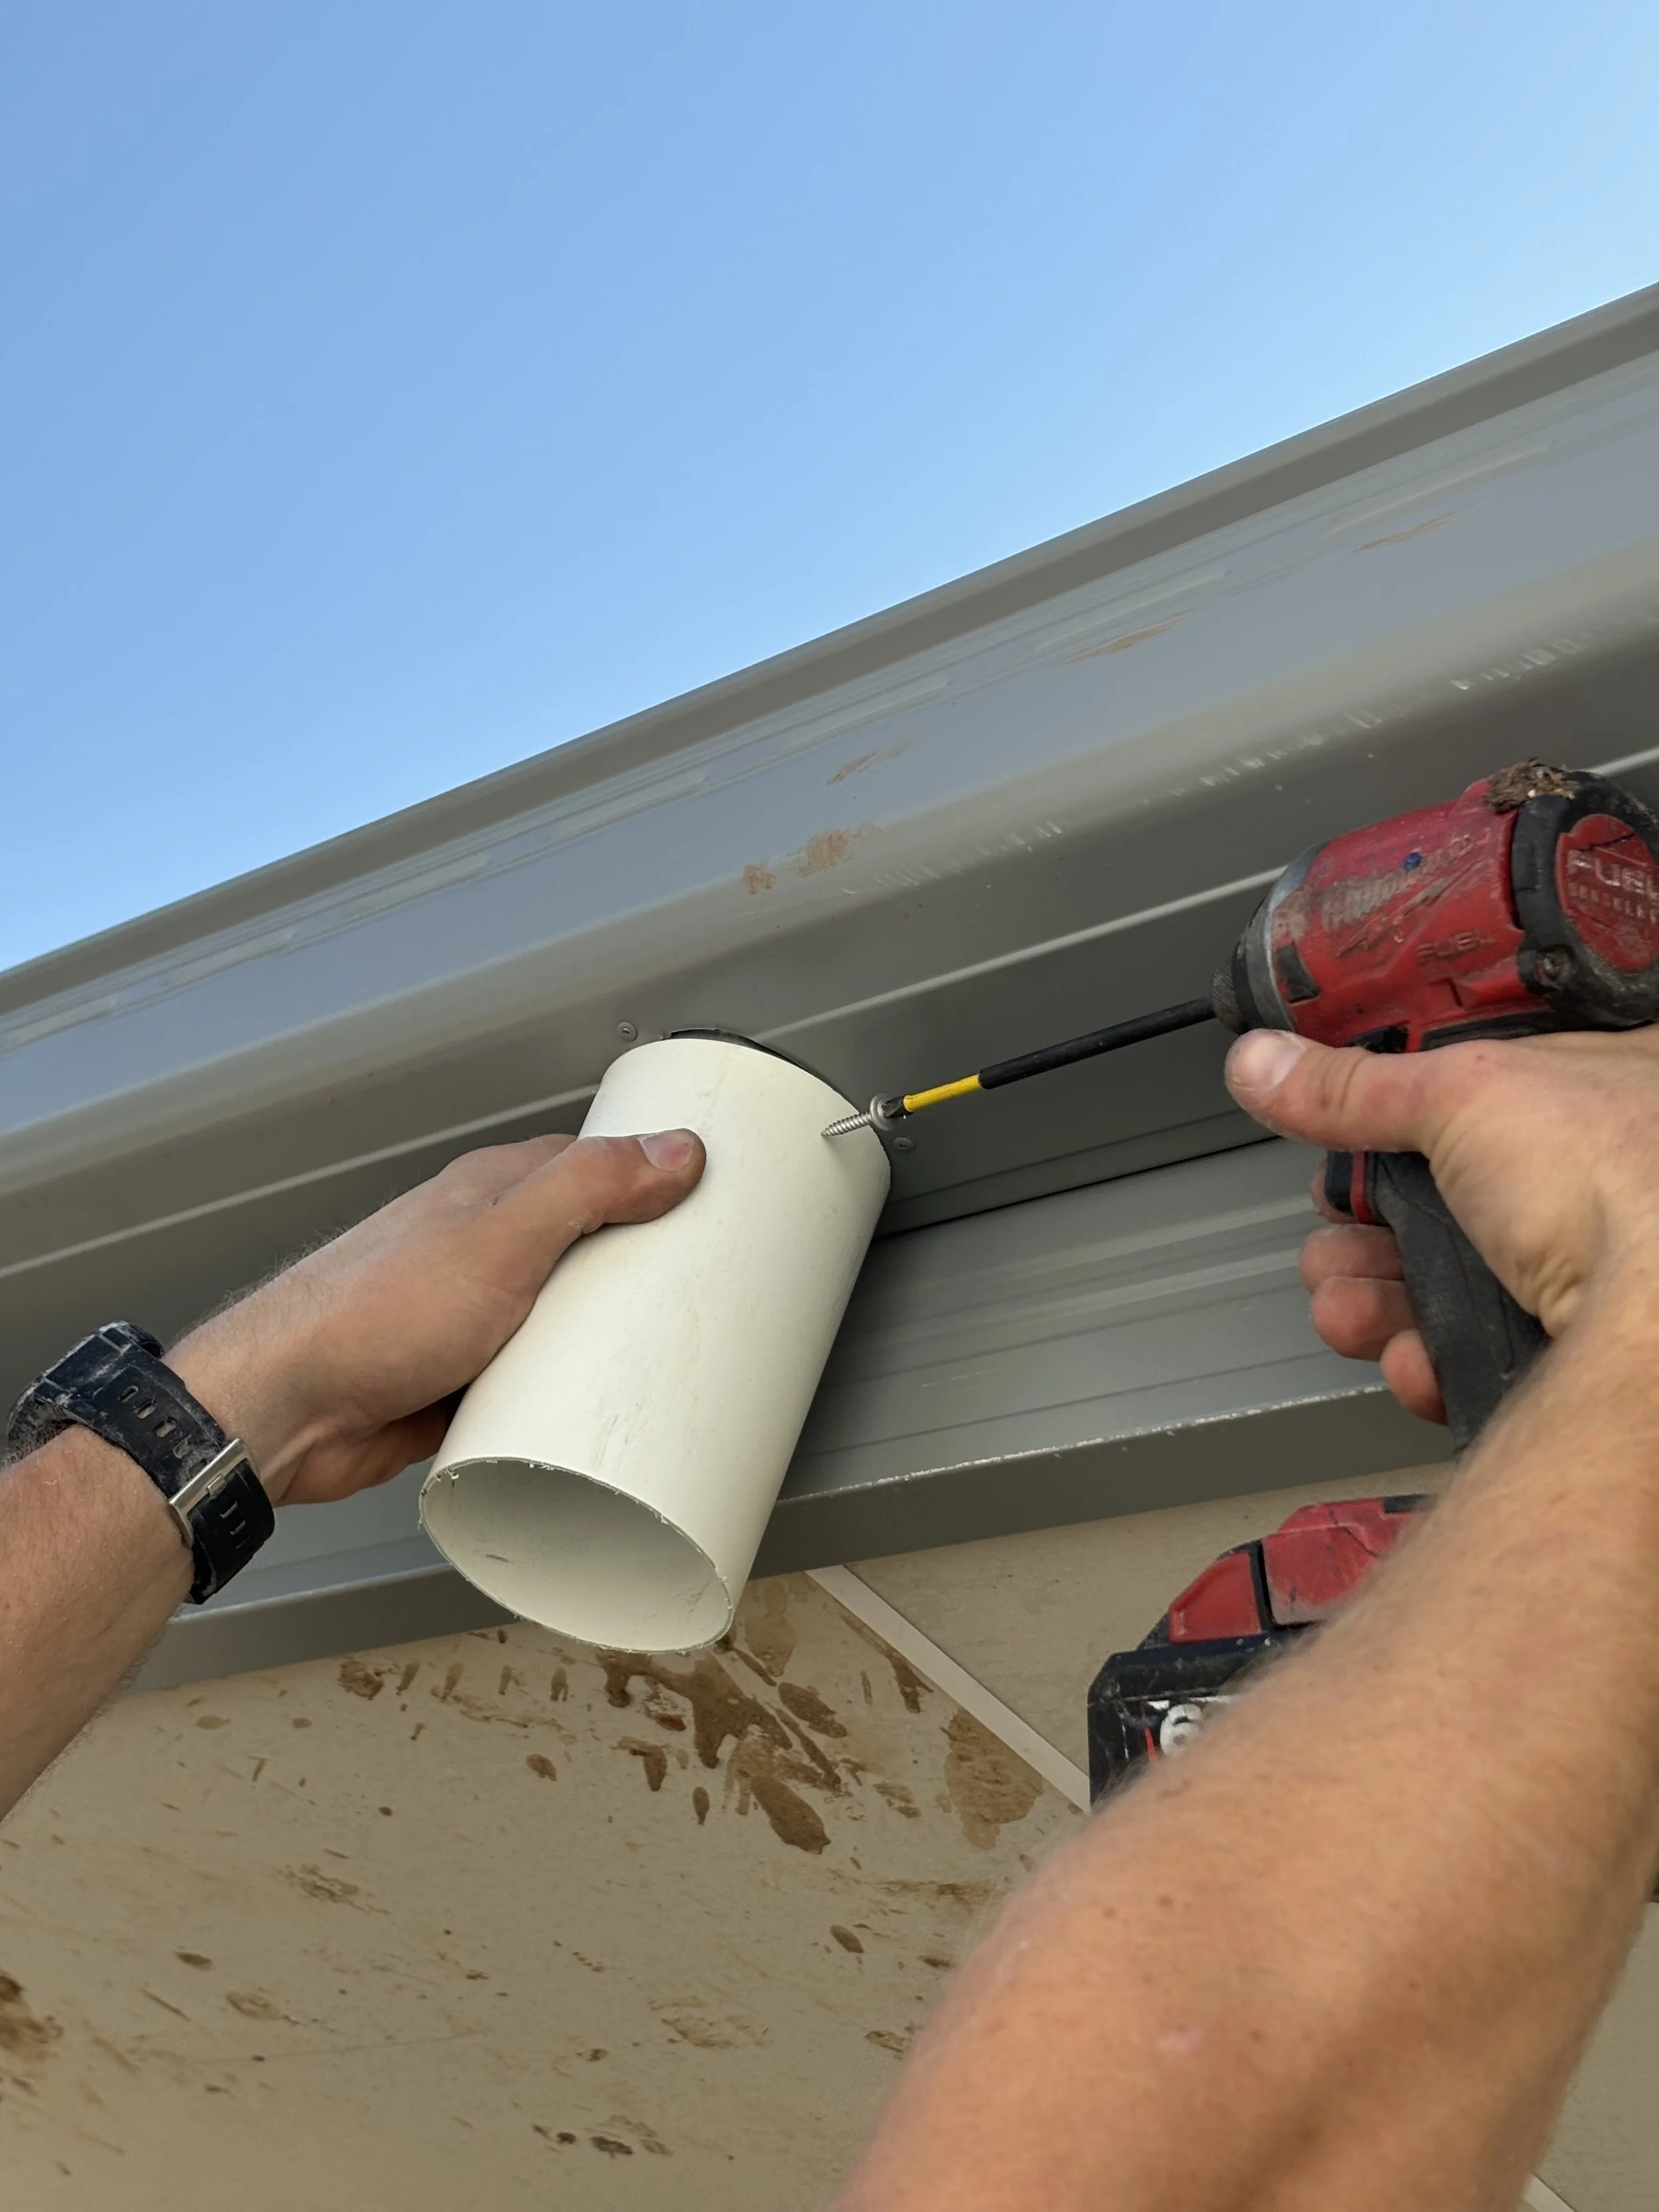
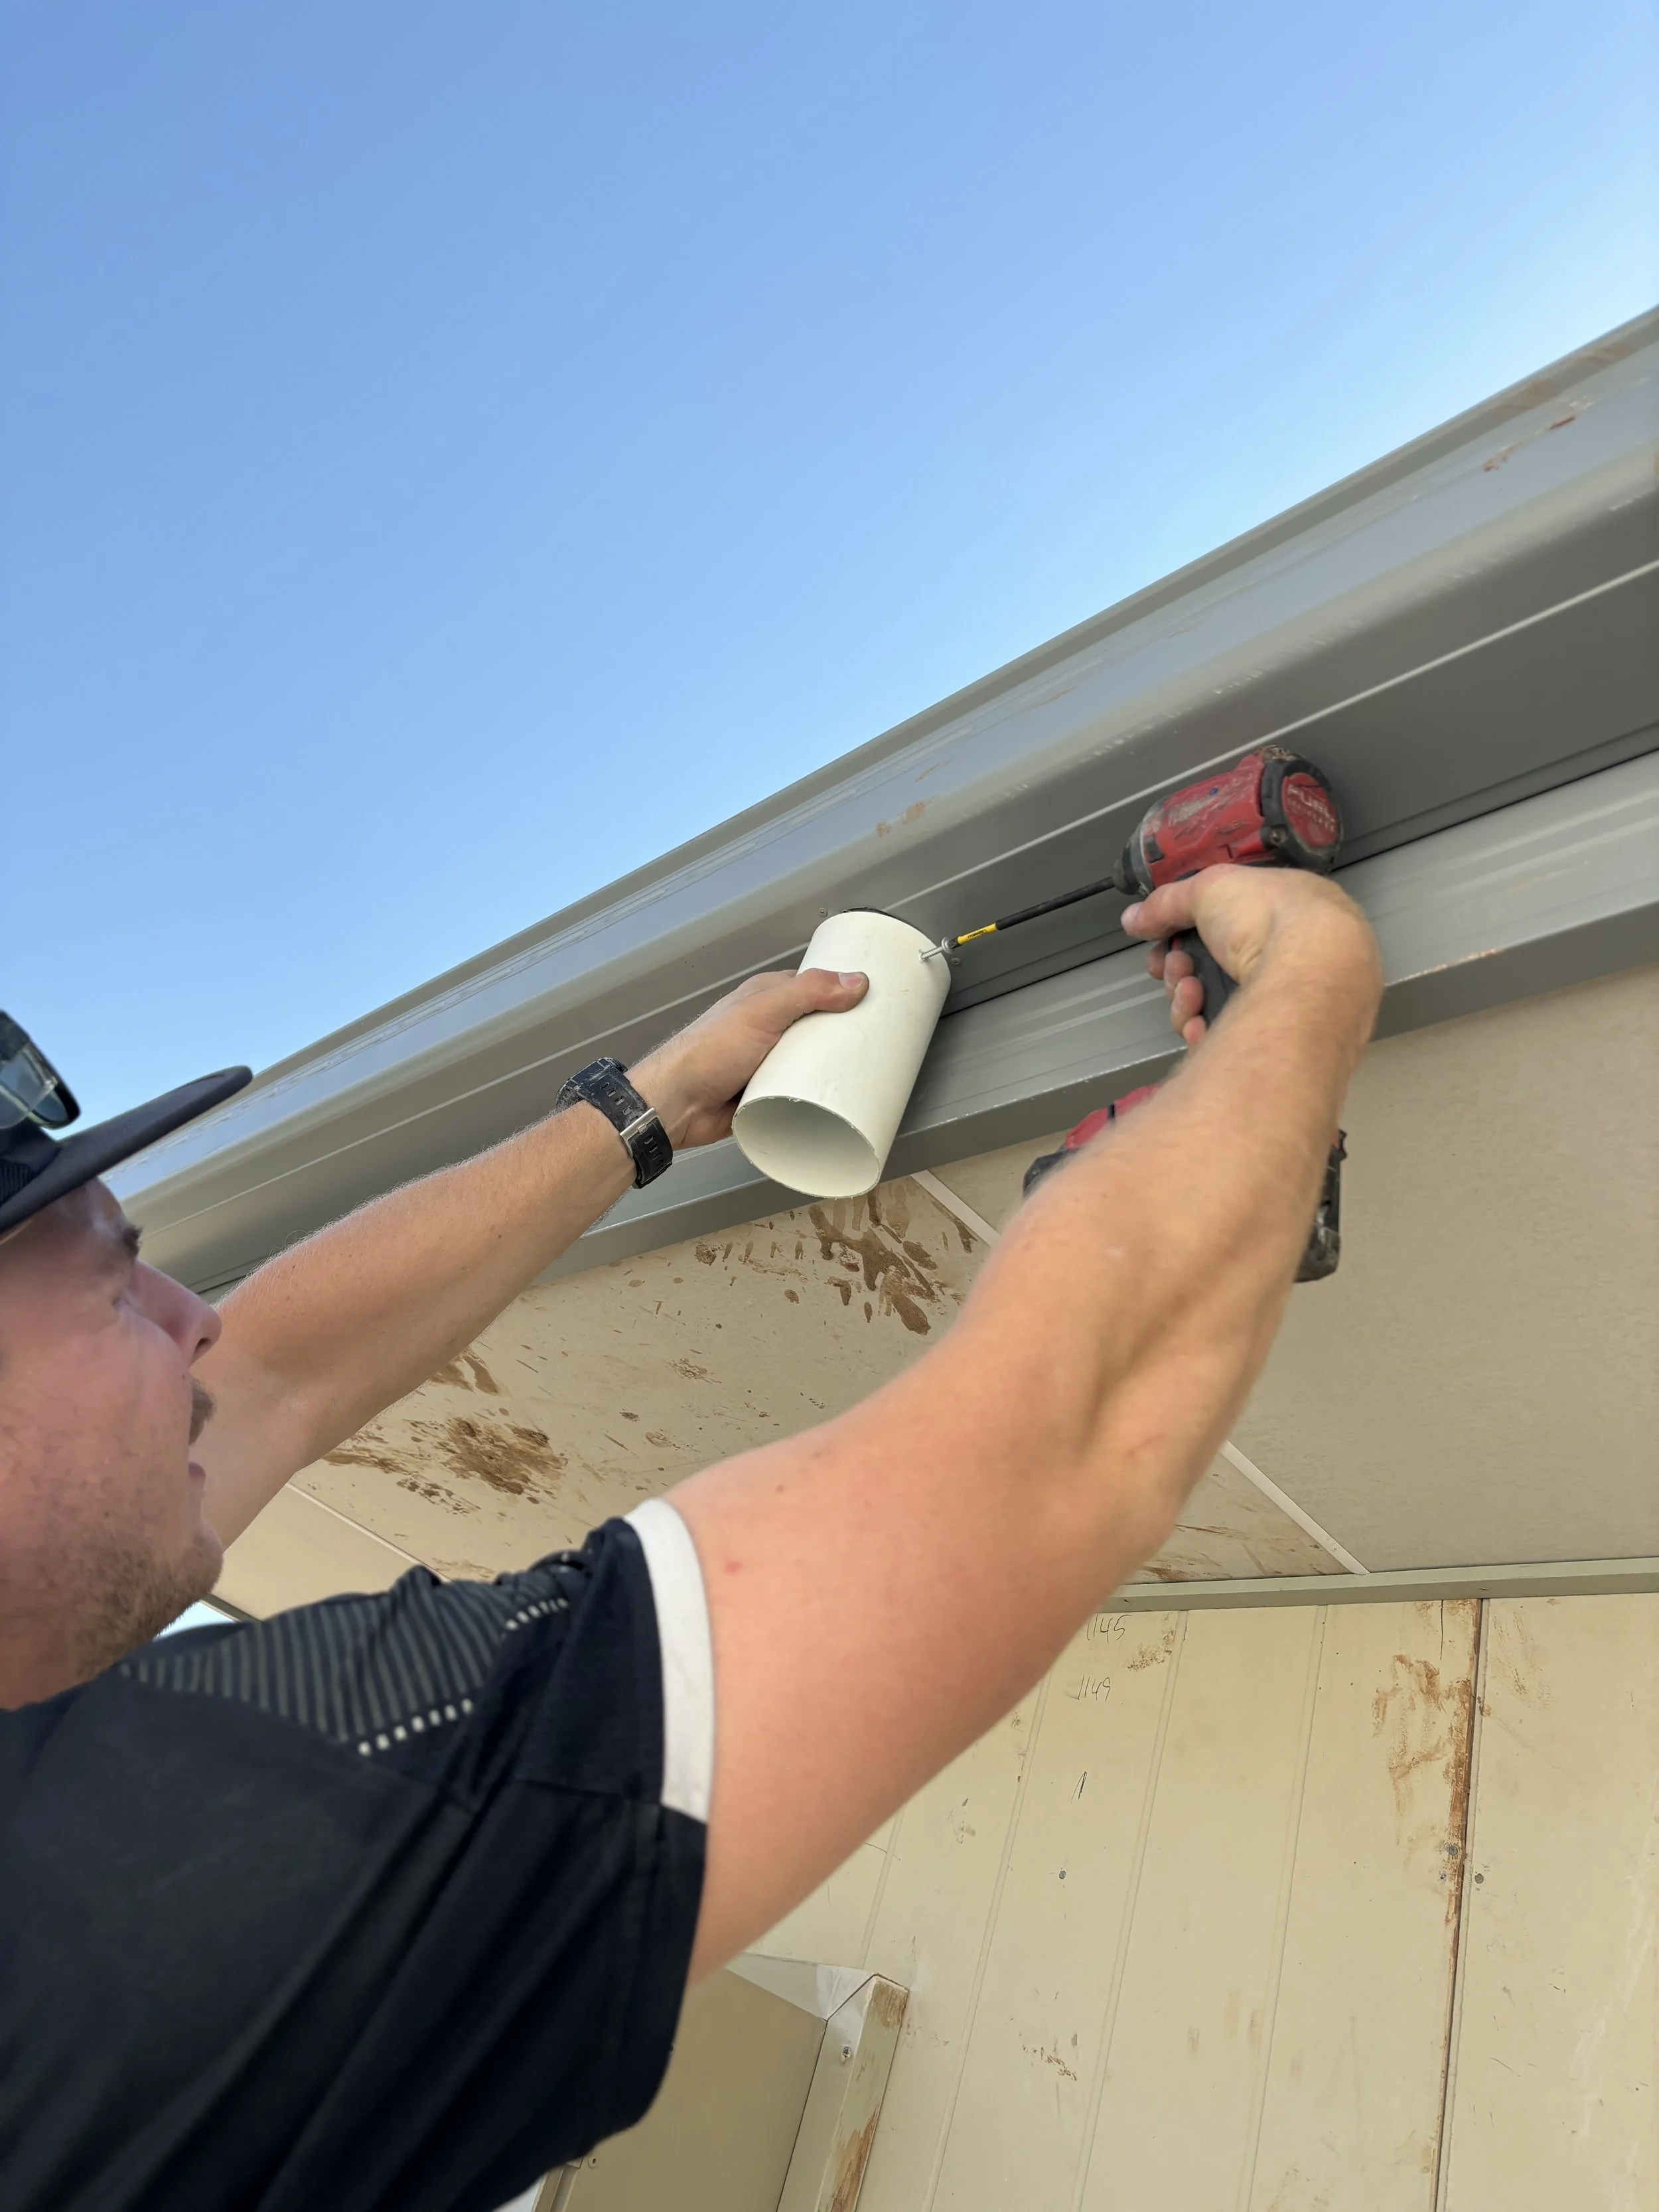
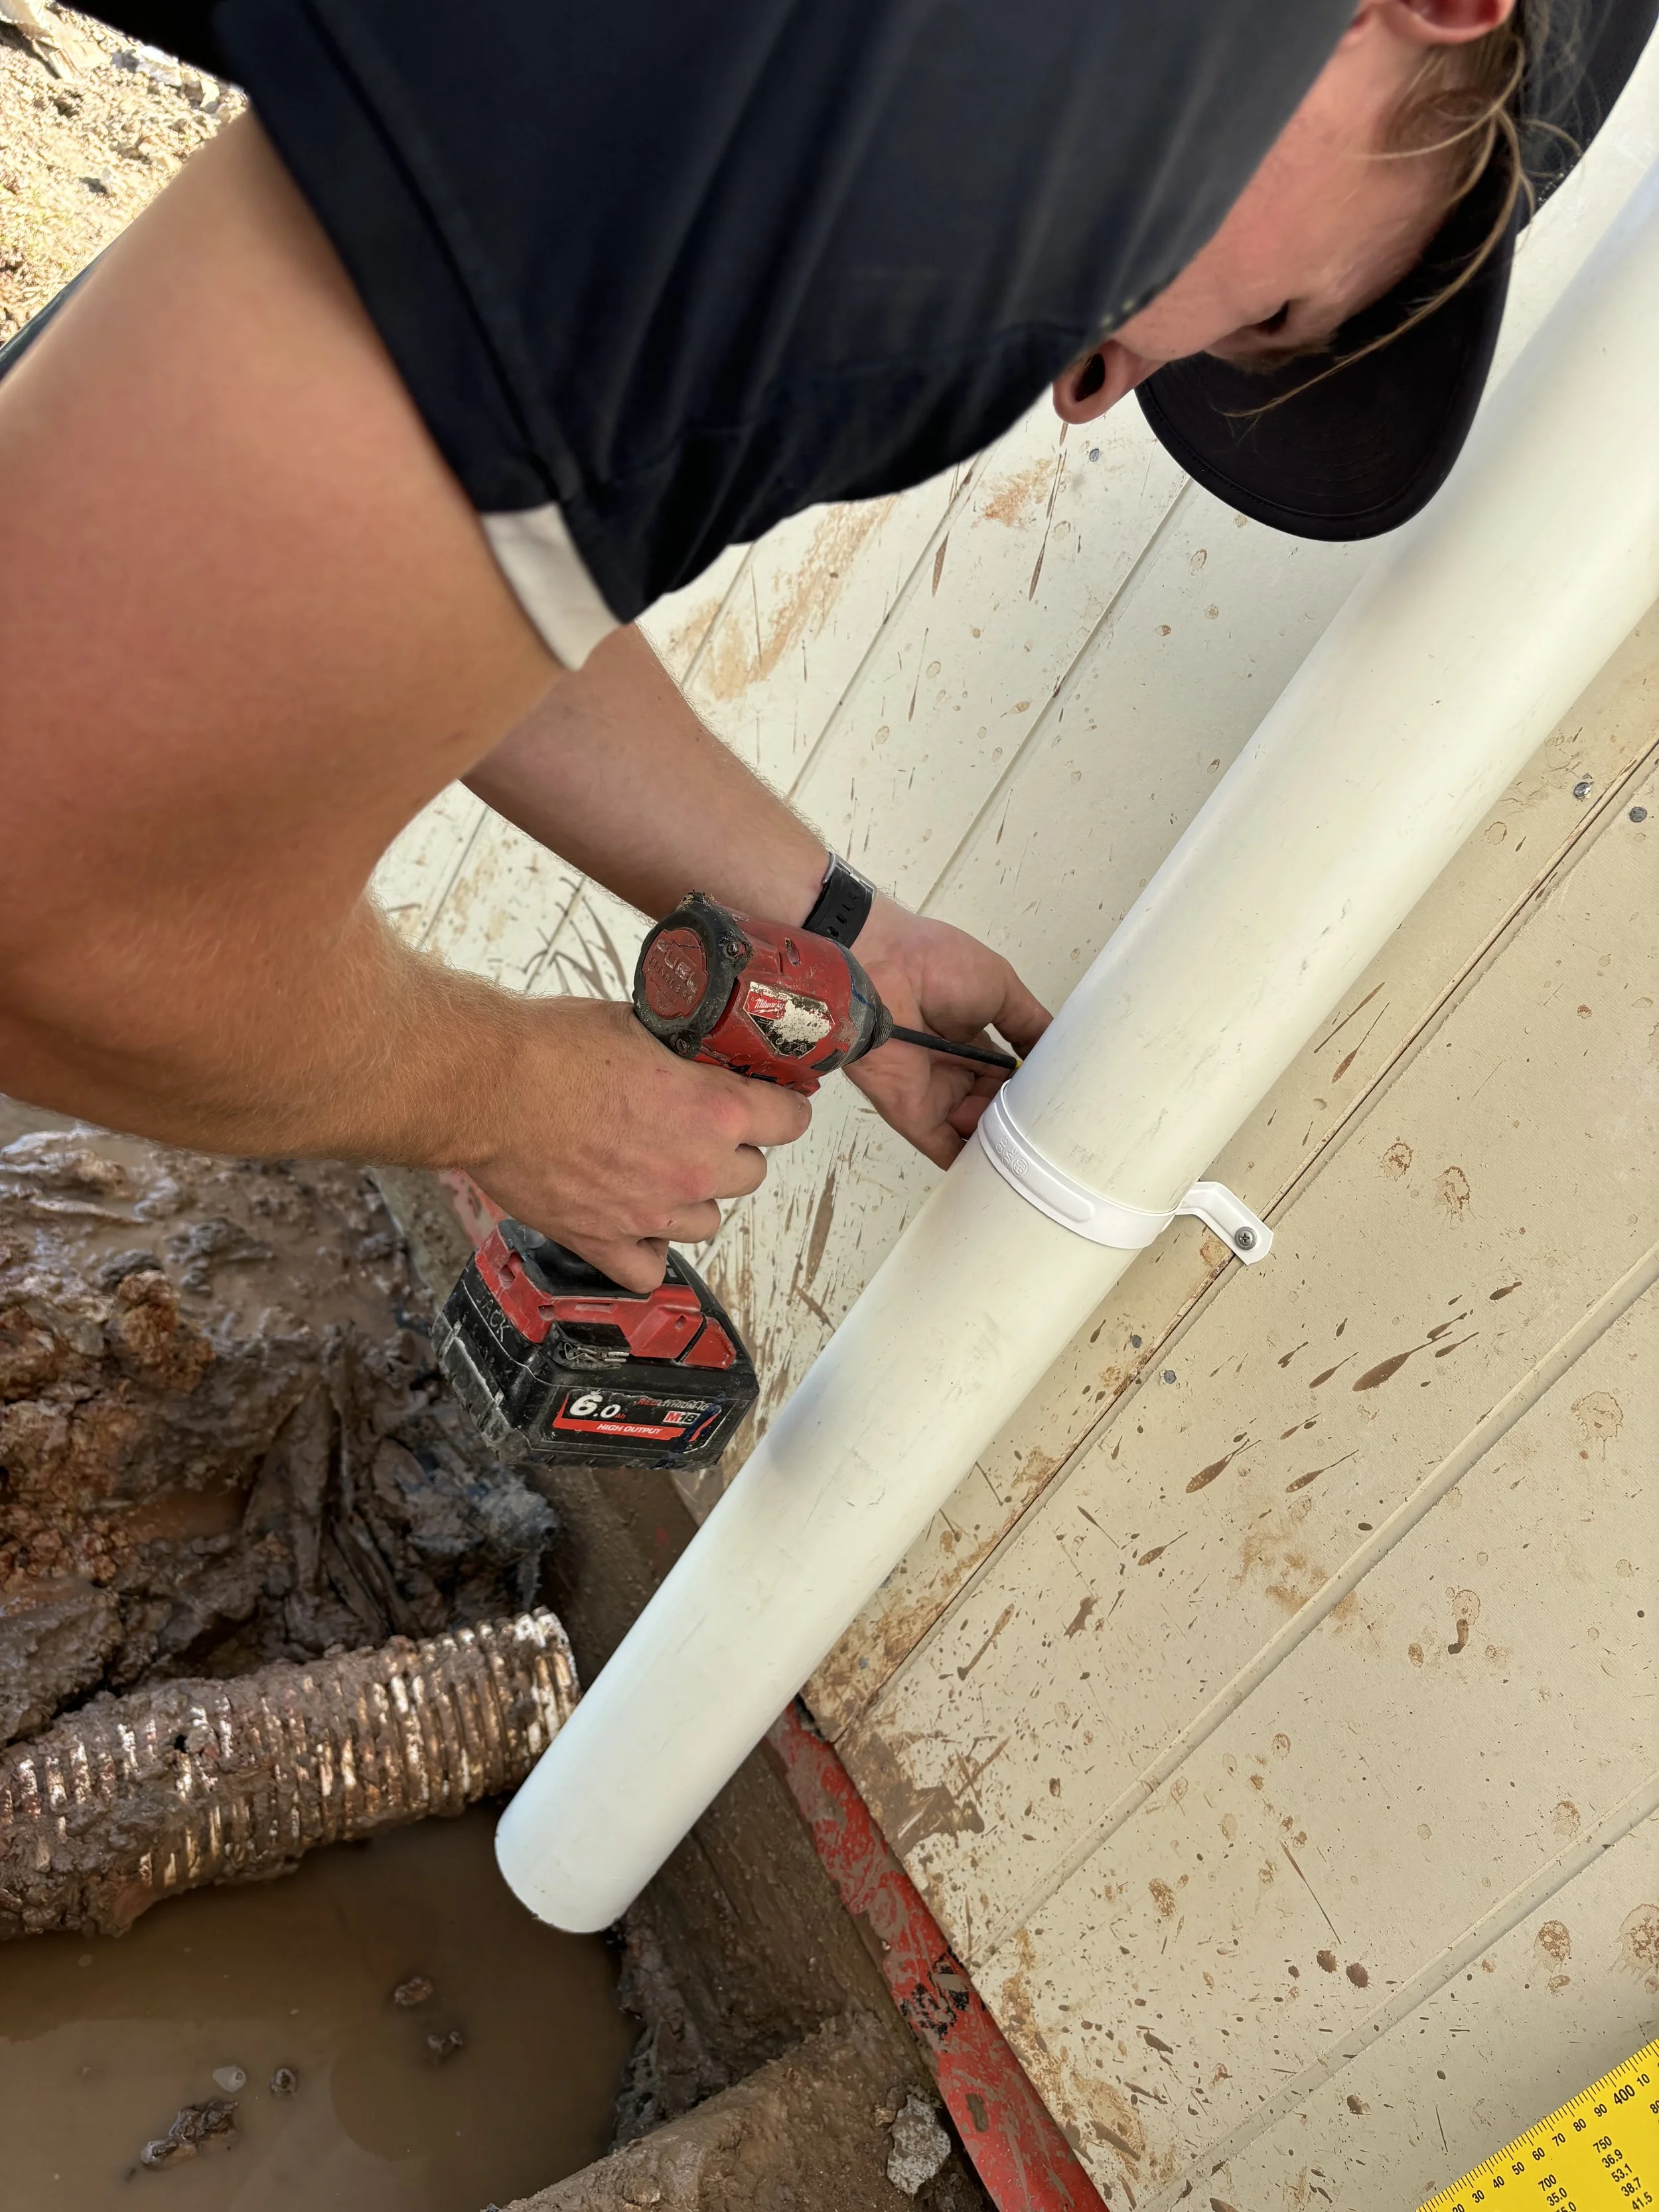
Screw from the side away from the road.
If you screw from the front of the dropper there is a flat section which squashes the pipe flat against the dropper.
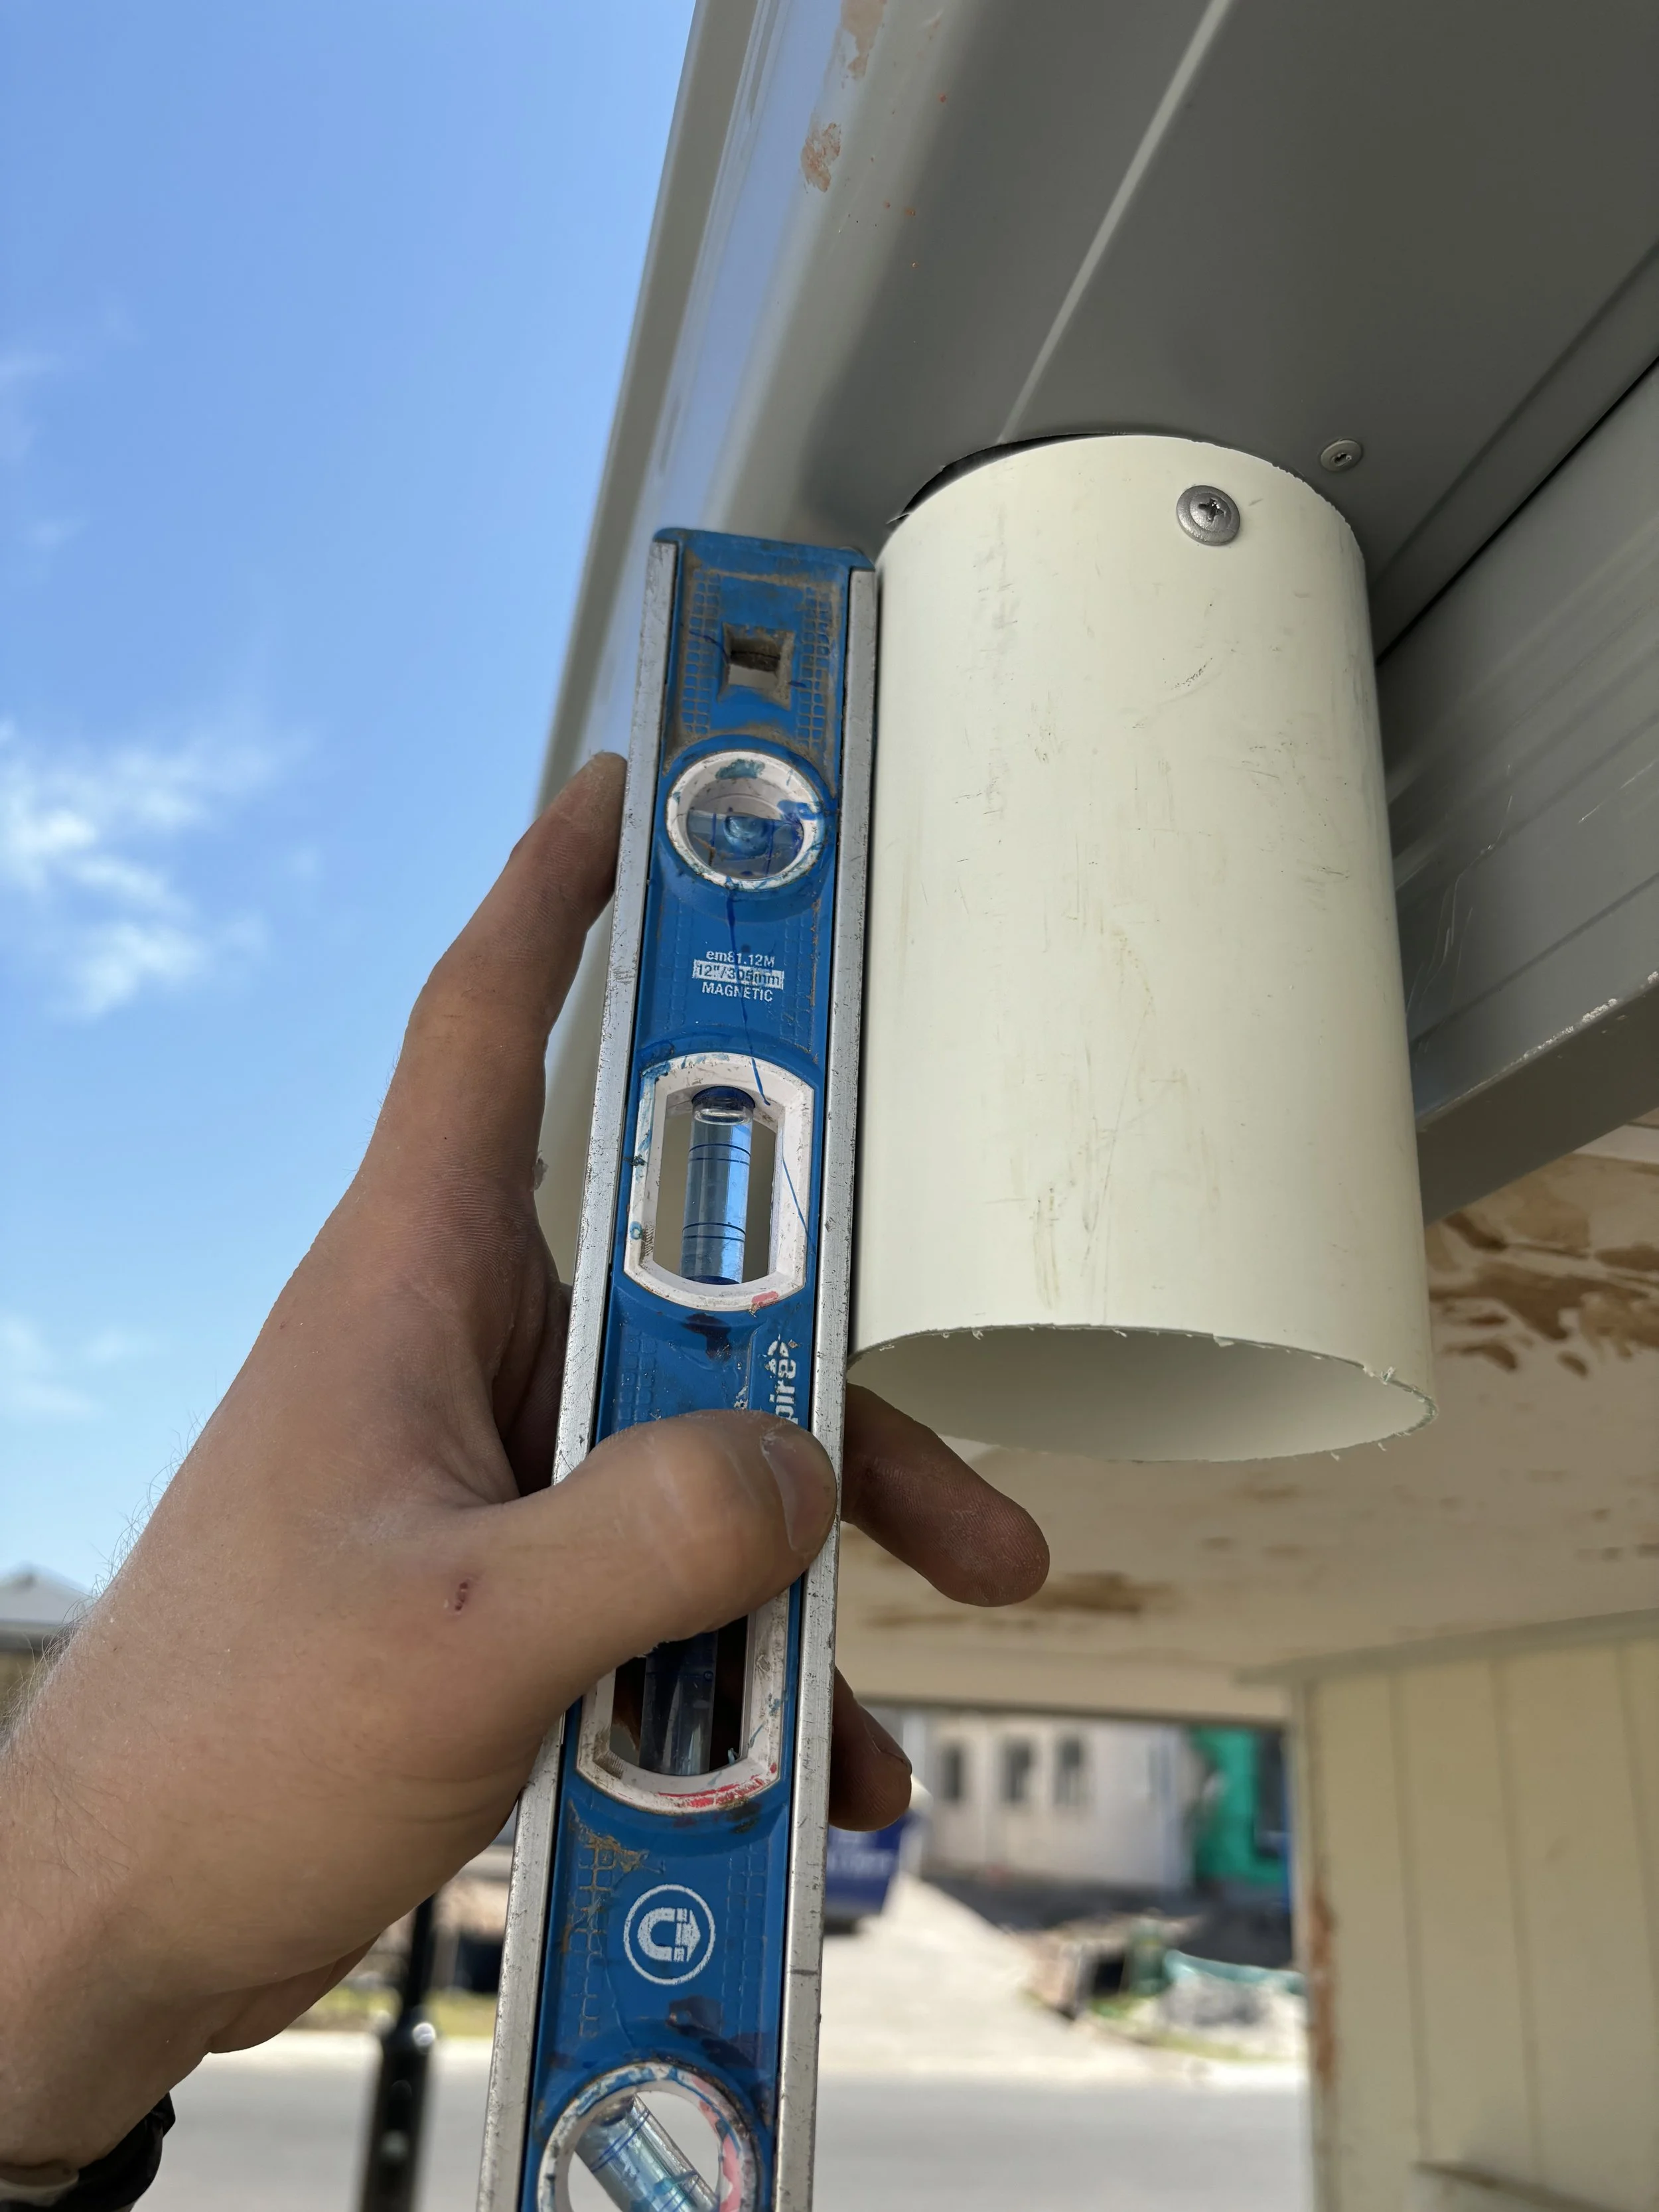
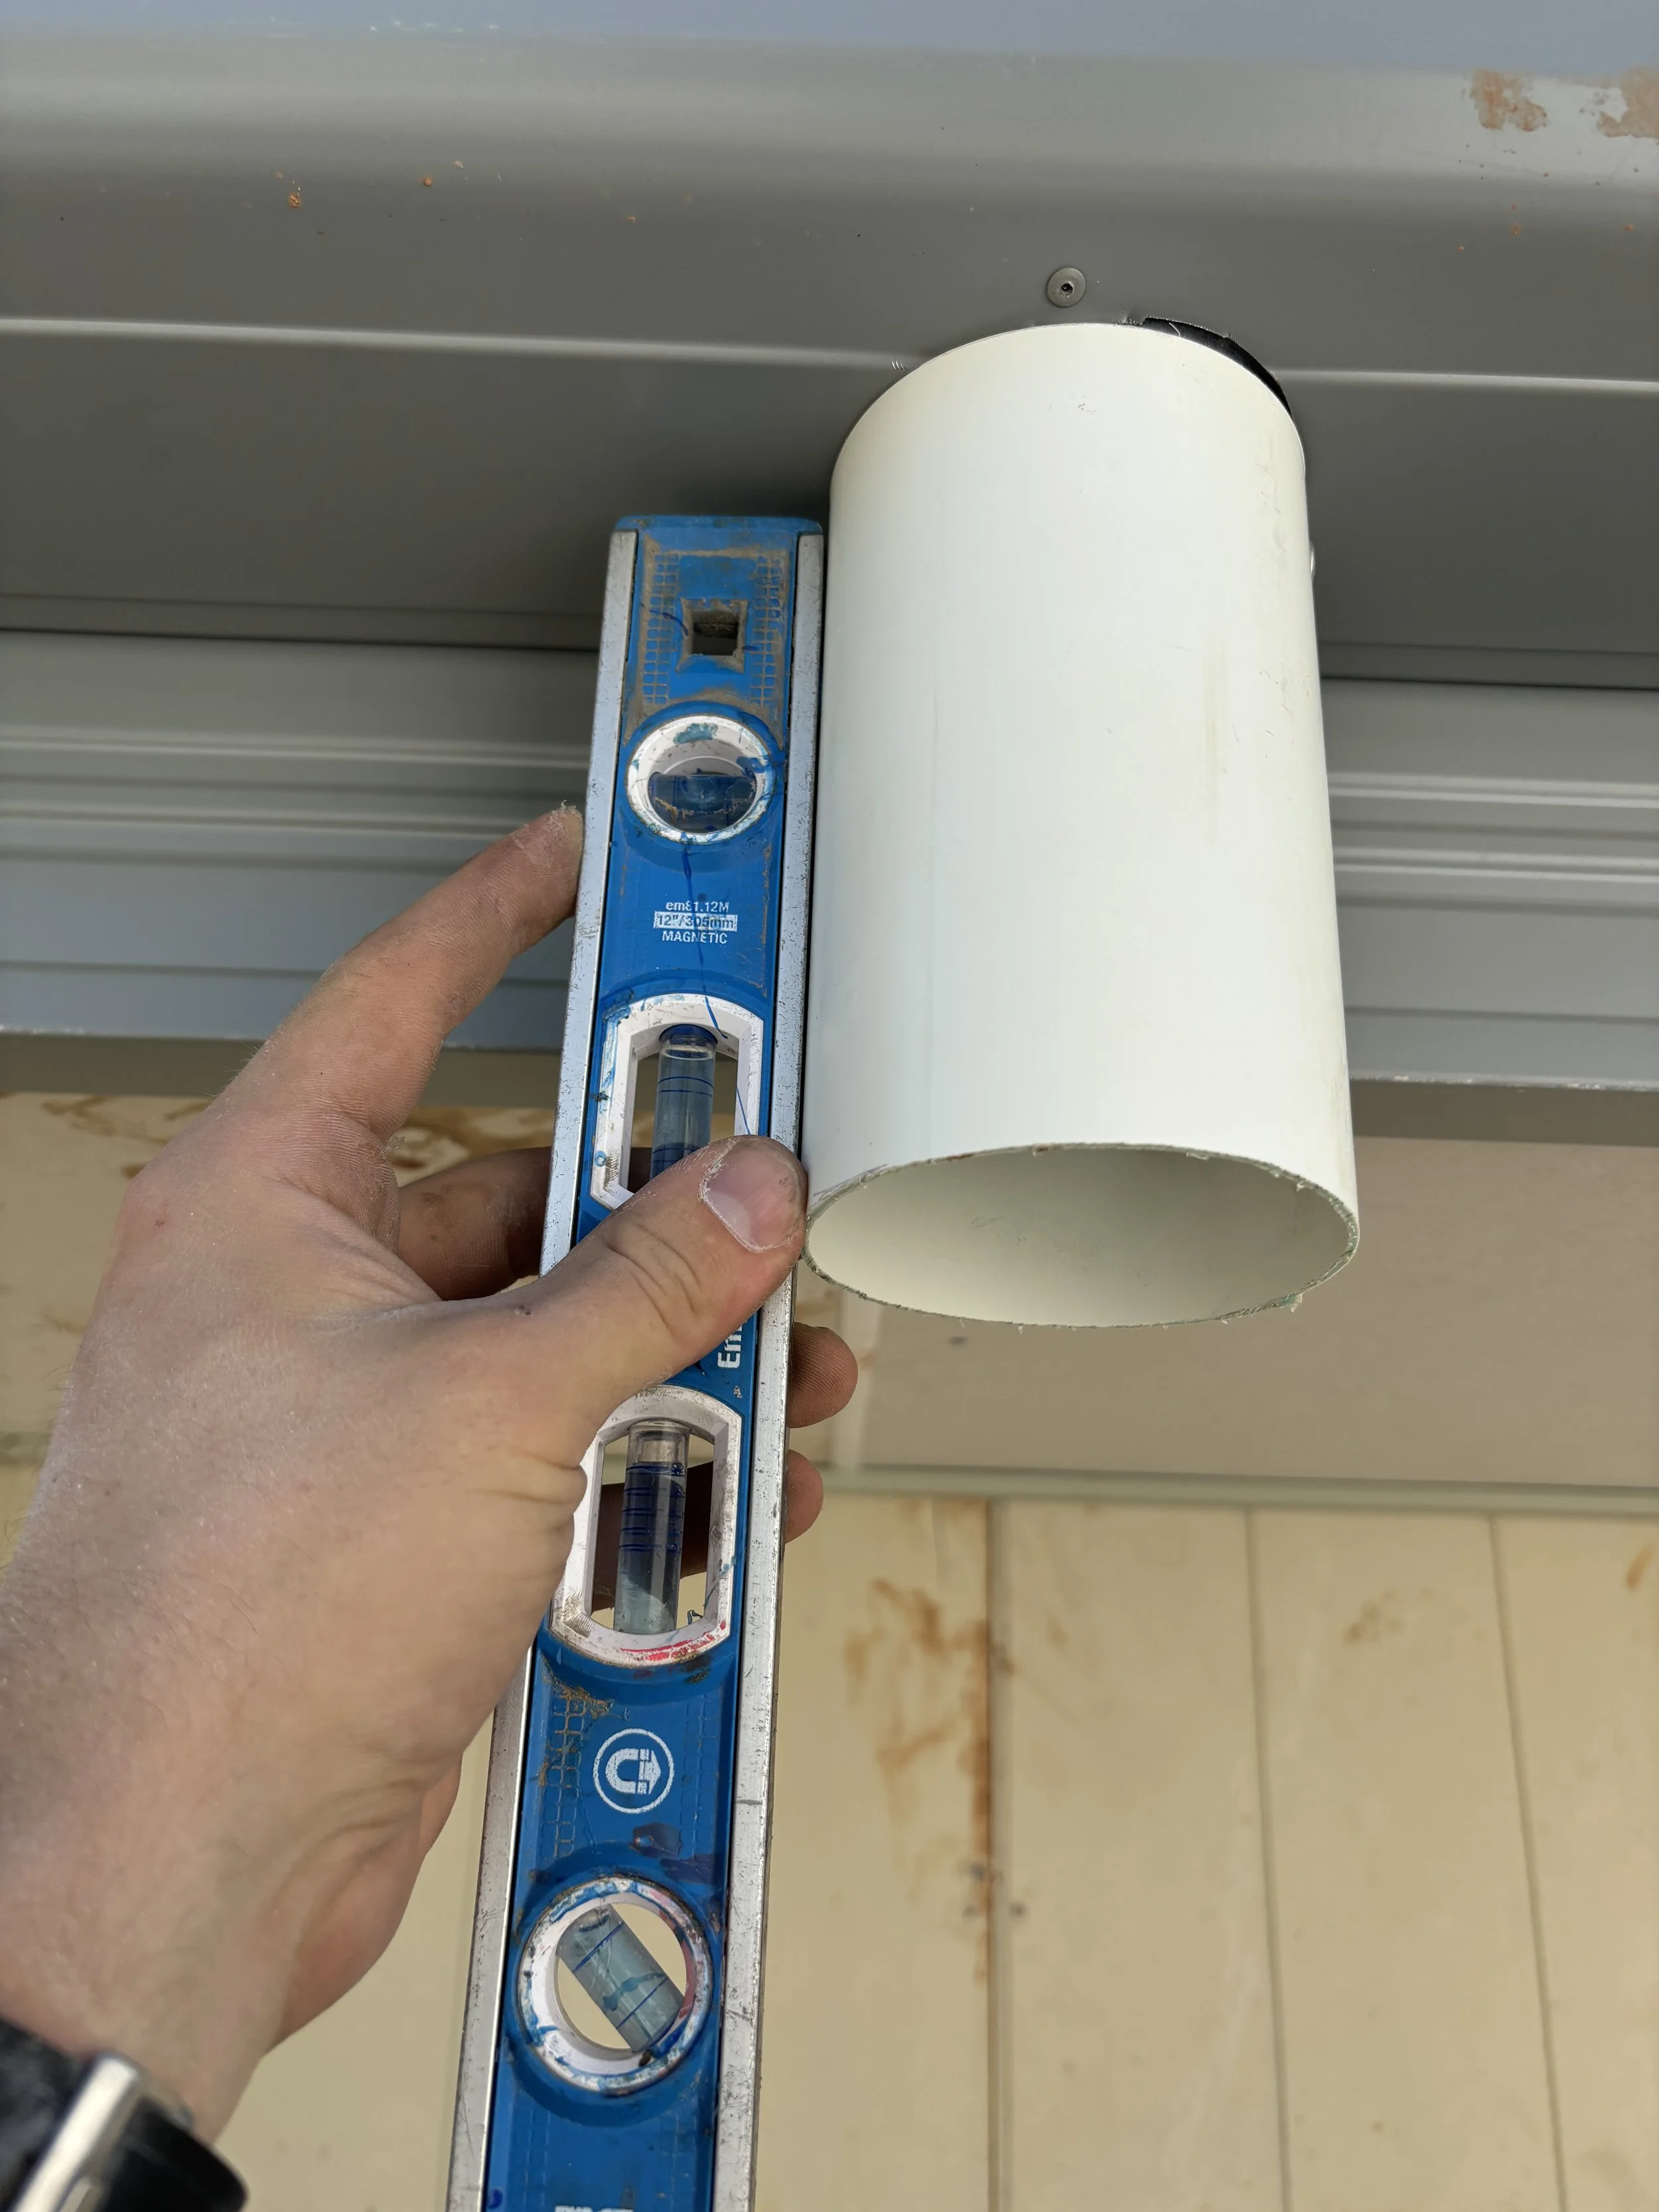
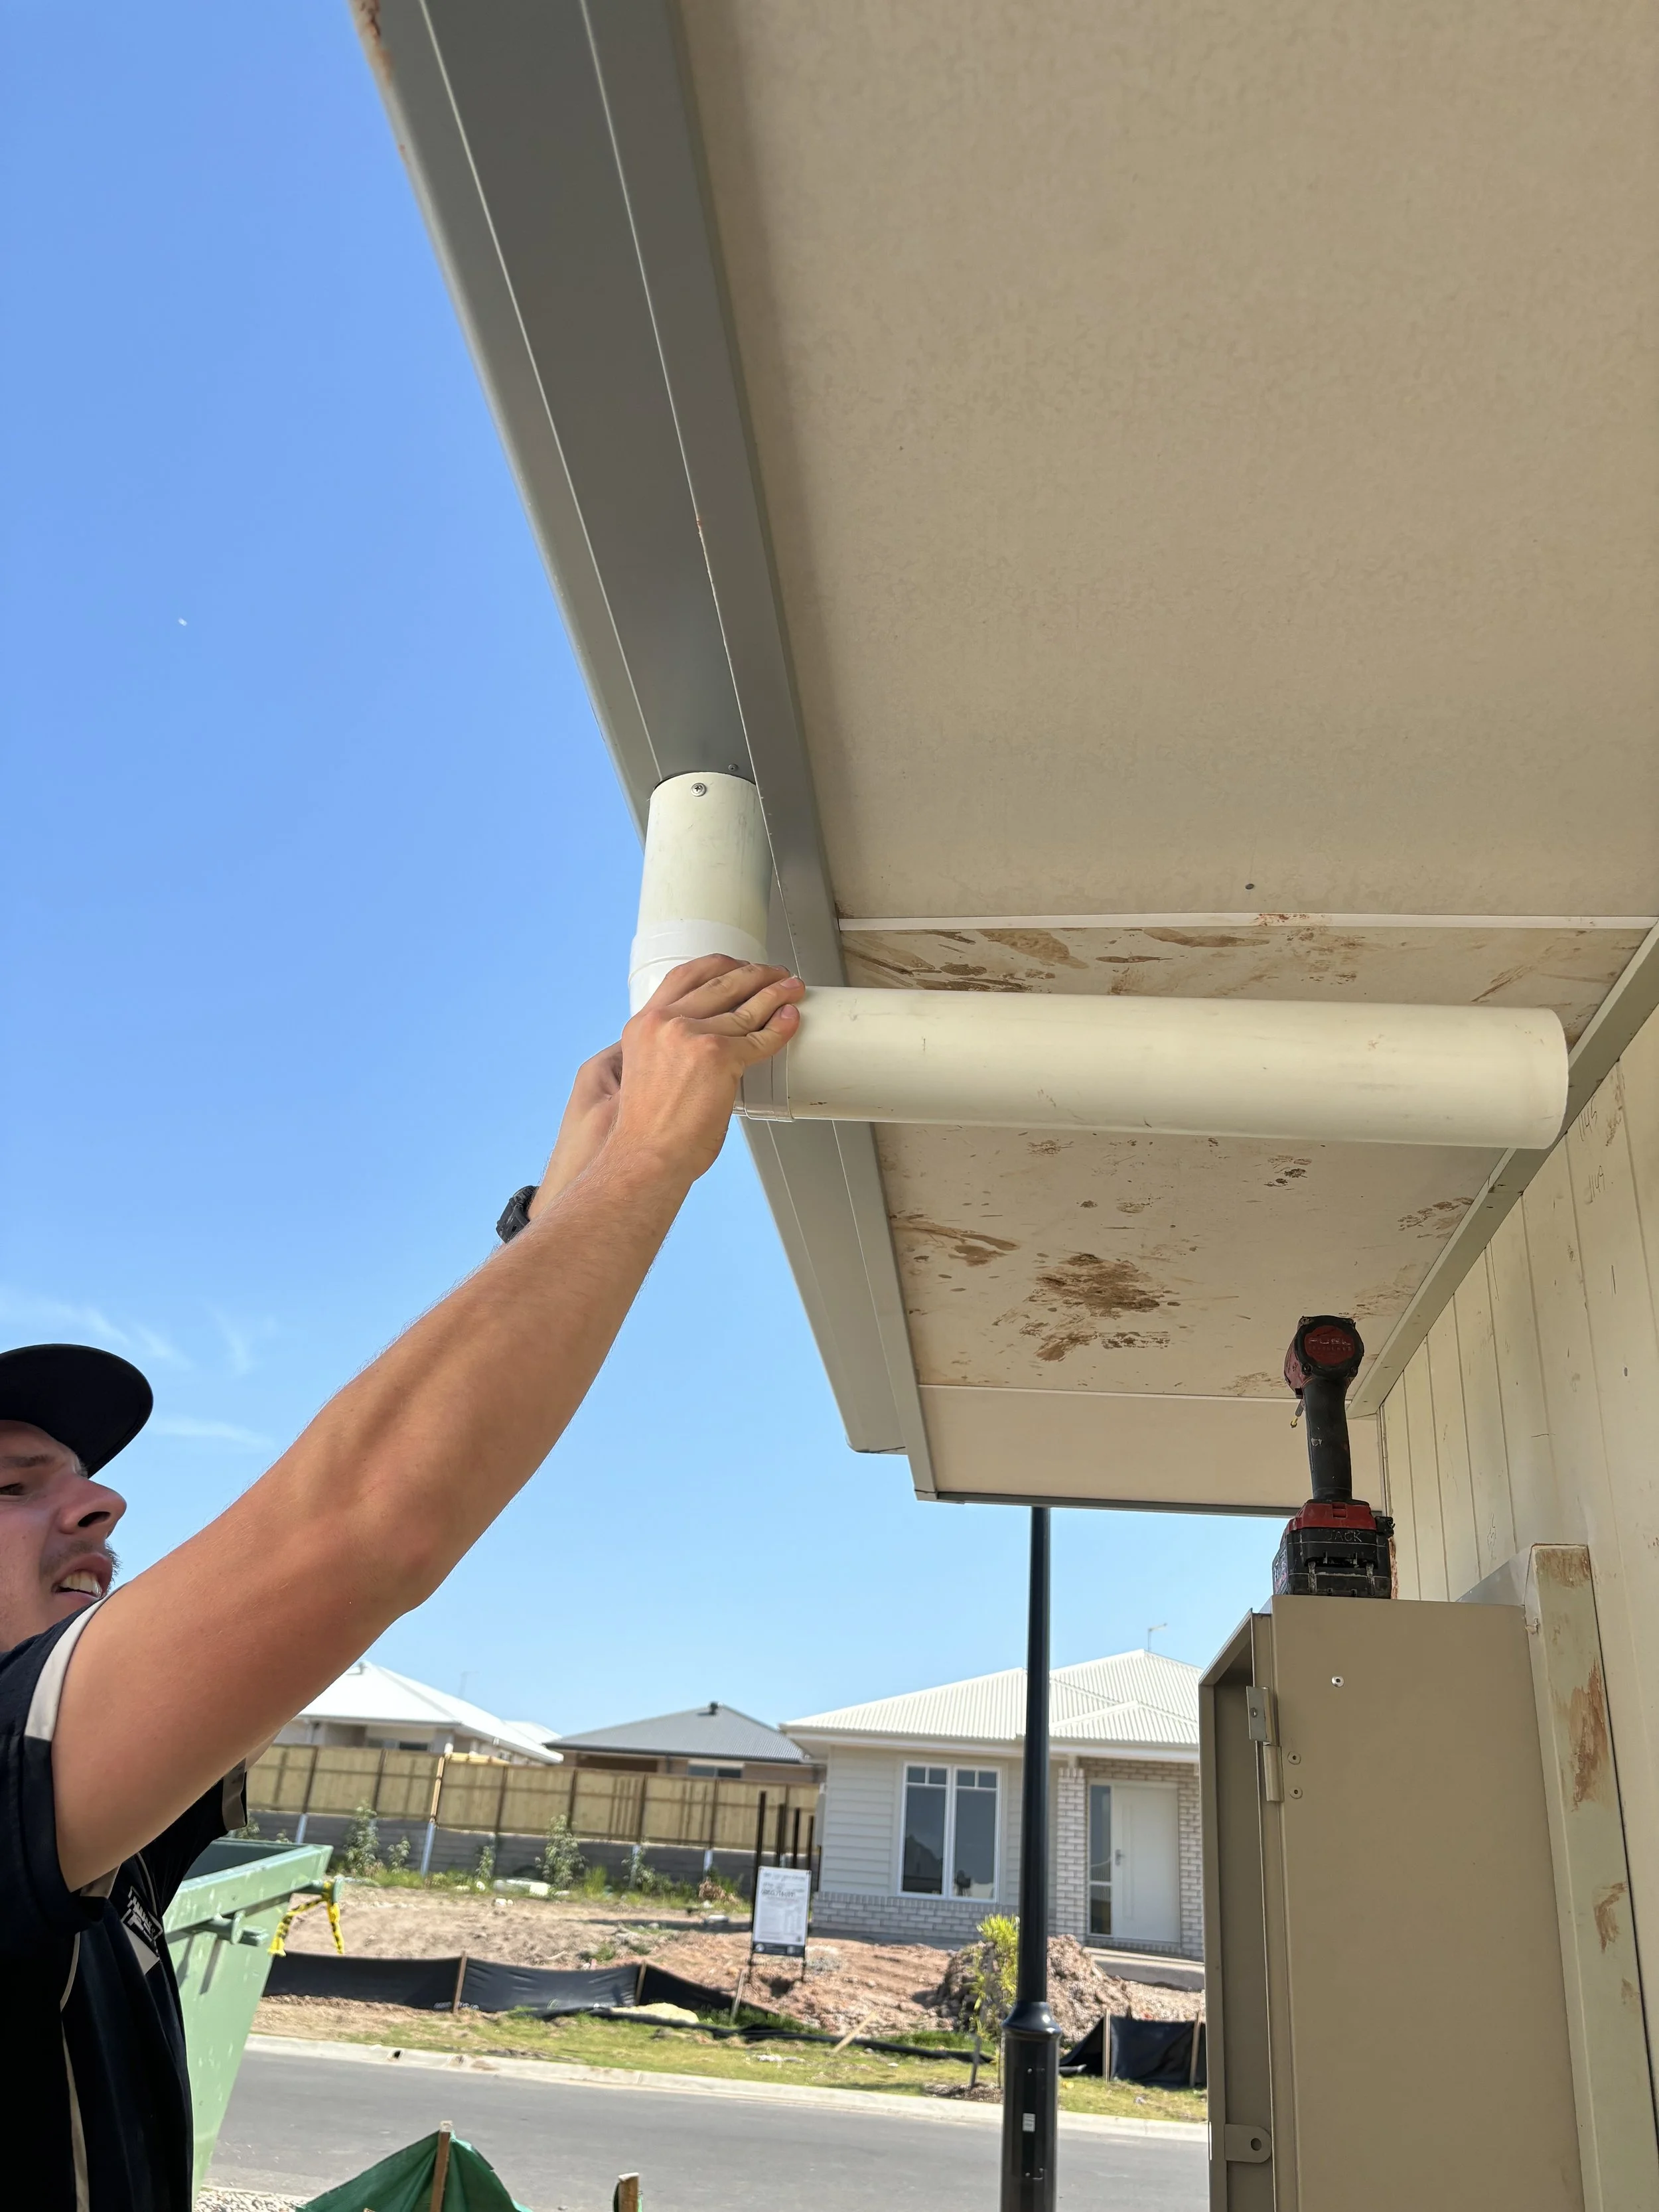
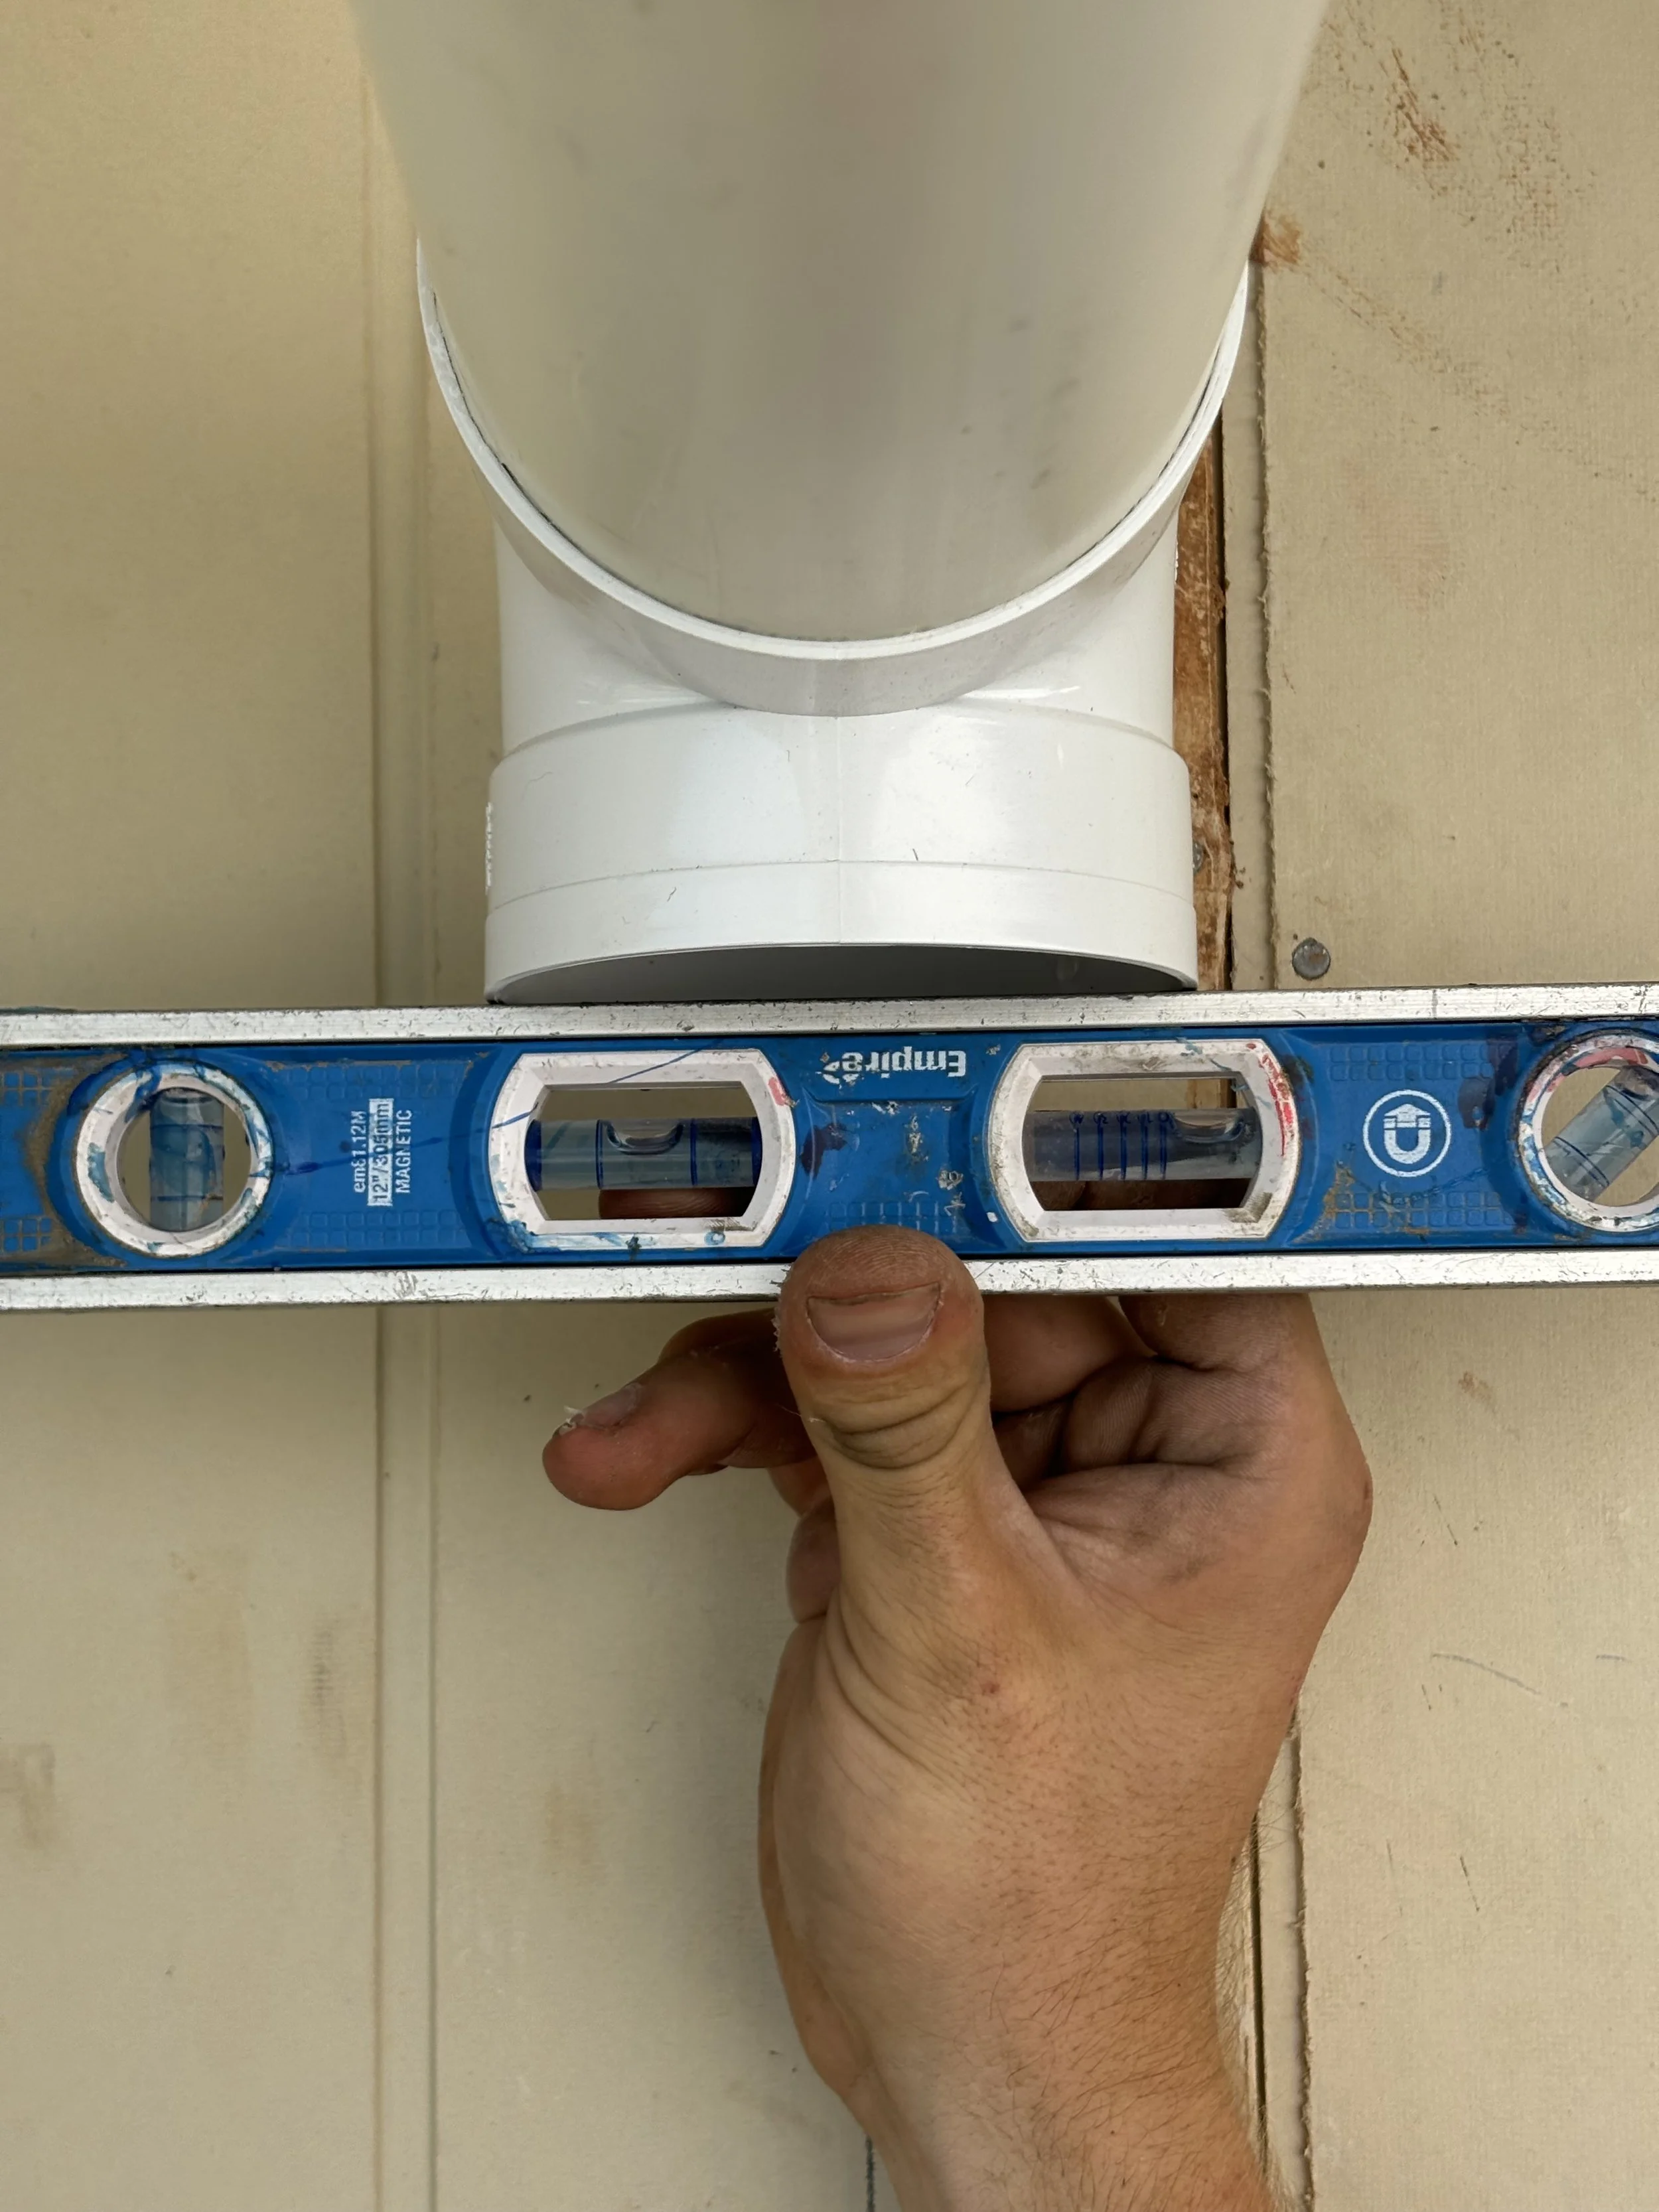
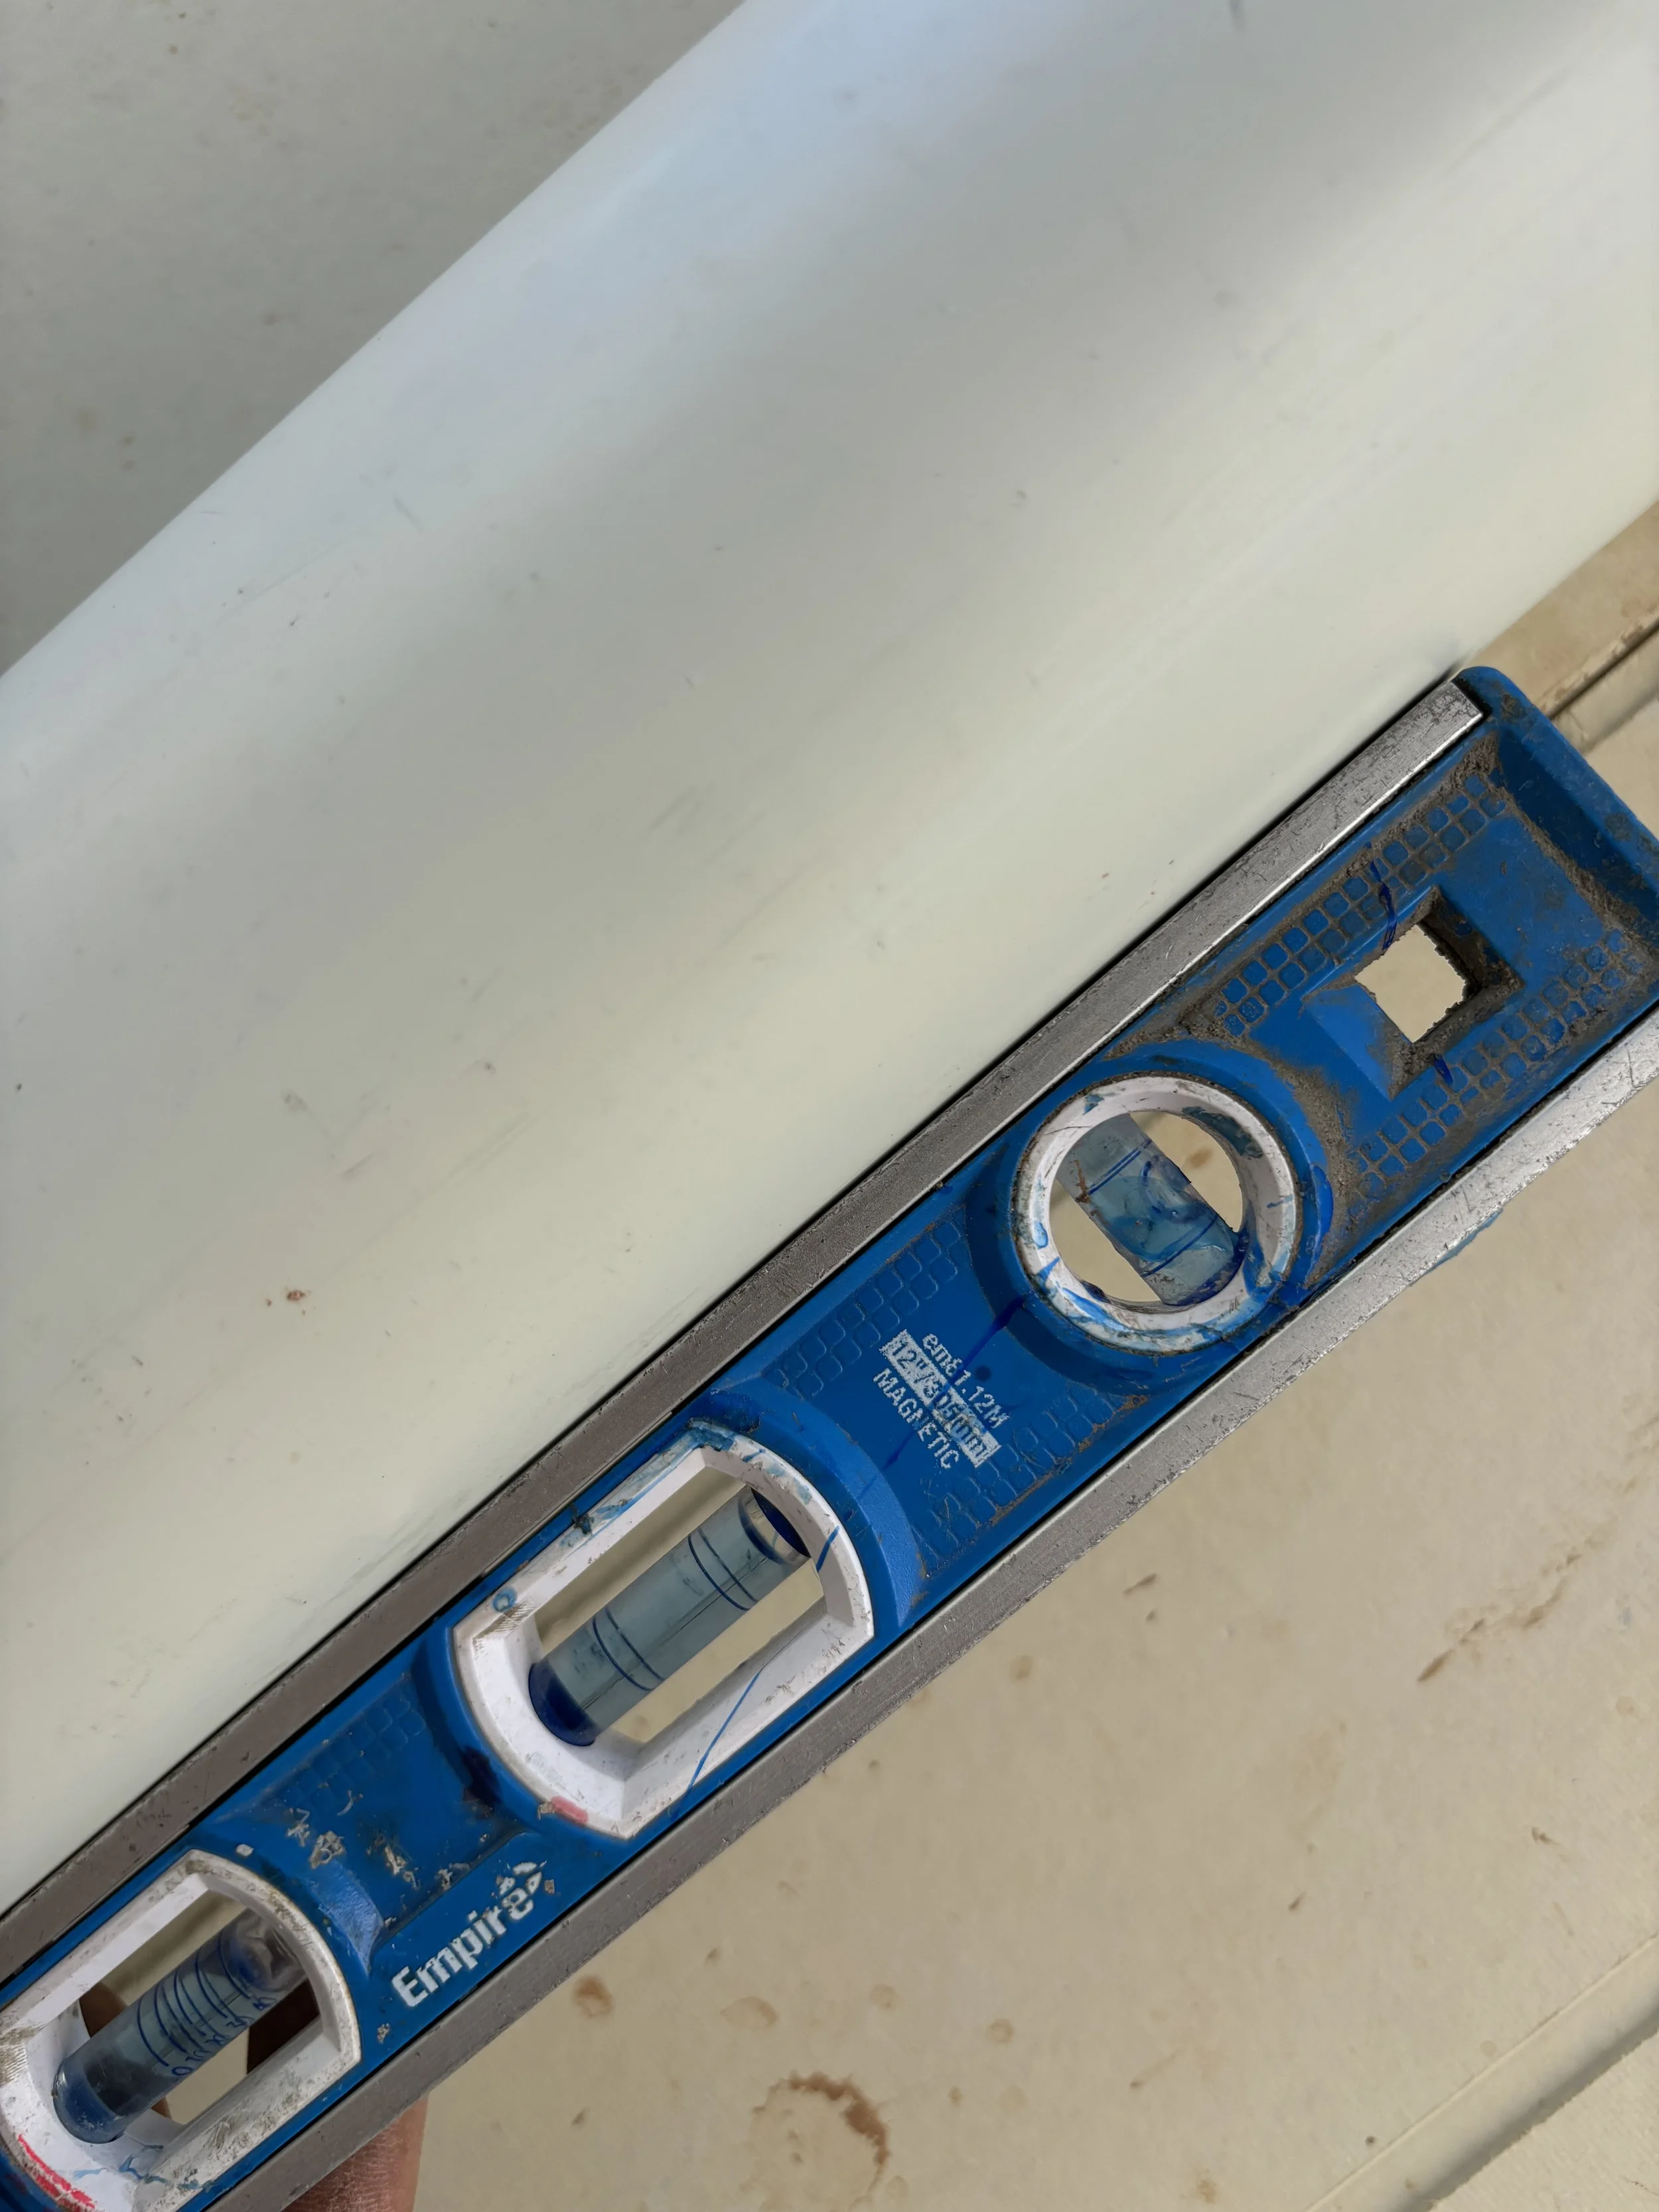
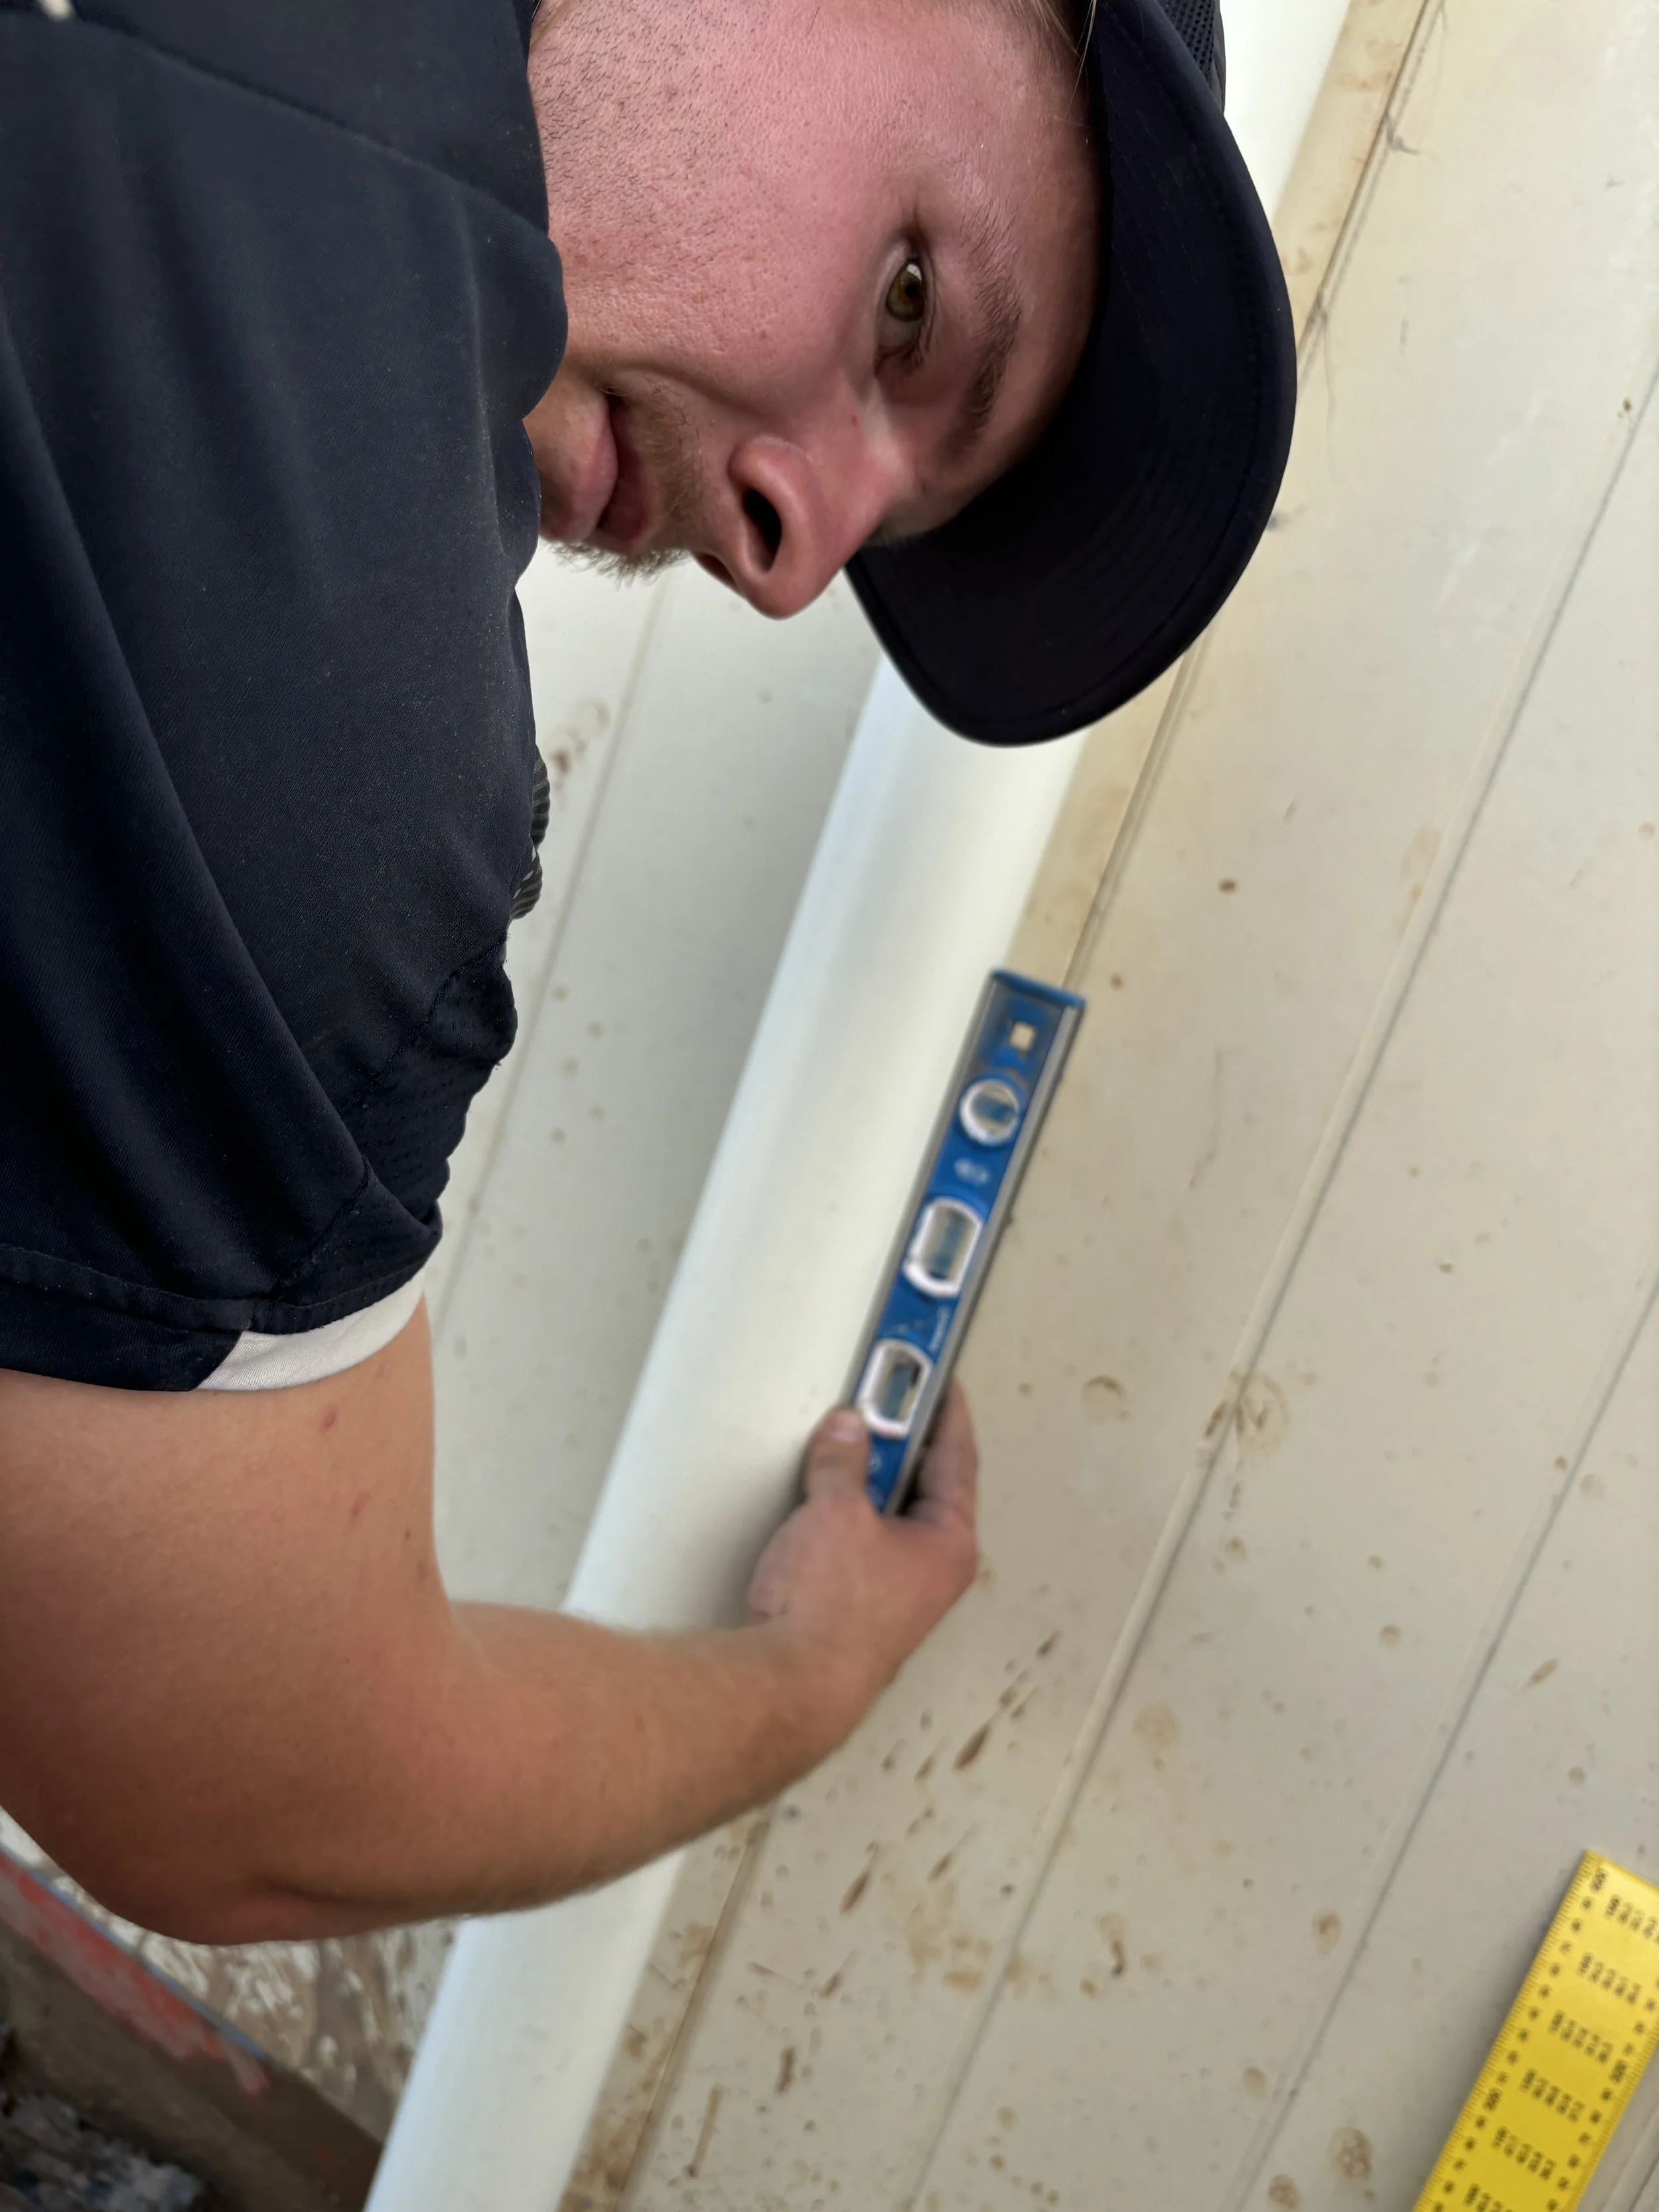
Make sure it’s level from both sides. Sometimes it can be hard to level if you have pushed it super hard up against the bottom of the gutter. ( I usually try and sit it down a bee’s dick from the bottom of the gutter when screwing in that’s about half a mm)
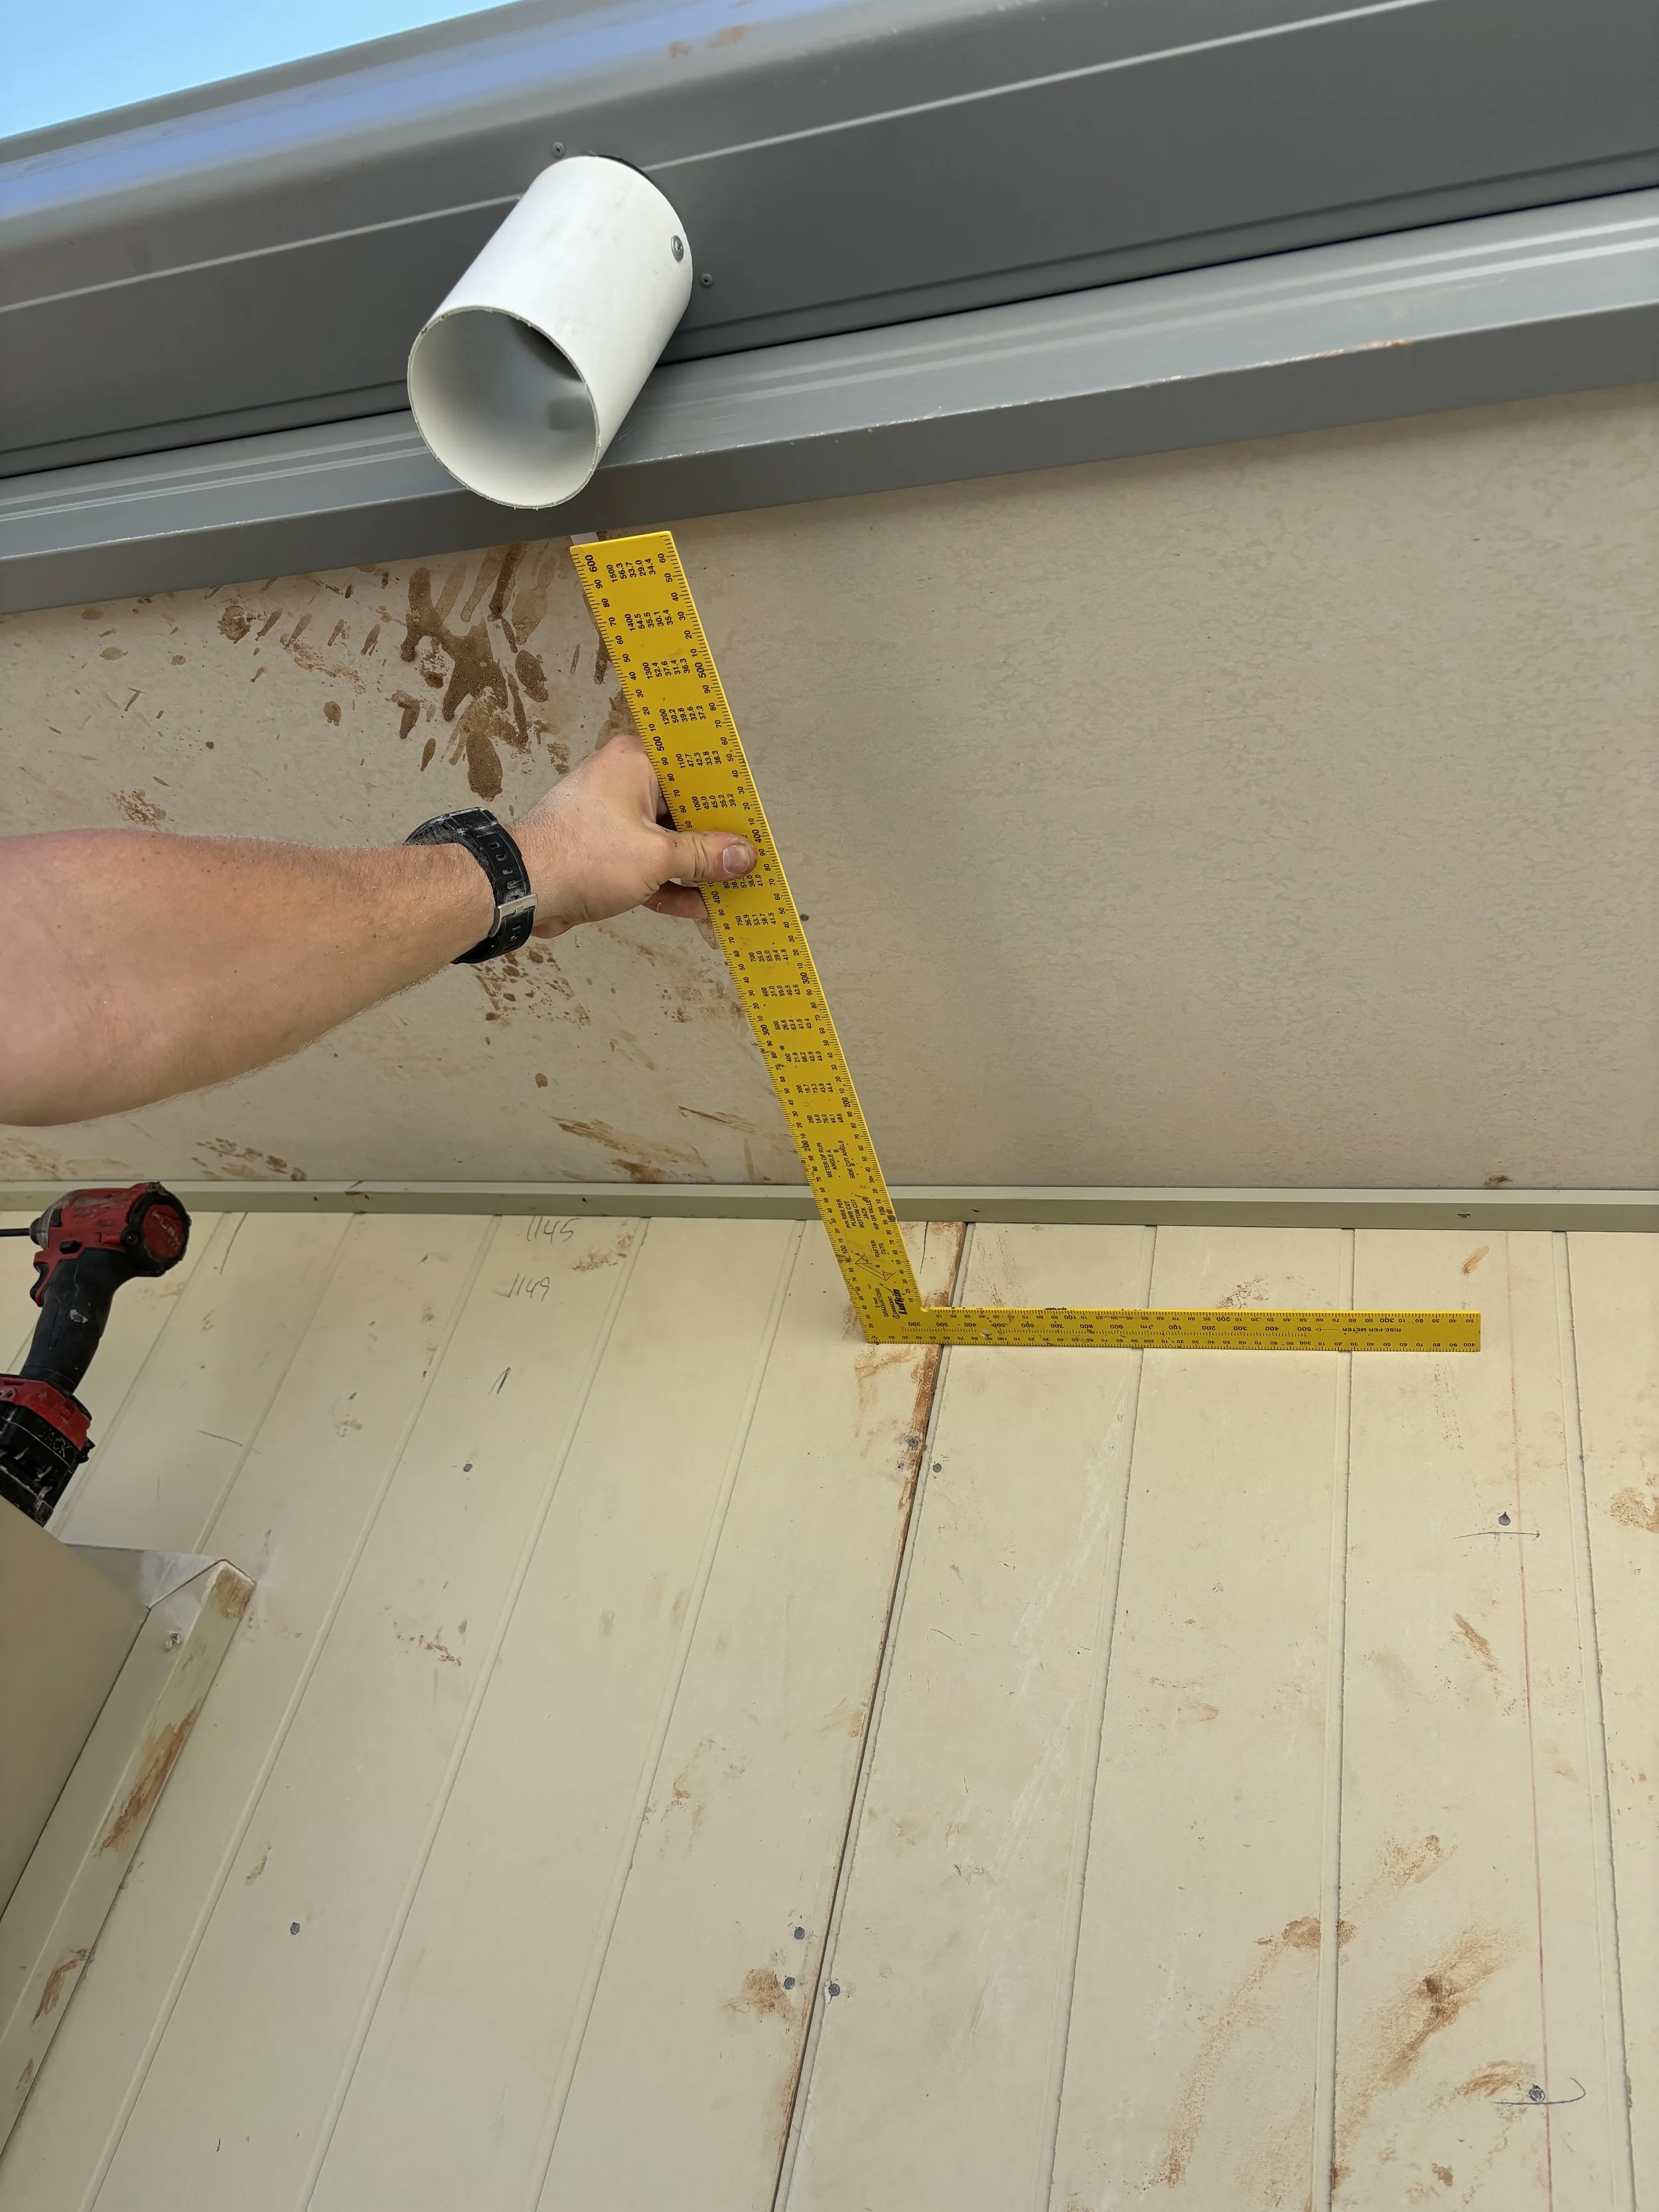
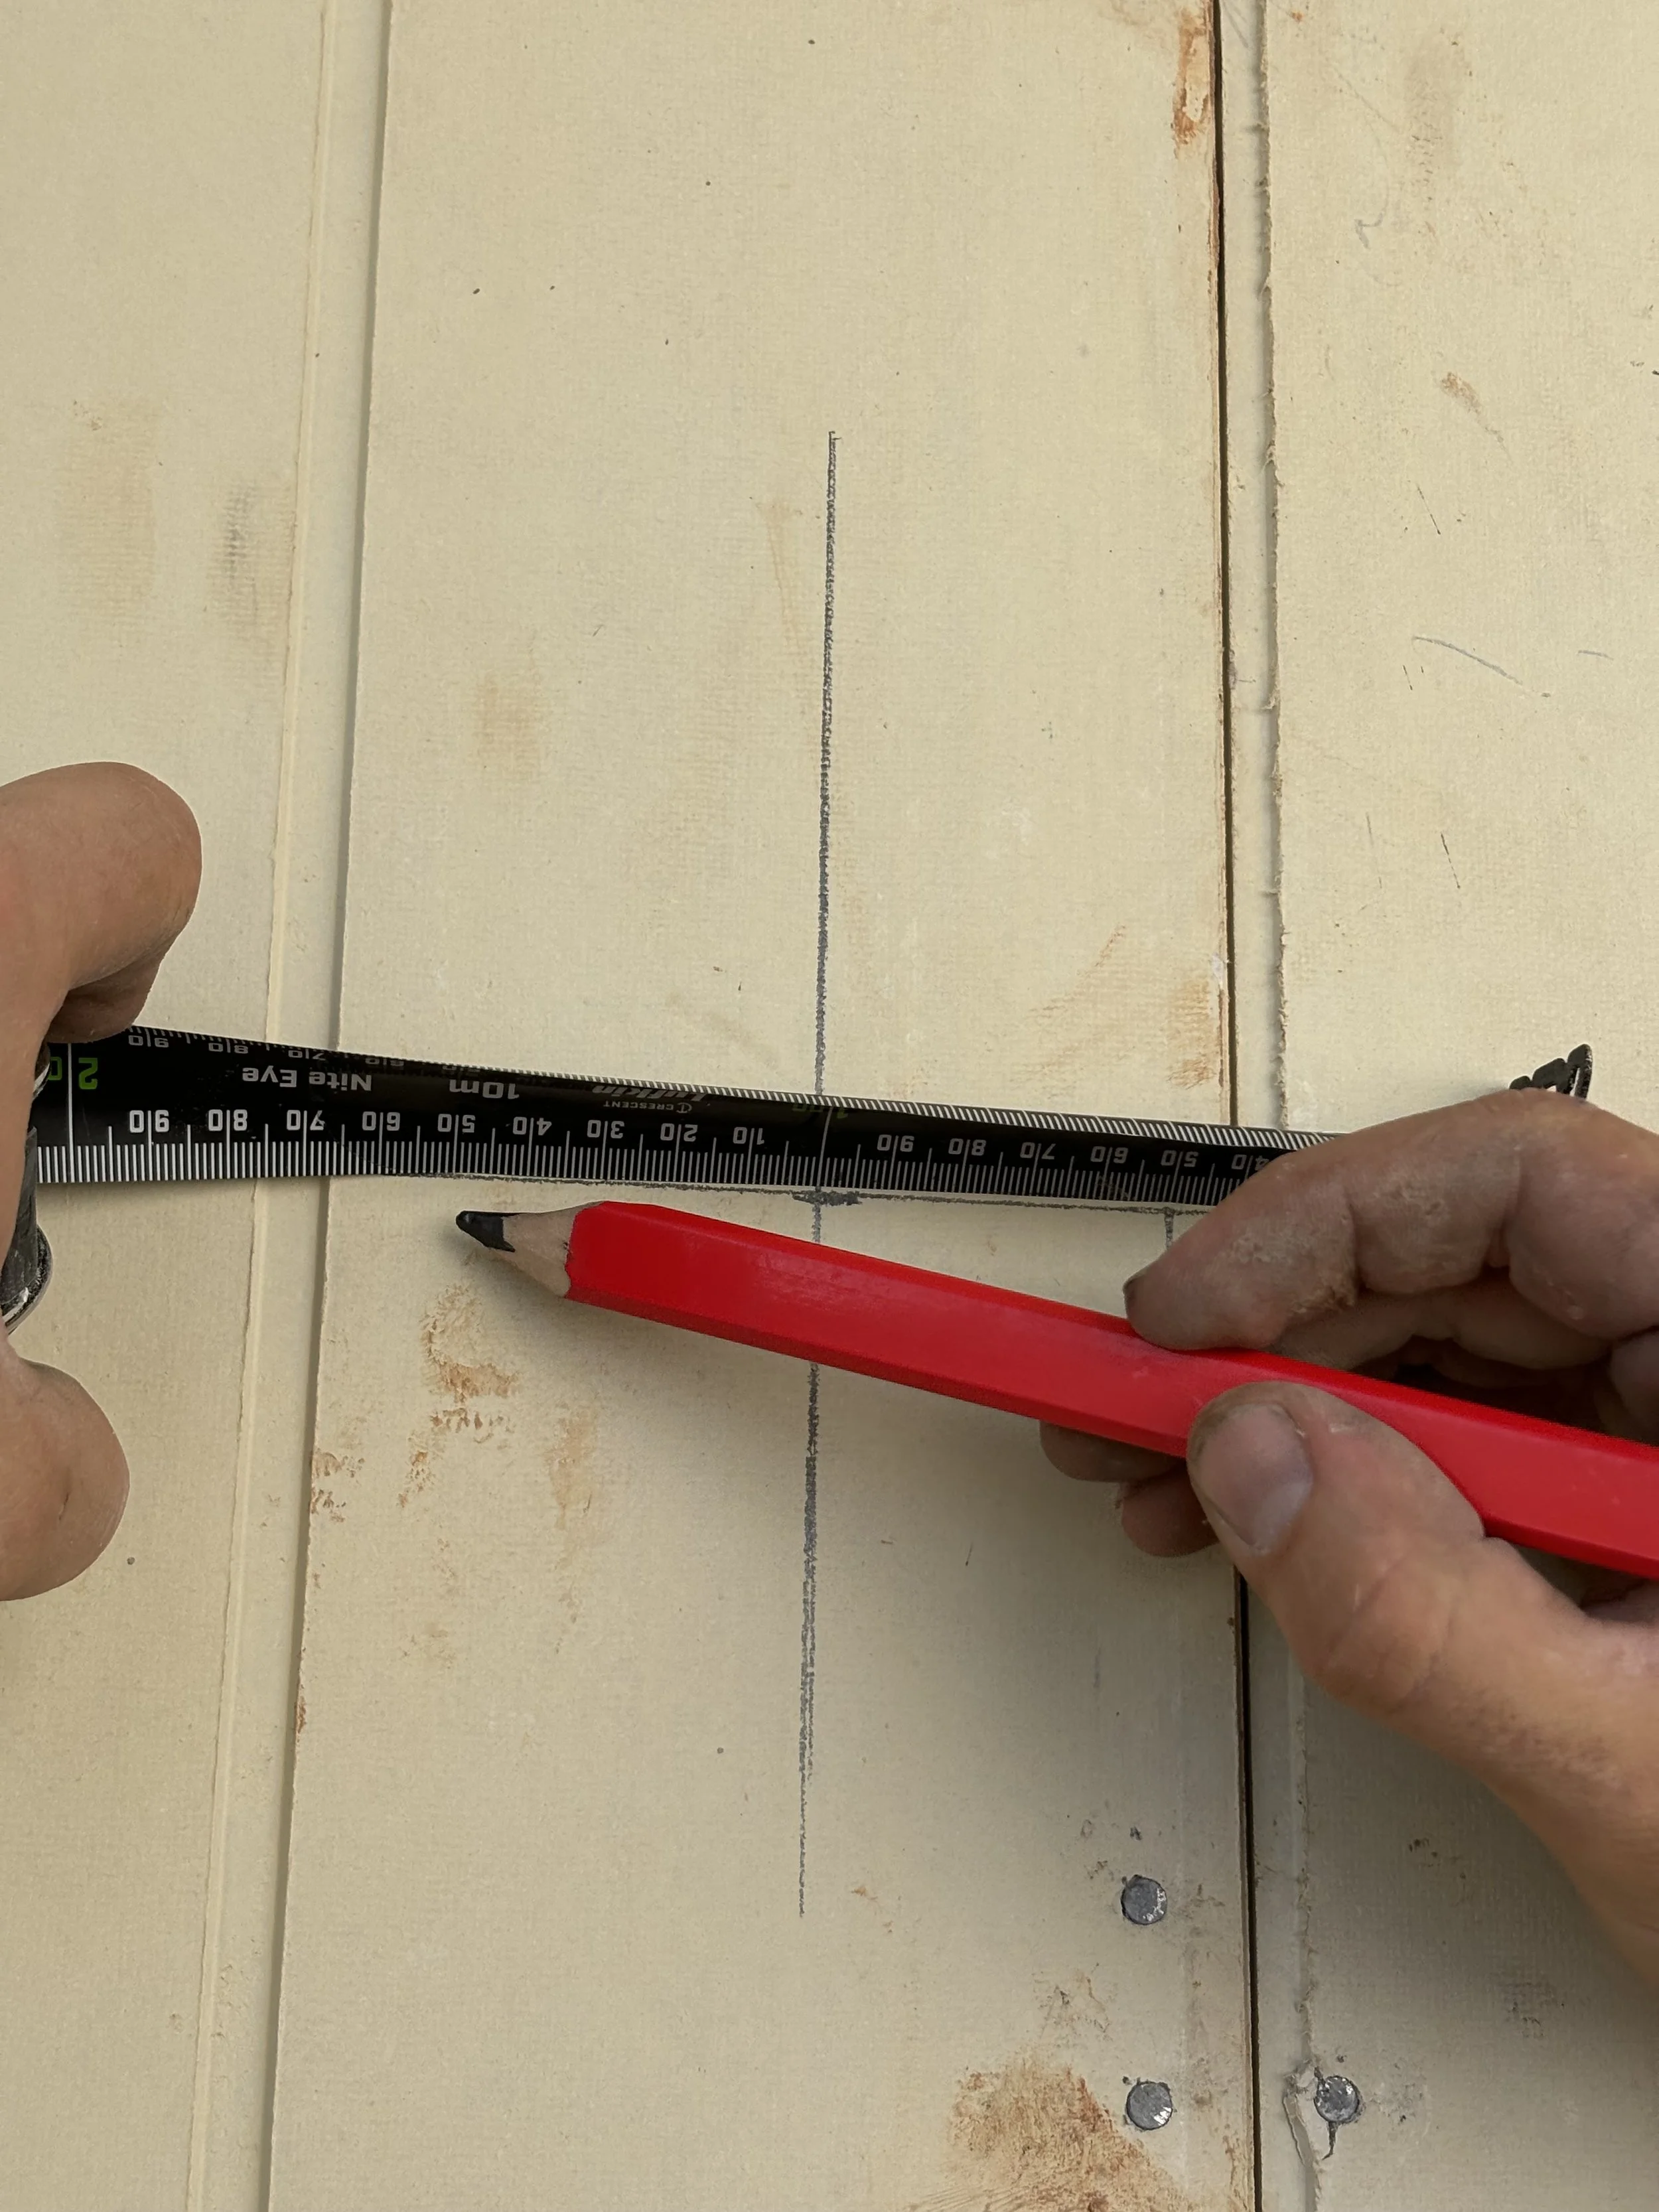
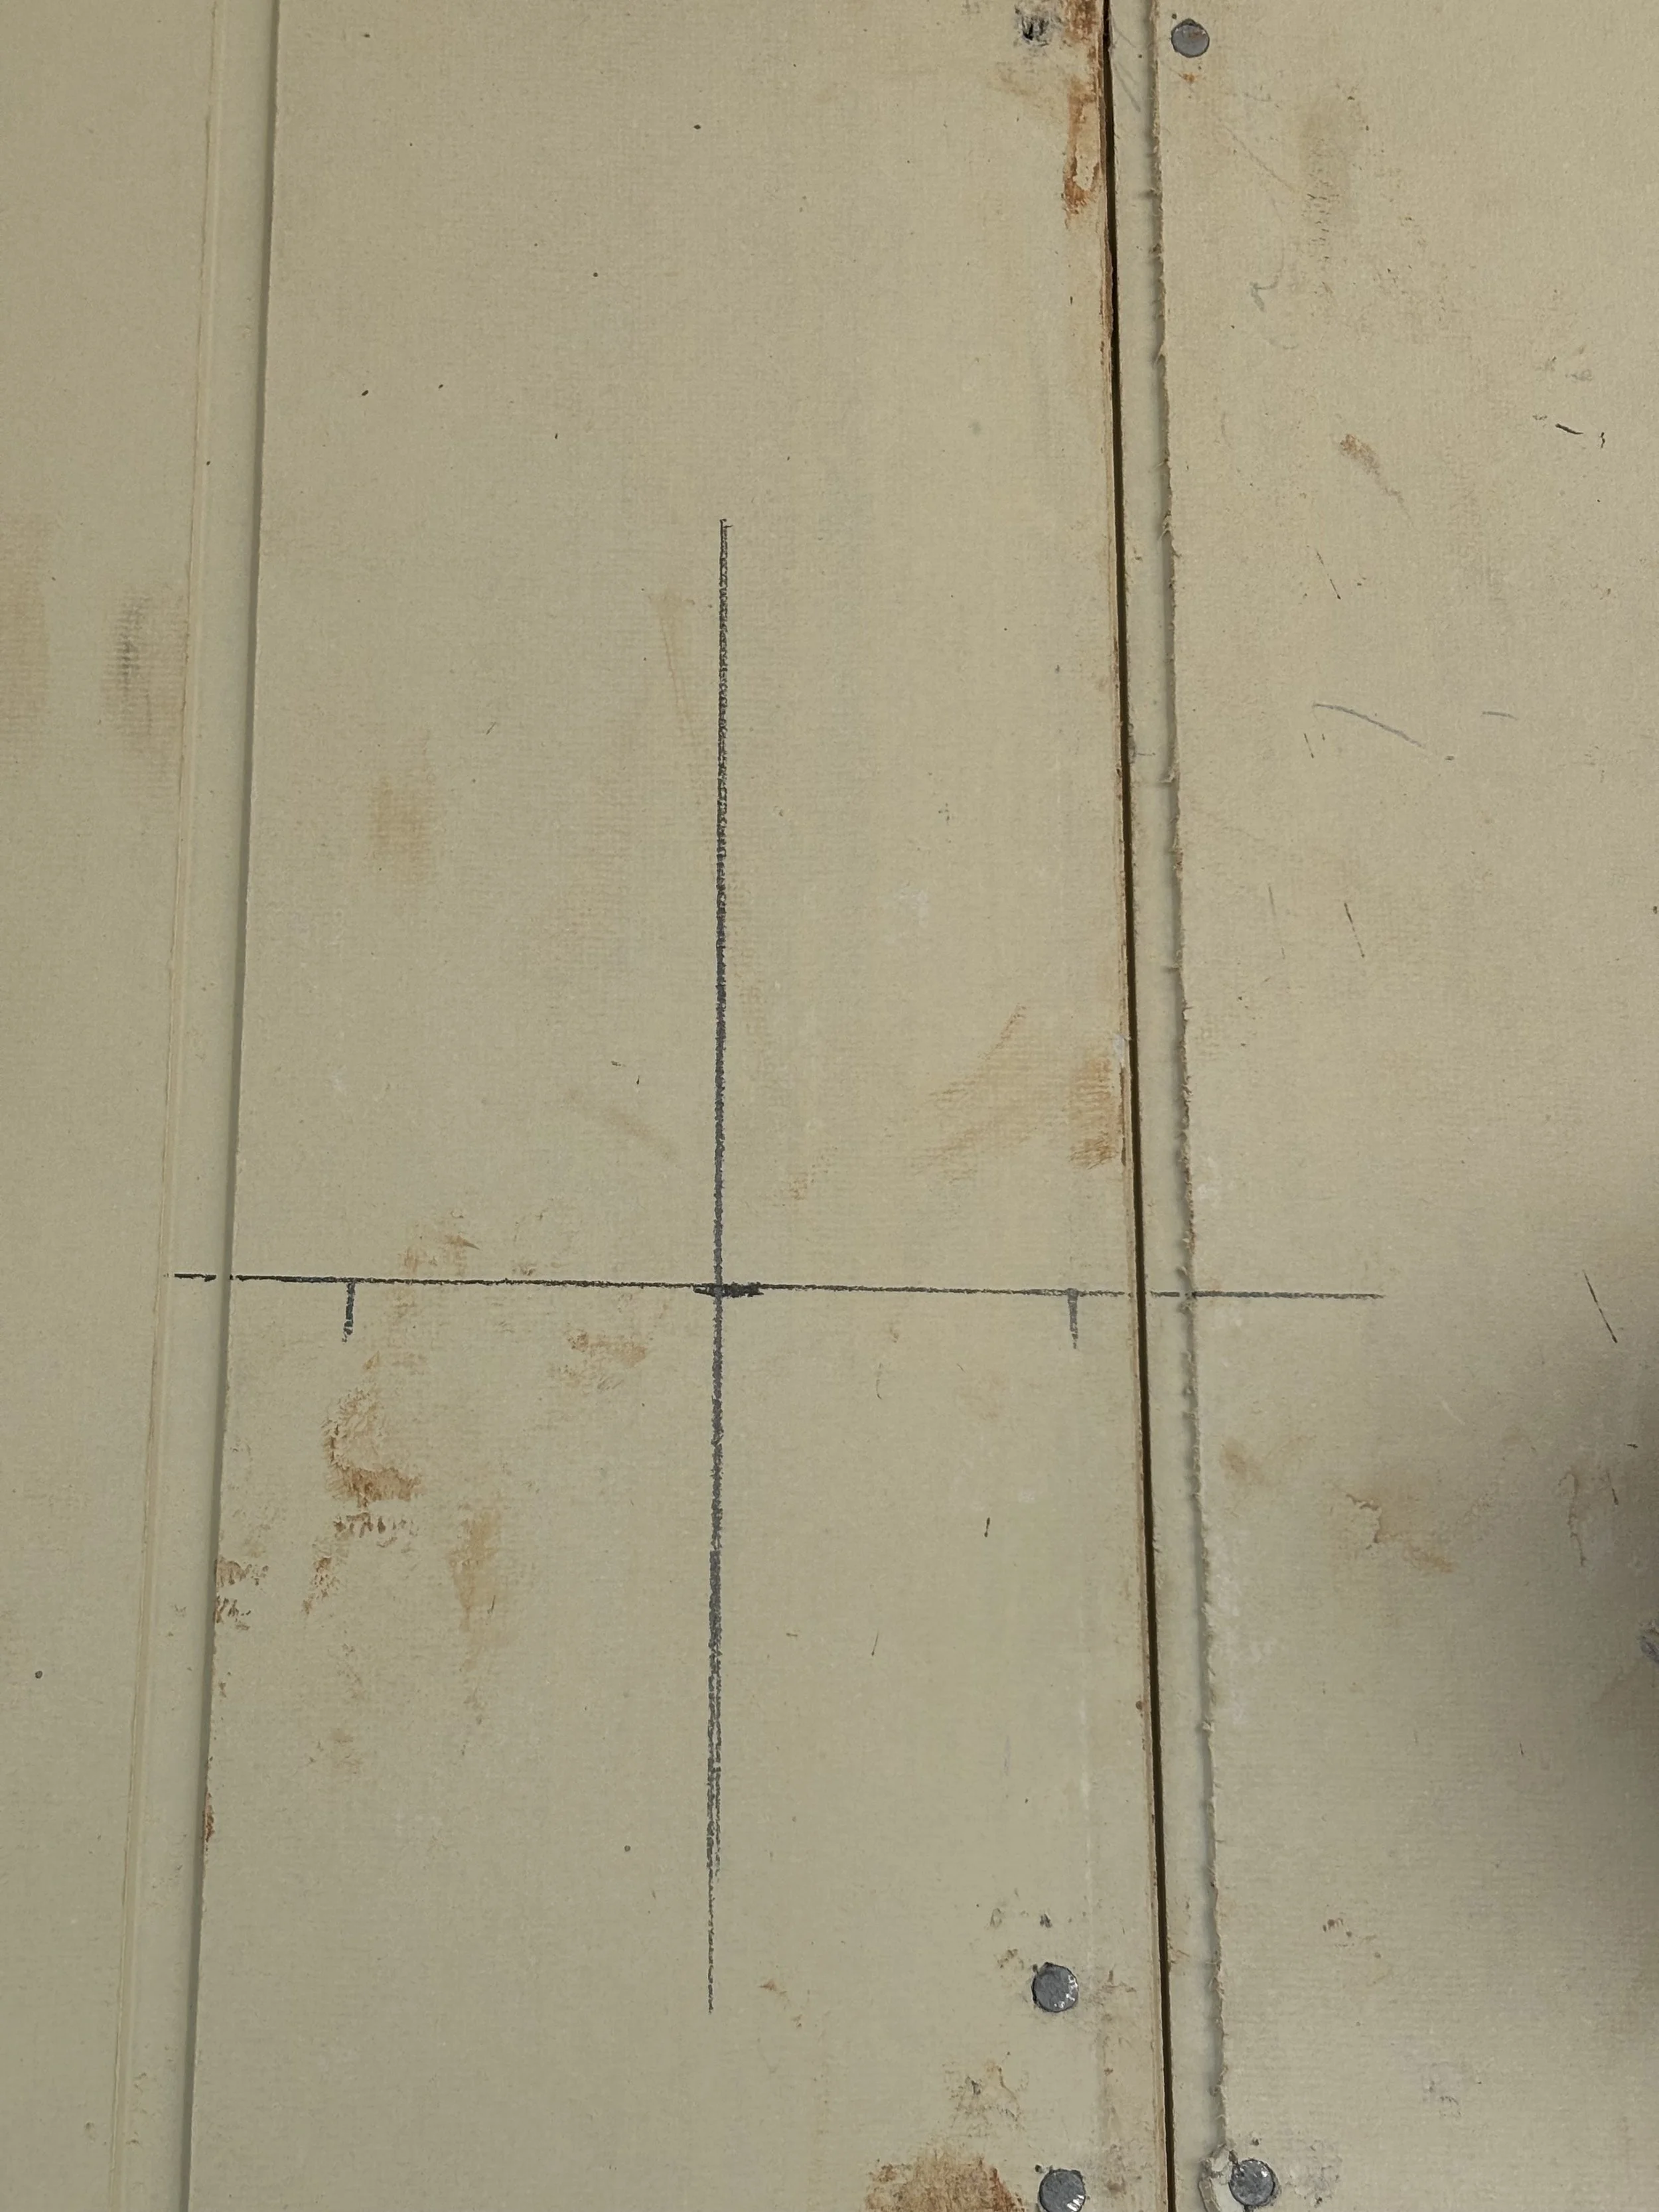
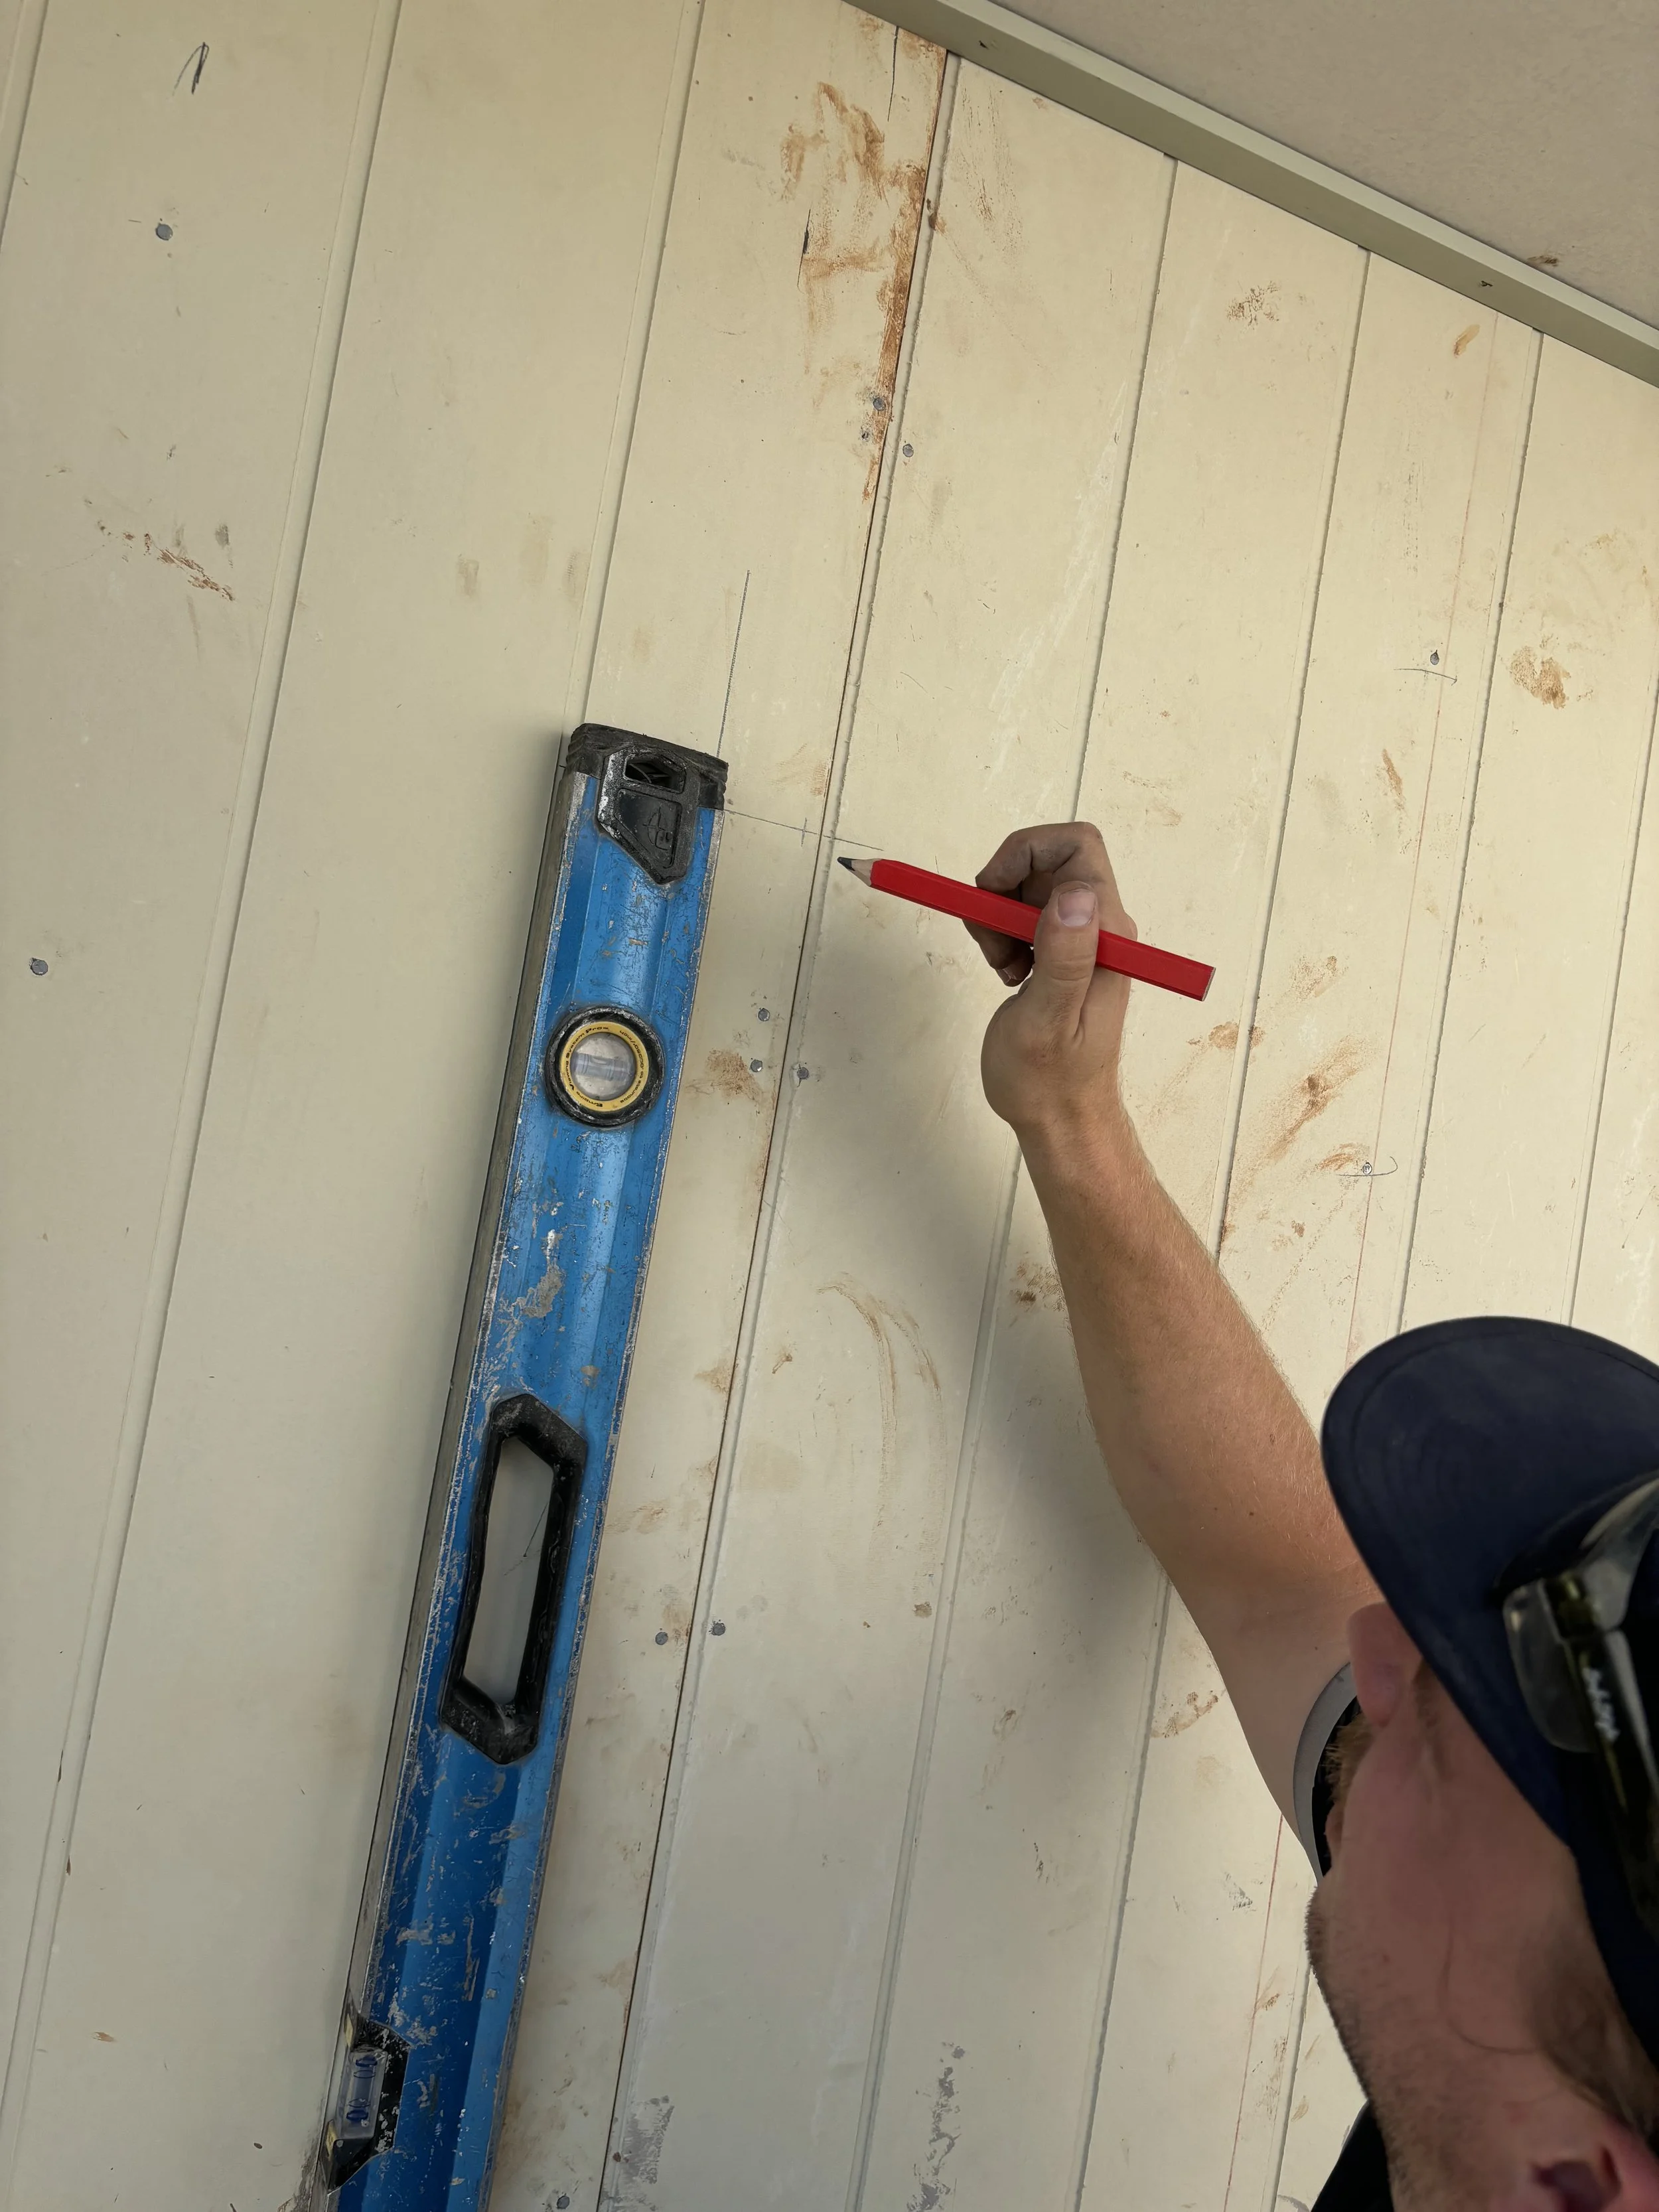
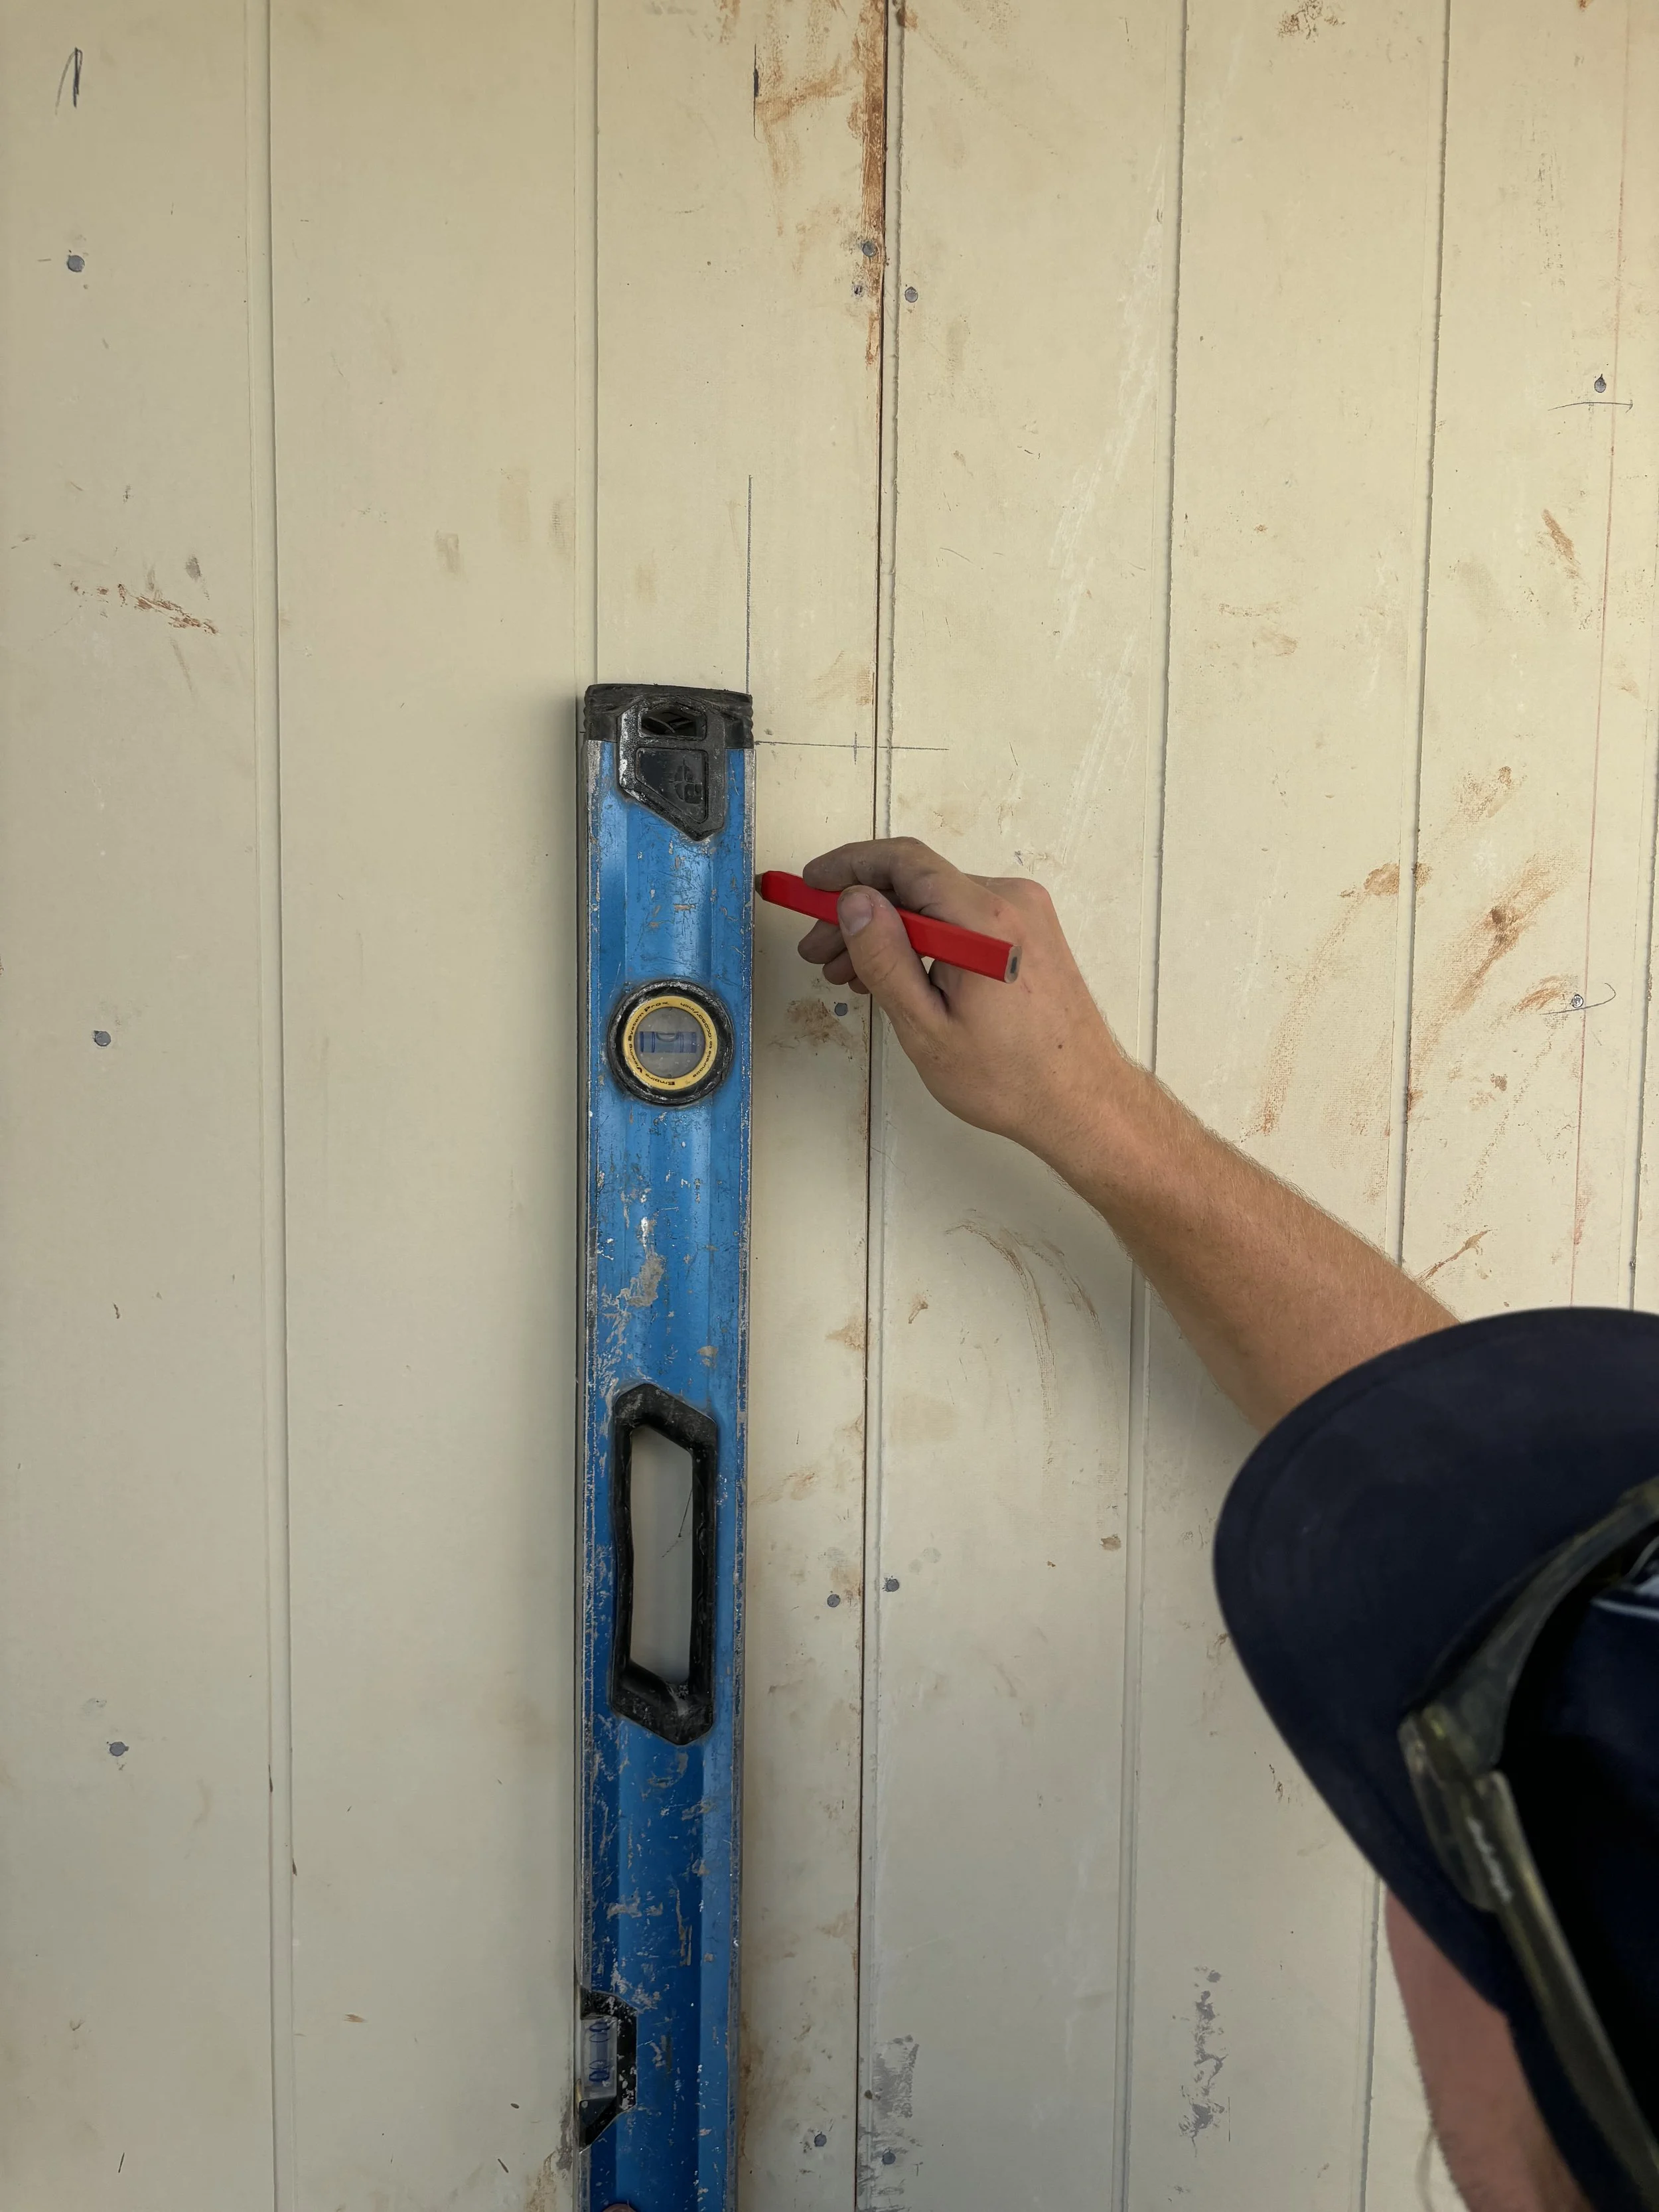
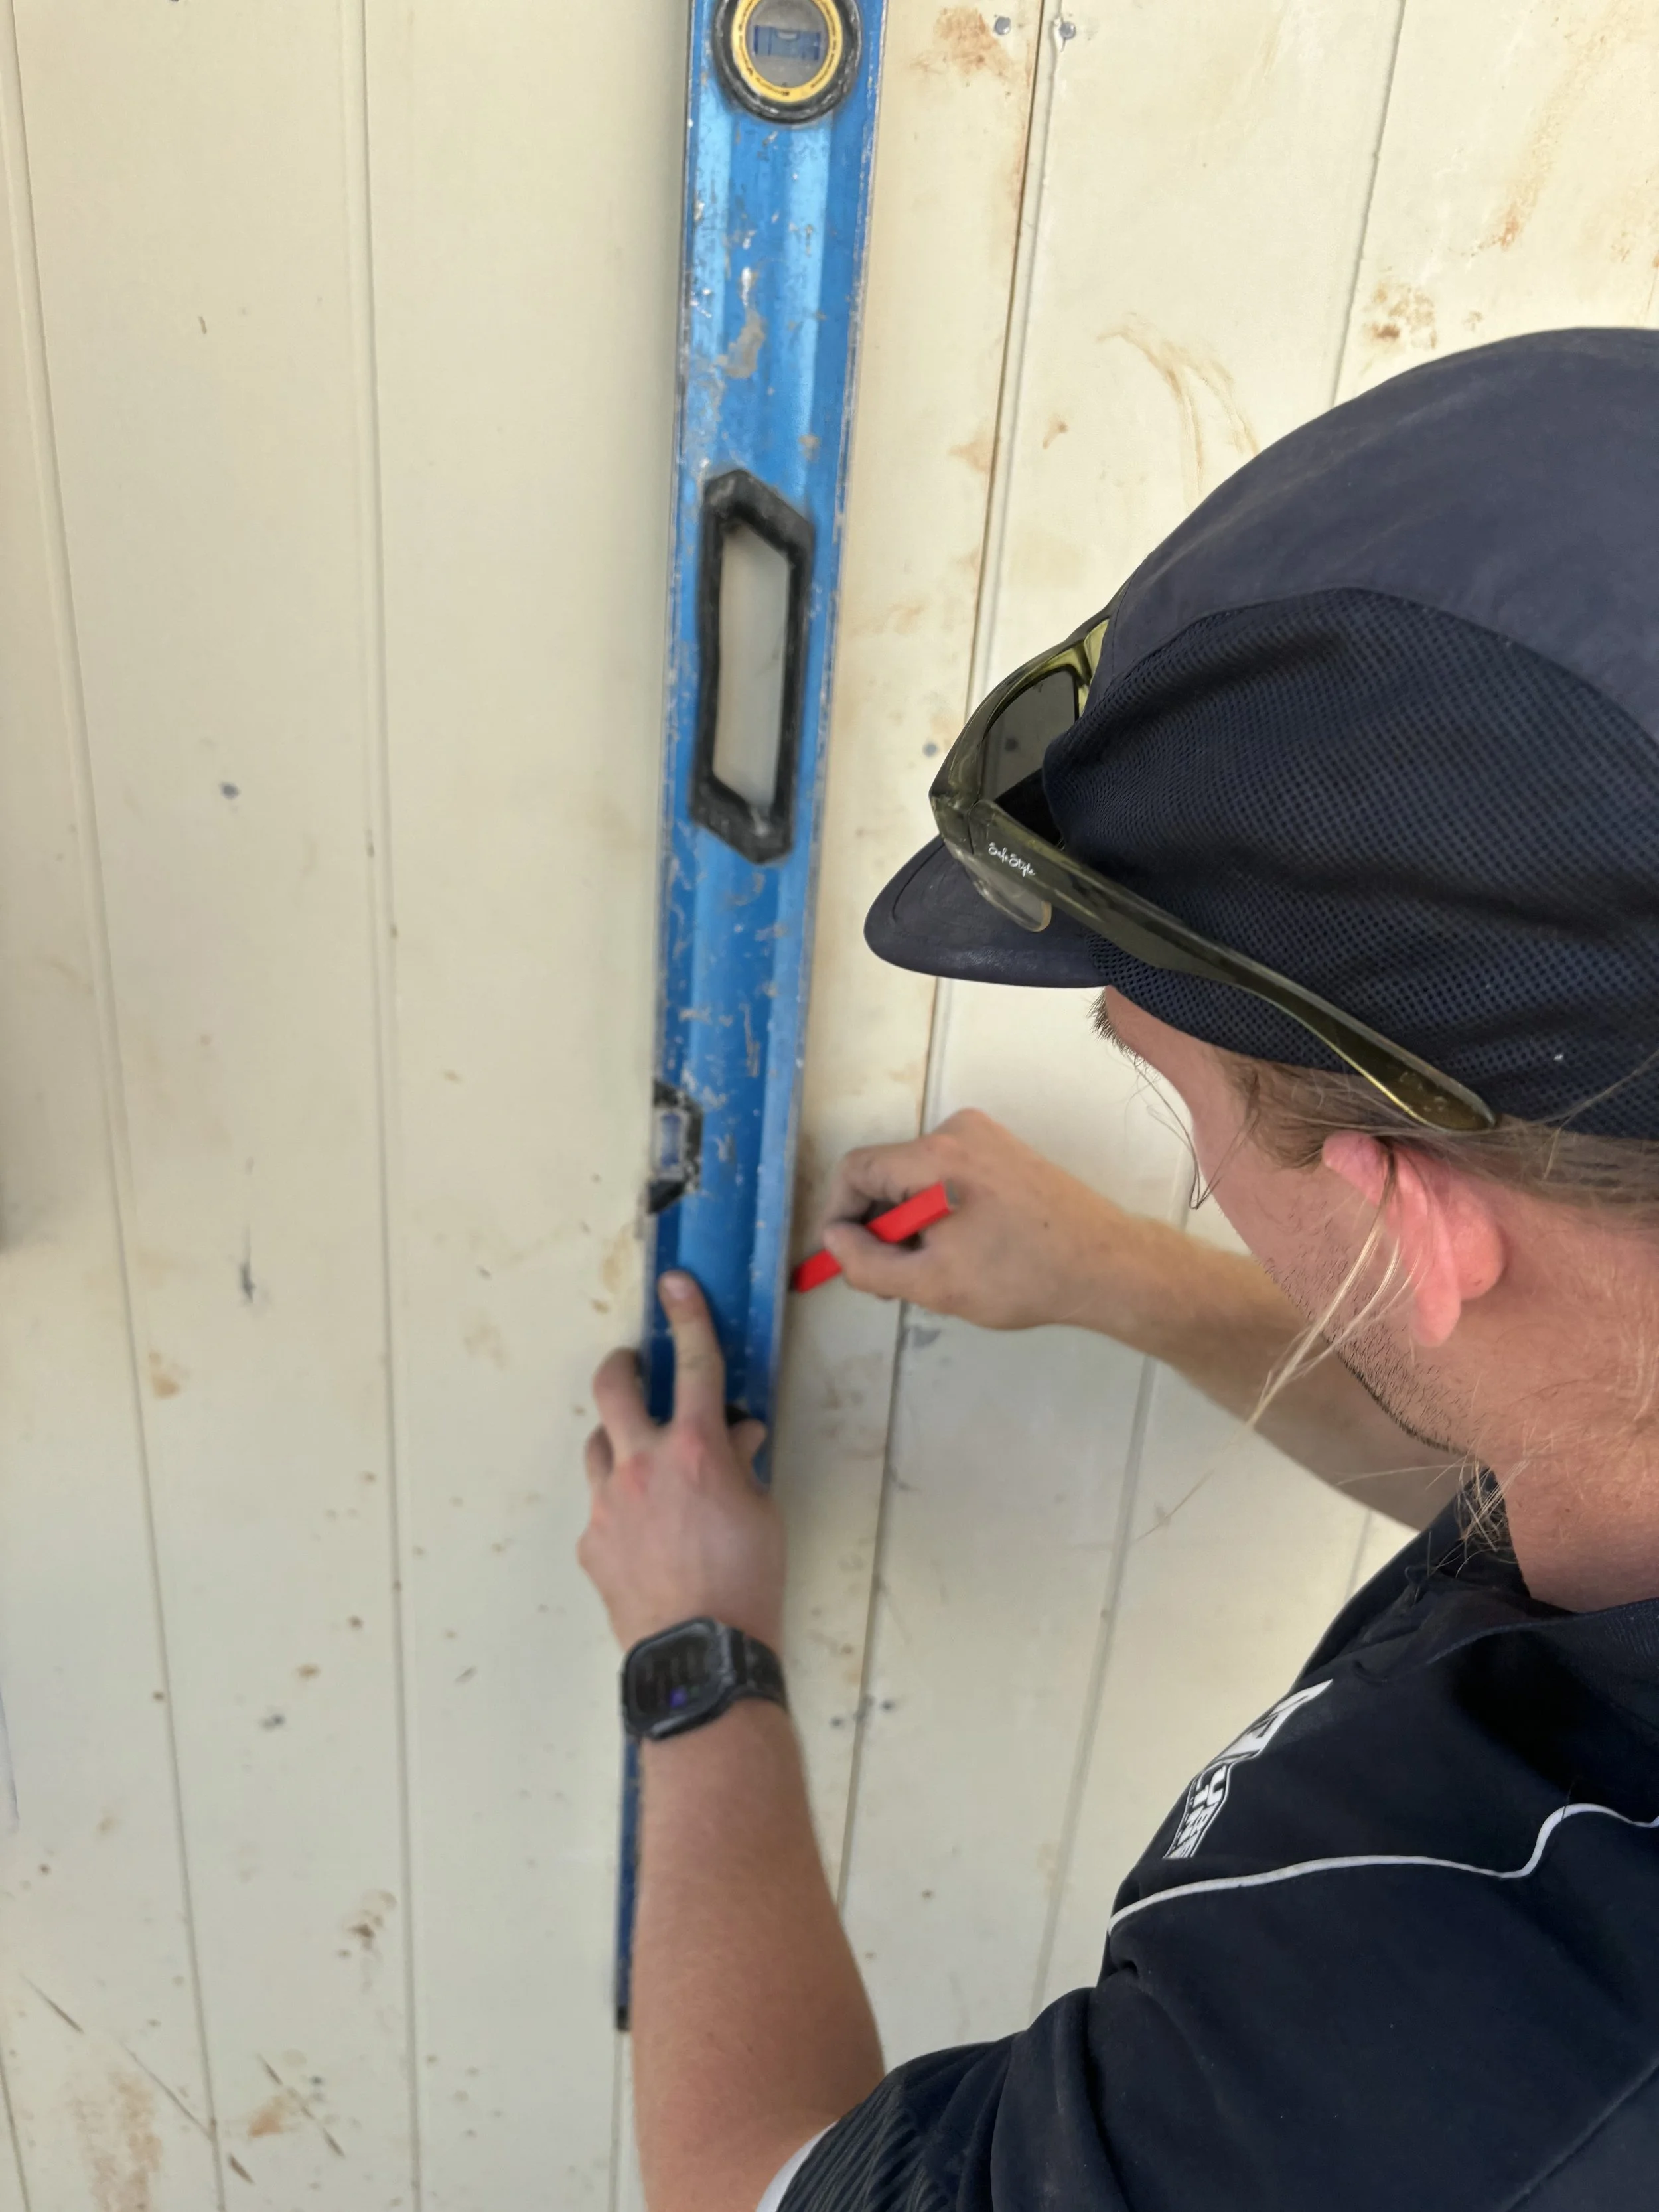
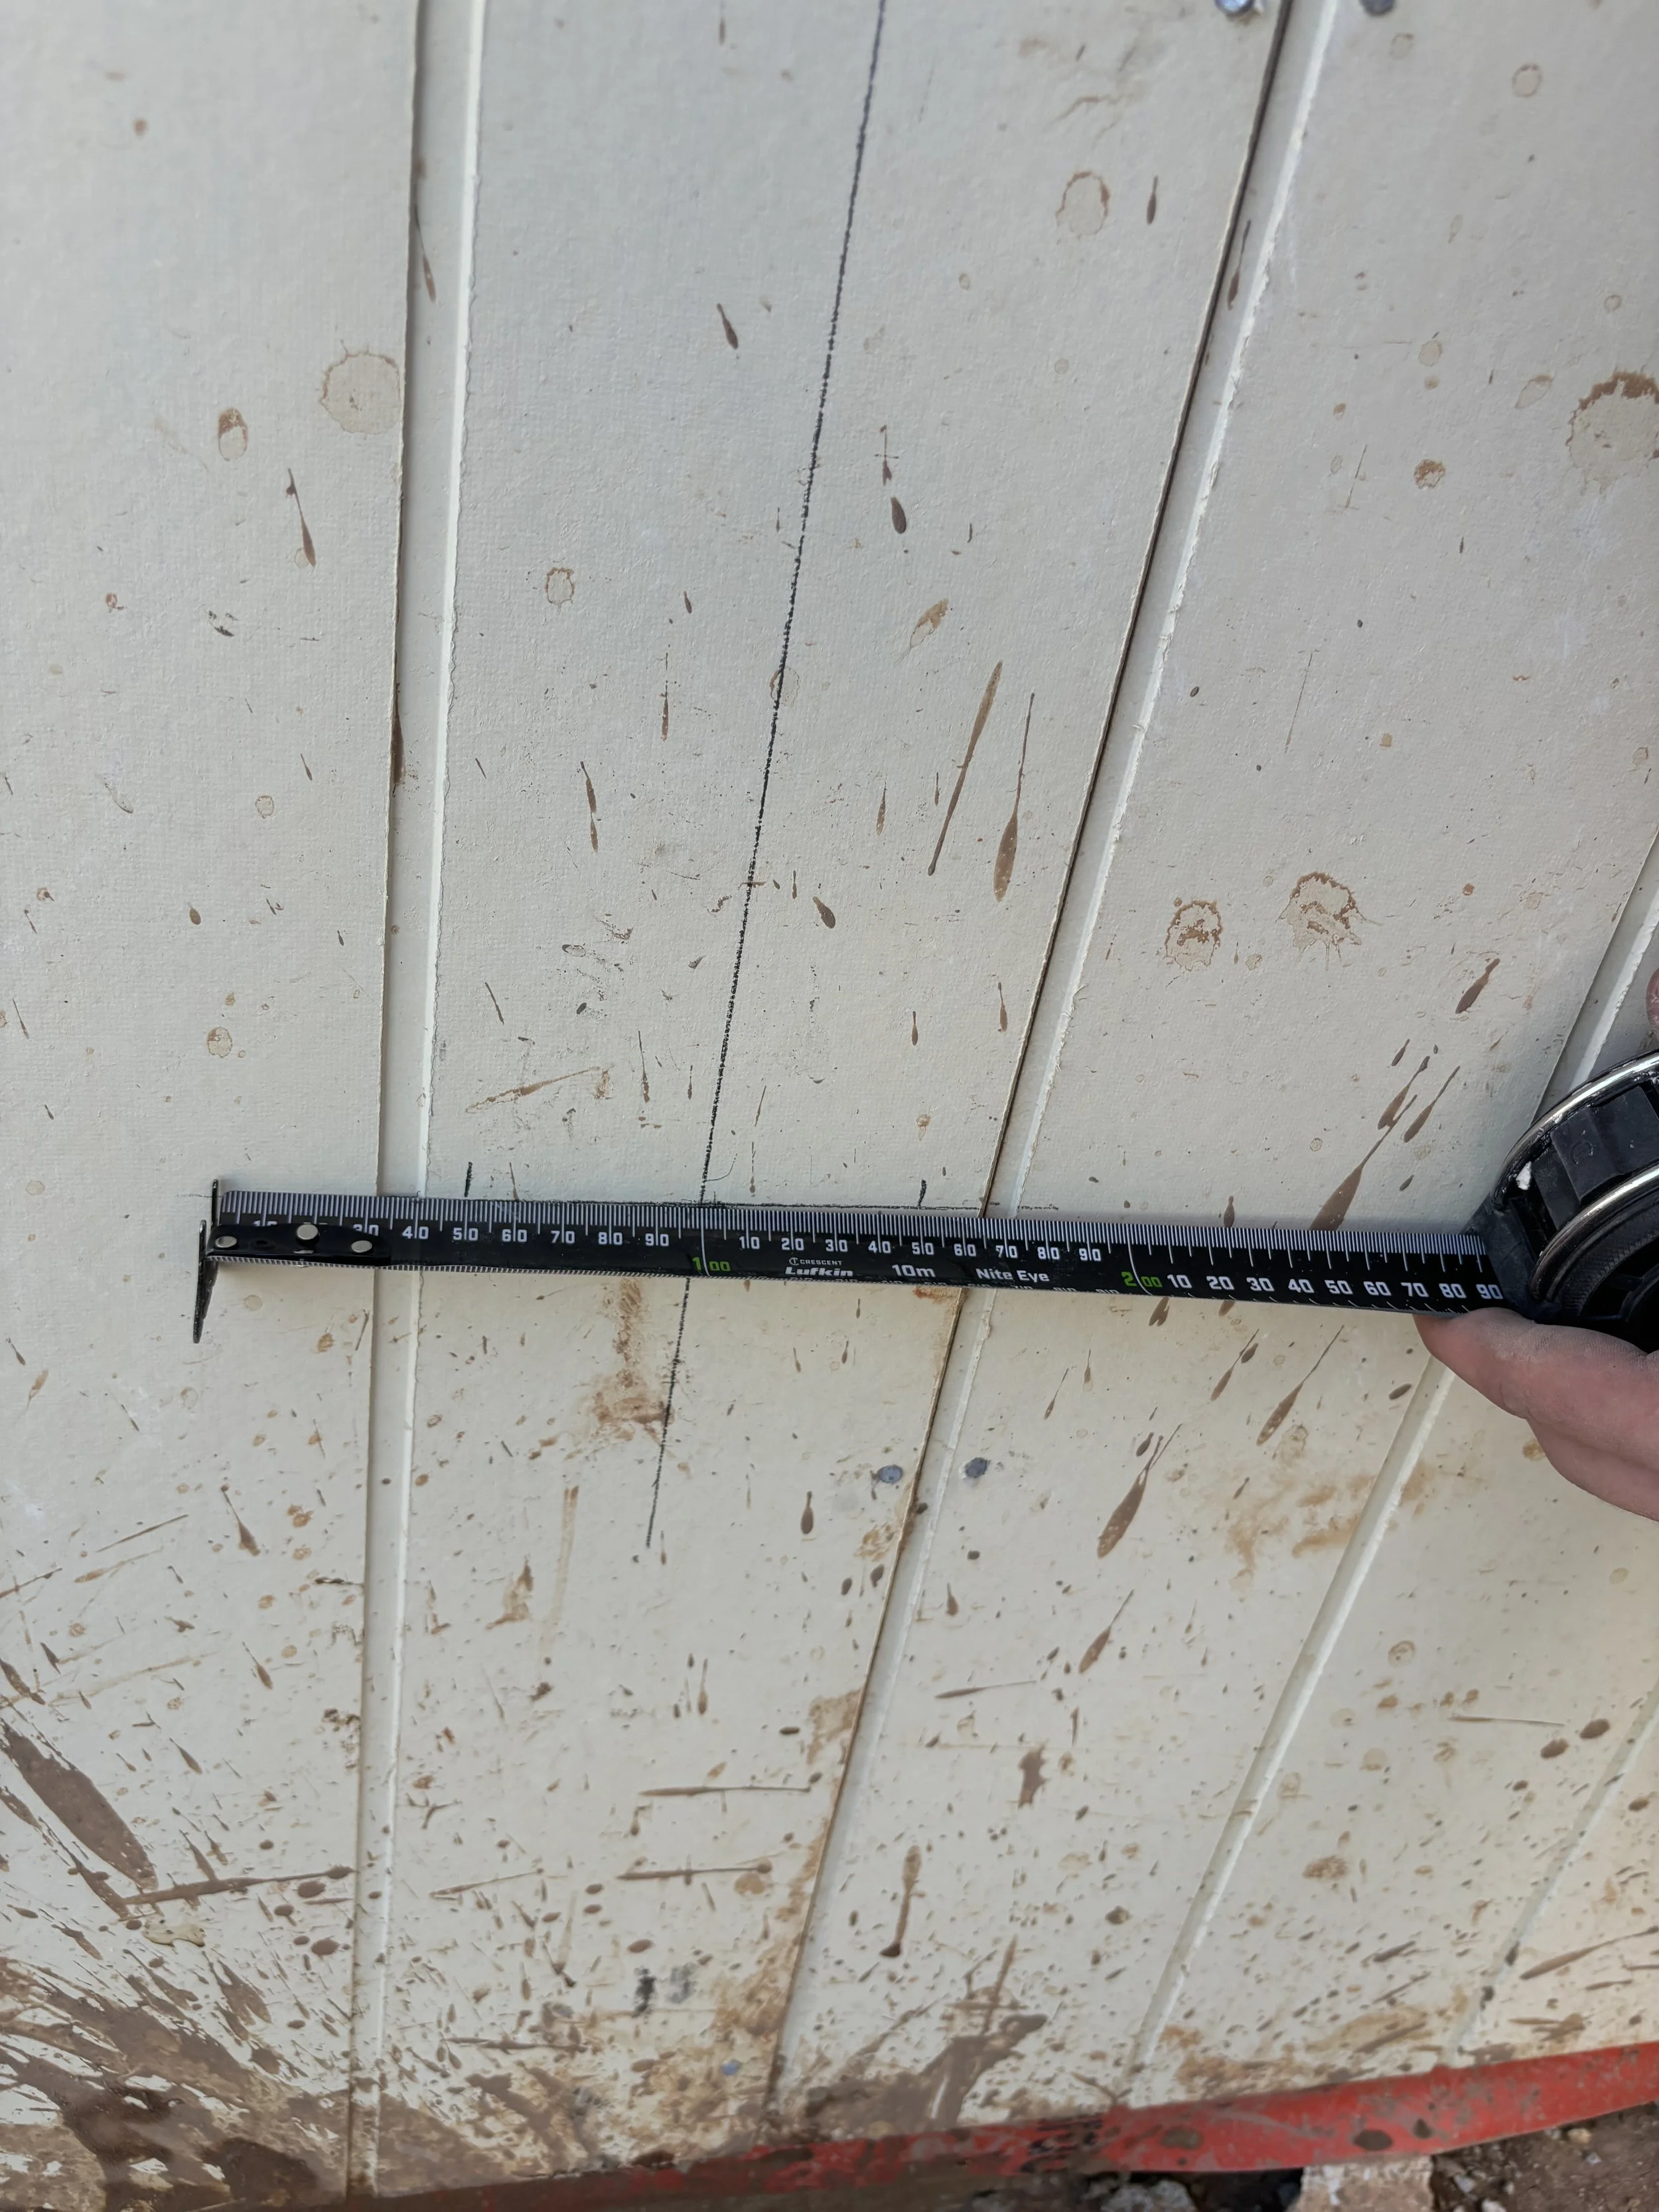
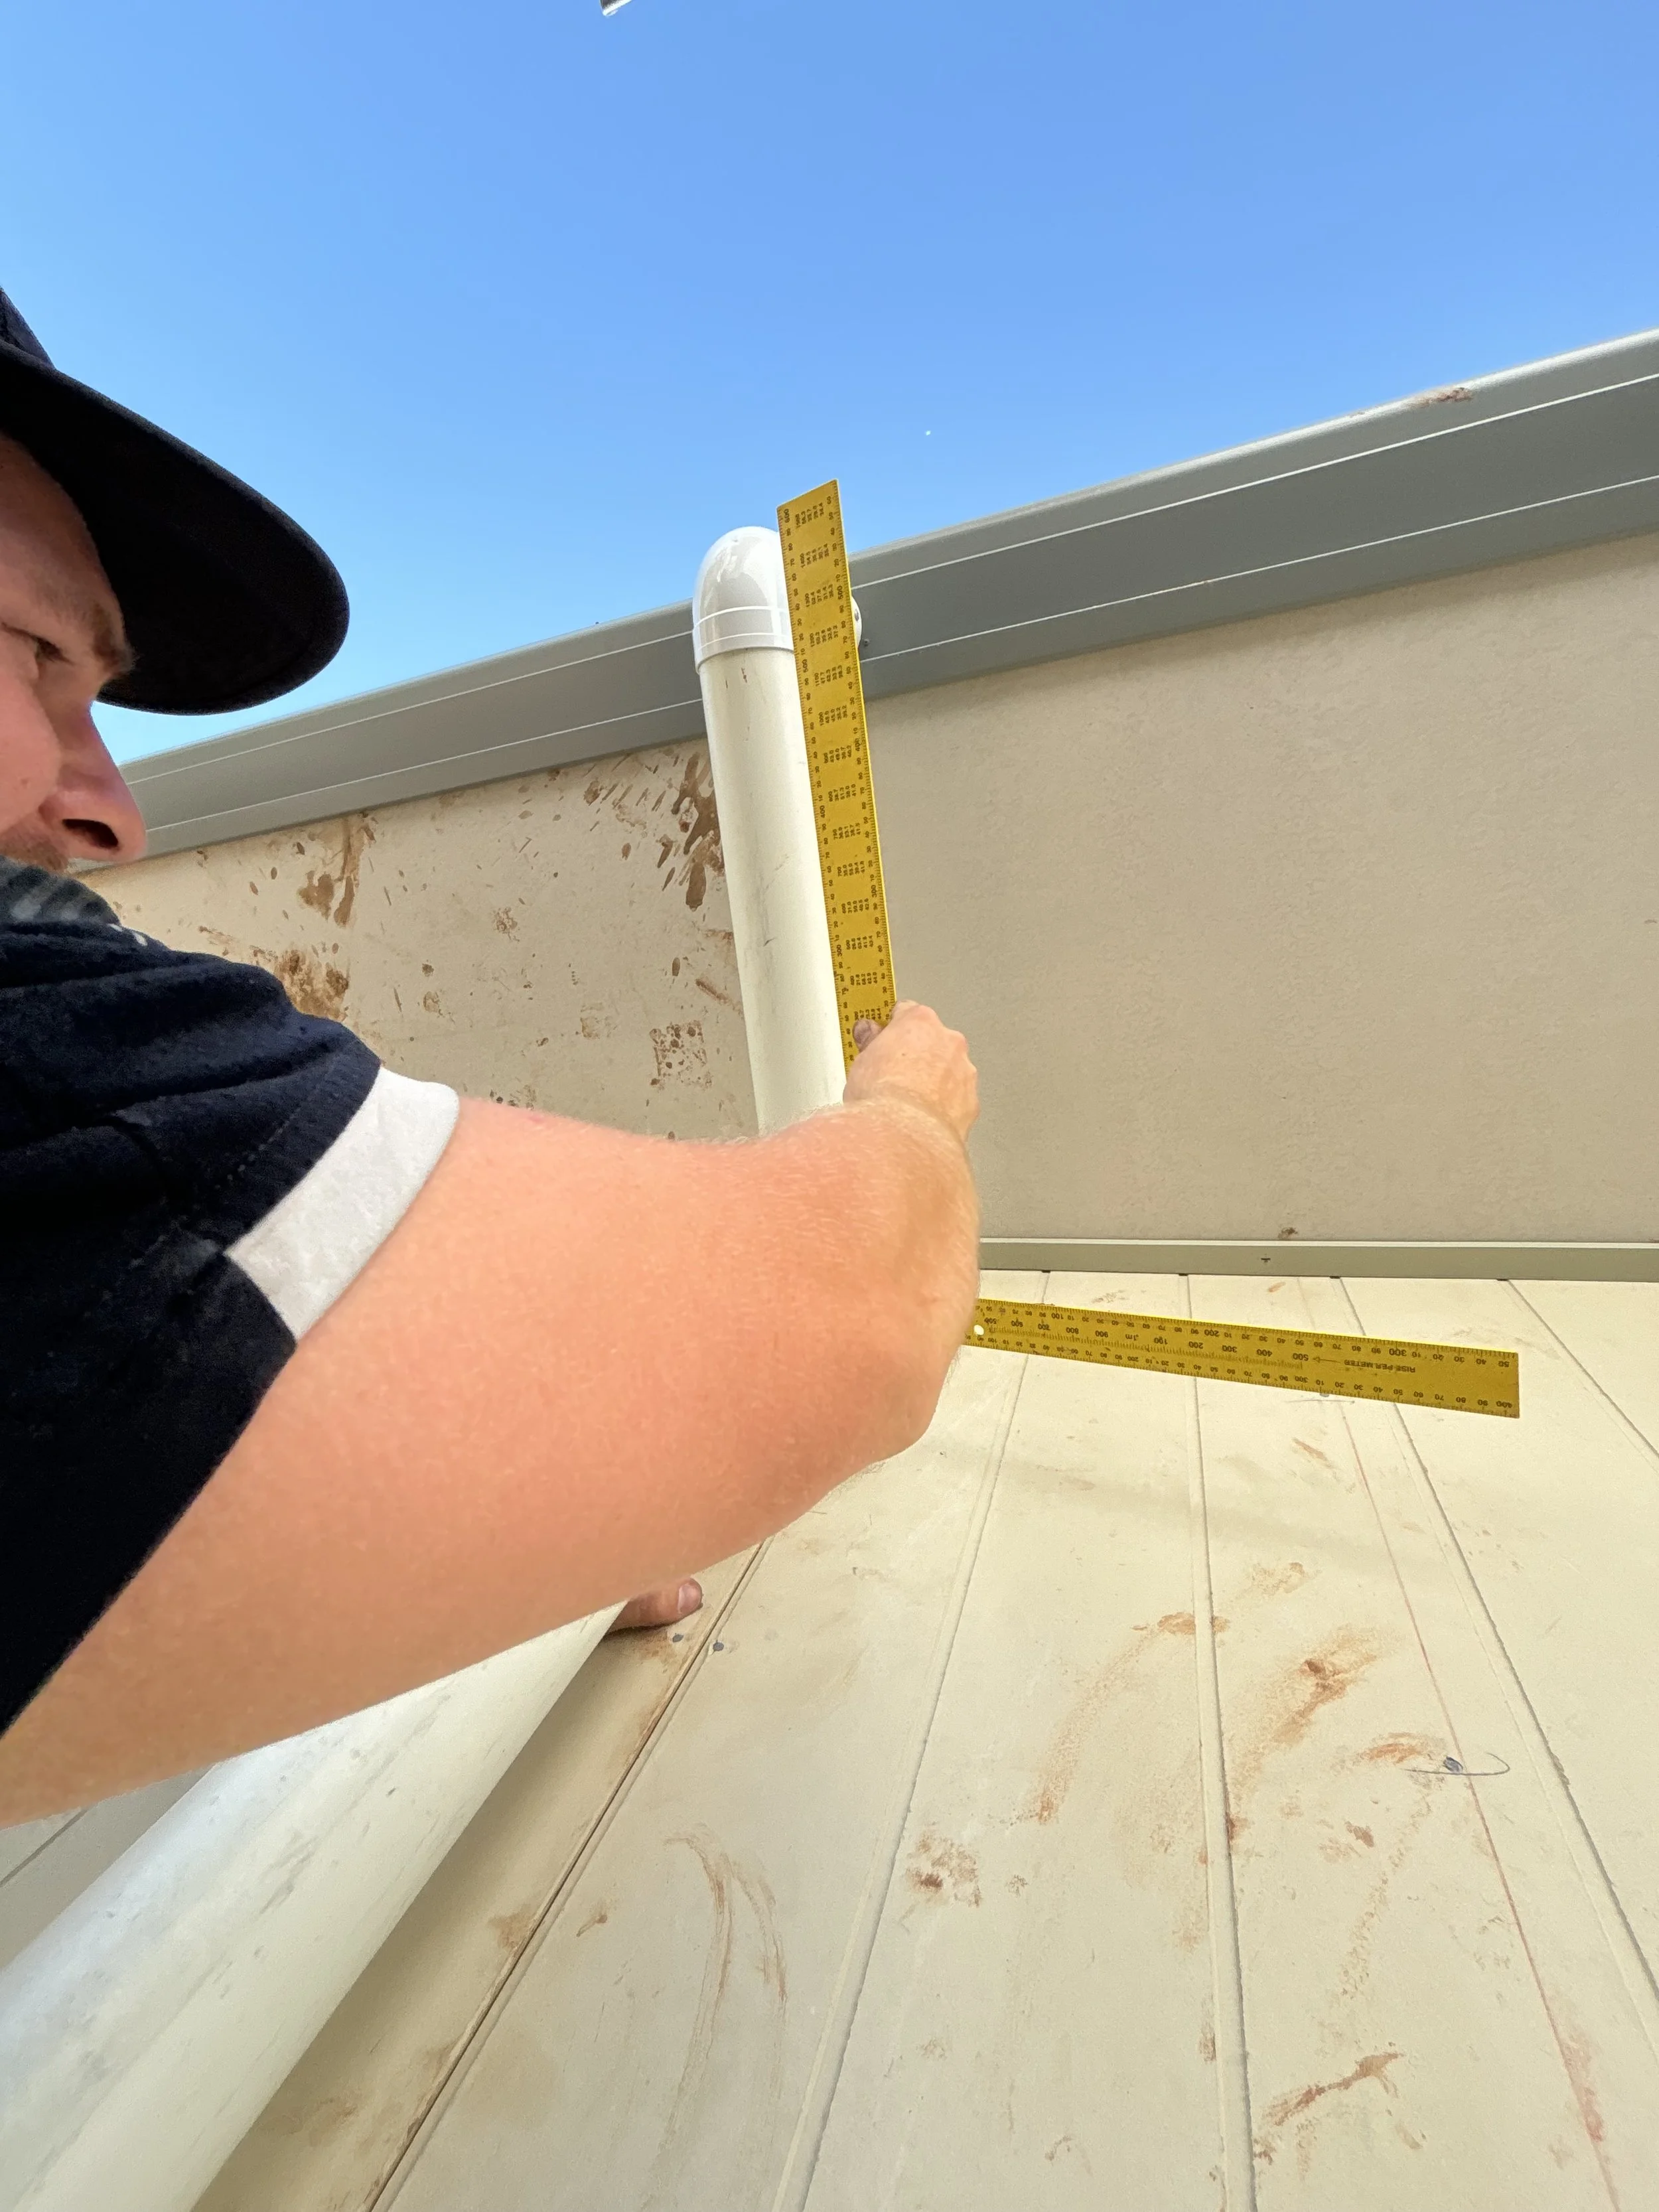
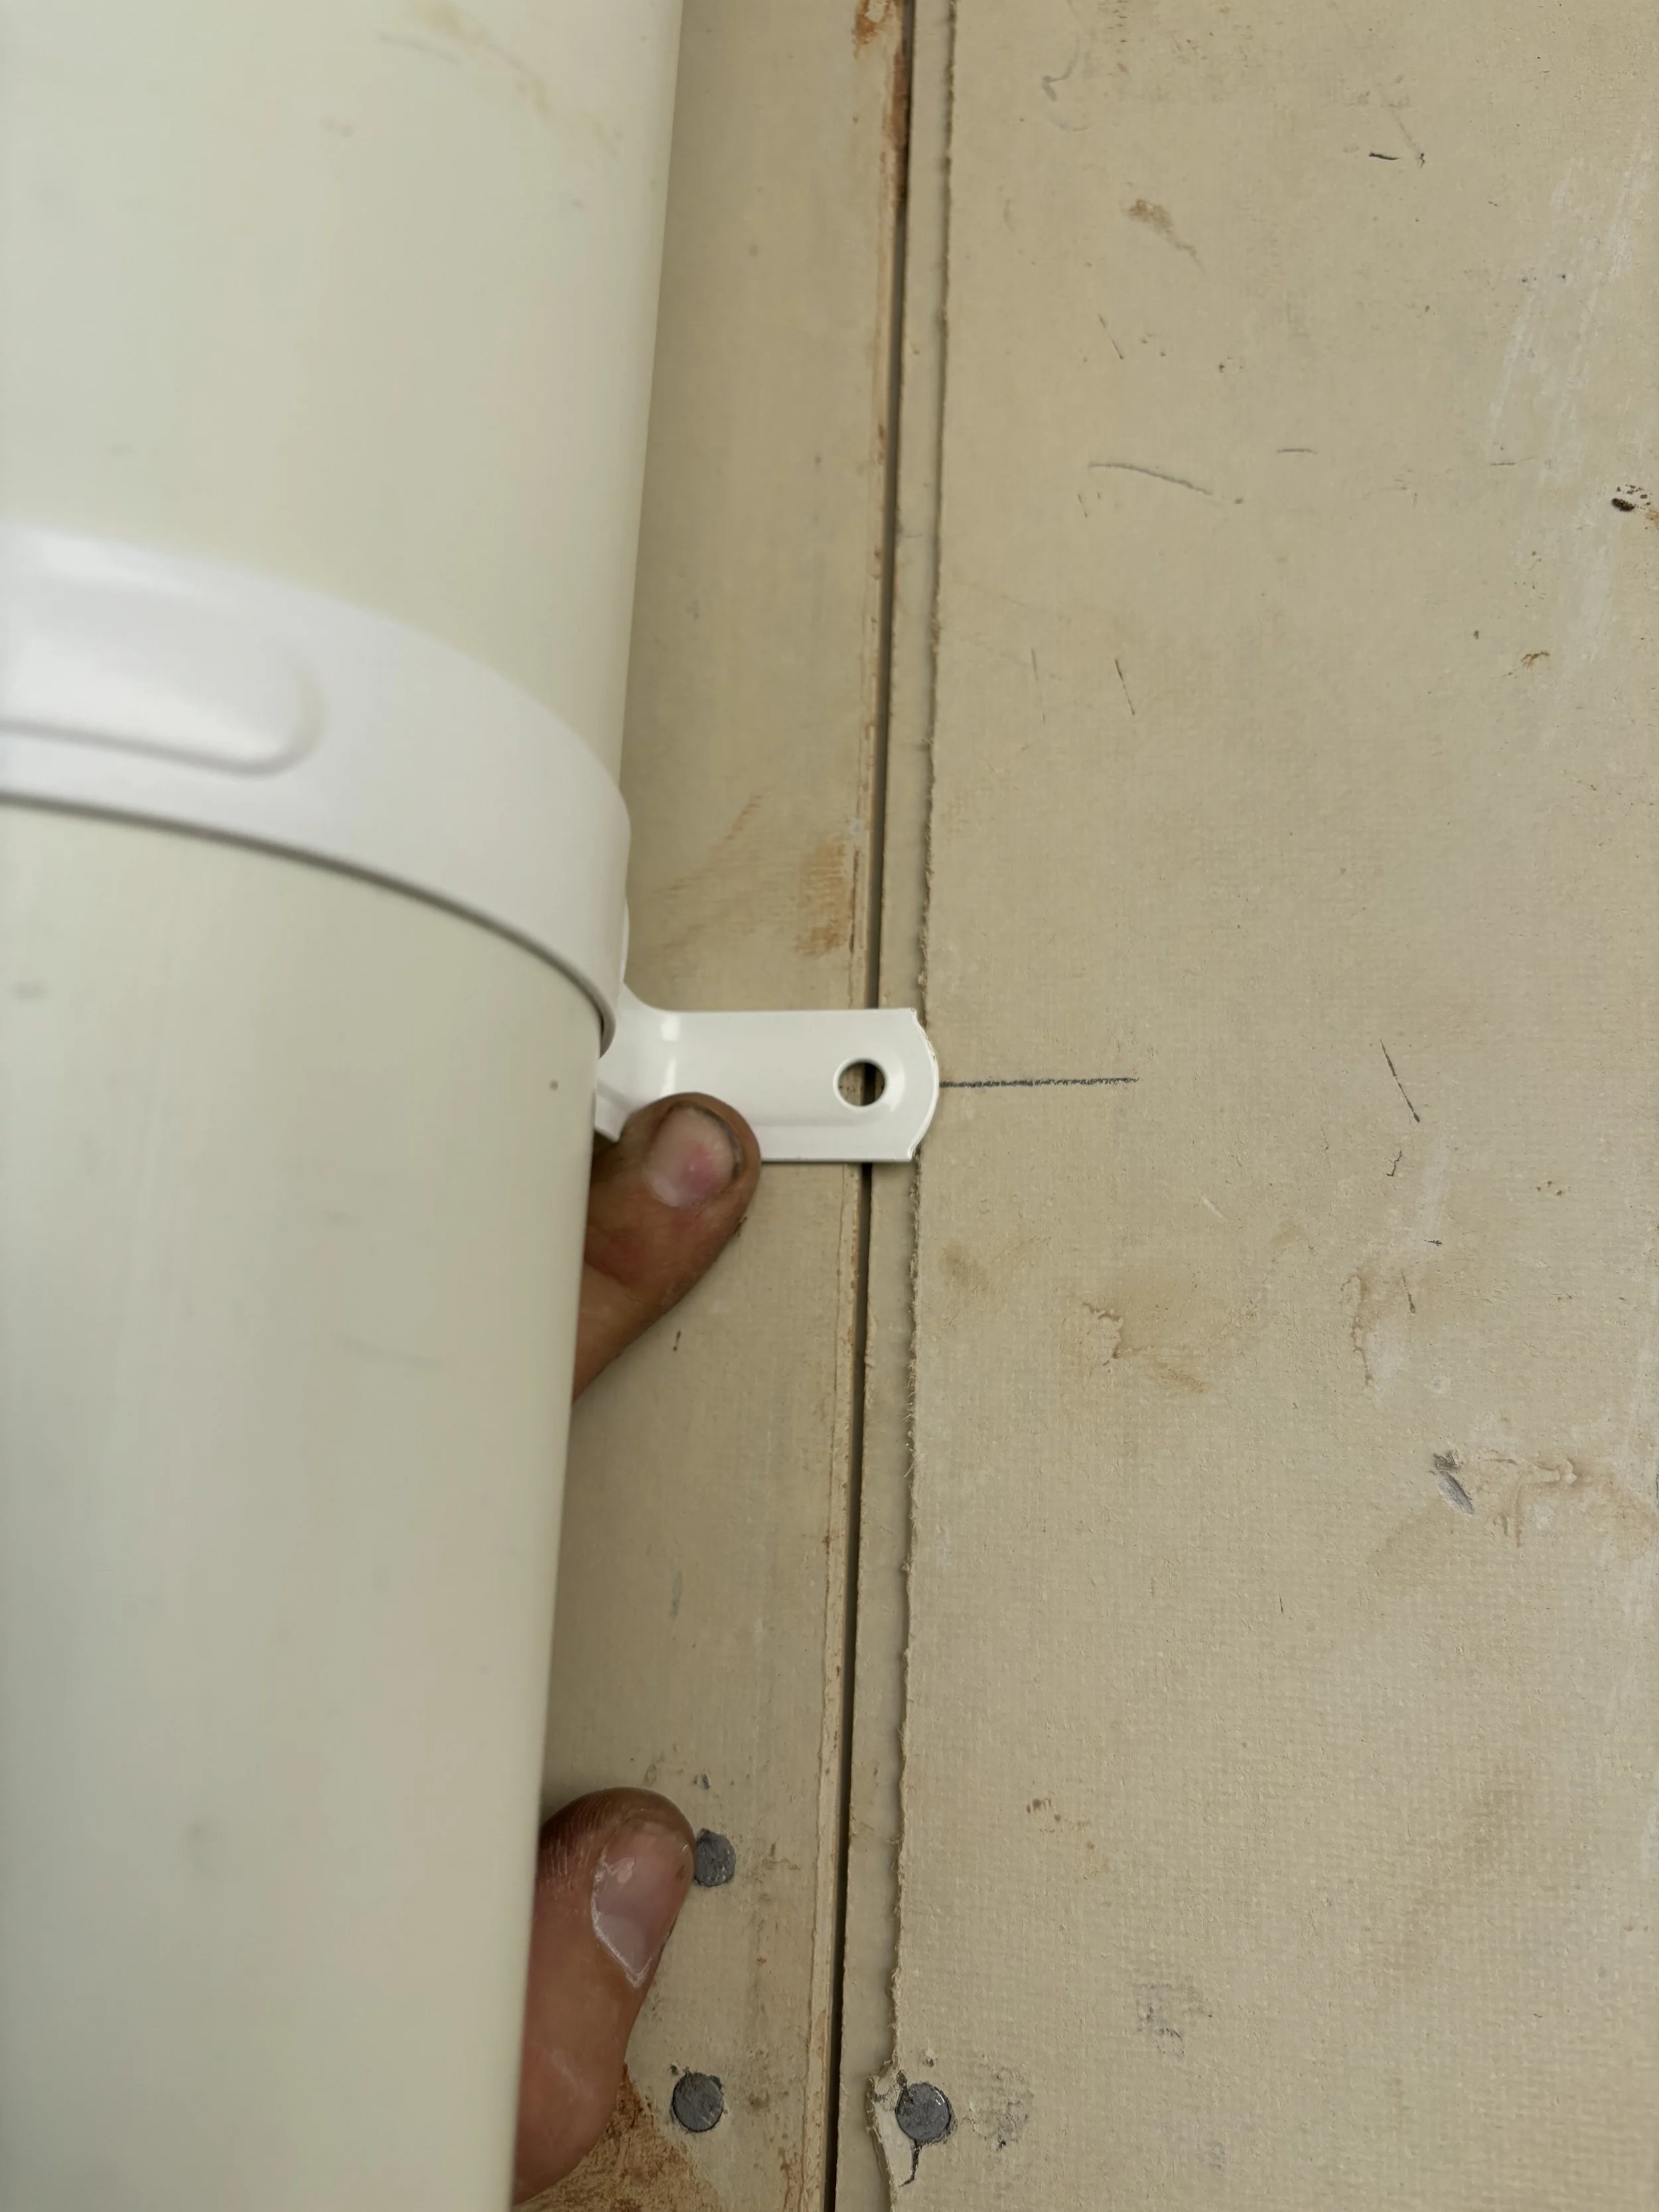
Square off wall to centre of dropper and mark on wall using pencil.
**Very important, if it has been painted and is a finished surface your marks must be very light so you can rub them off at the end.
**Alternatively, you can put a piece of duct tape or masking tape and mark on that. It’s a bit more time consuming but means you won’t get a builder hassling you about marking their finished wall.
Make the decision you feel applies to the job you’re on. If in doubt, do more than you need to.
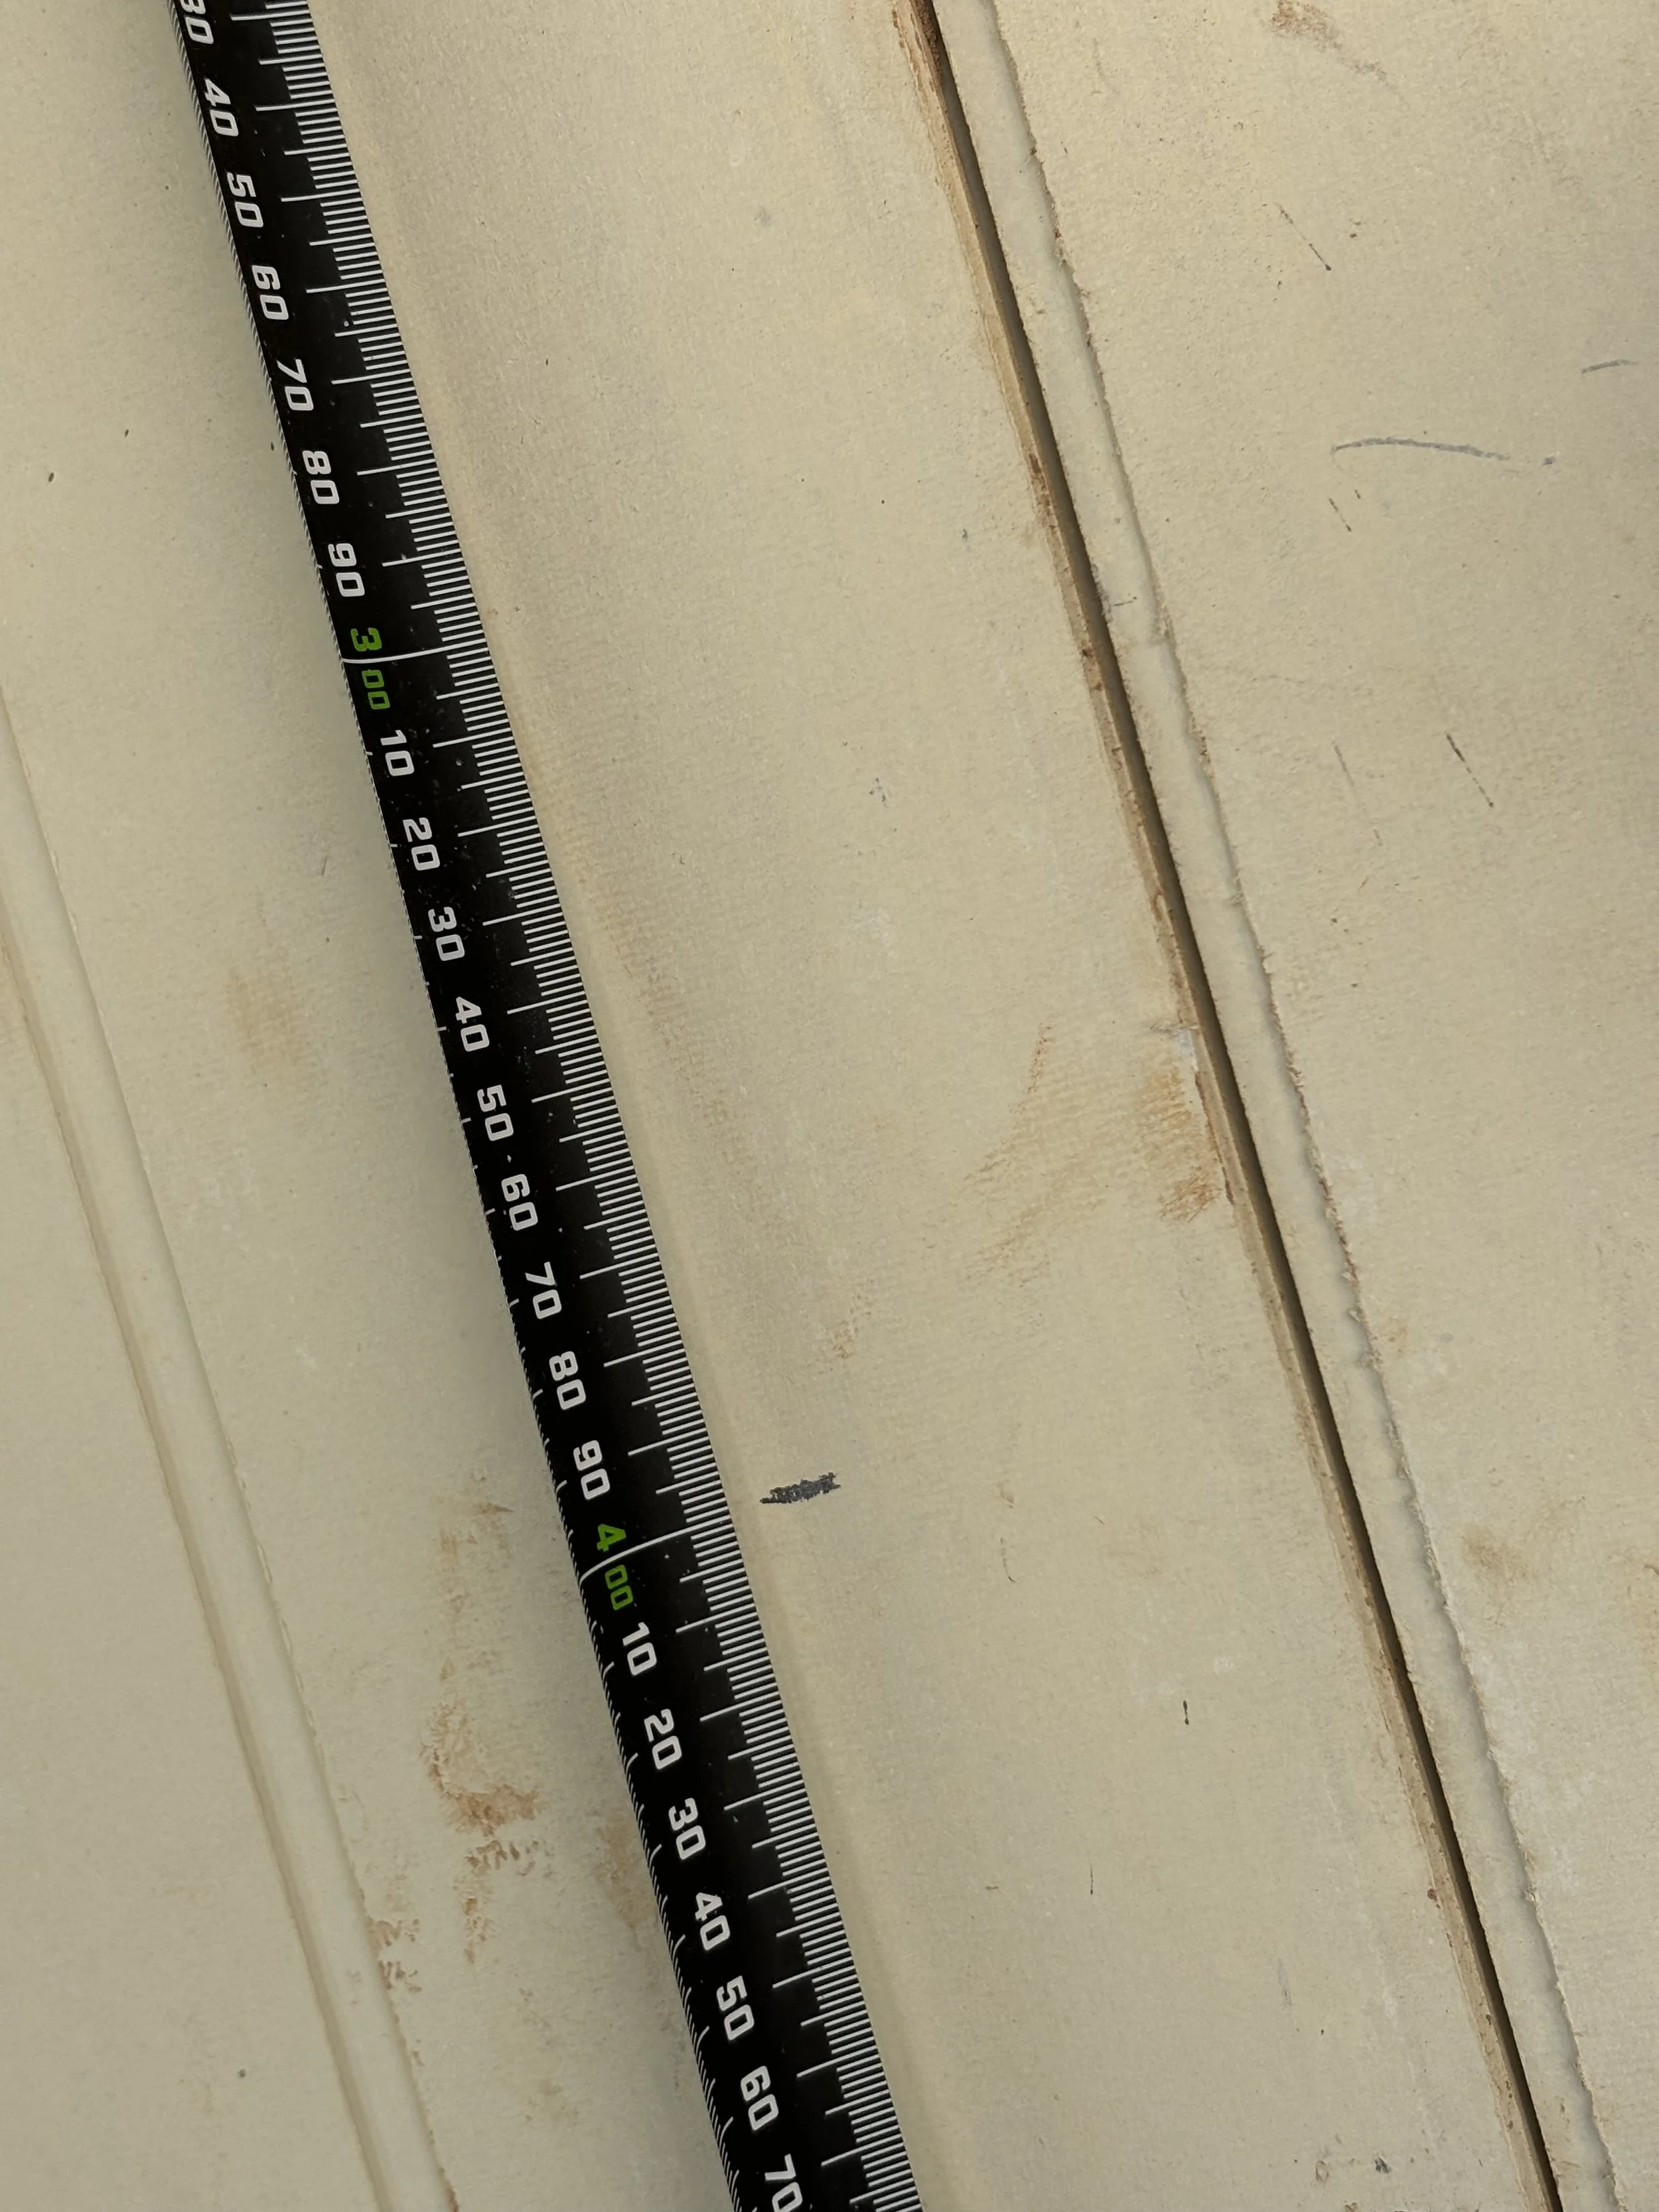
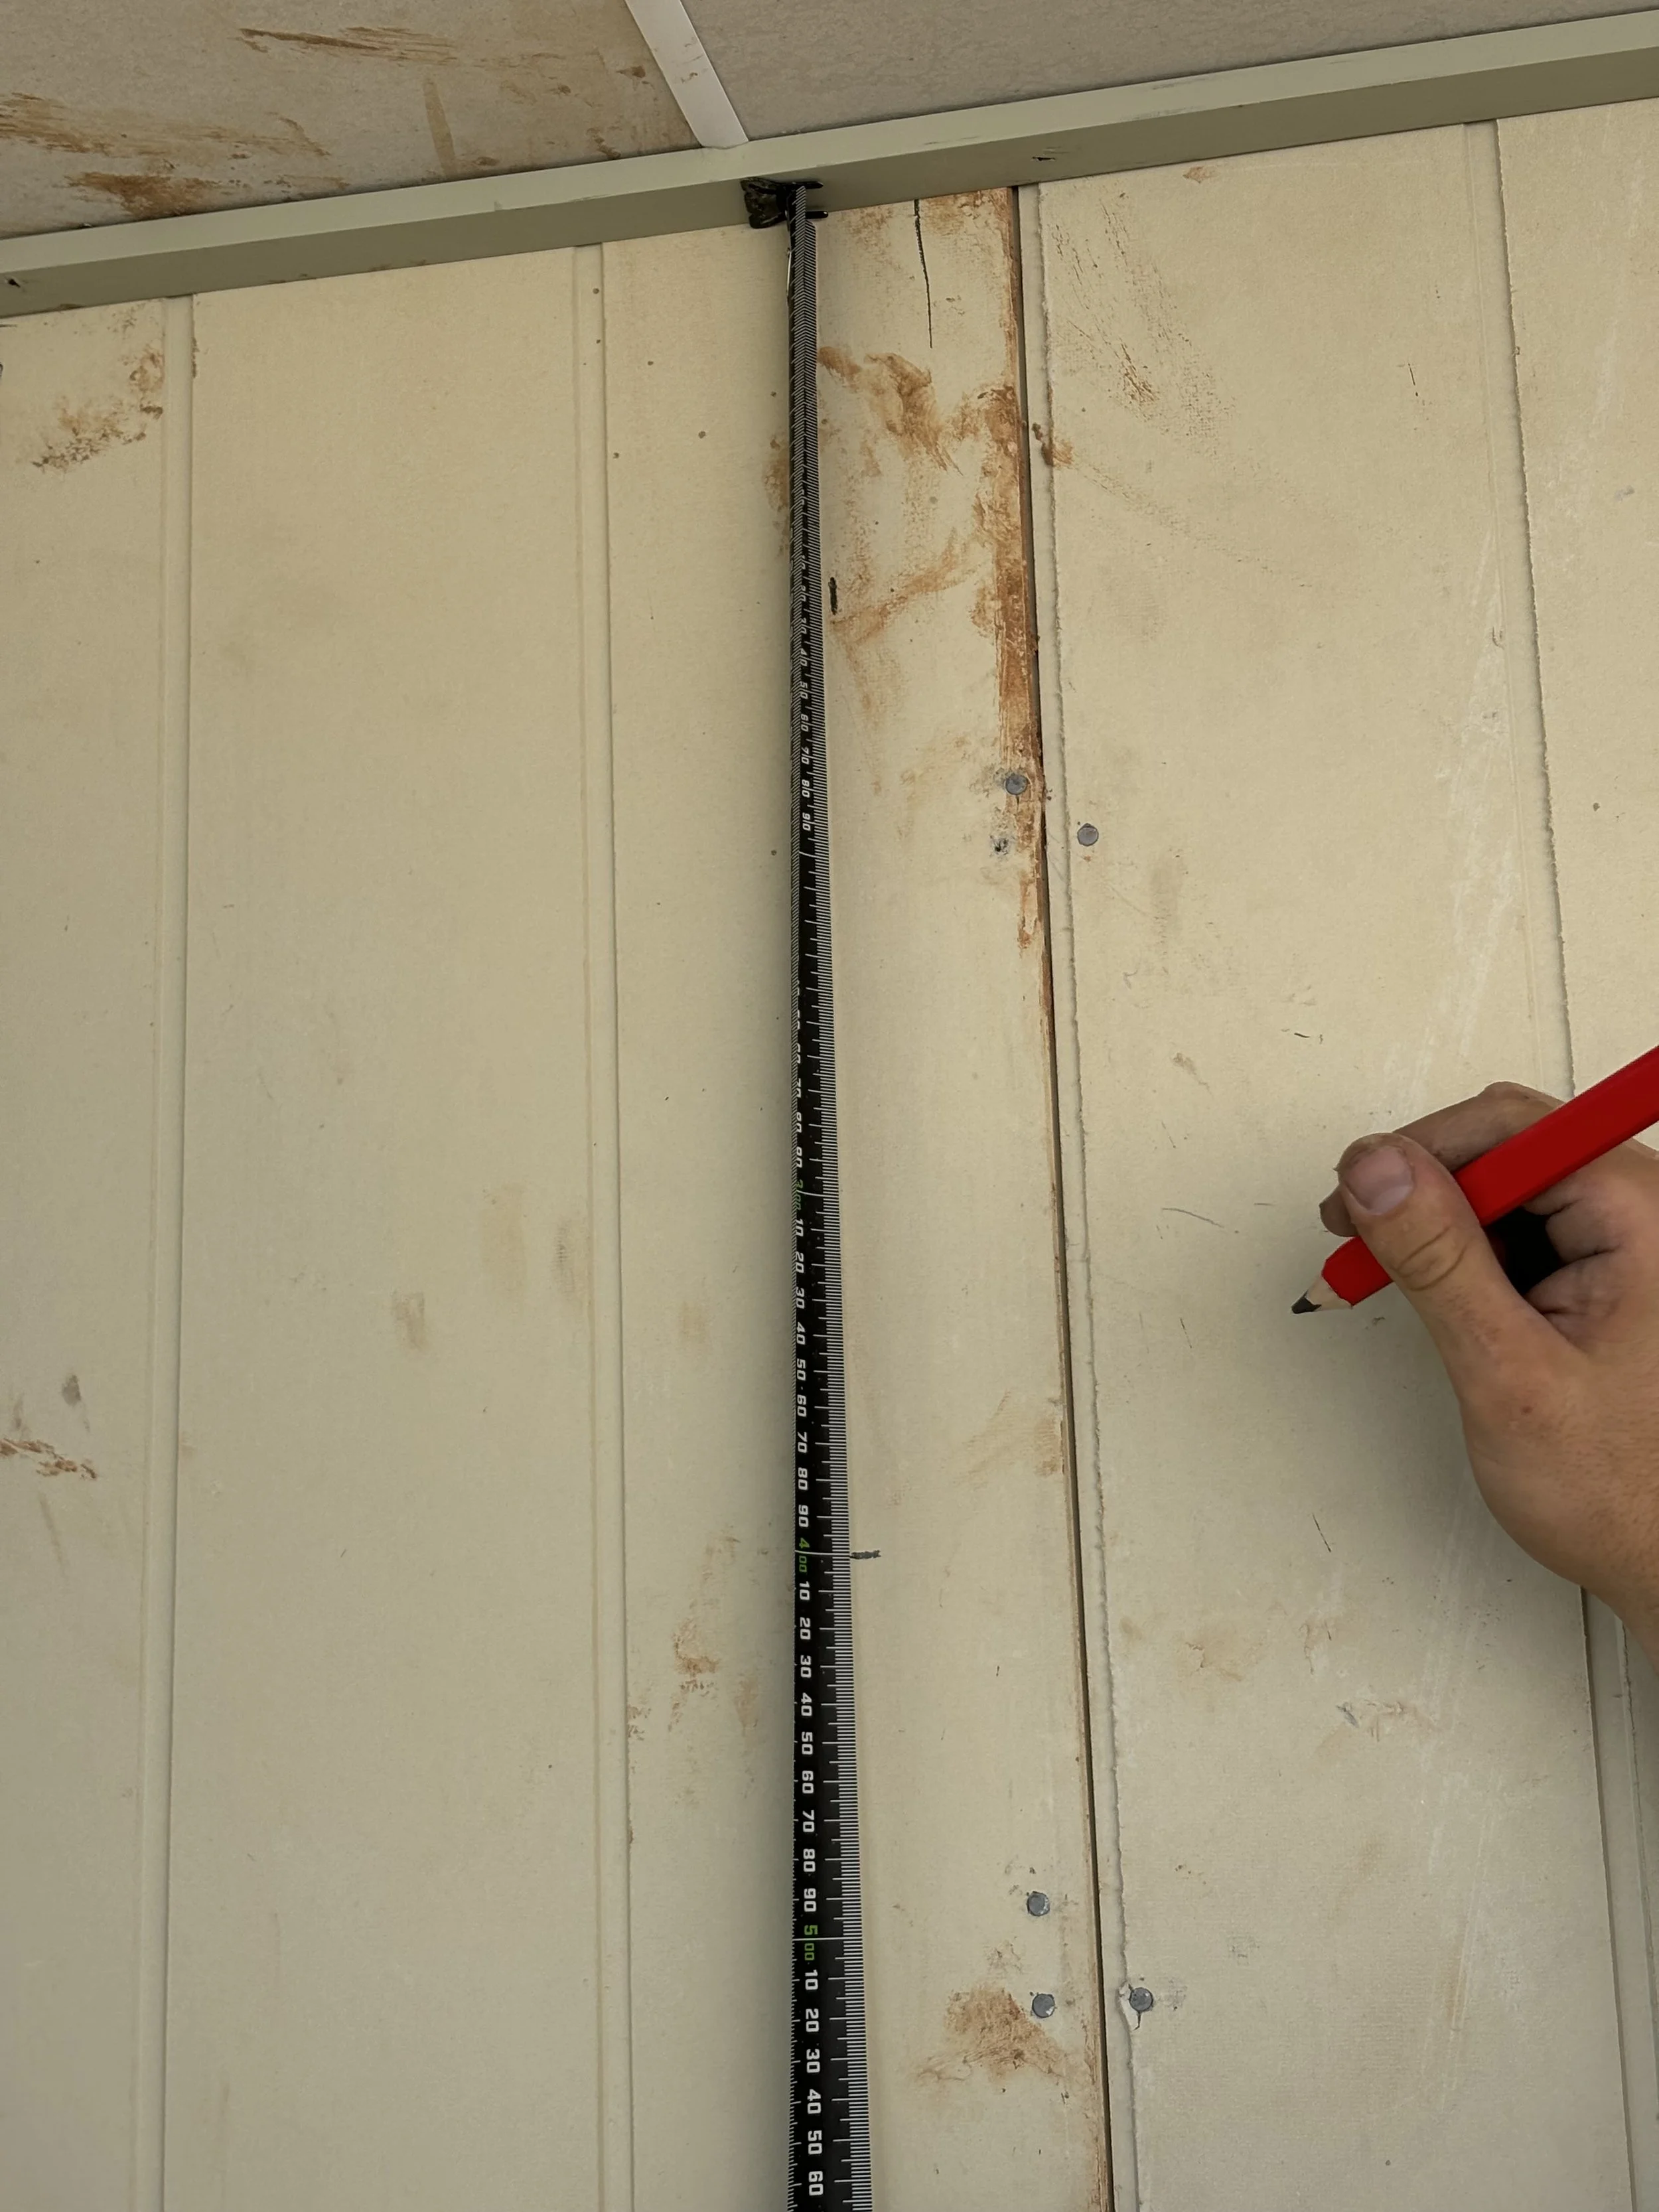
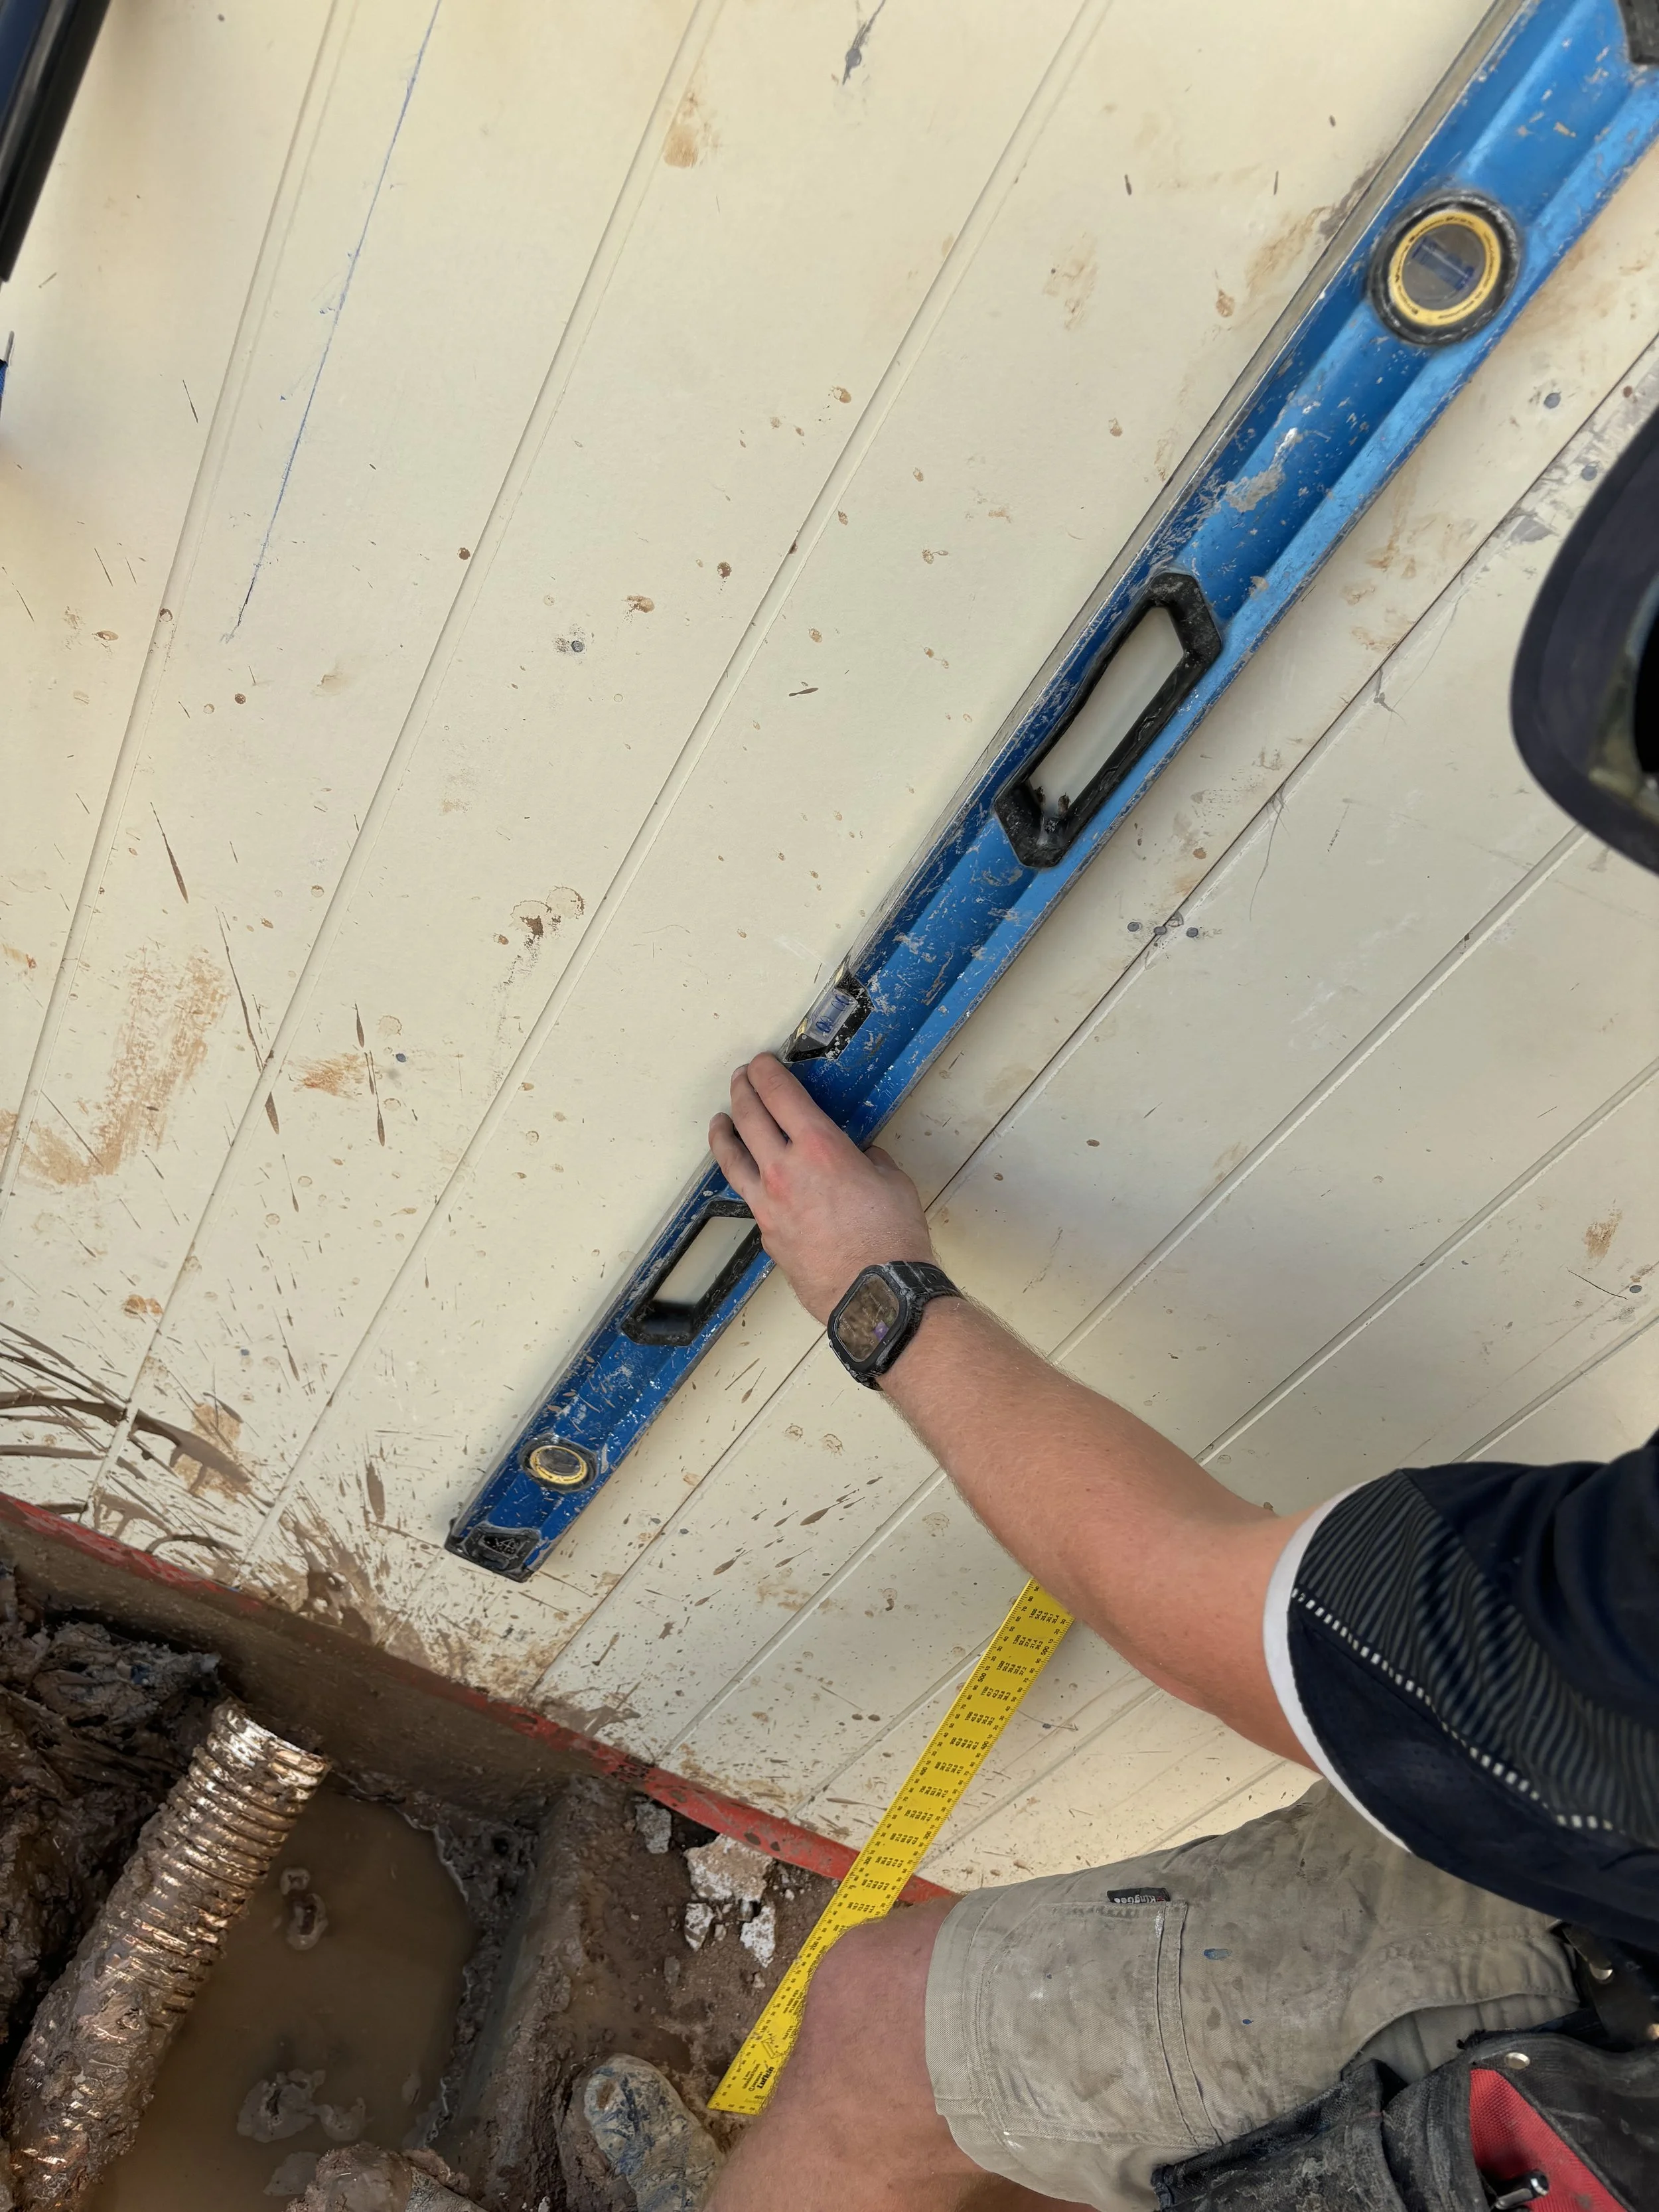
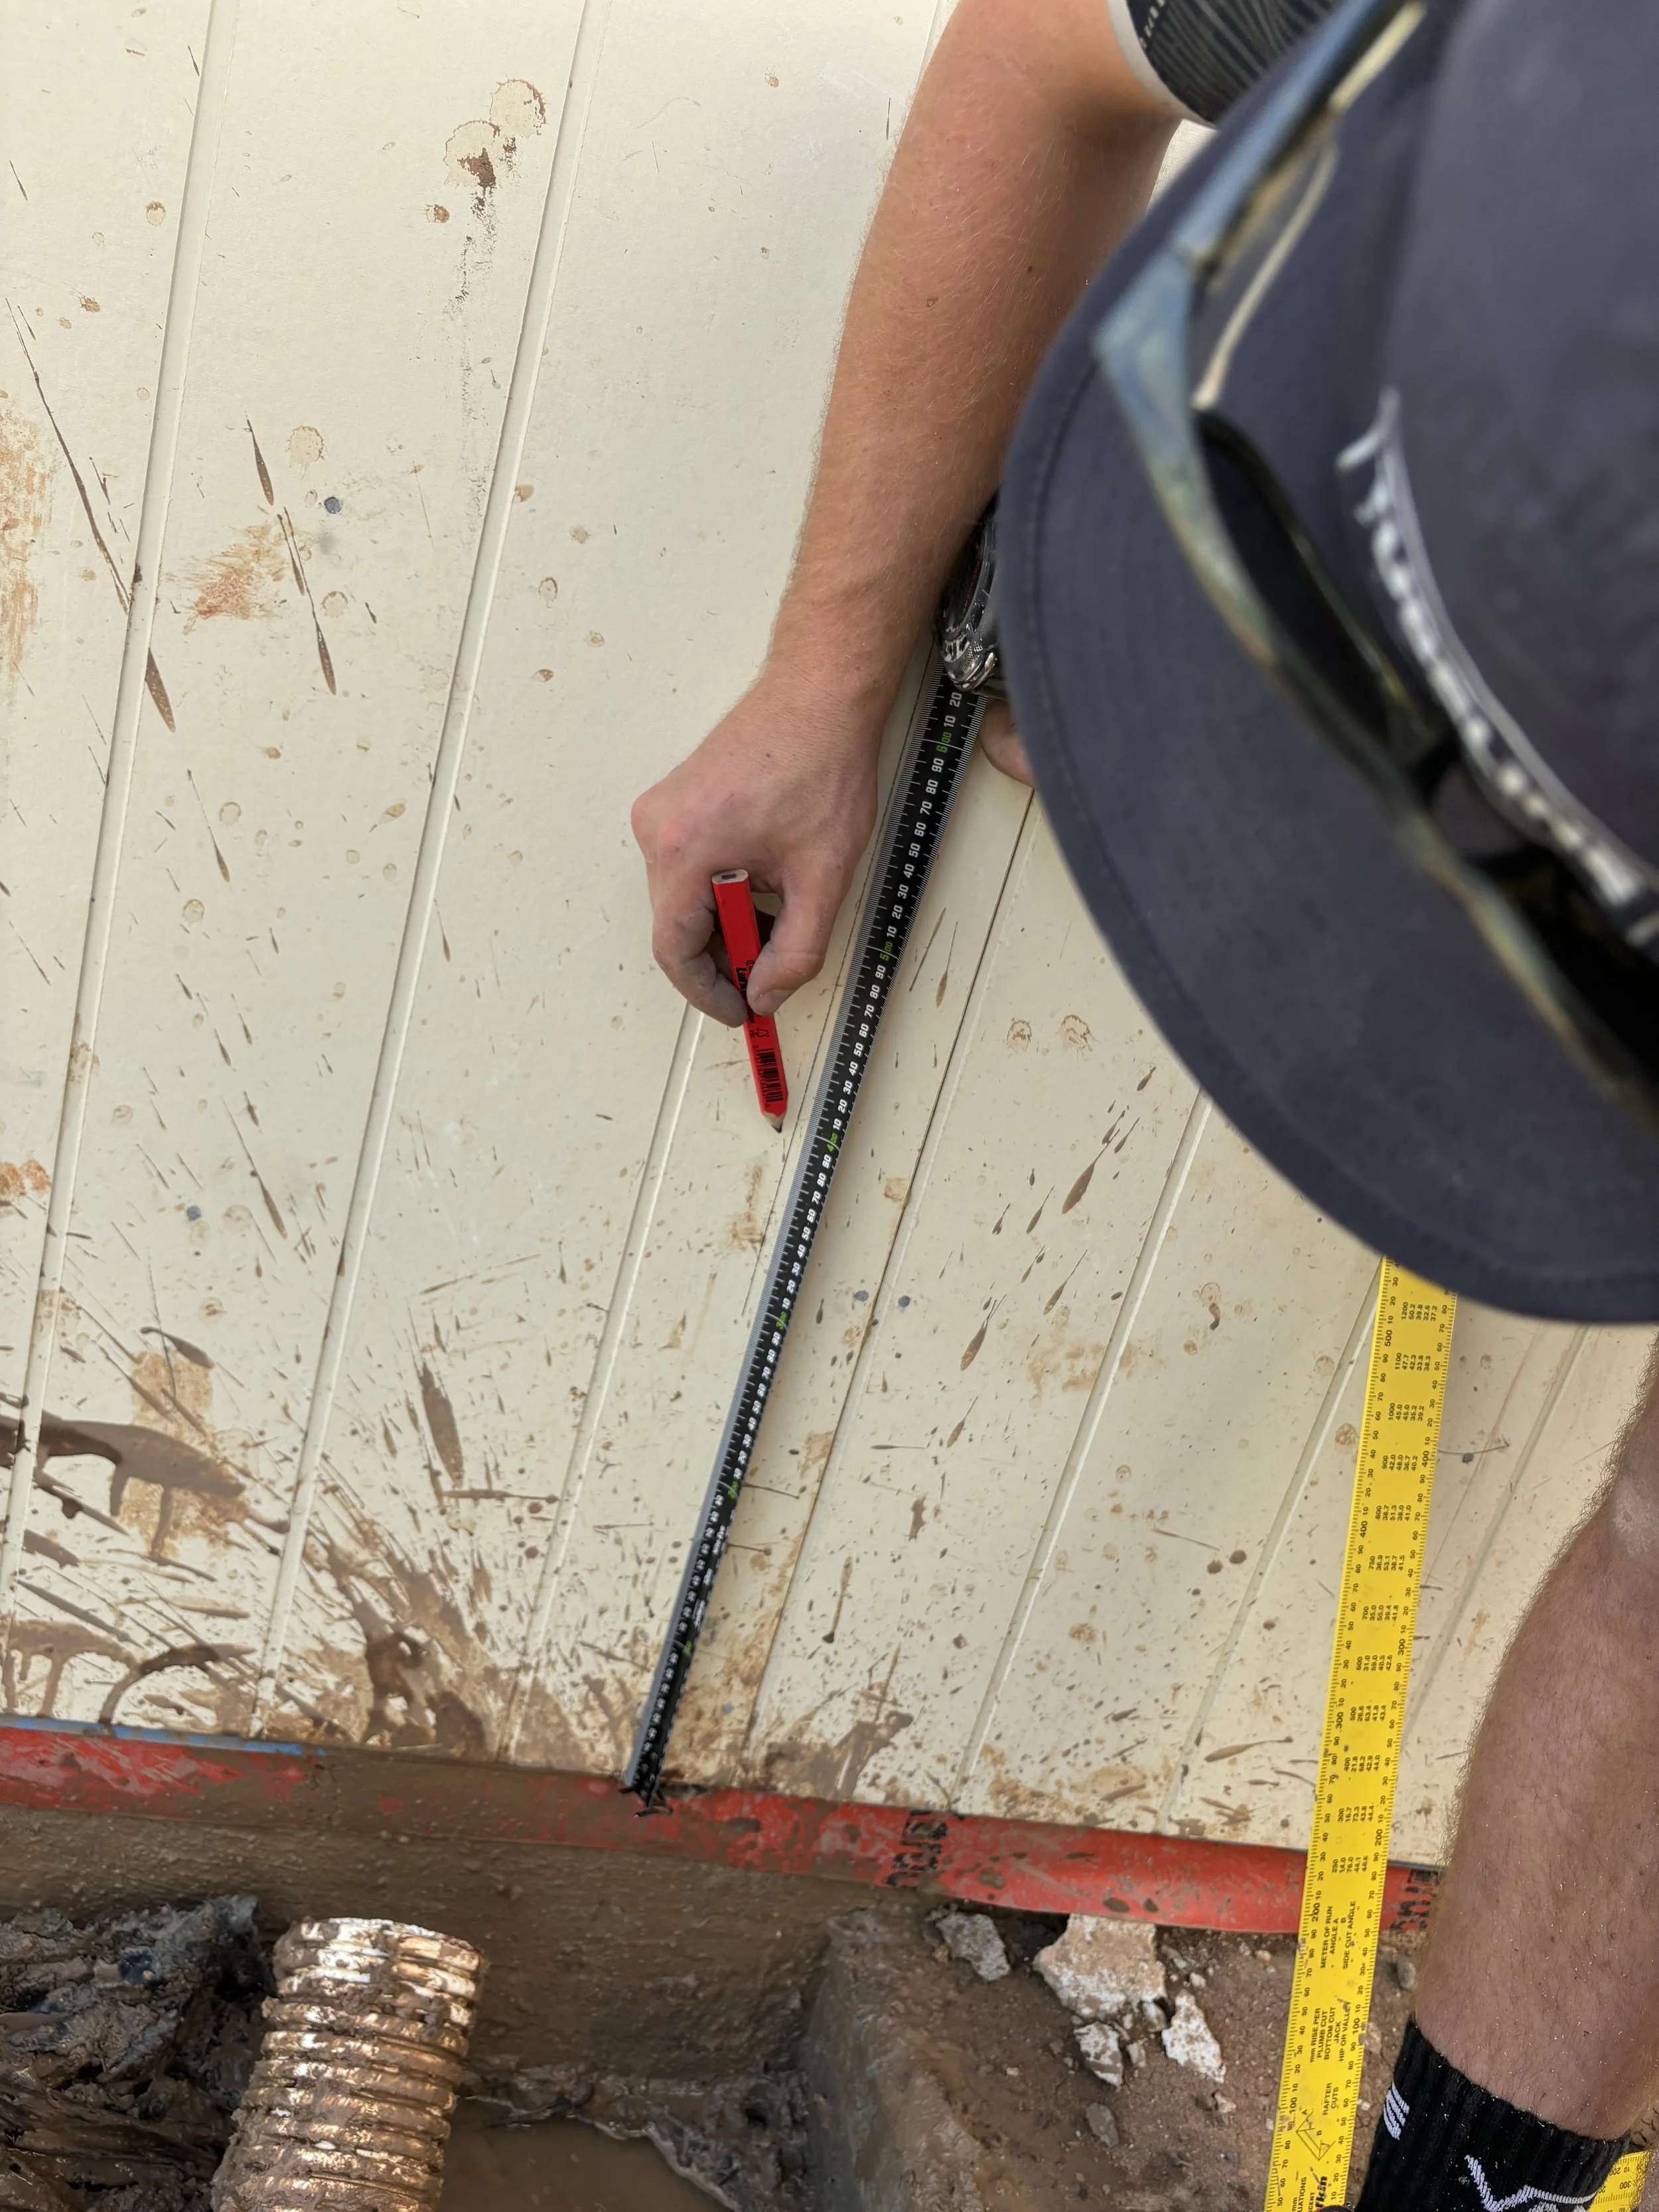
Measure down 400mm for centre of first standoff saddle.
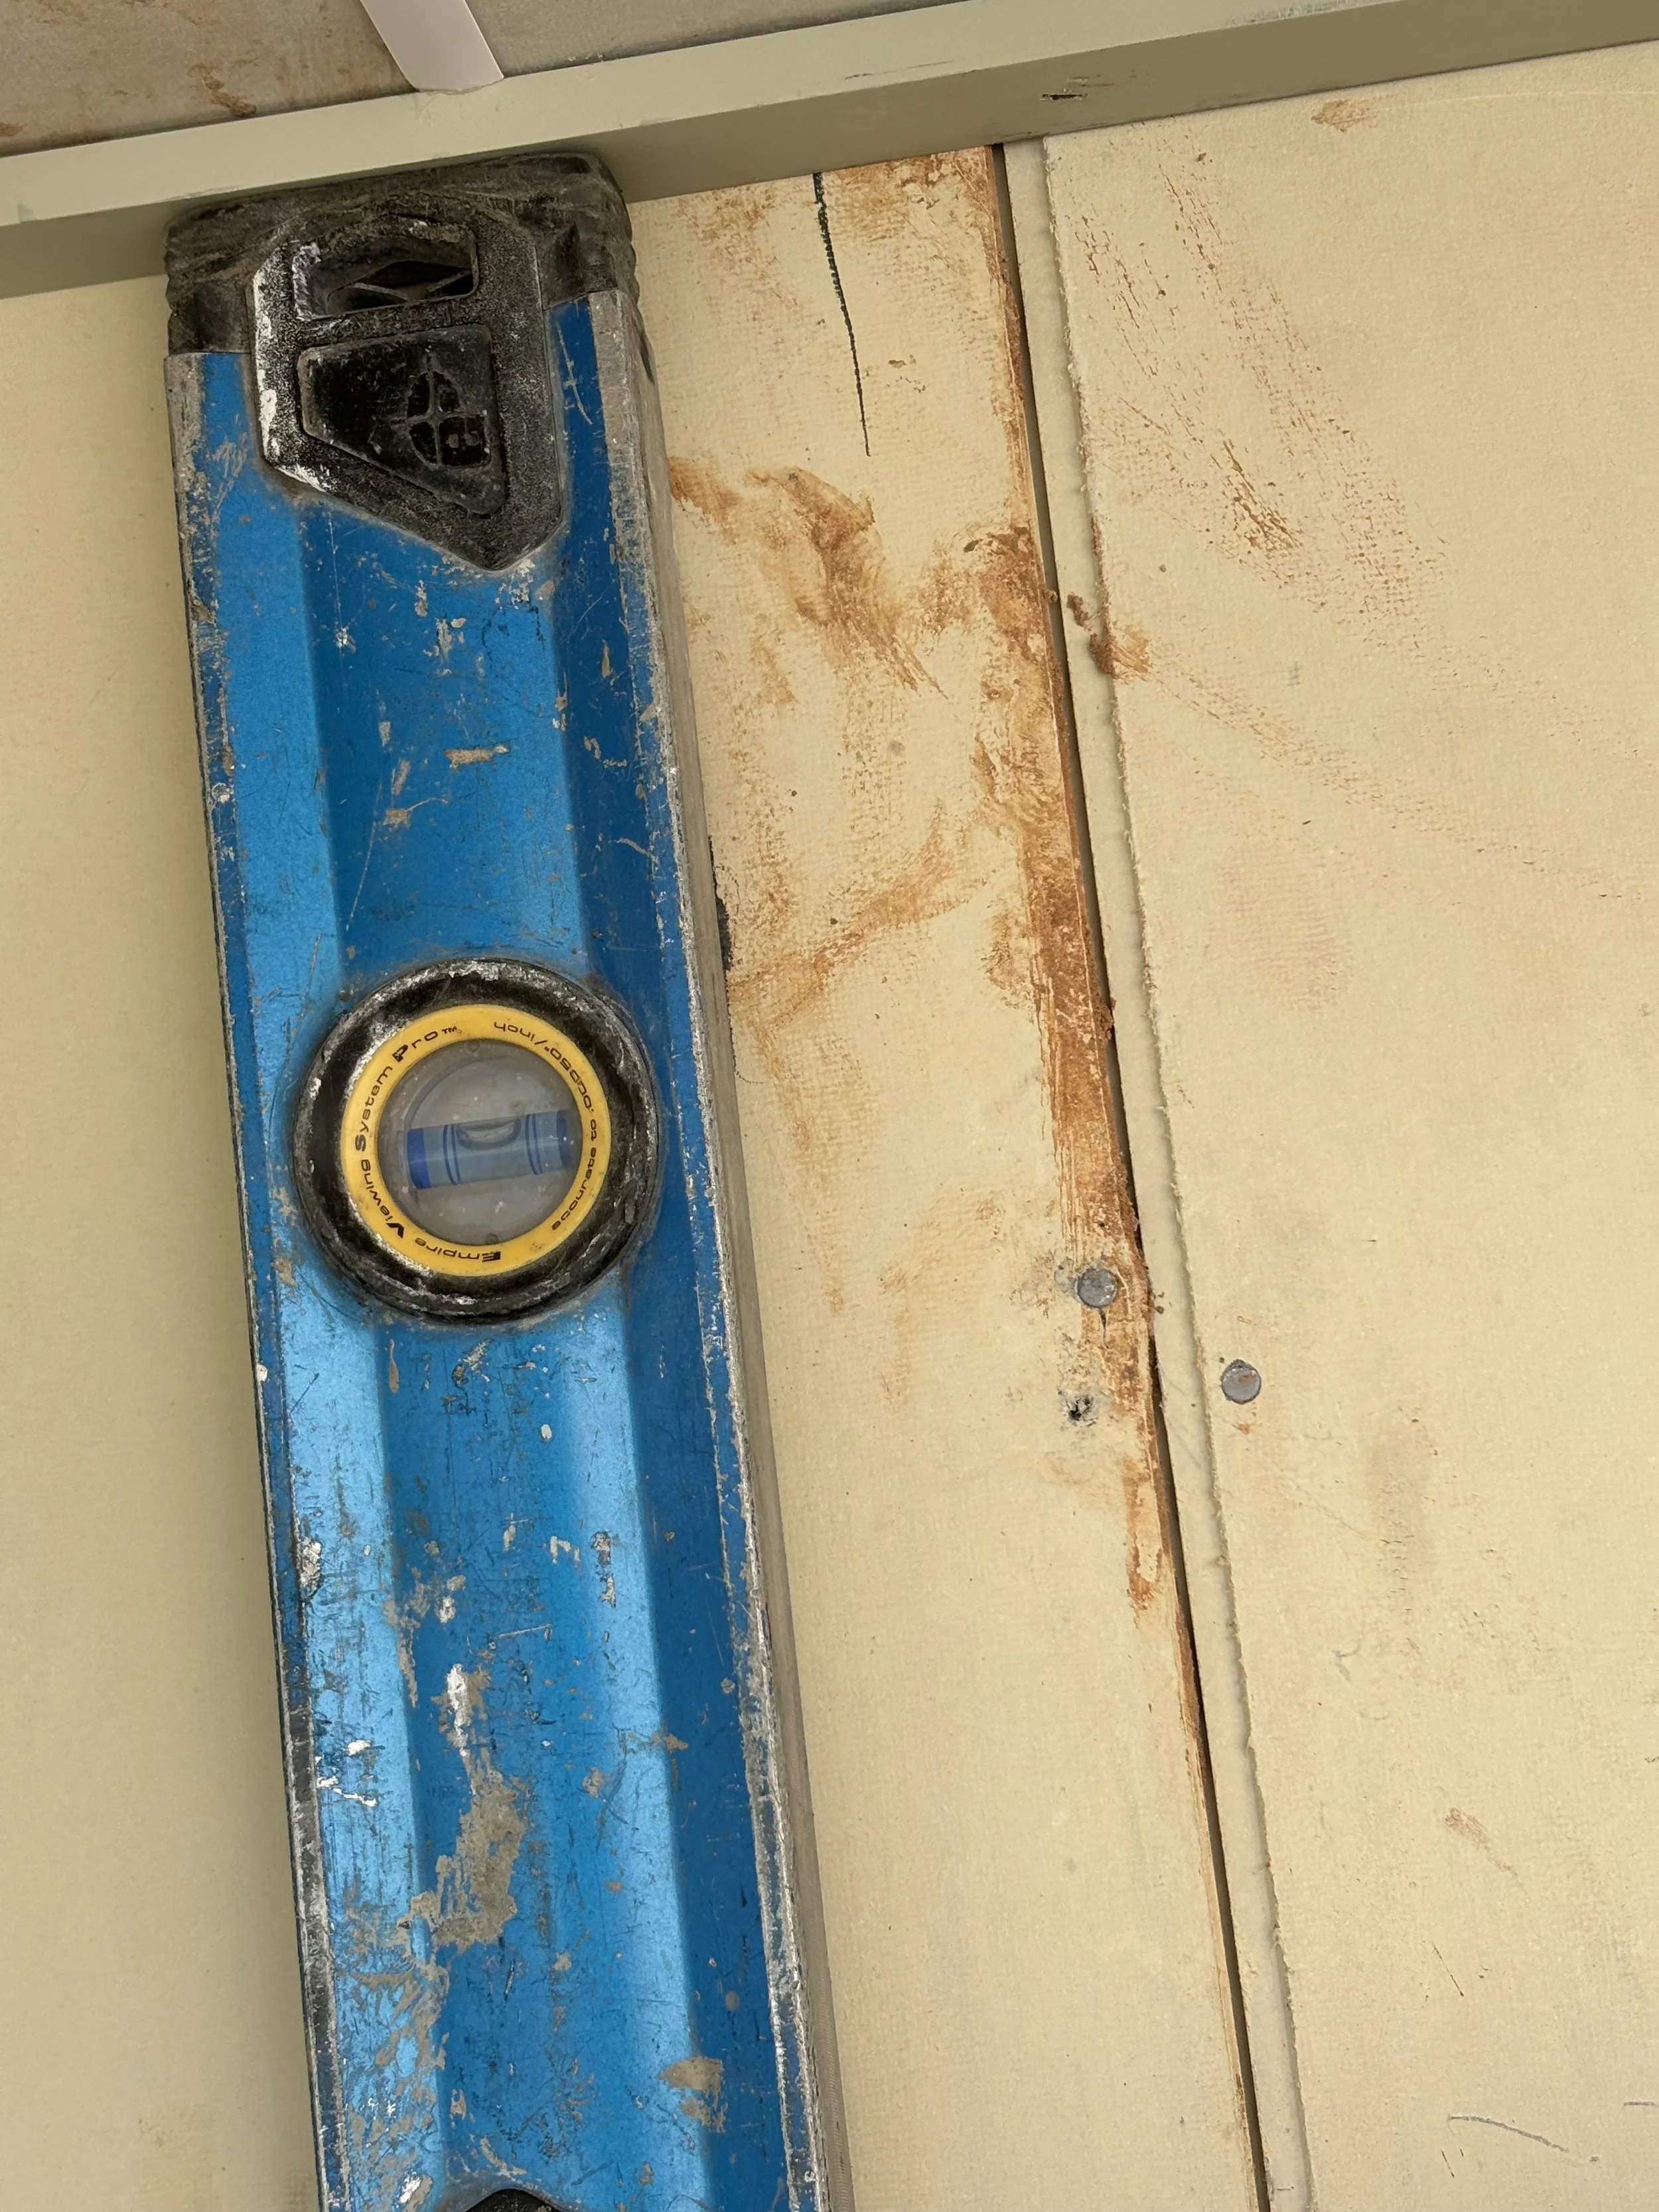
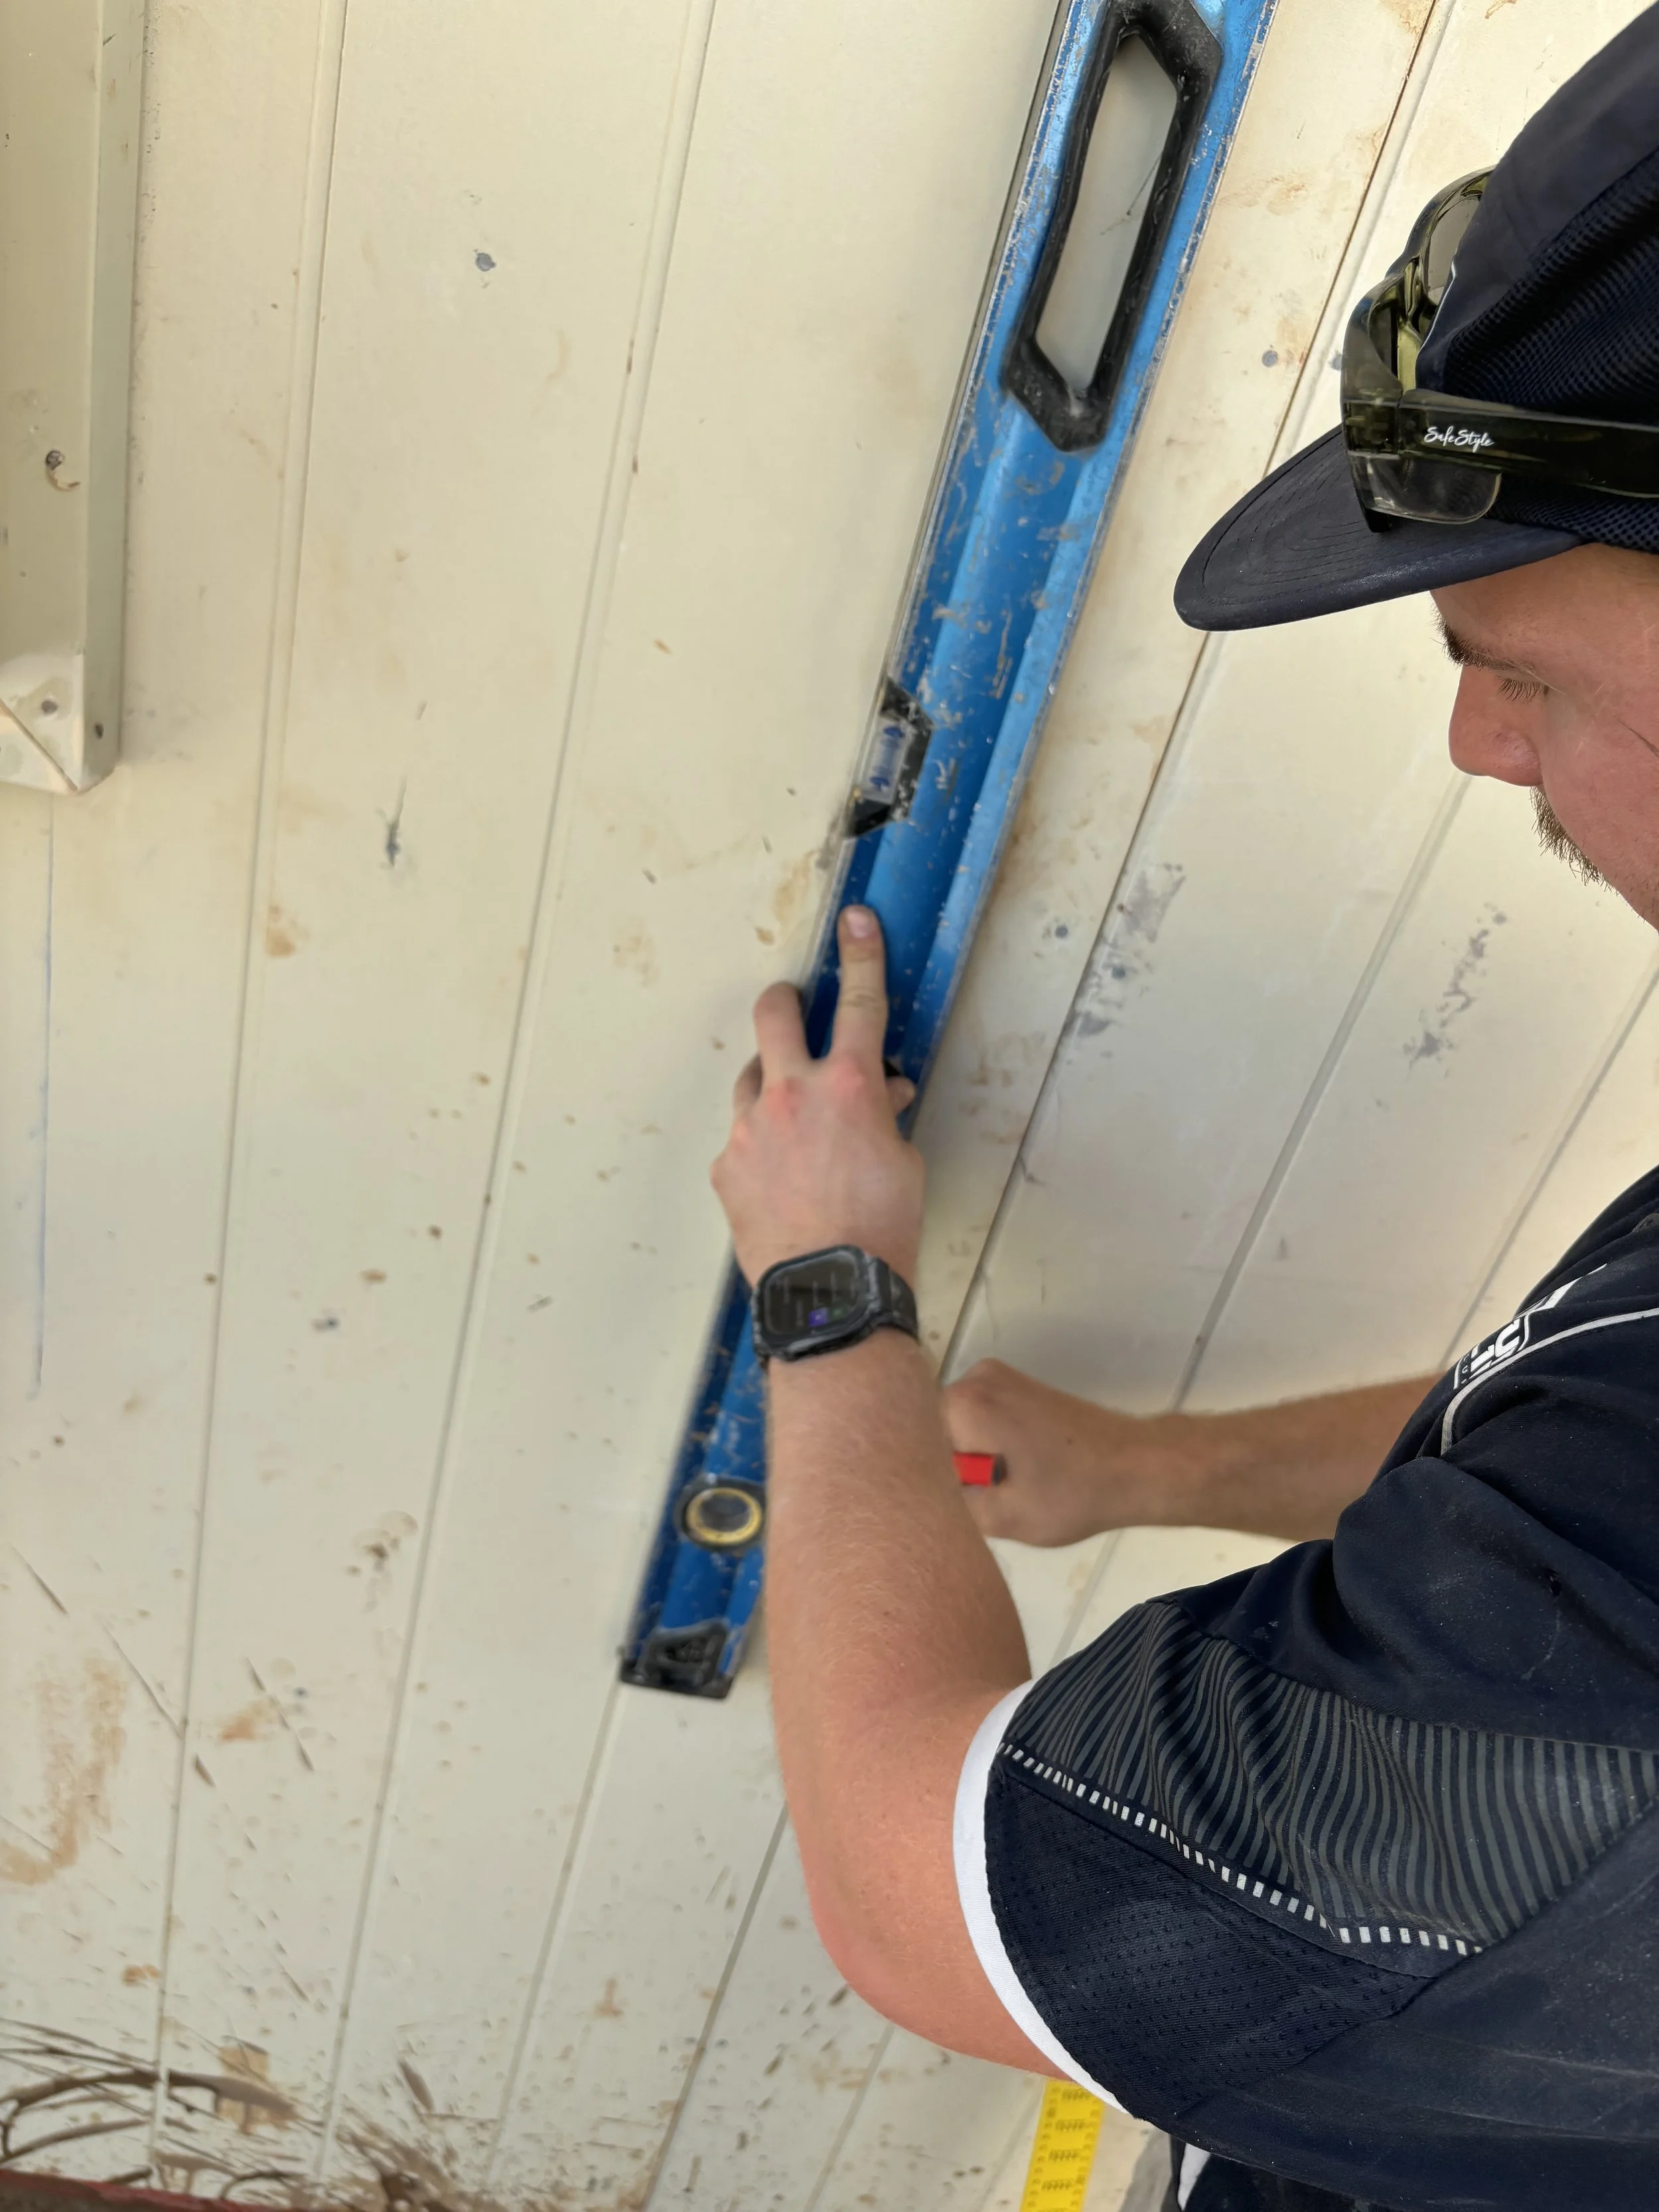
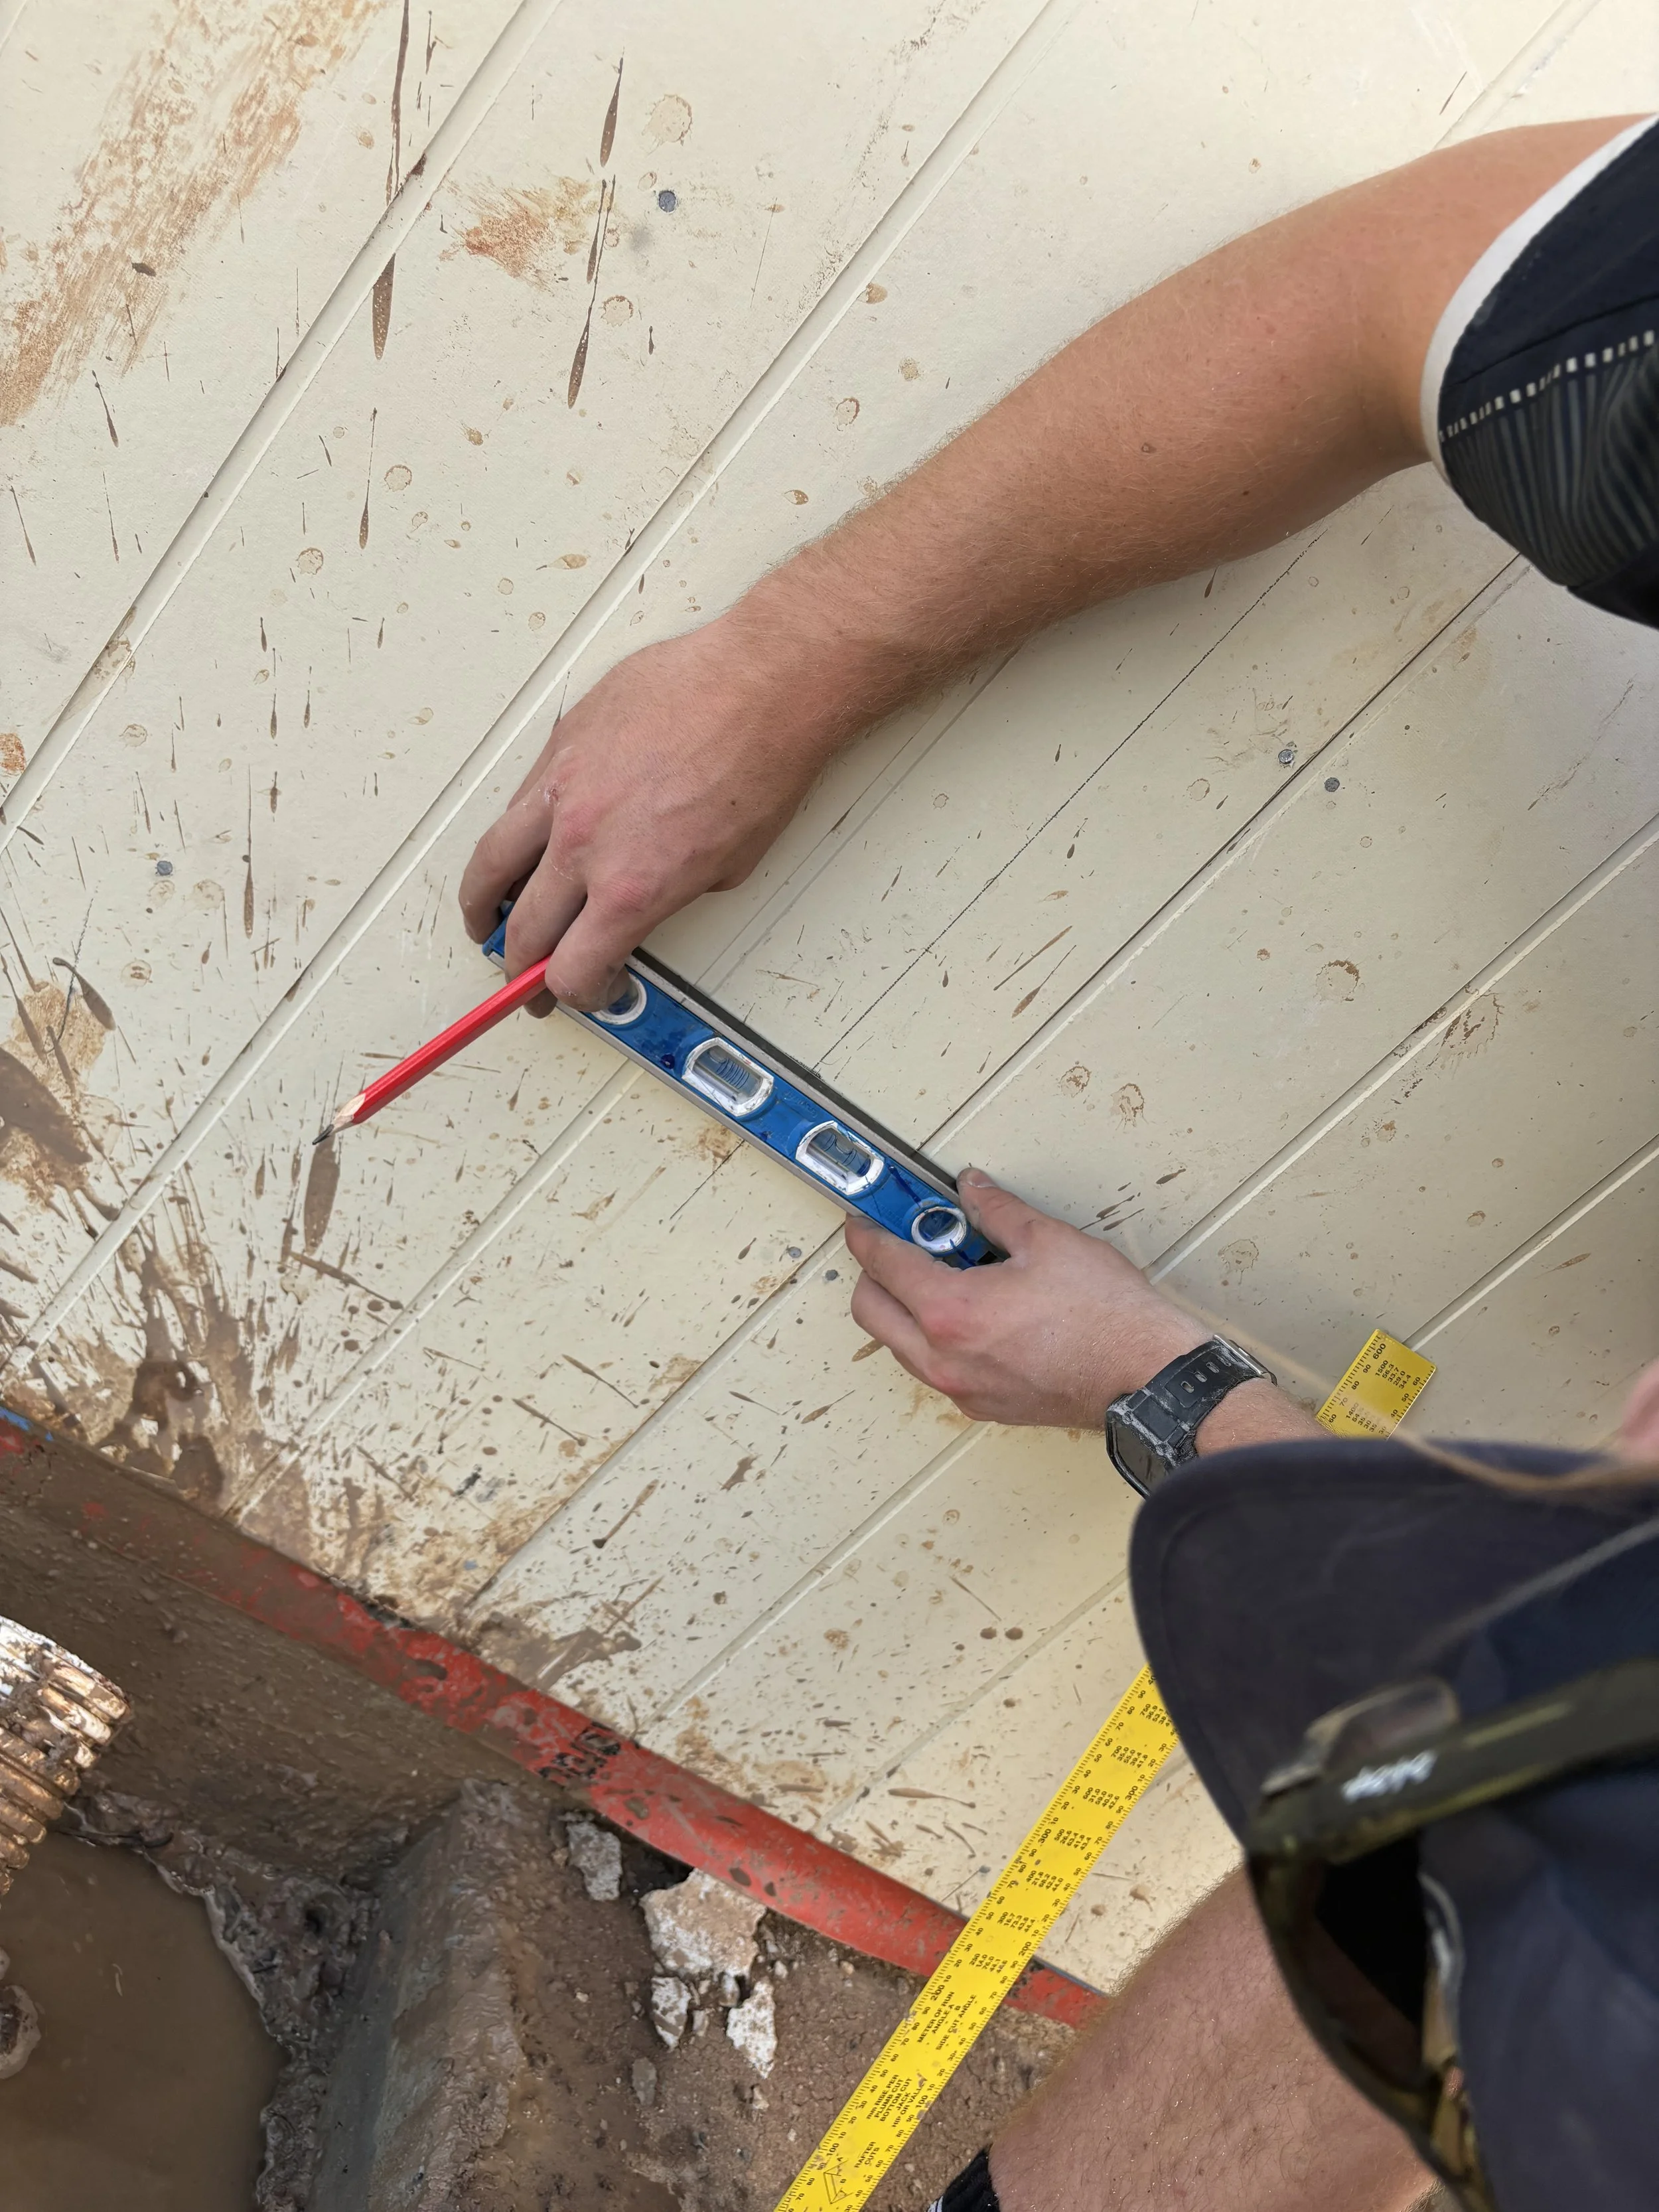
Level down from top mark to get centre of saddle.
Mark 50mm either side of centre for your screw/plug holes.
Level down from centre mark to get centre line for bottom saddle.
You may need to make multiple marks.
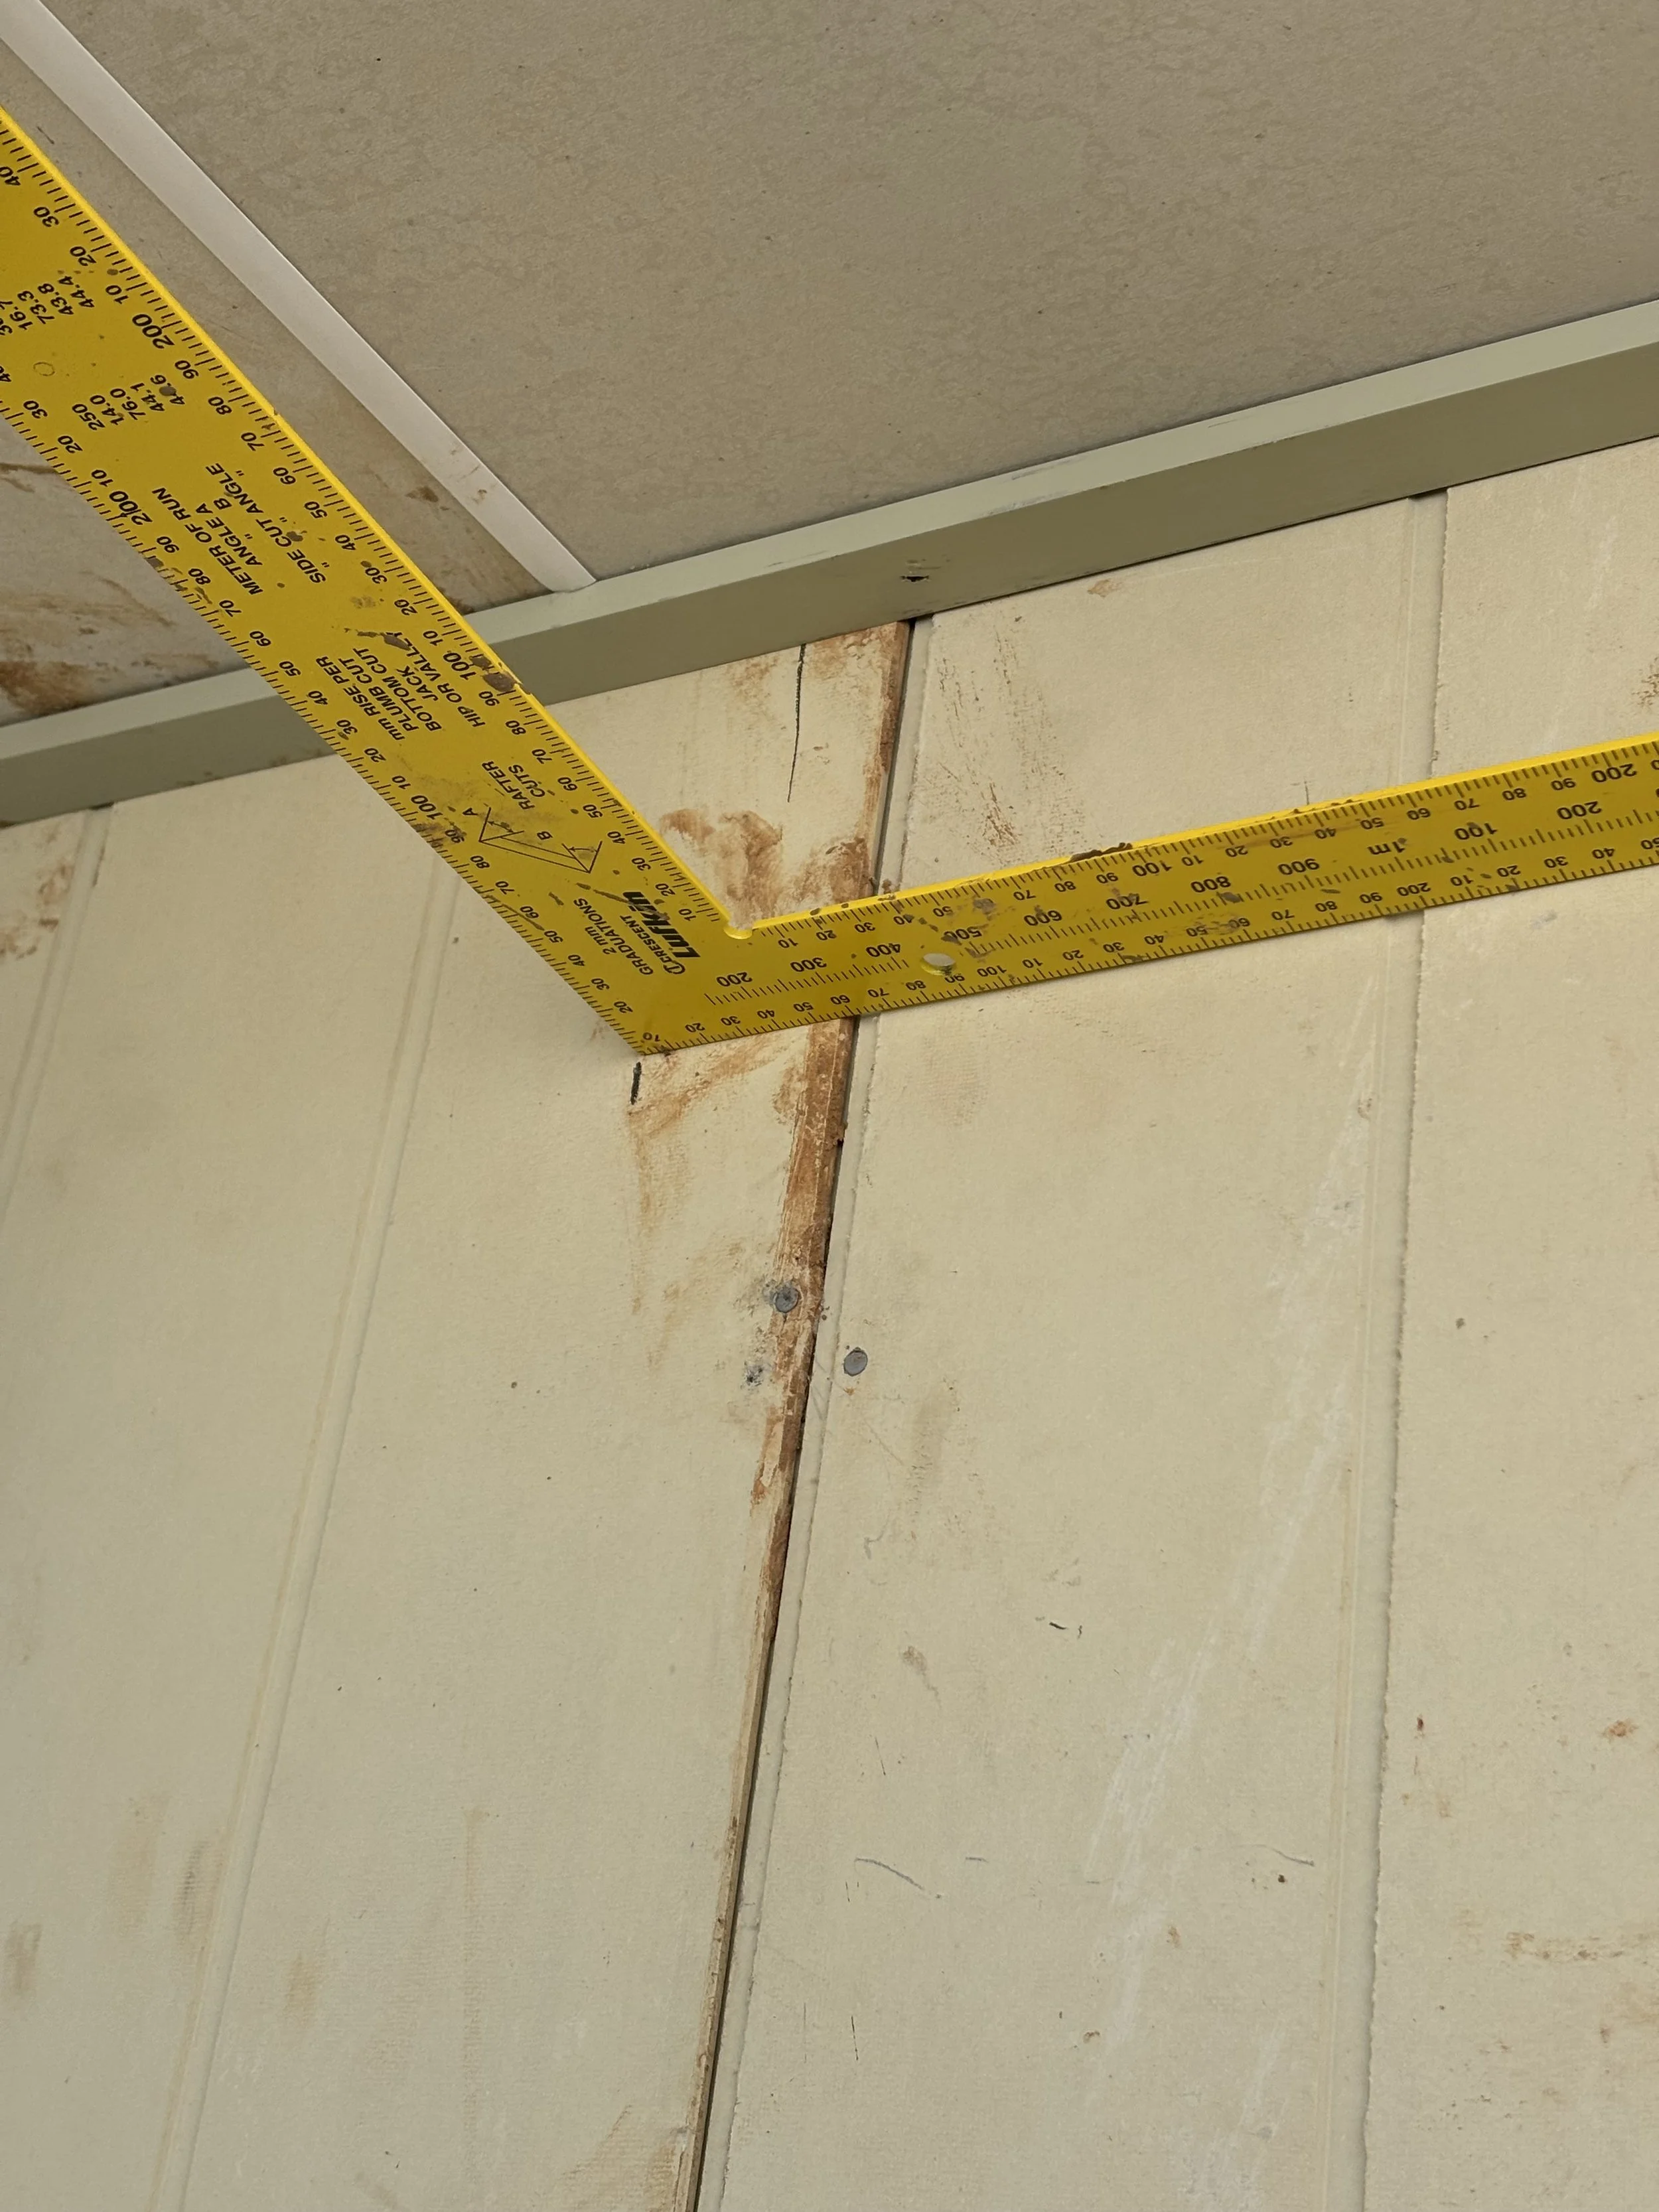
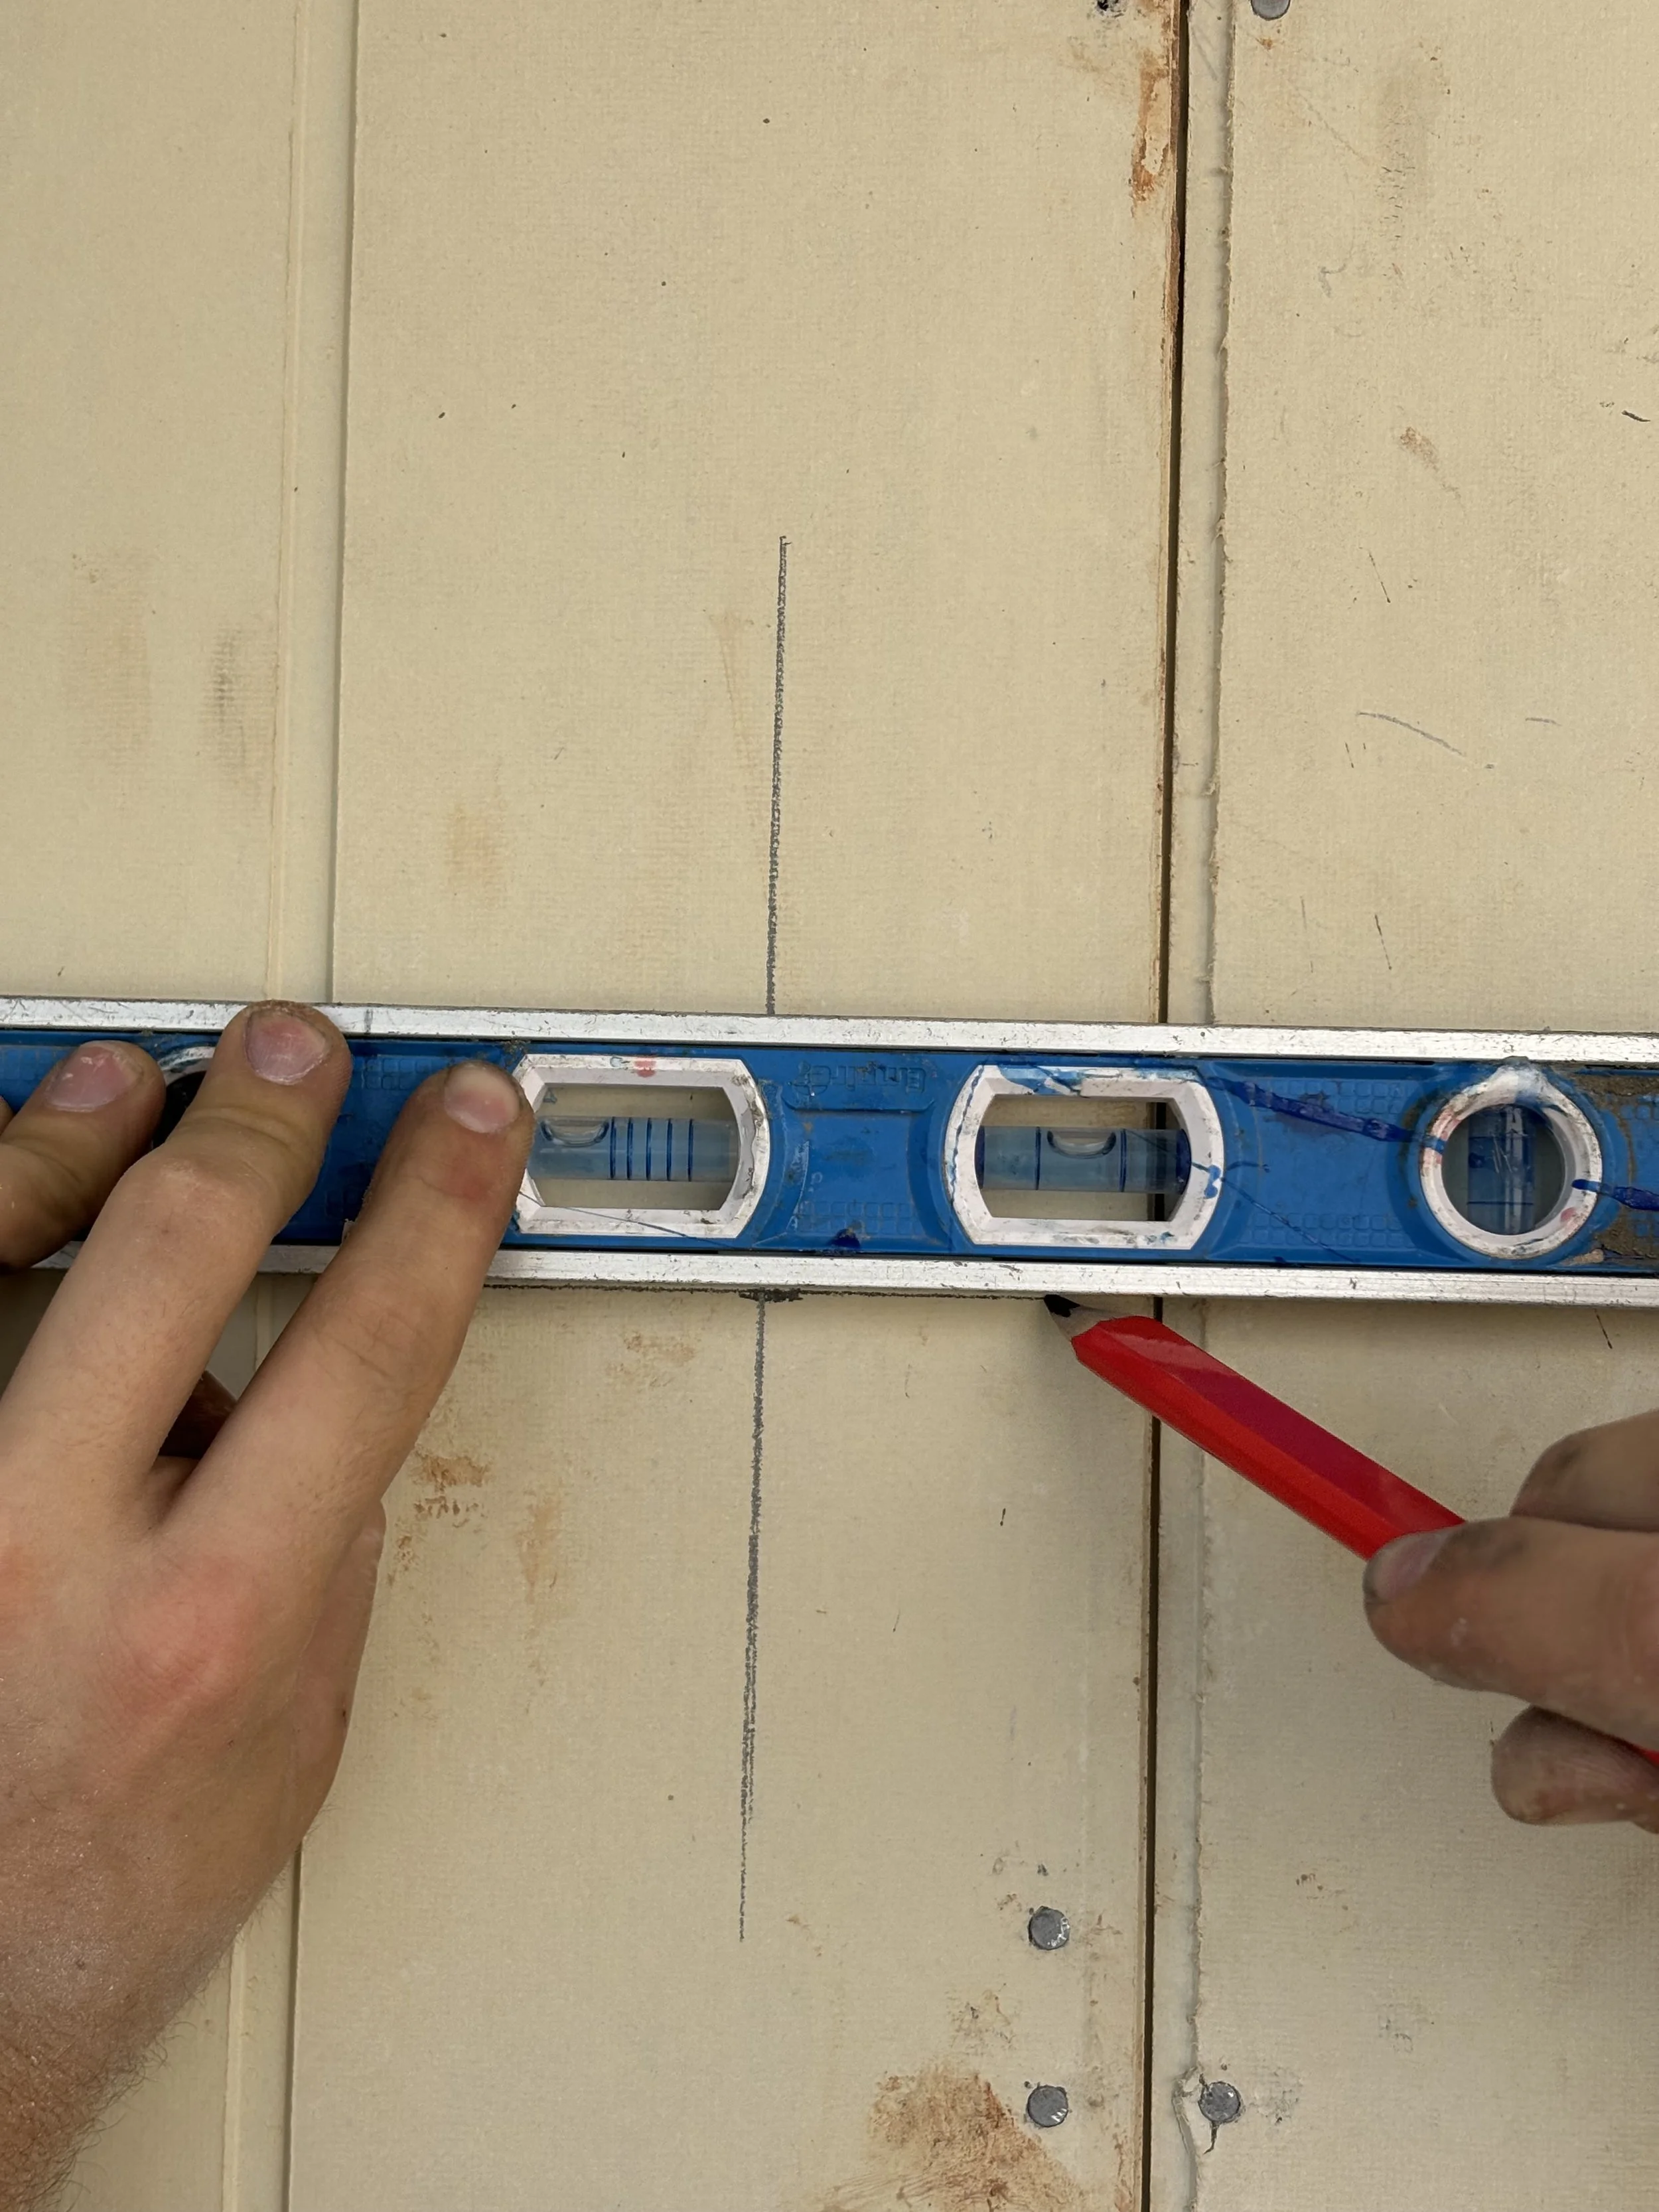
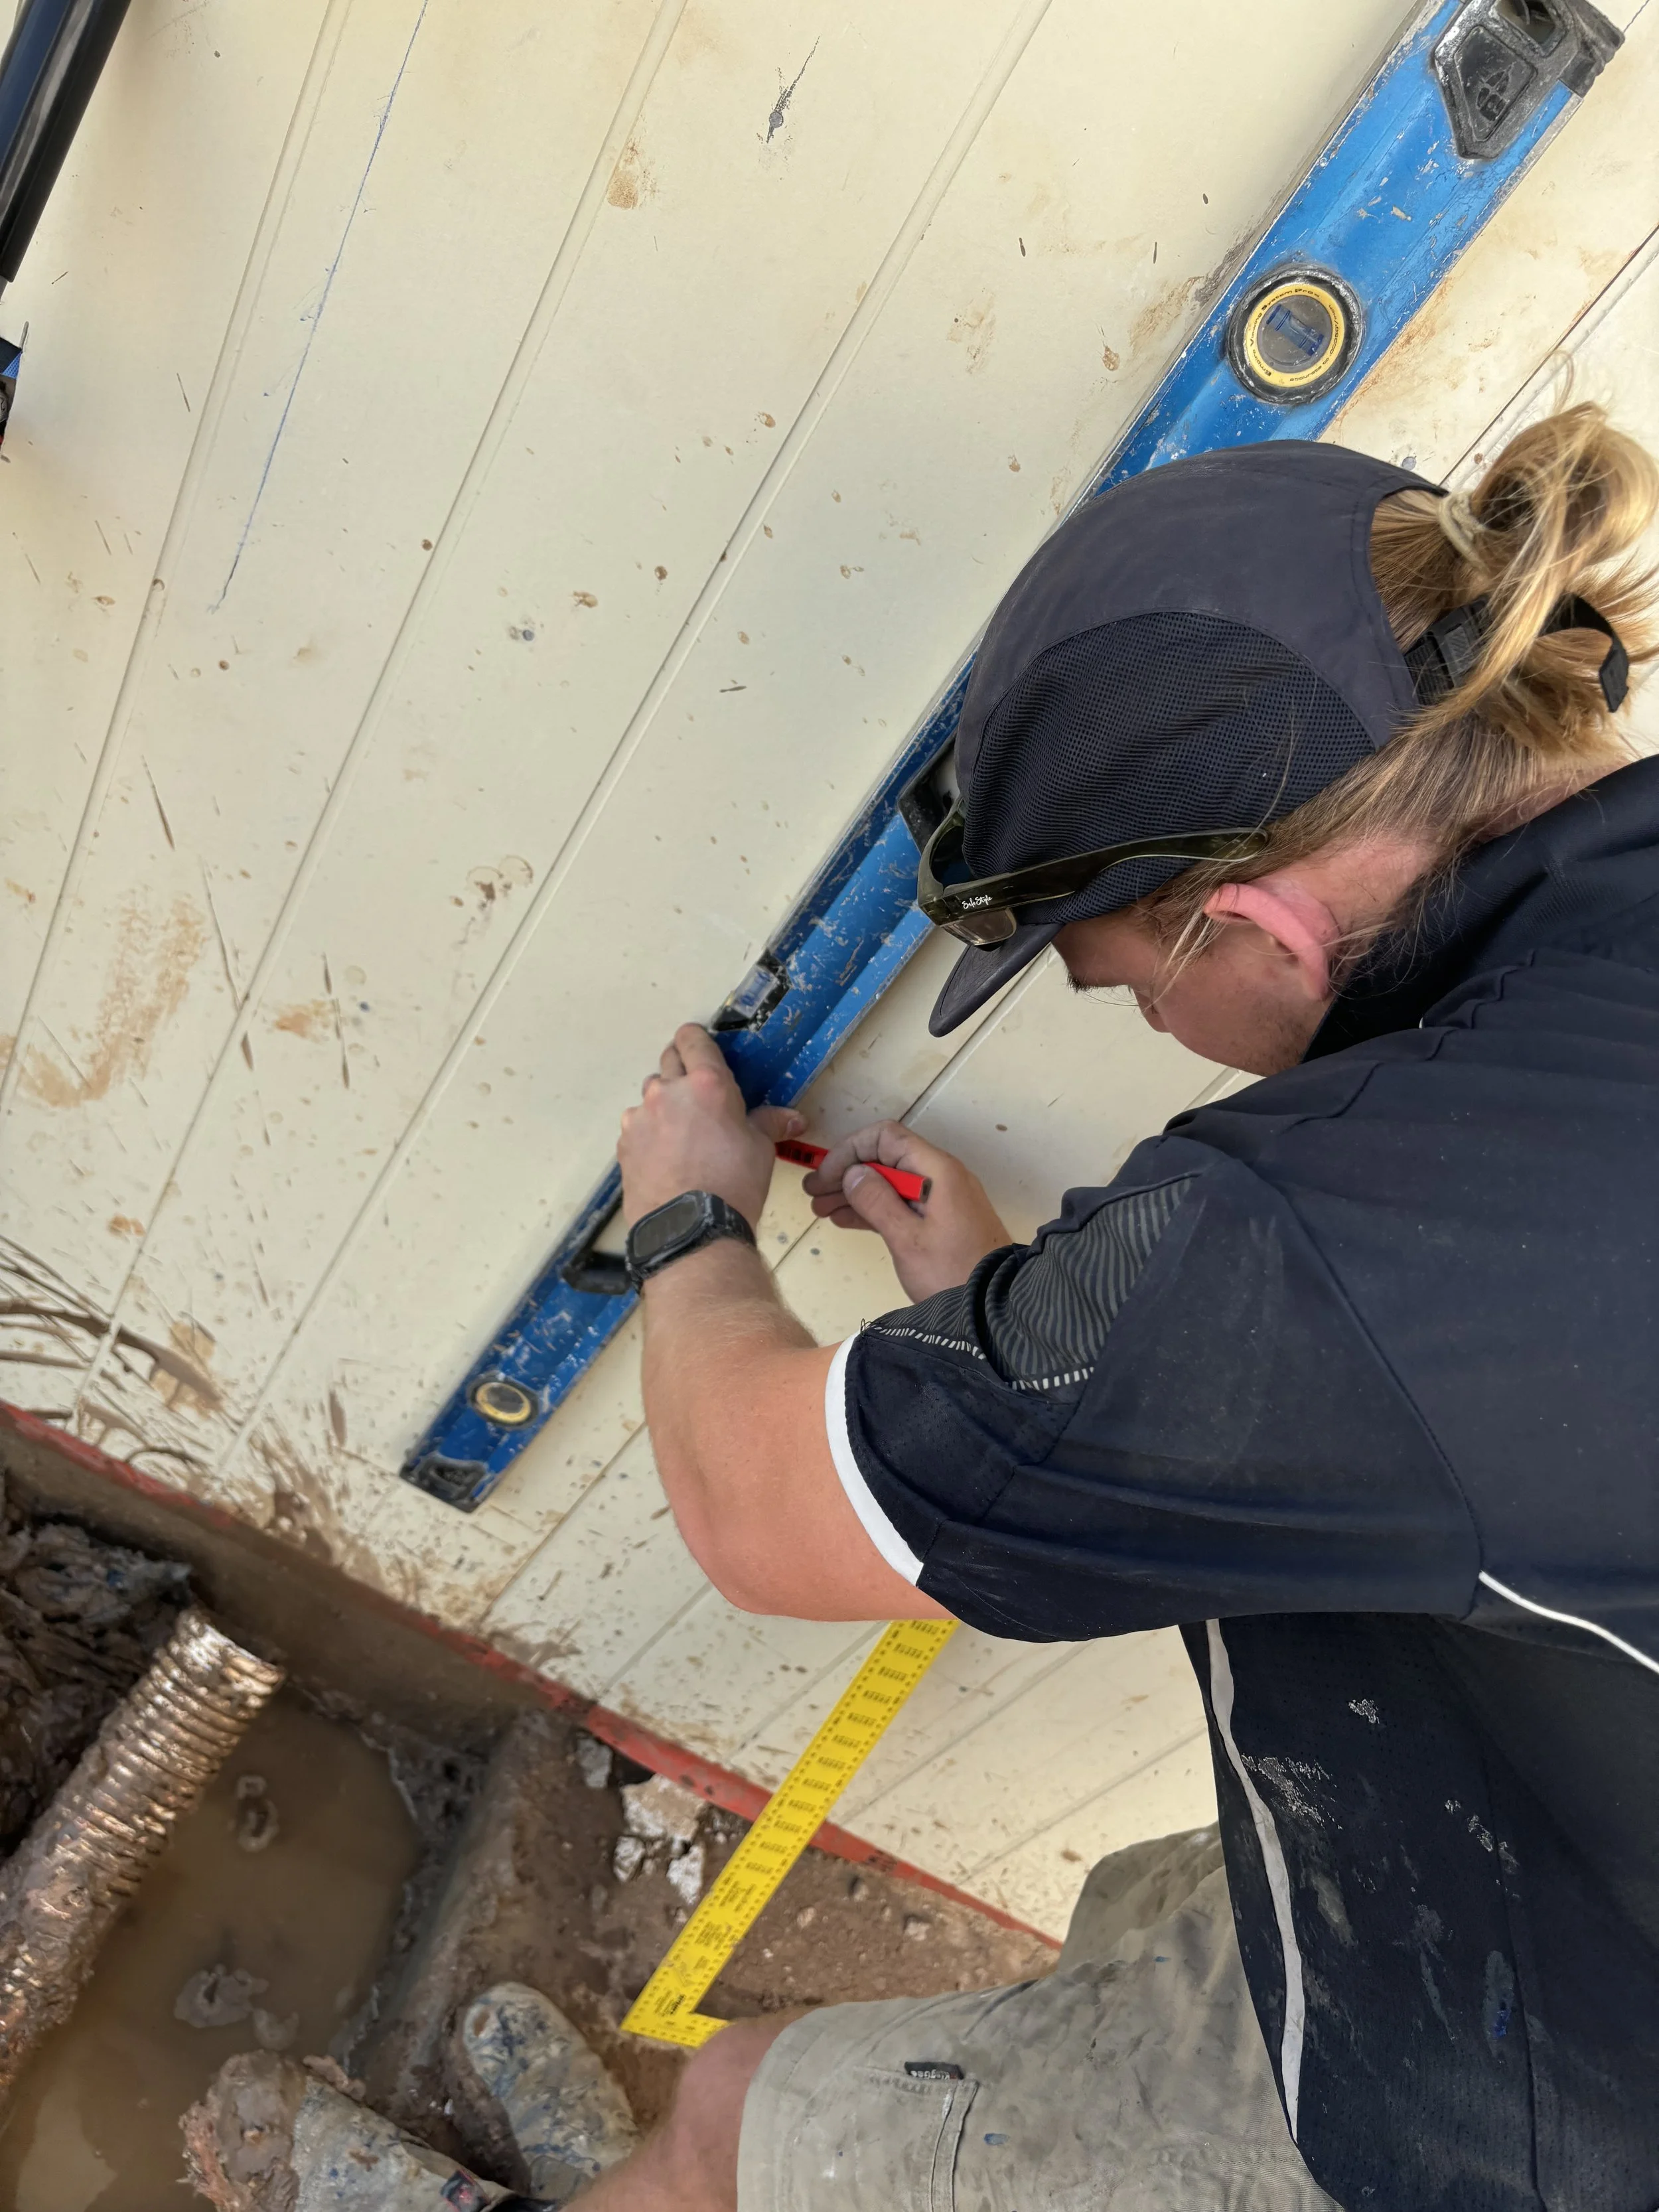
Mark 400mm up from bottom of cladding or from weep holes if brick.
Mark a level horizontal line.
Mark 50mm either side of centre.
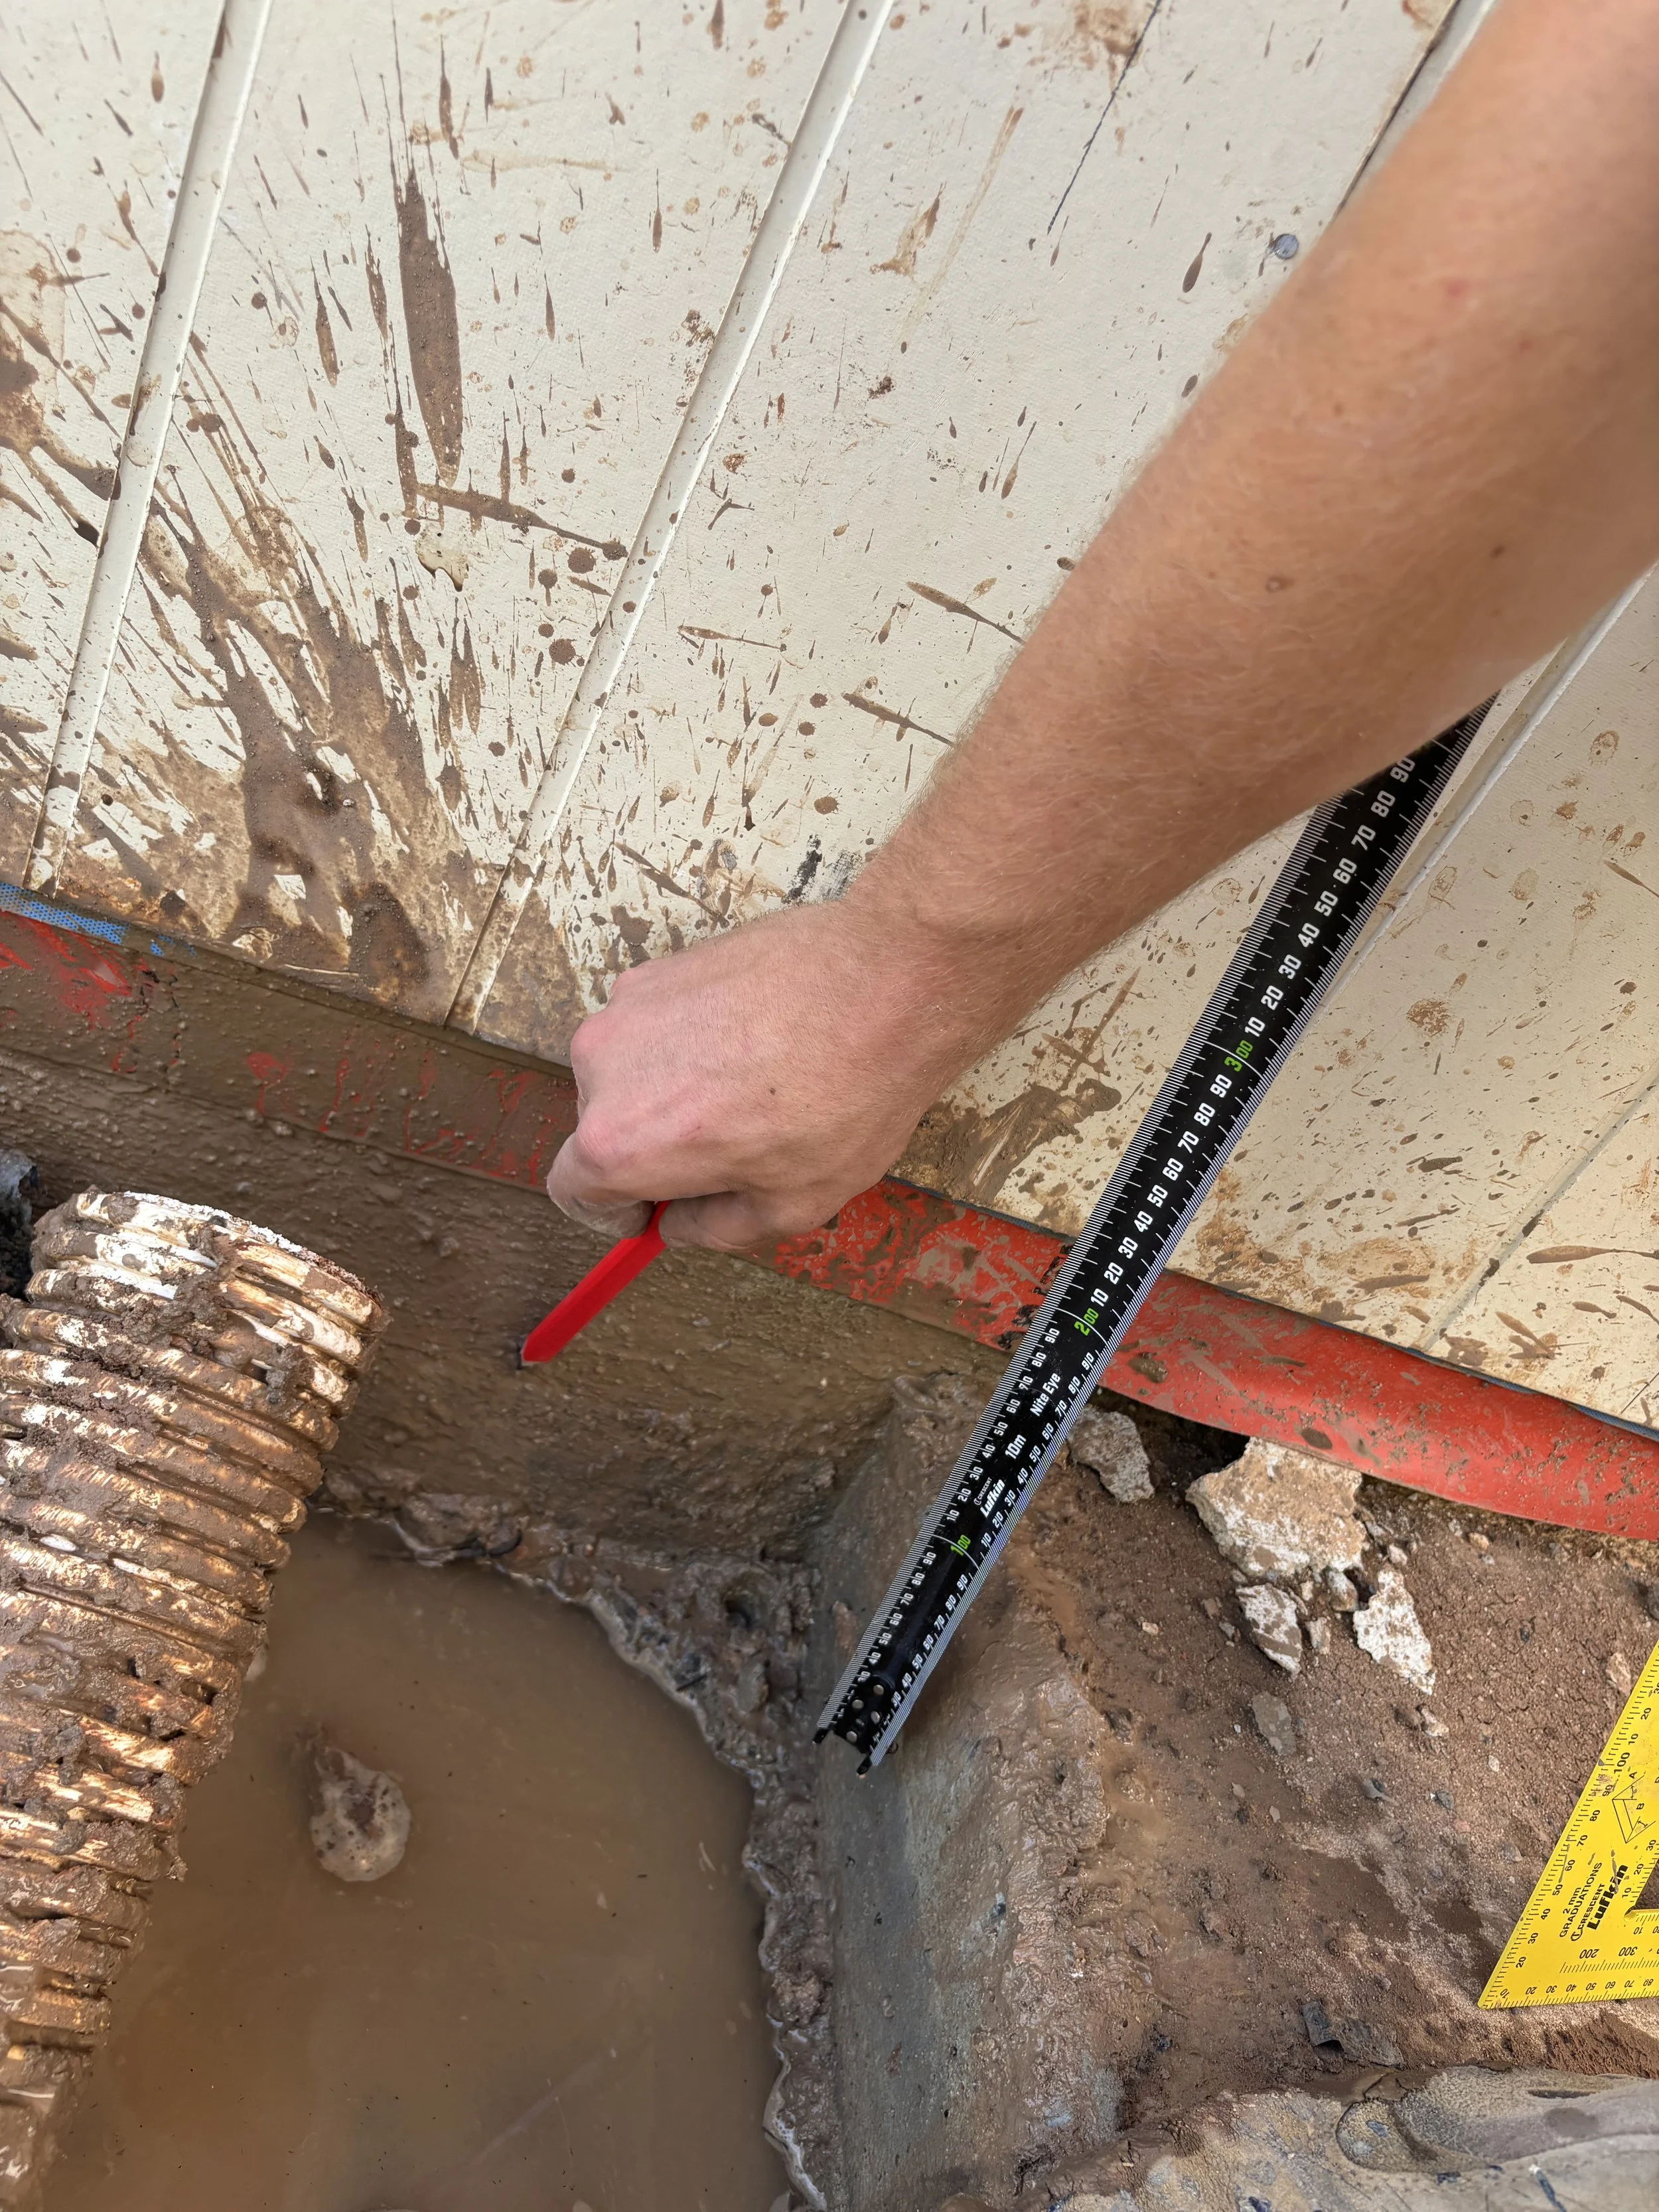
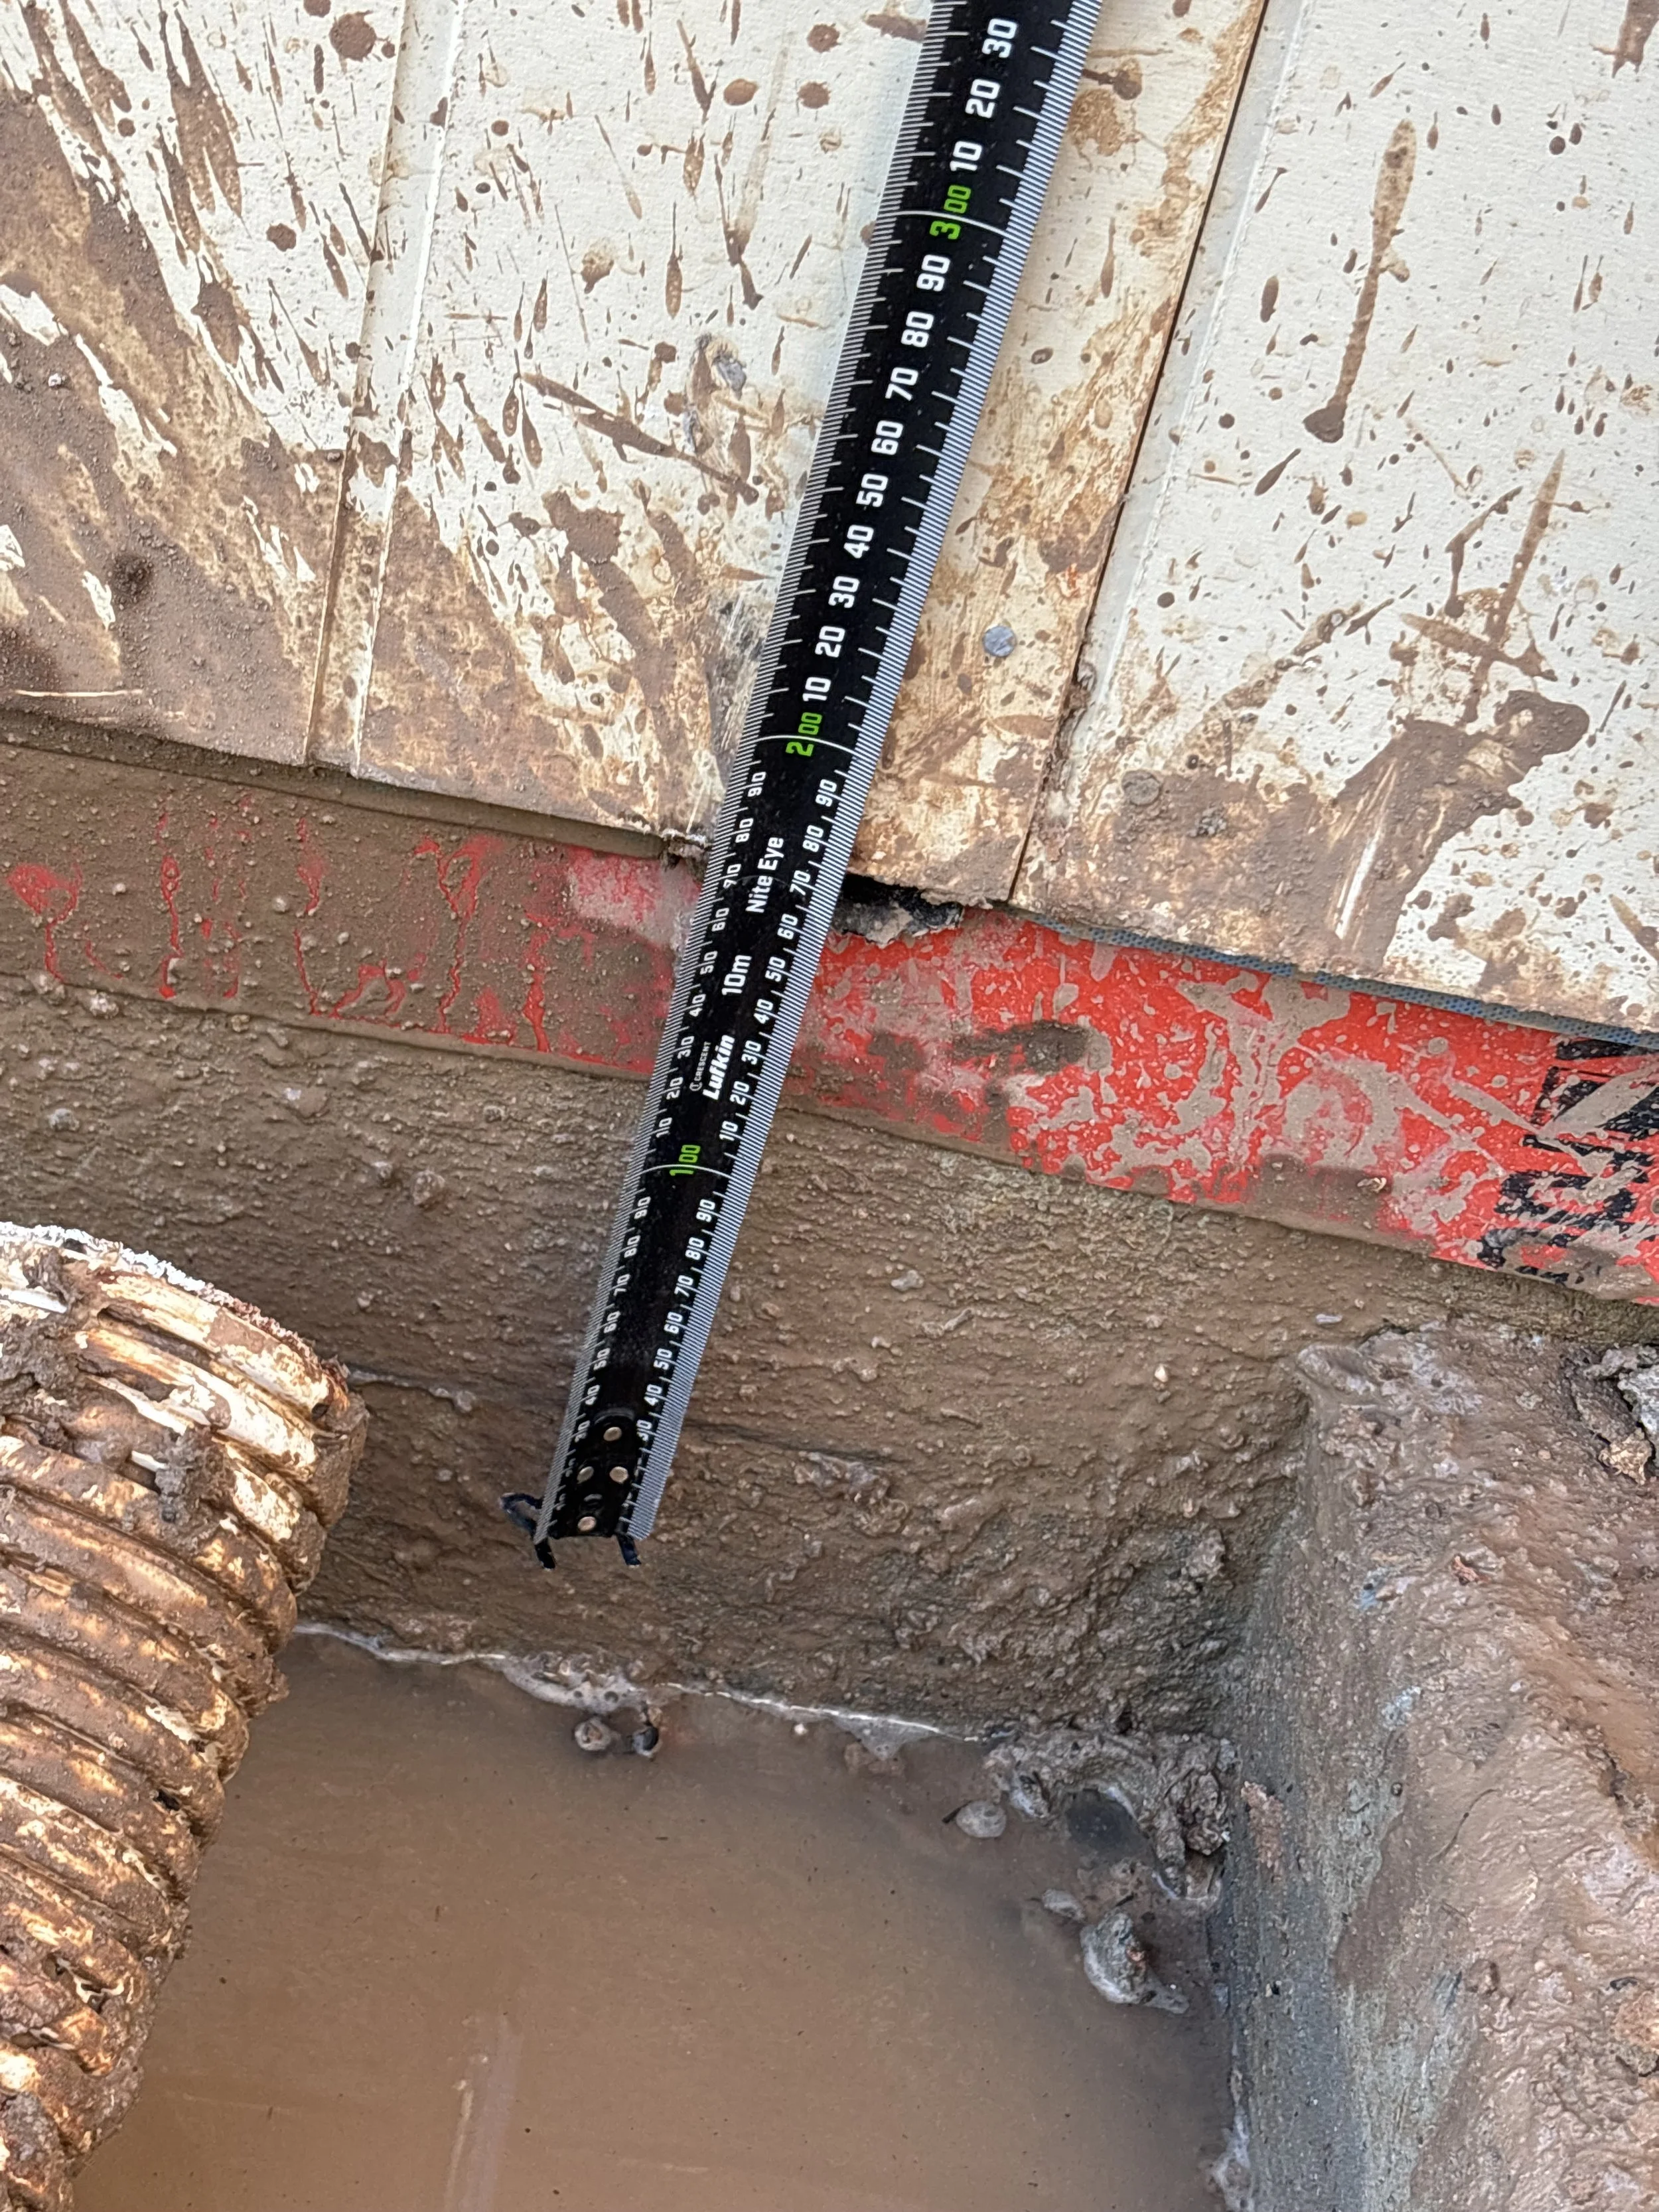
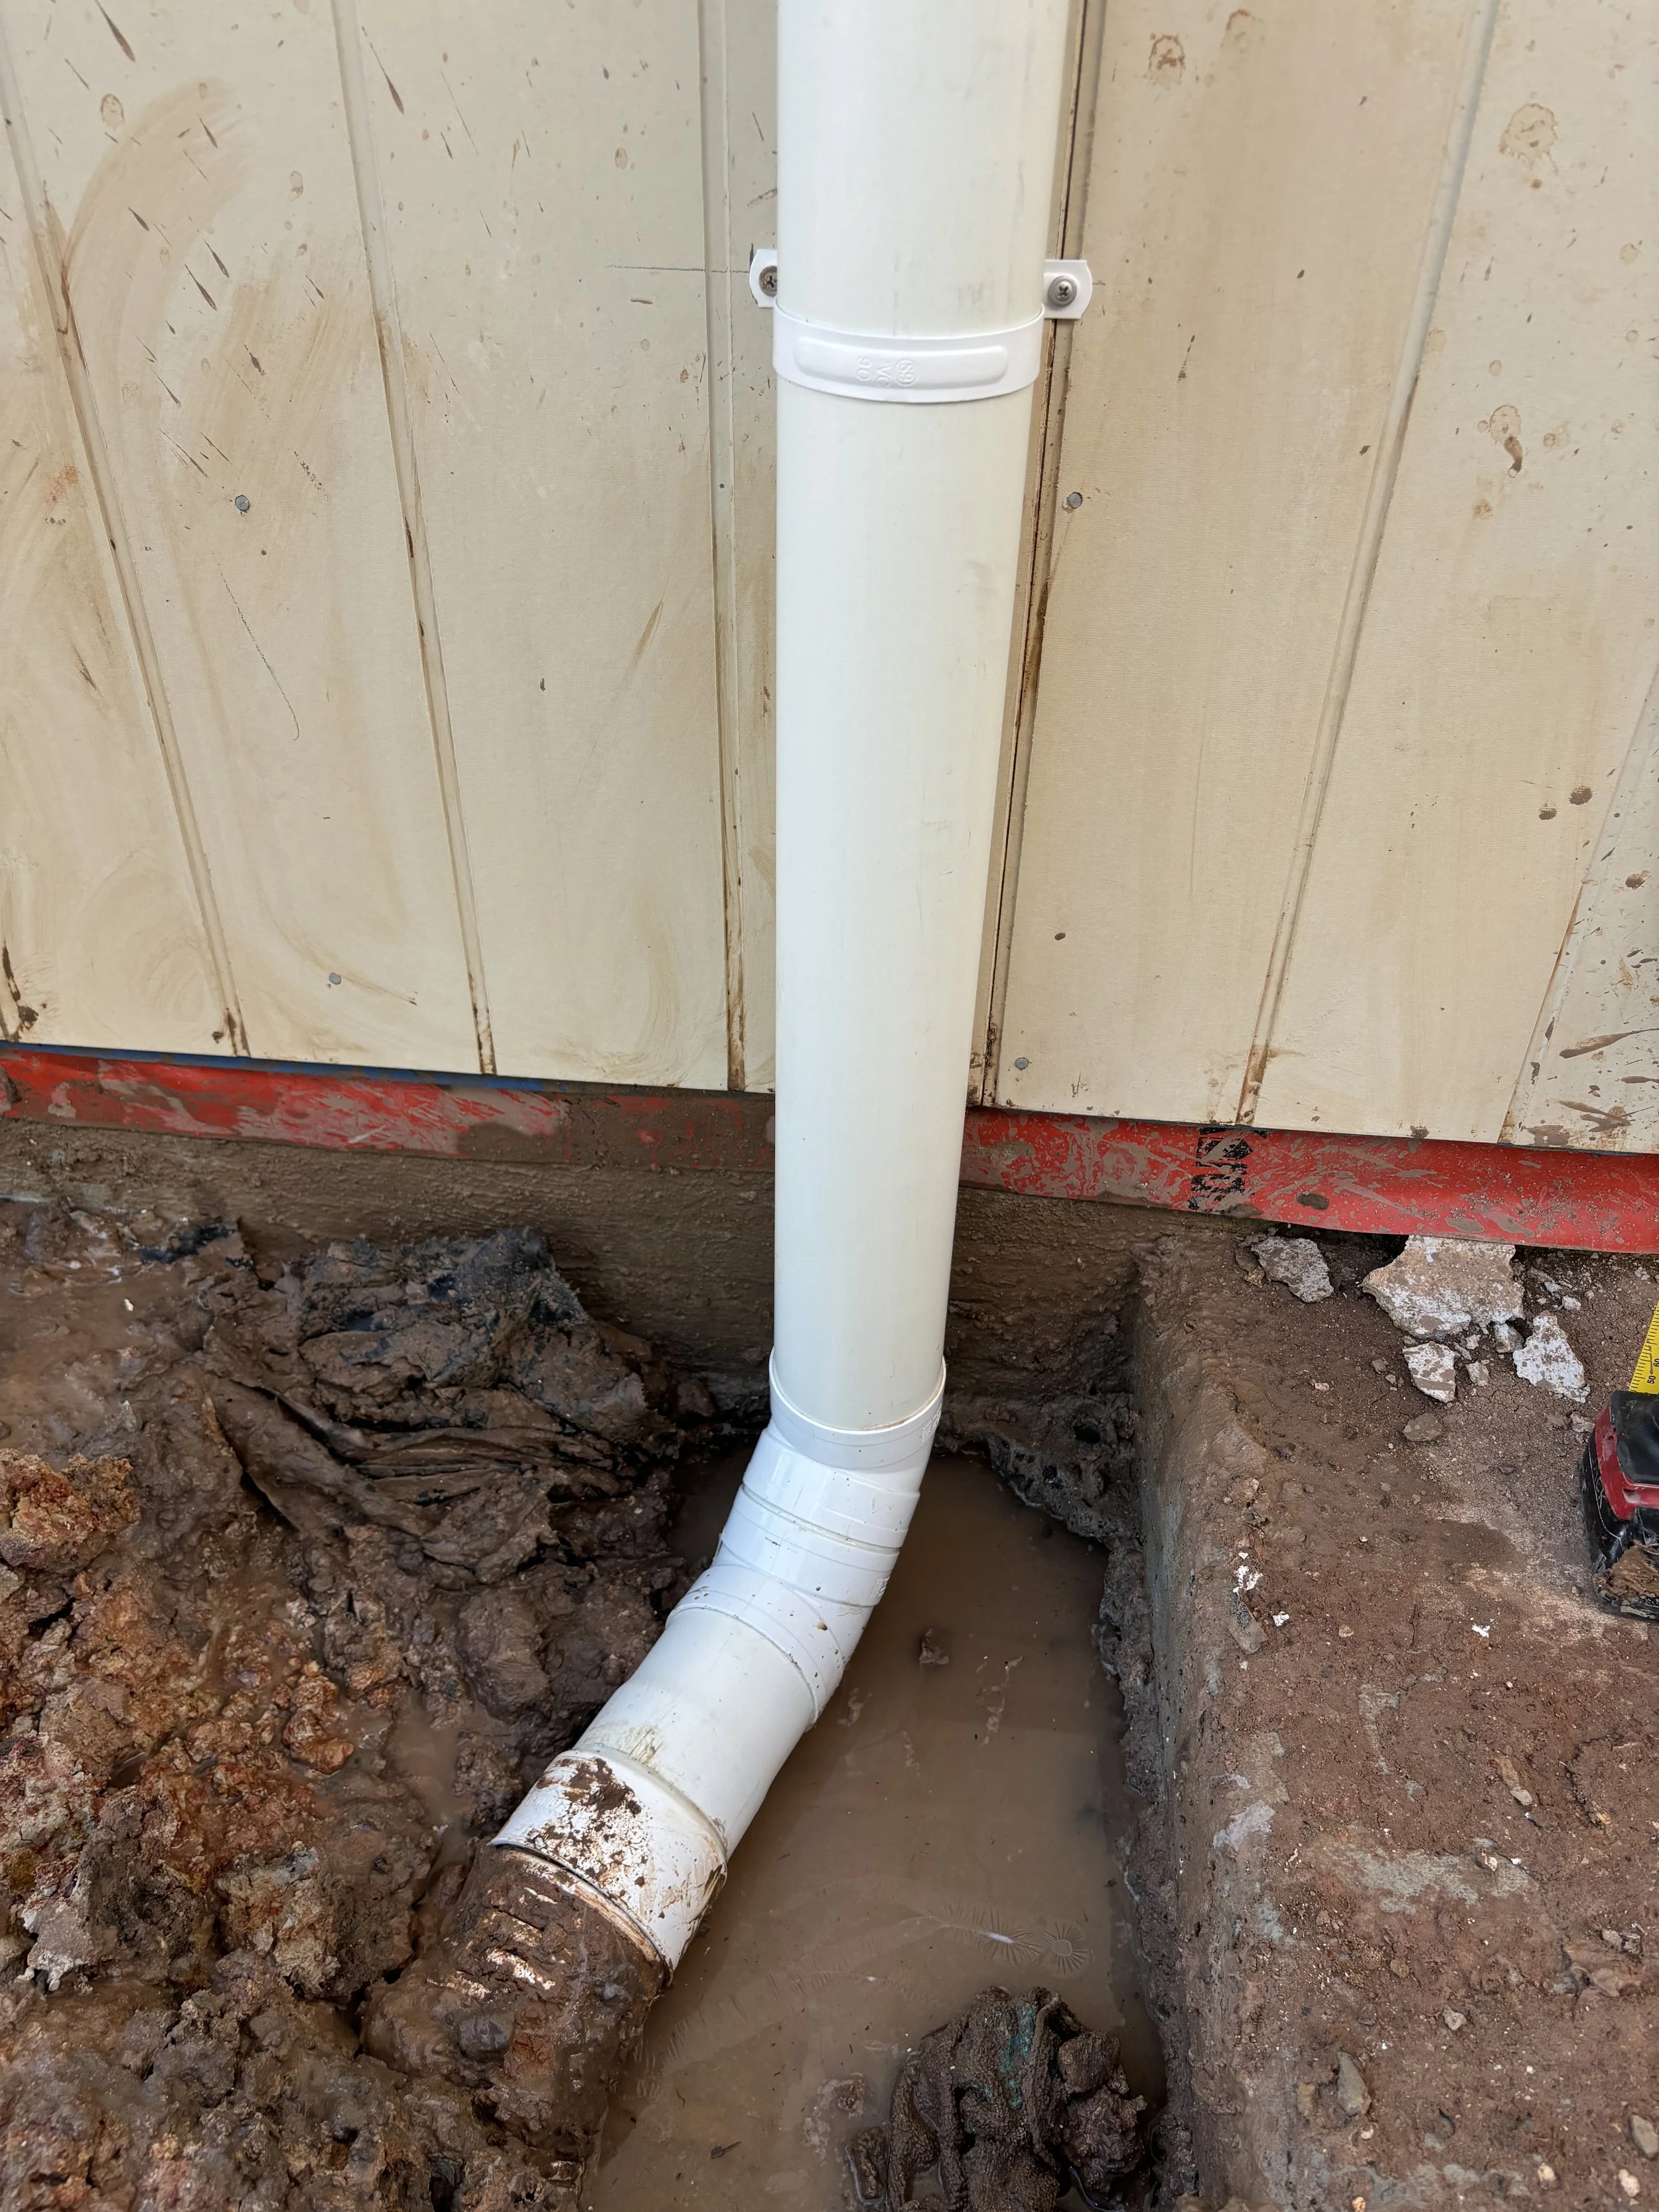
We want to have our bottom bends covered by dirt so we take the vertical section approximately 75mm below finished dirt height.
**Finished dirt height is usually about 75 mm below the hottie/ air con slabs.
Make a mark where the bottom of the vertical section will go to.
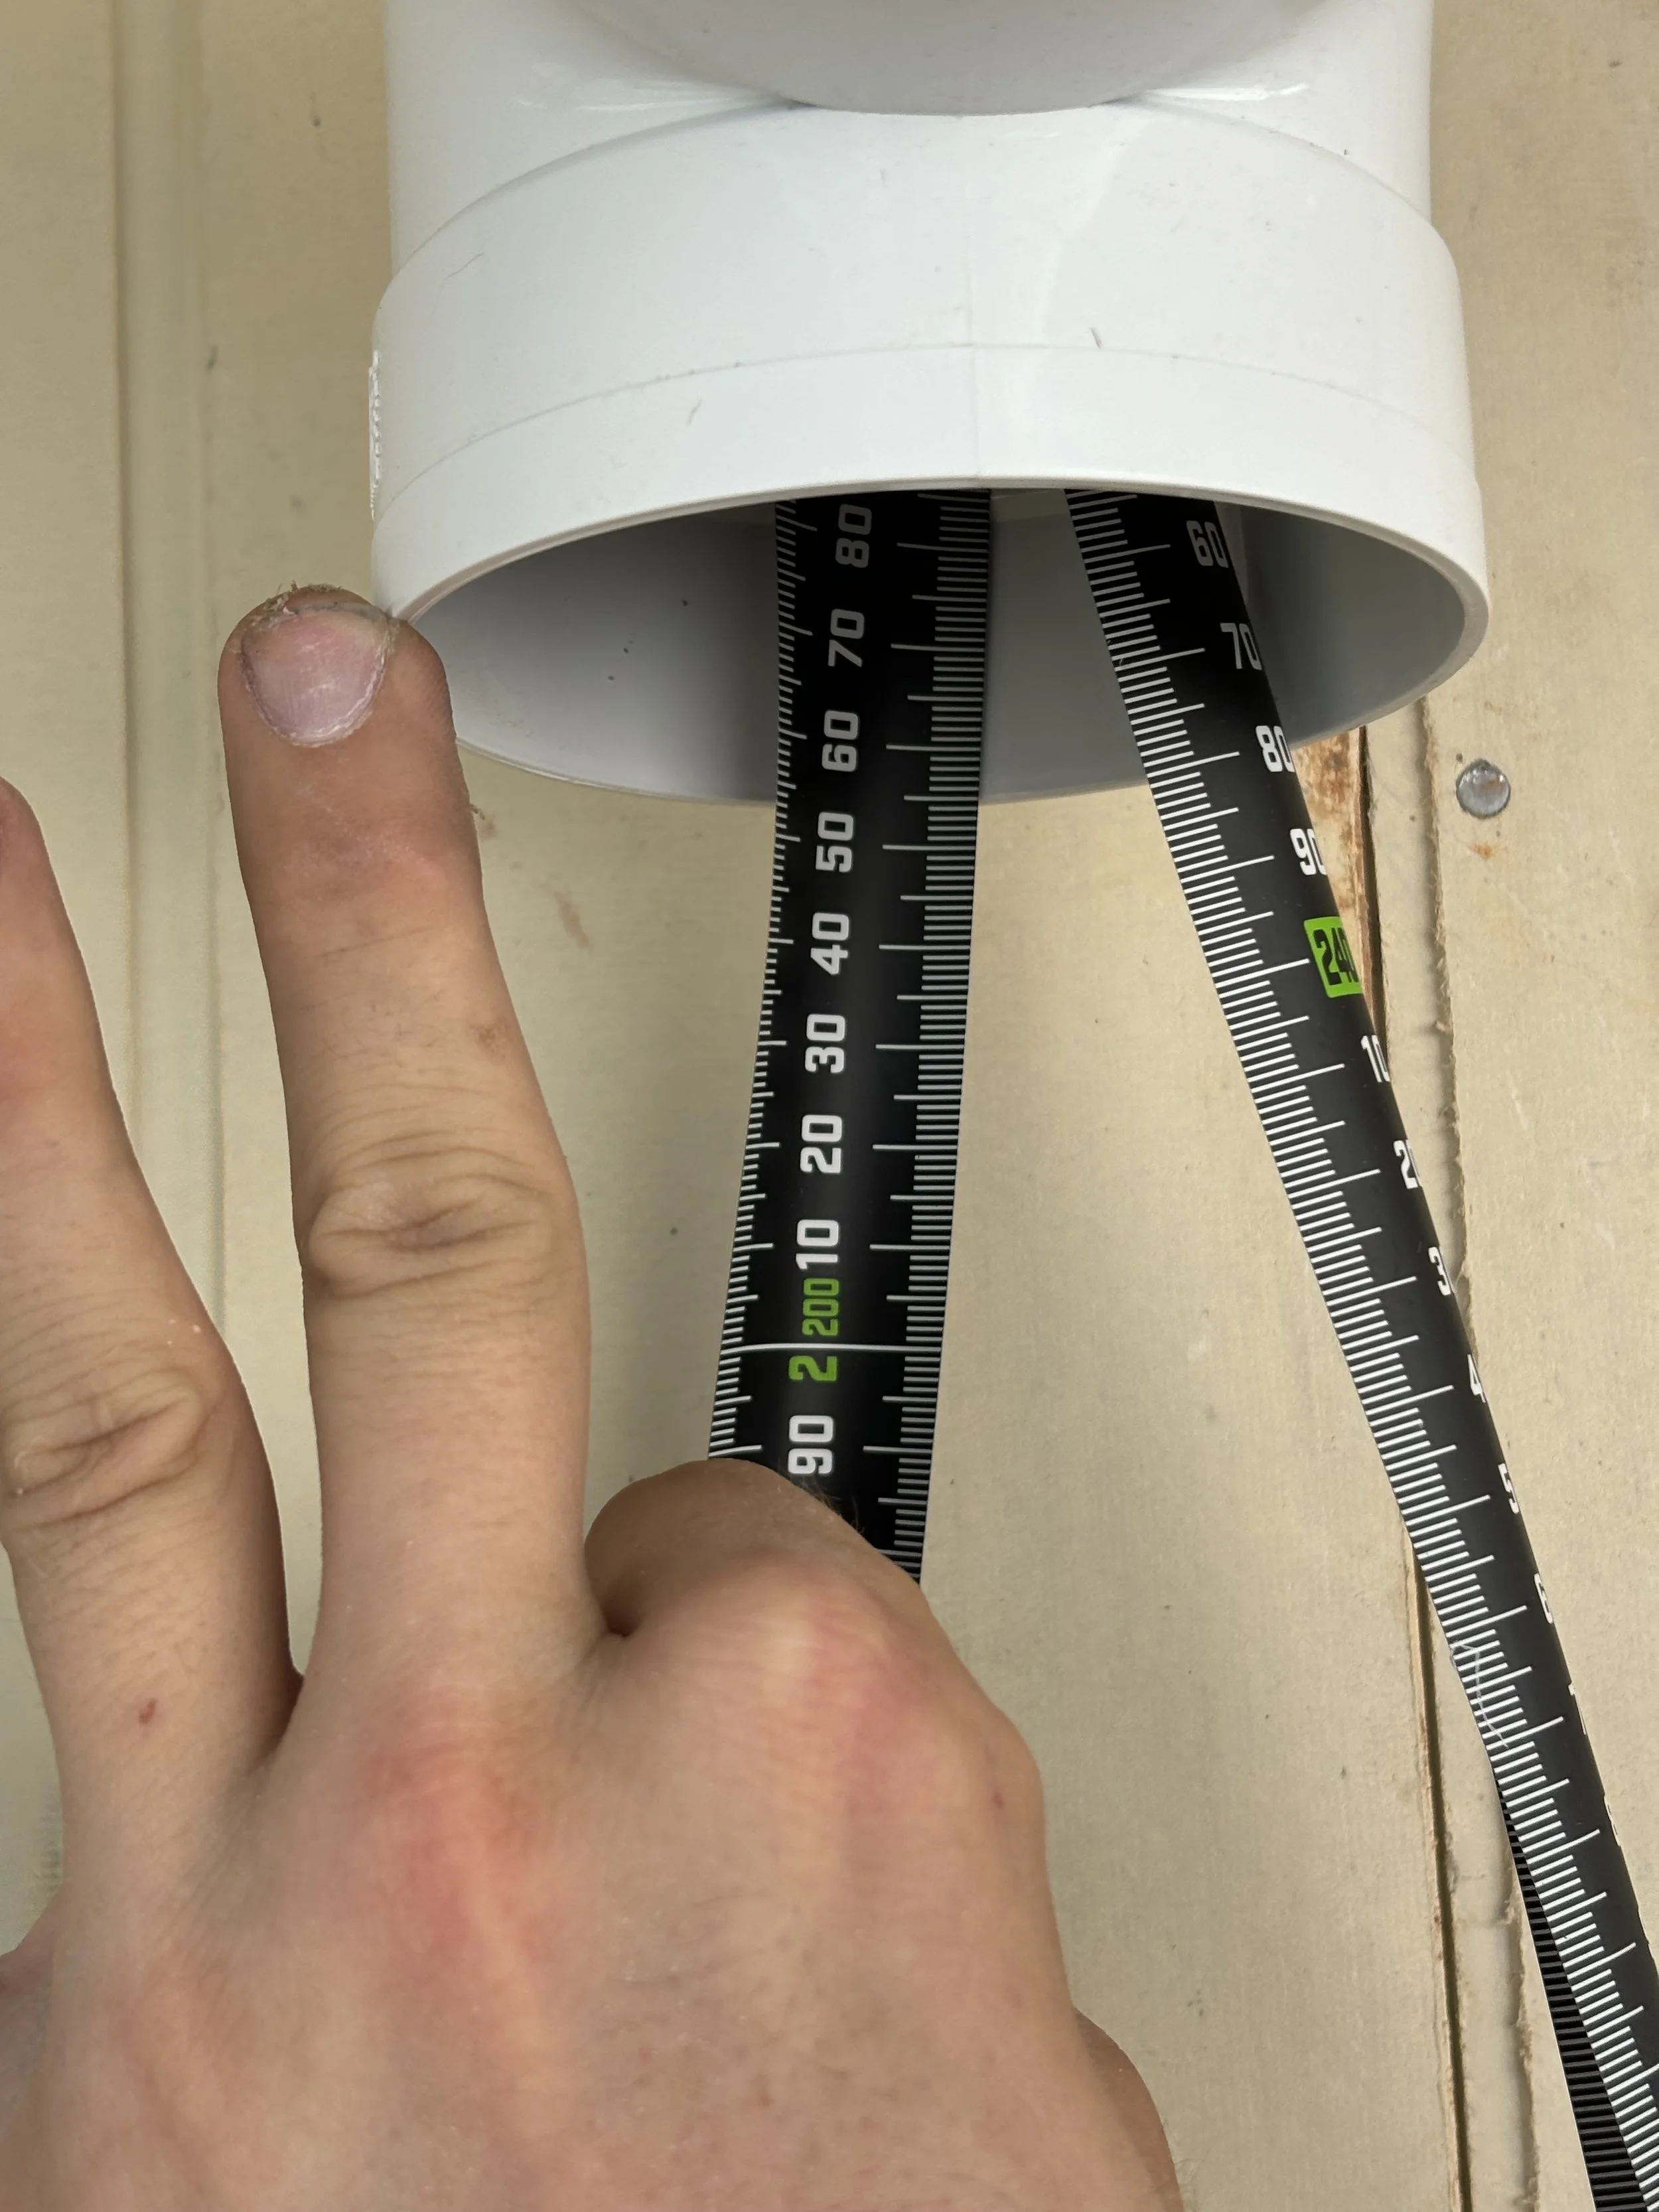
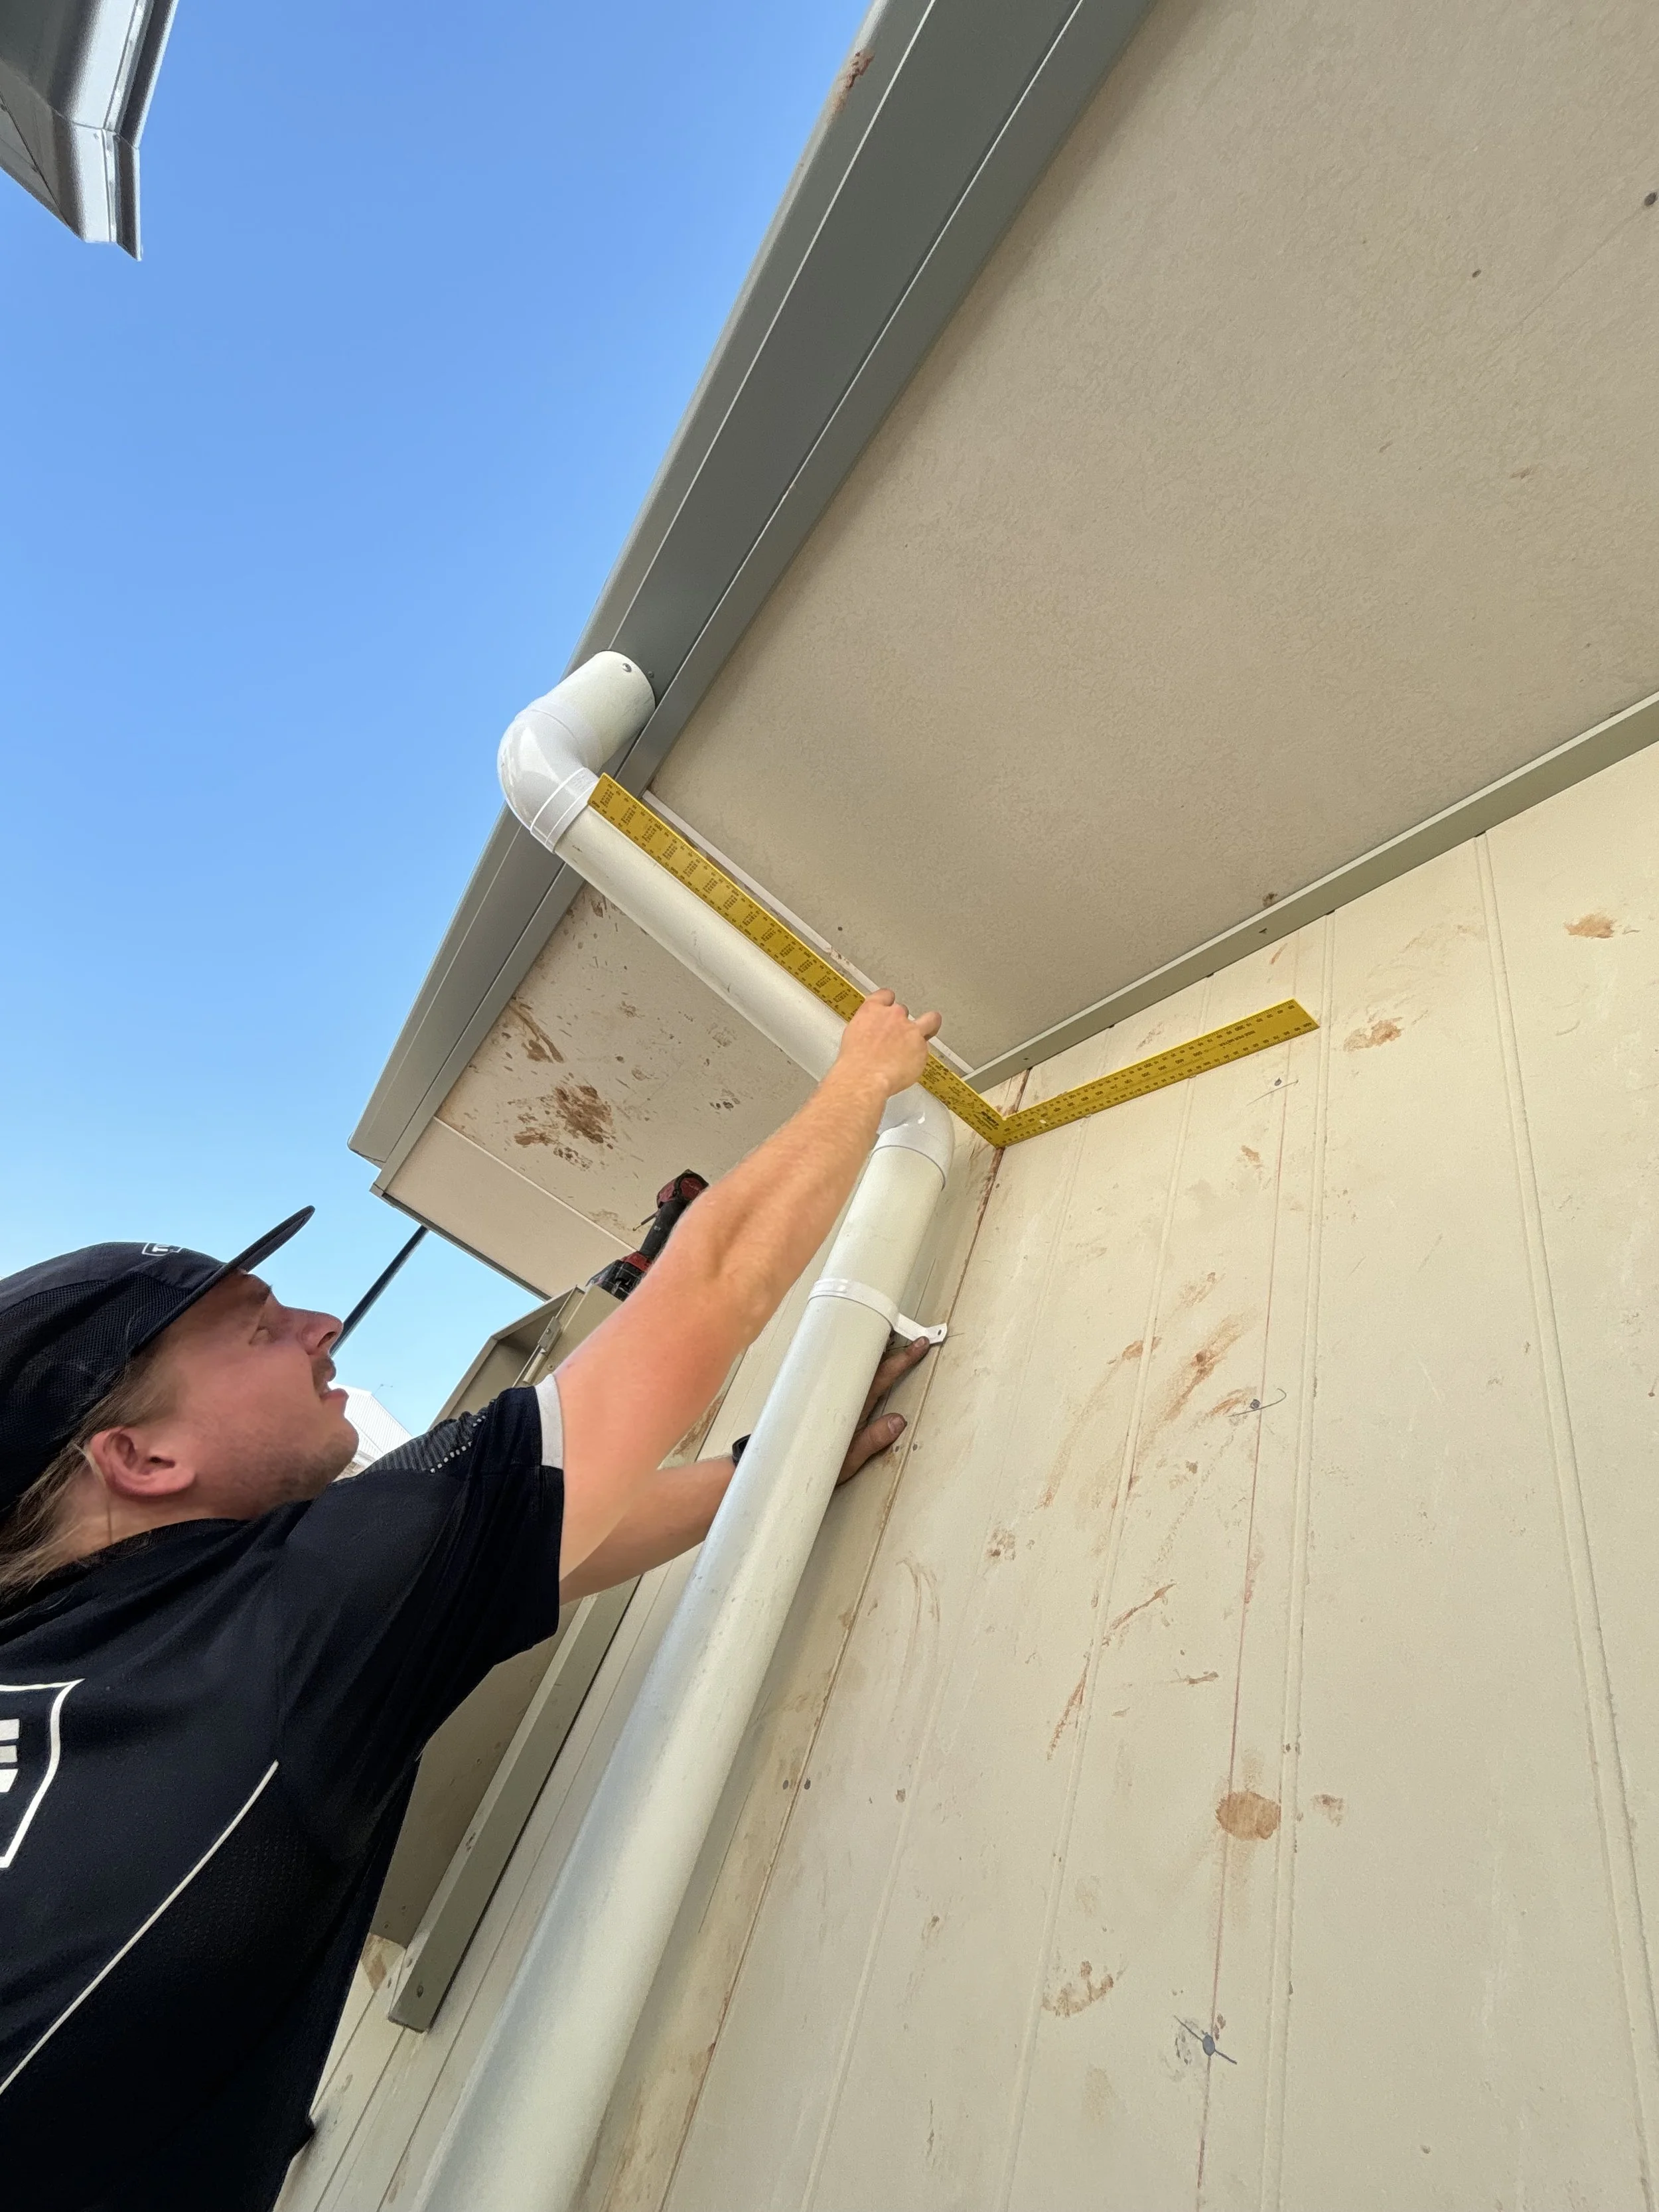
Measure from the wall to the edge of the 150mm dropper.
This example is 134mm
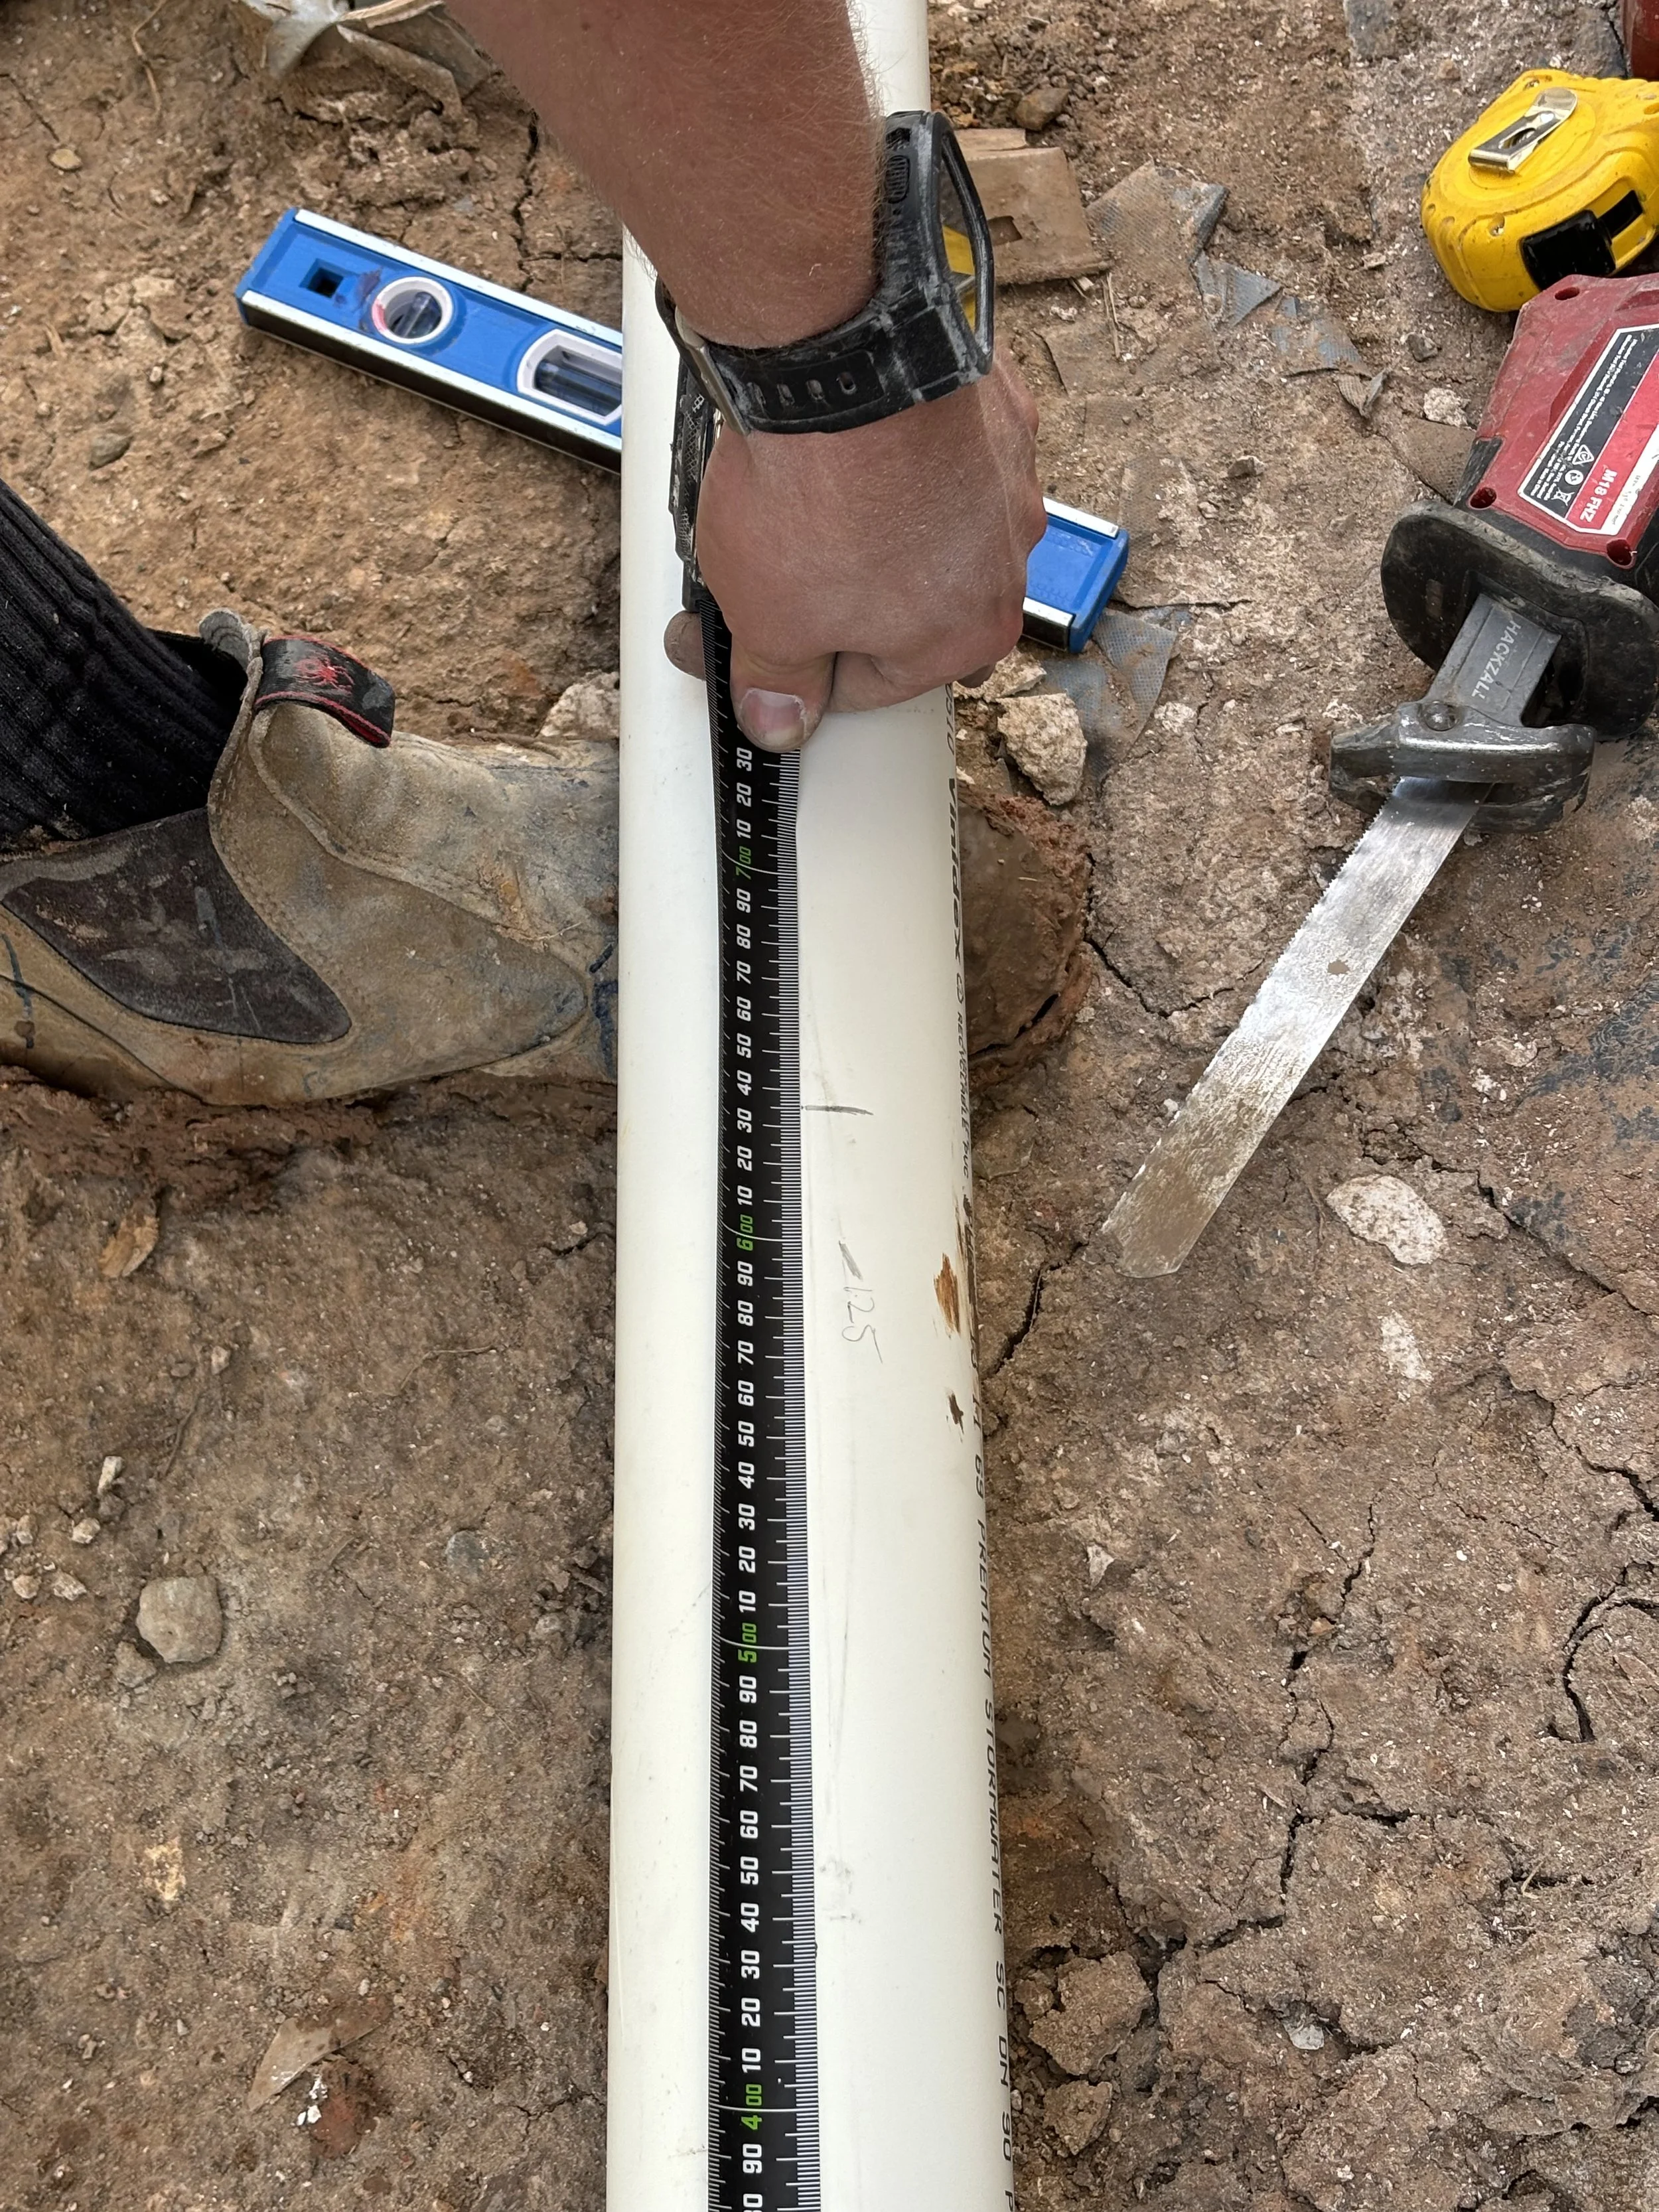
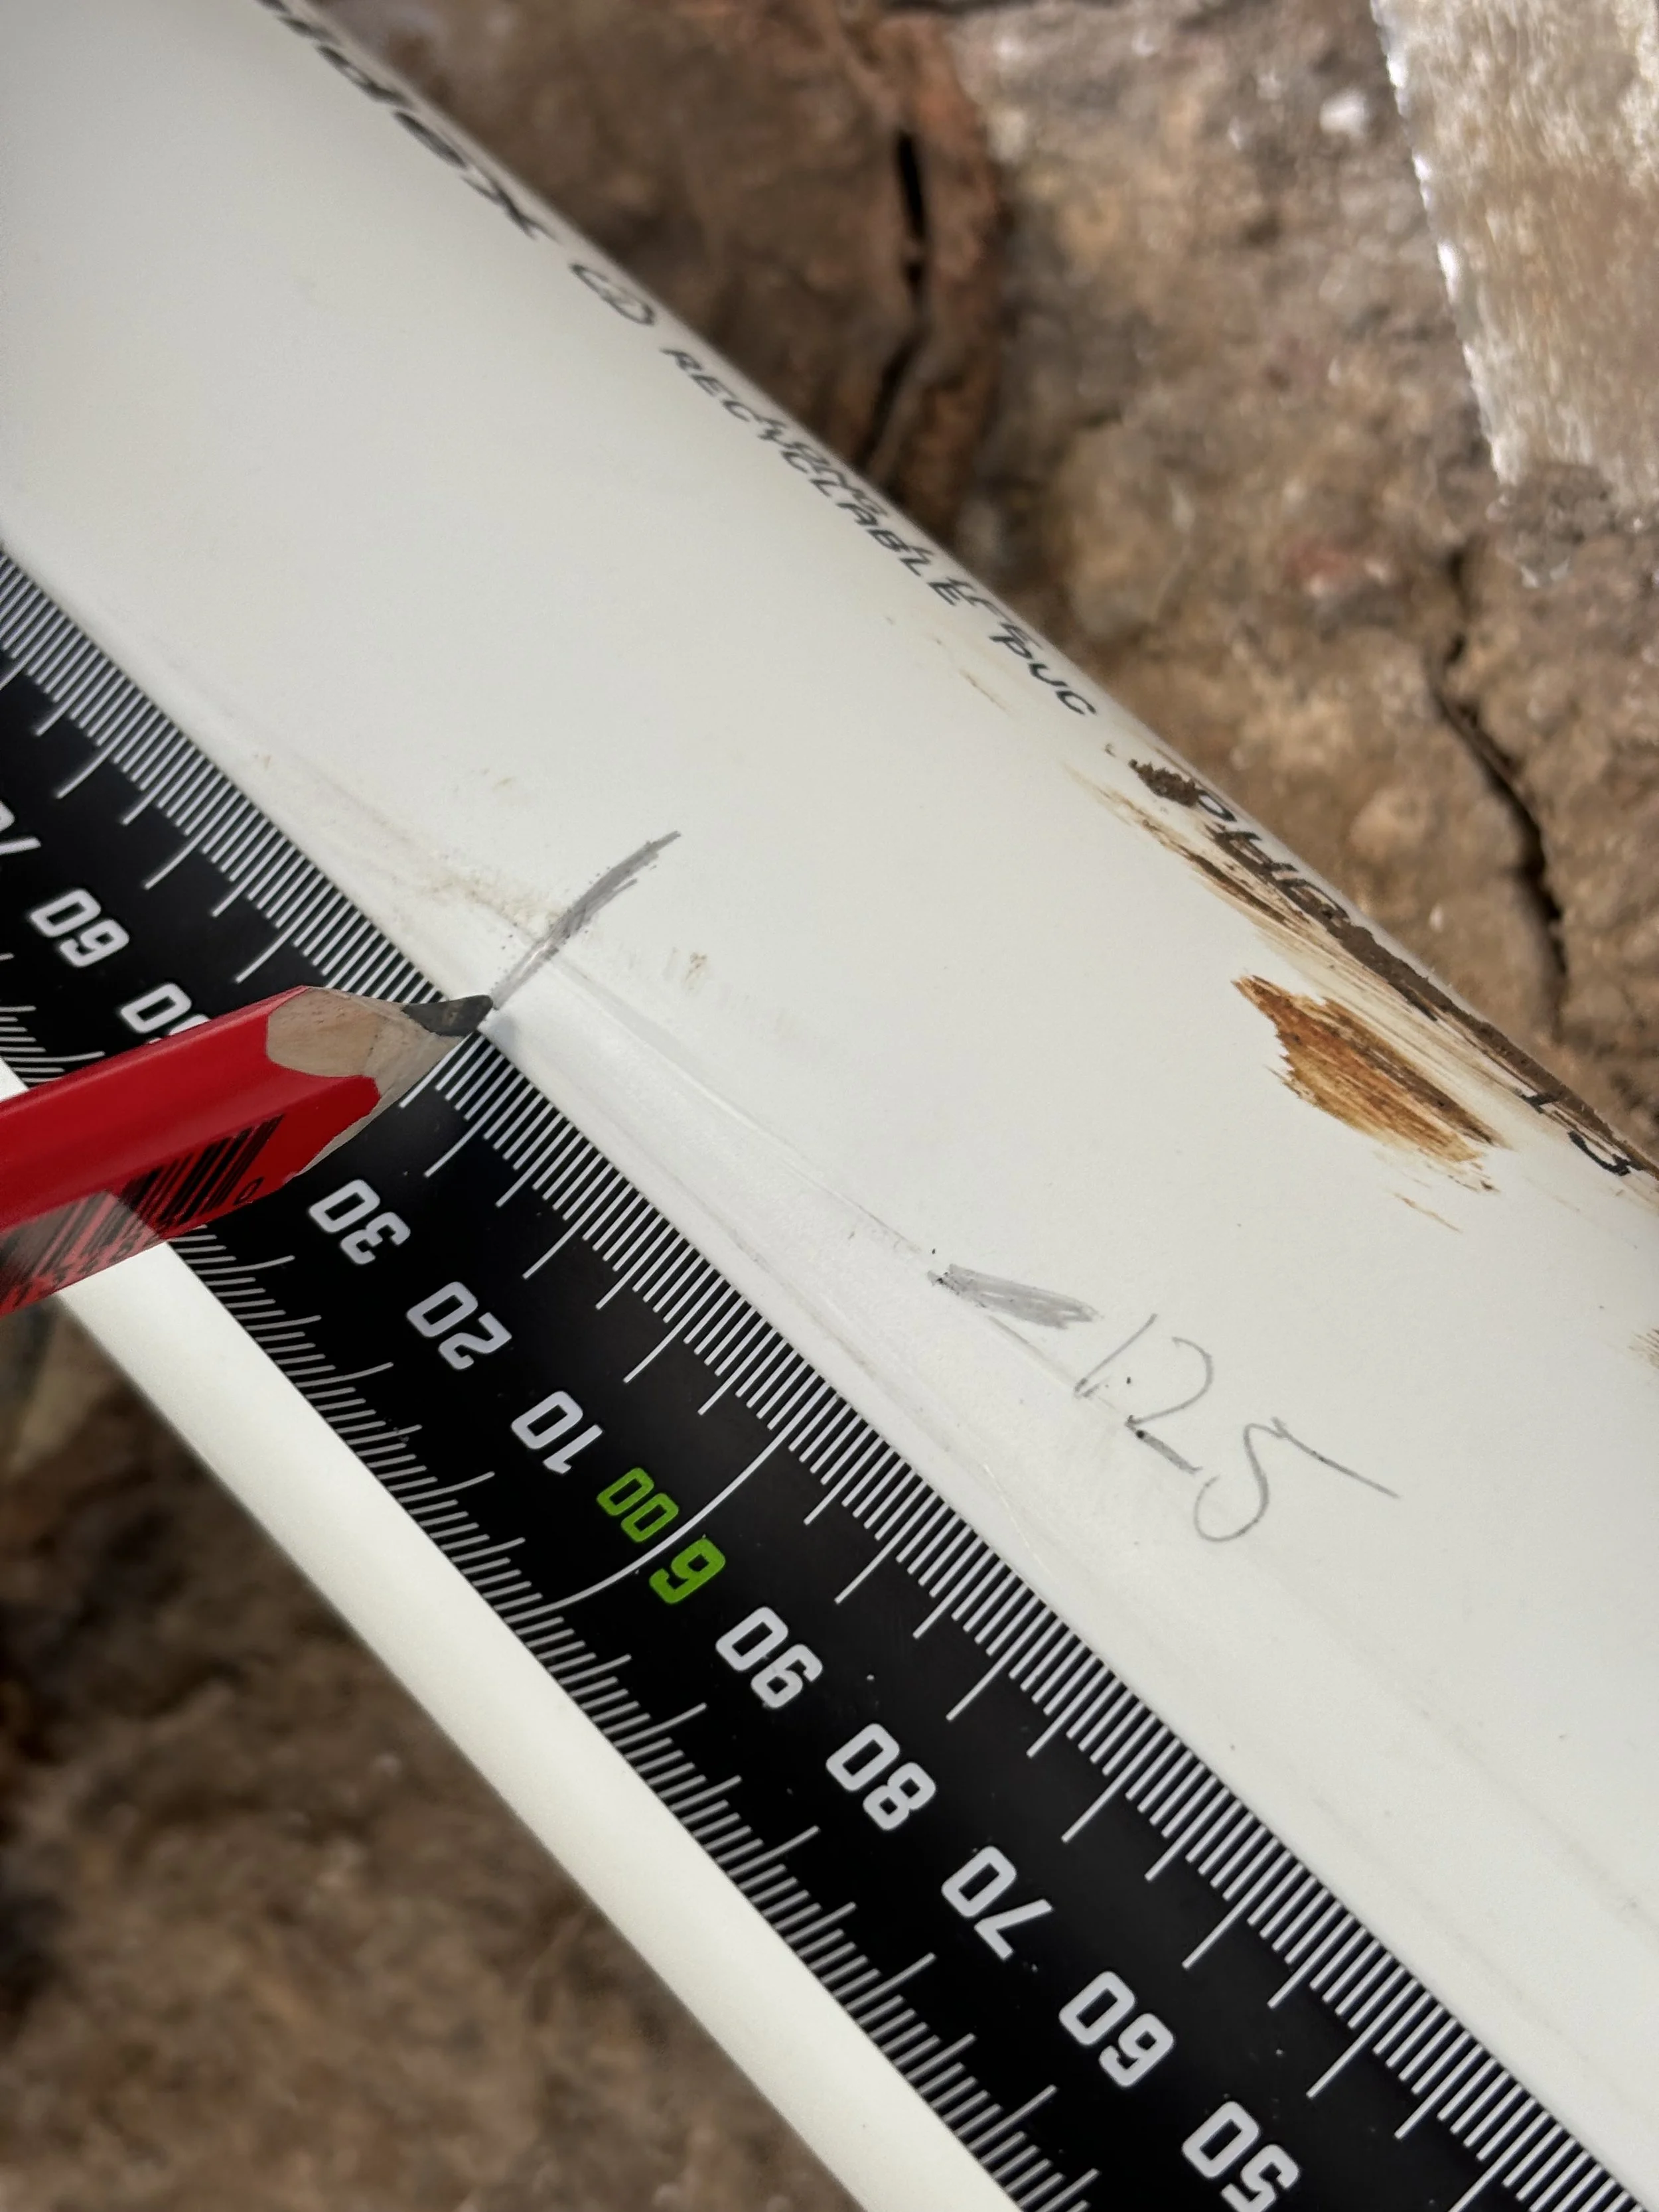
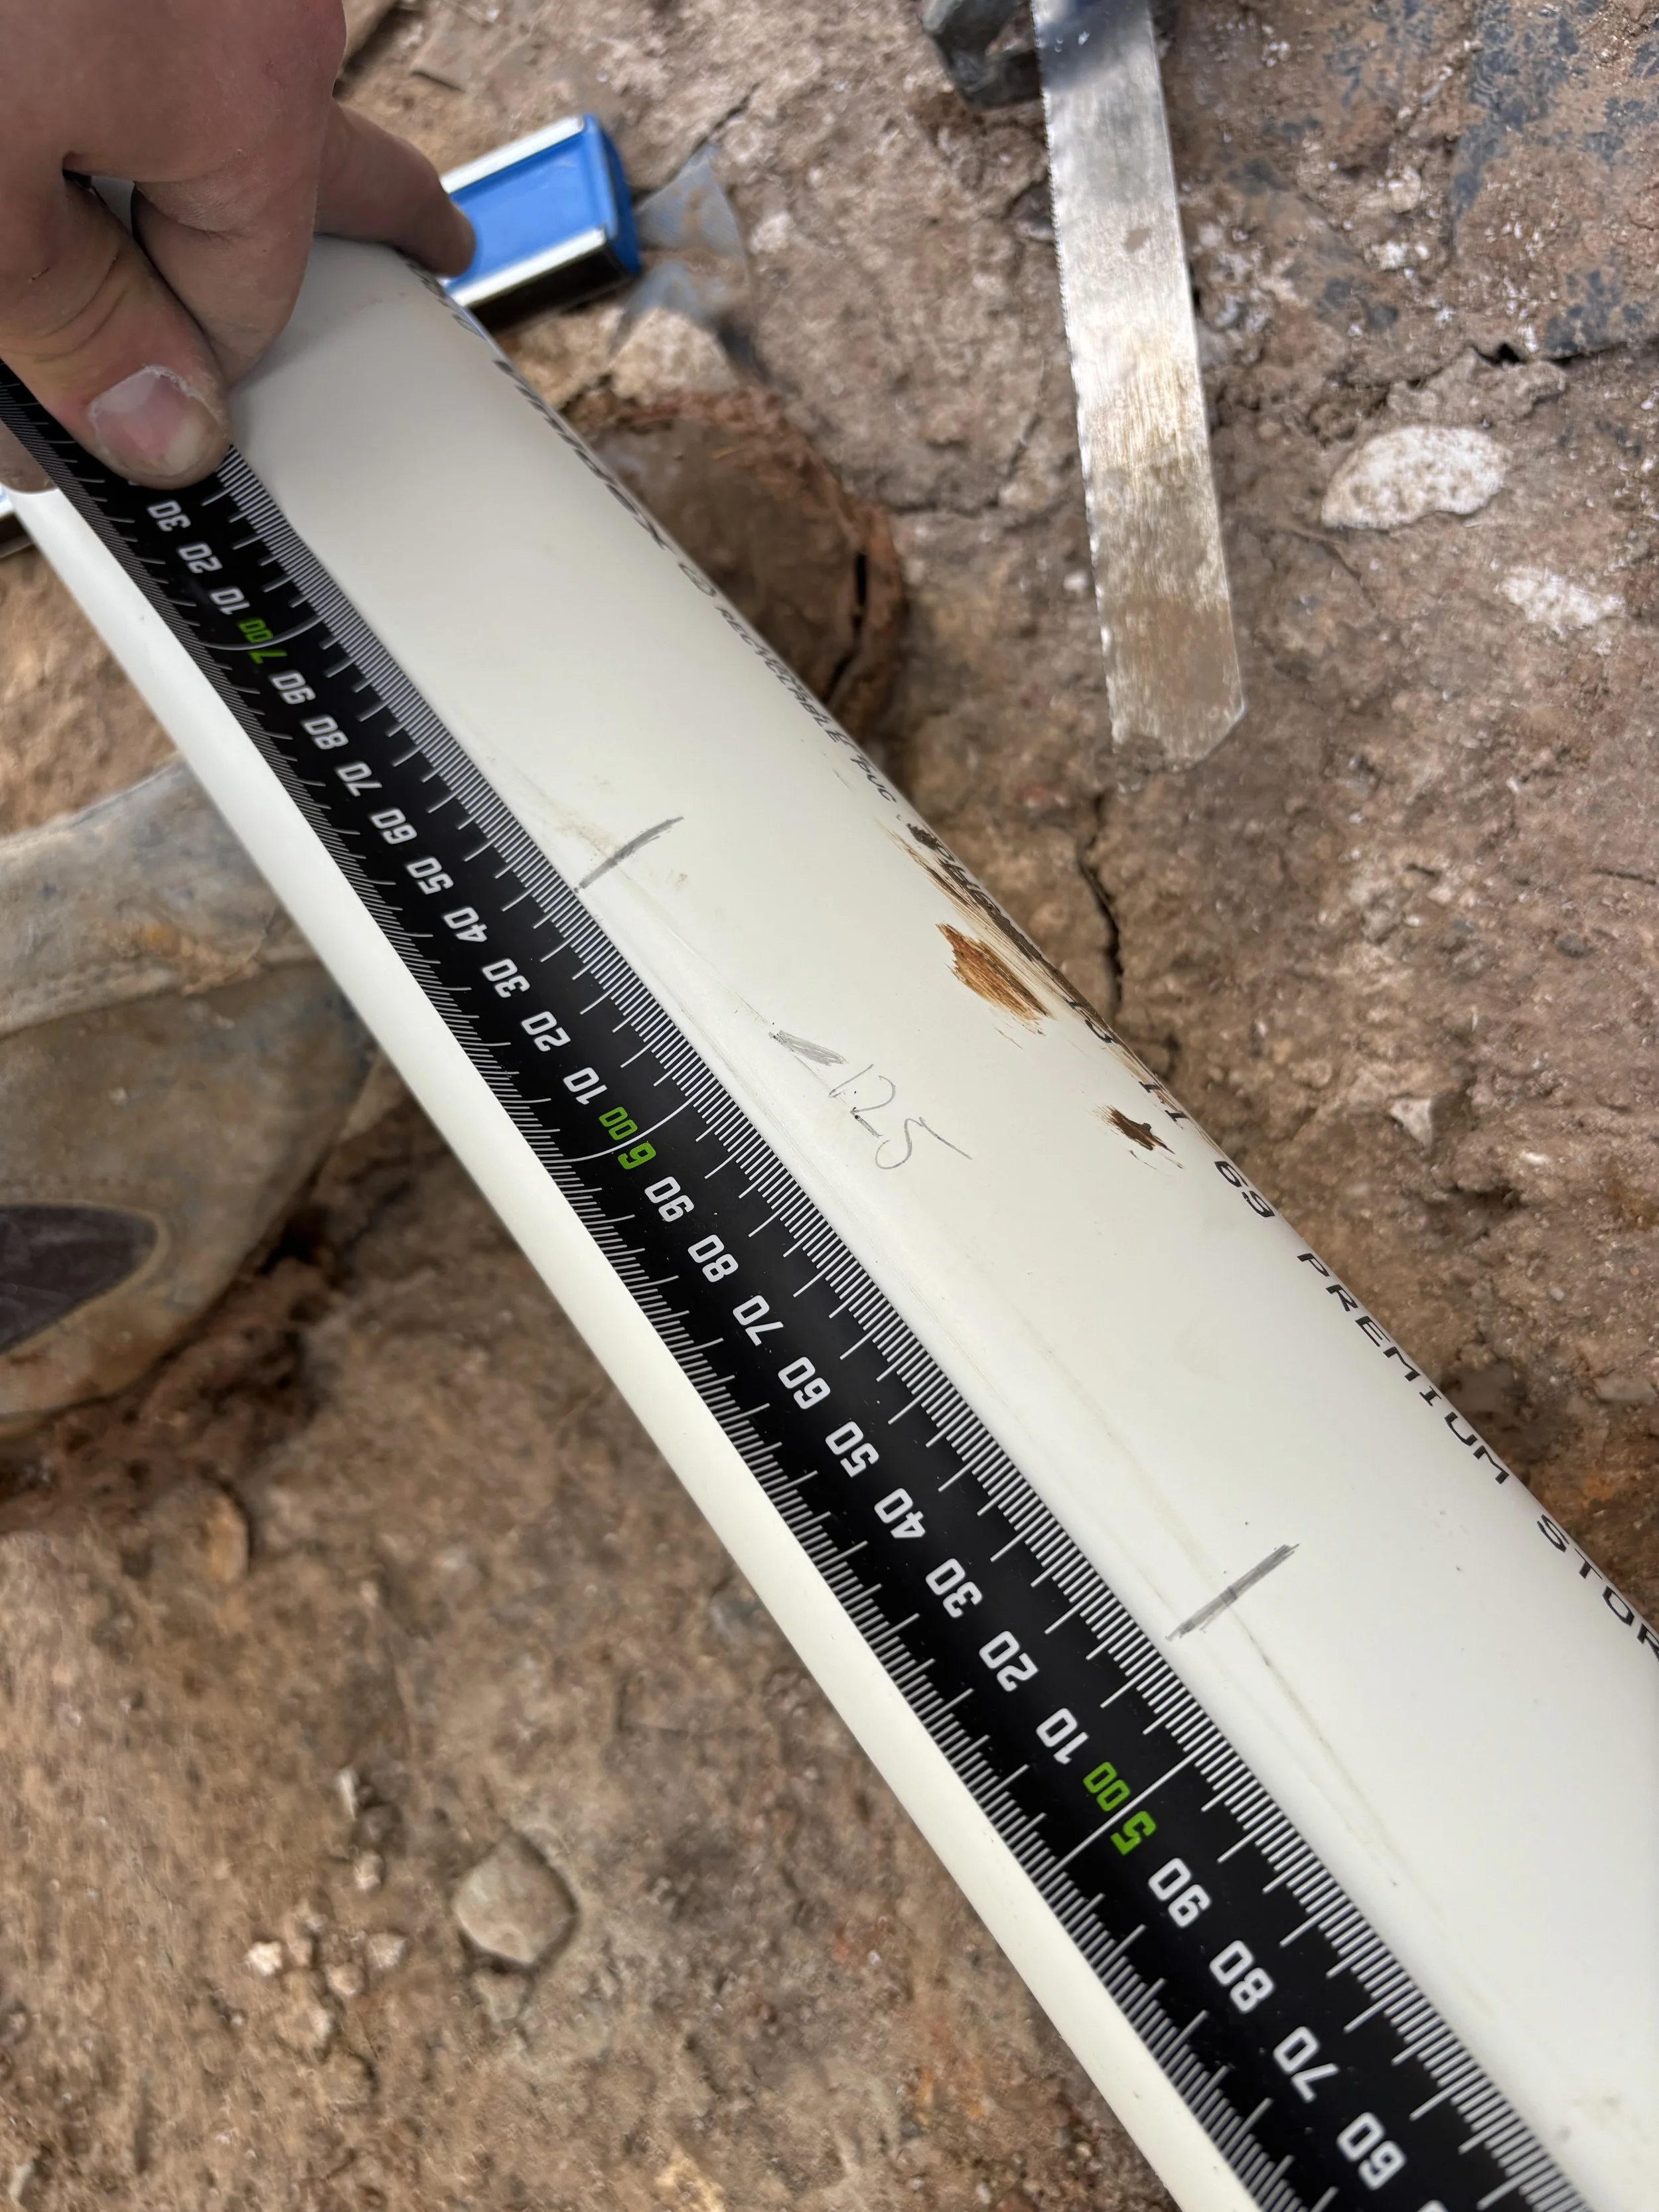
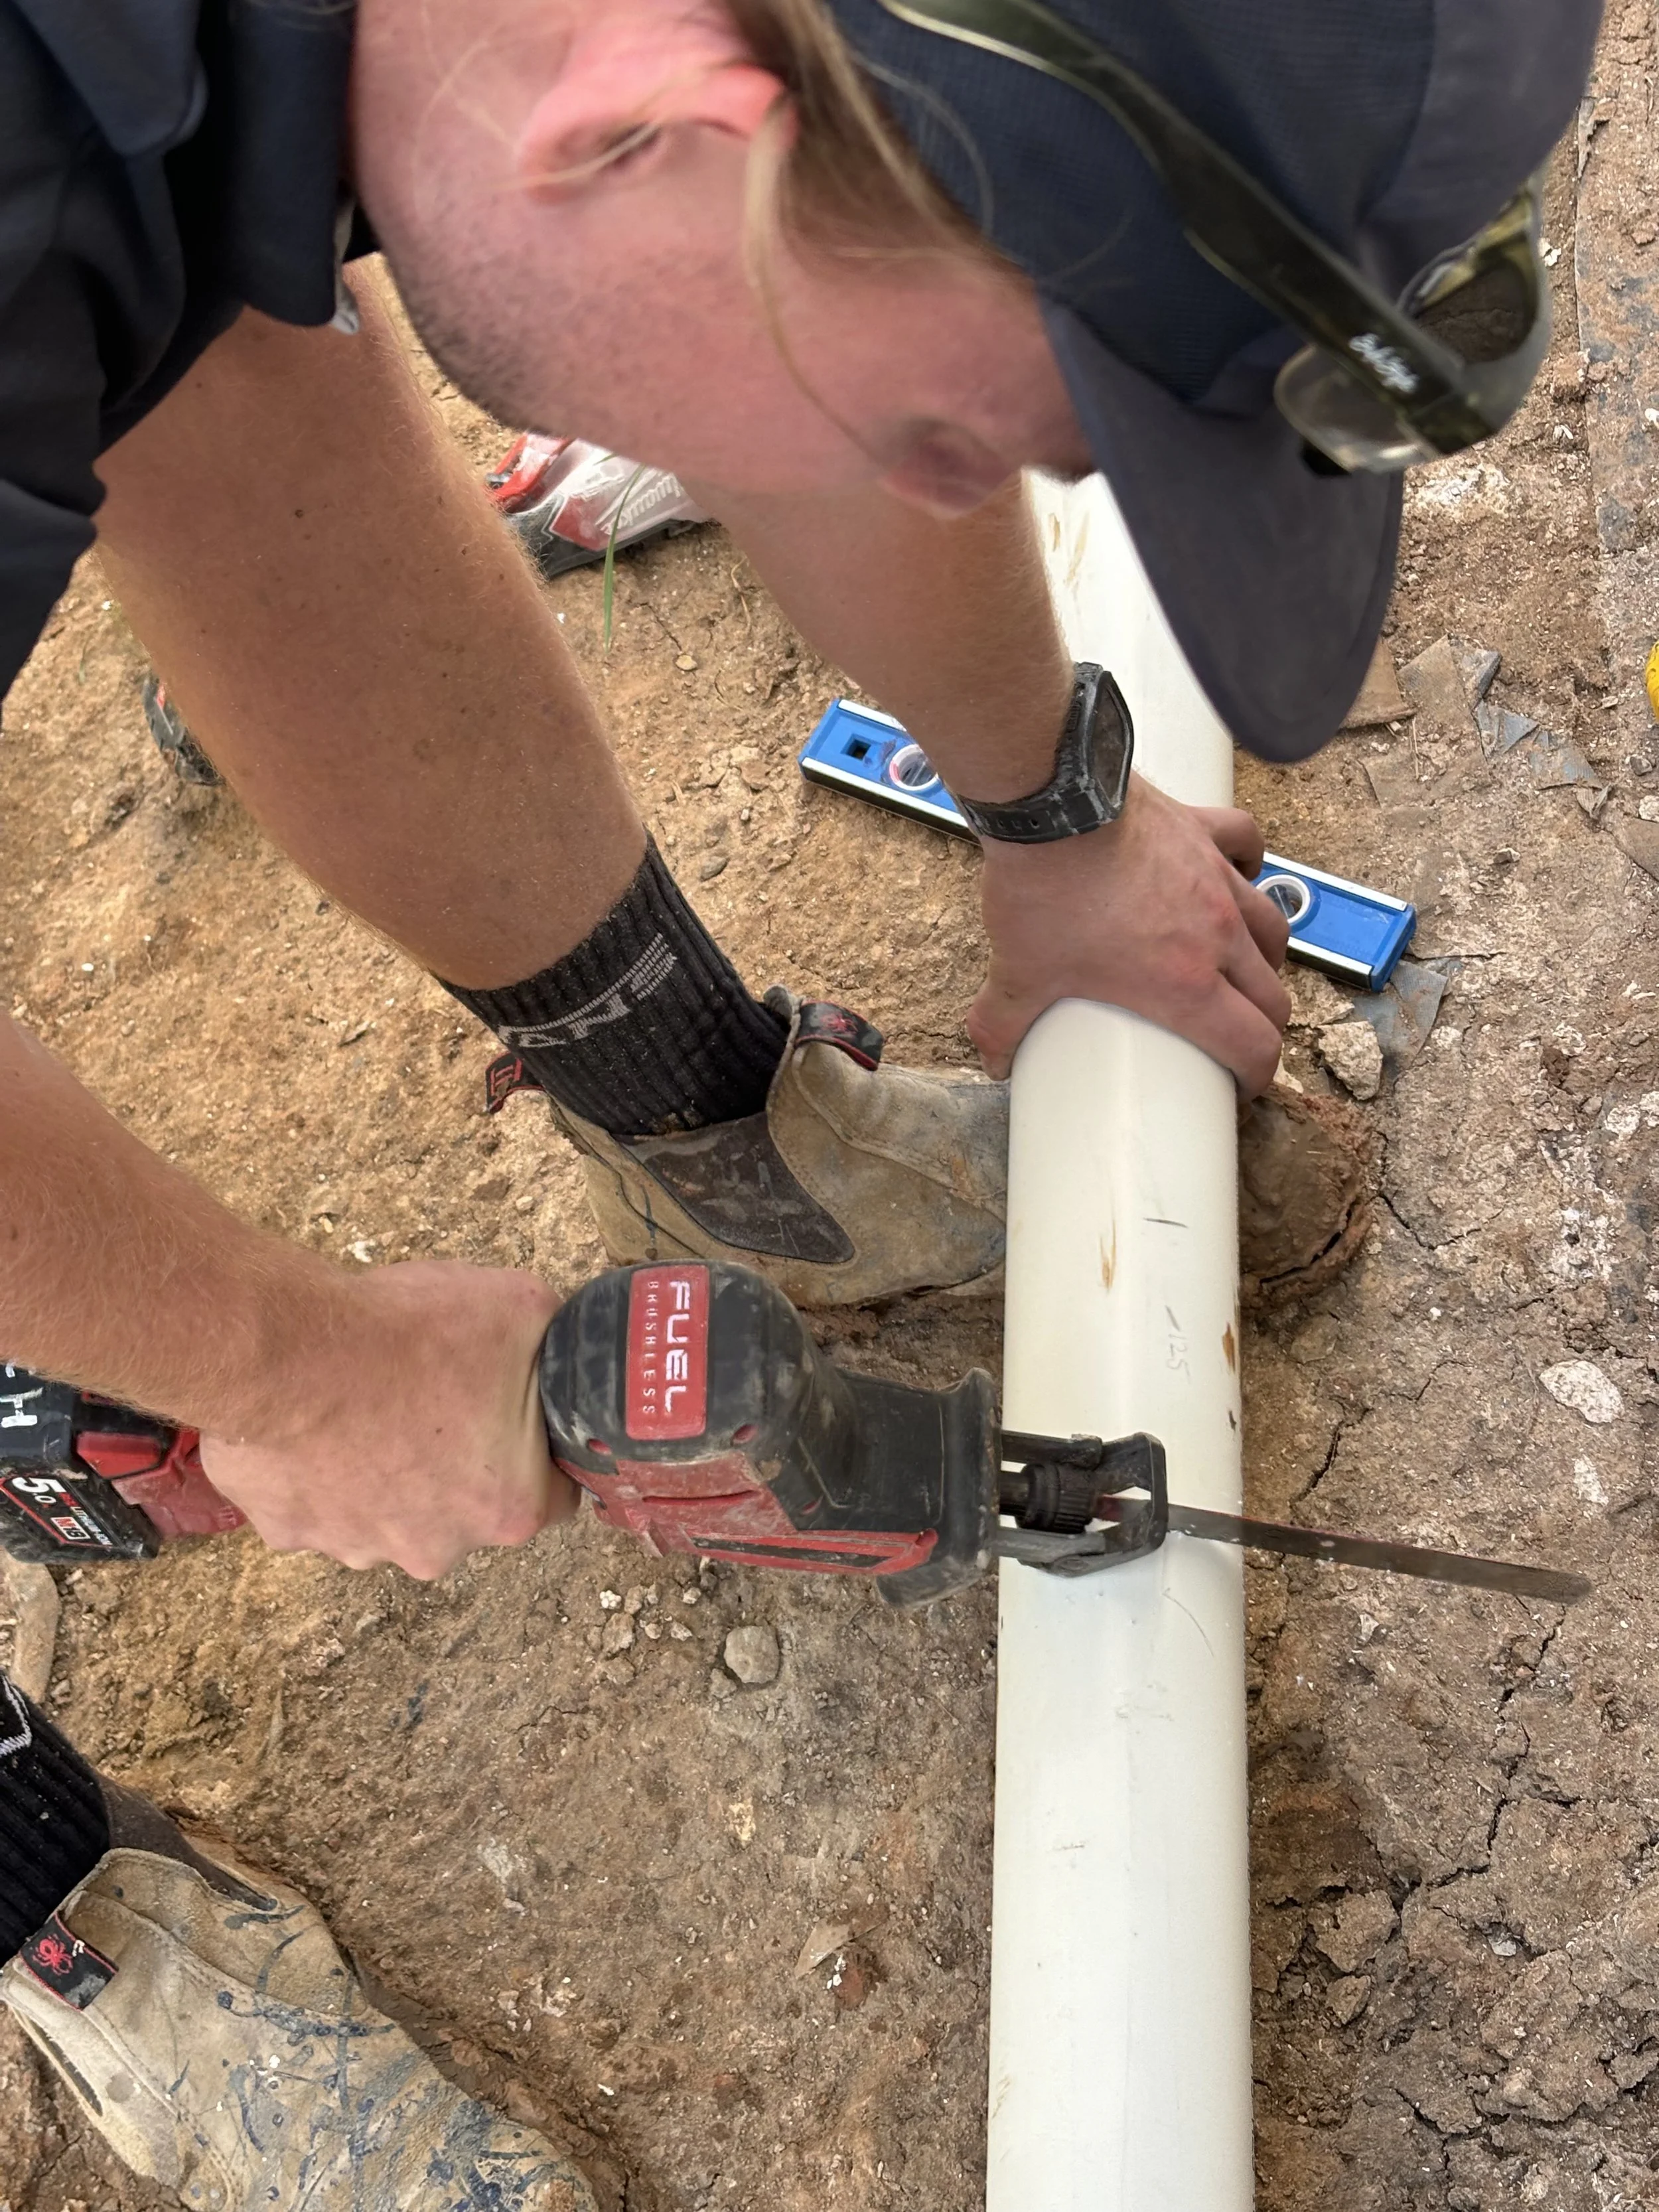
Mark 134mm and subtract 125mm which is the amount we take off to get the length of pipe between the 2 90’s.
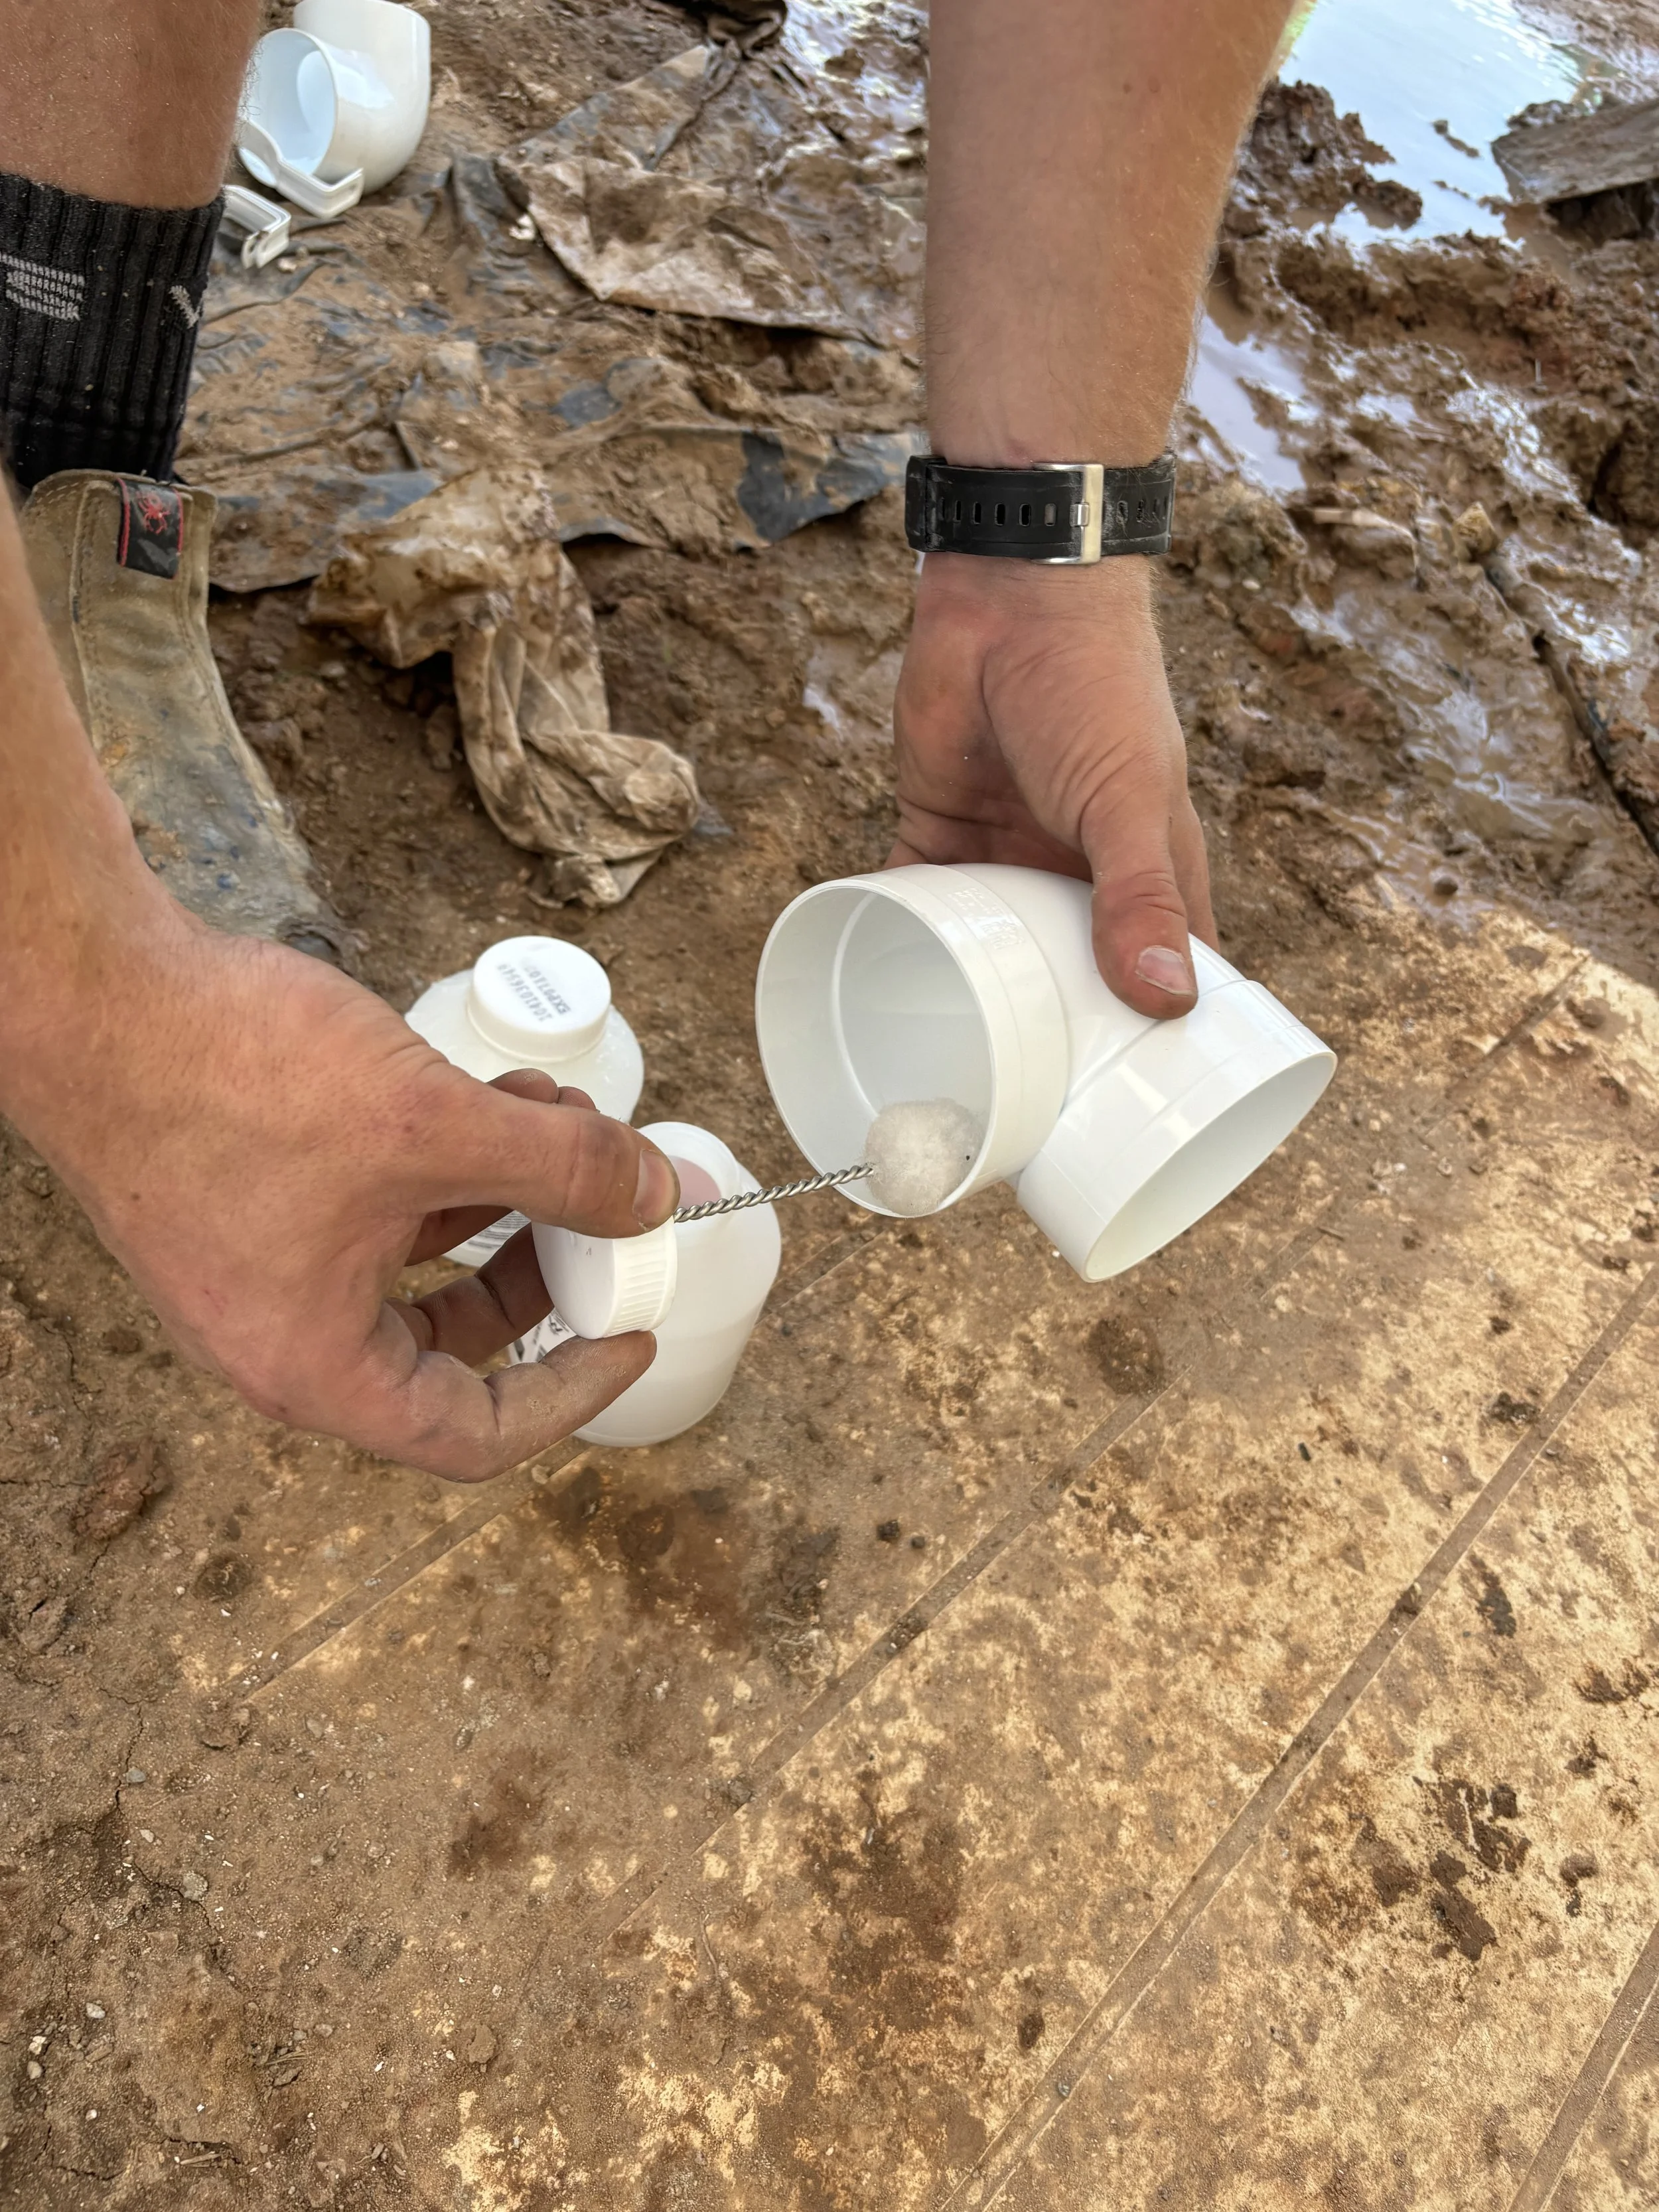
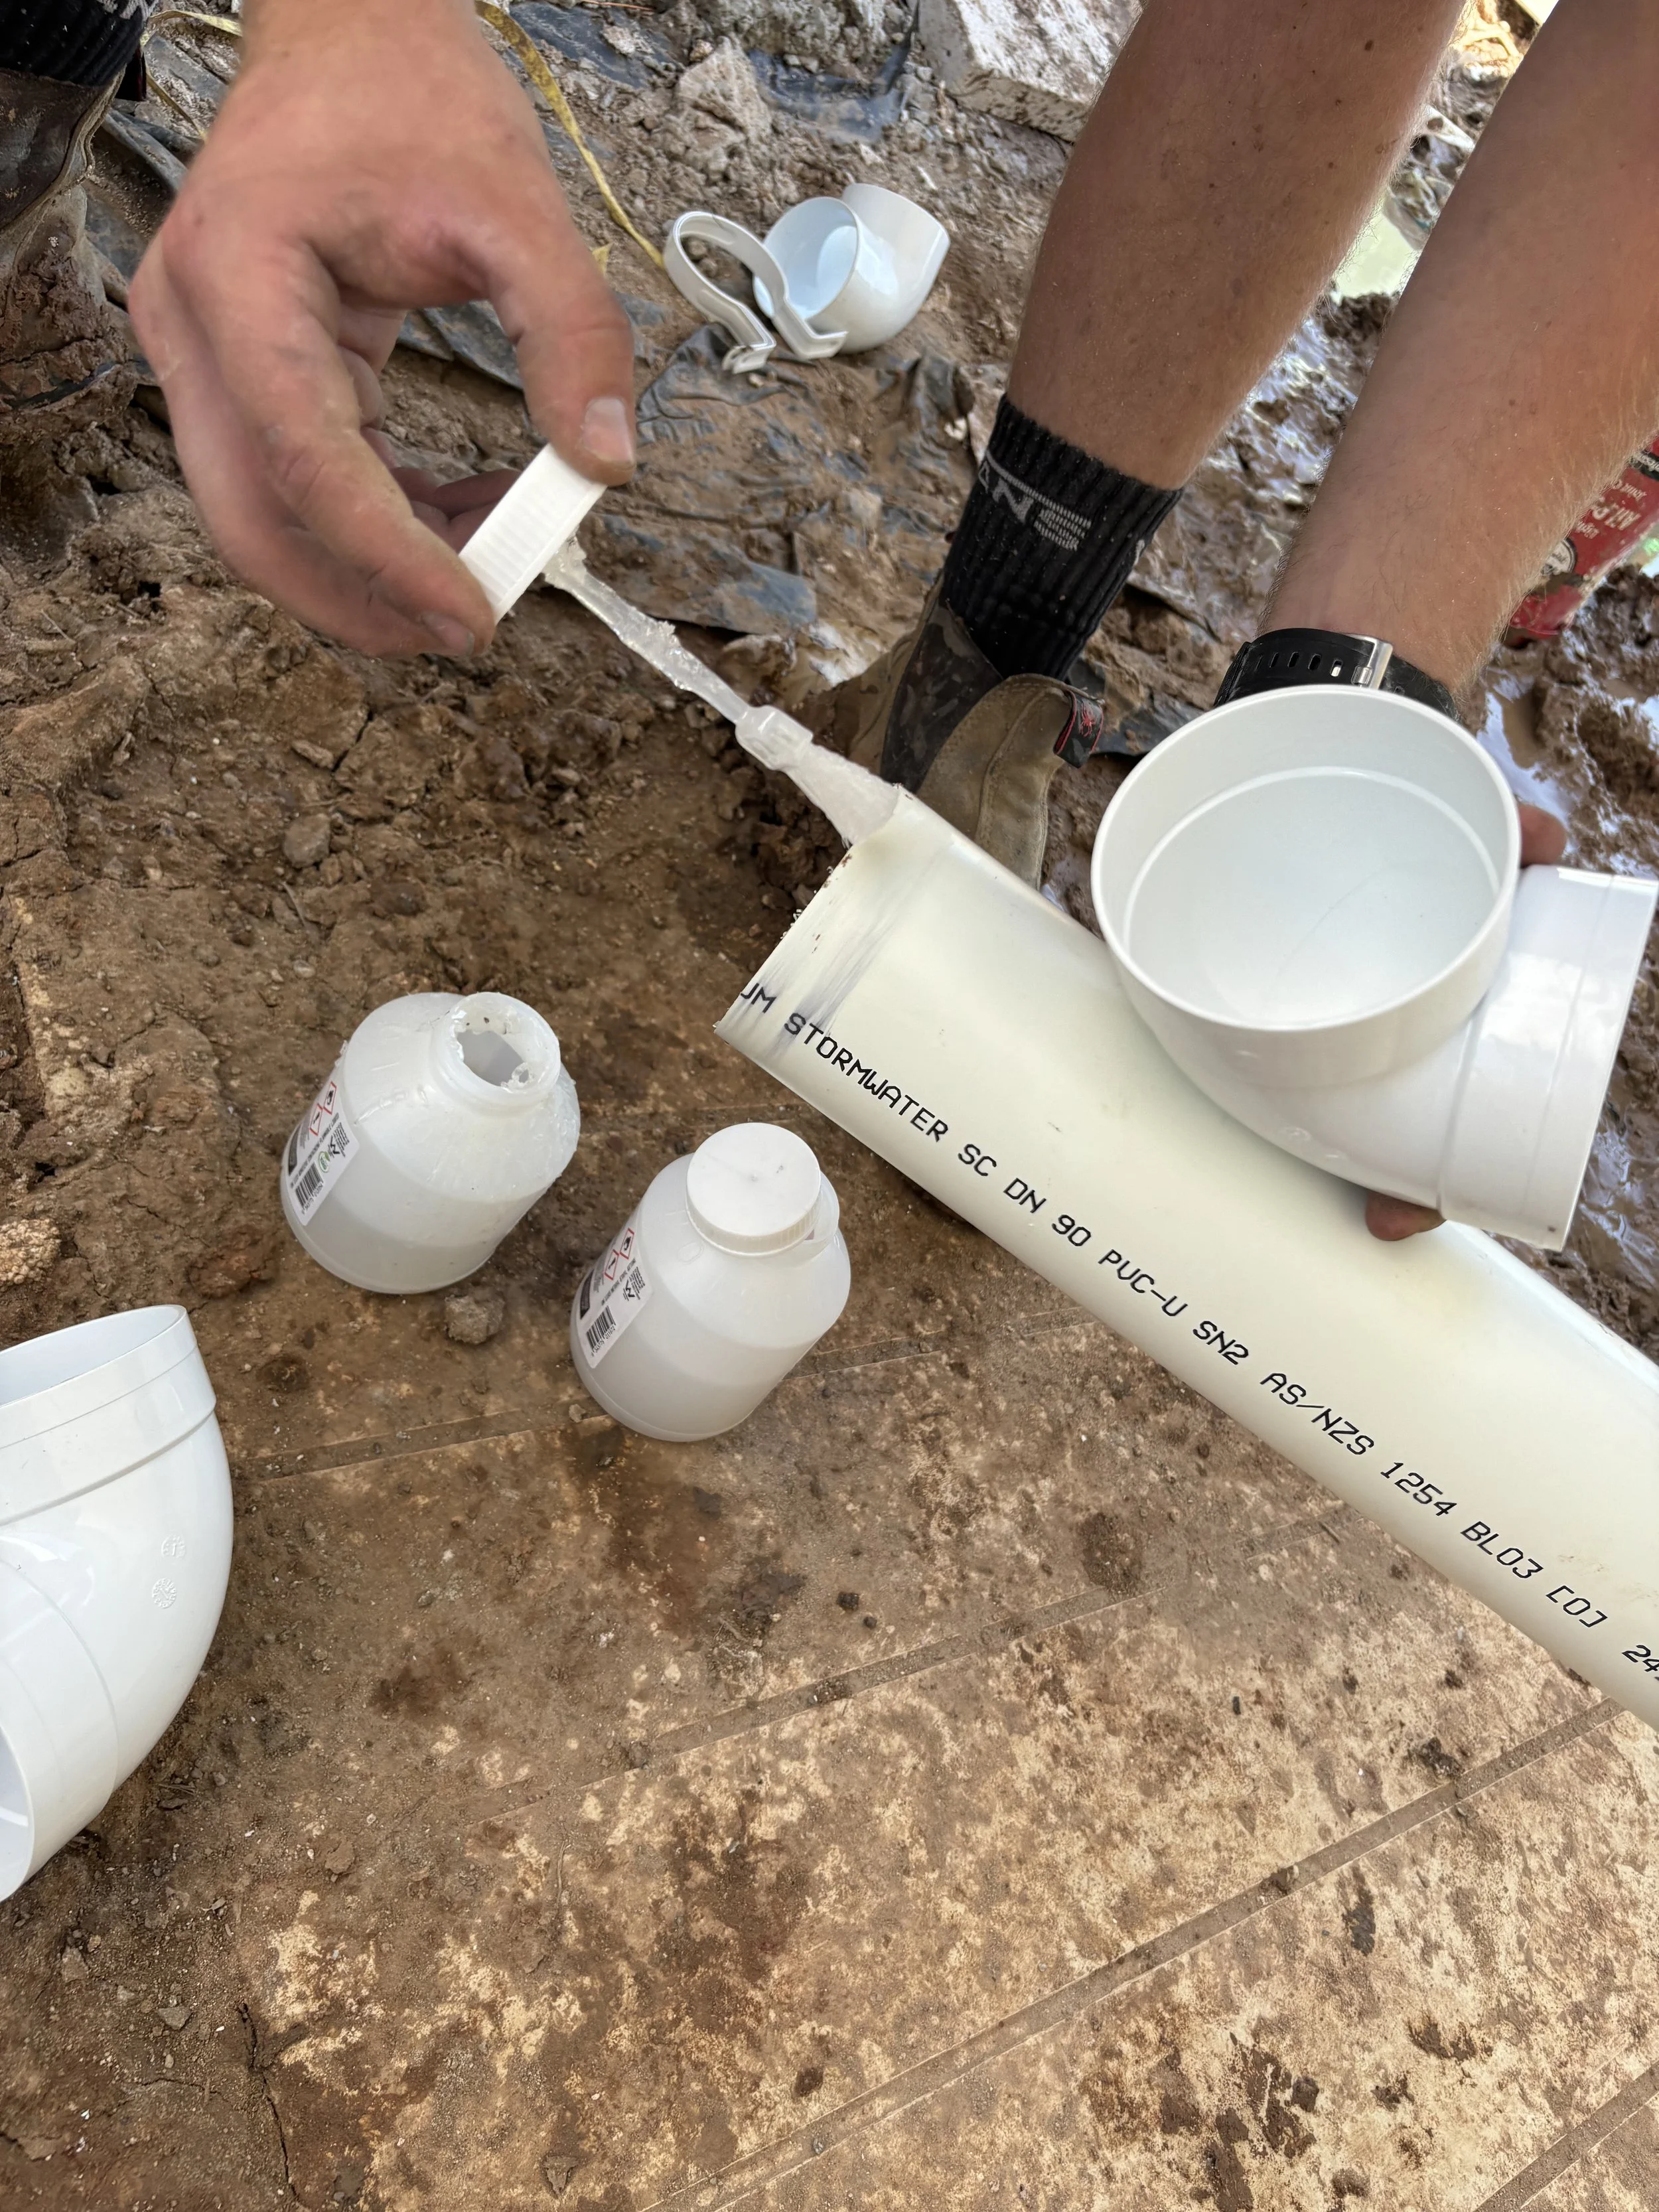
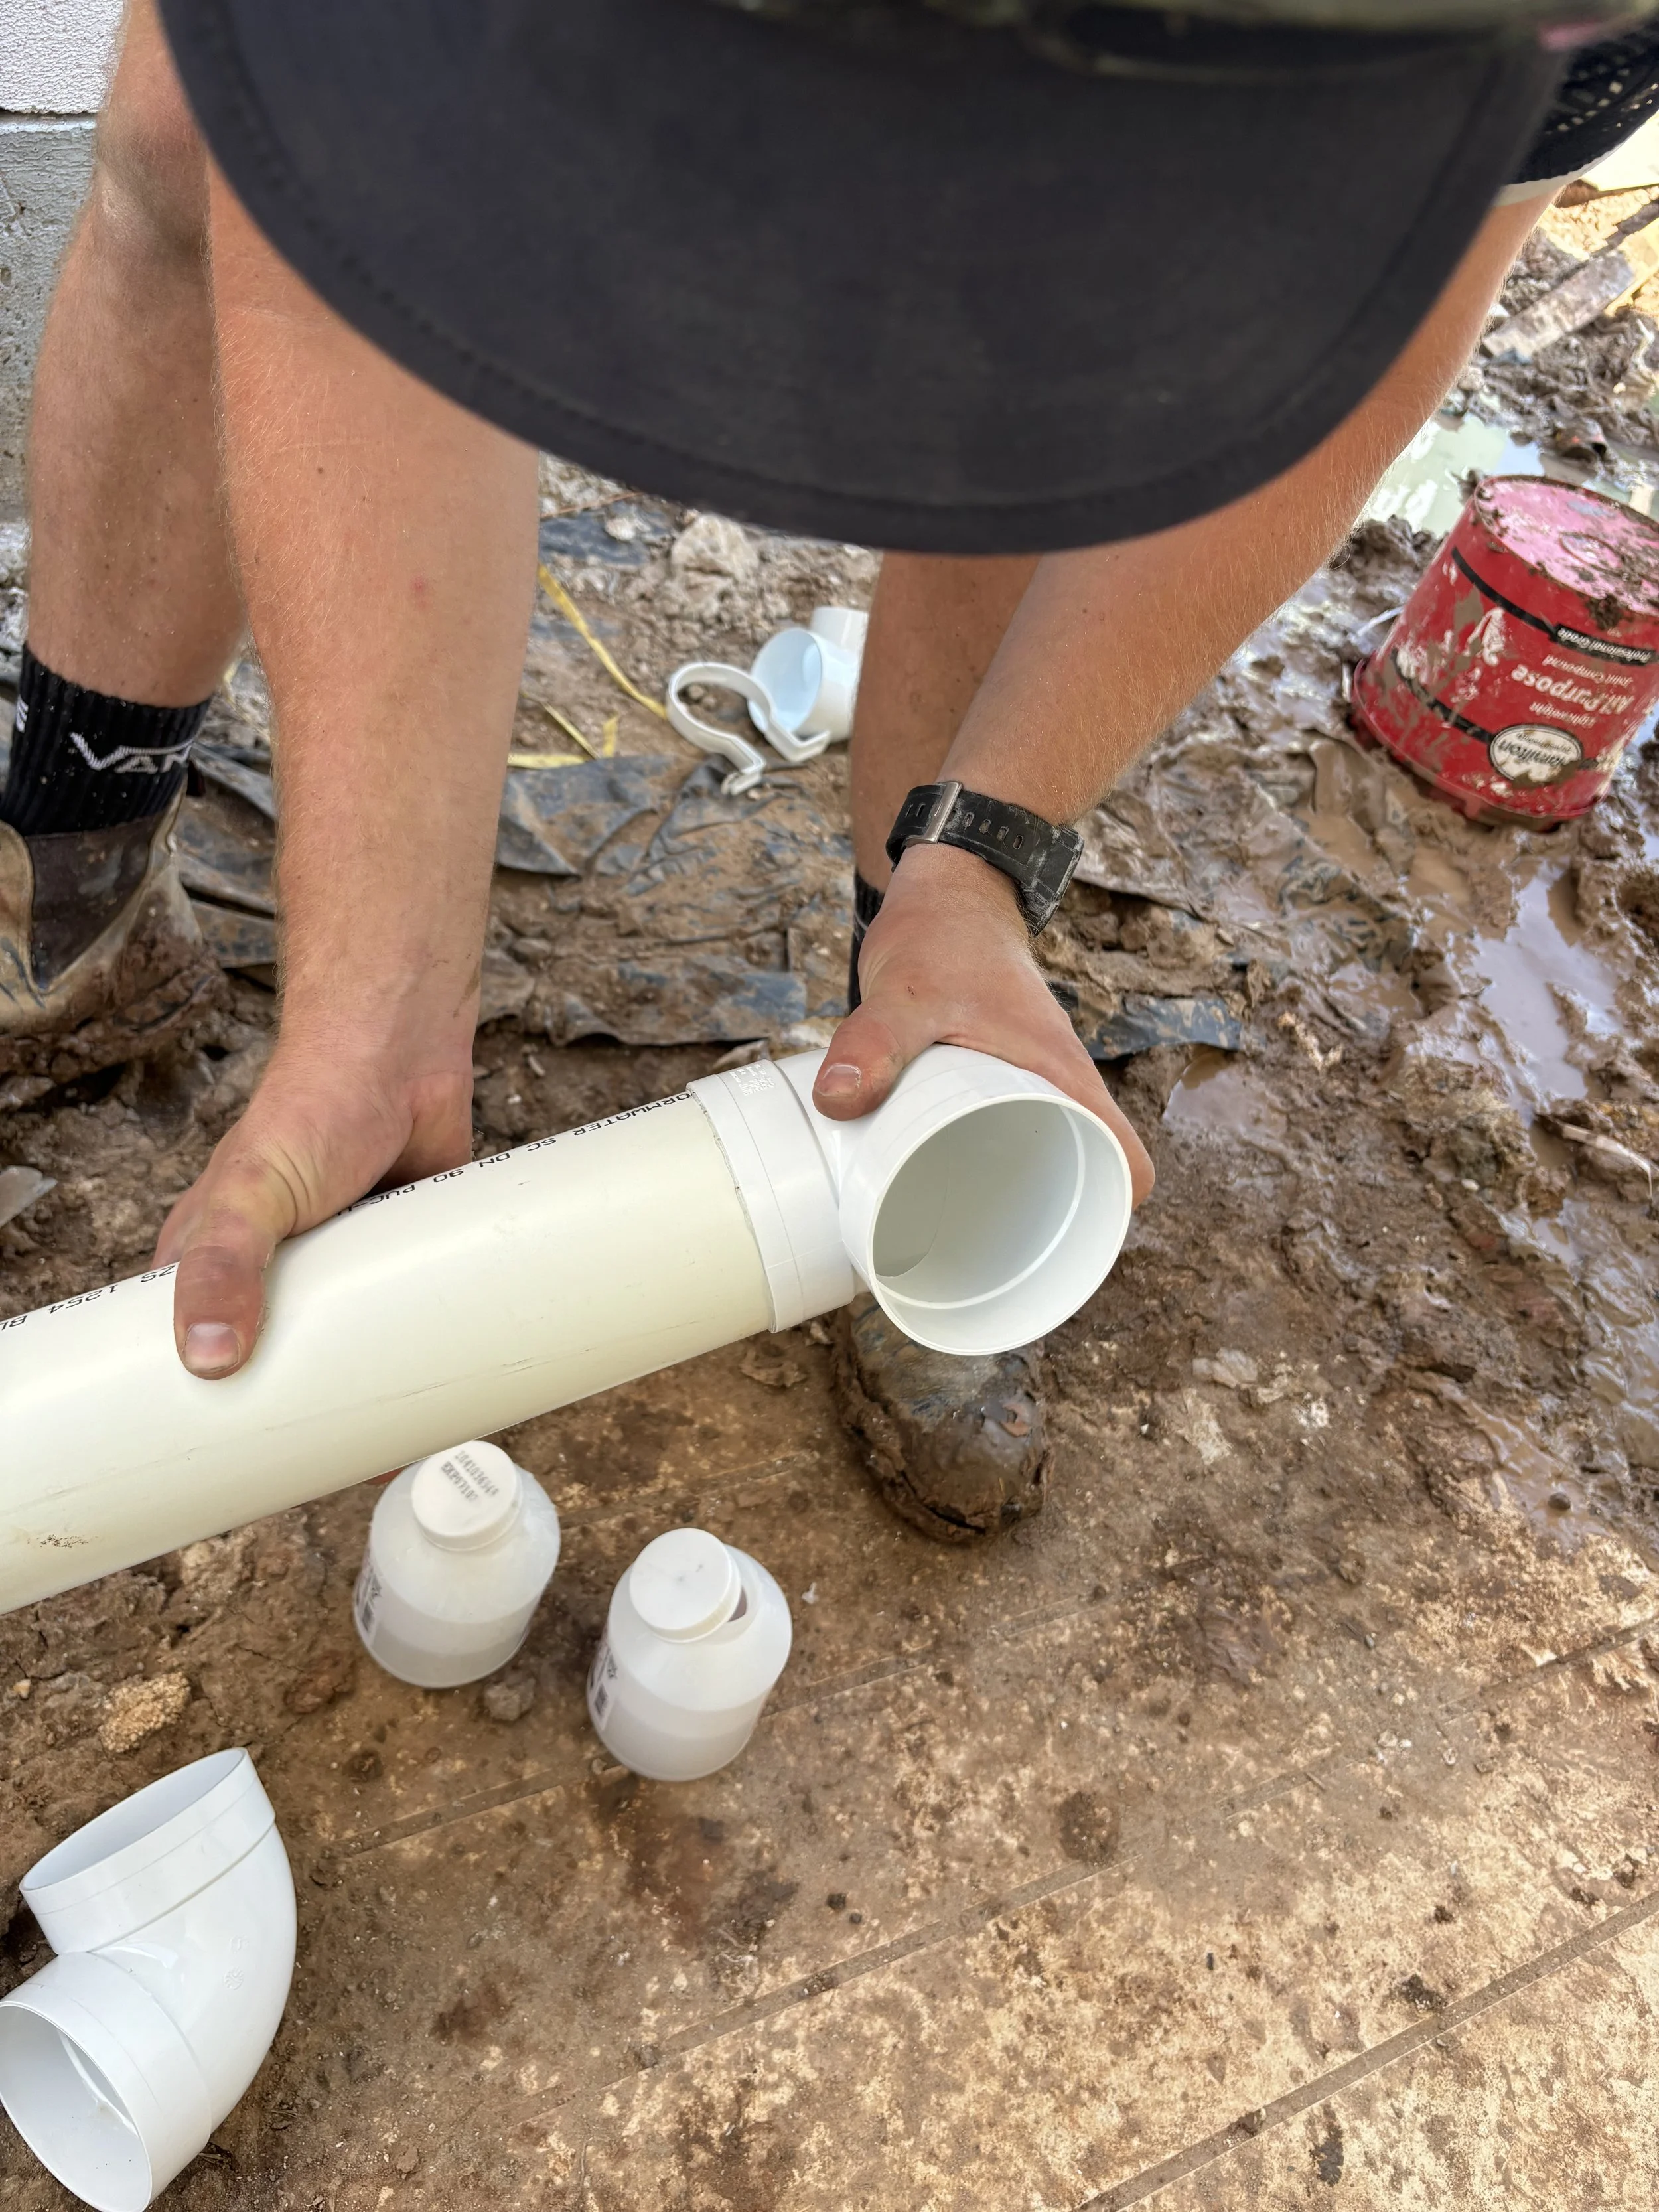
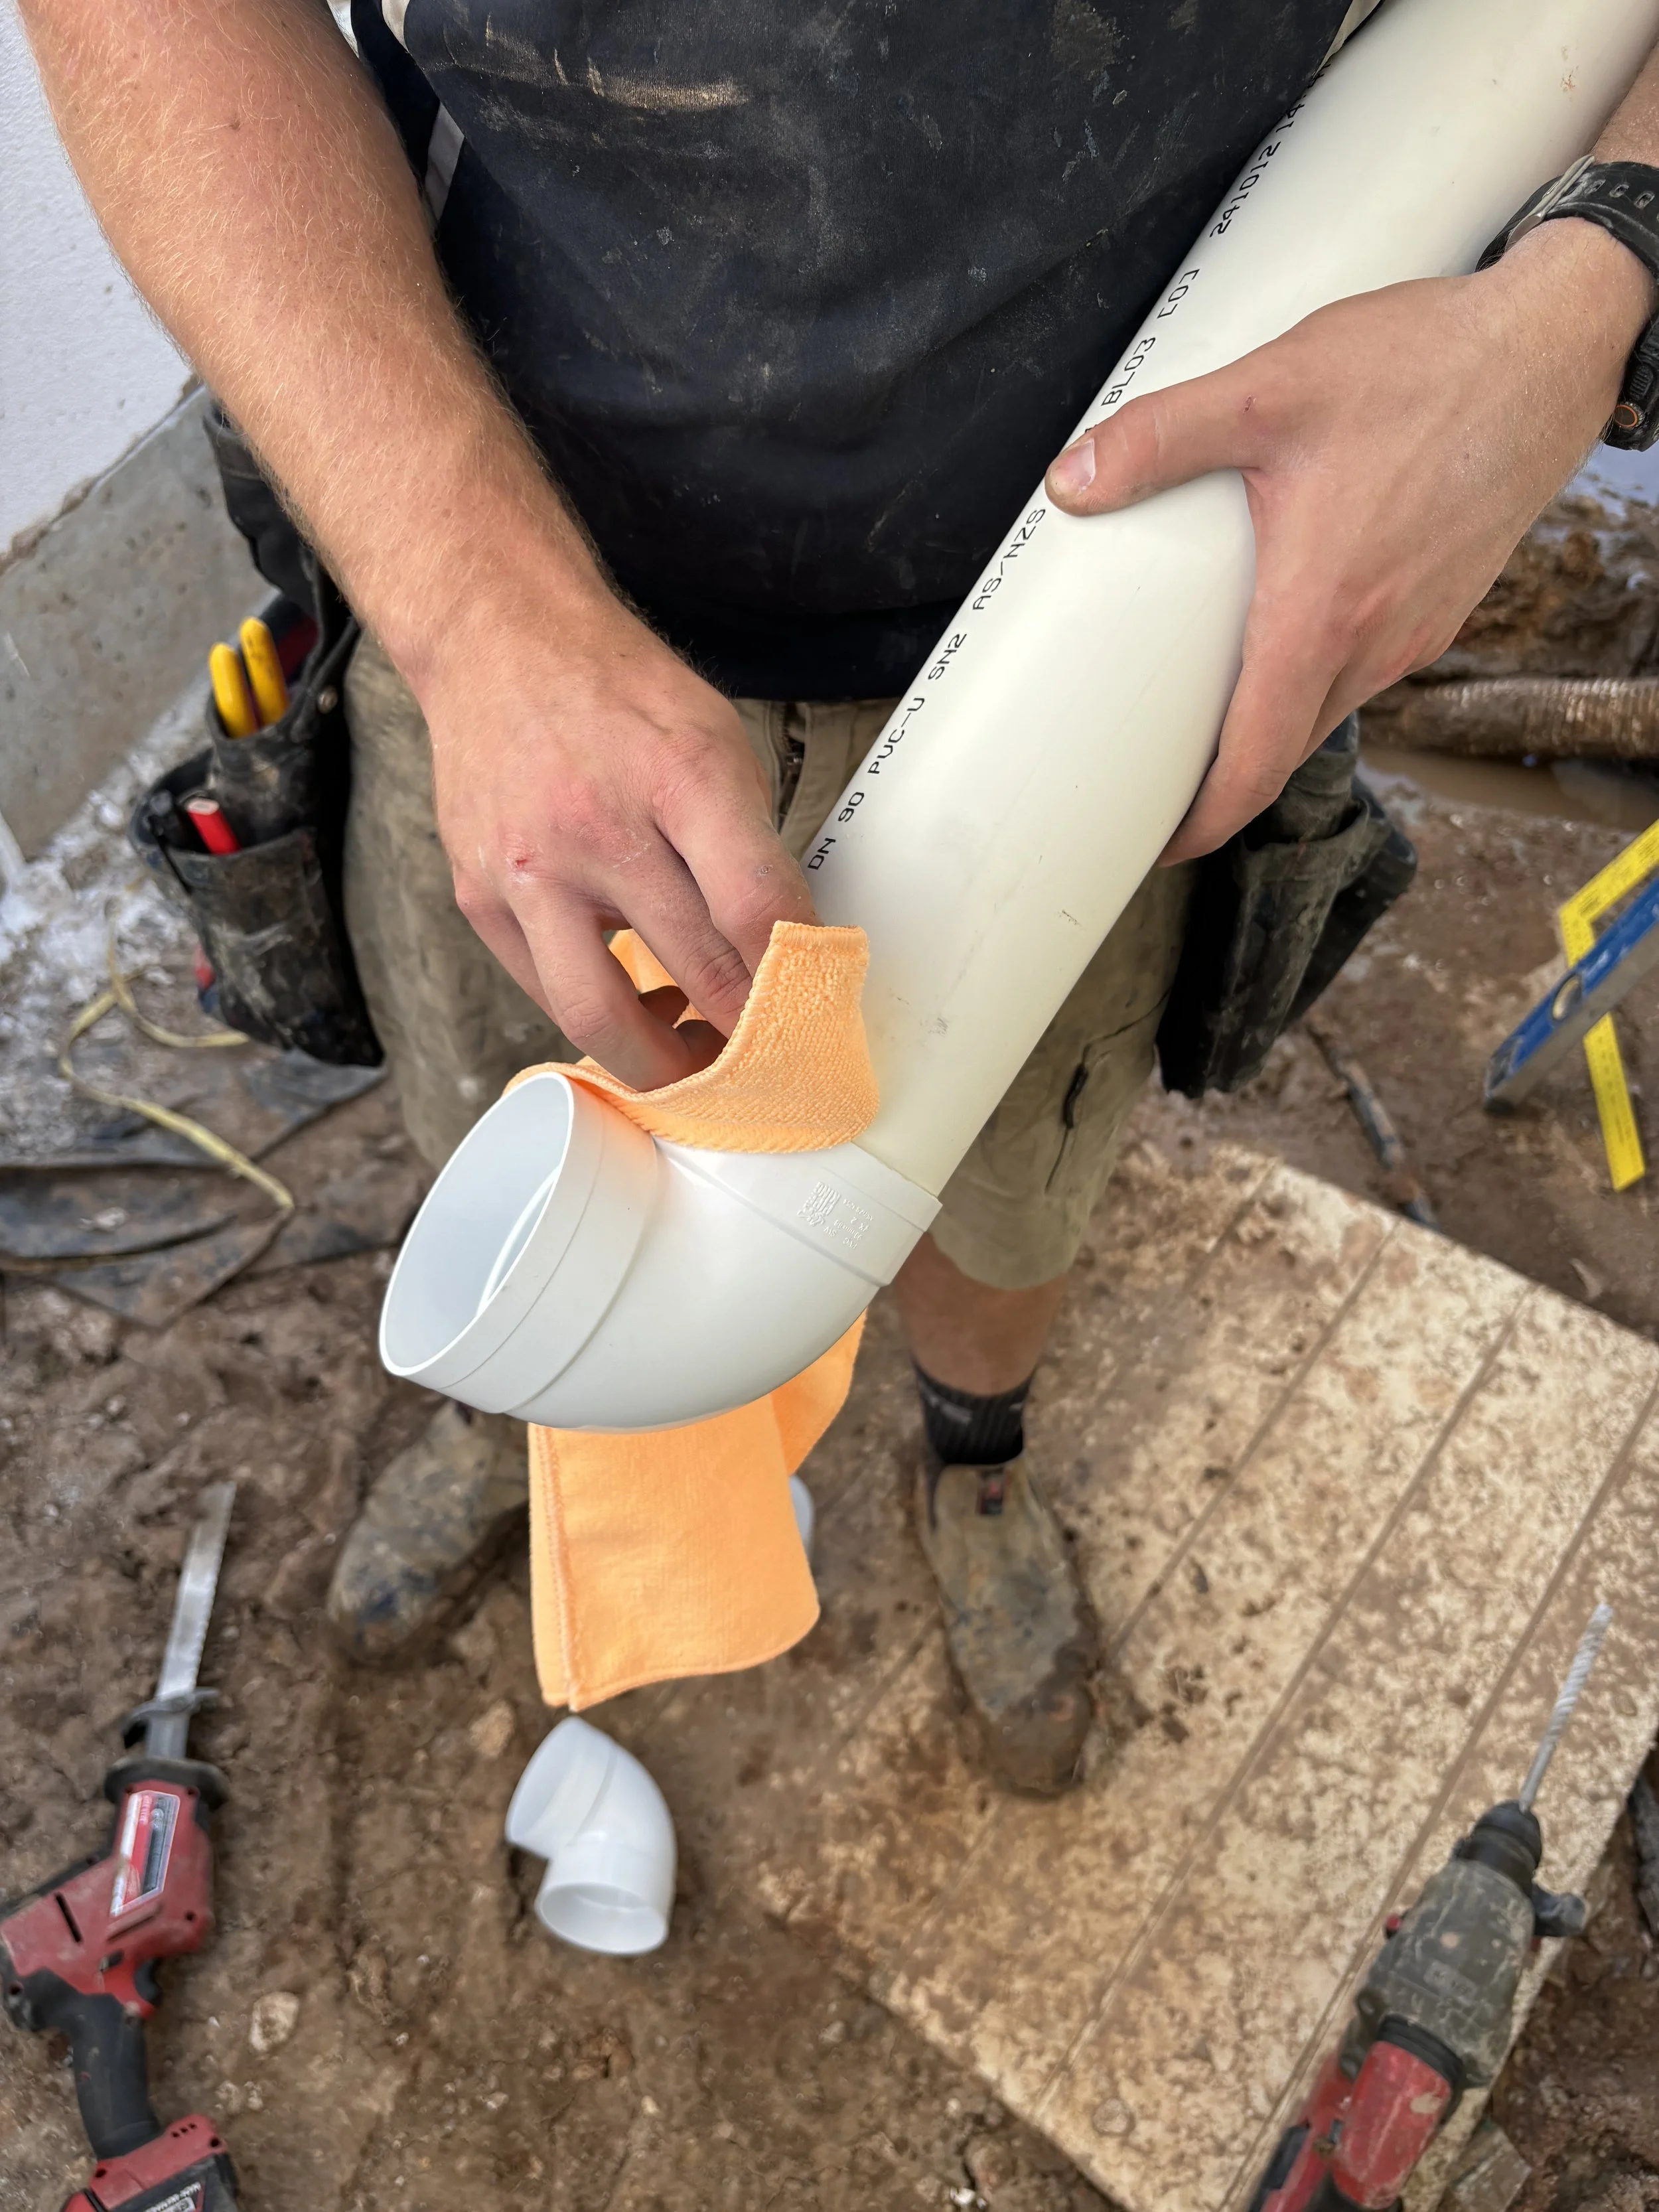
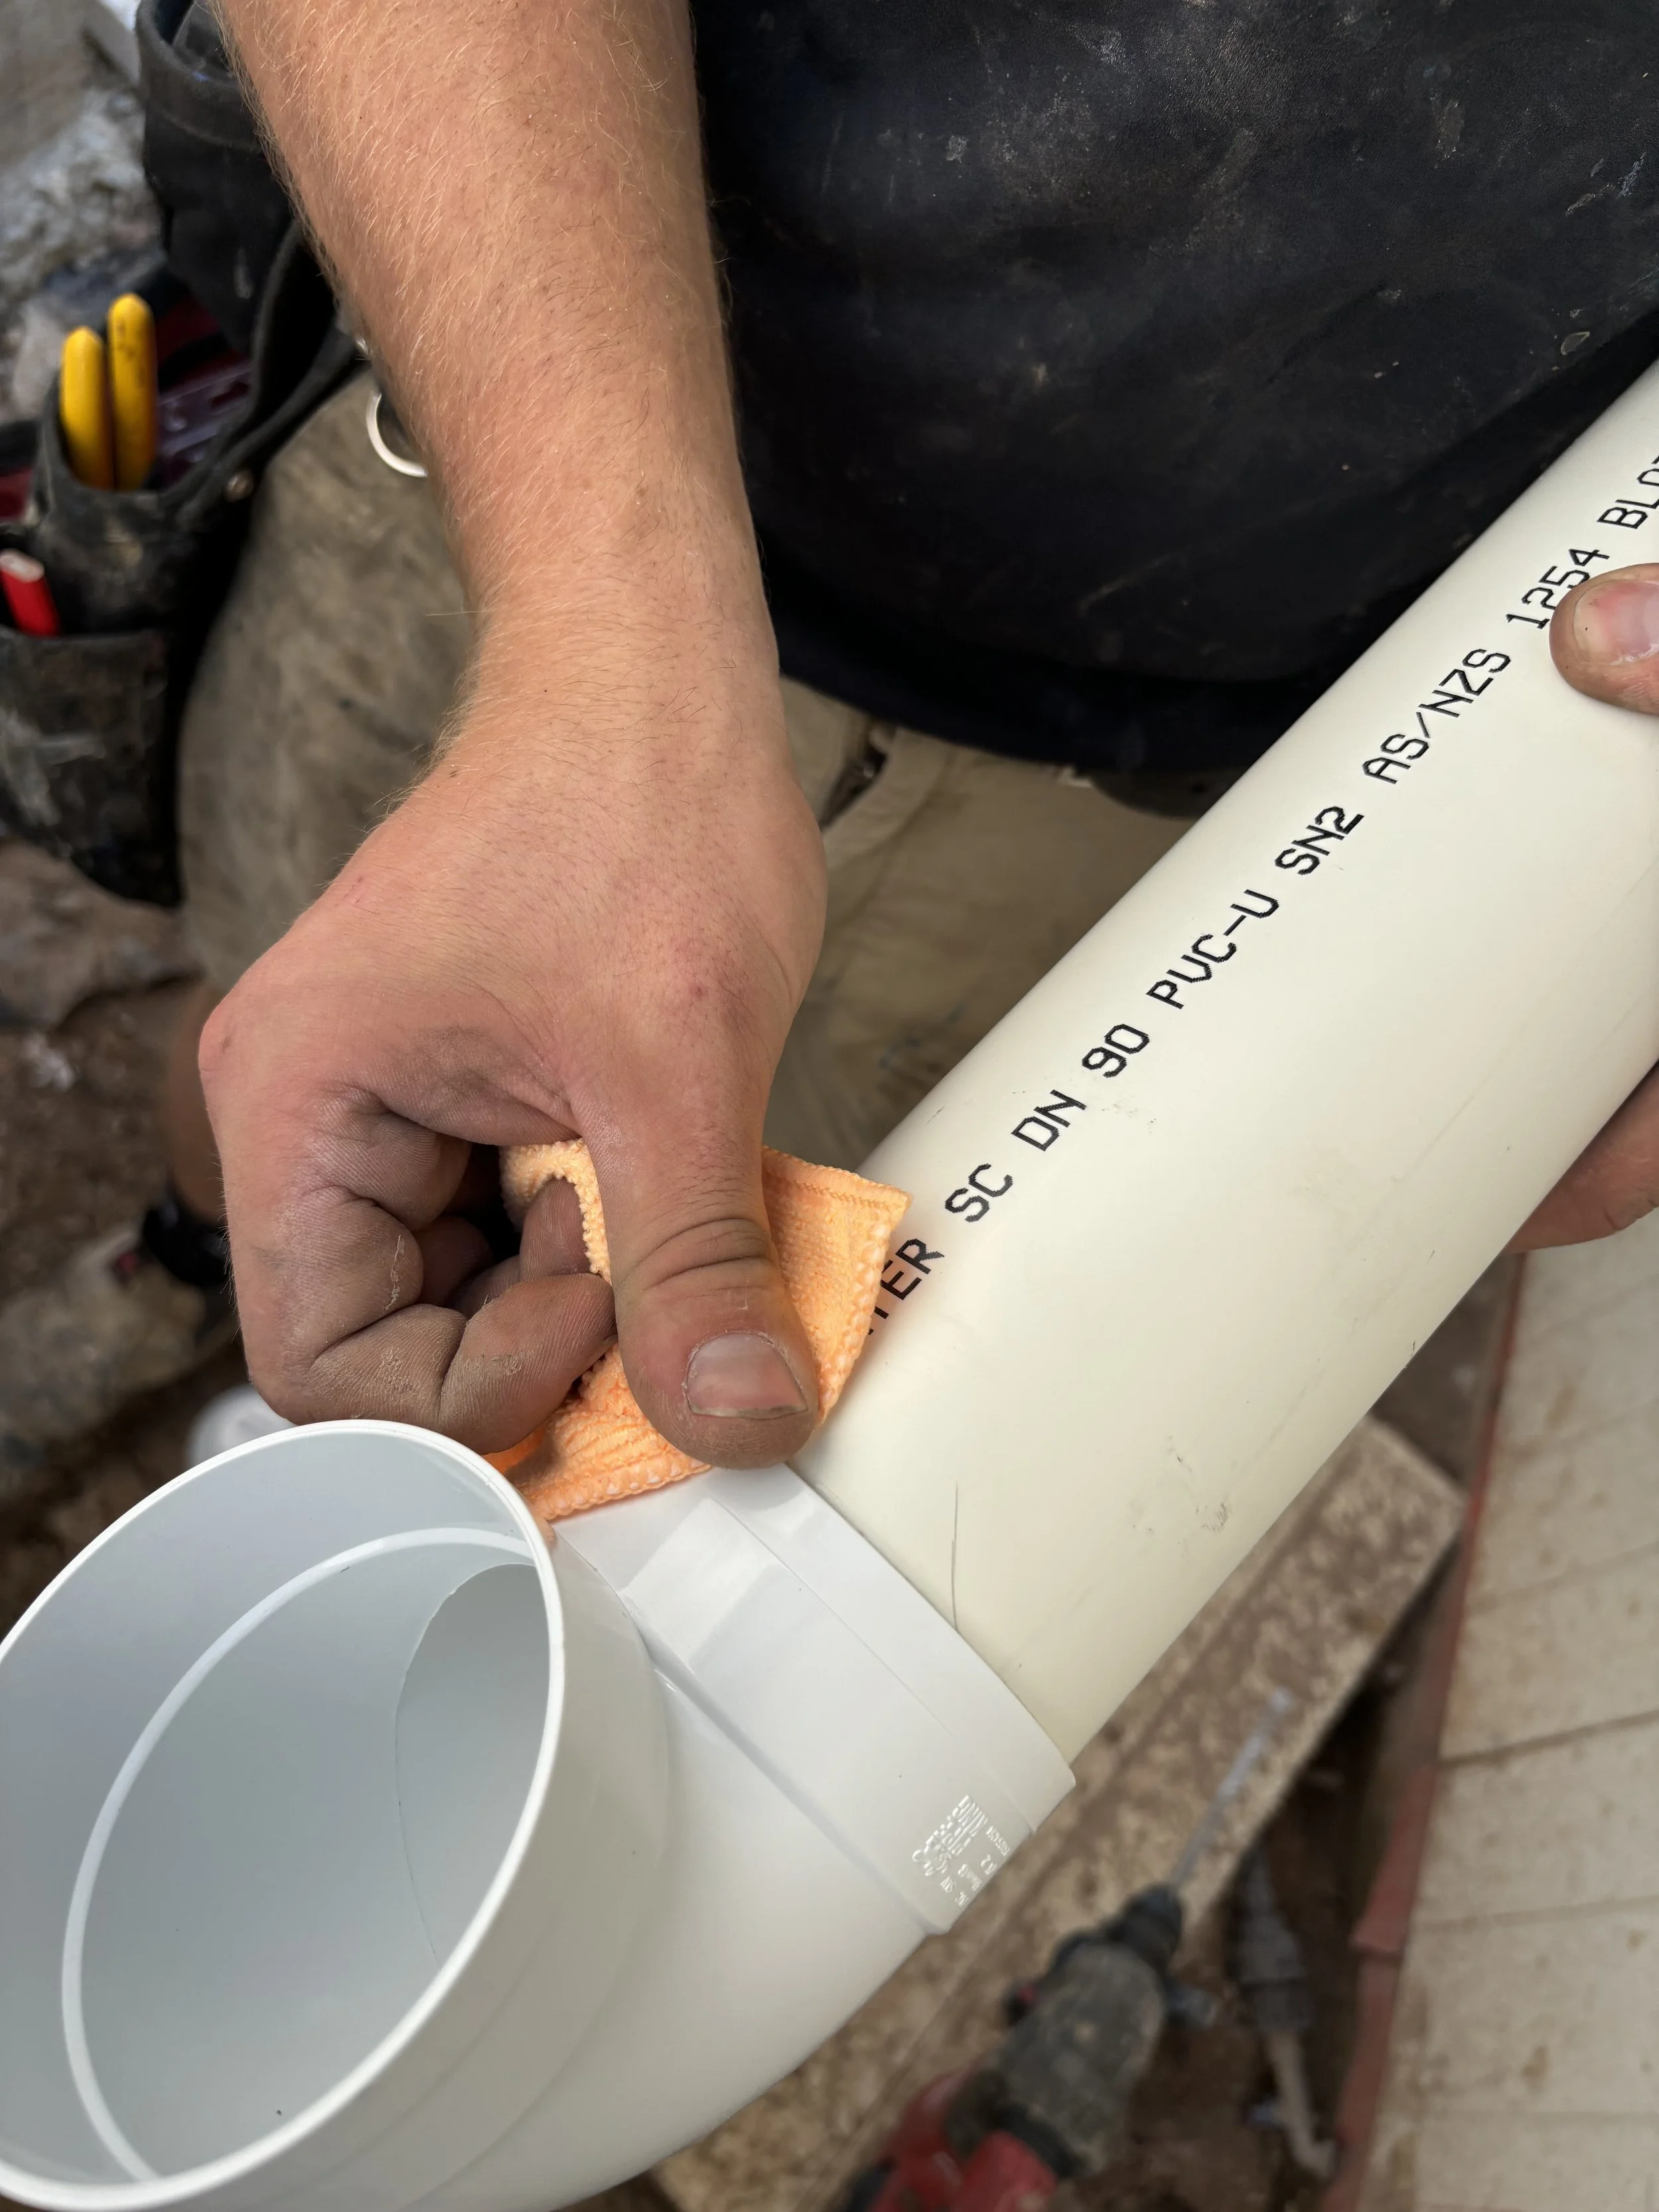
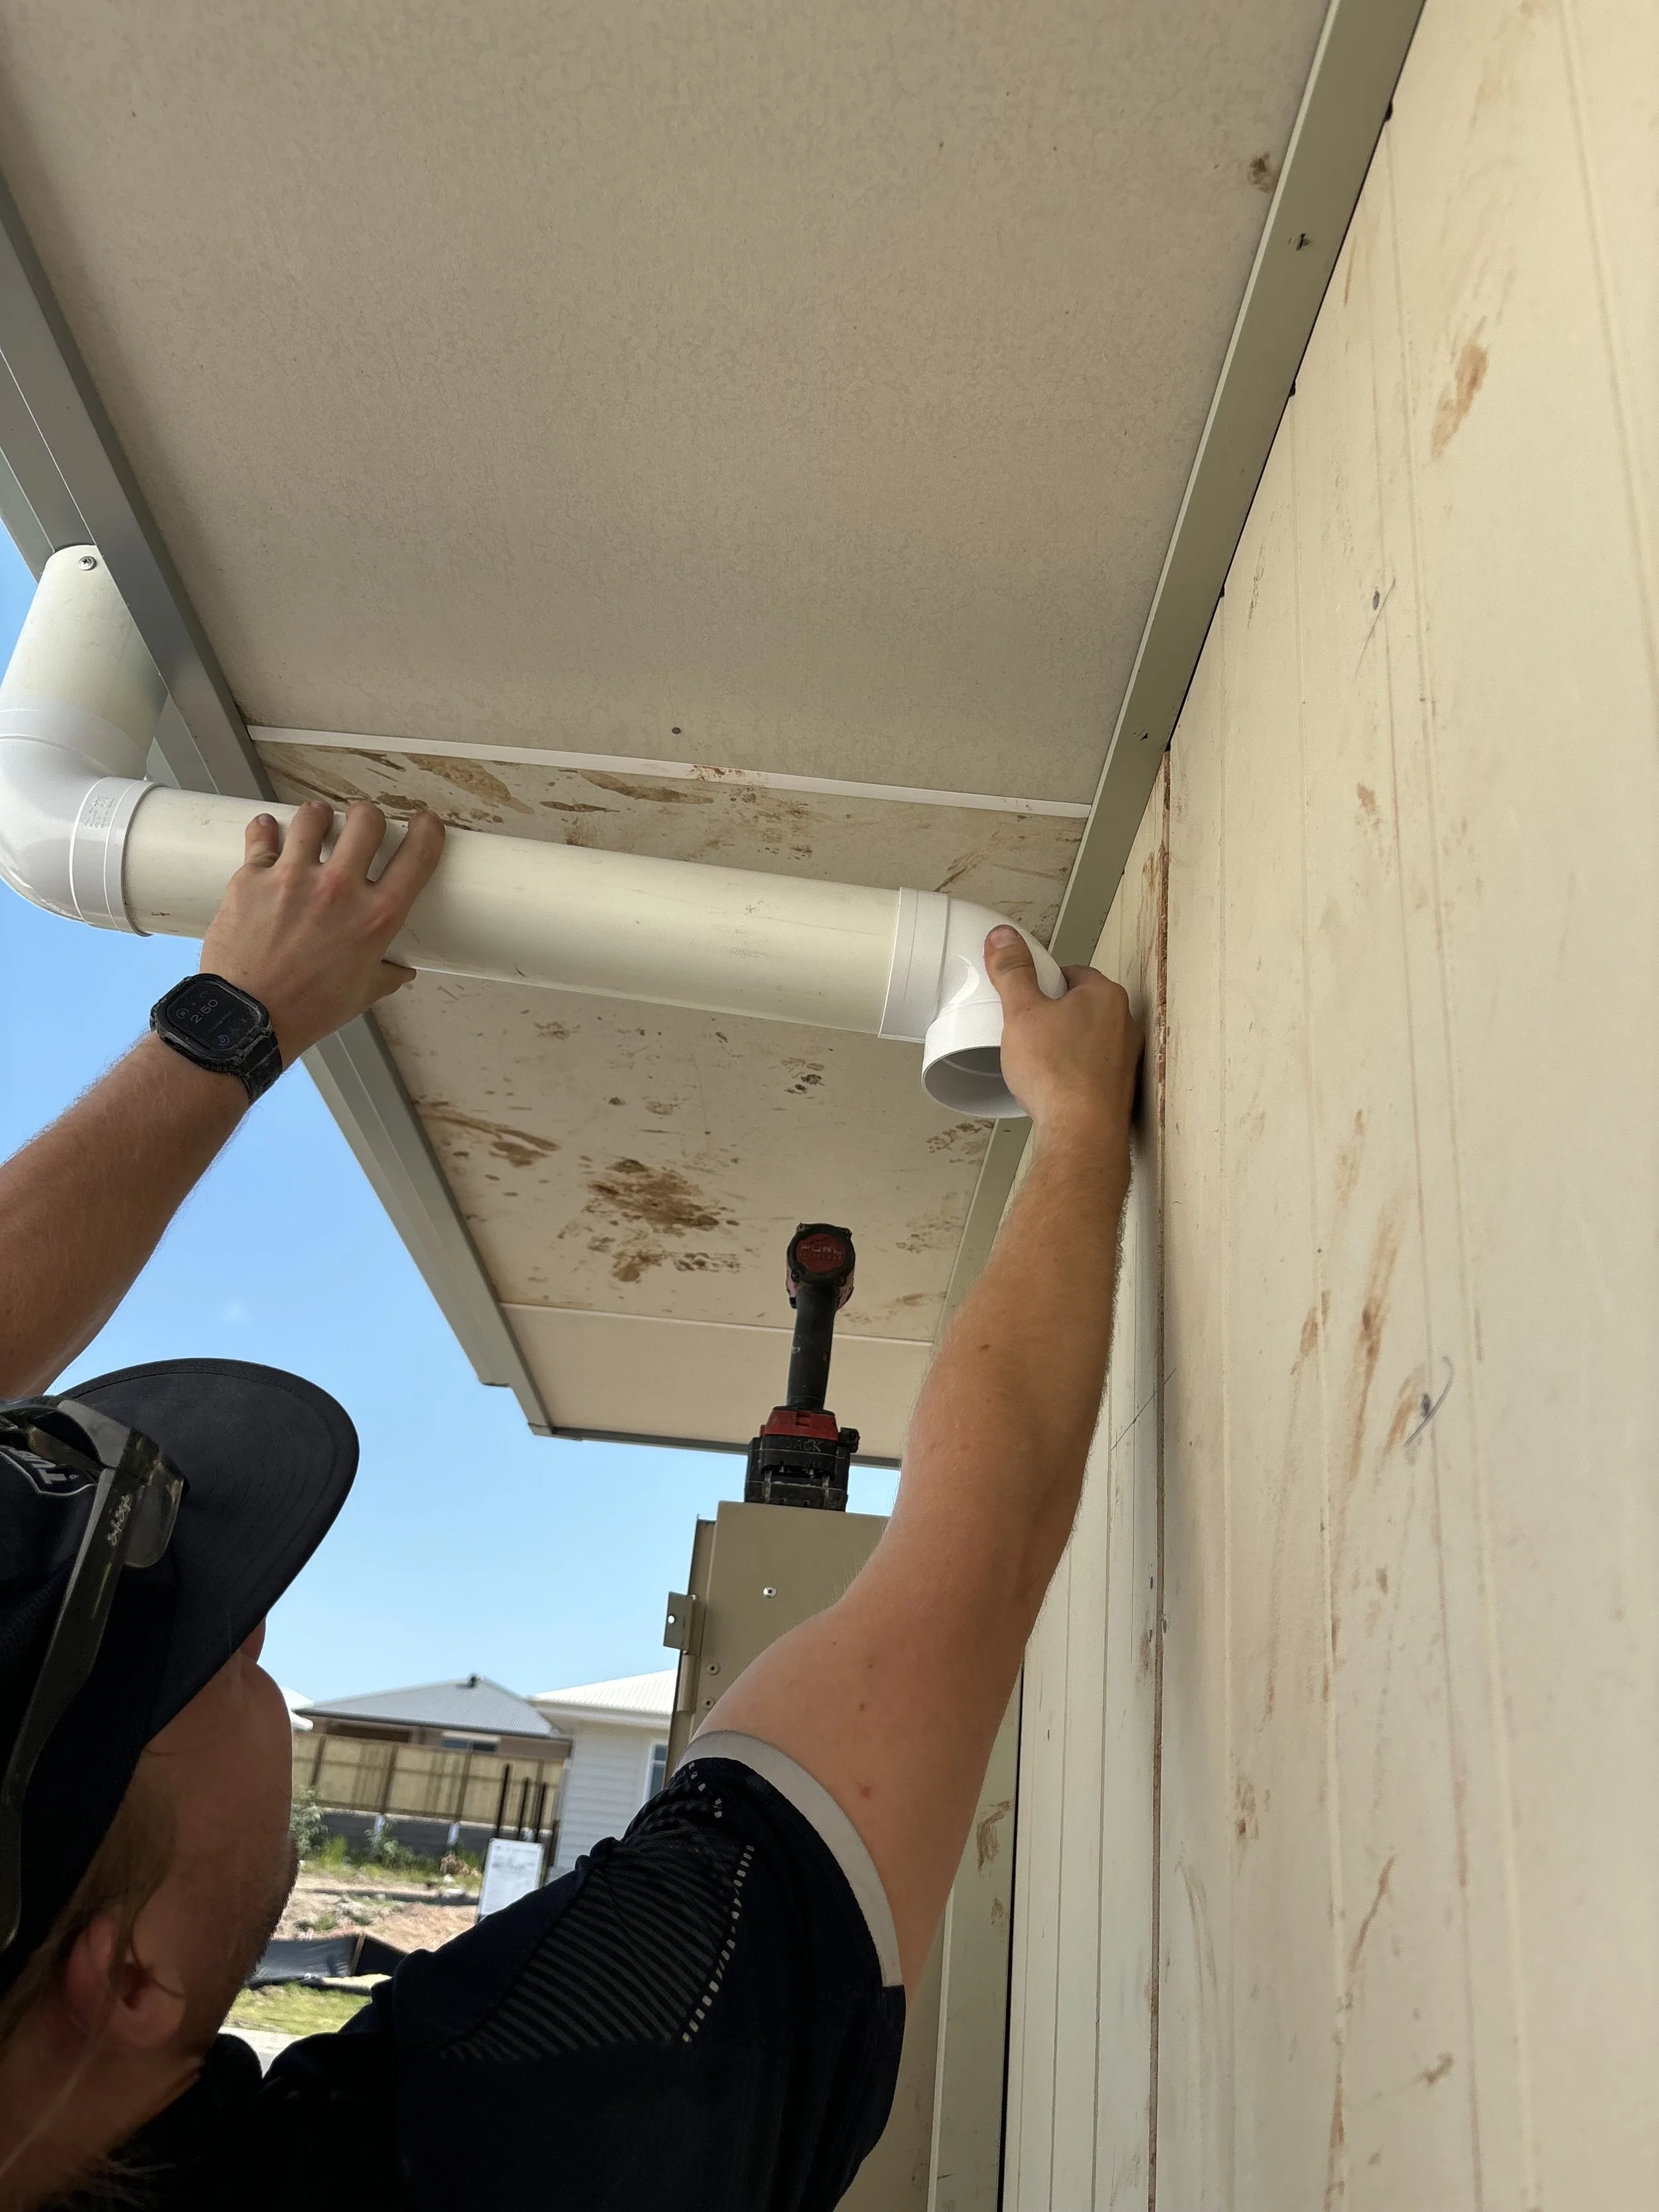
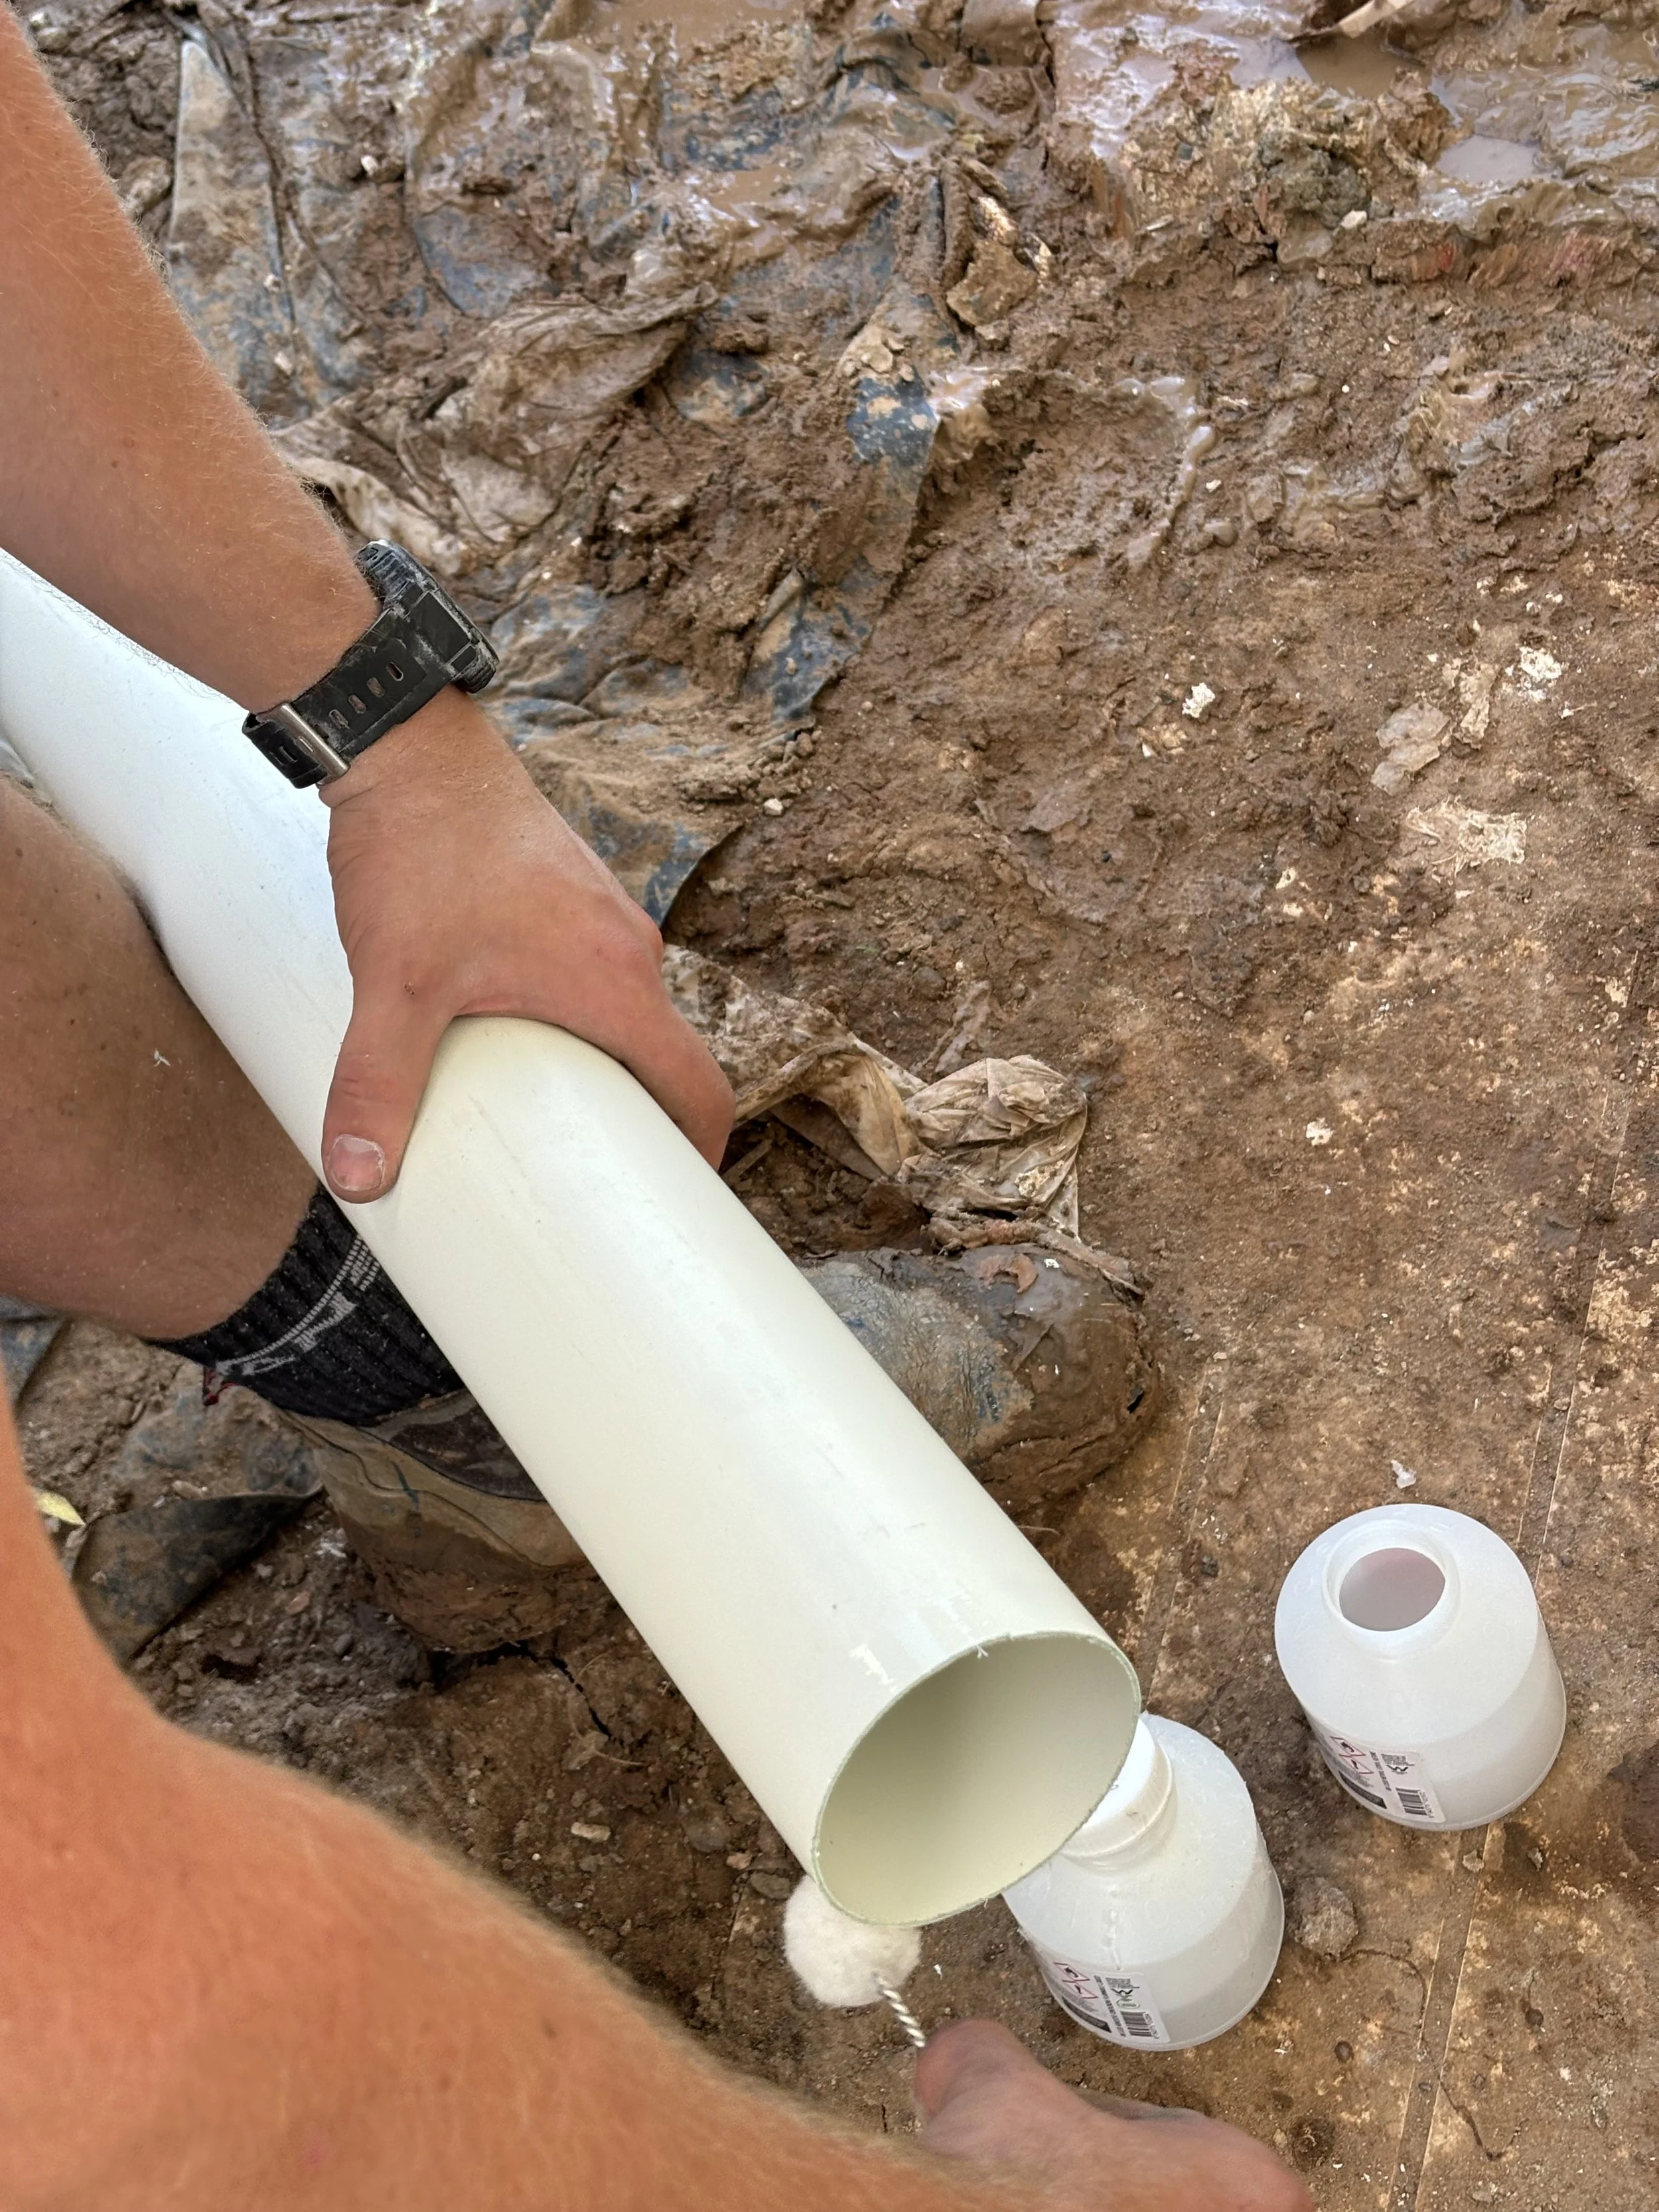
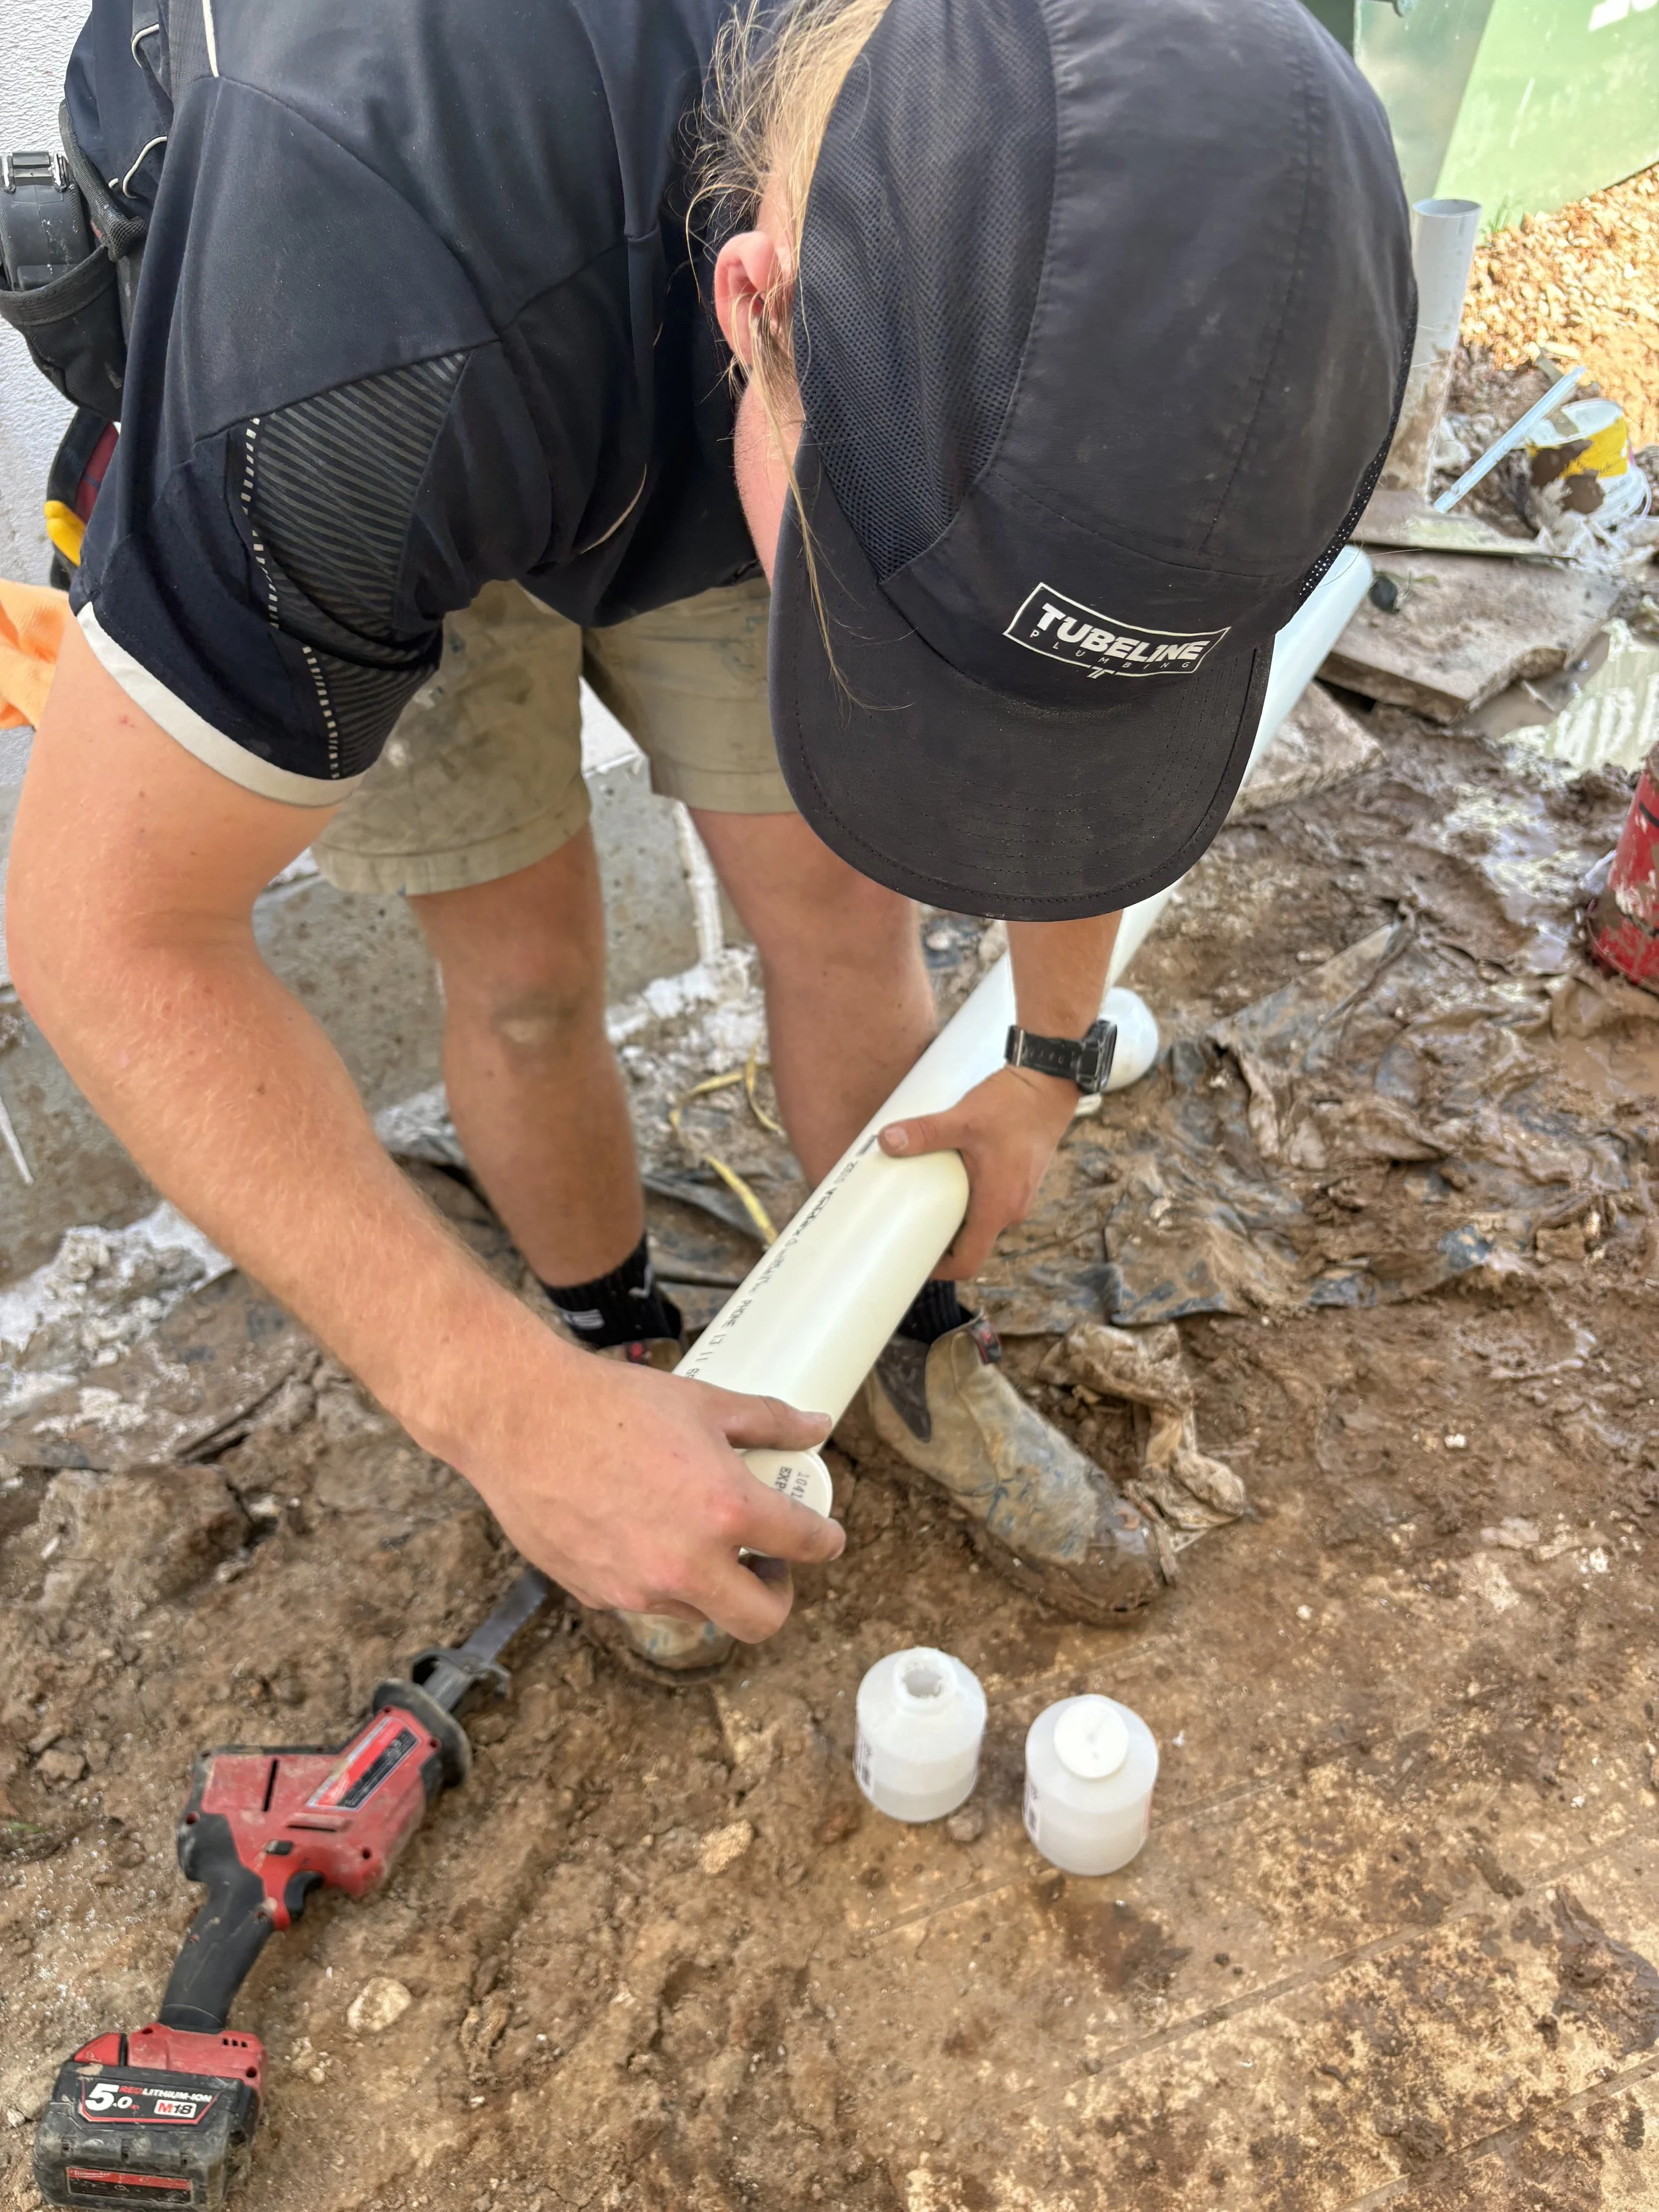
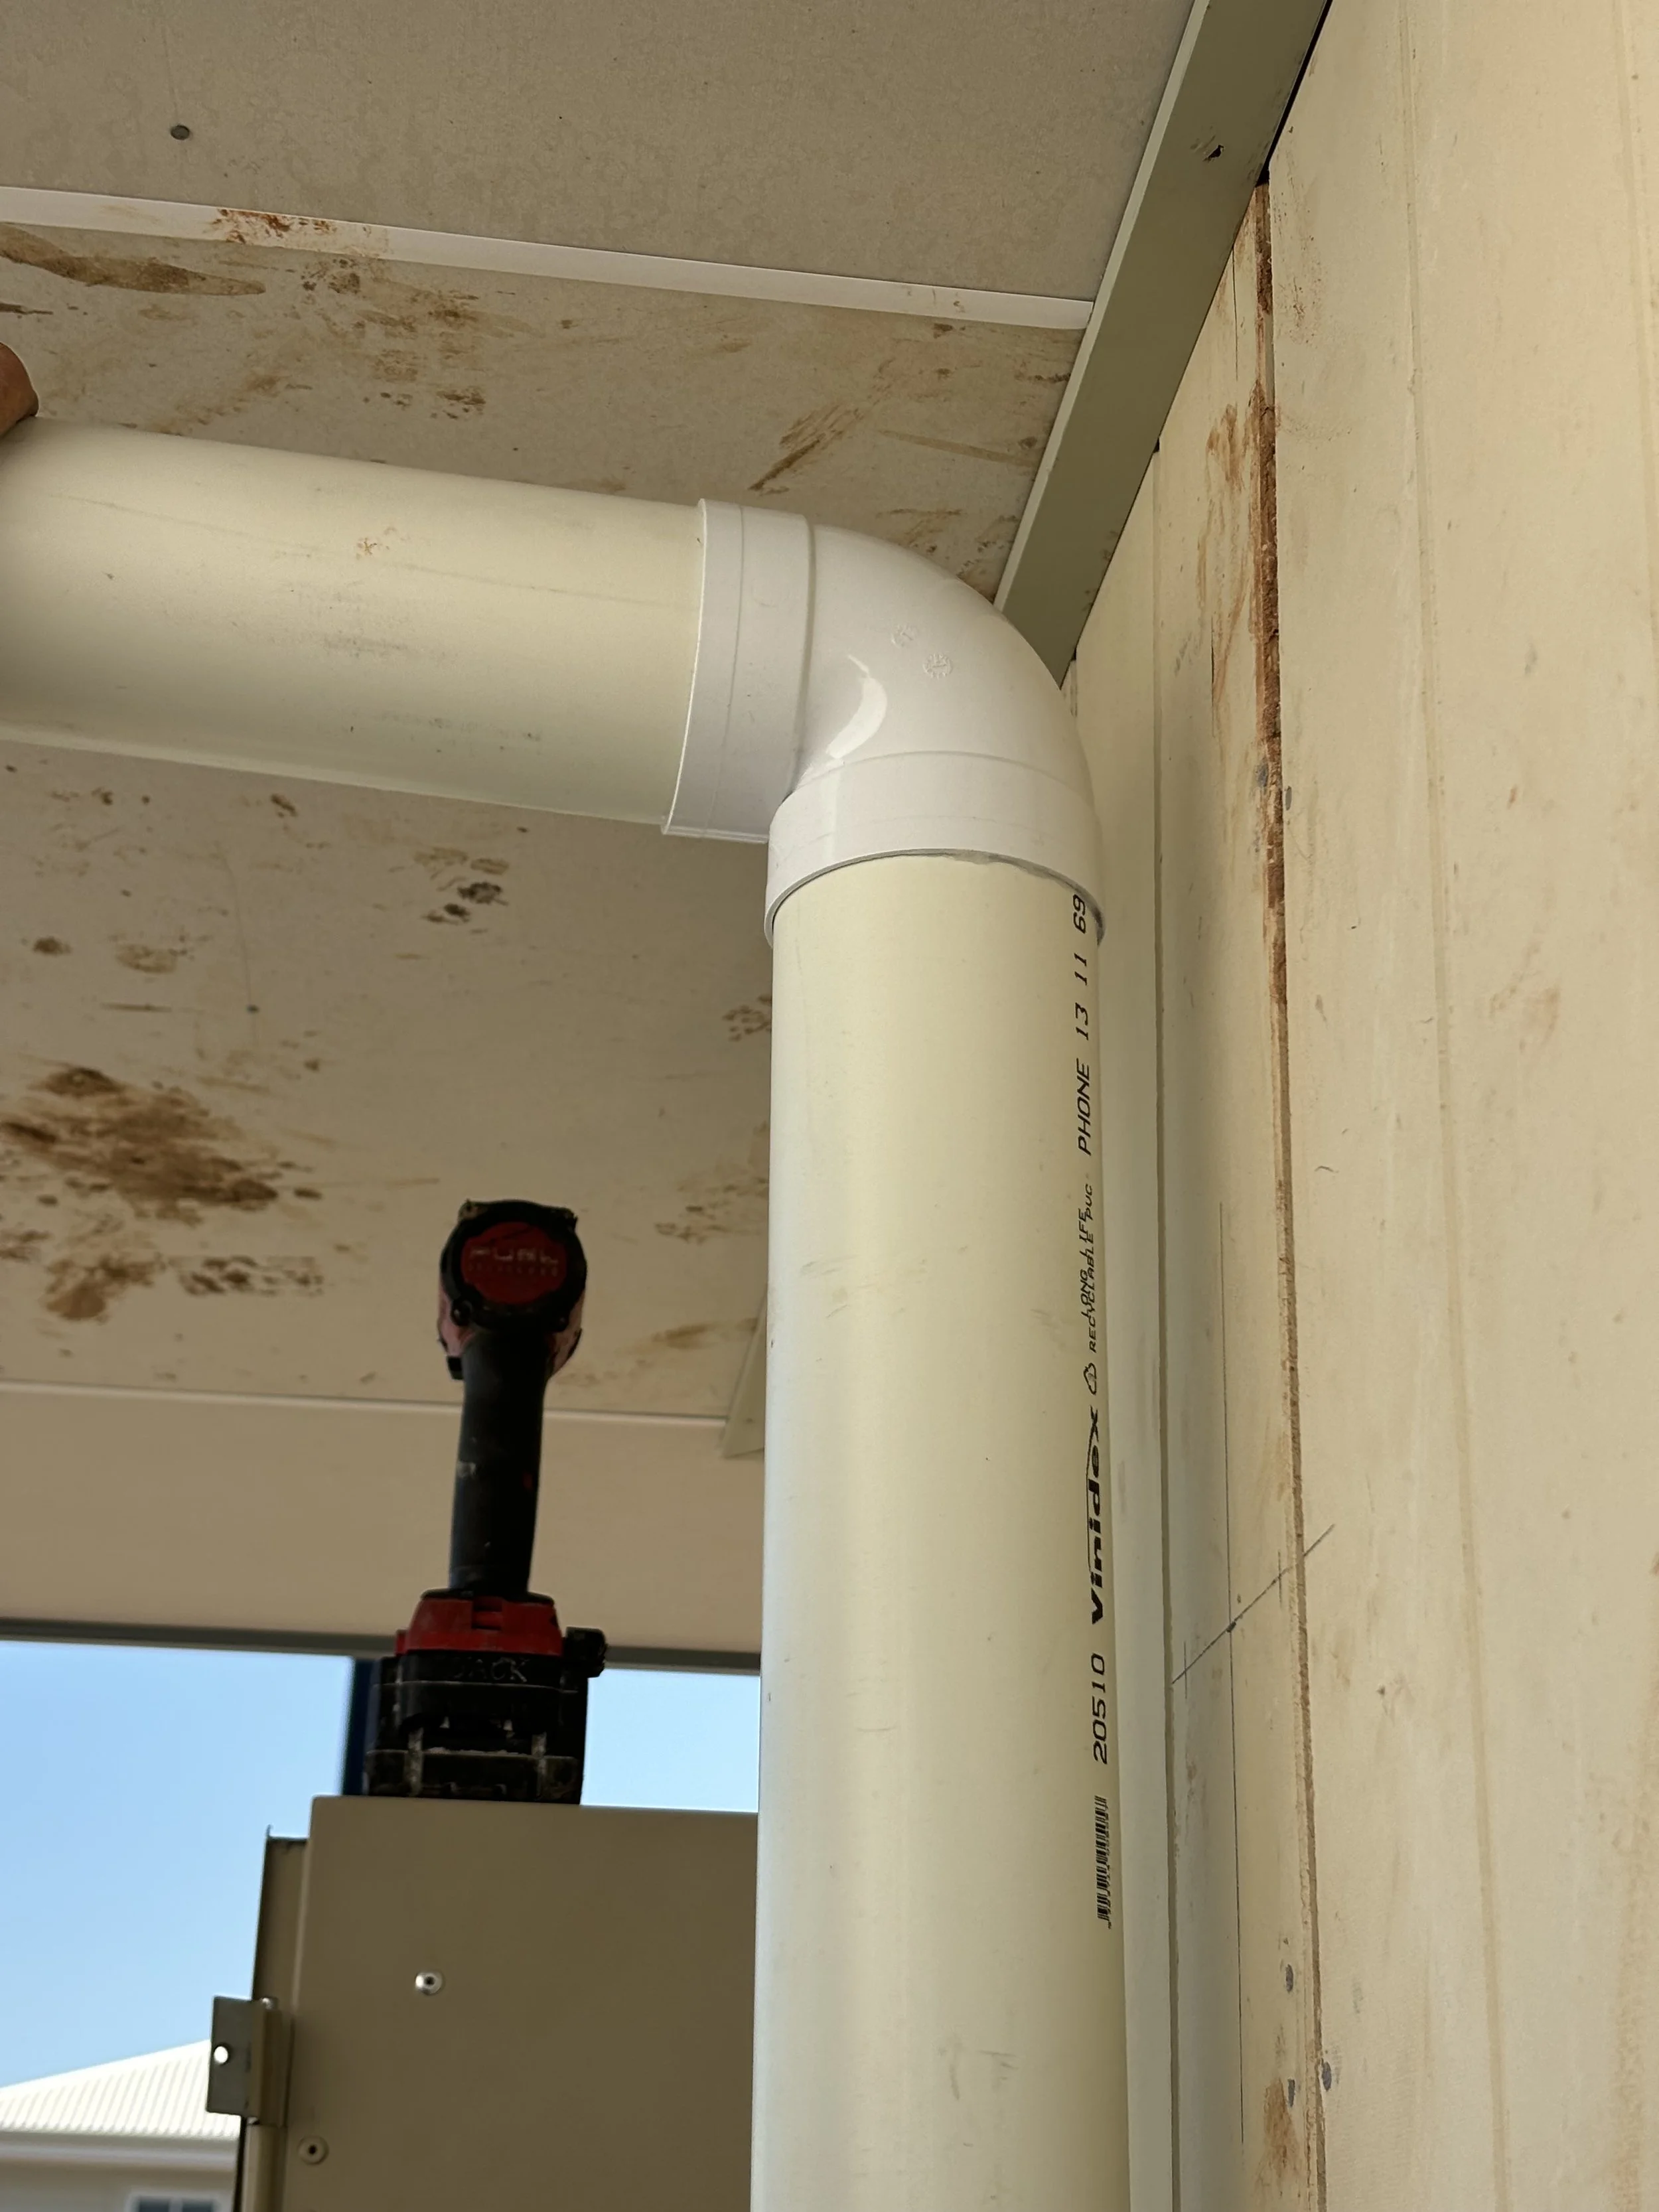
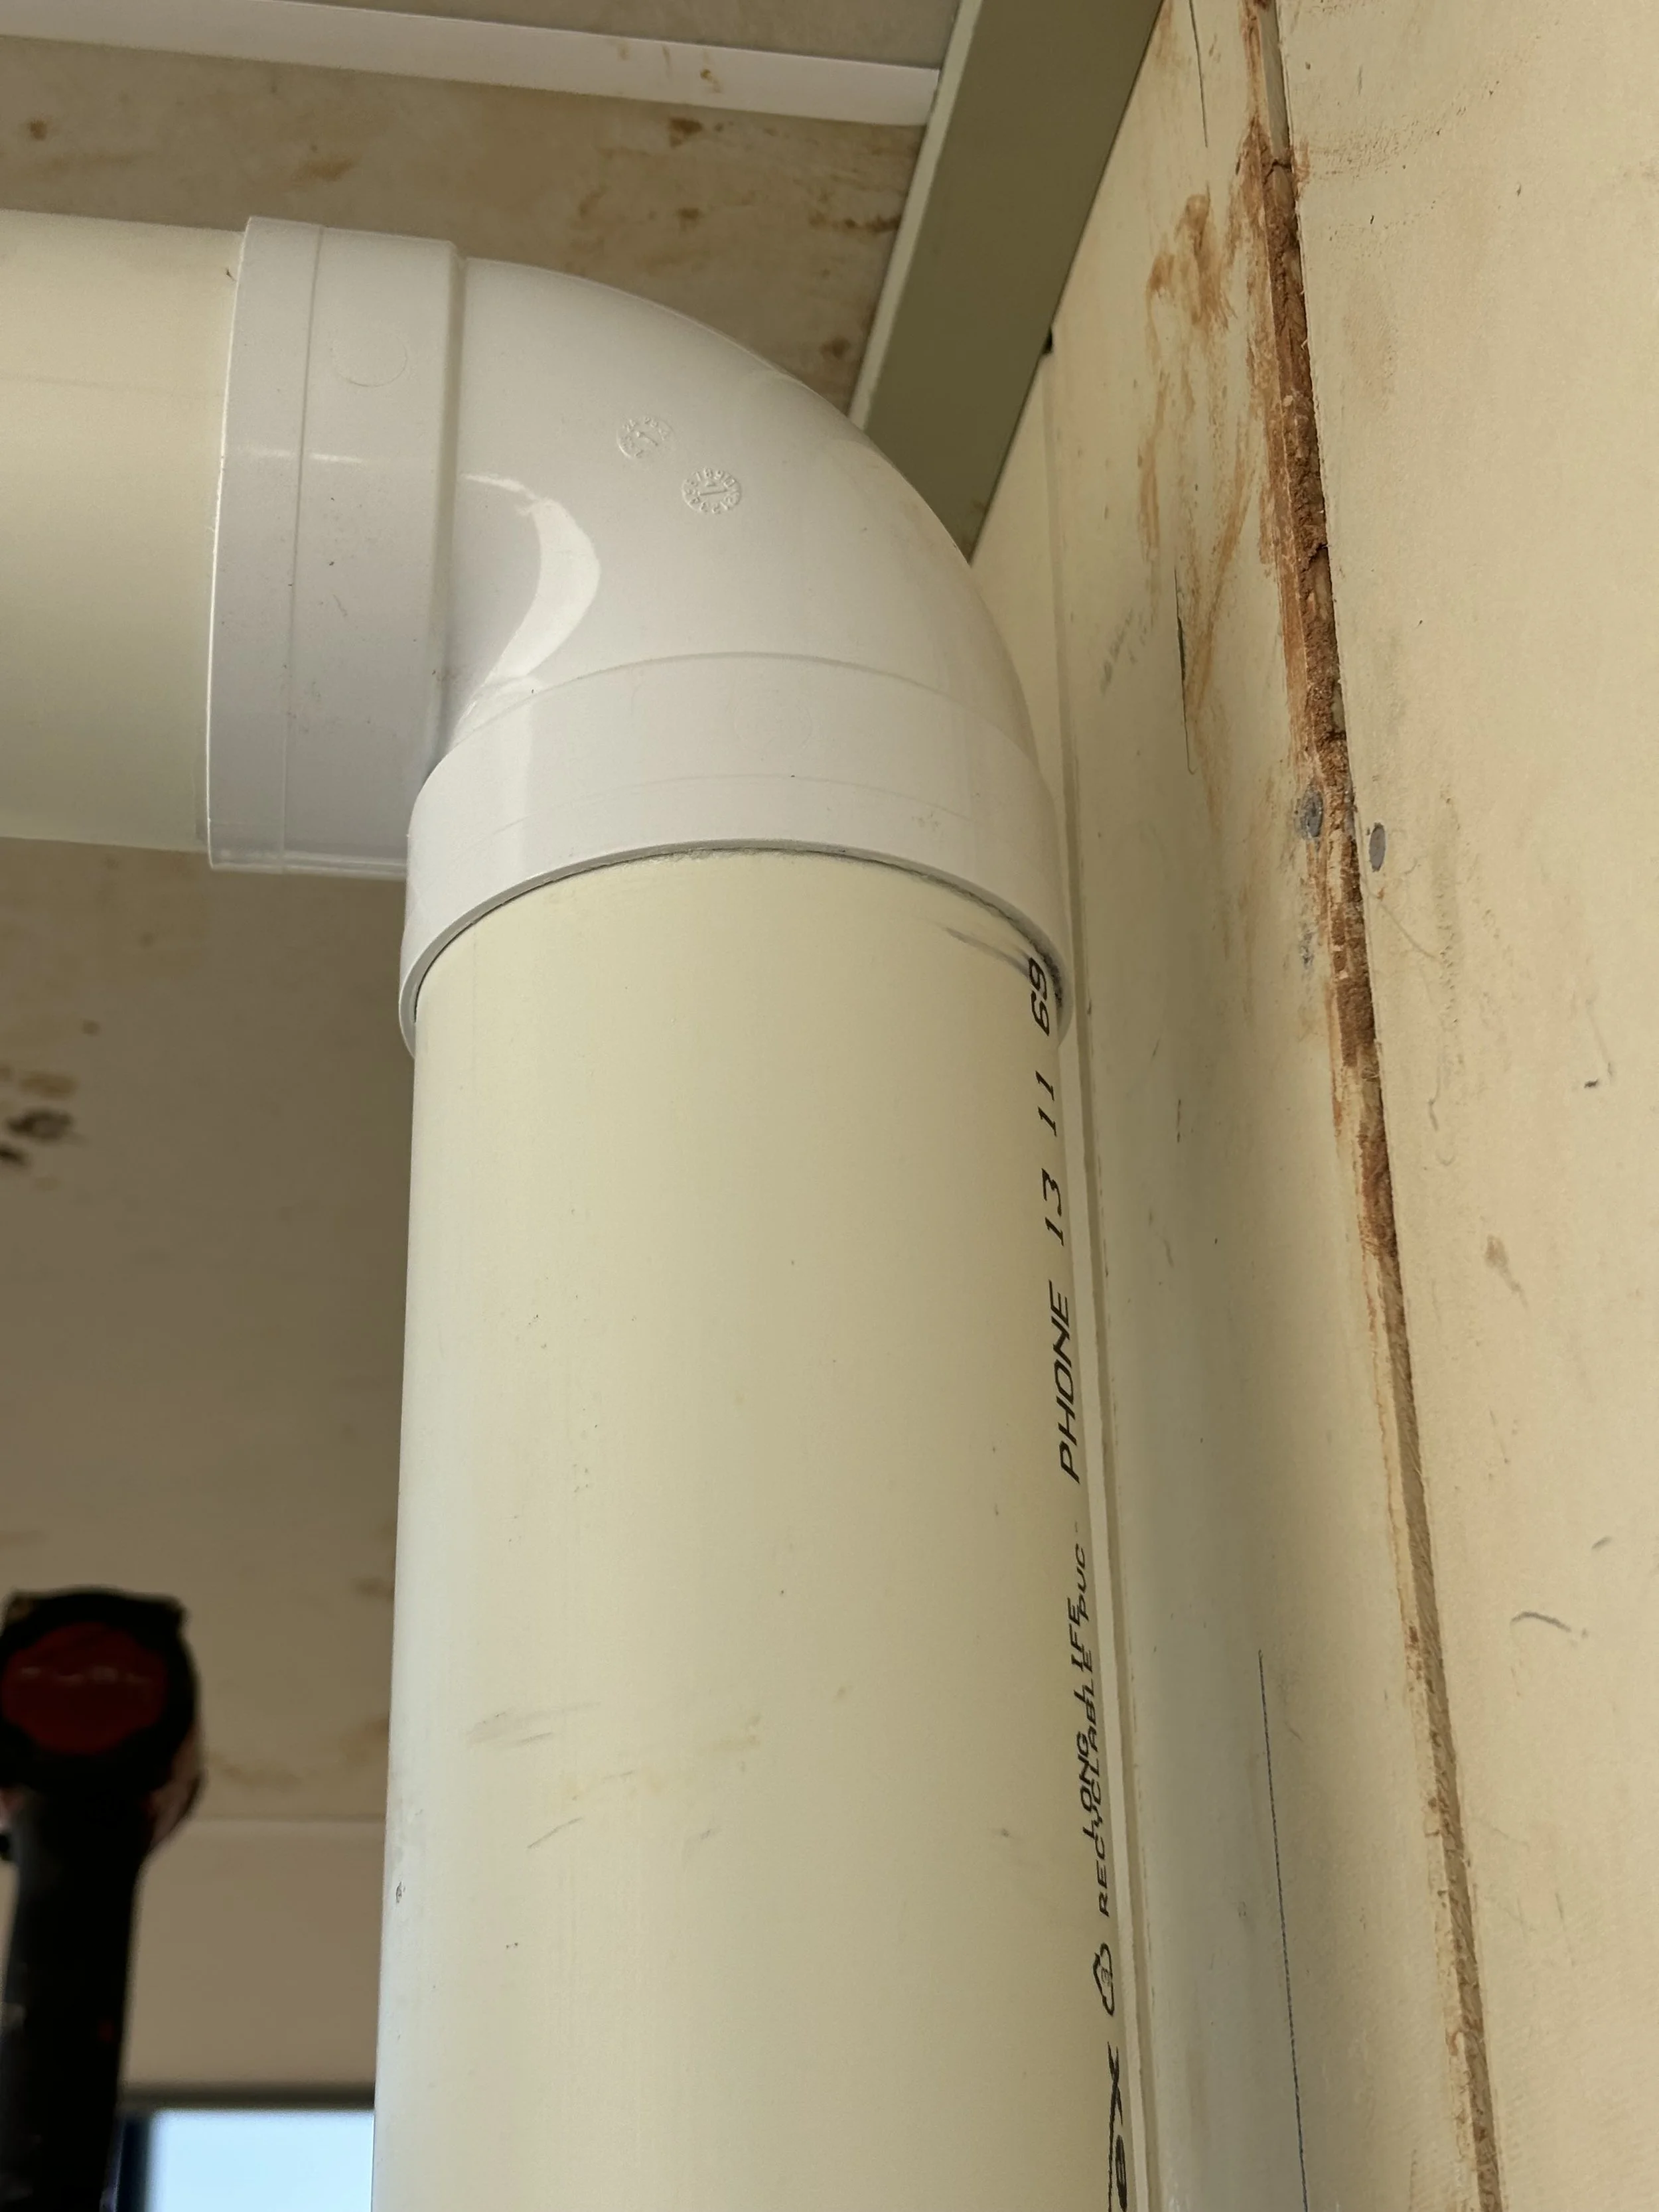
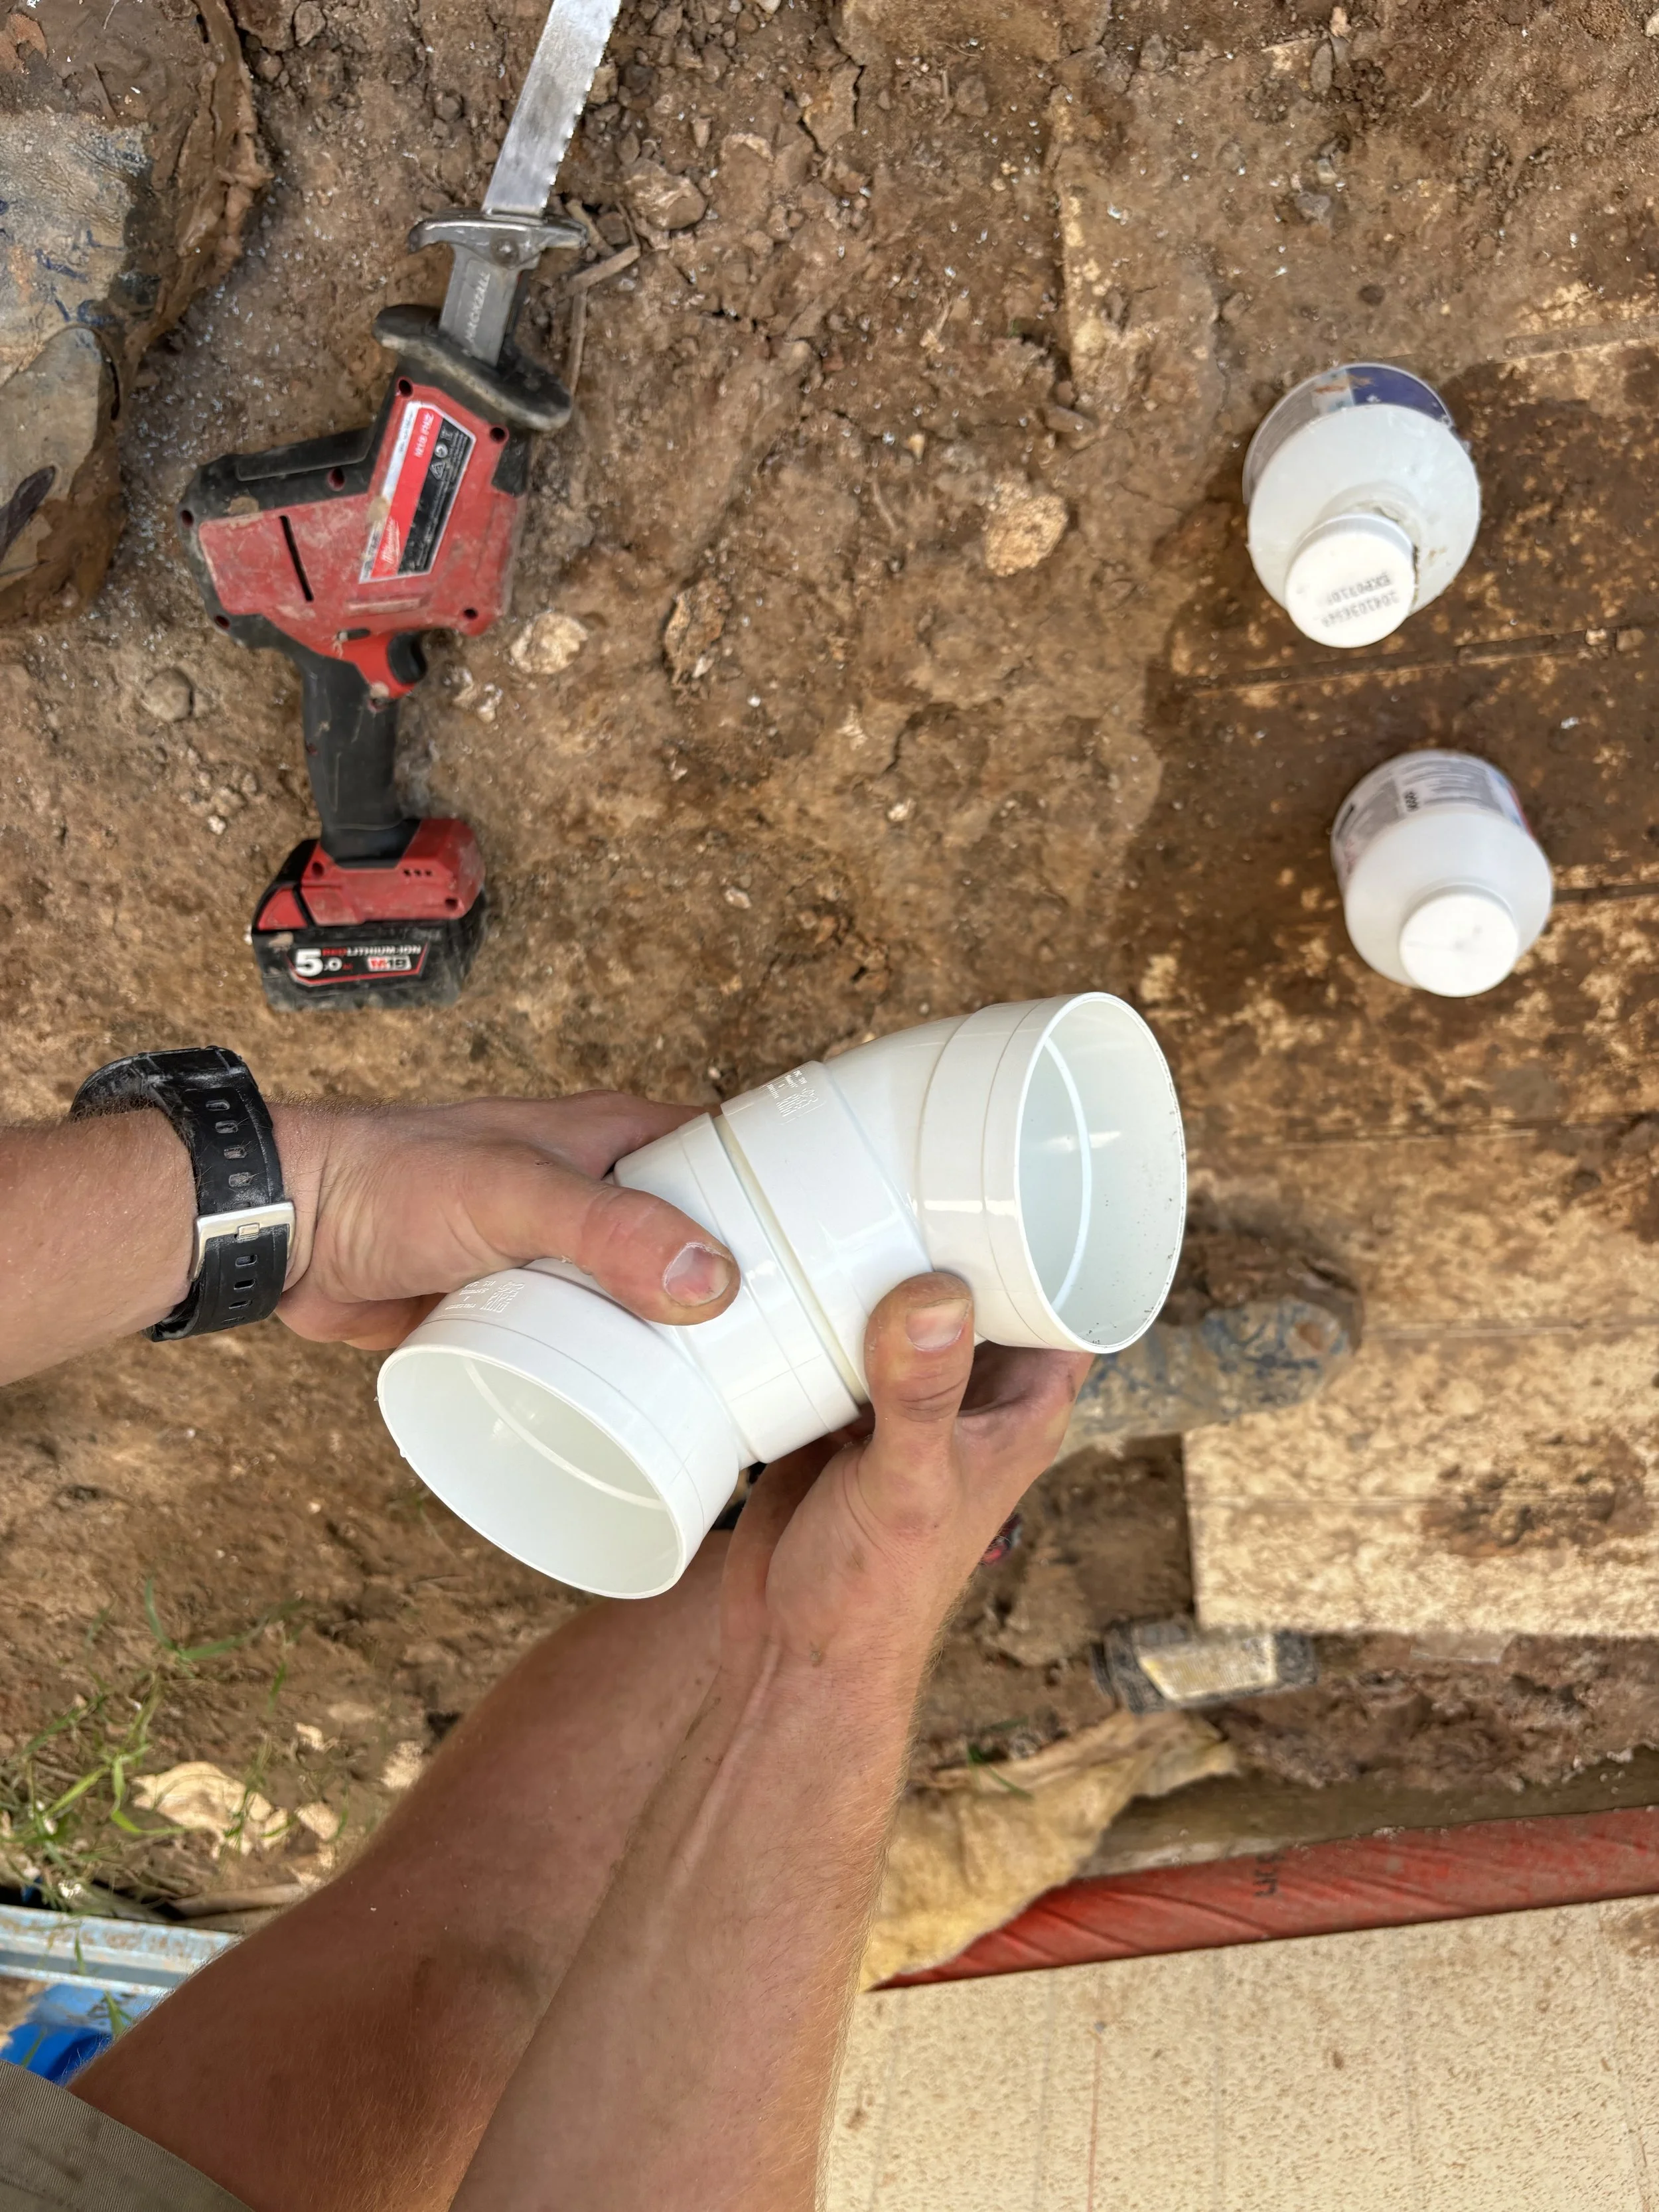
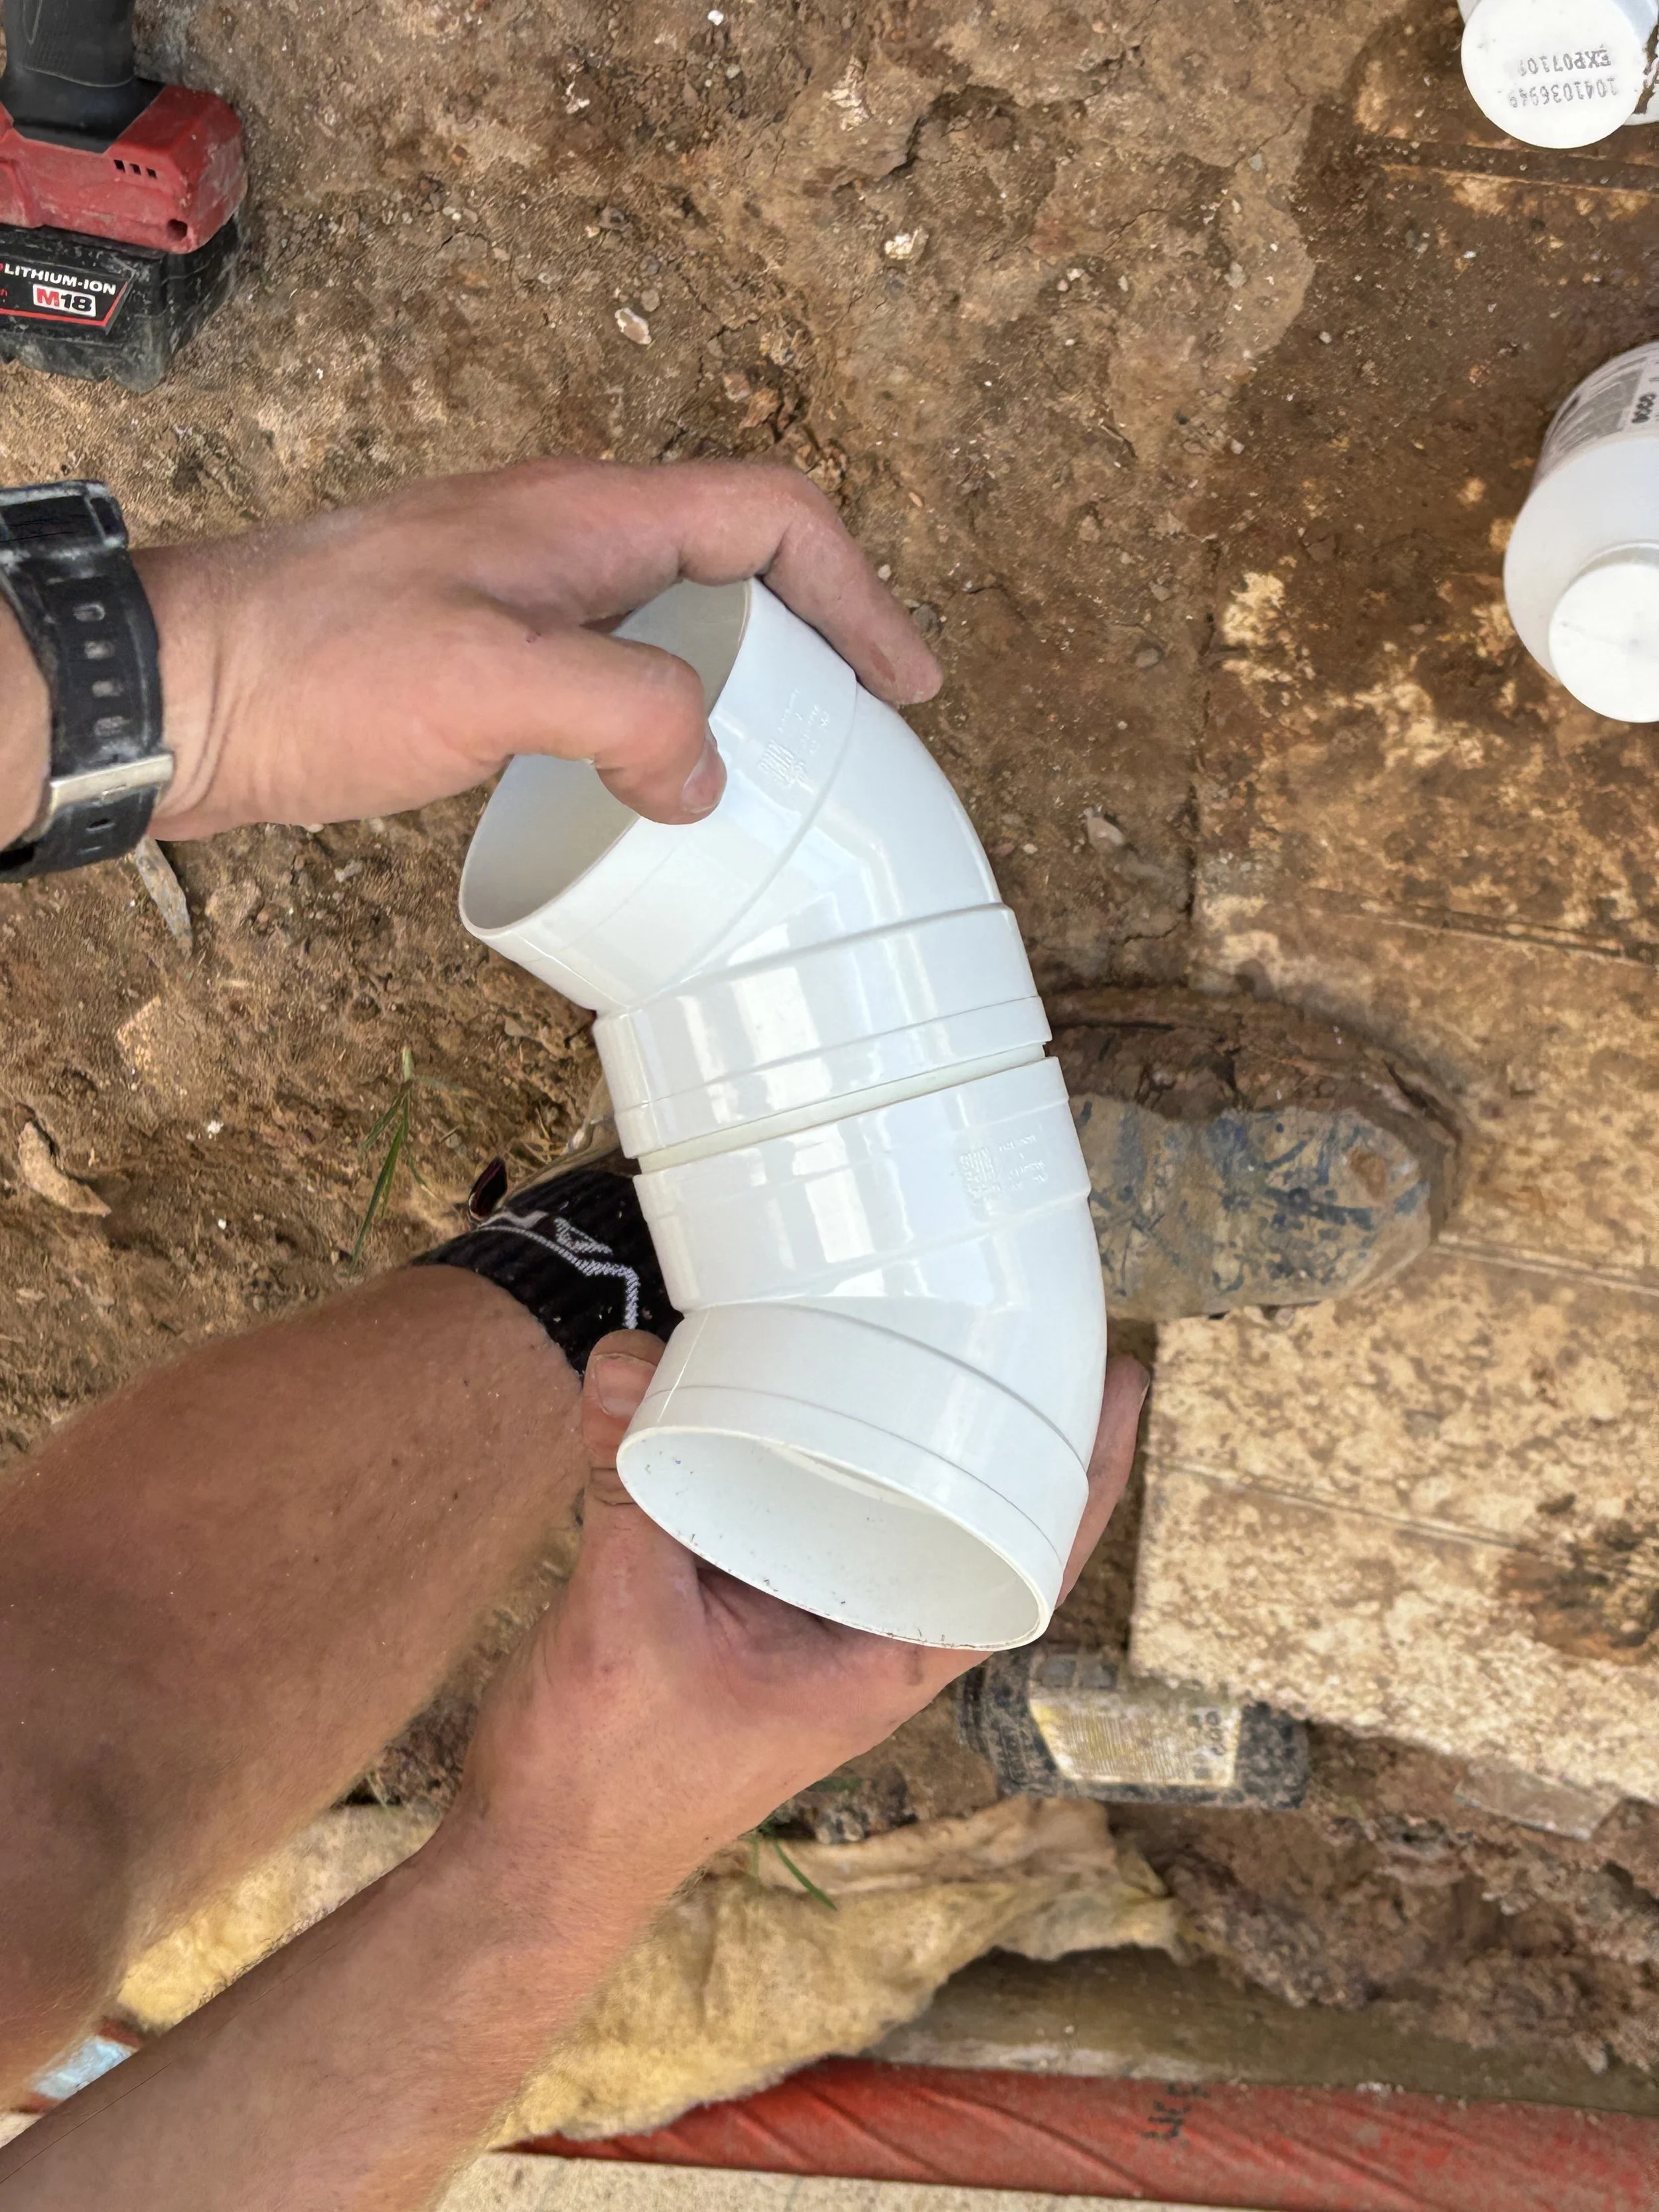
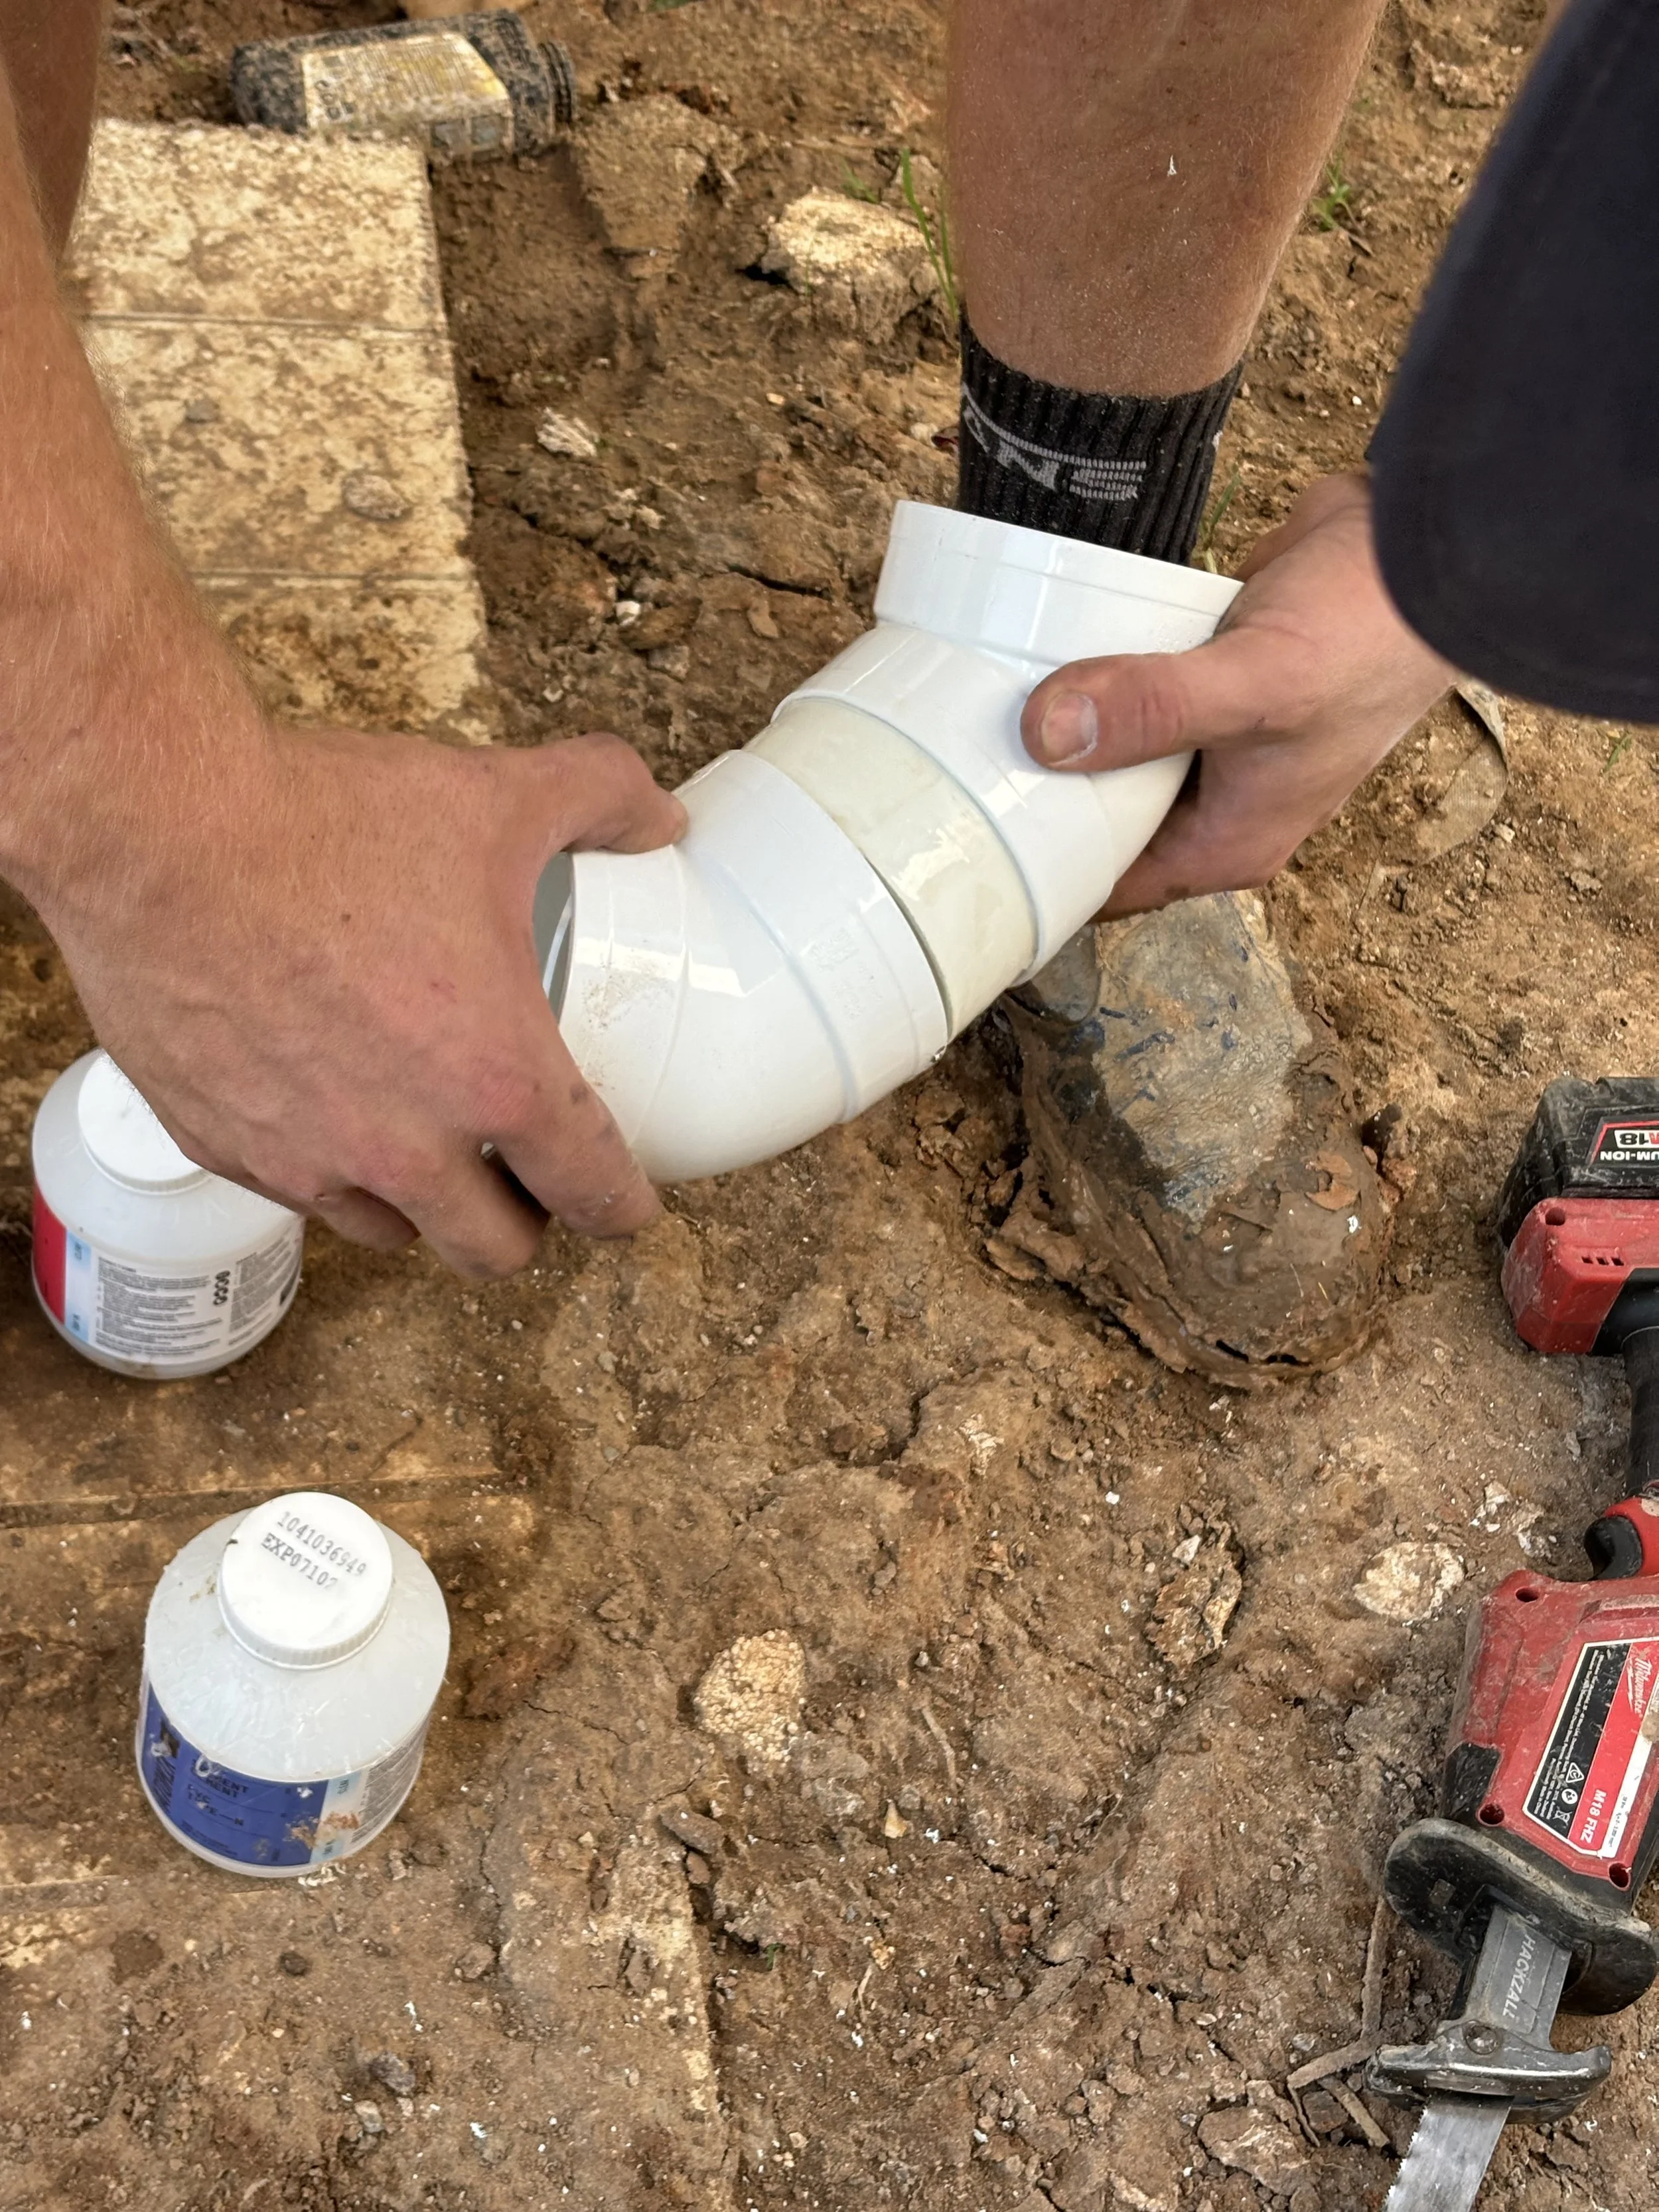
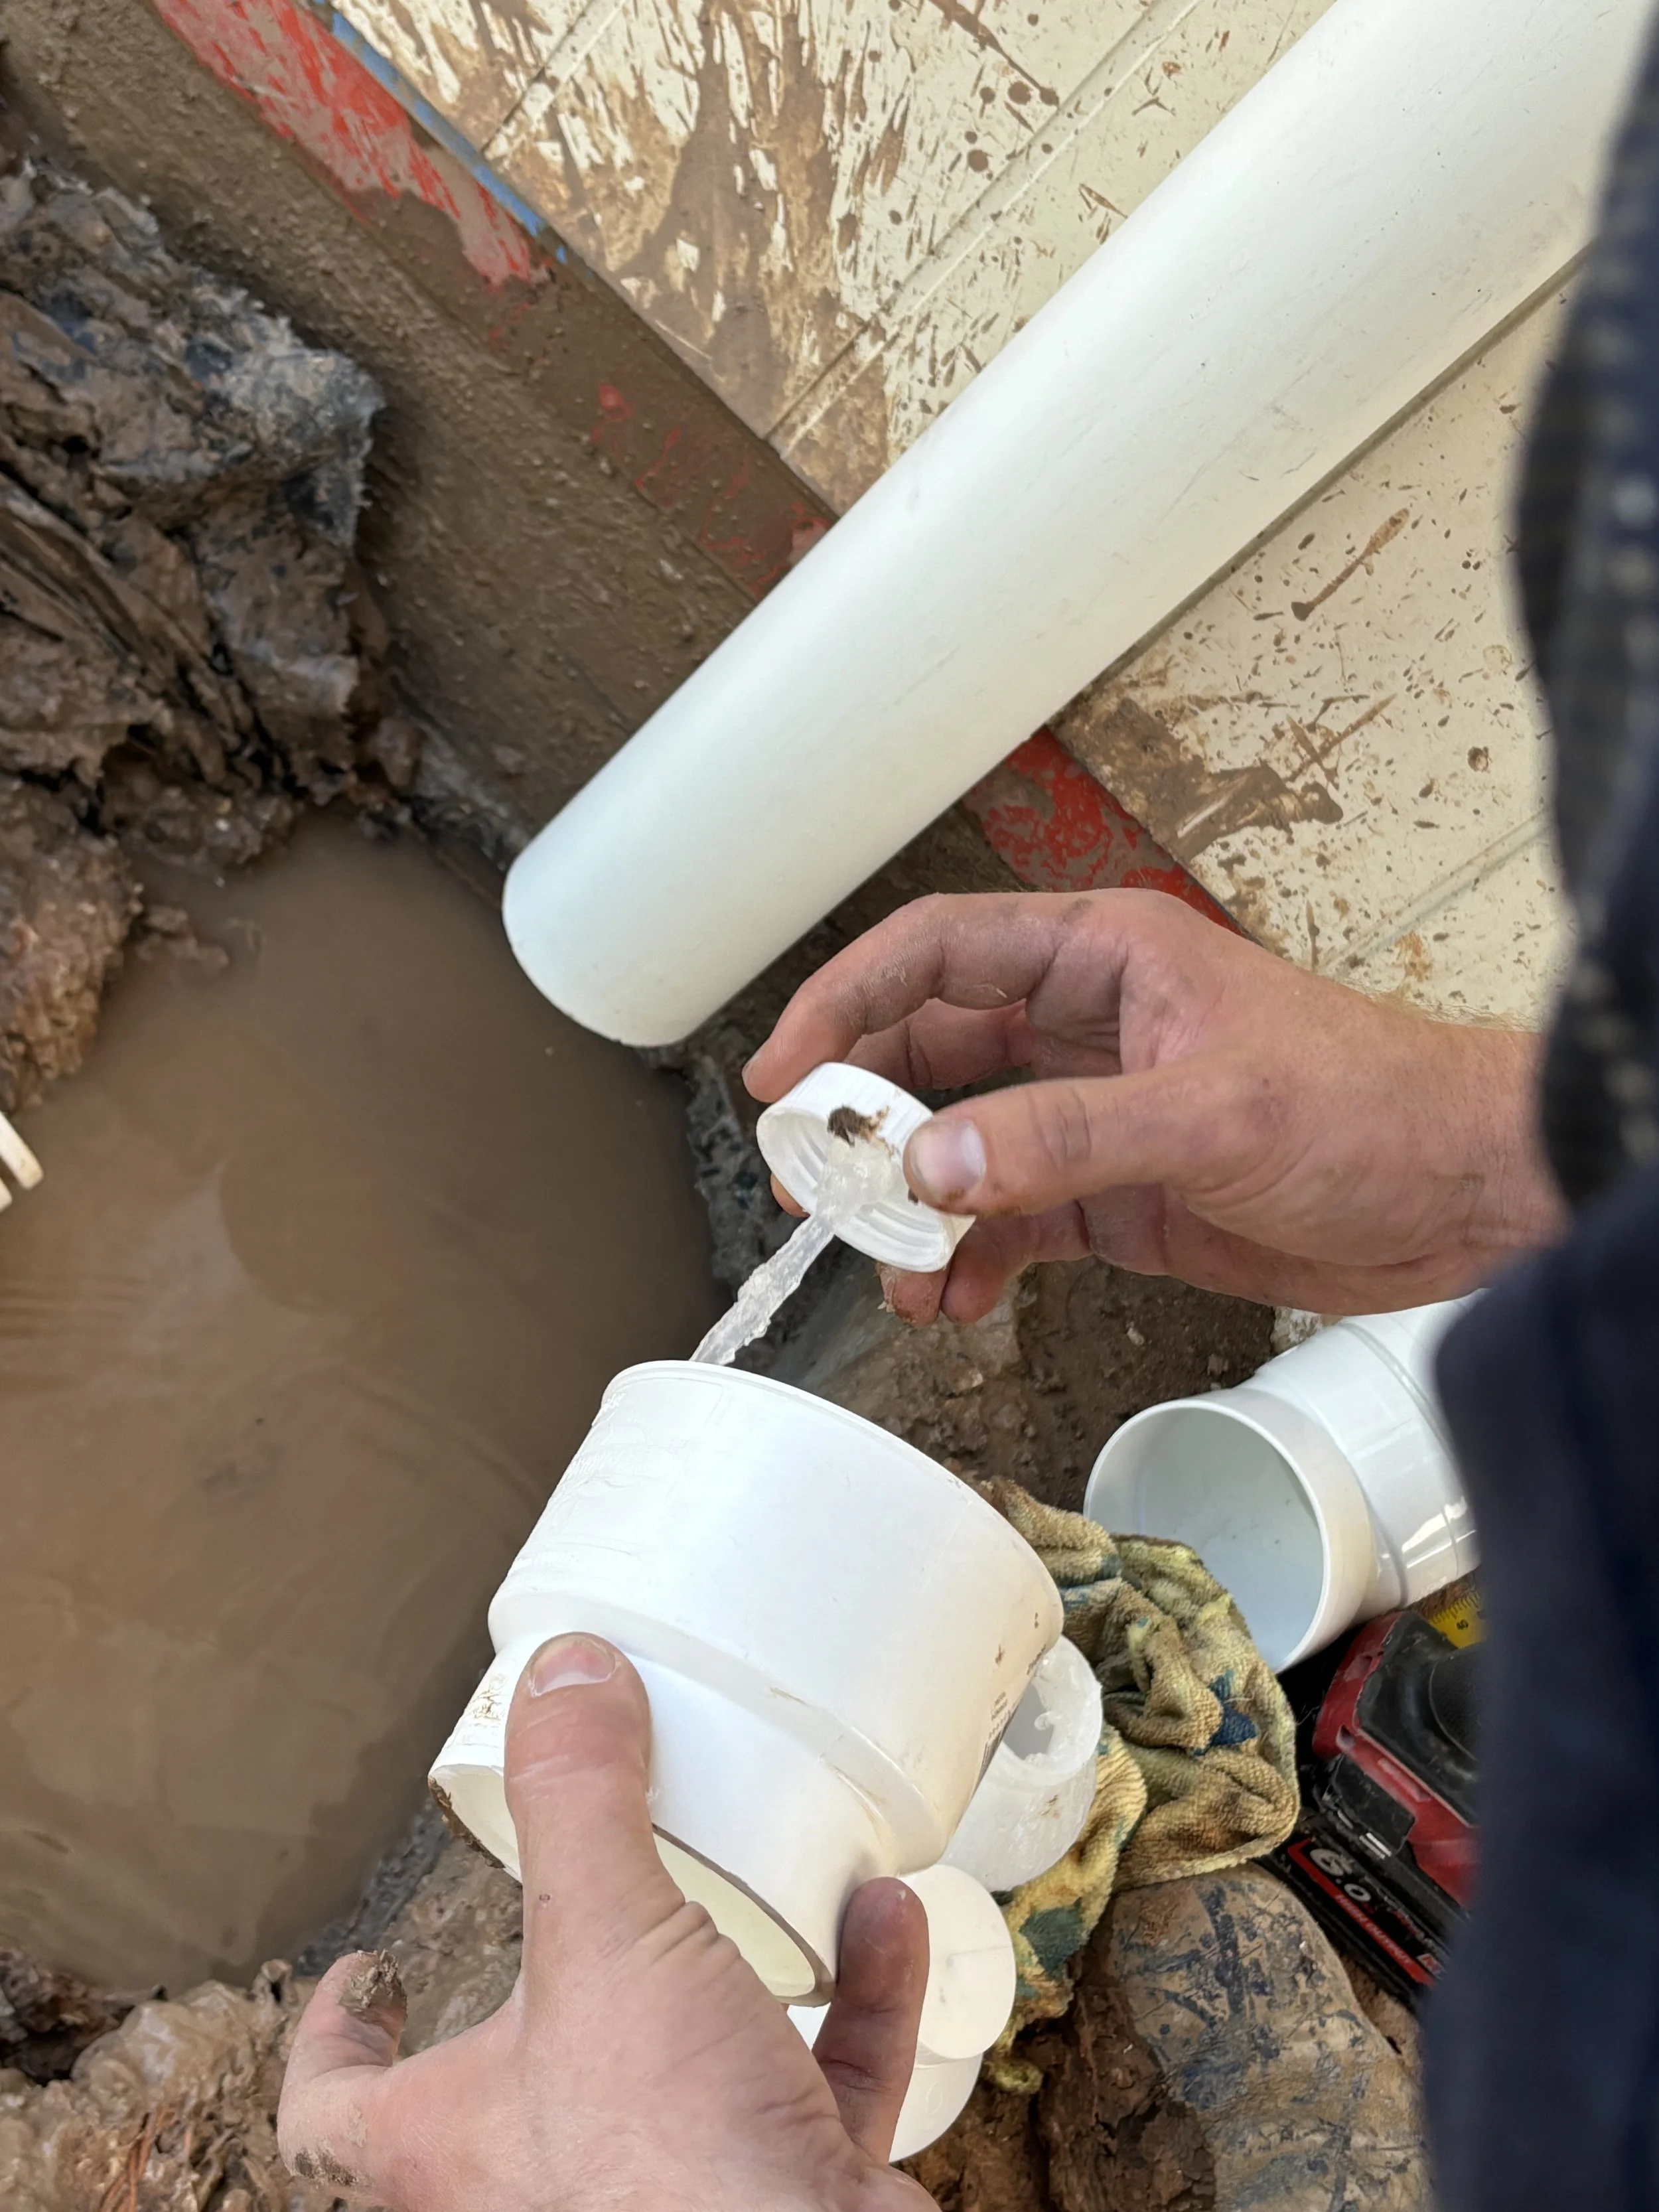
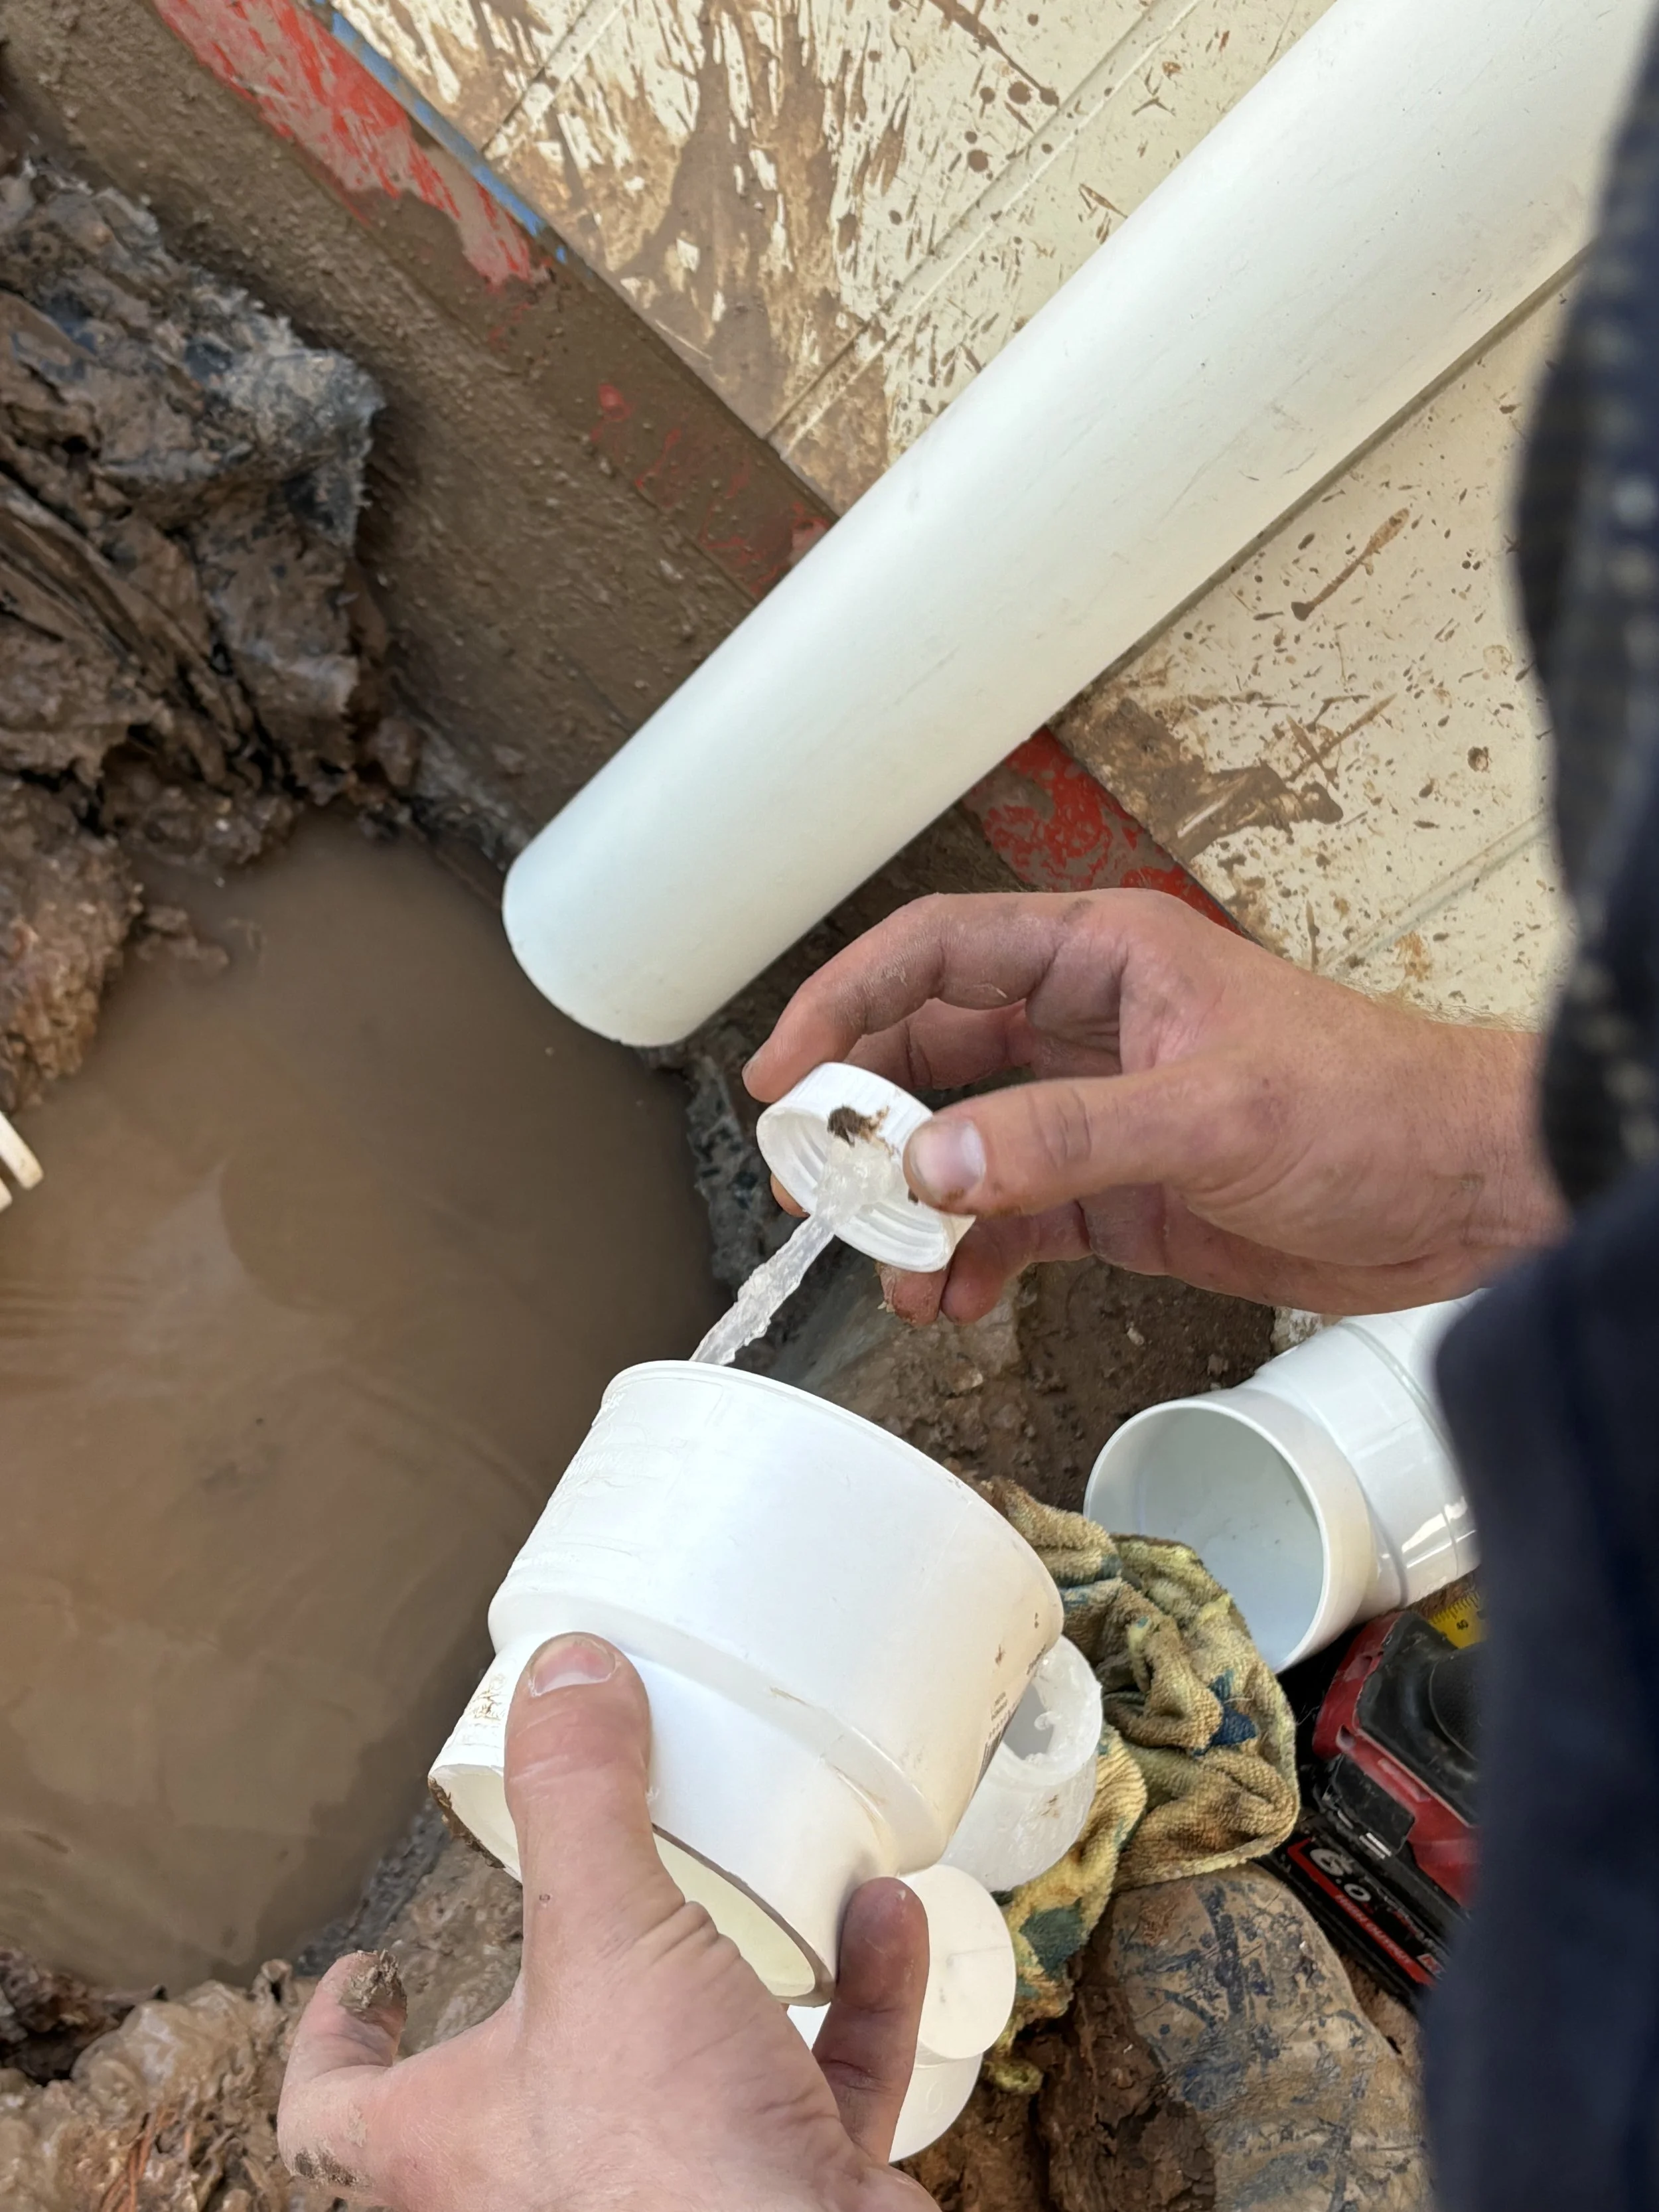
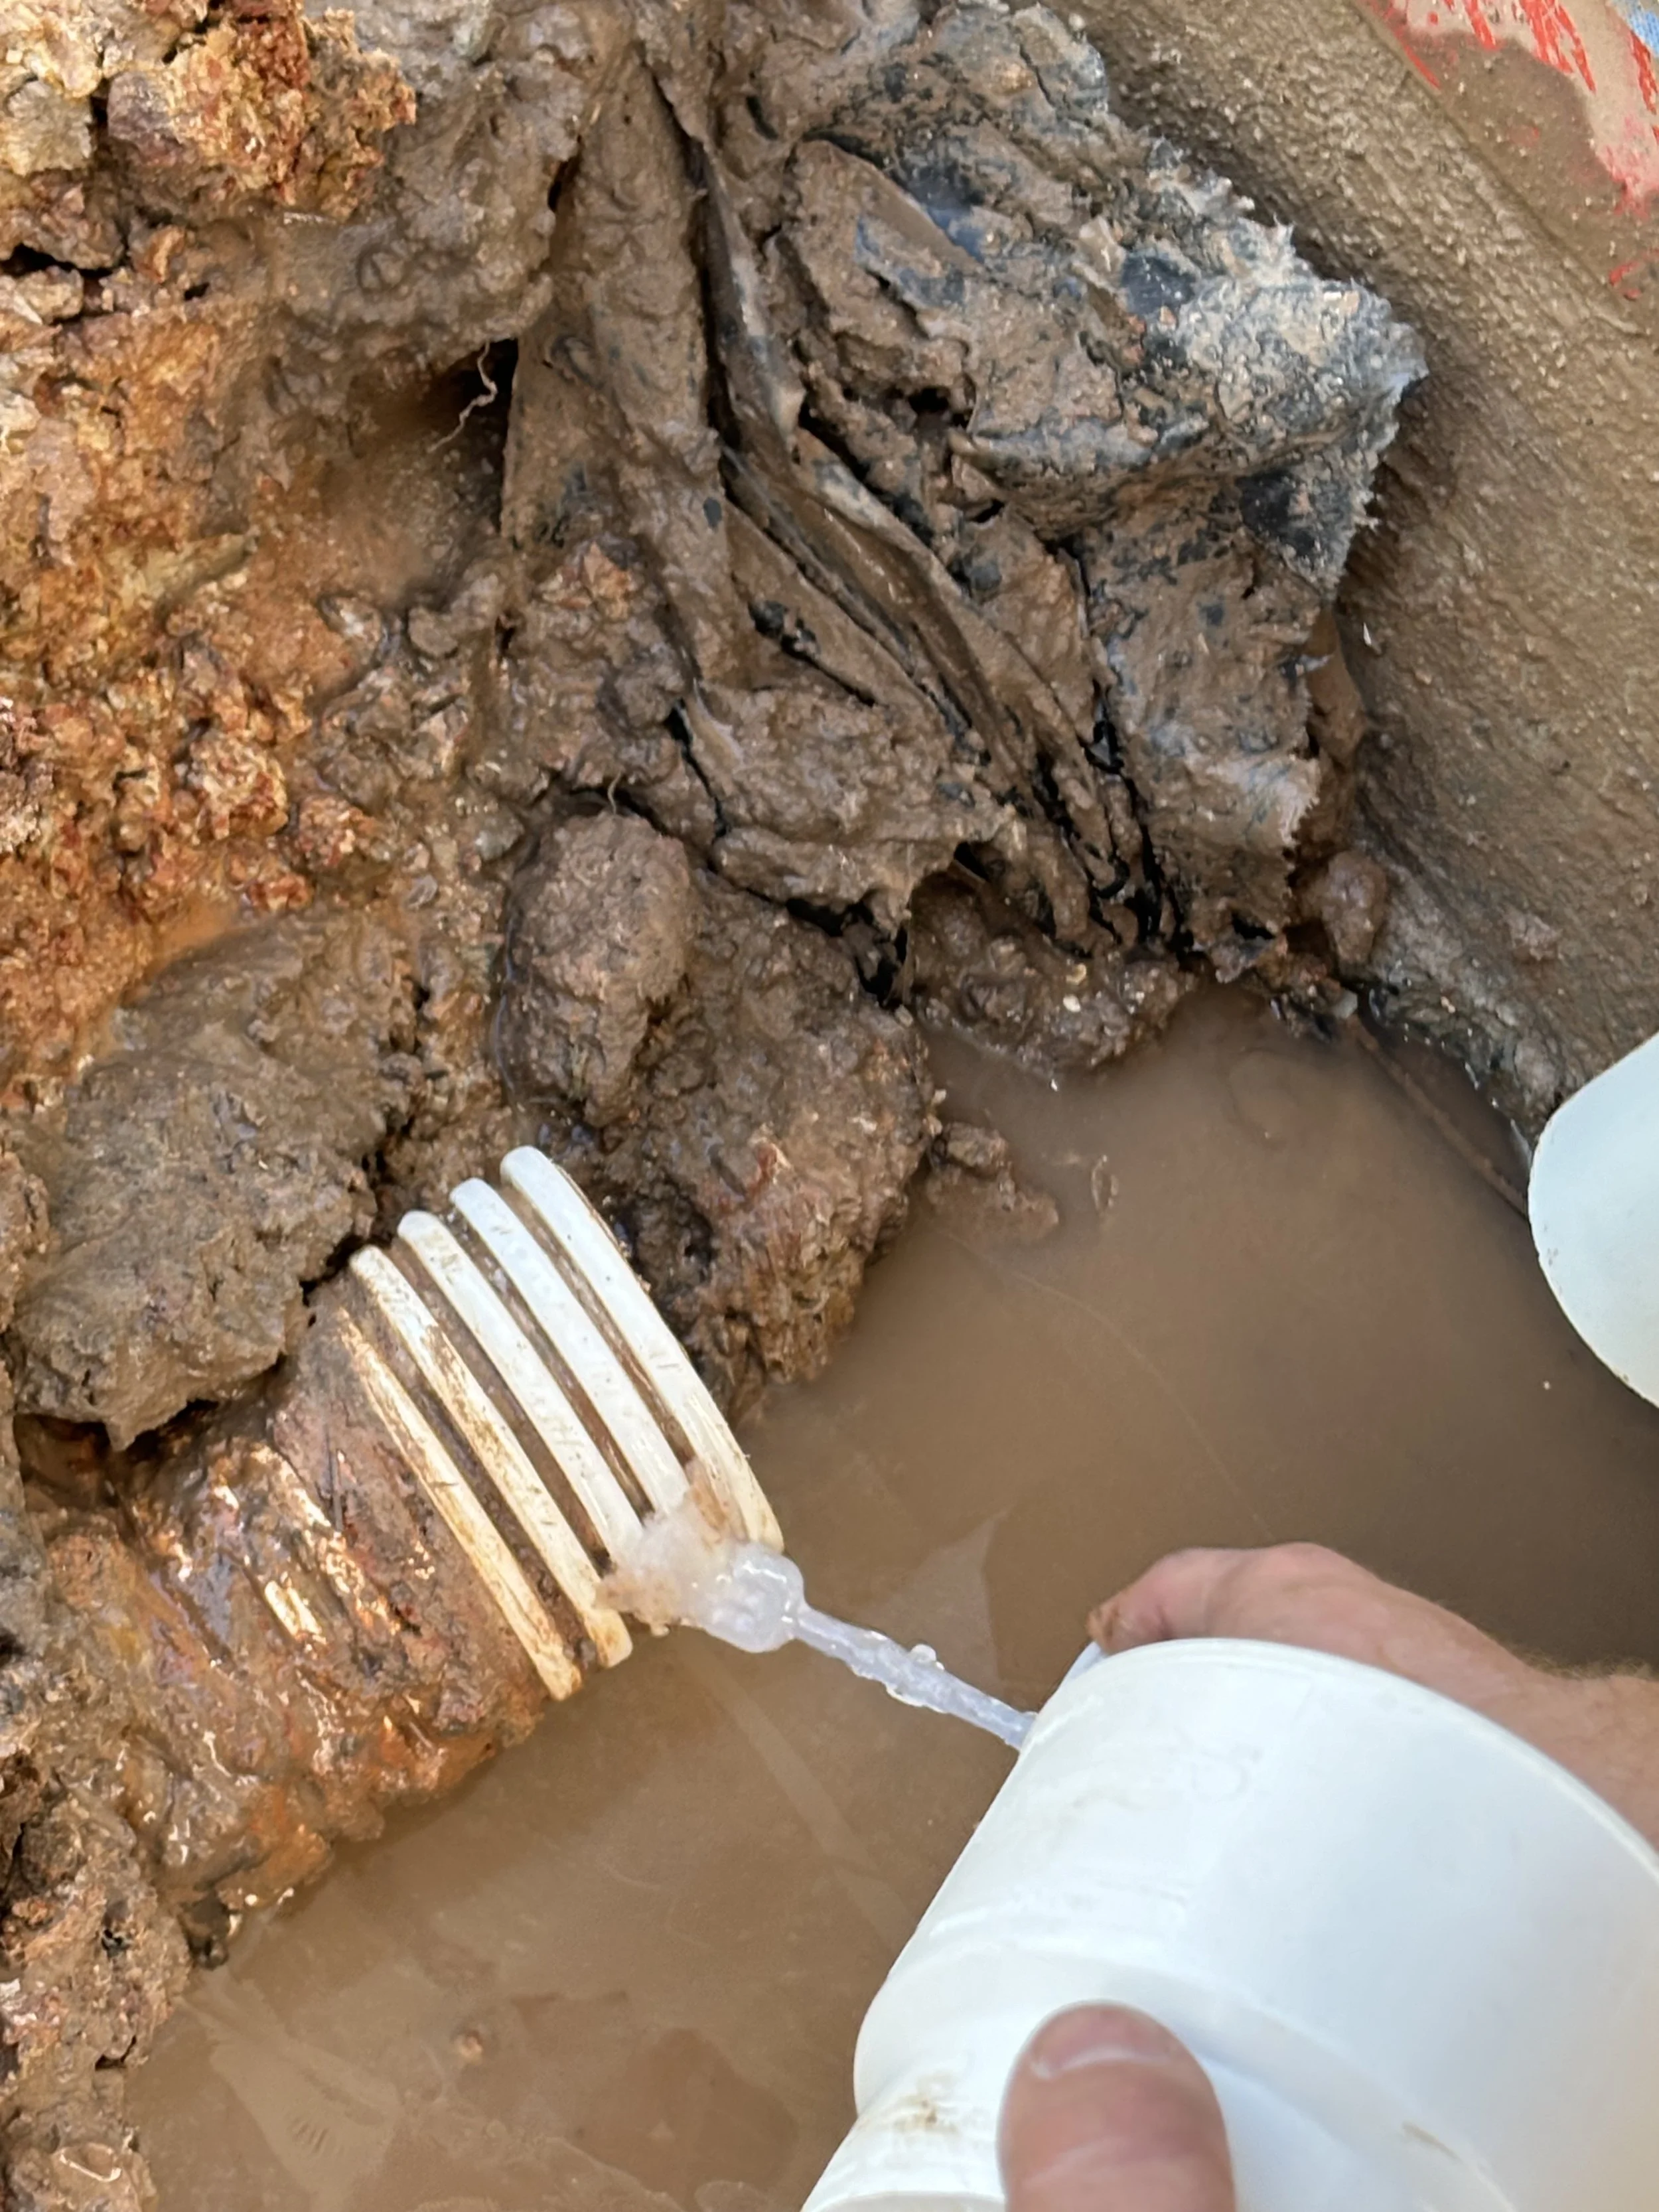
Glue this pipe into one 90 with the writing facing the top of the roof.
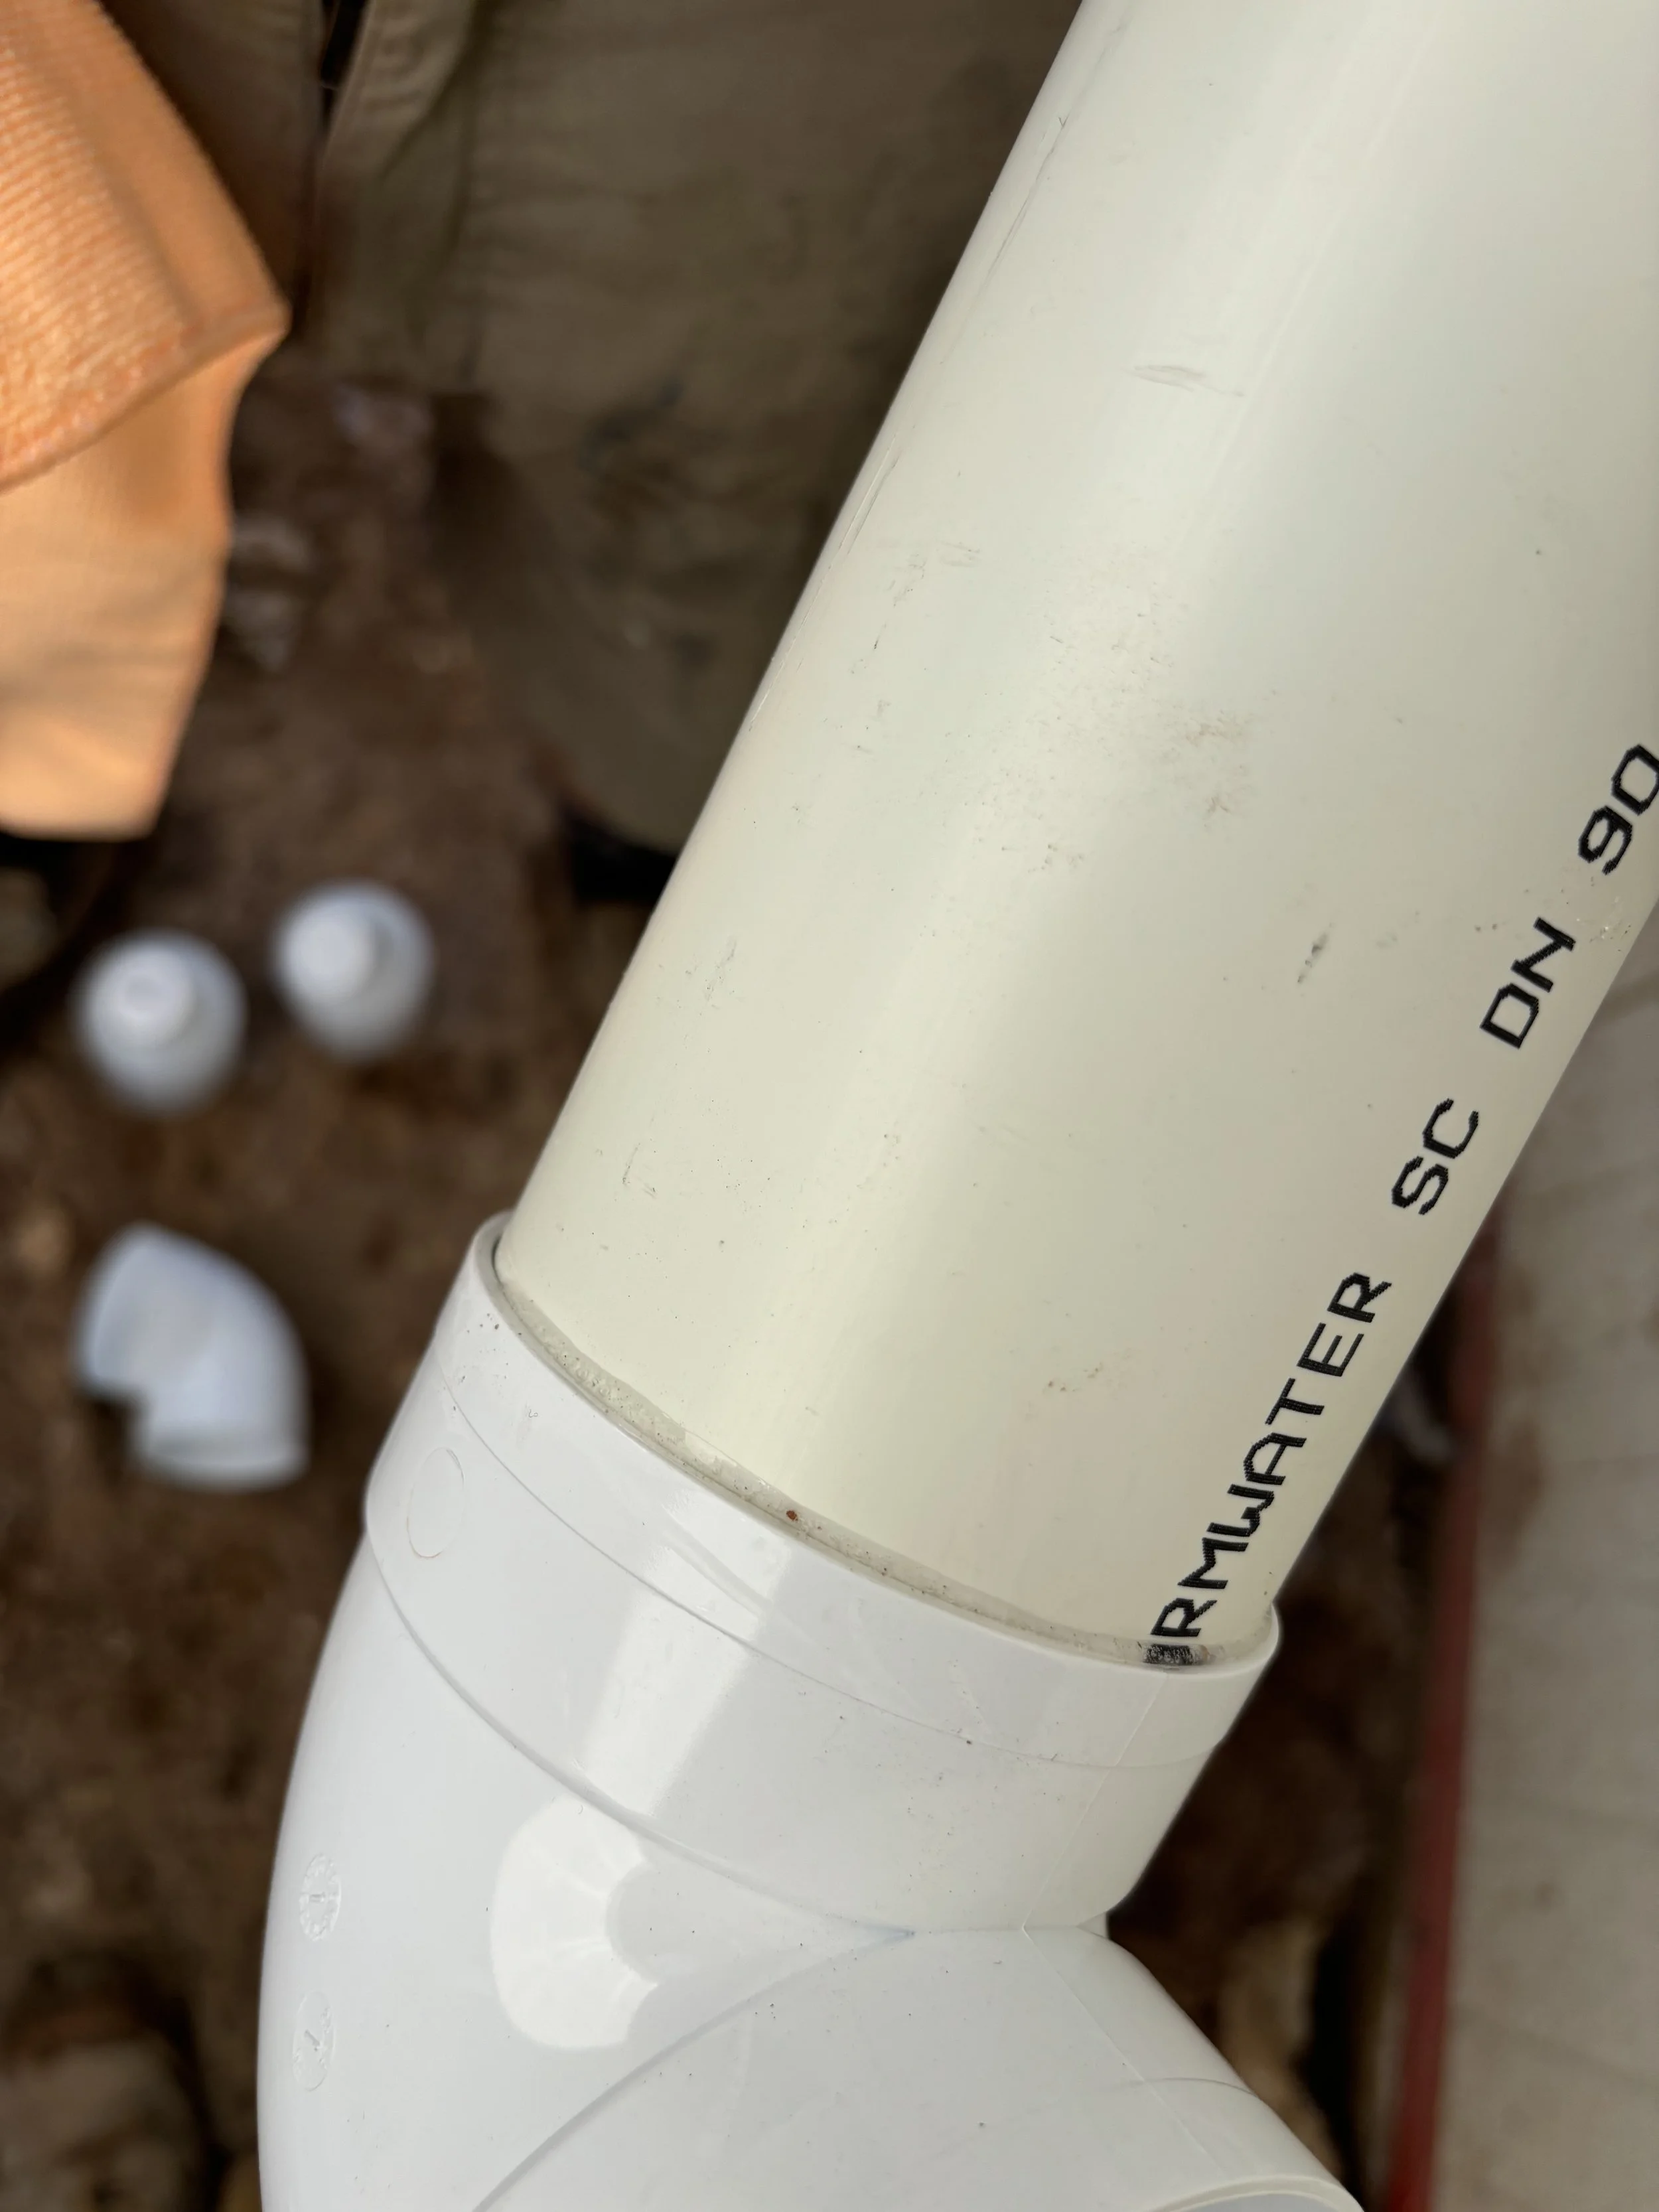
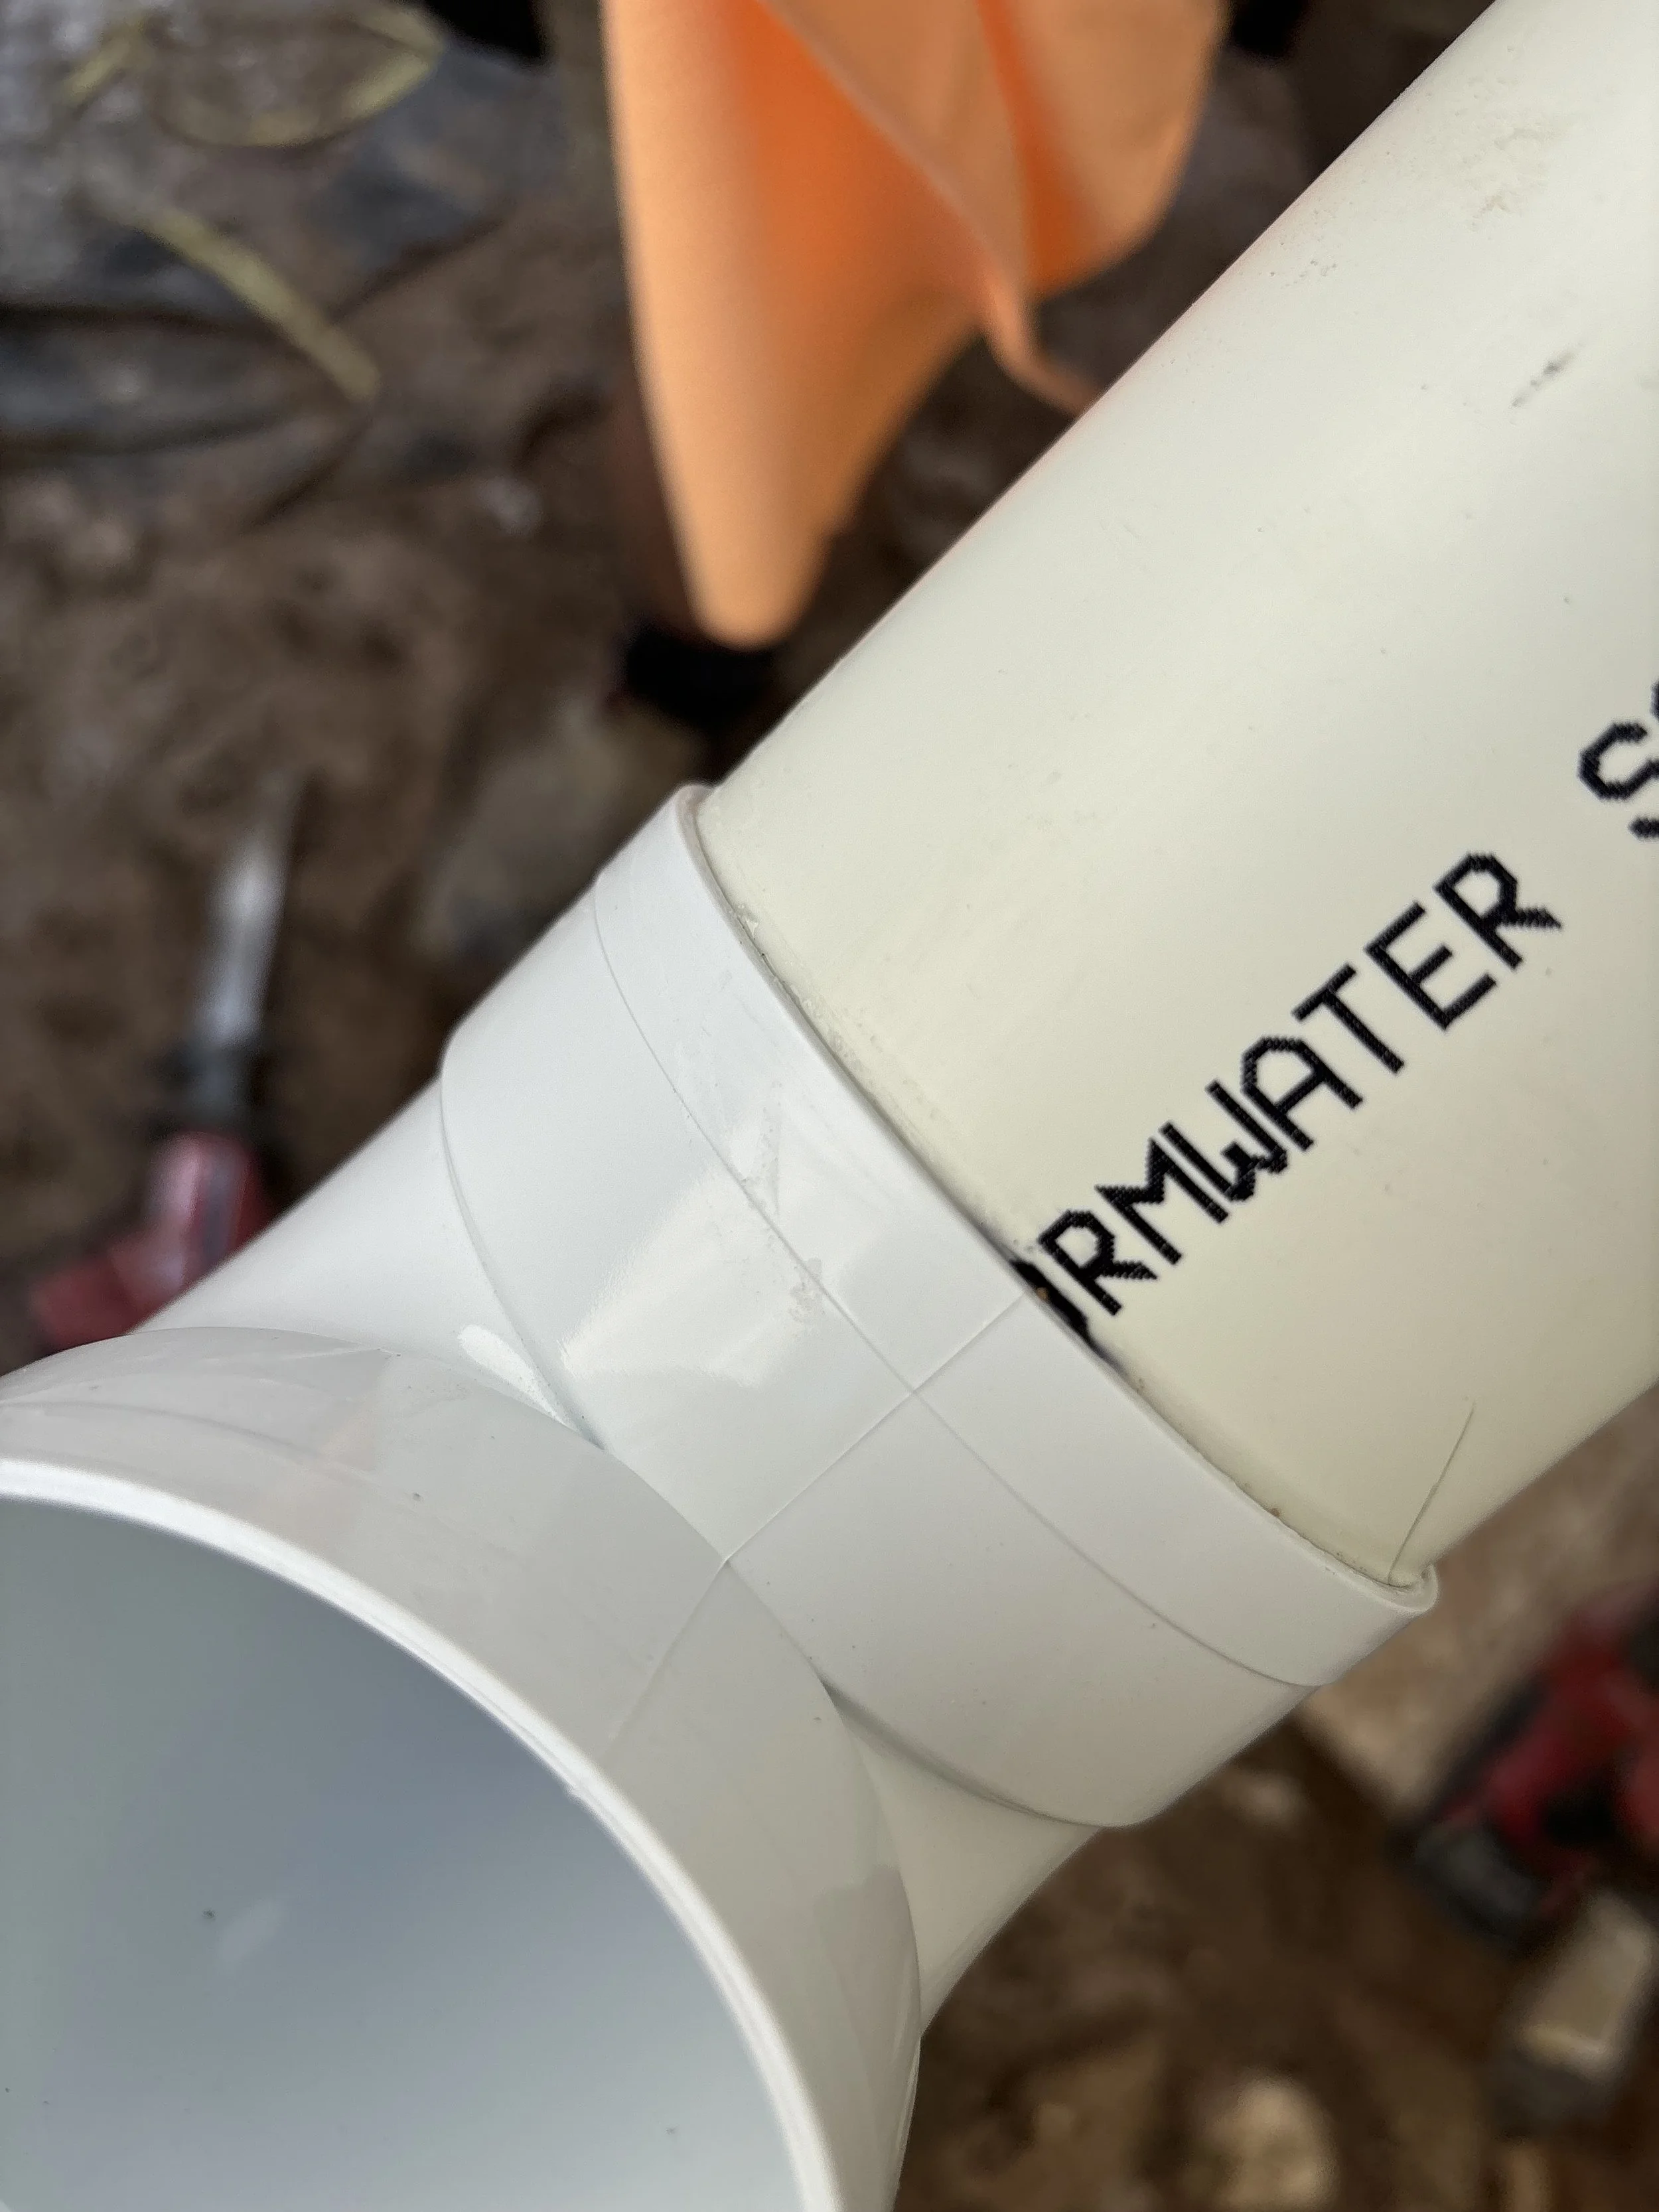
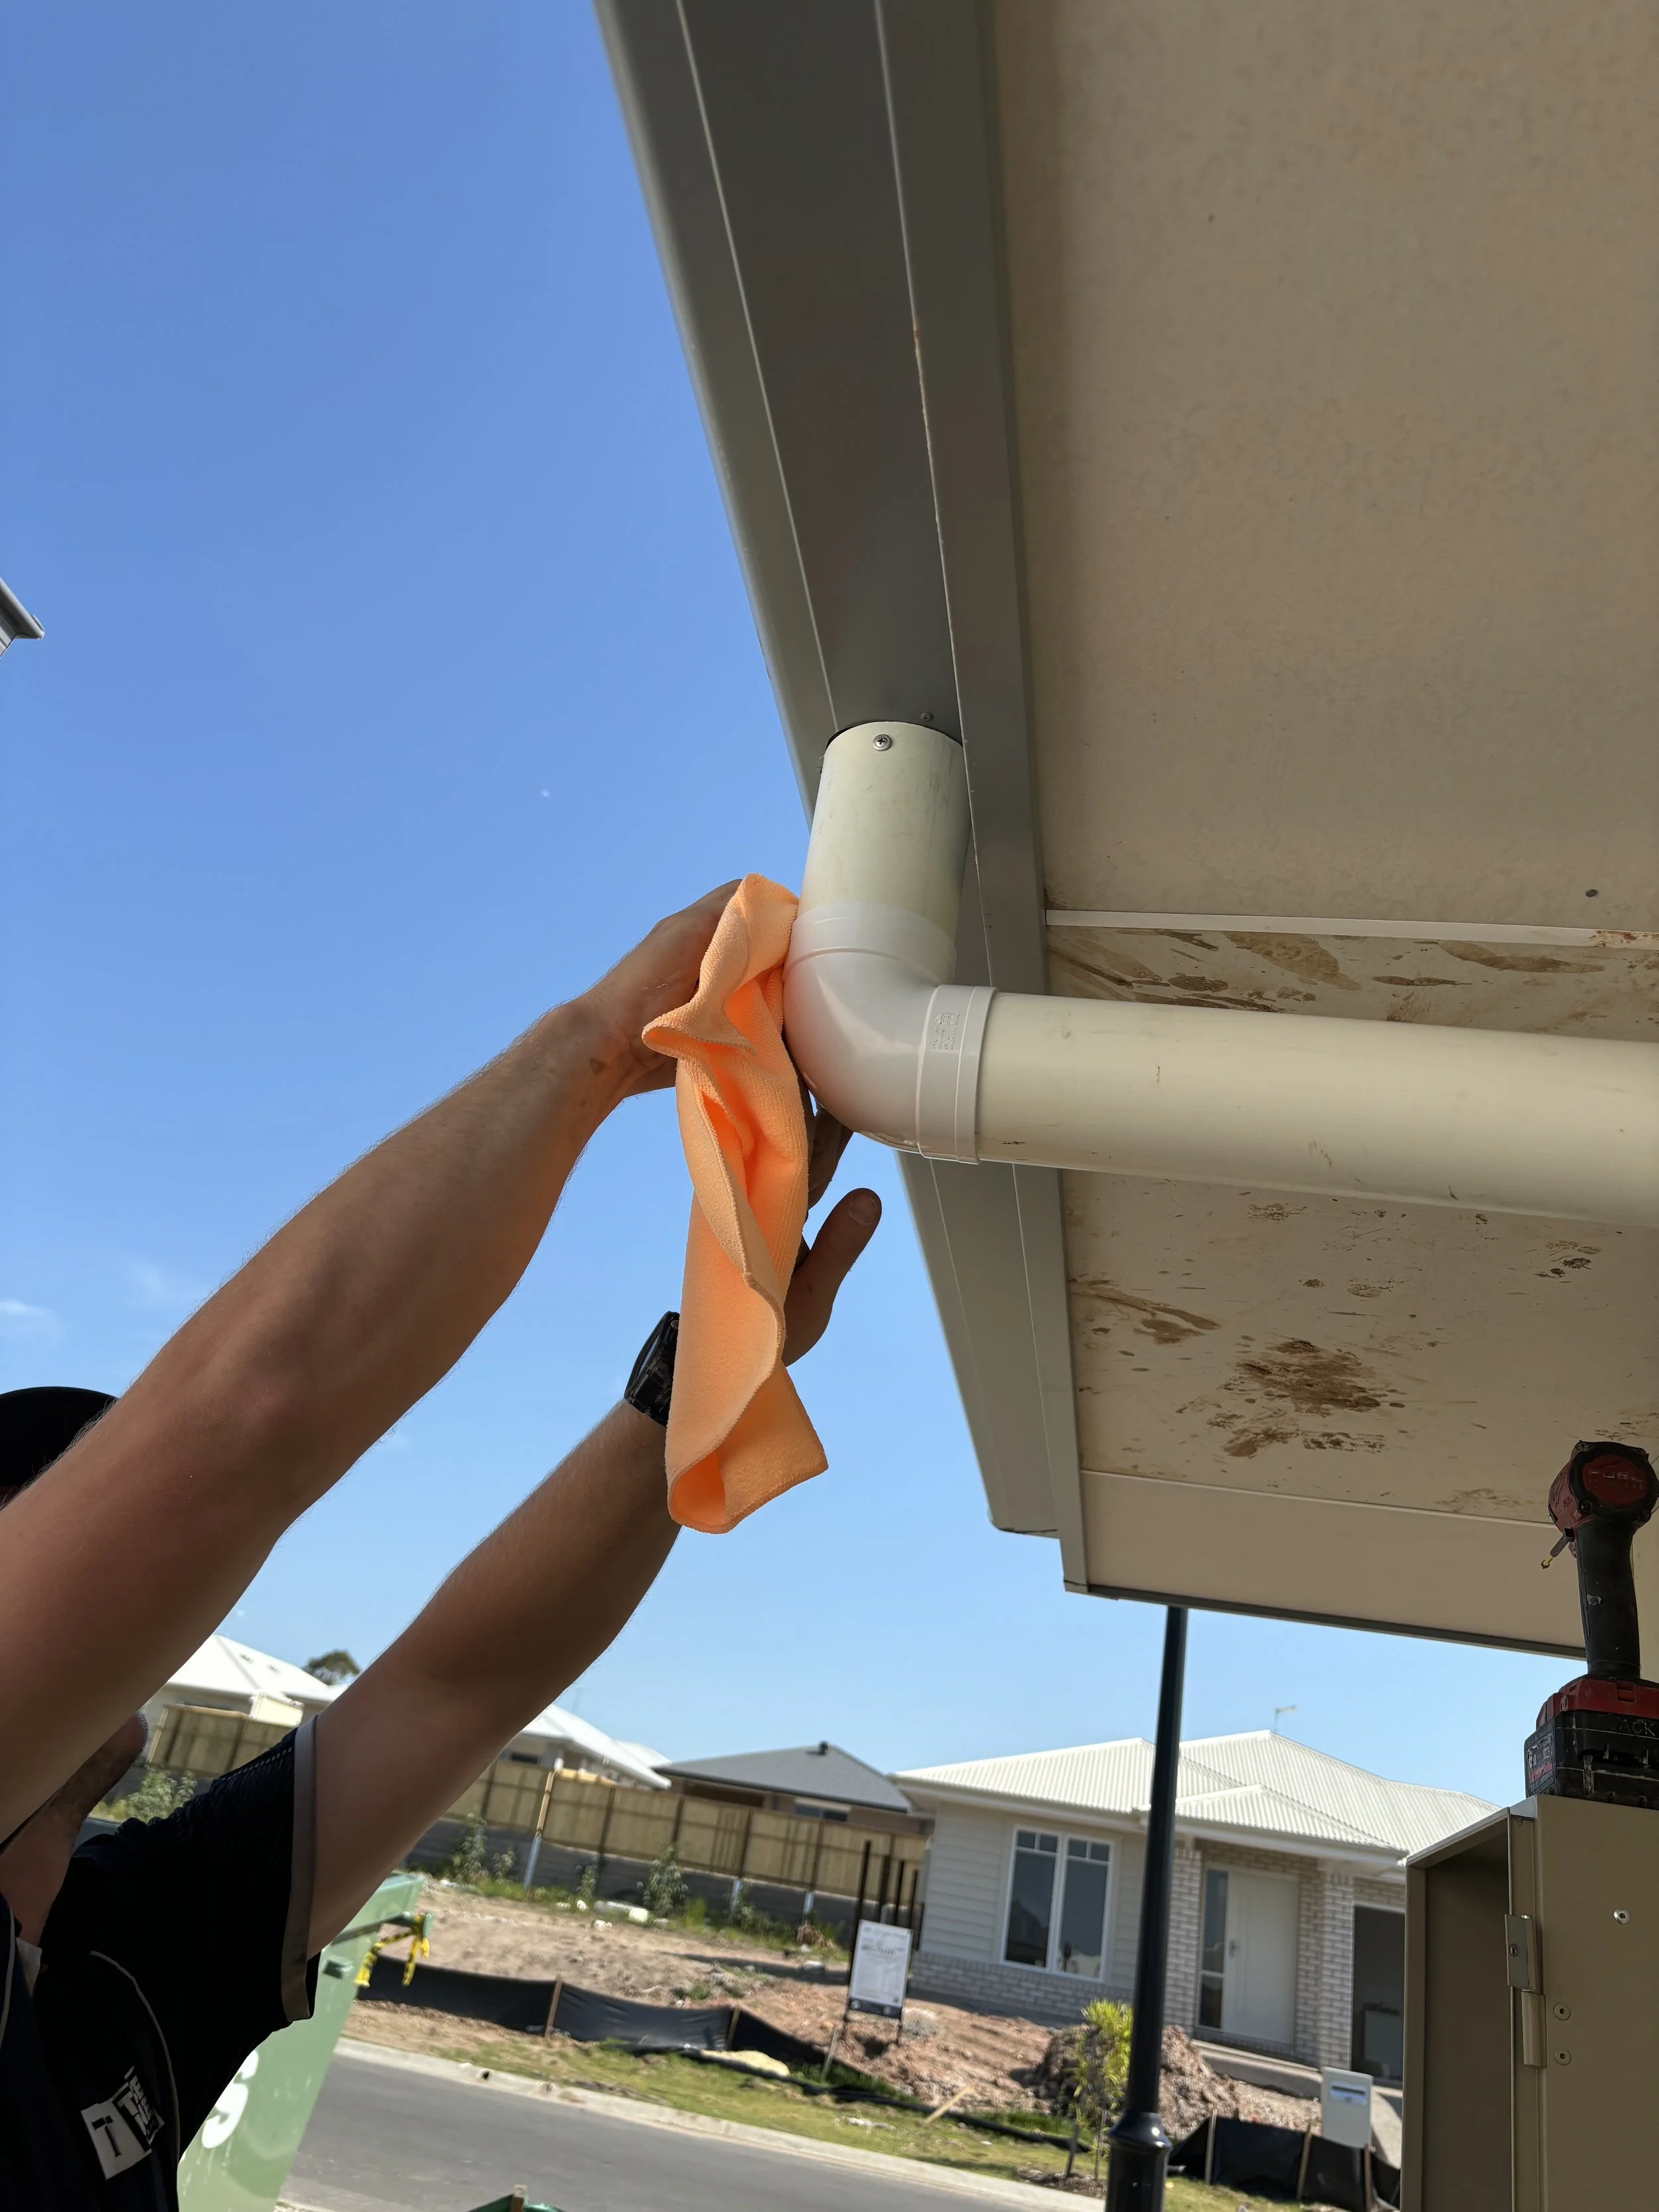
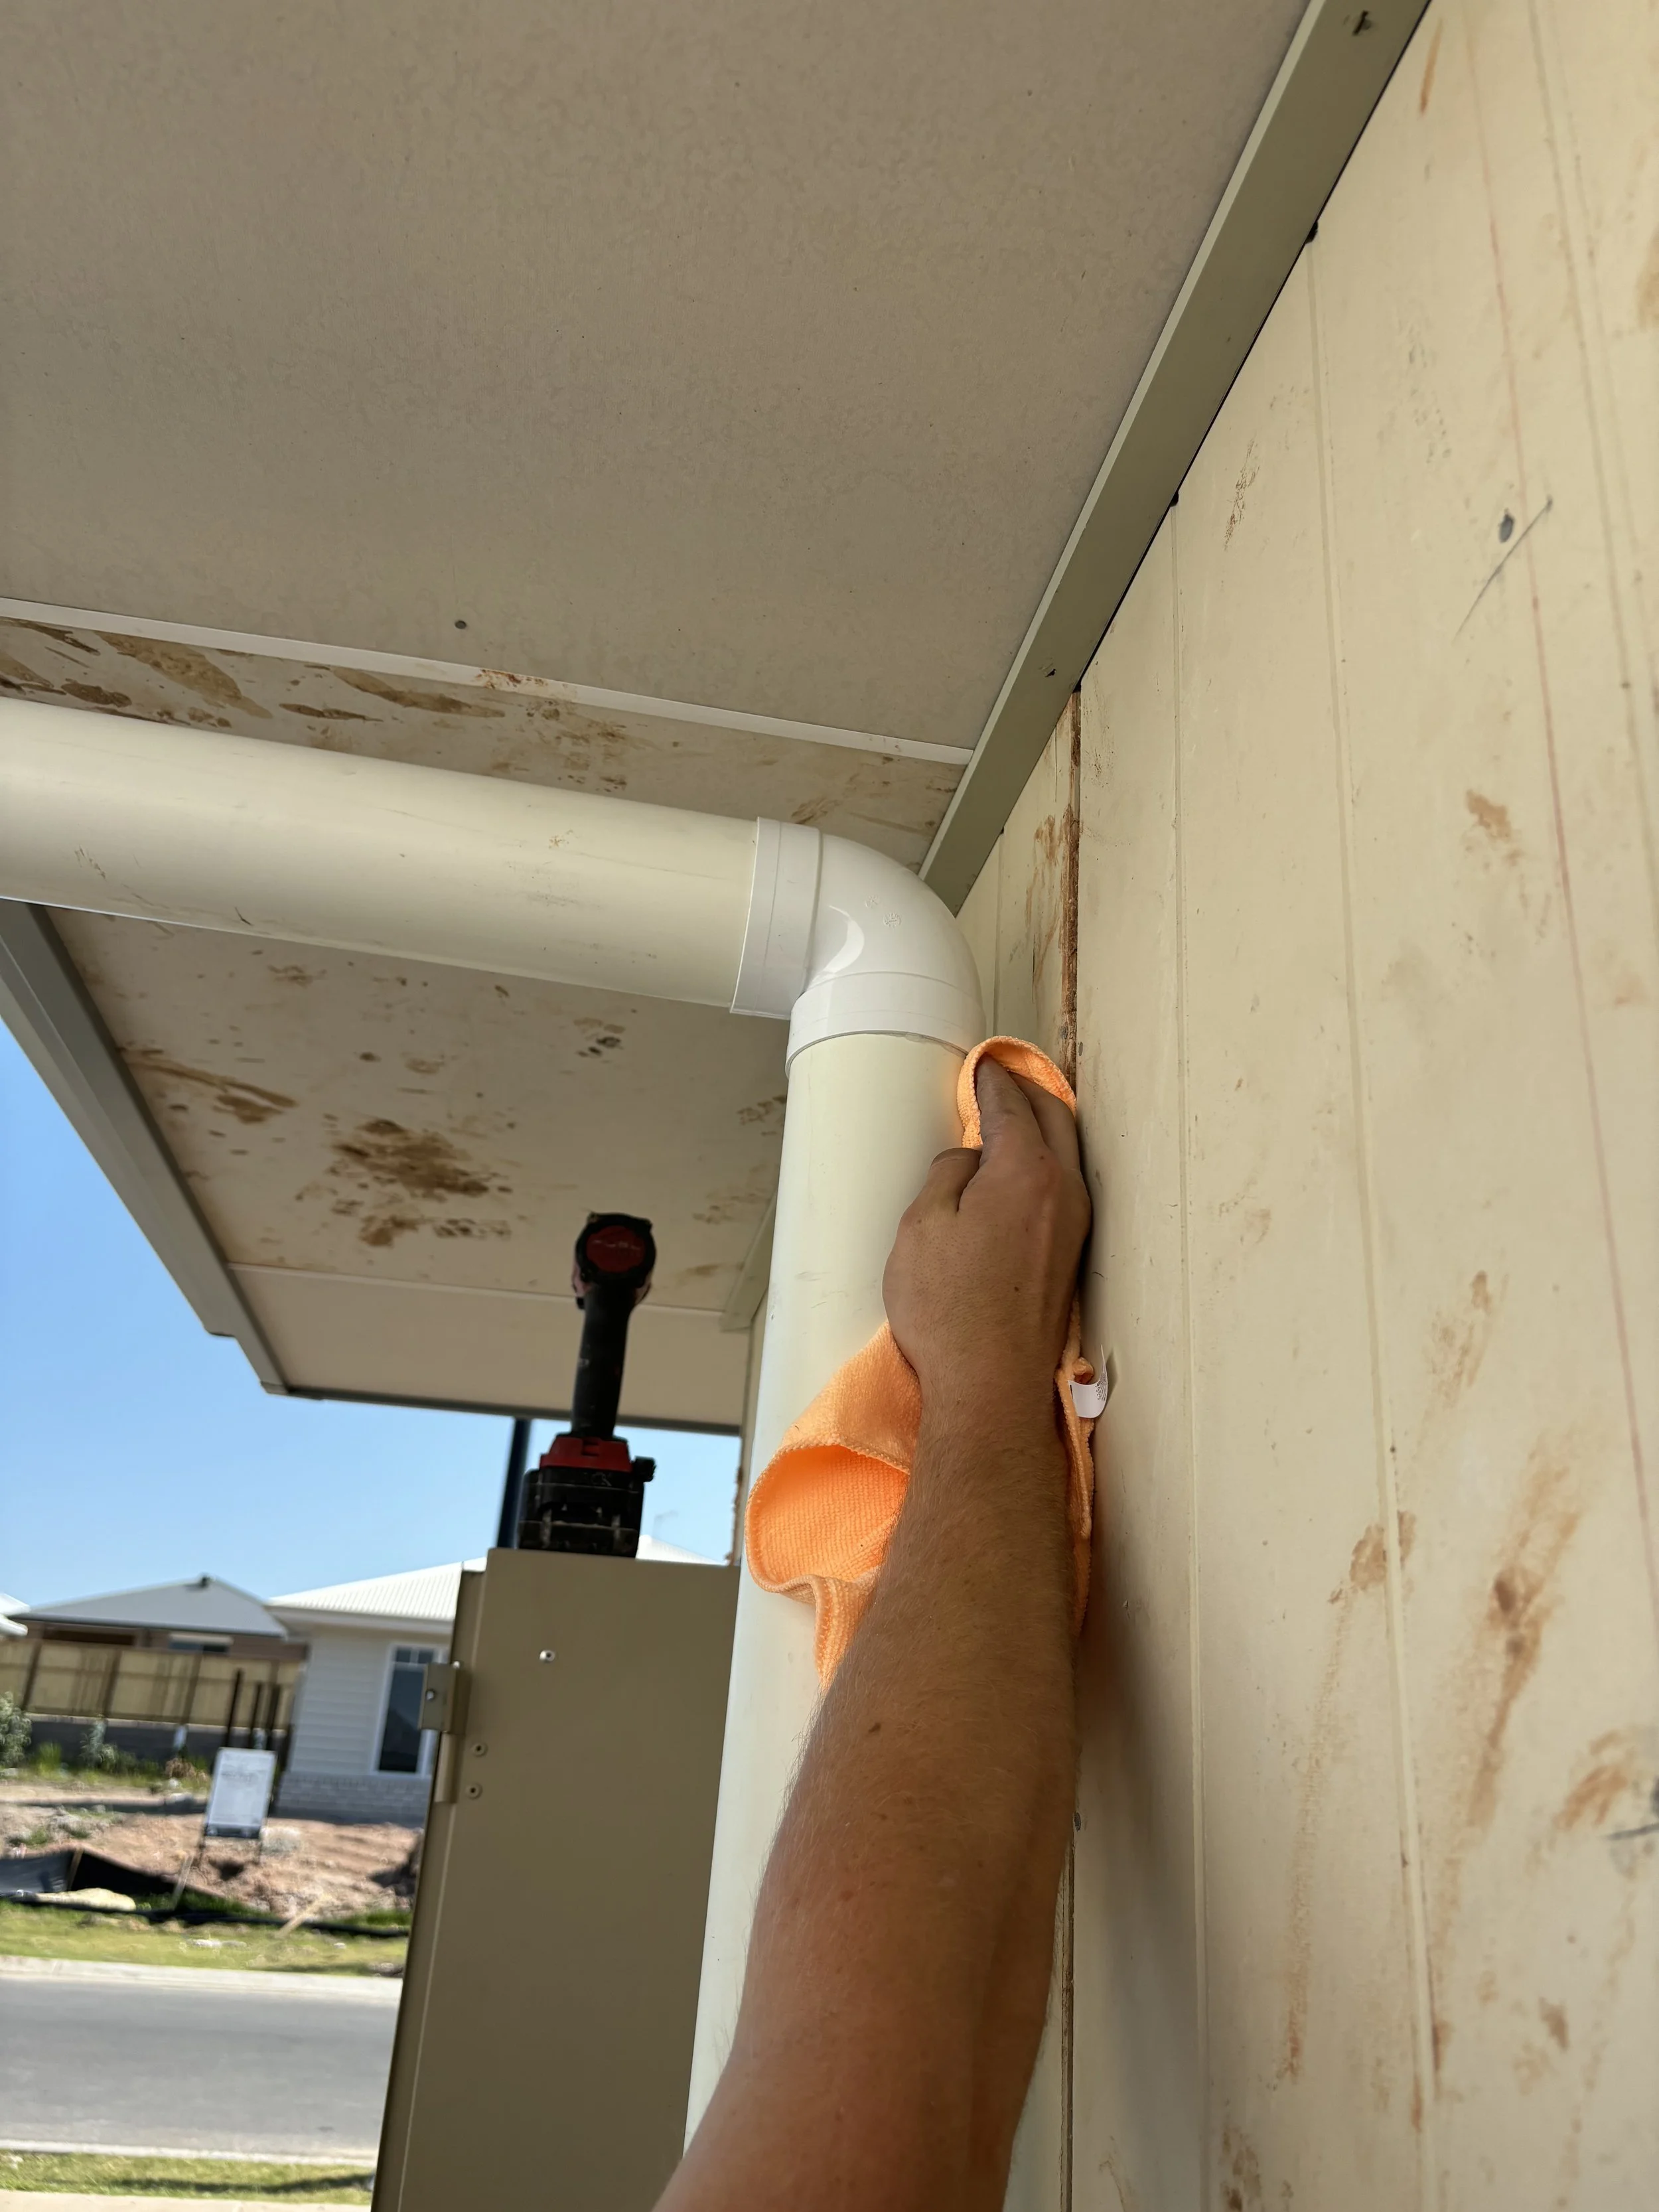
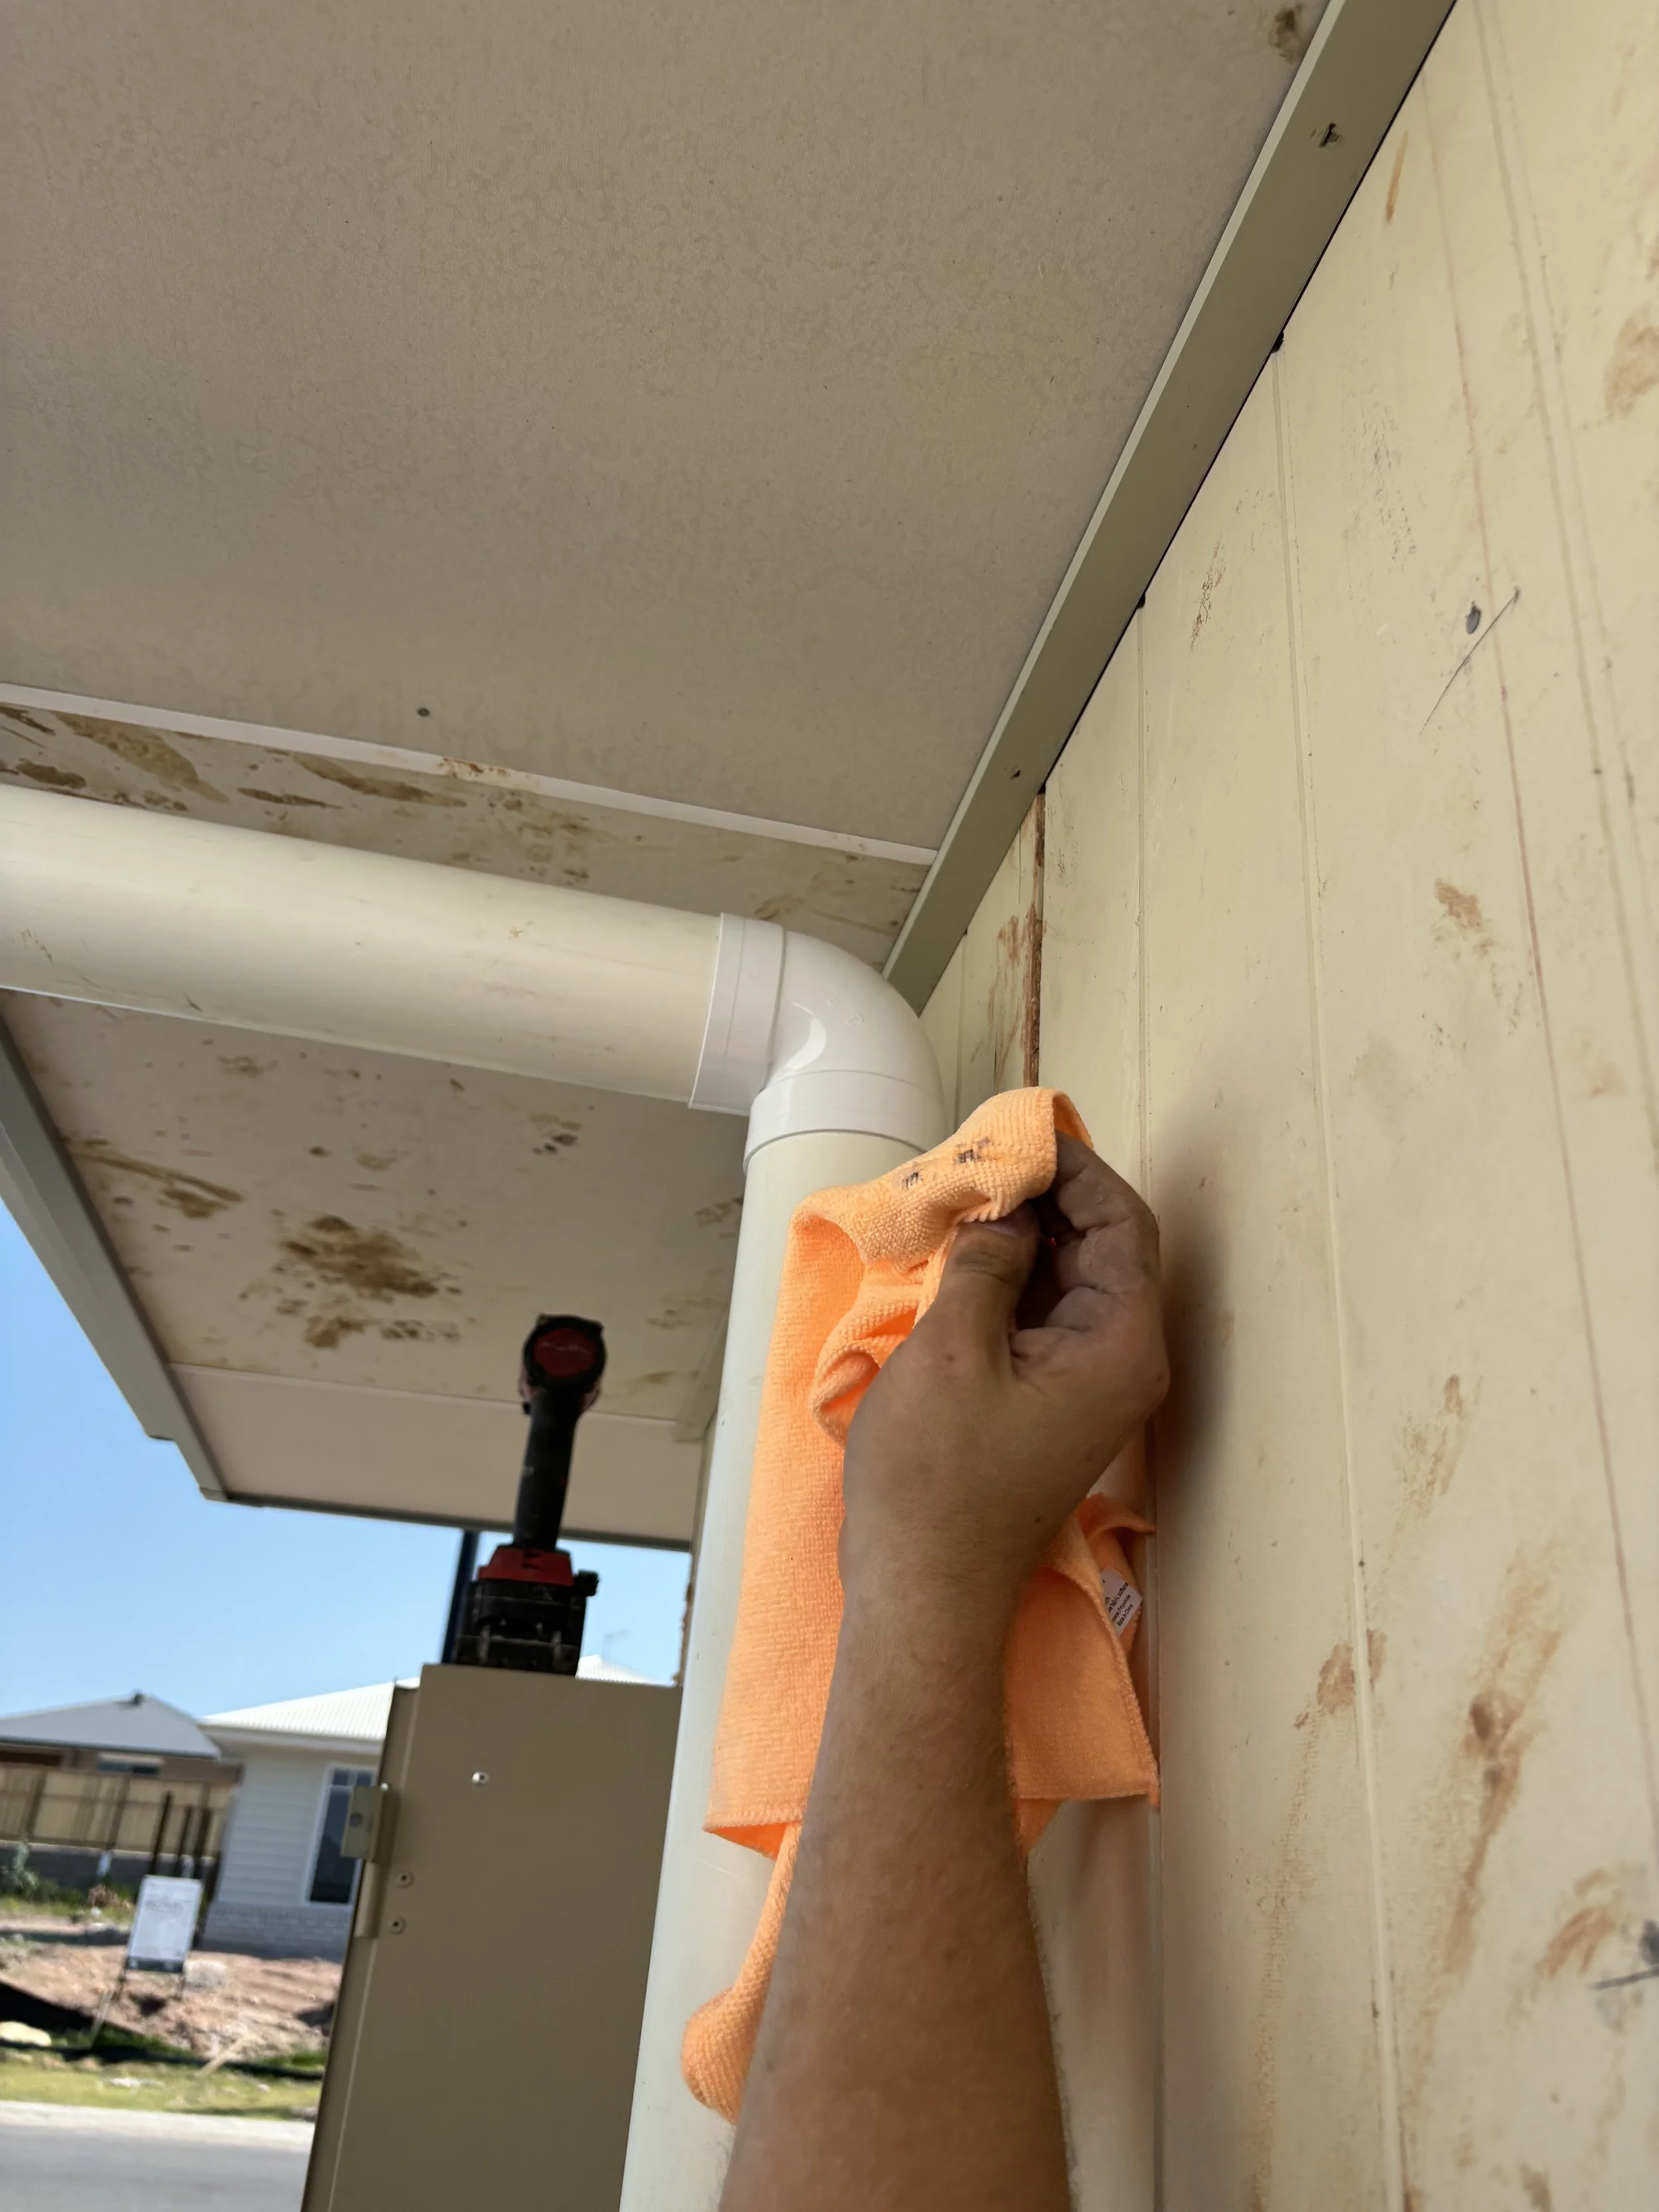
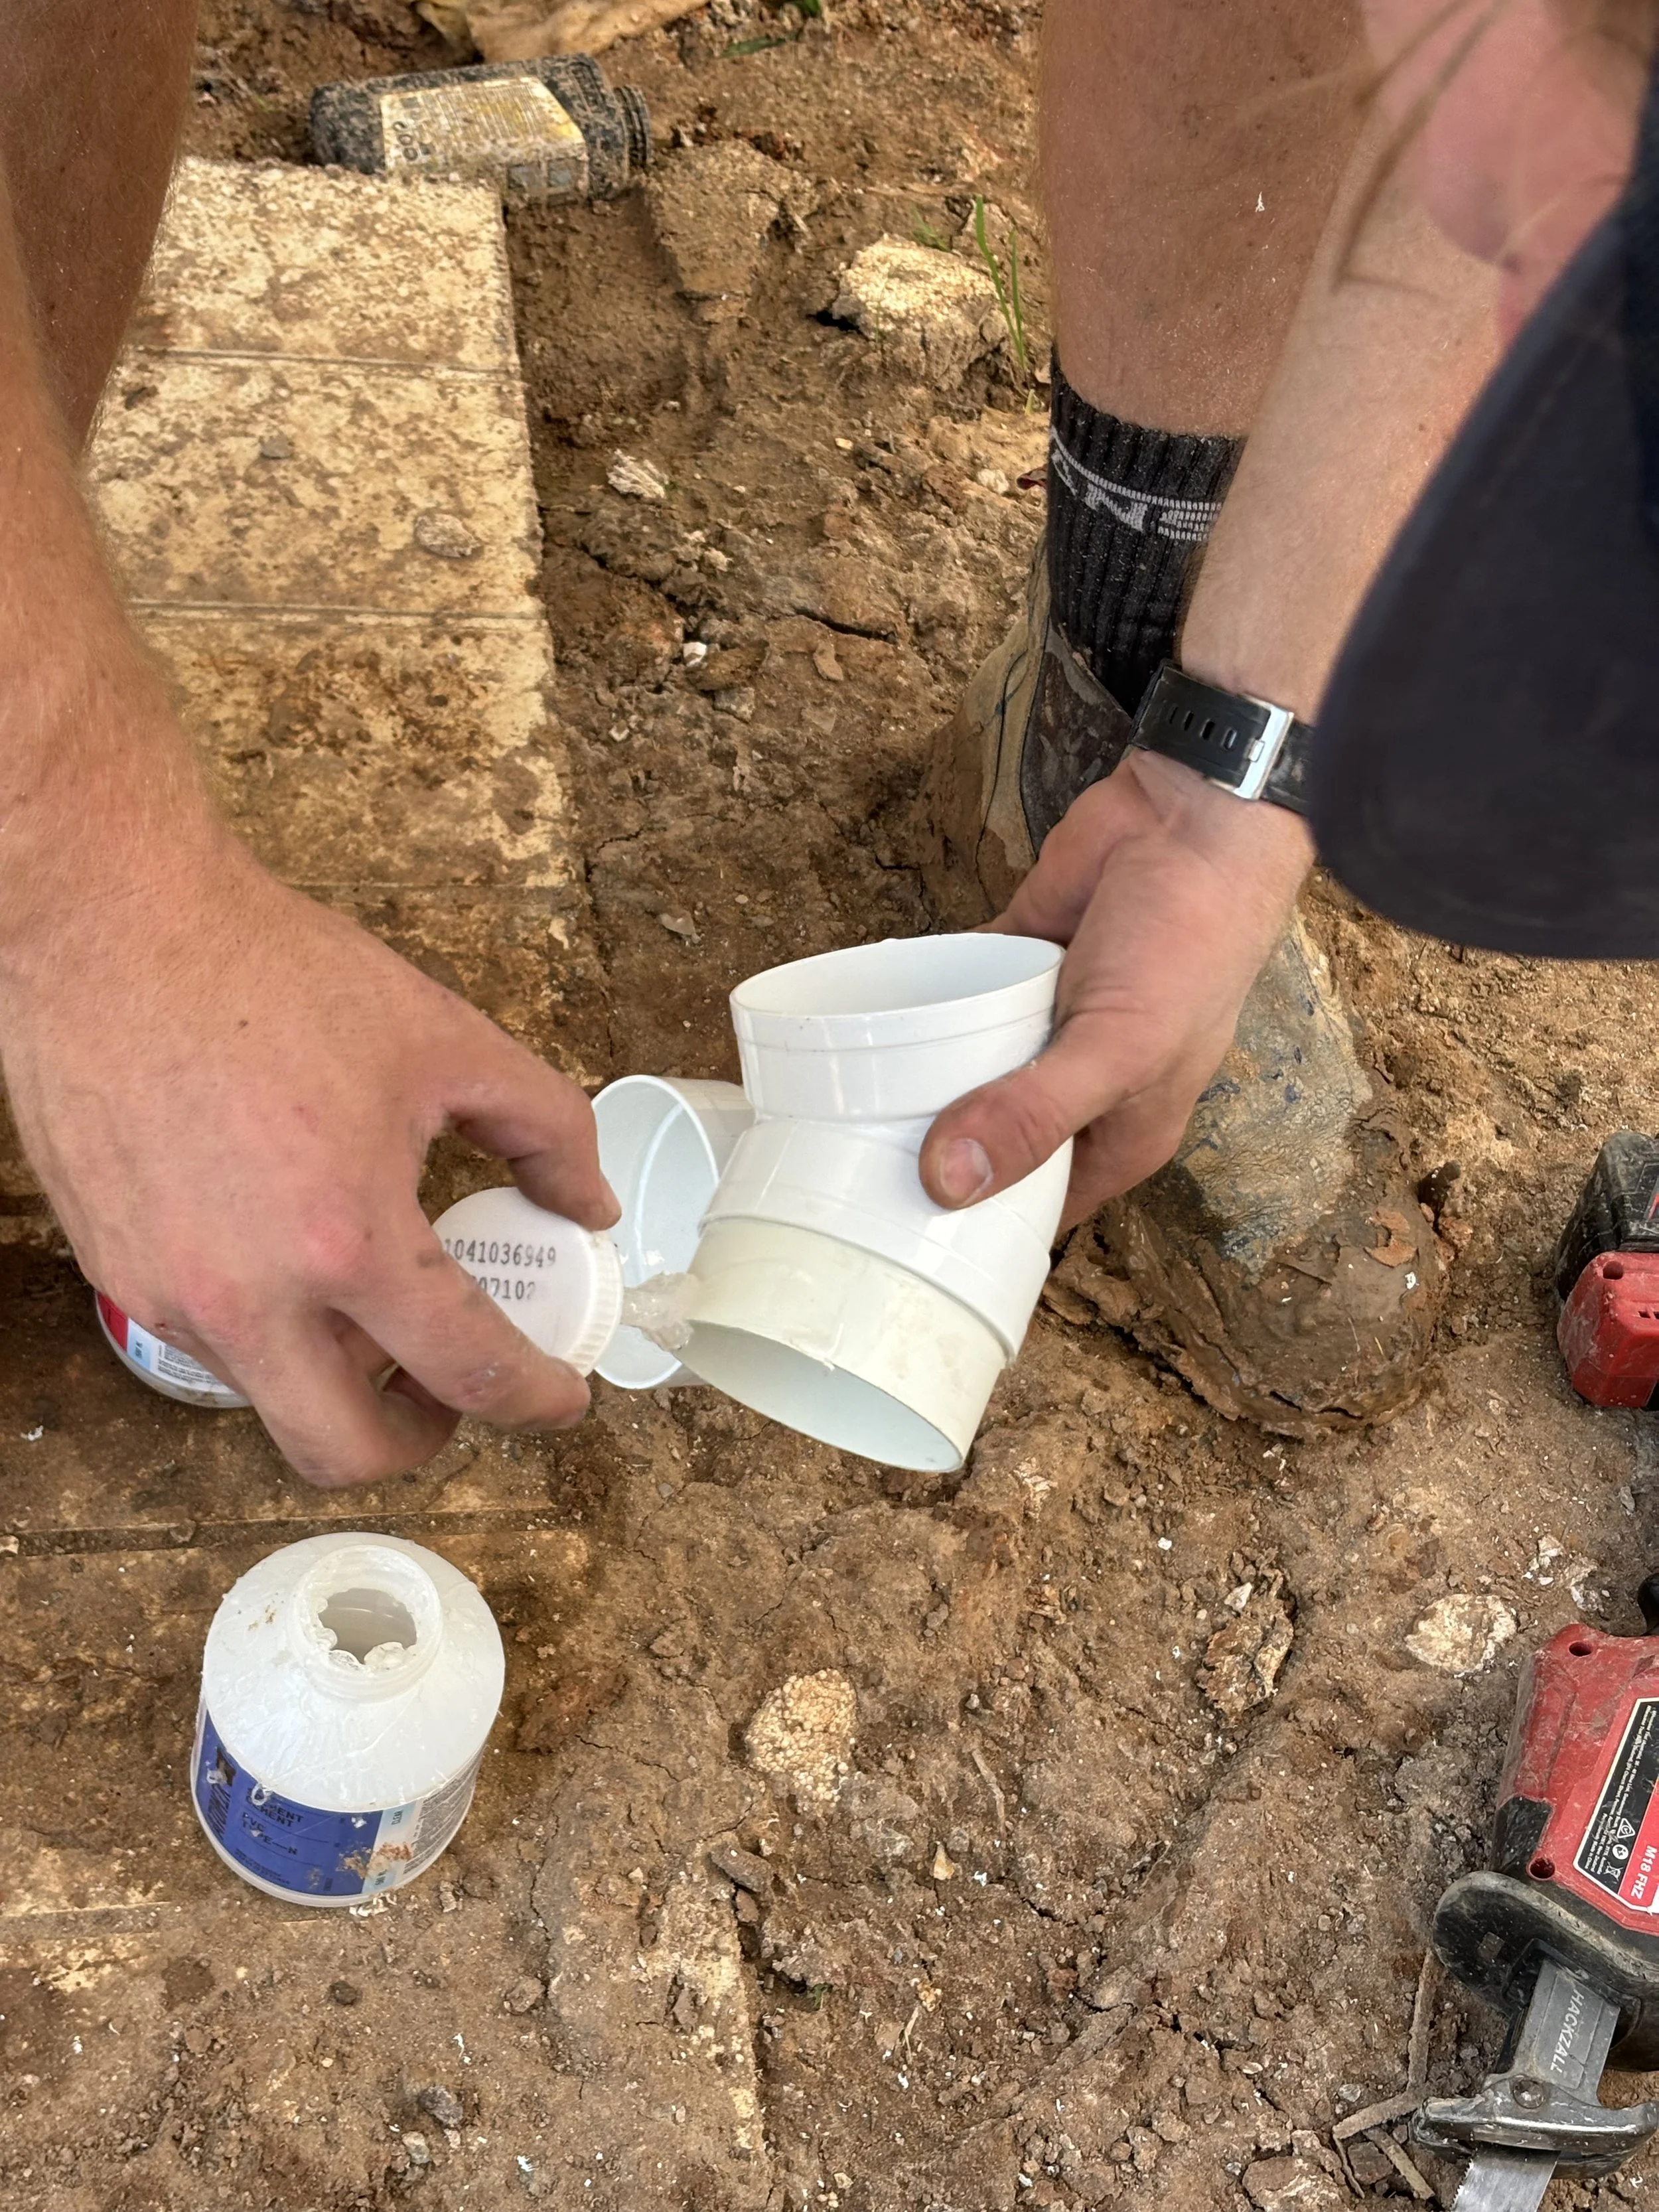
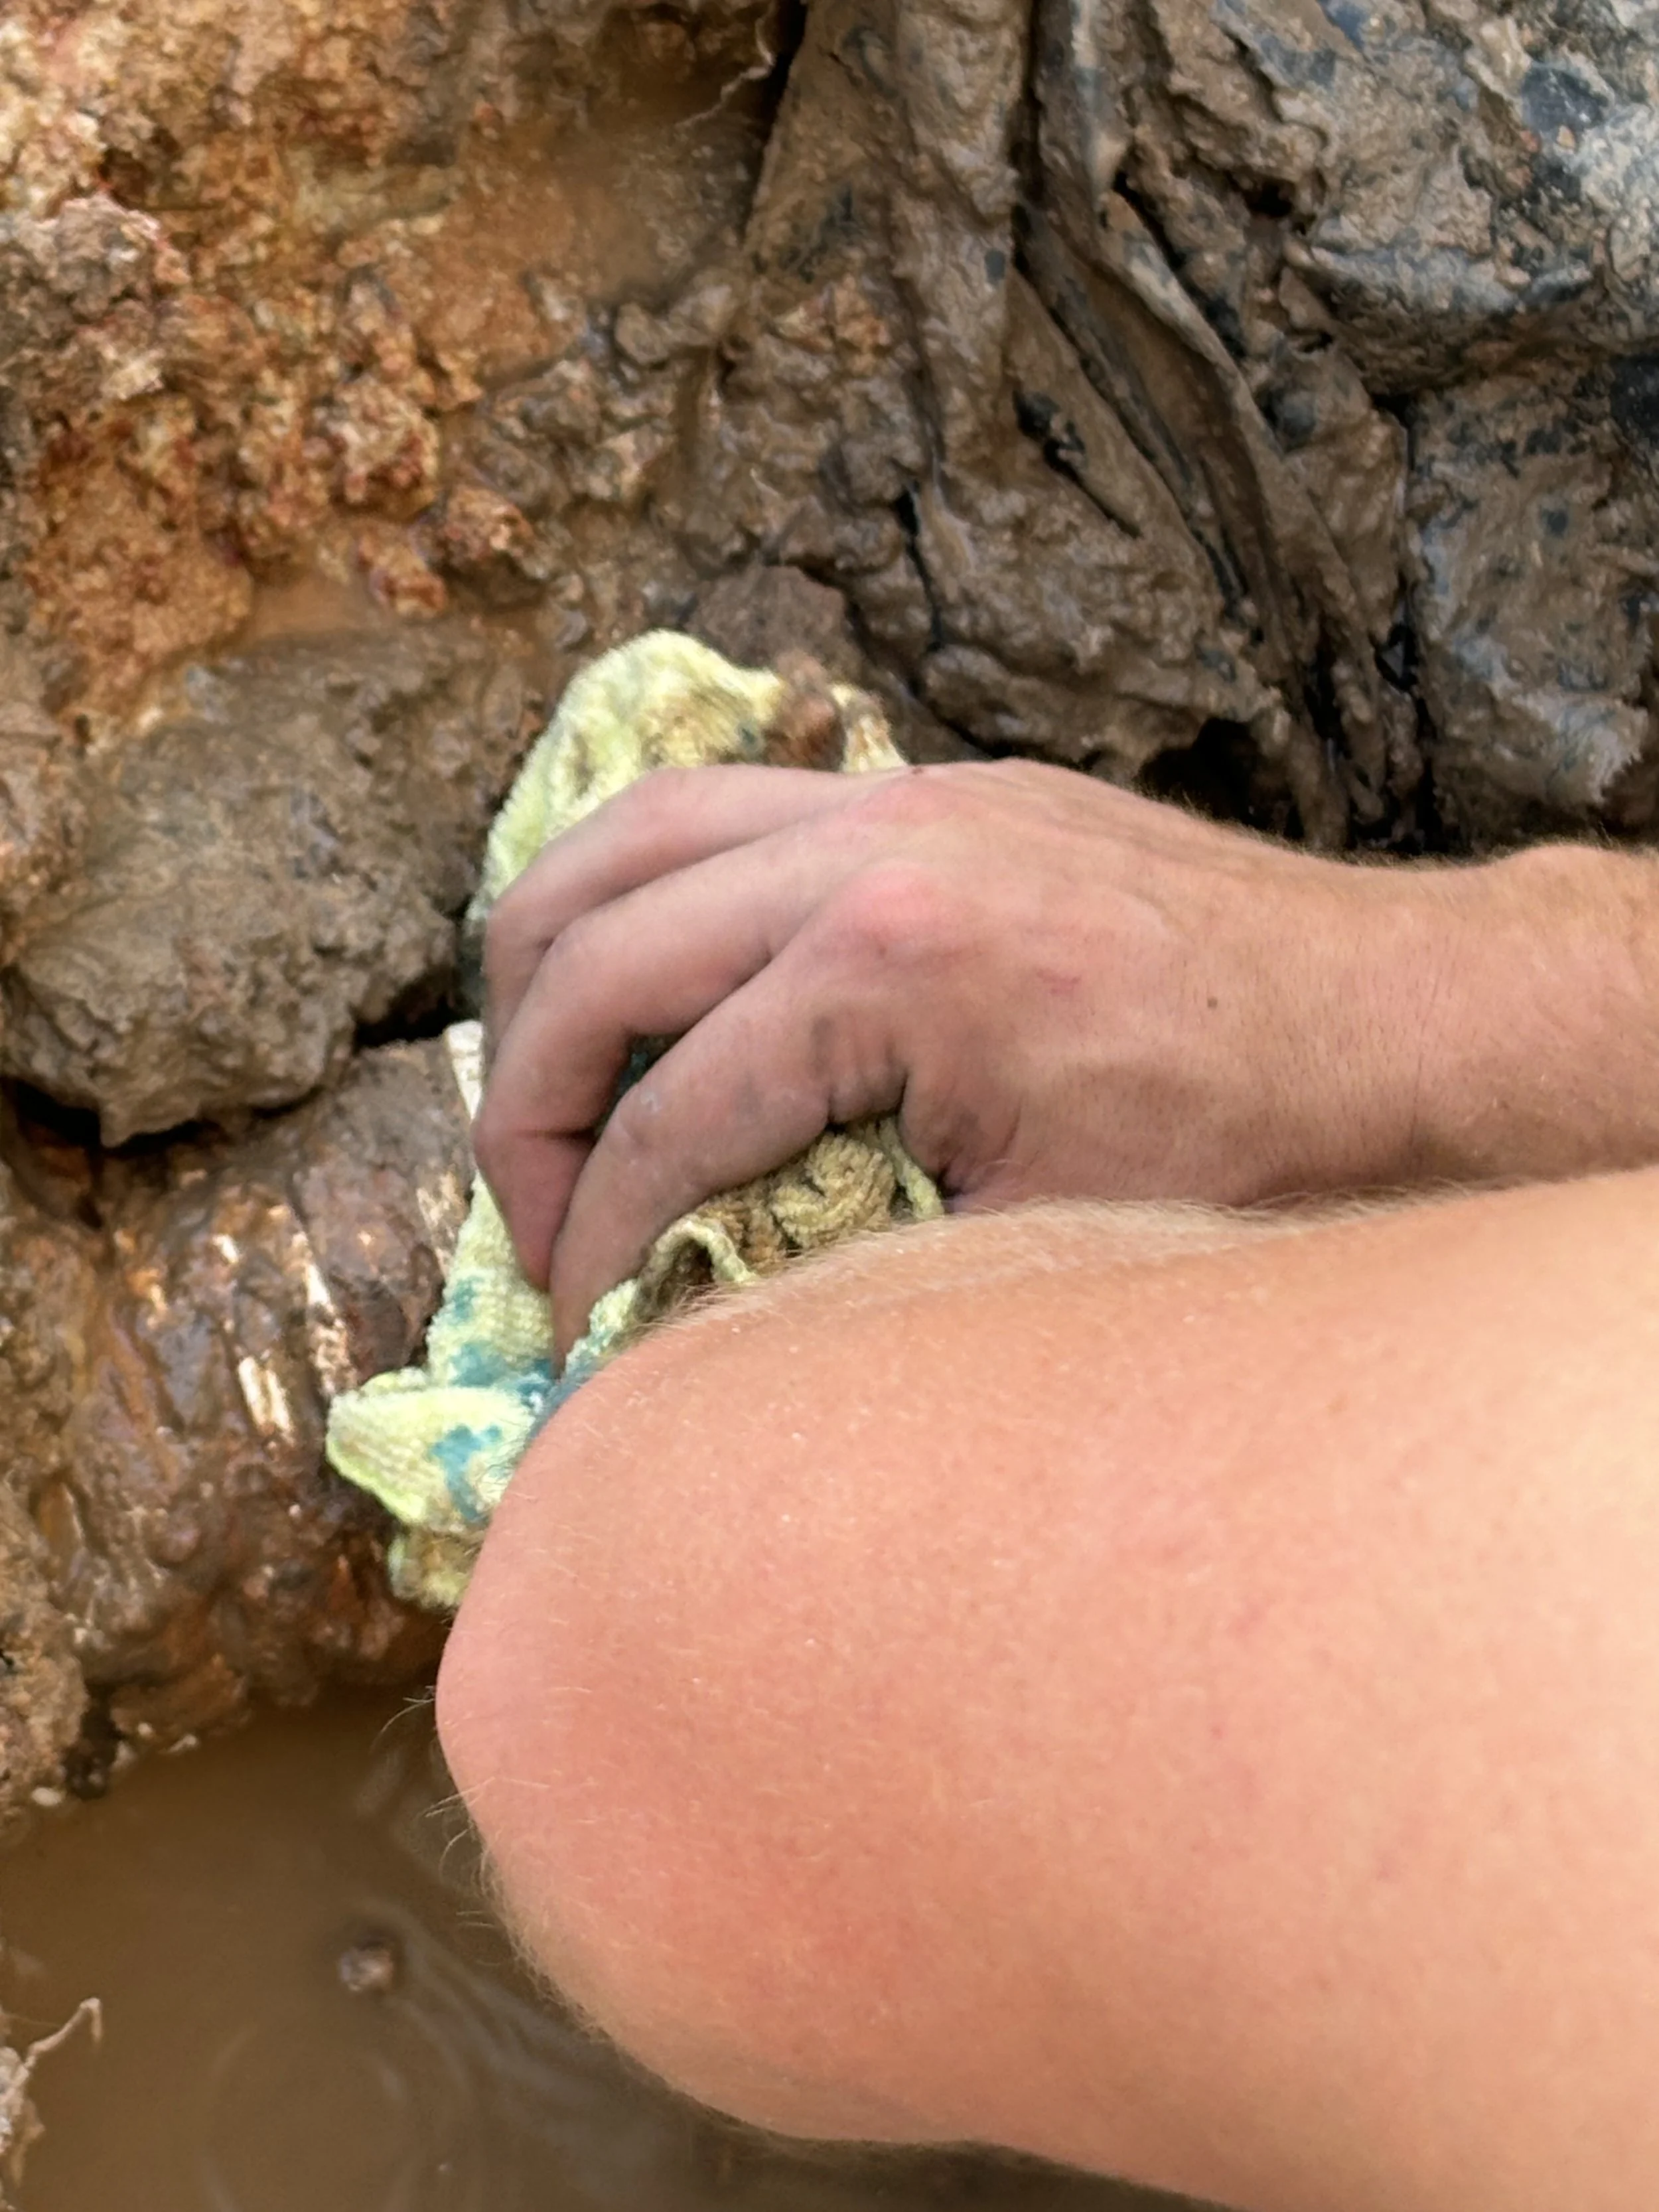
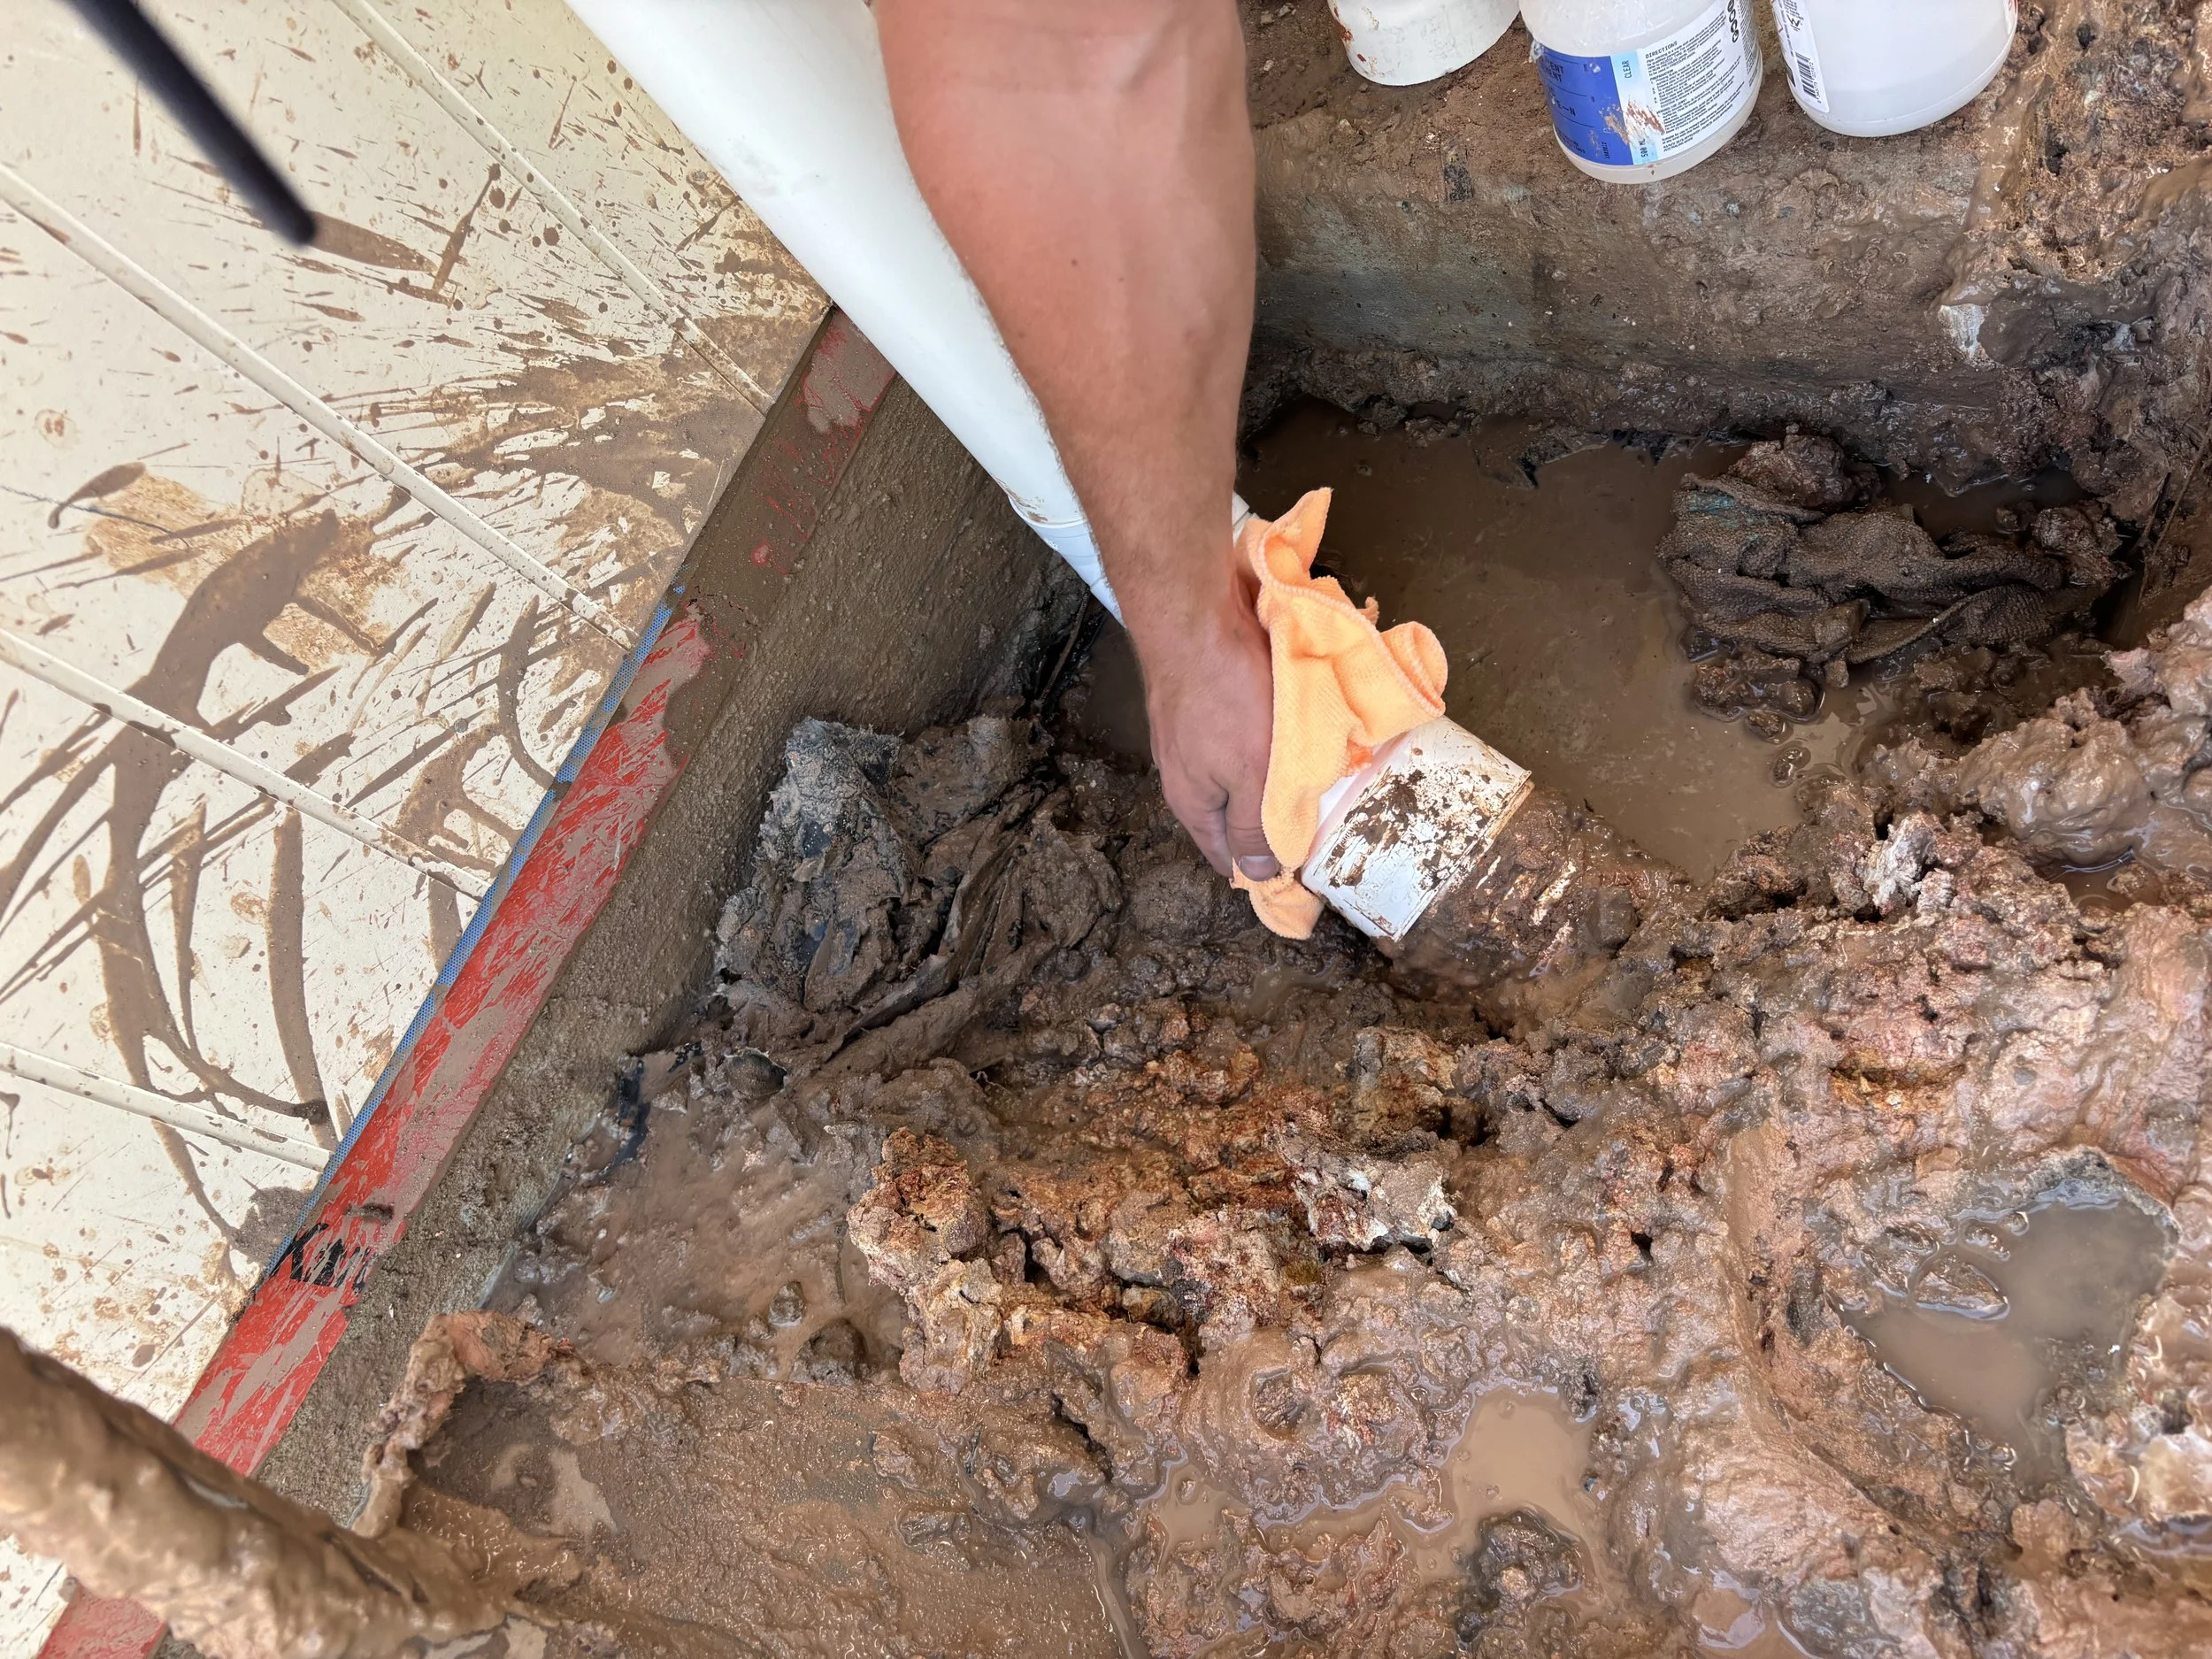
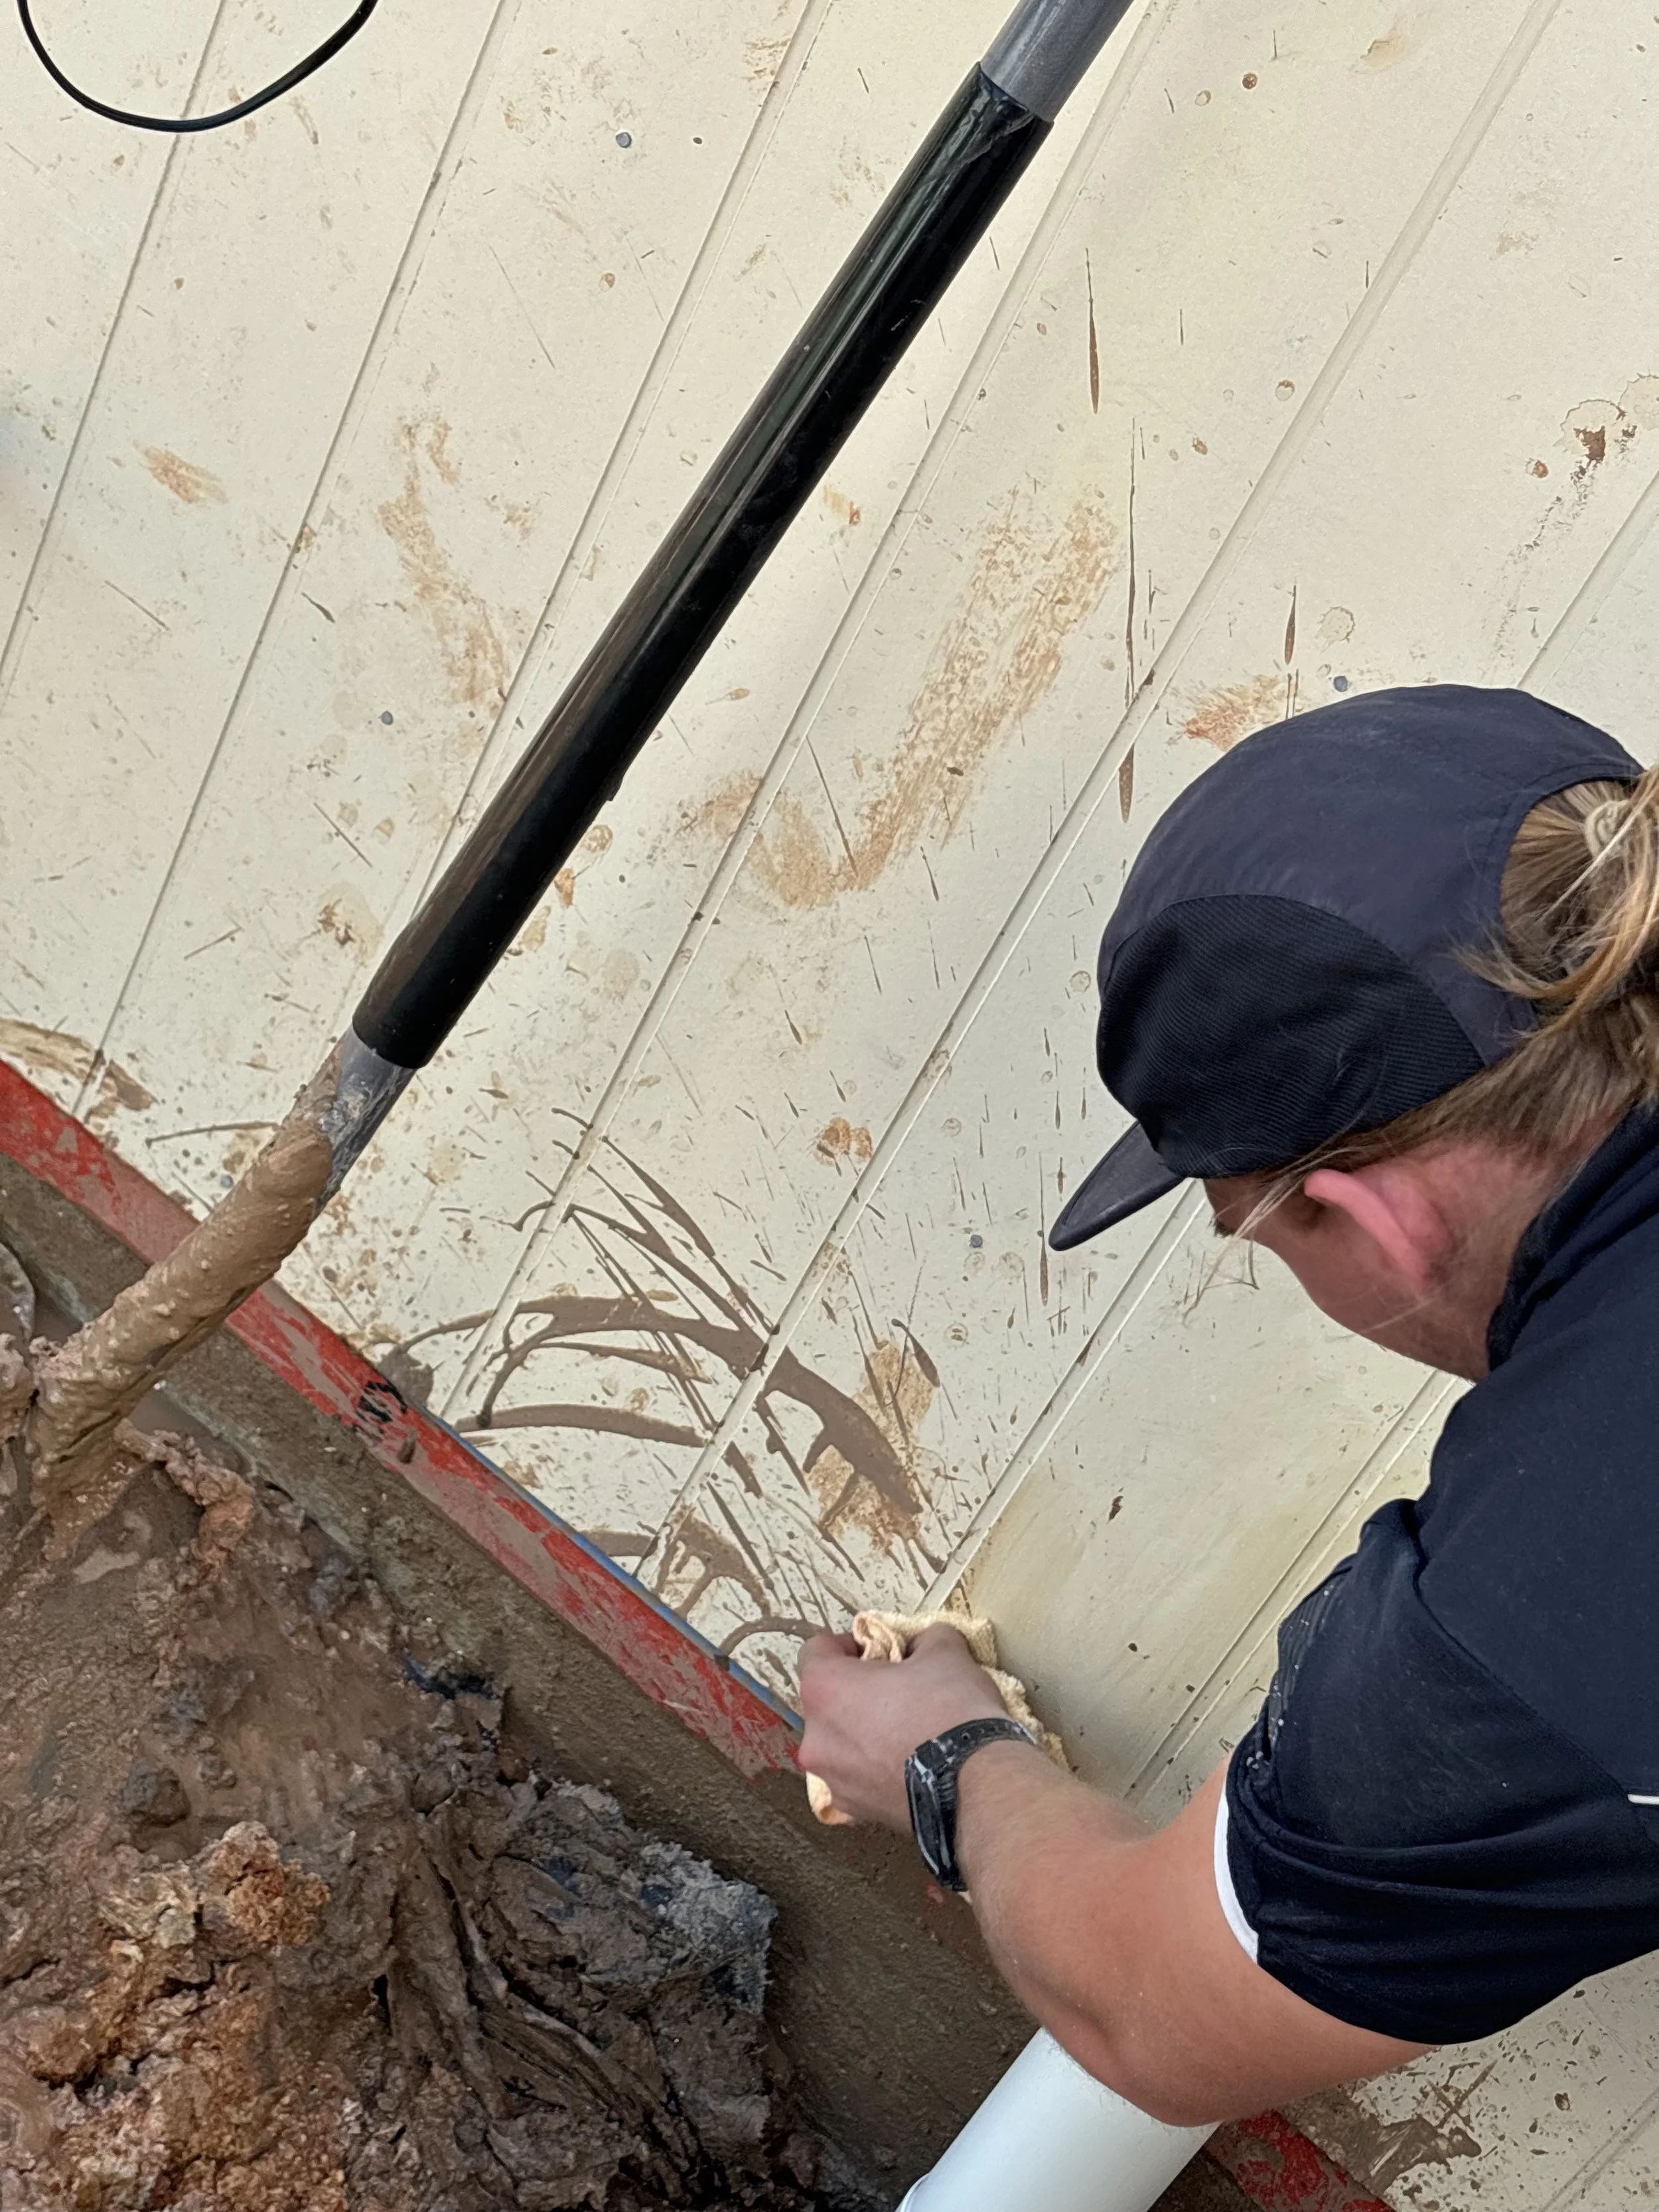
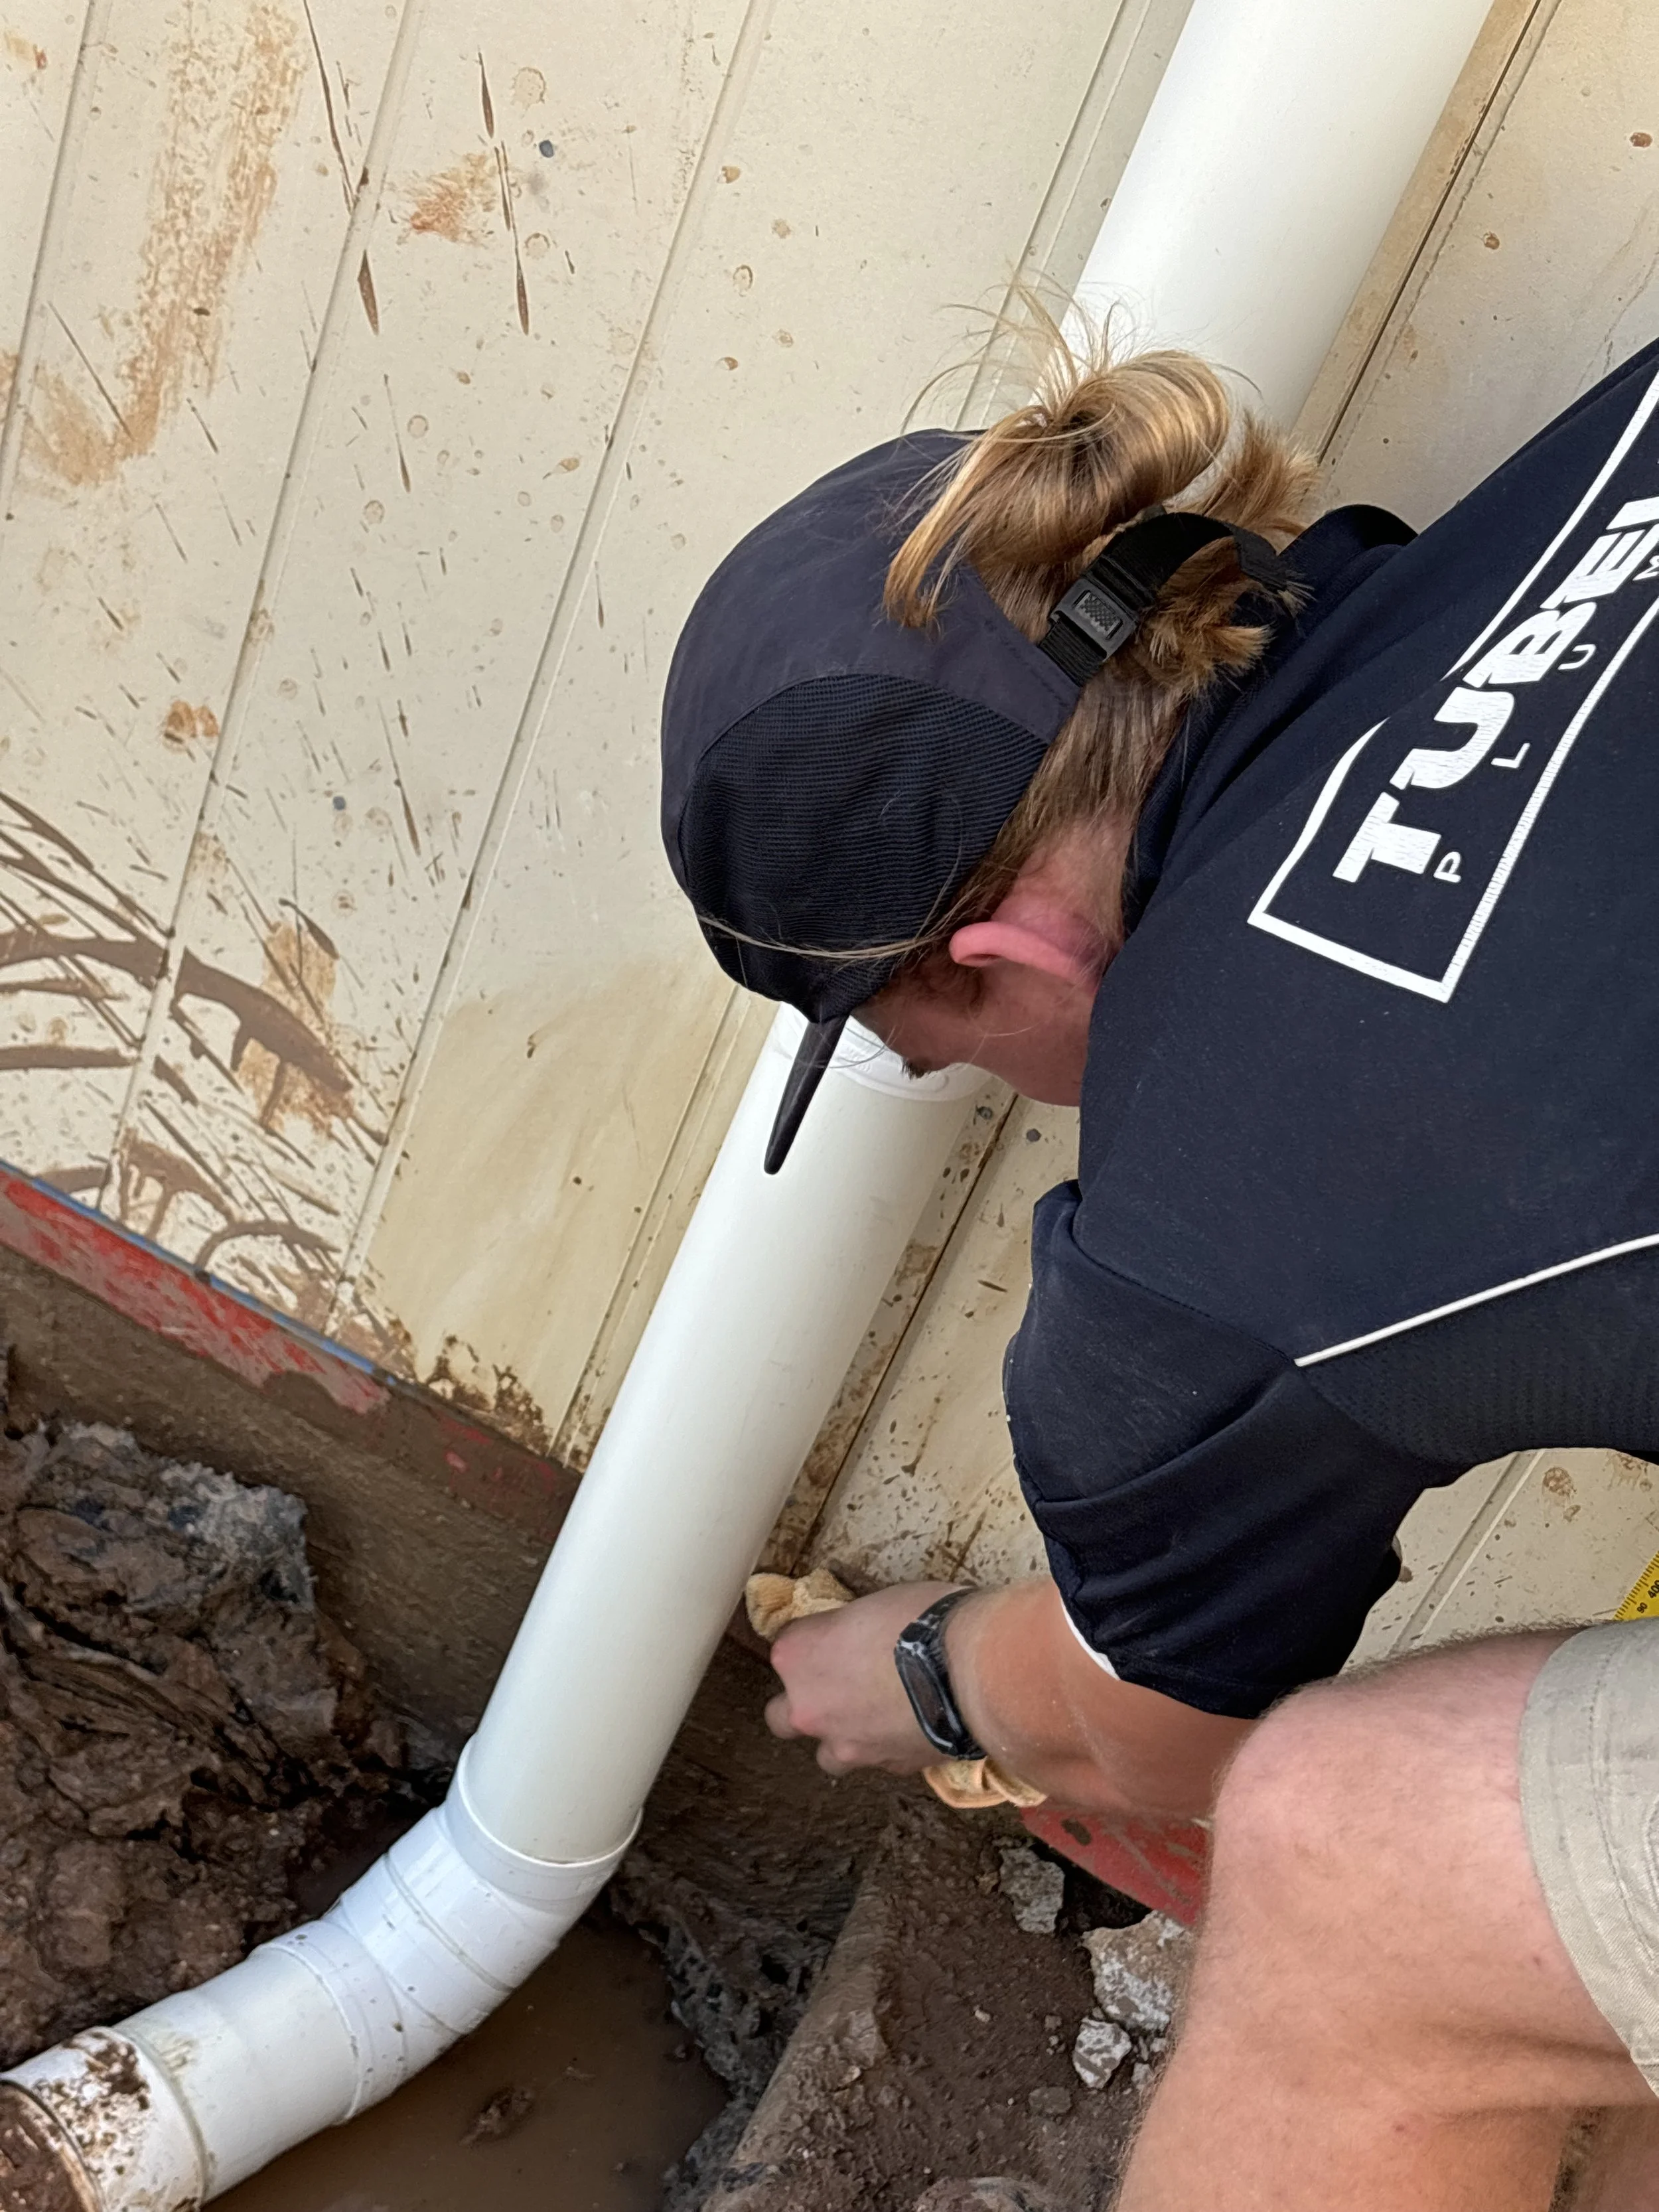
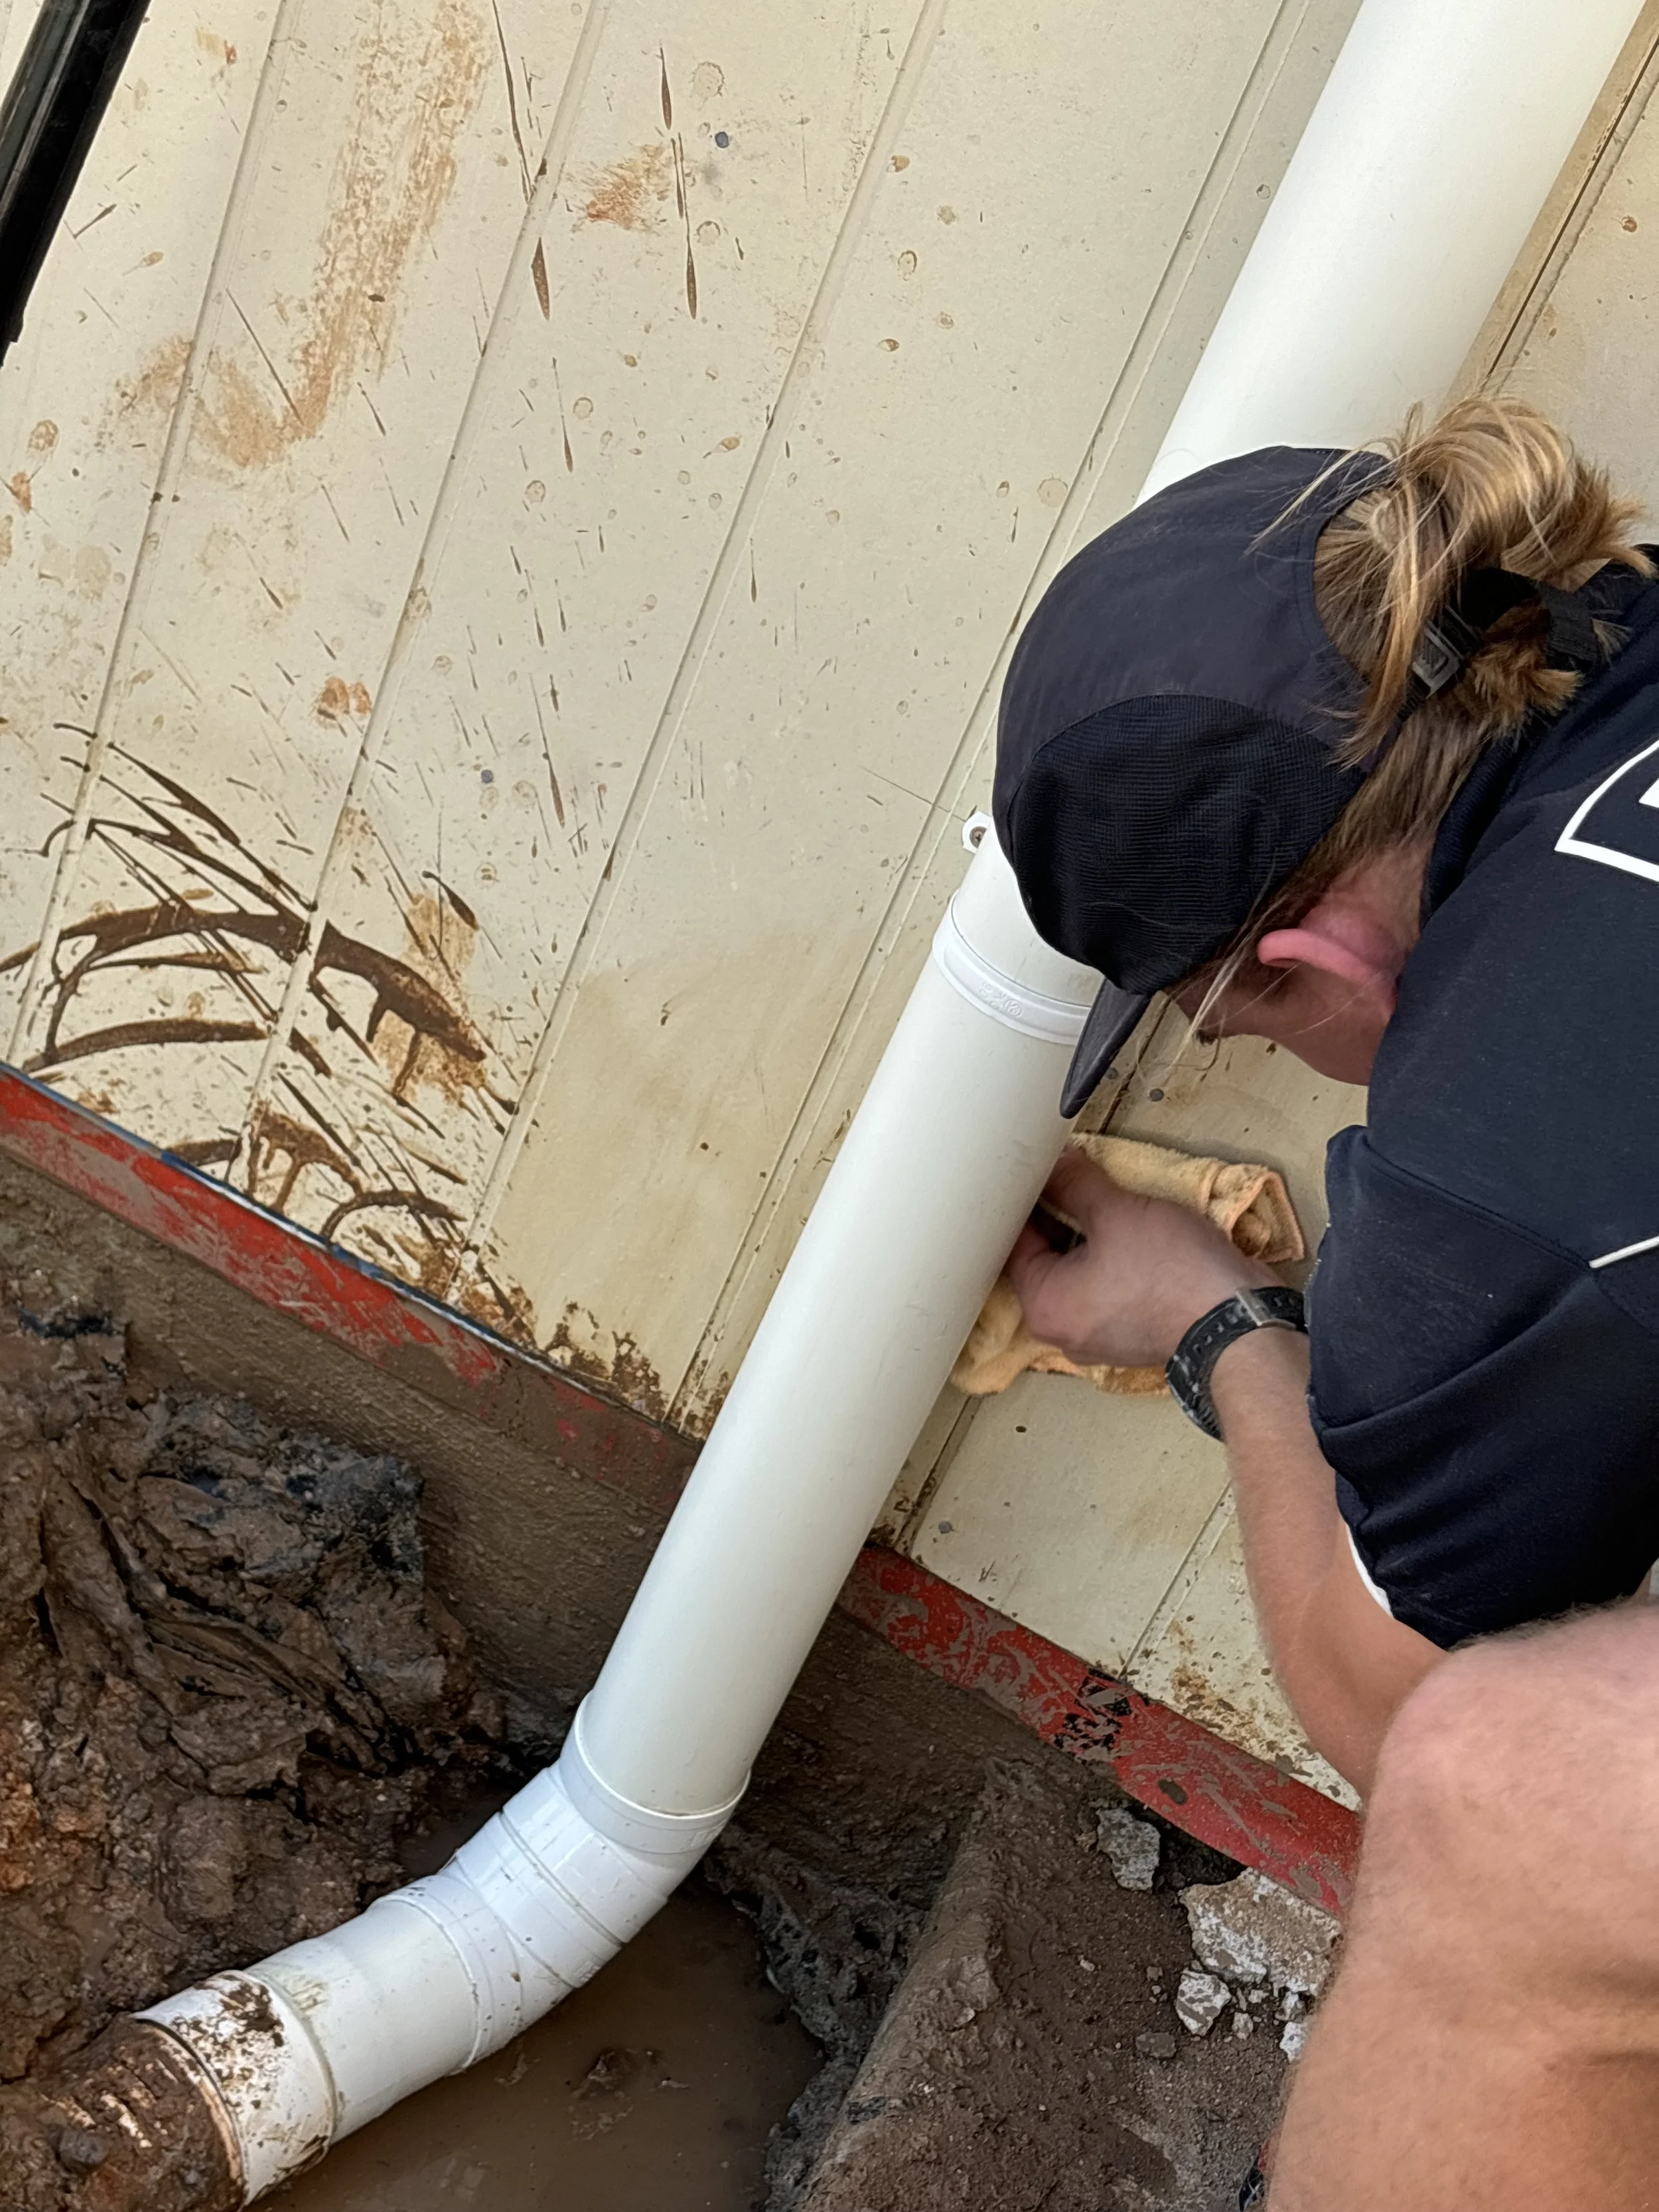
Wipe all glue and primer off straight away with a rag.
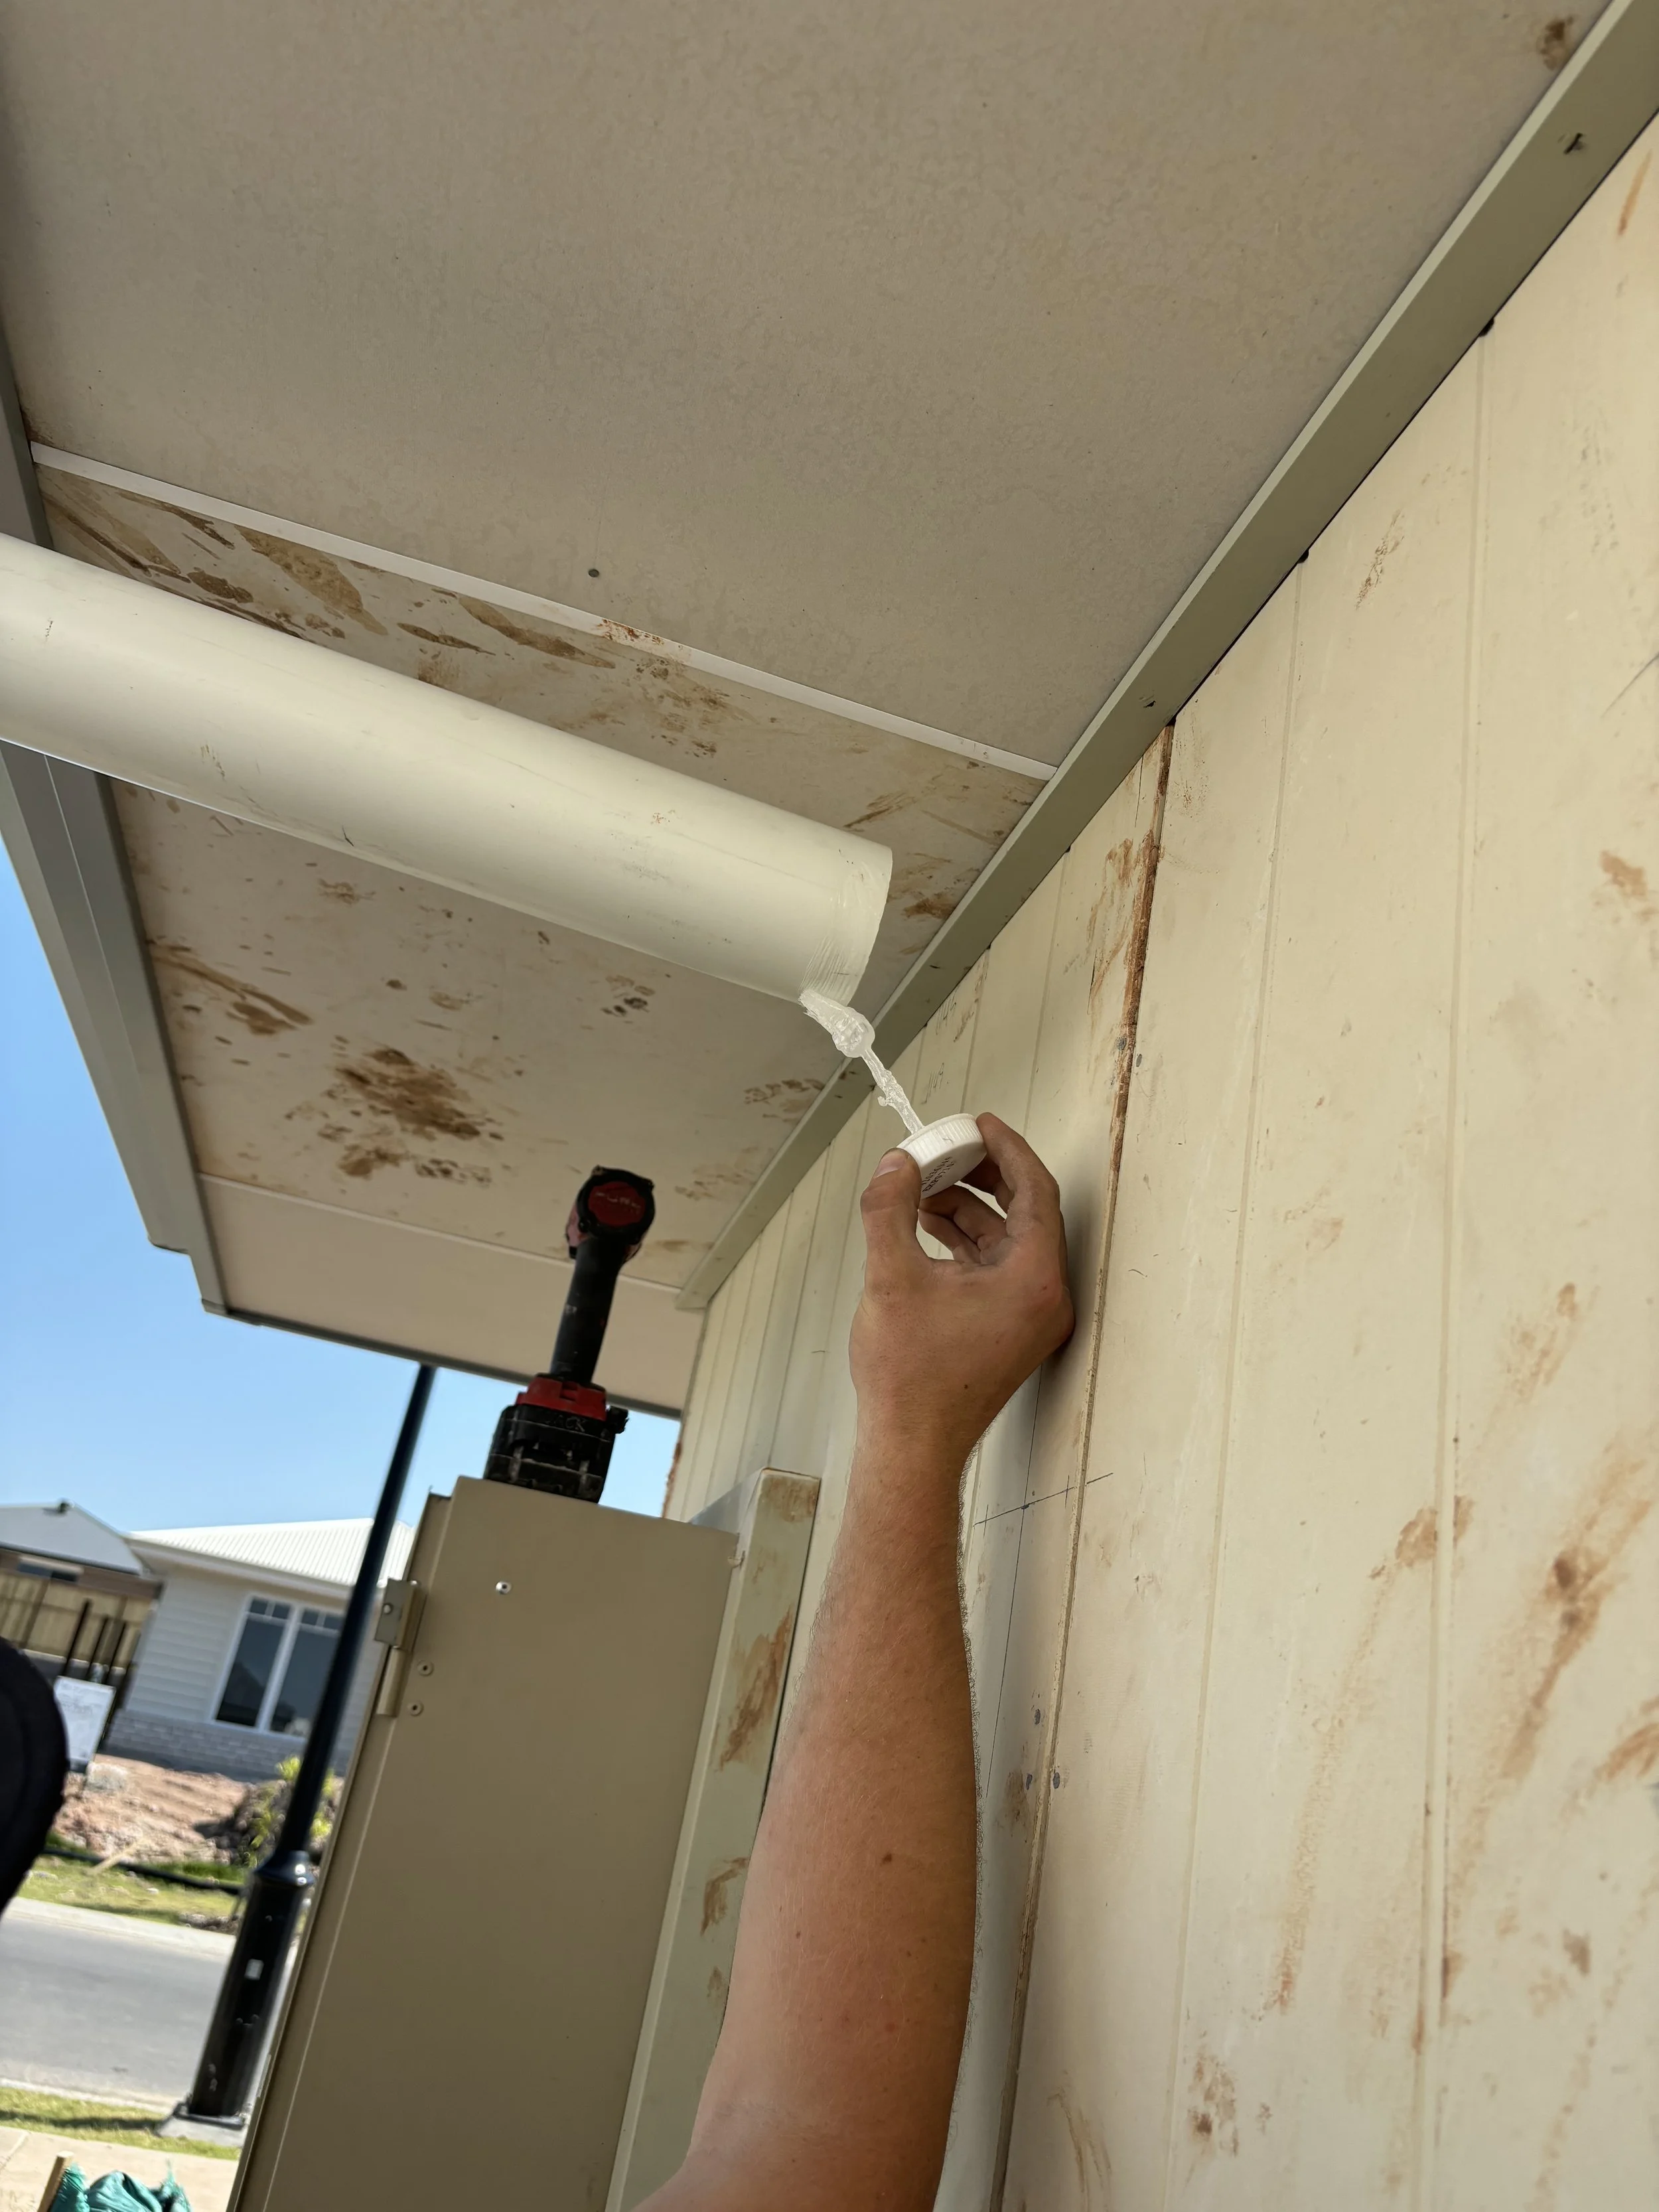
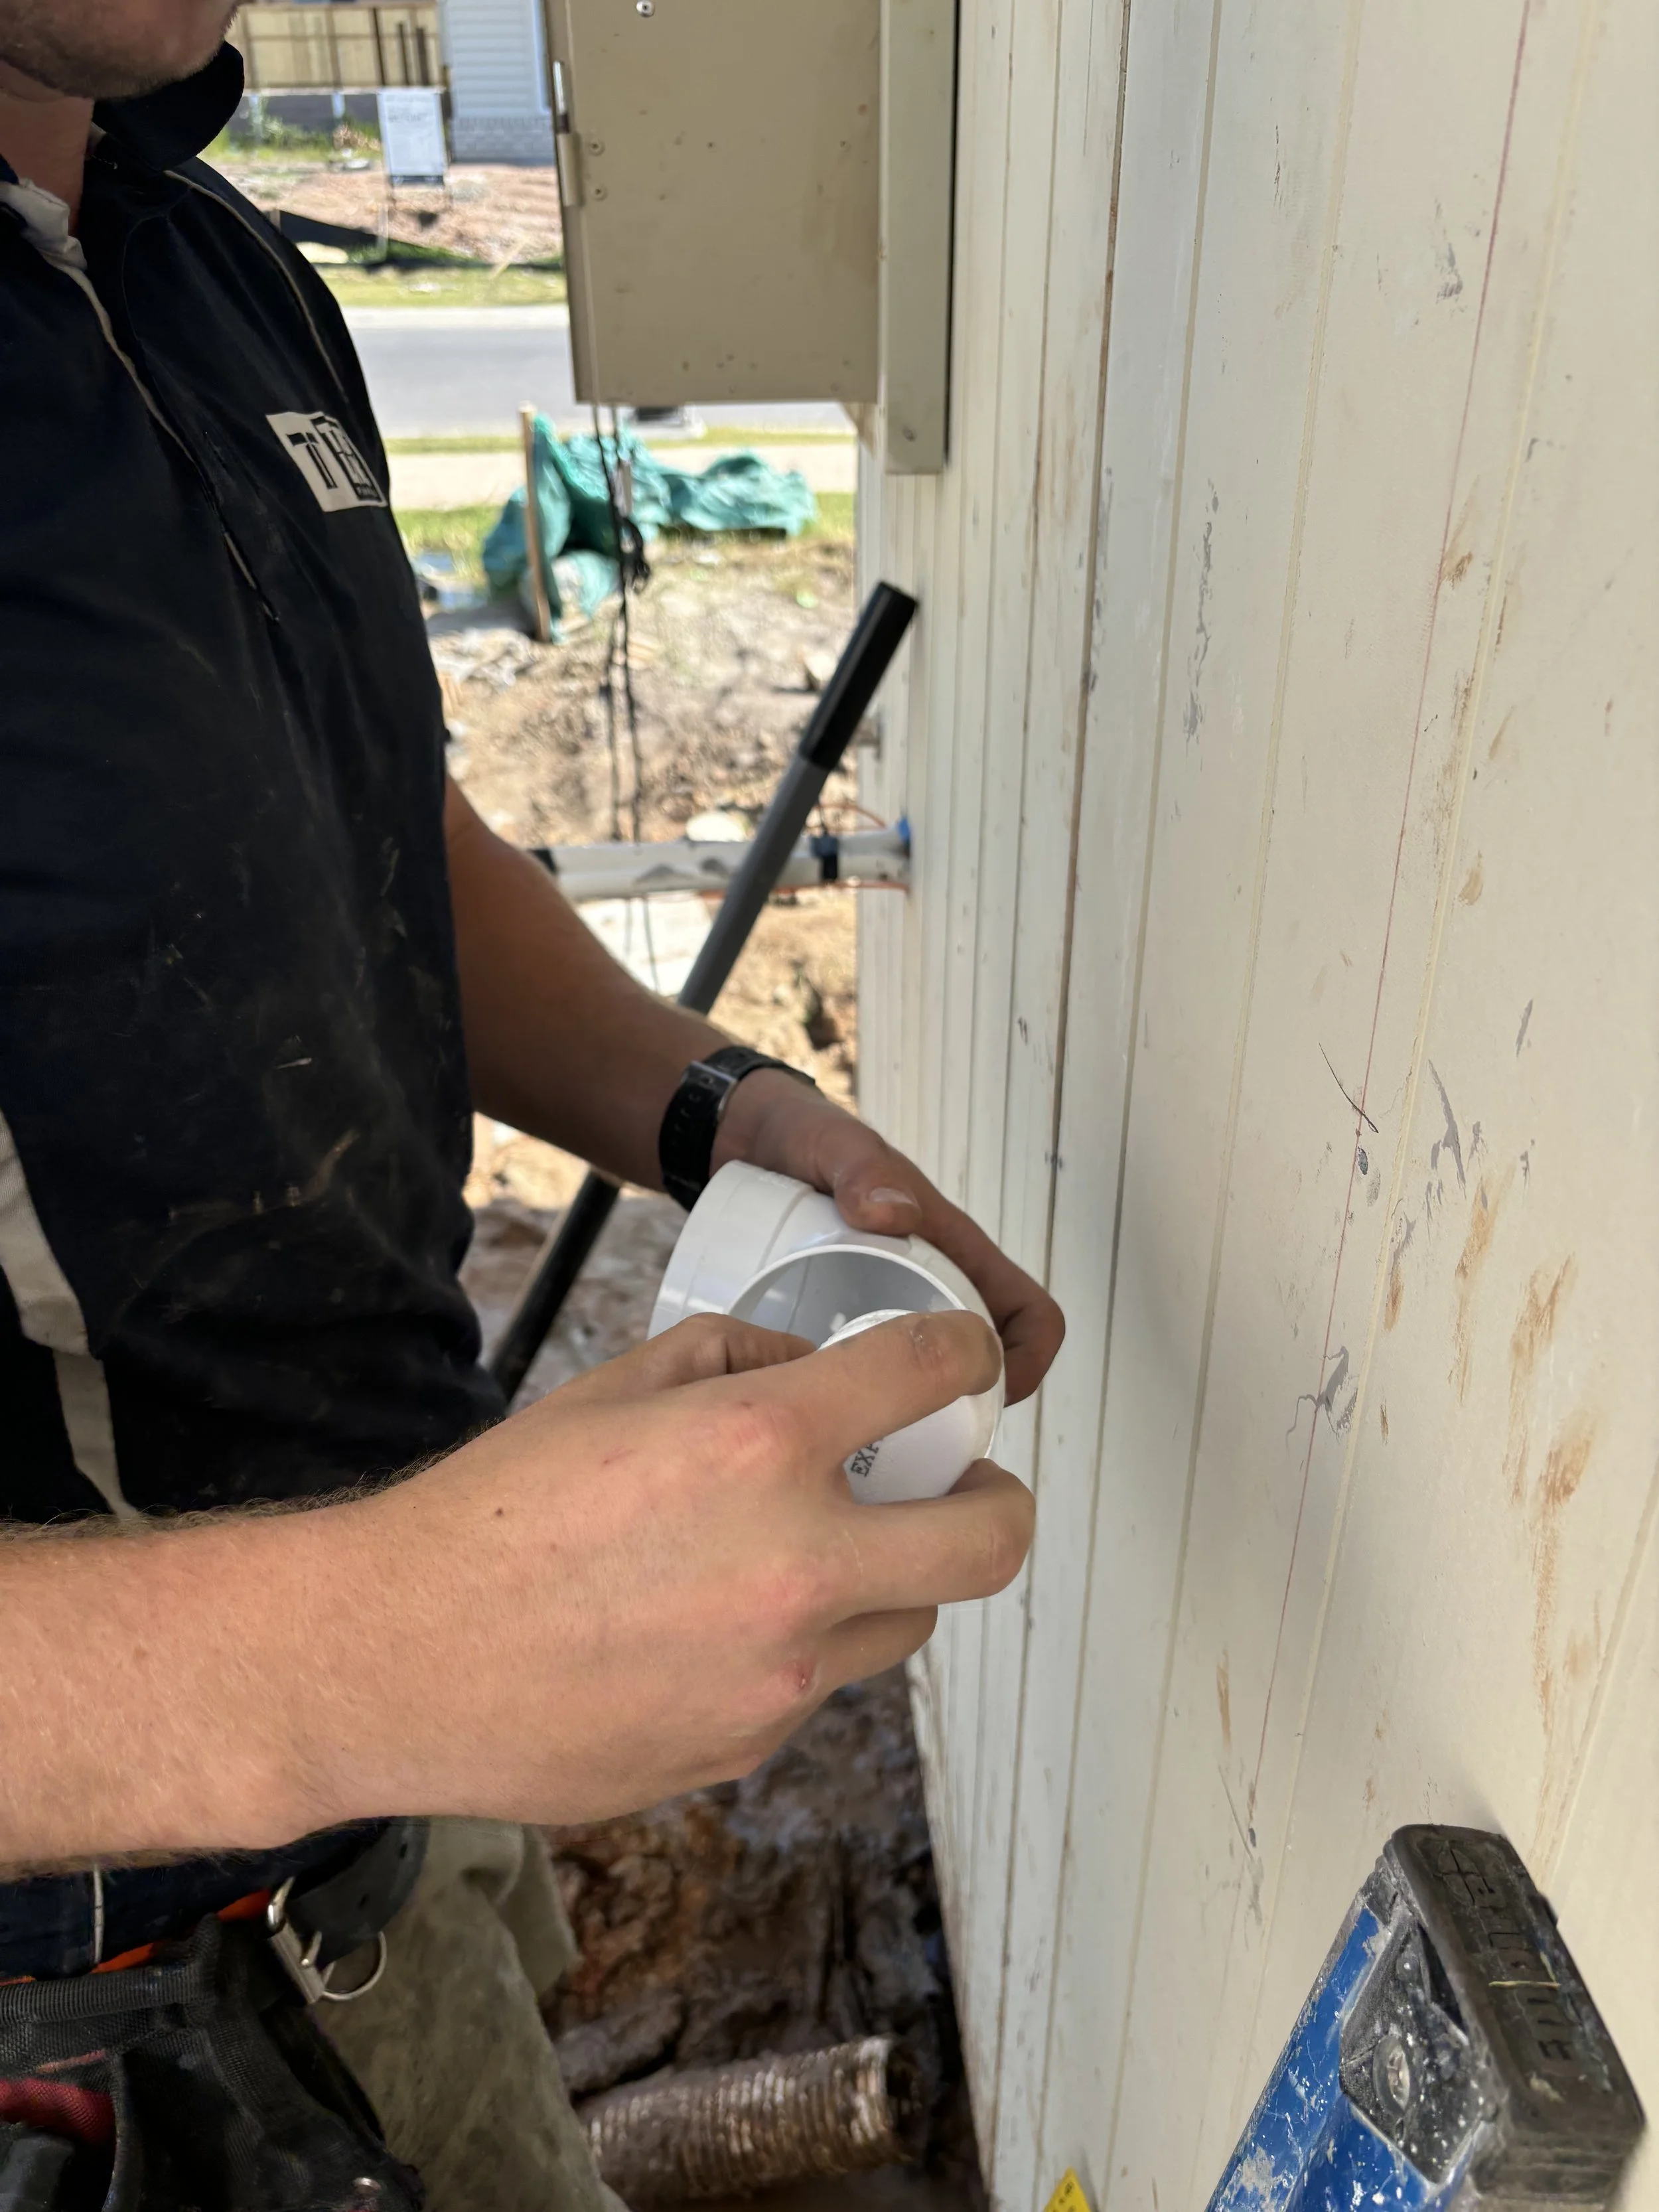
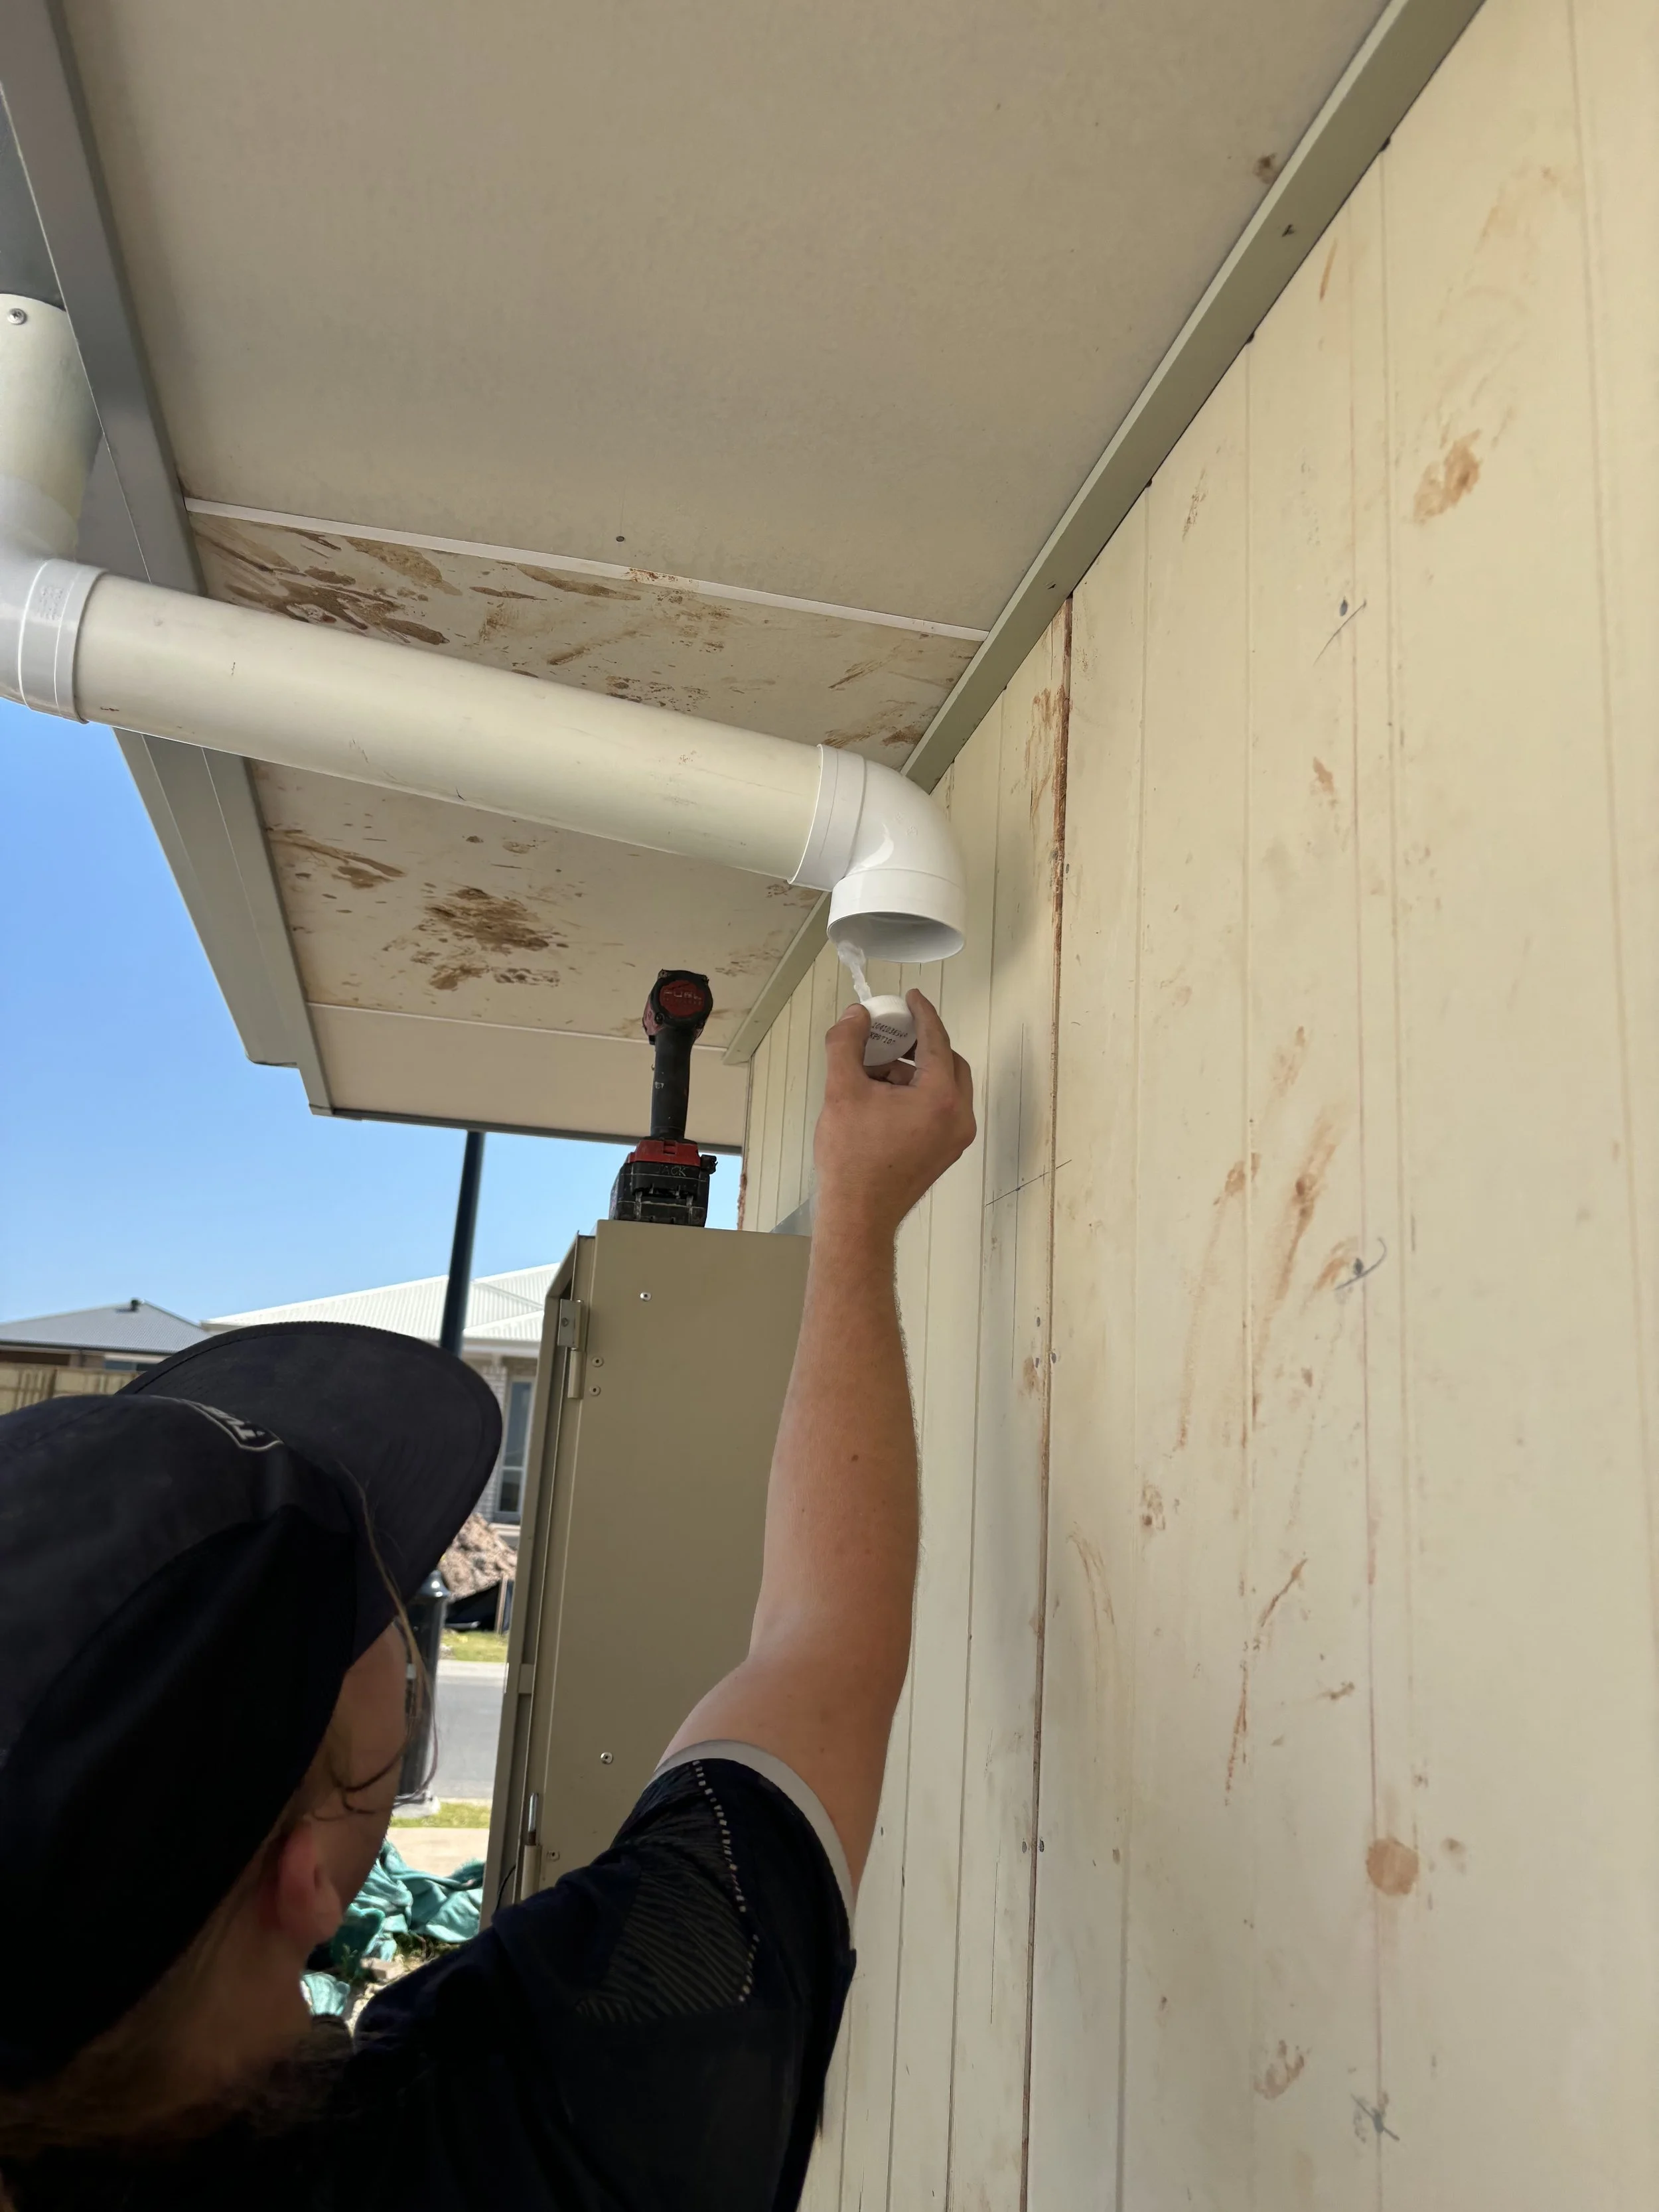
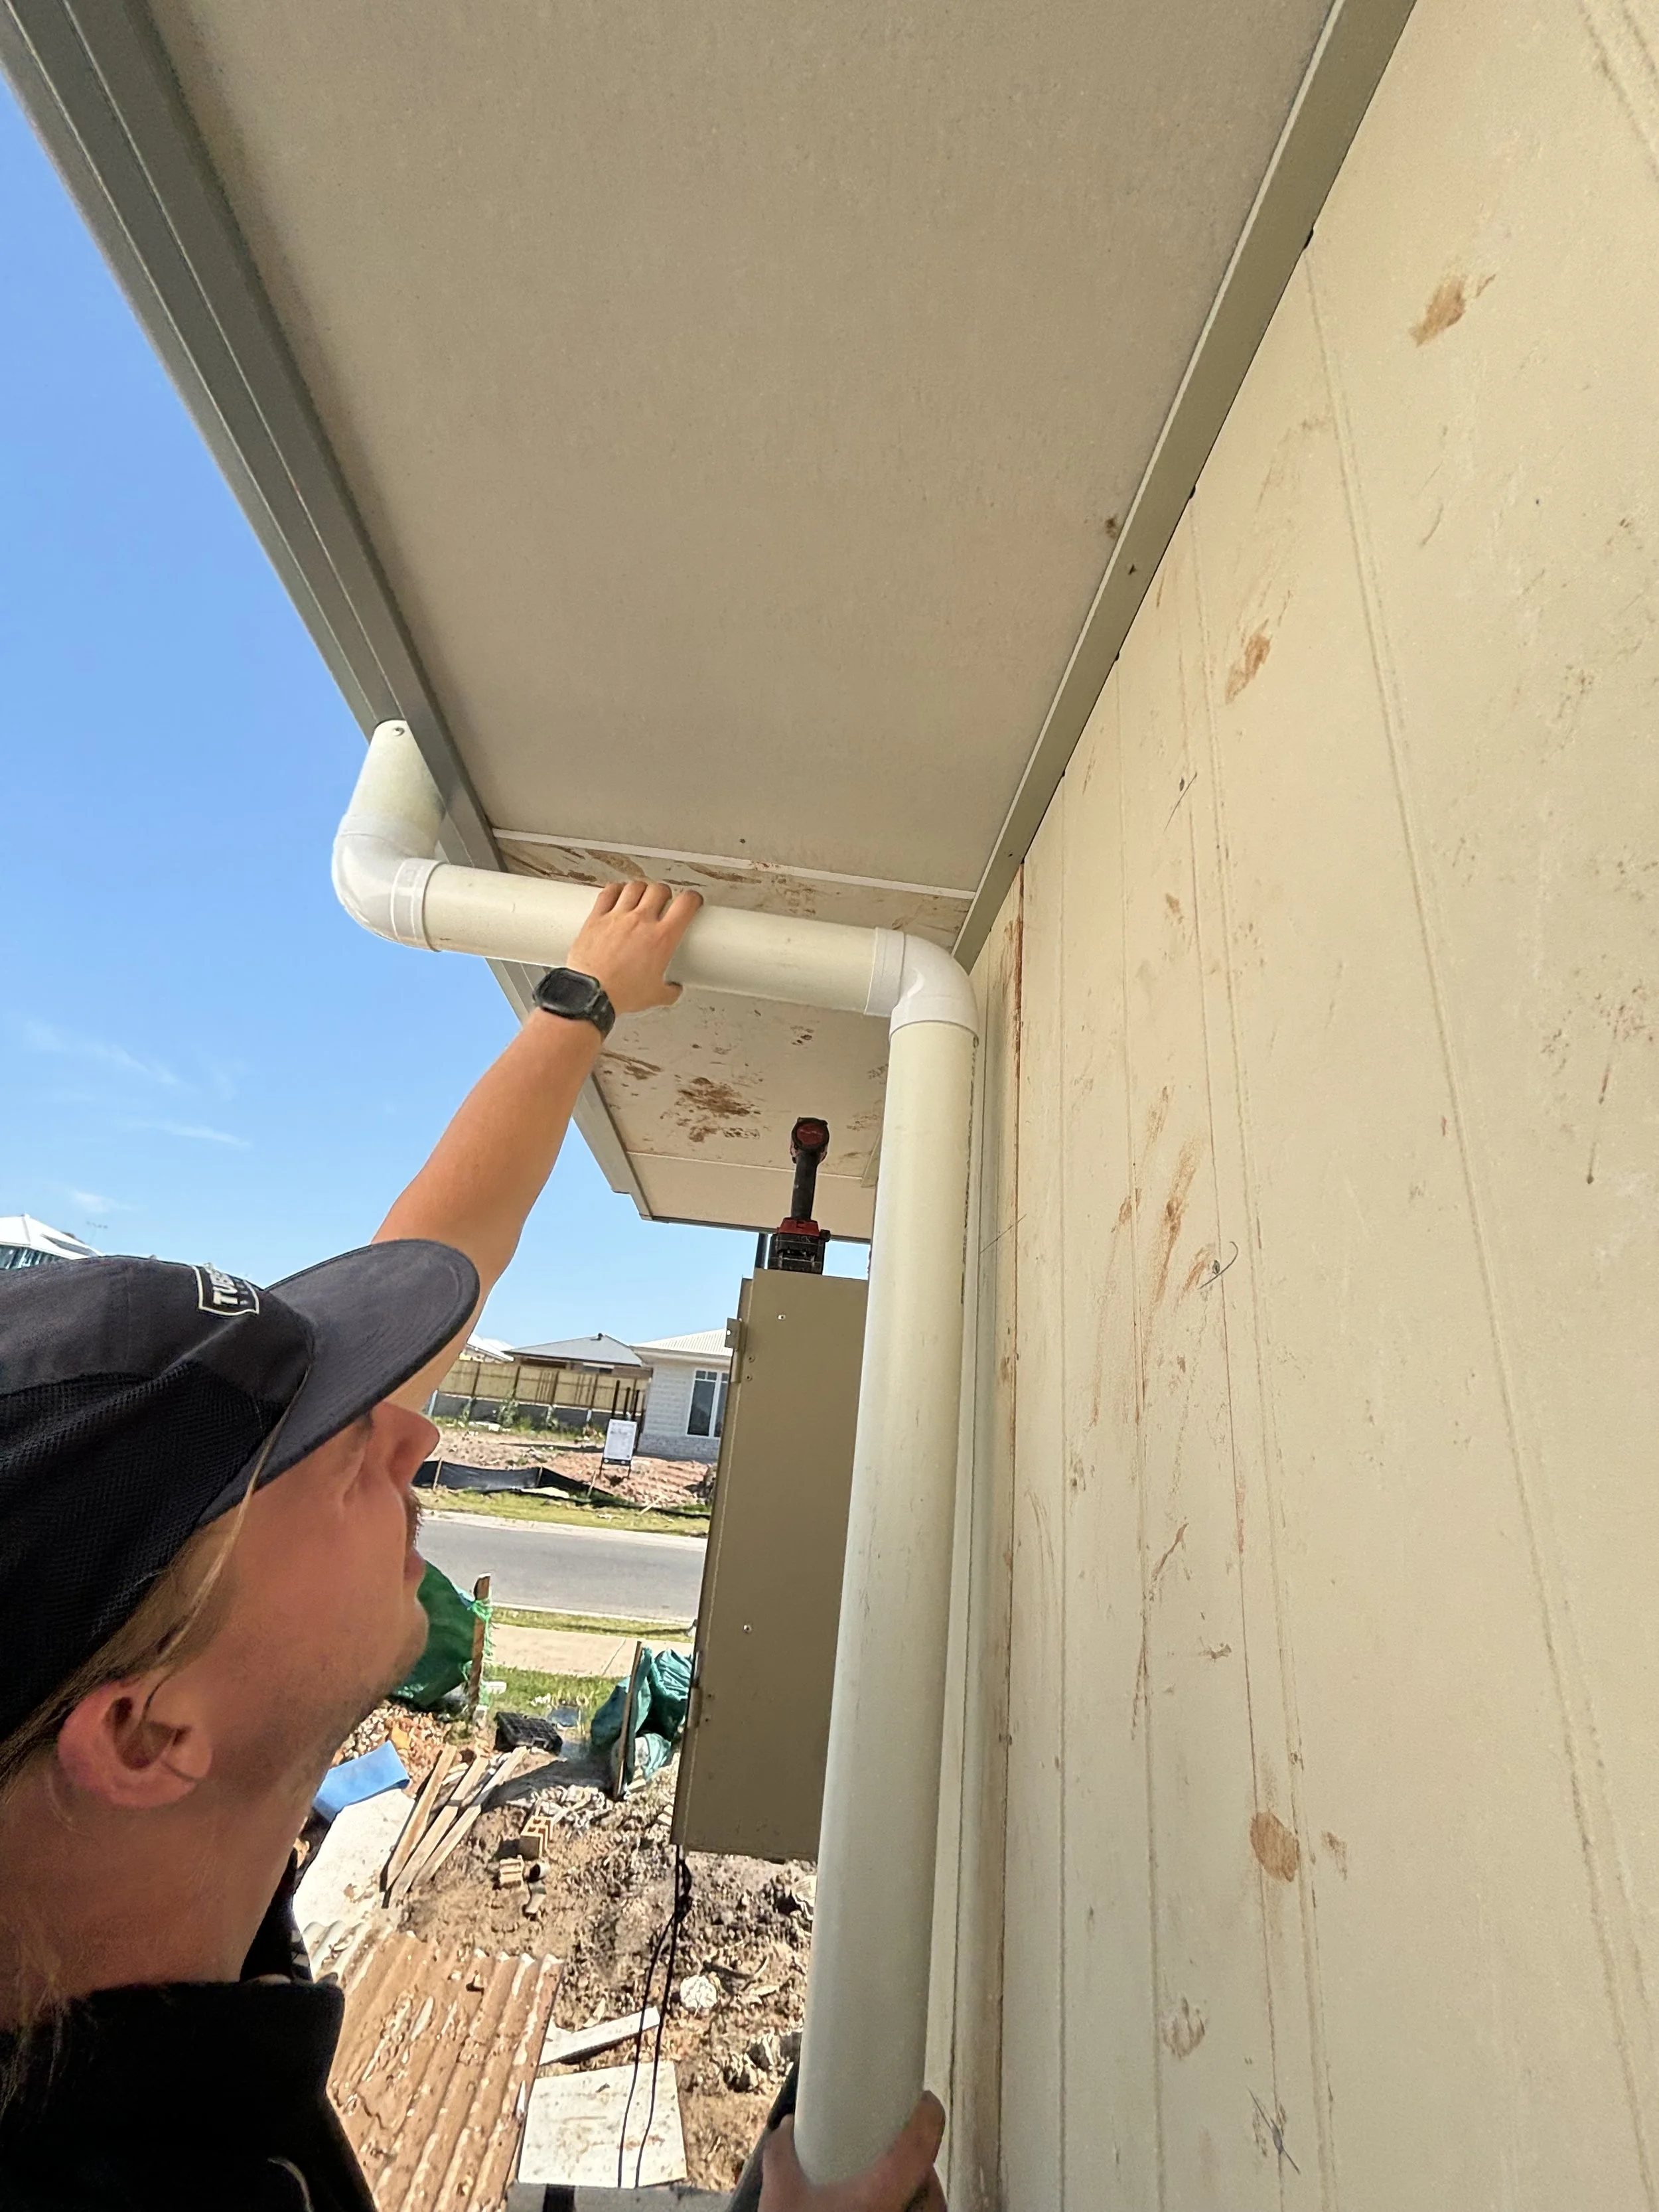
Prime and glue this cross piece to the dropper. Careful not to get glue and primer on the fascia.
Make sure it lines up with your marks from earlier and that it hasn’t pulled the dropper out of level. Check this straight away and correct before glue goes off.
Prime and glue next bend and ensure level when gluing in.
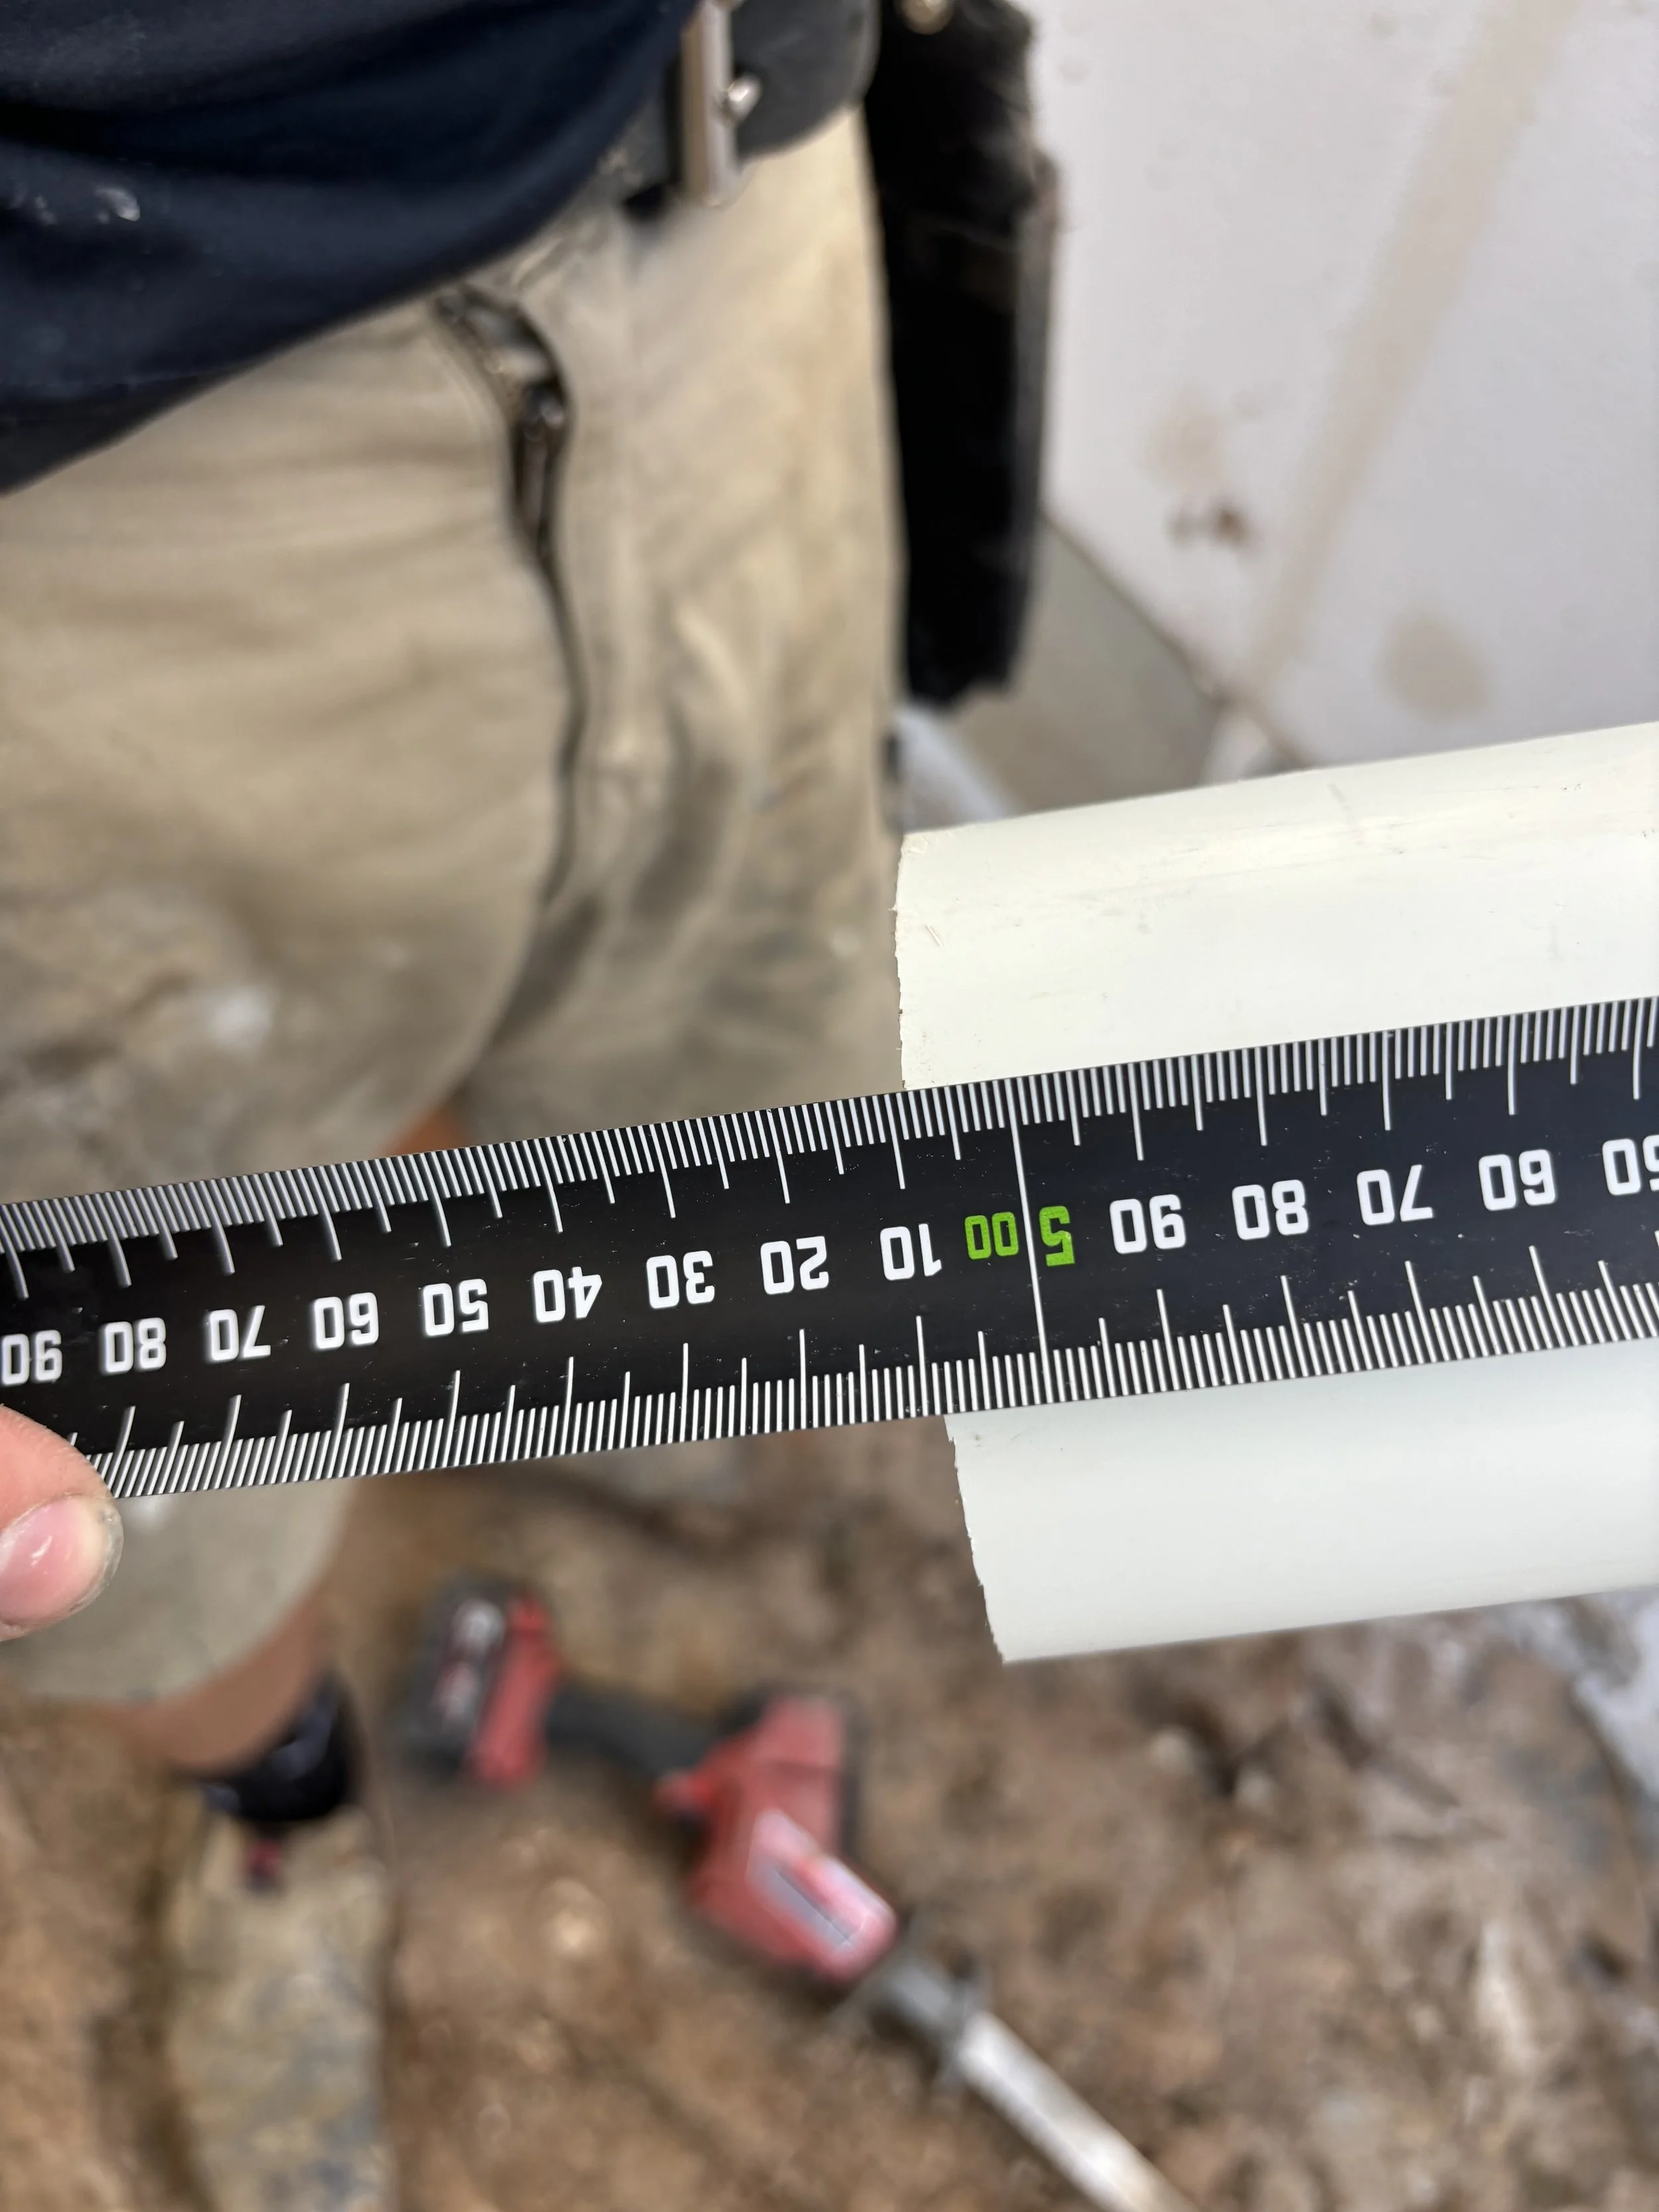
Measure from bottom mark to inside of top bend.
Glue in with the writing towards the back.
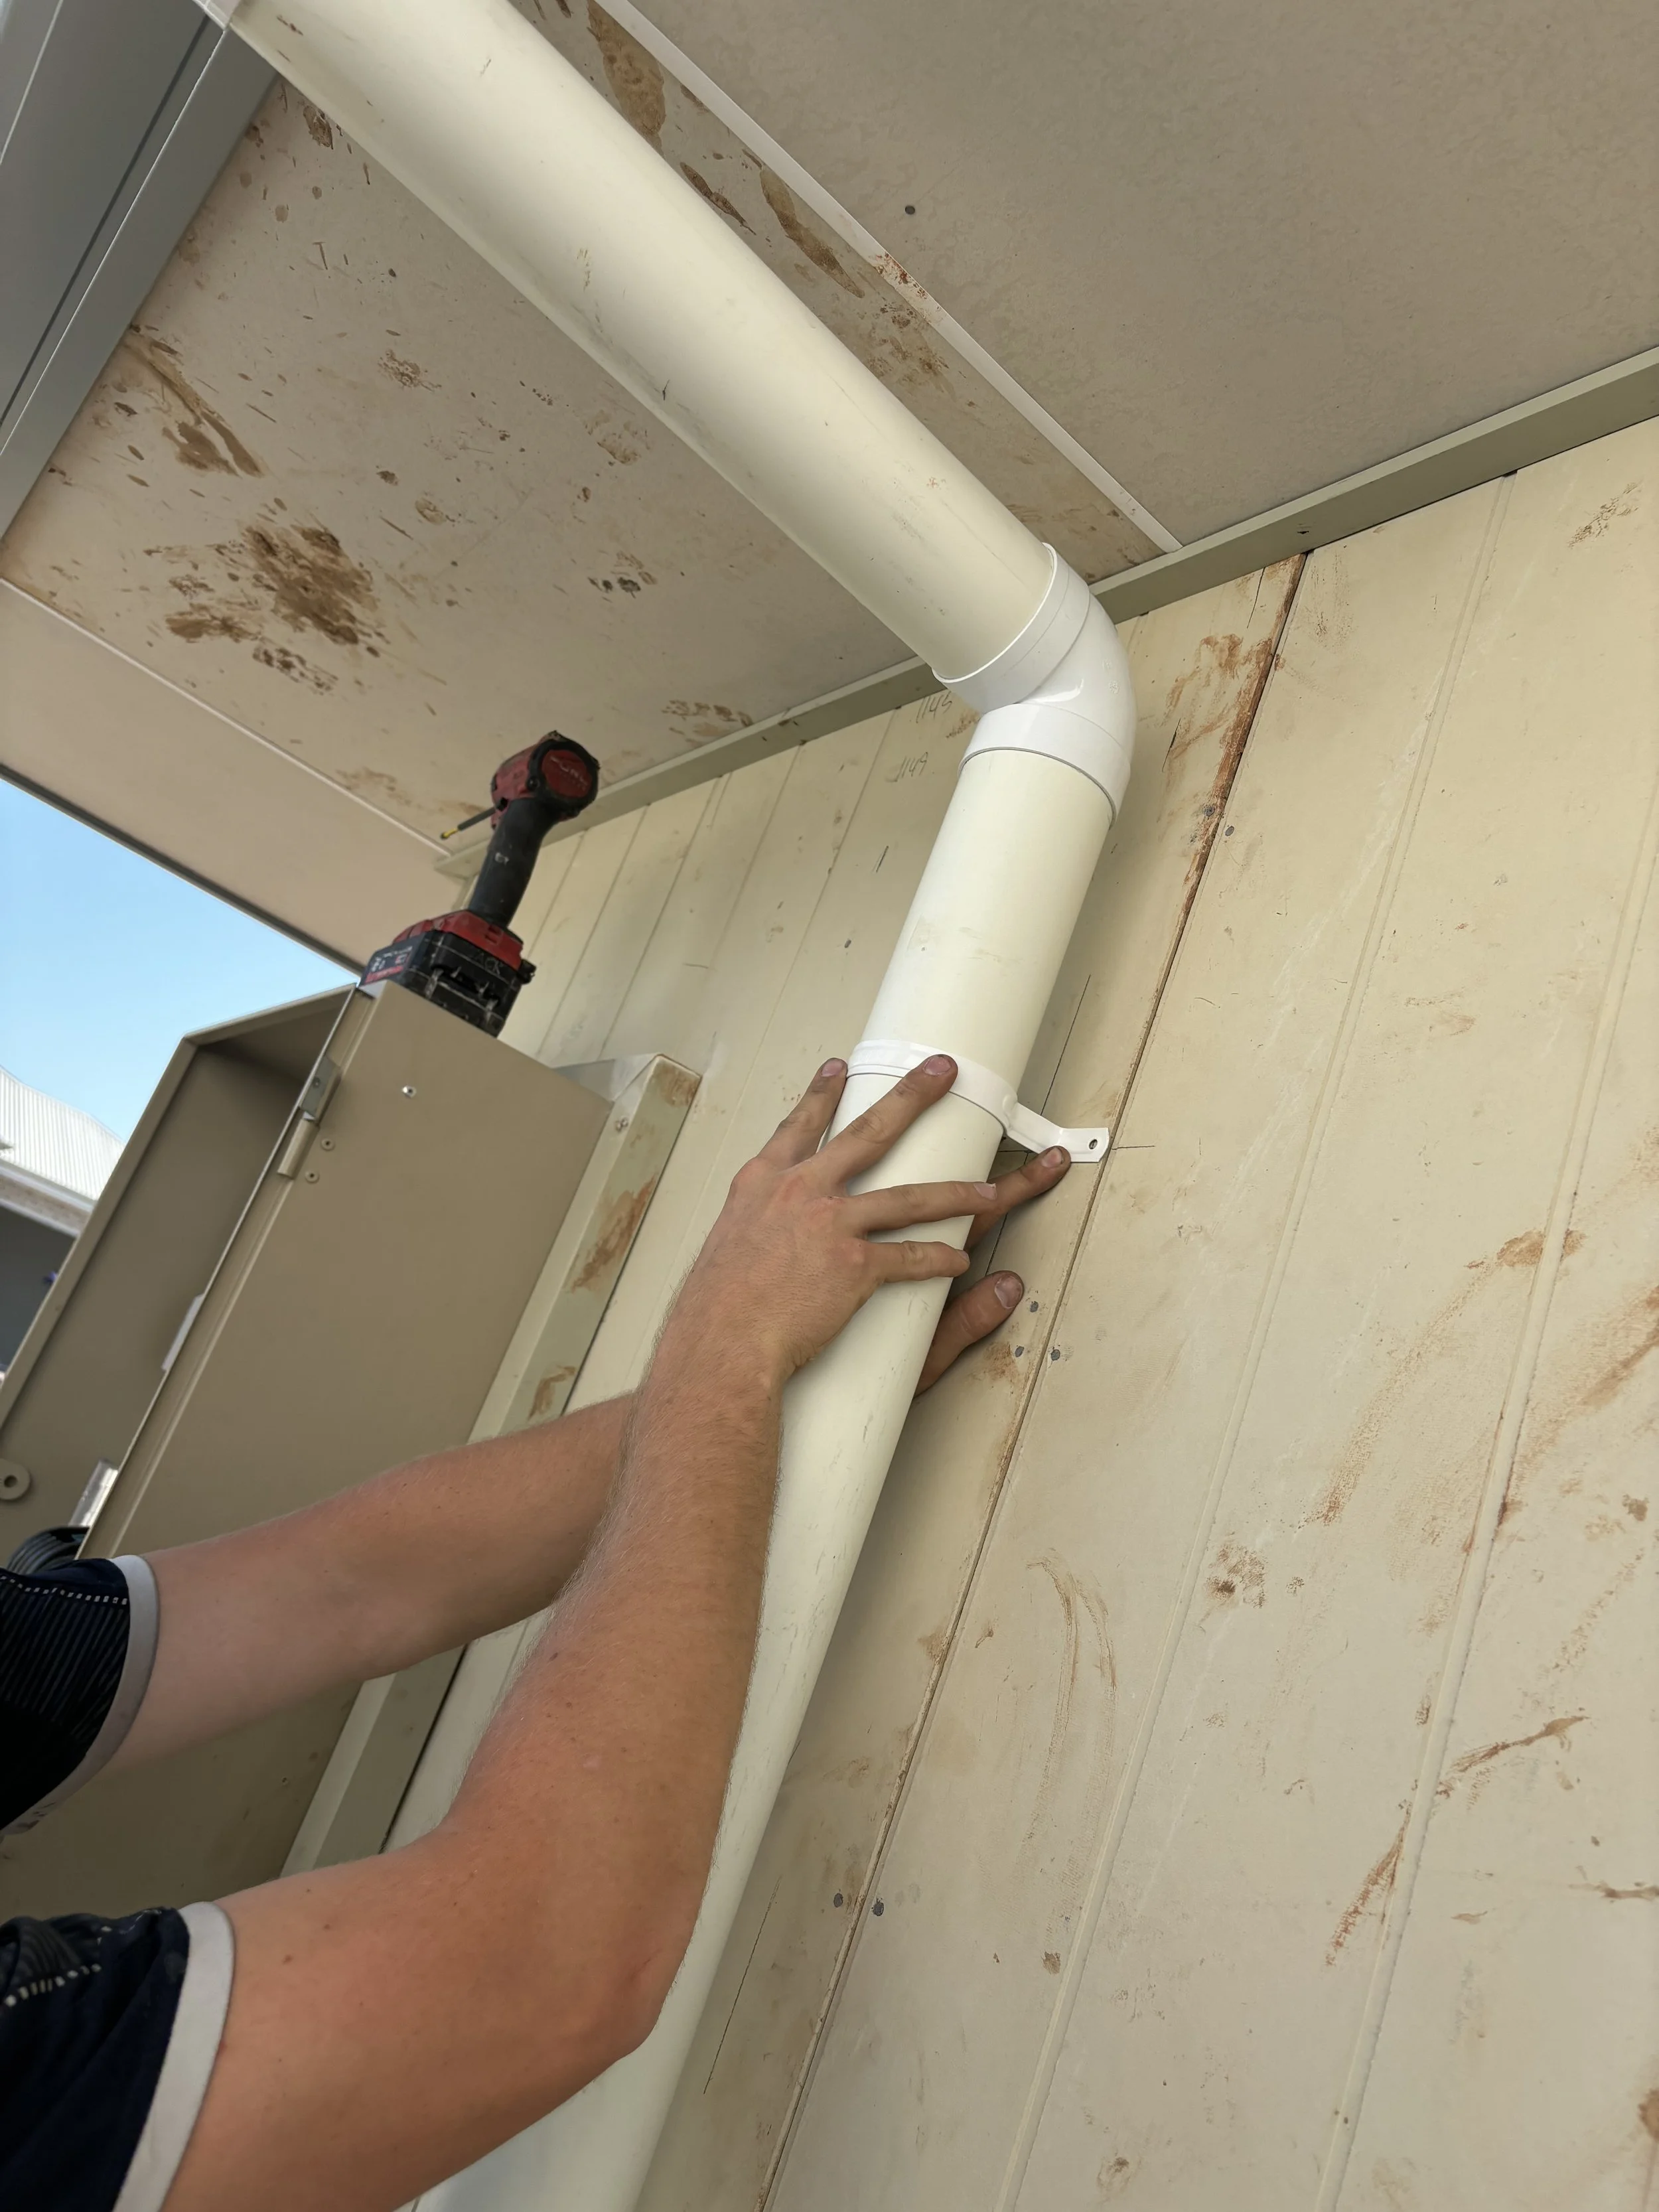
Set up for top saddle making sure that the cross piece is still square.
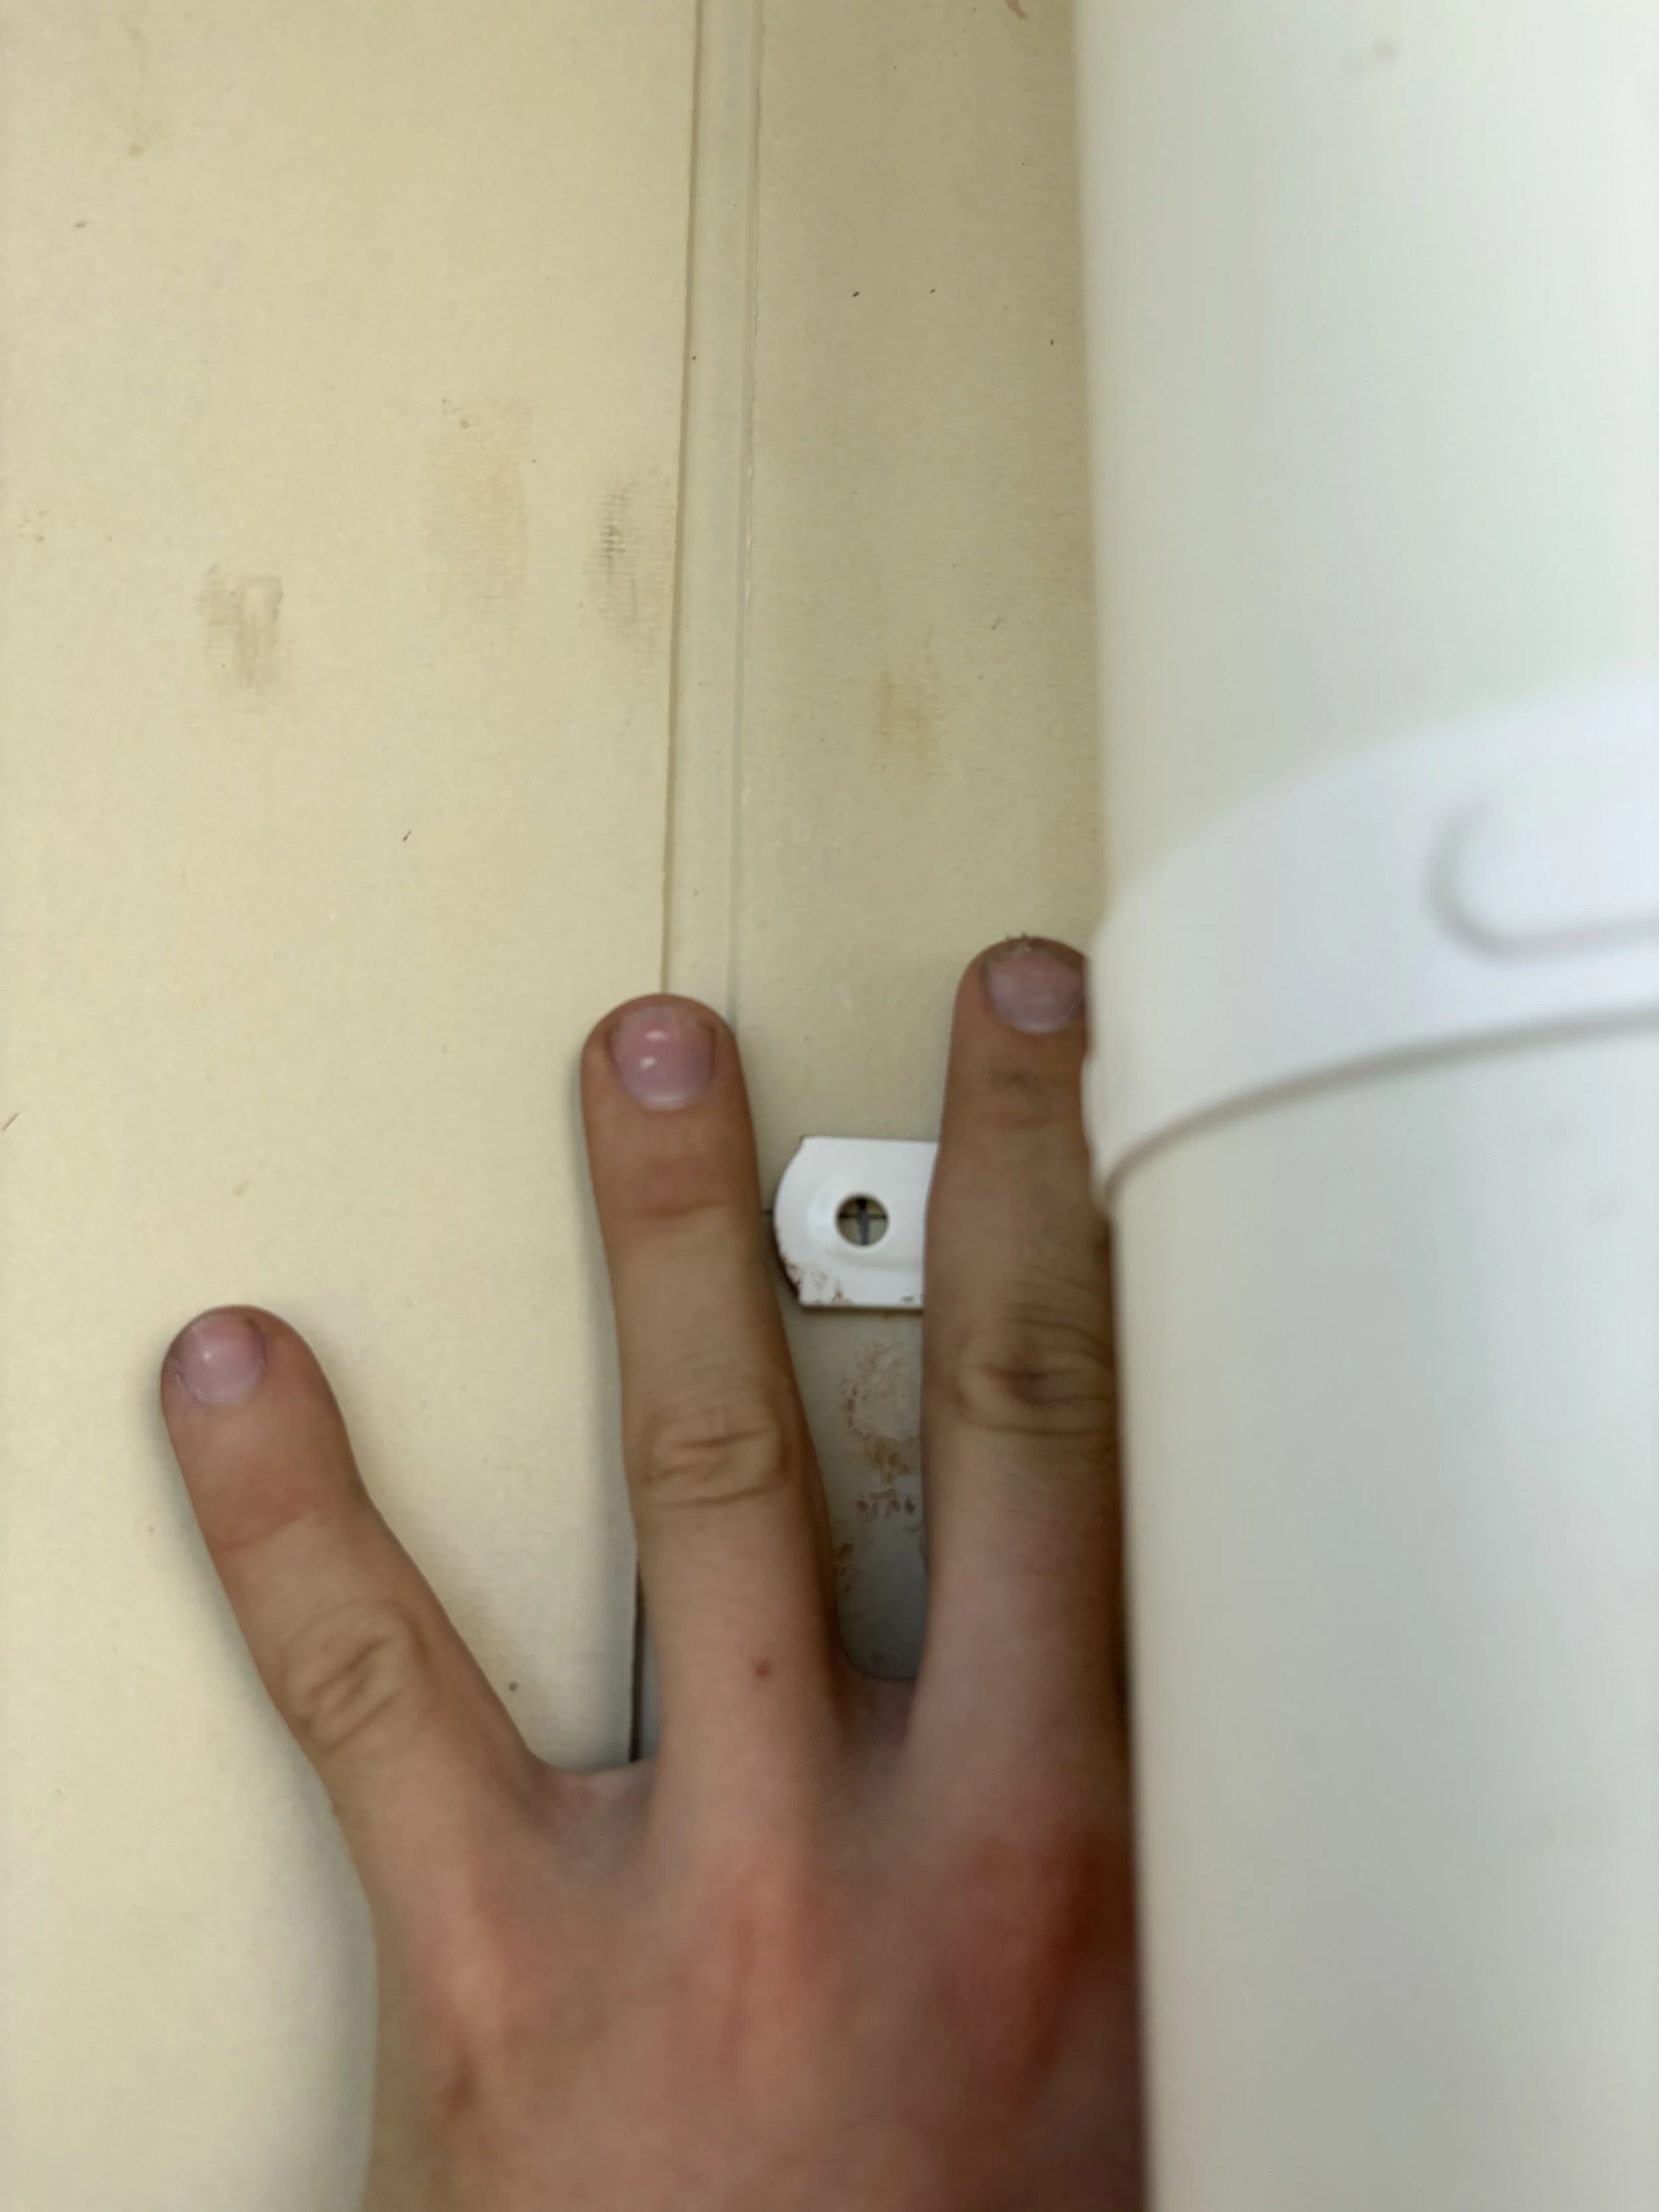
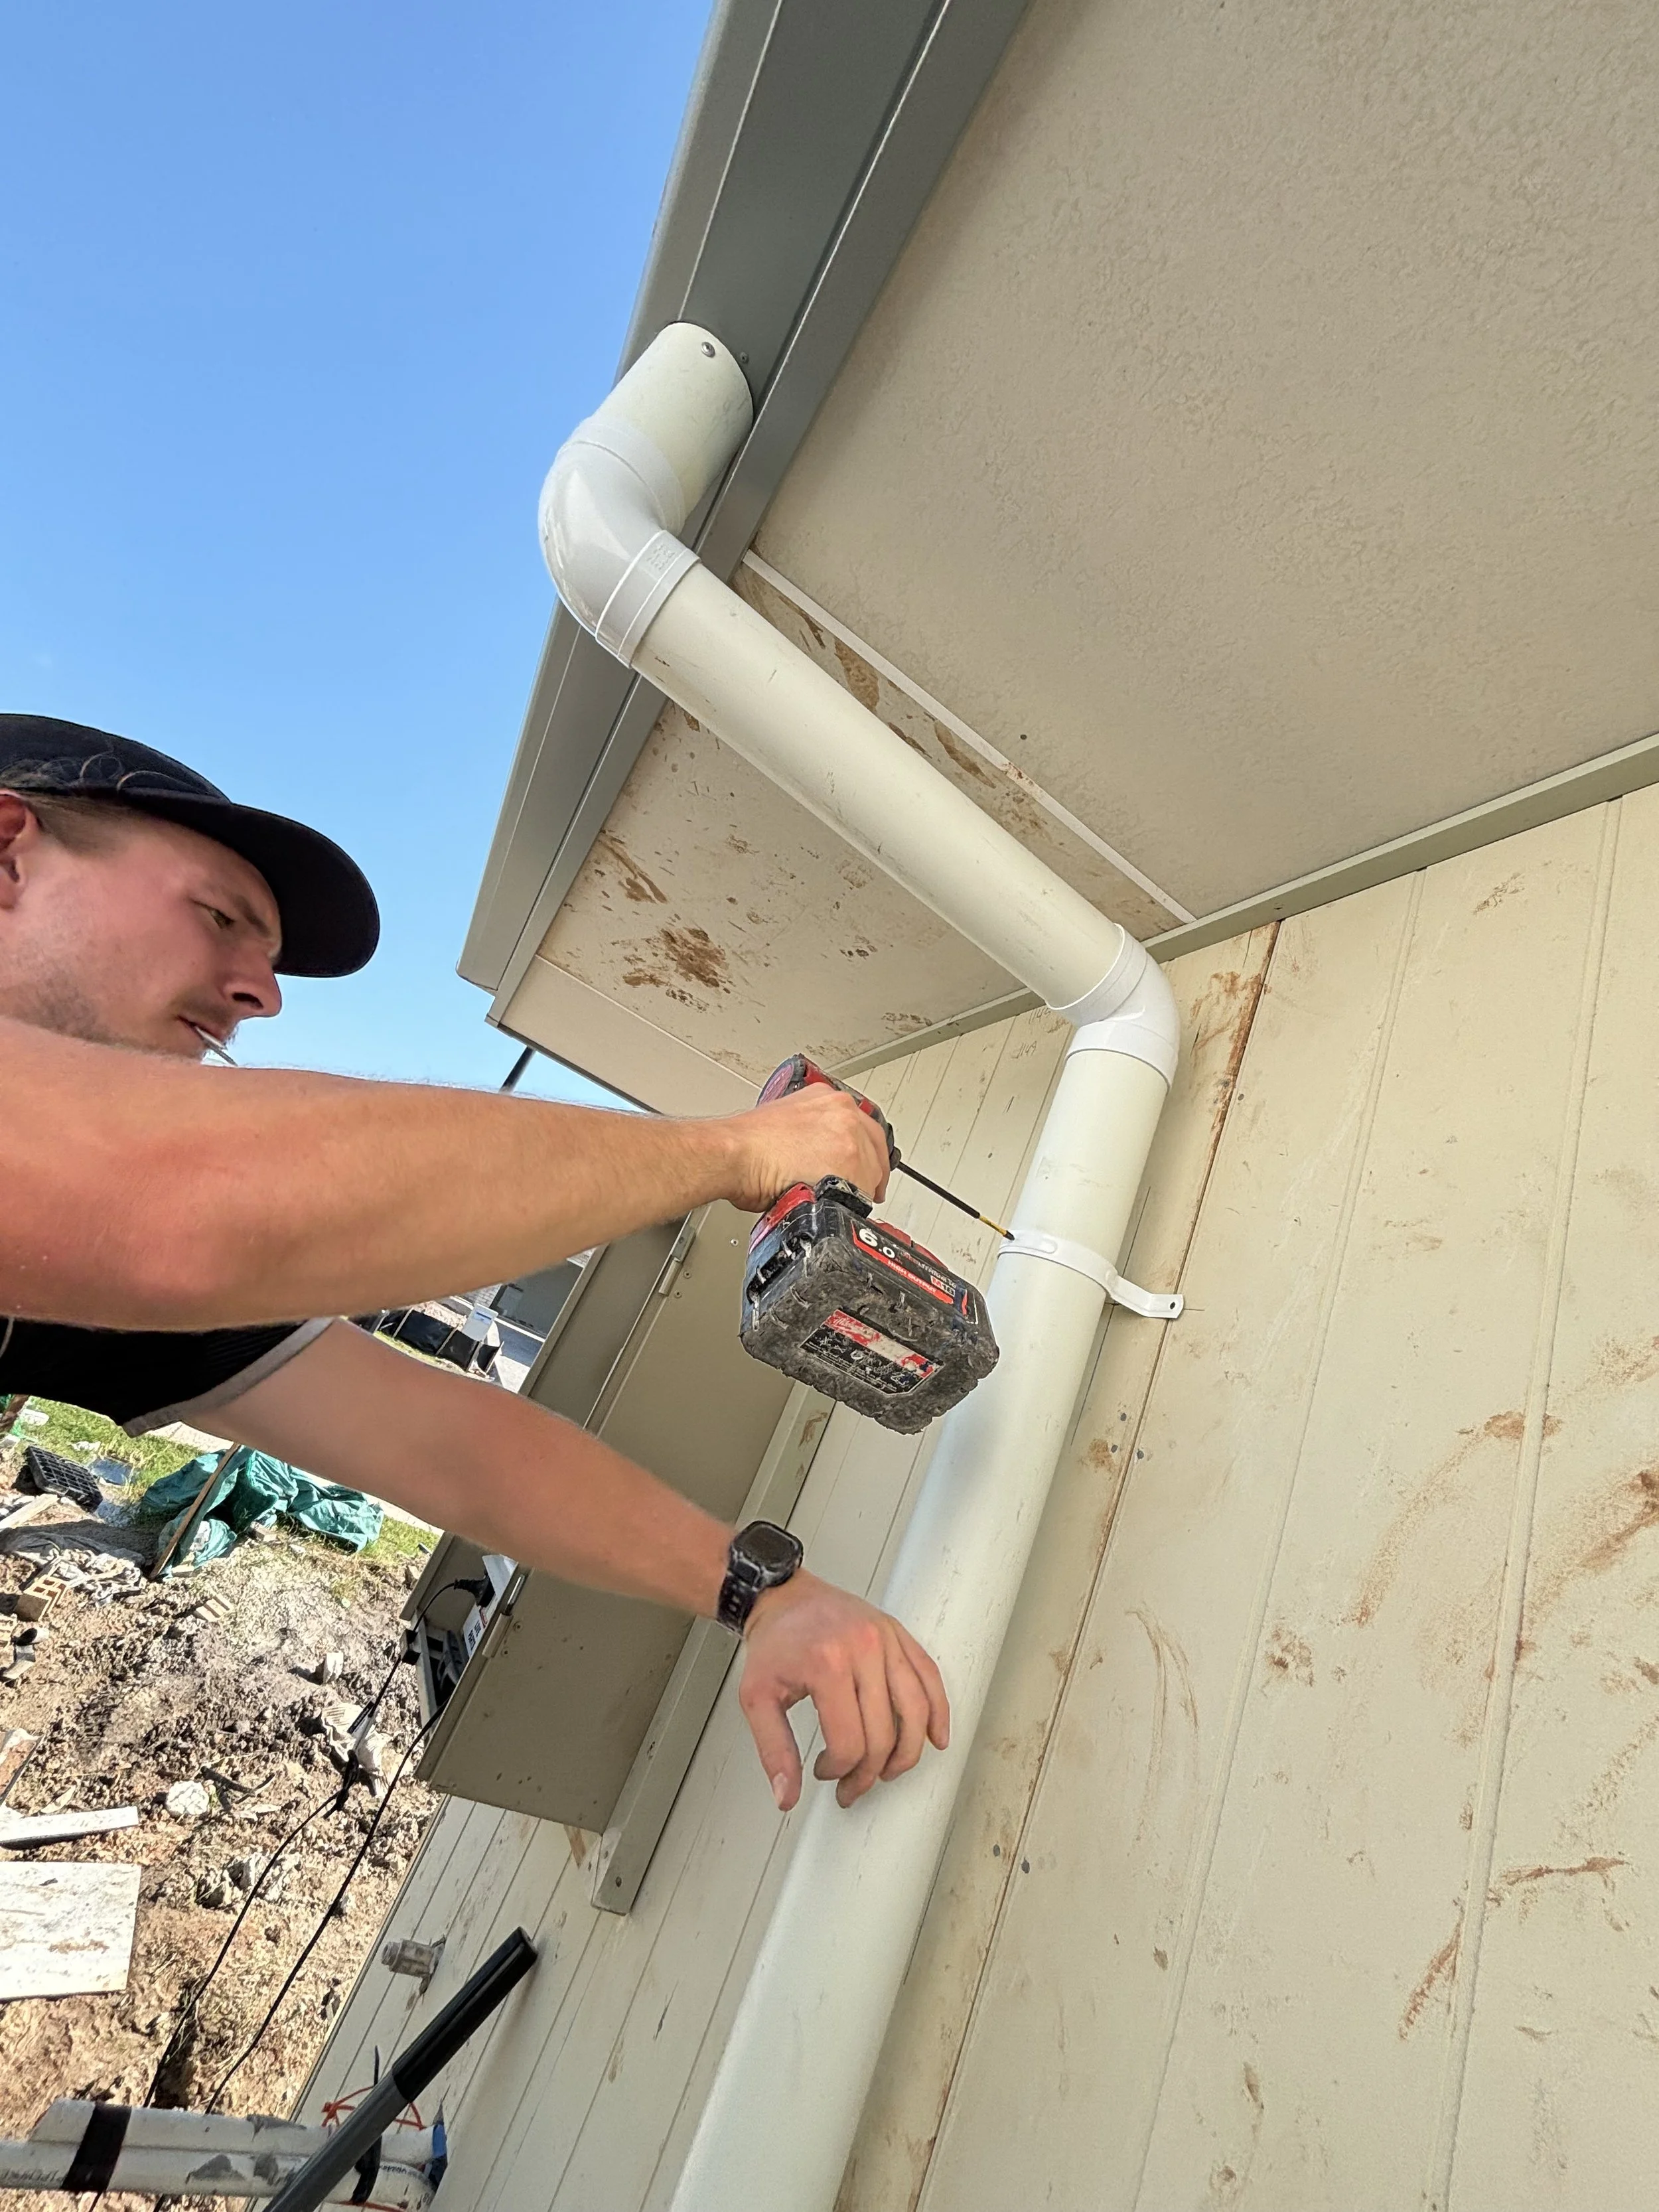
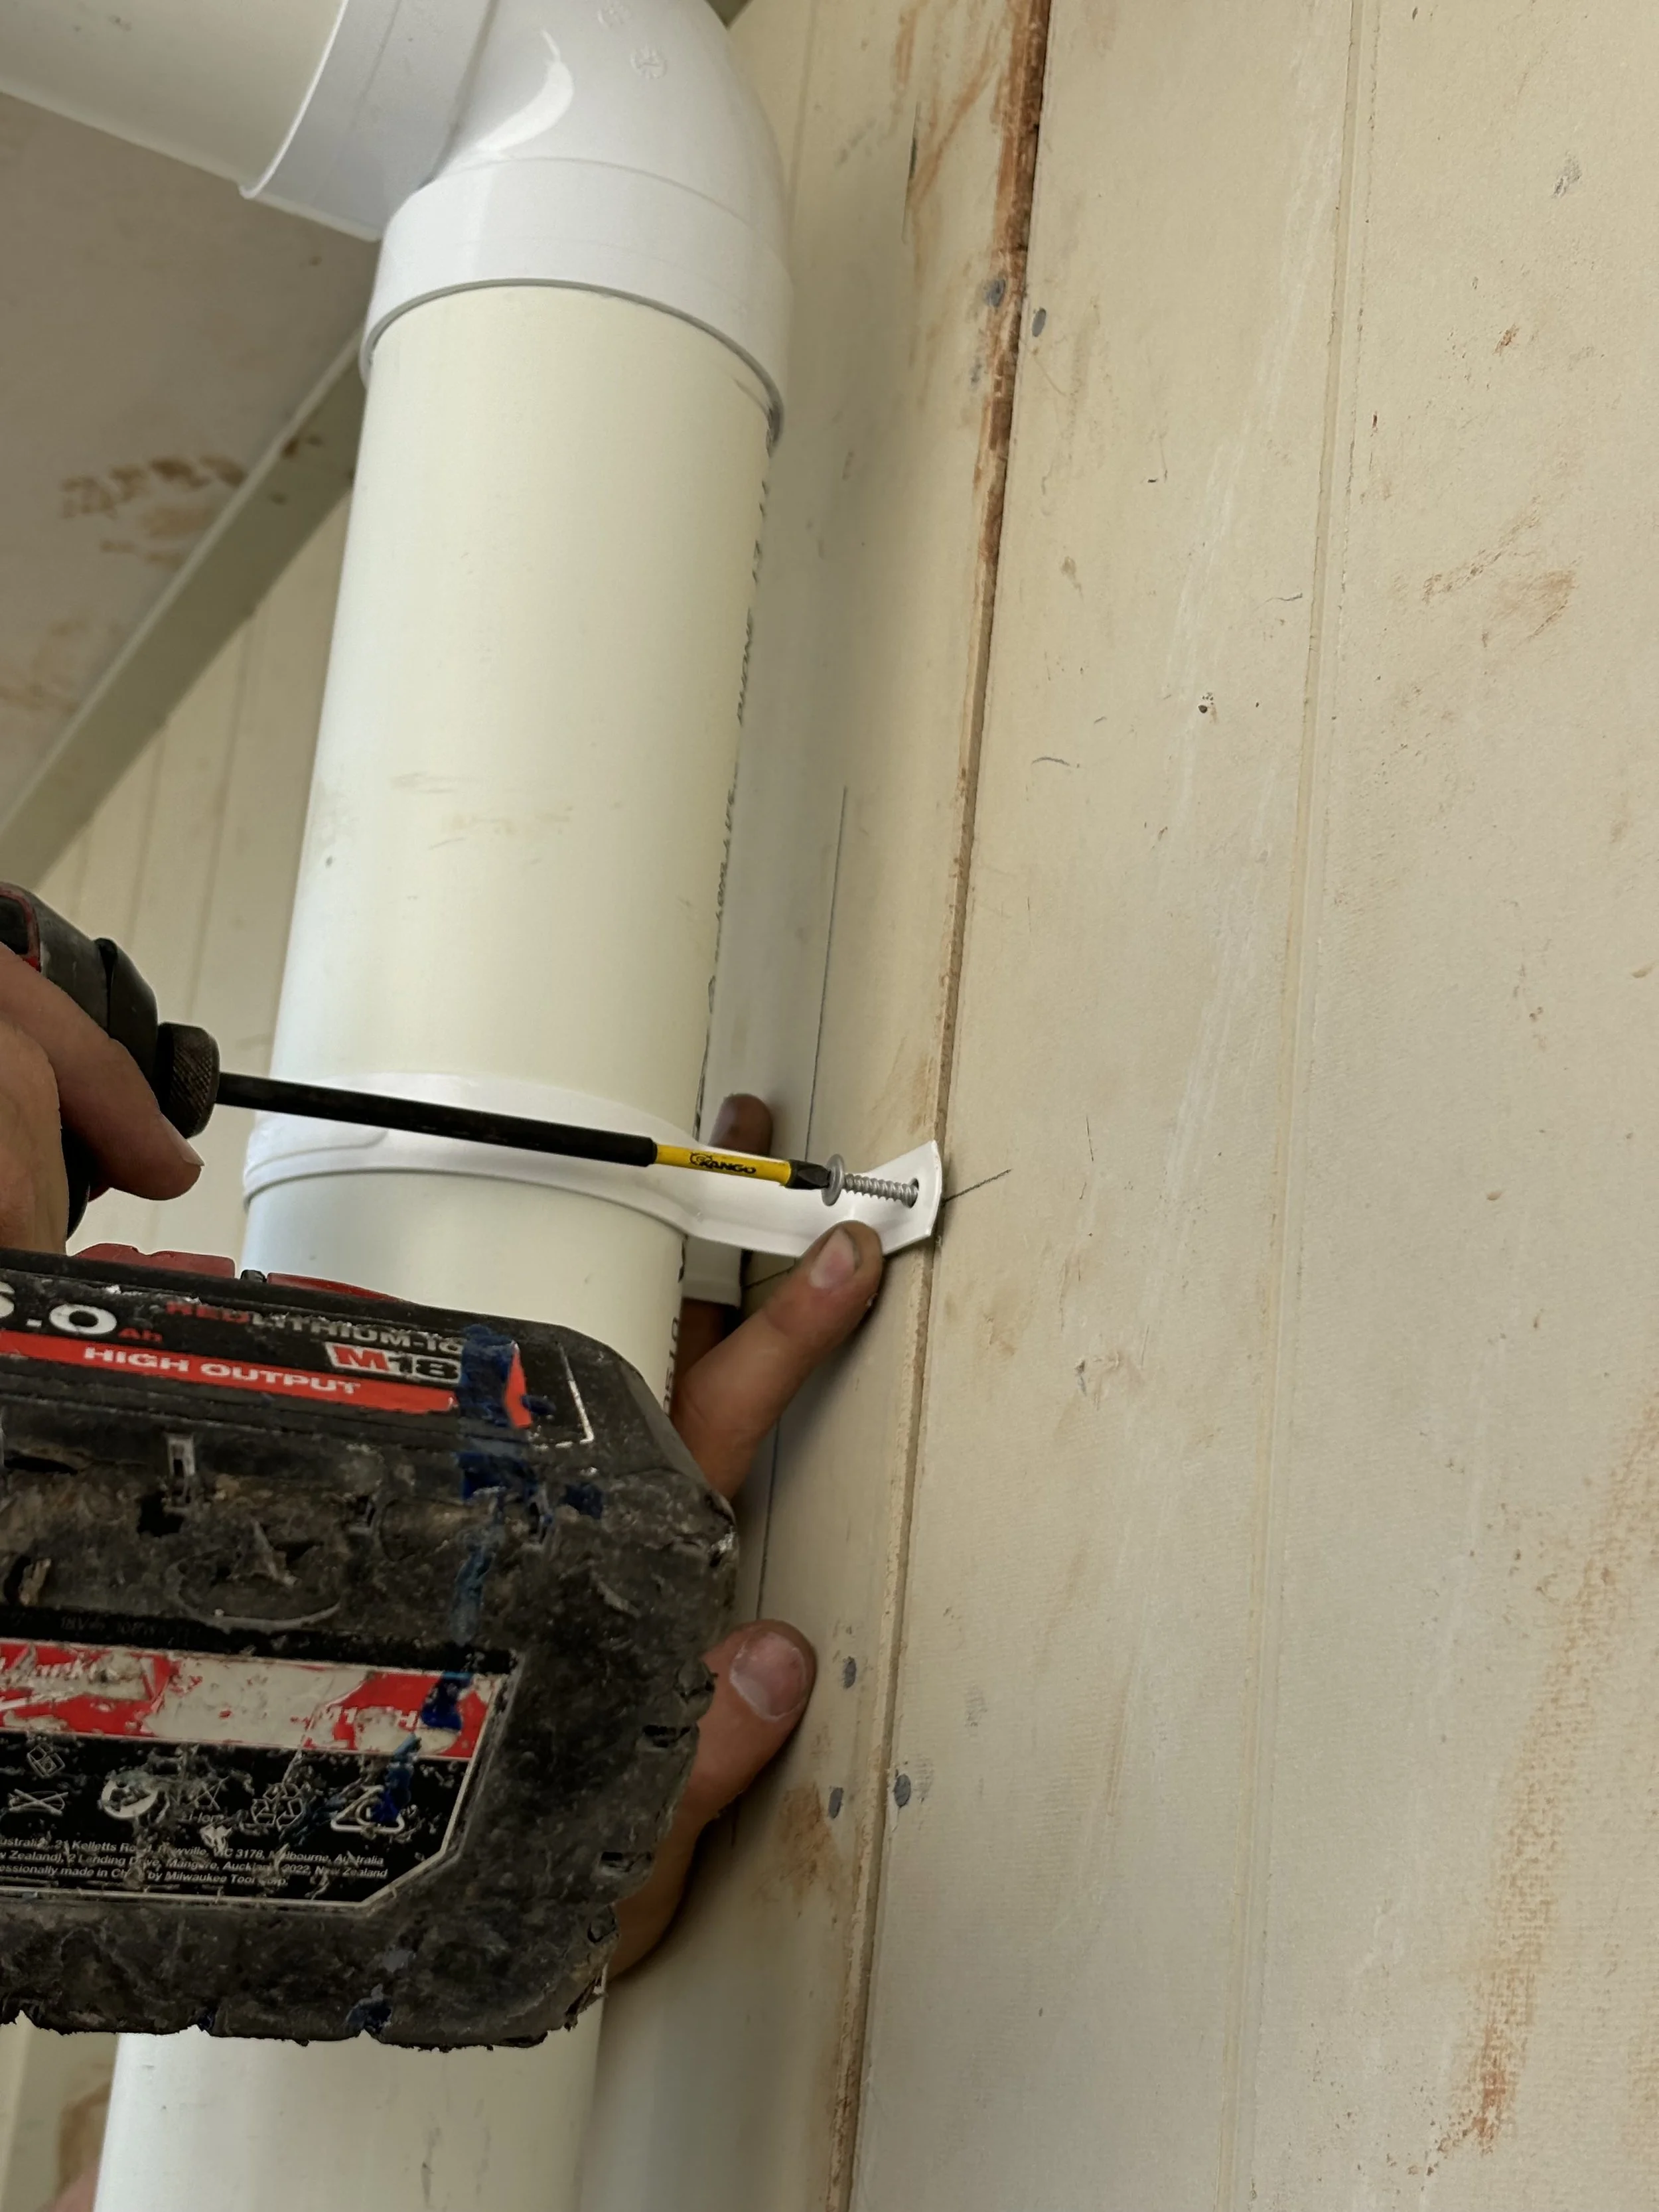
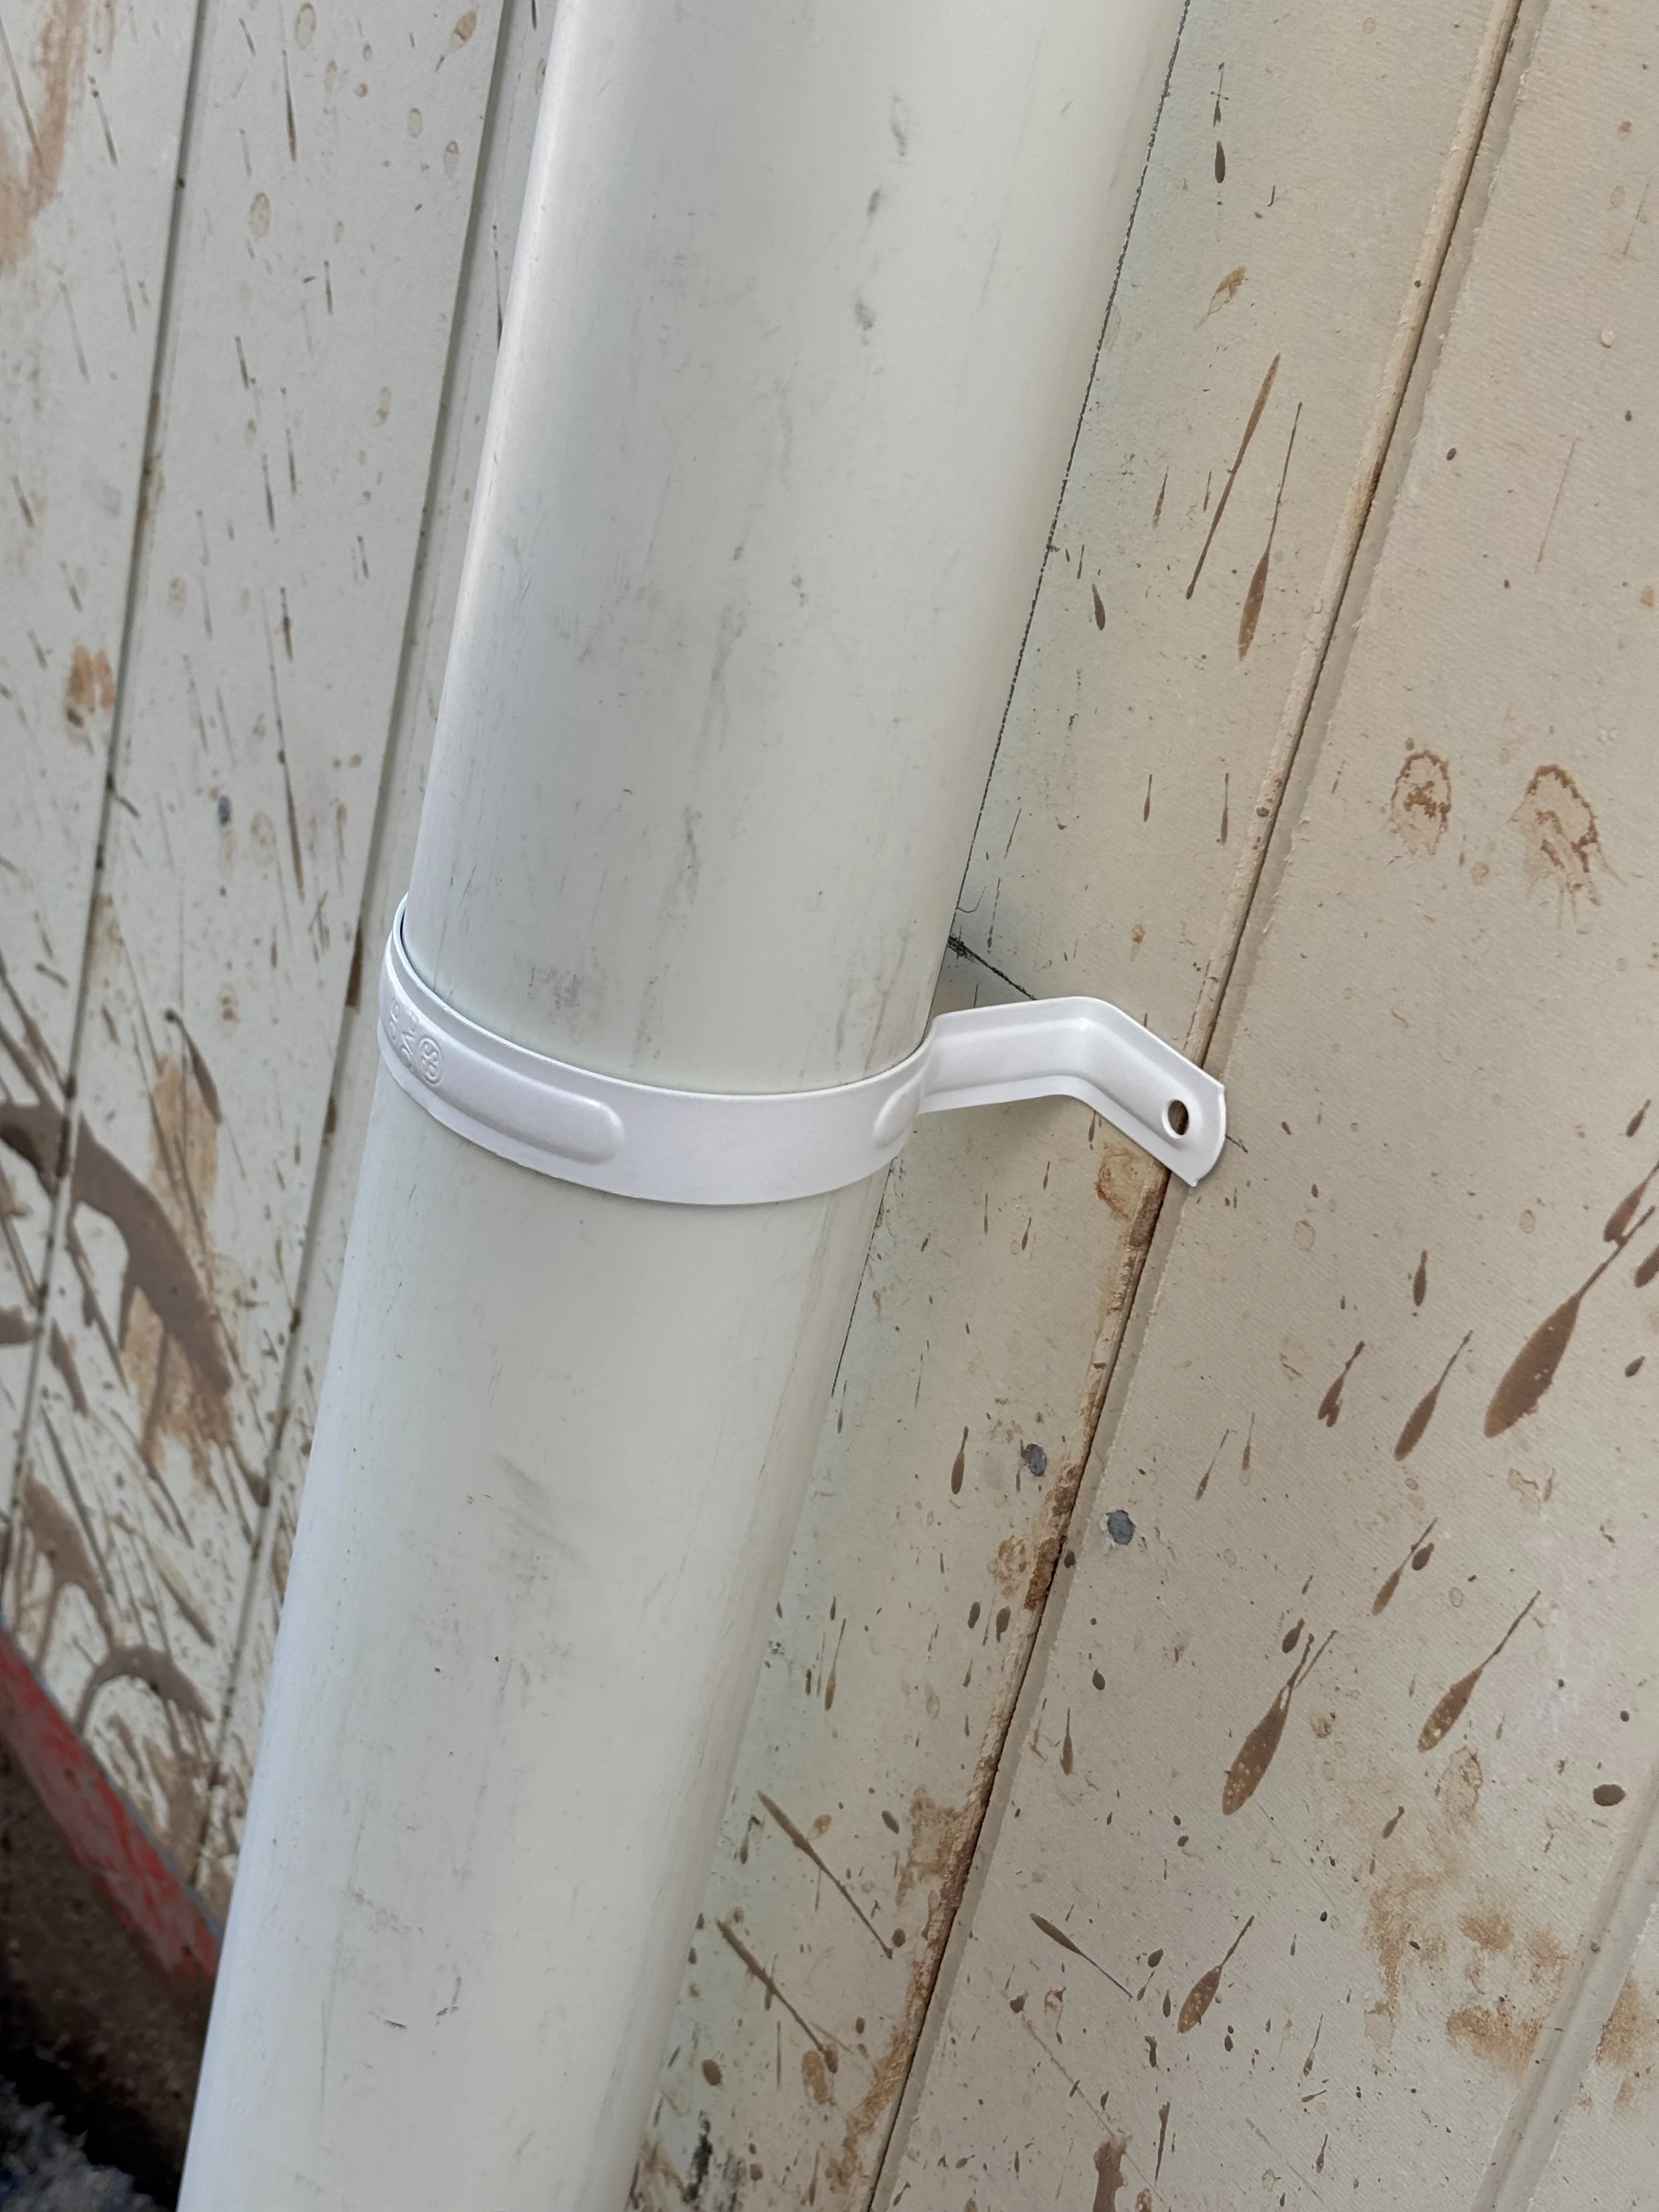
Screw into marks using button screws for cladding and 5mm nylon tapins for brick.
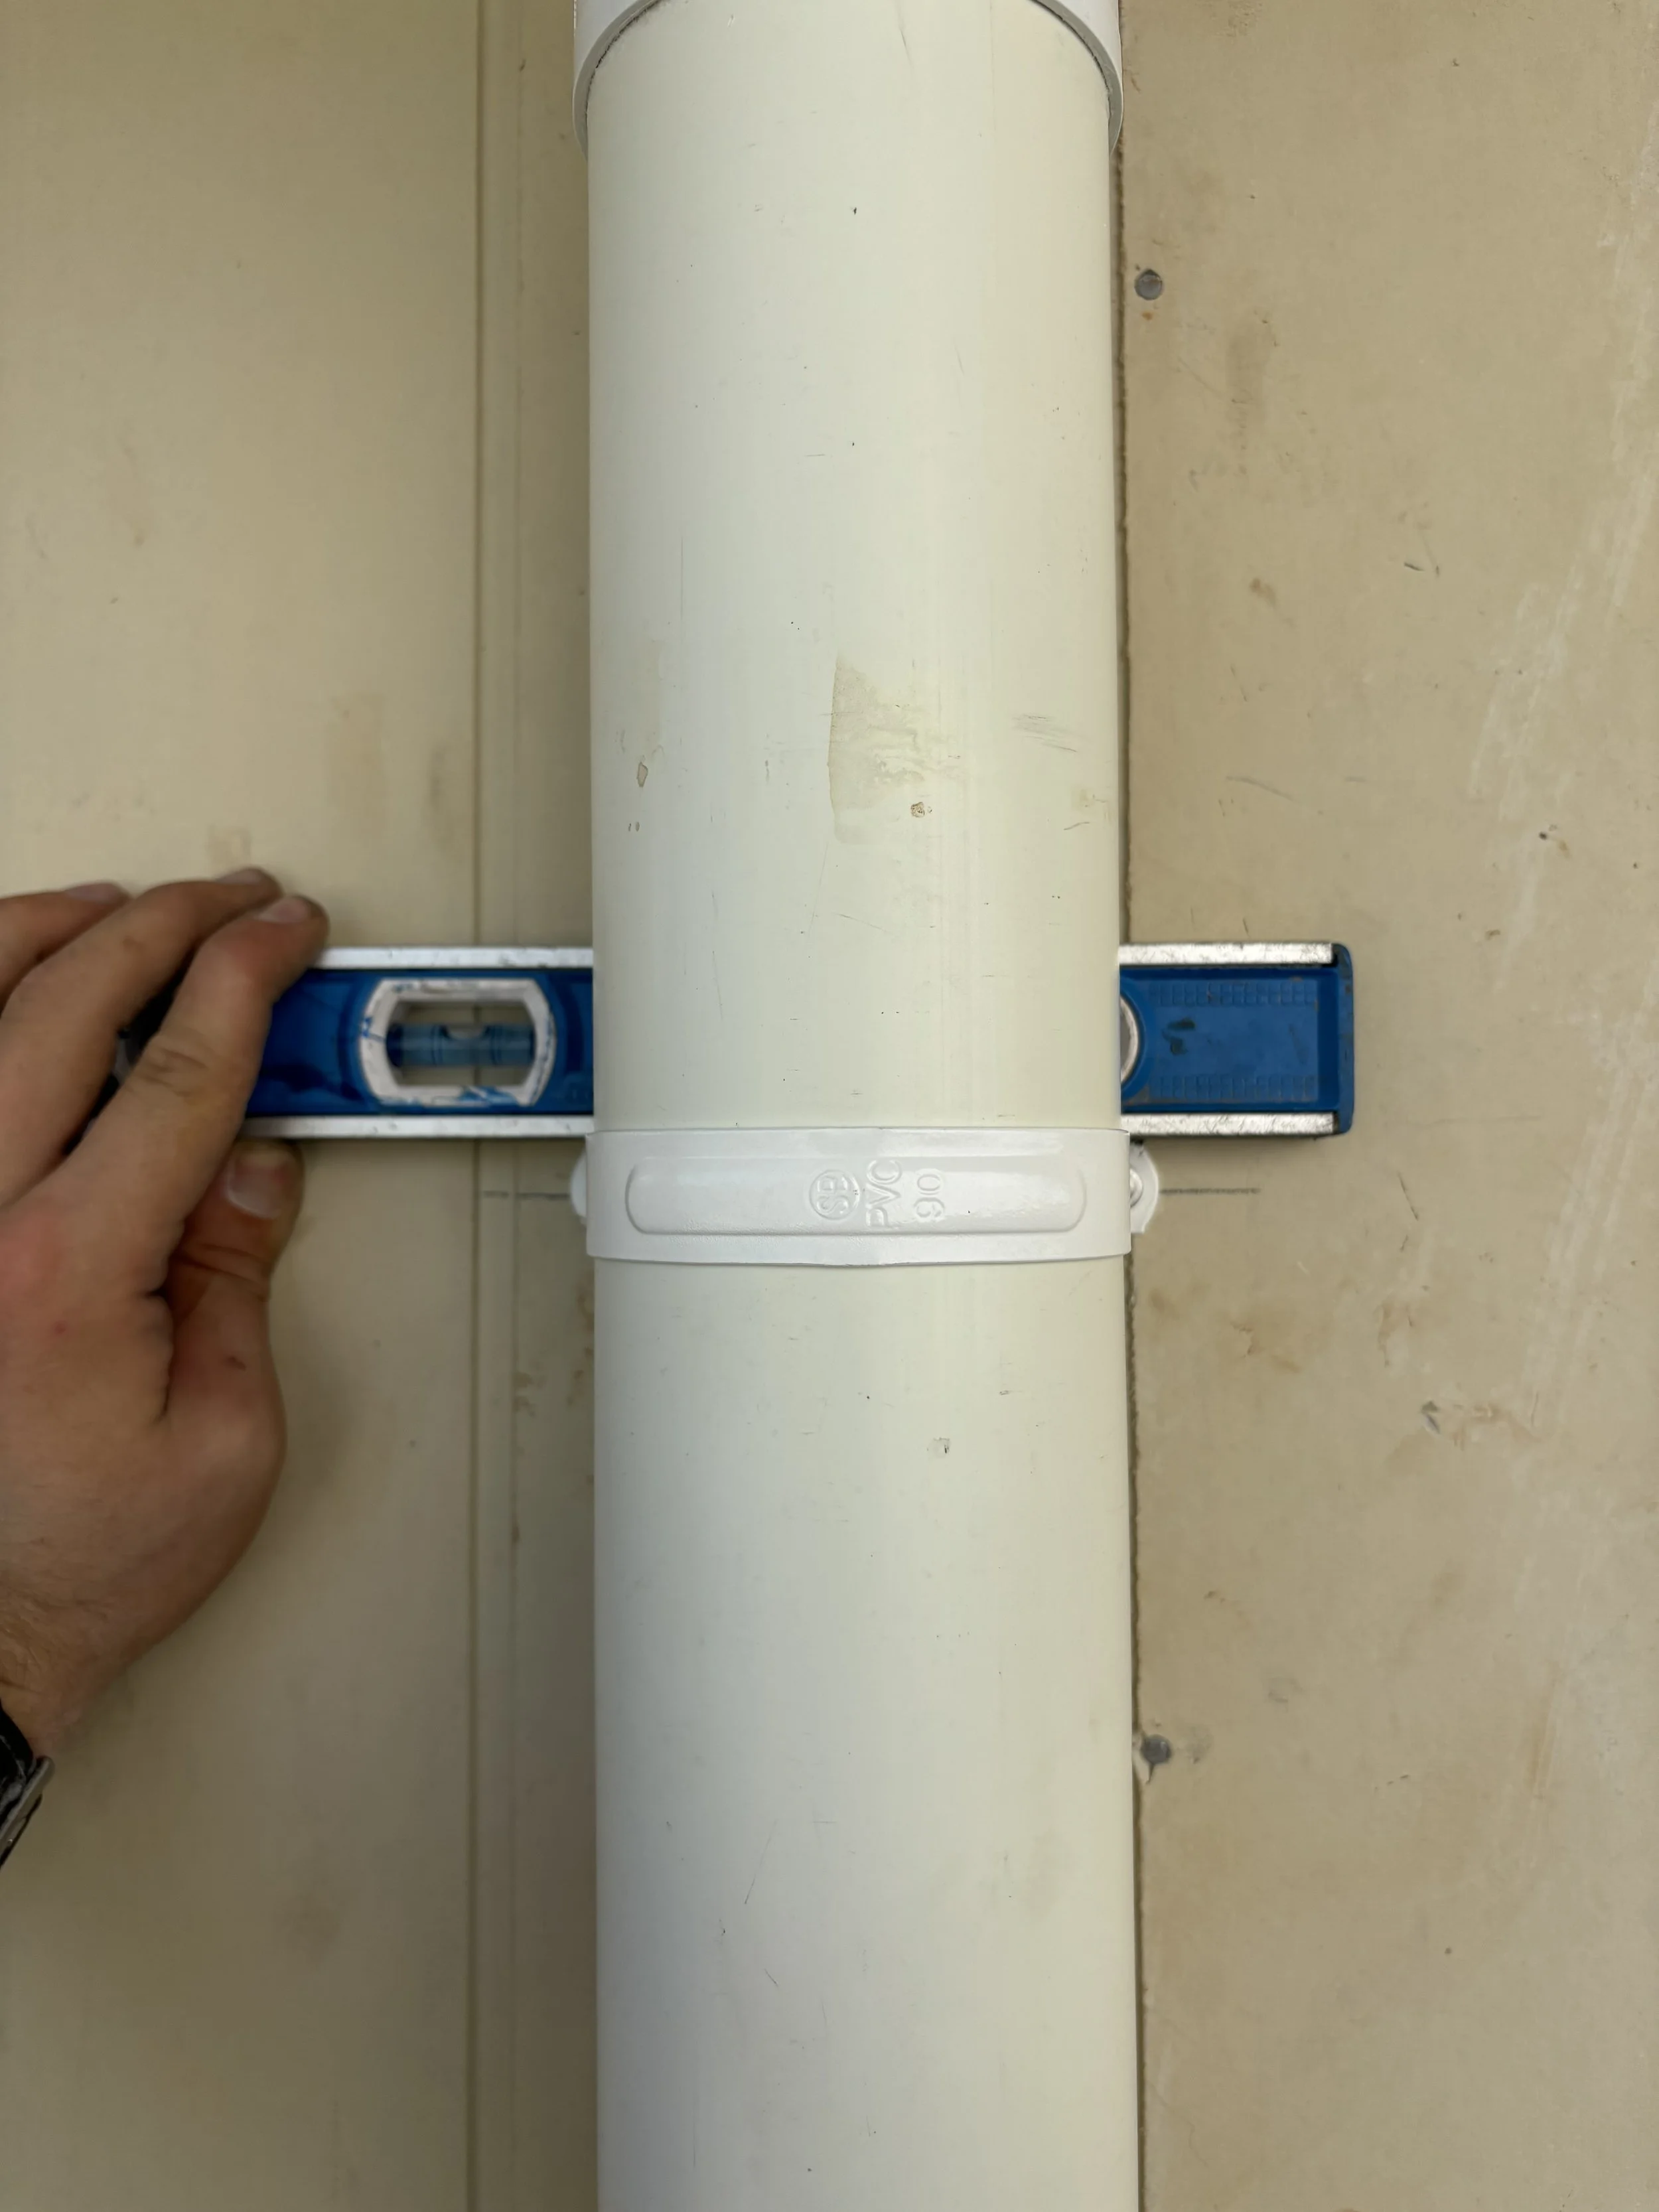
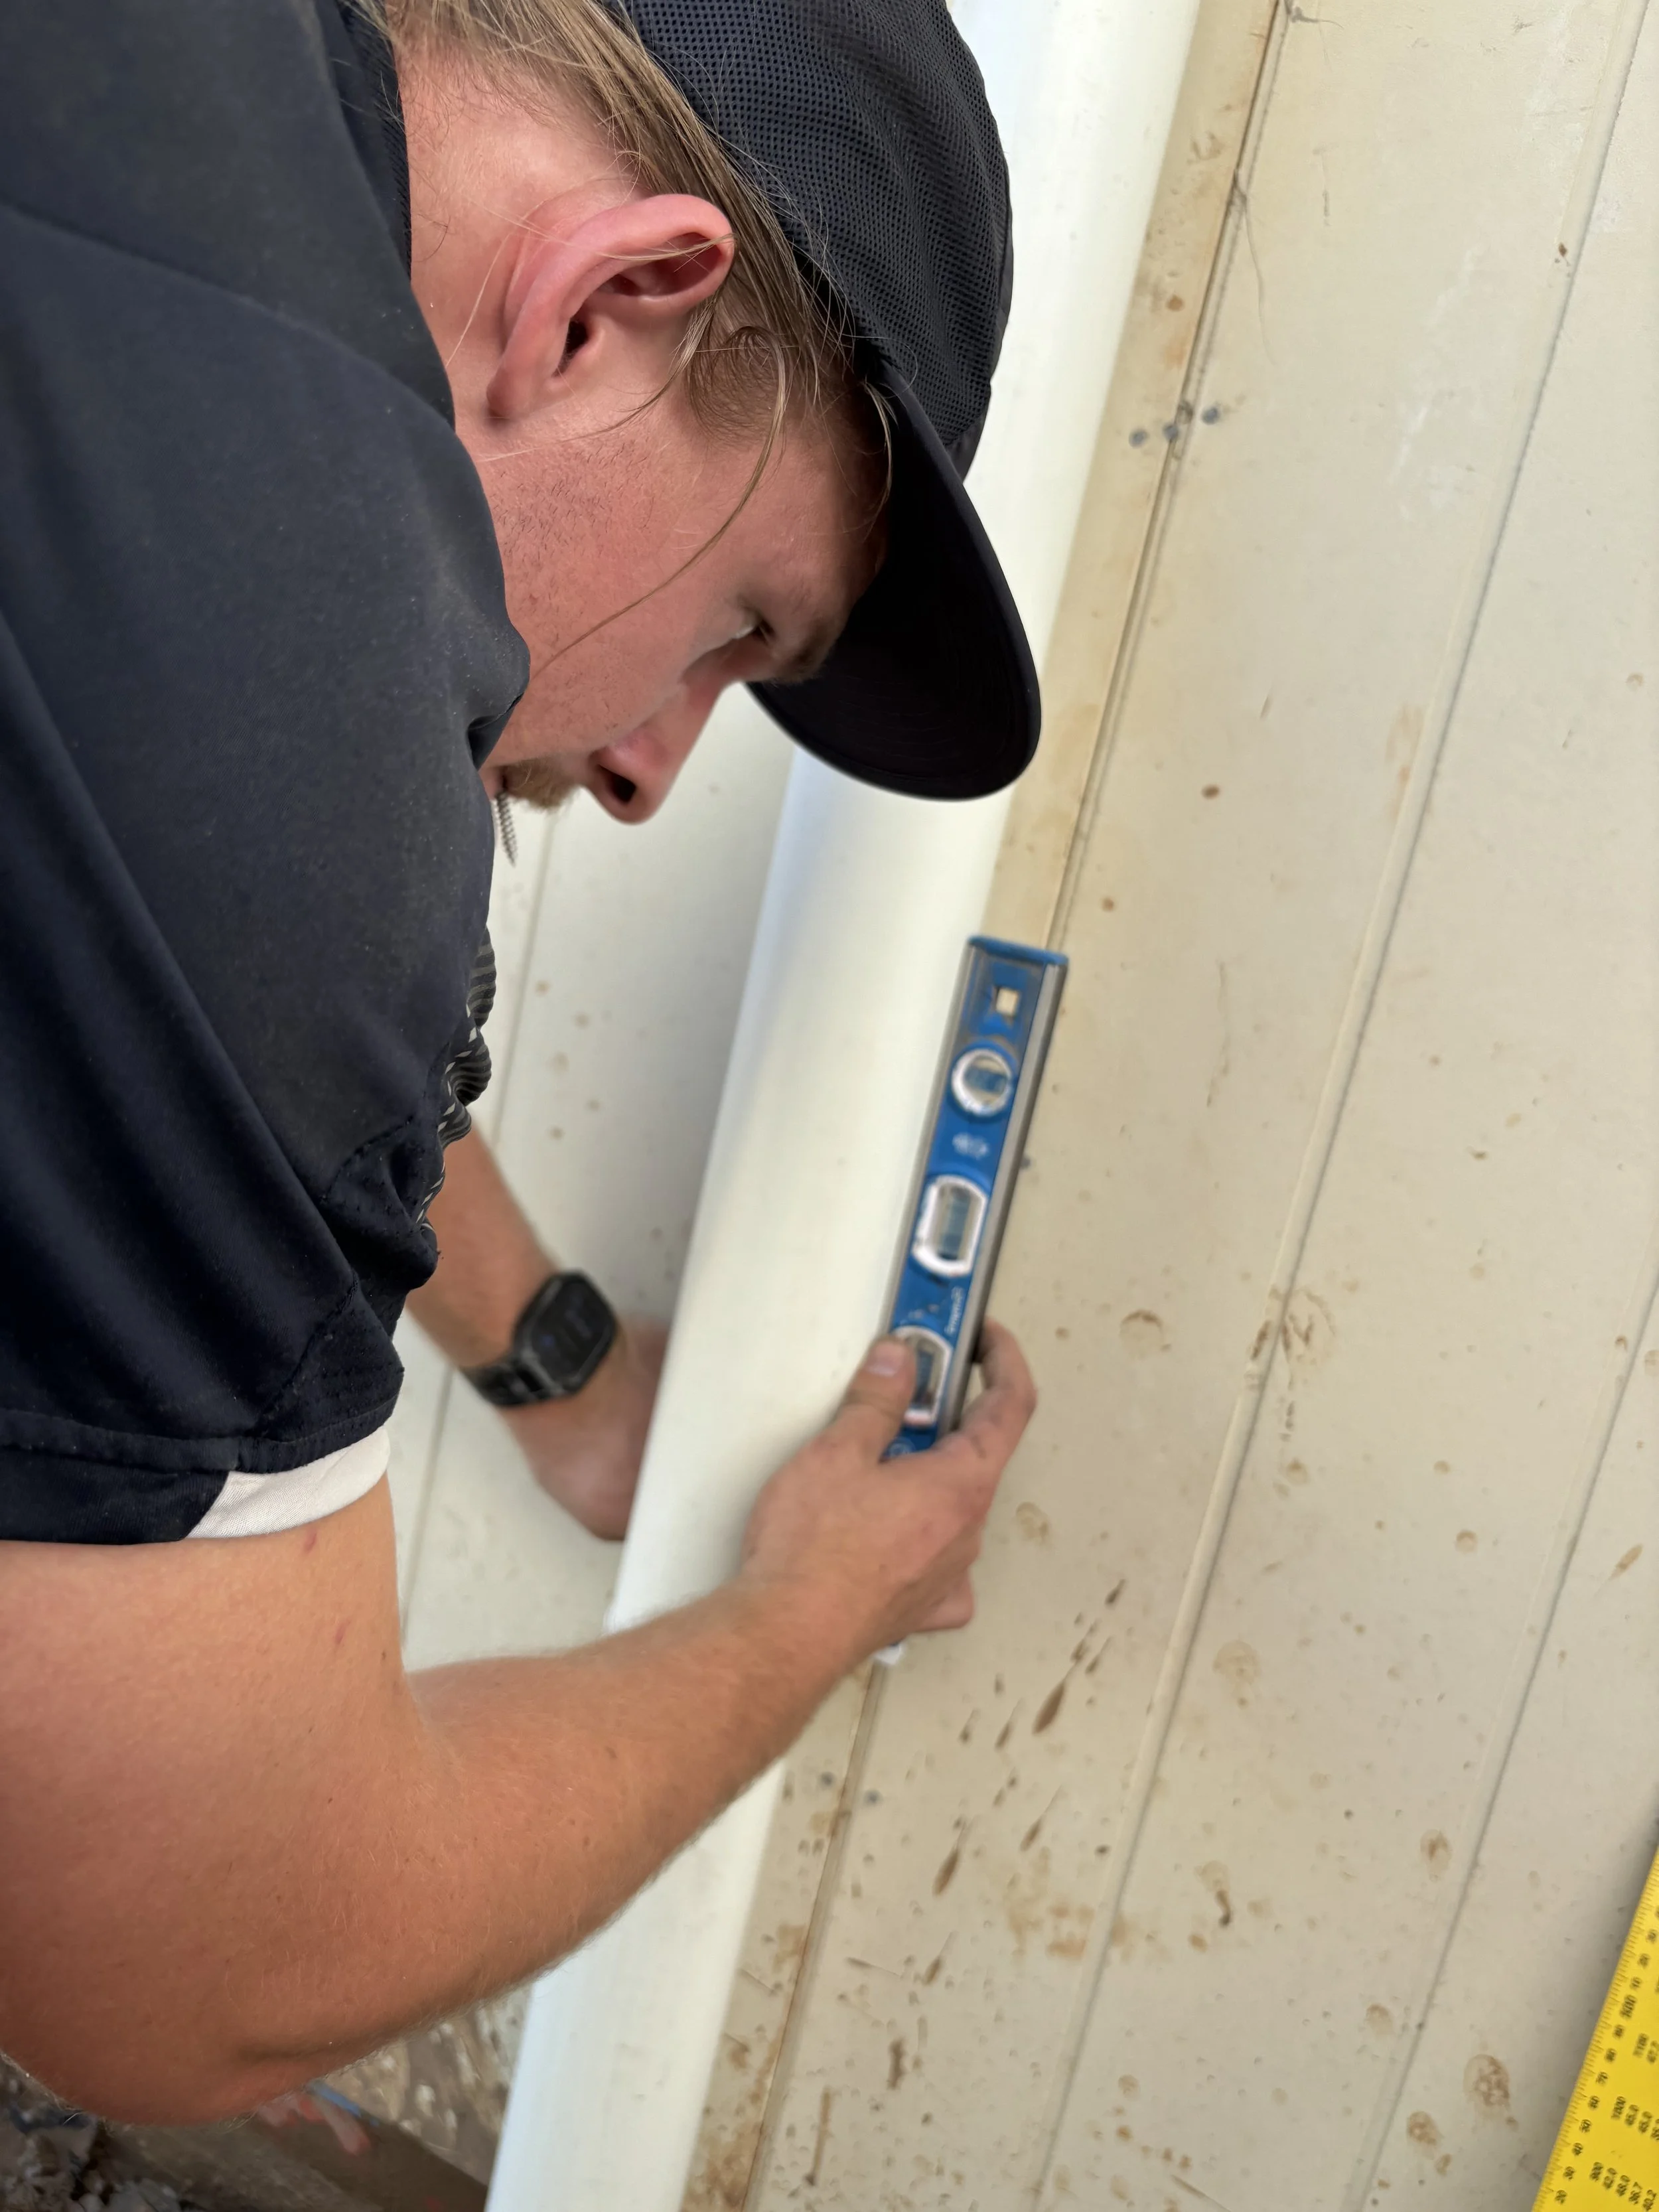
Mark sure saddle is sitting level. (sometimes they twist a bit)
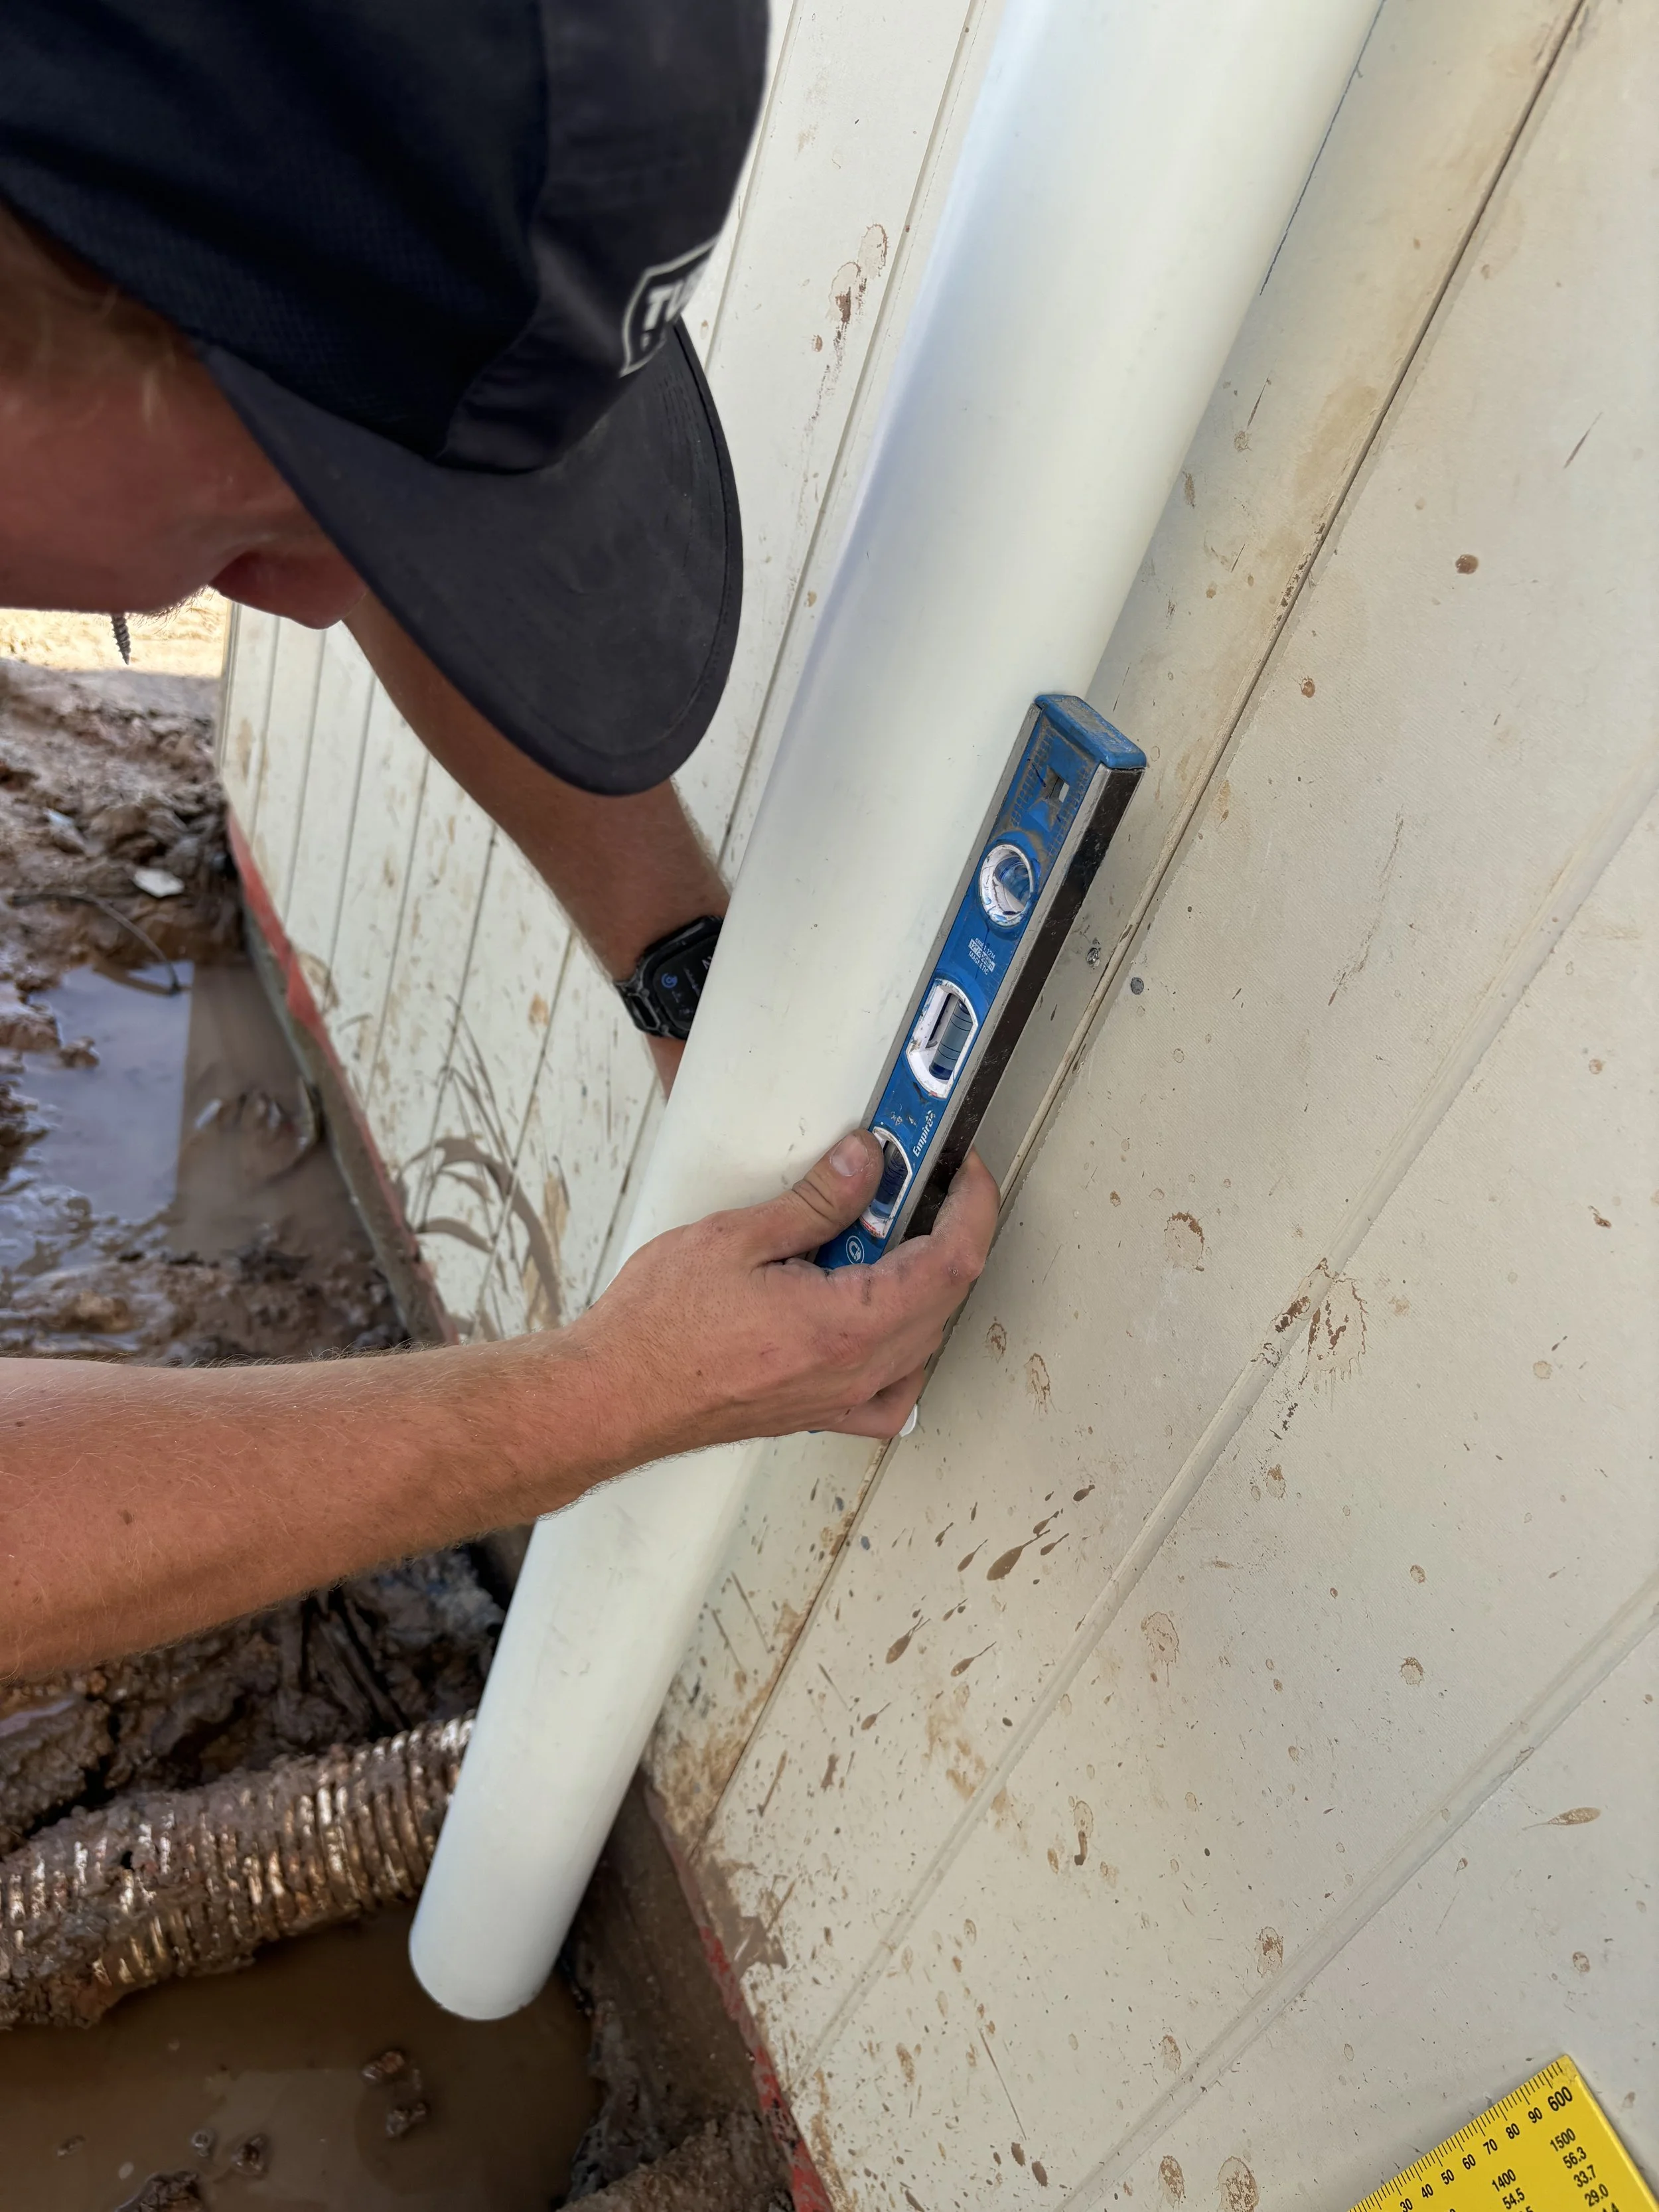
Screw off bottom saddle making sure everything is still level.
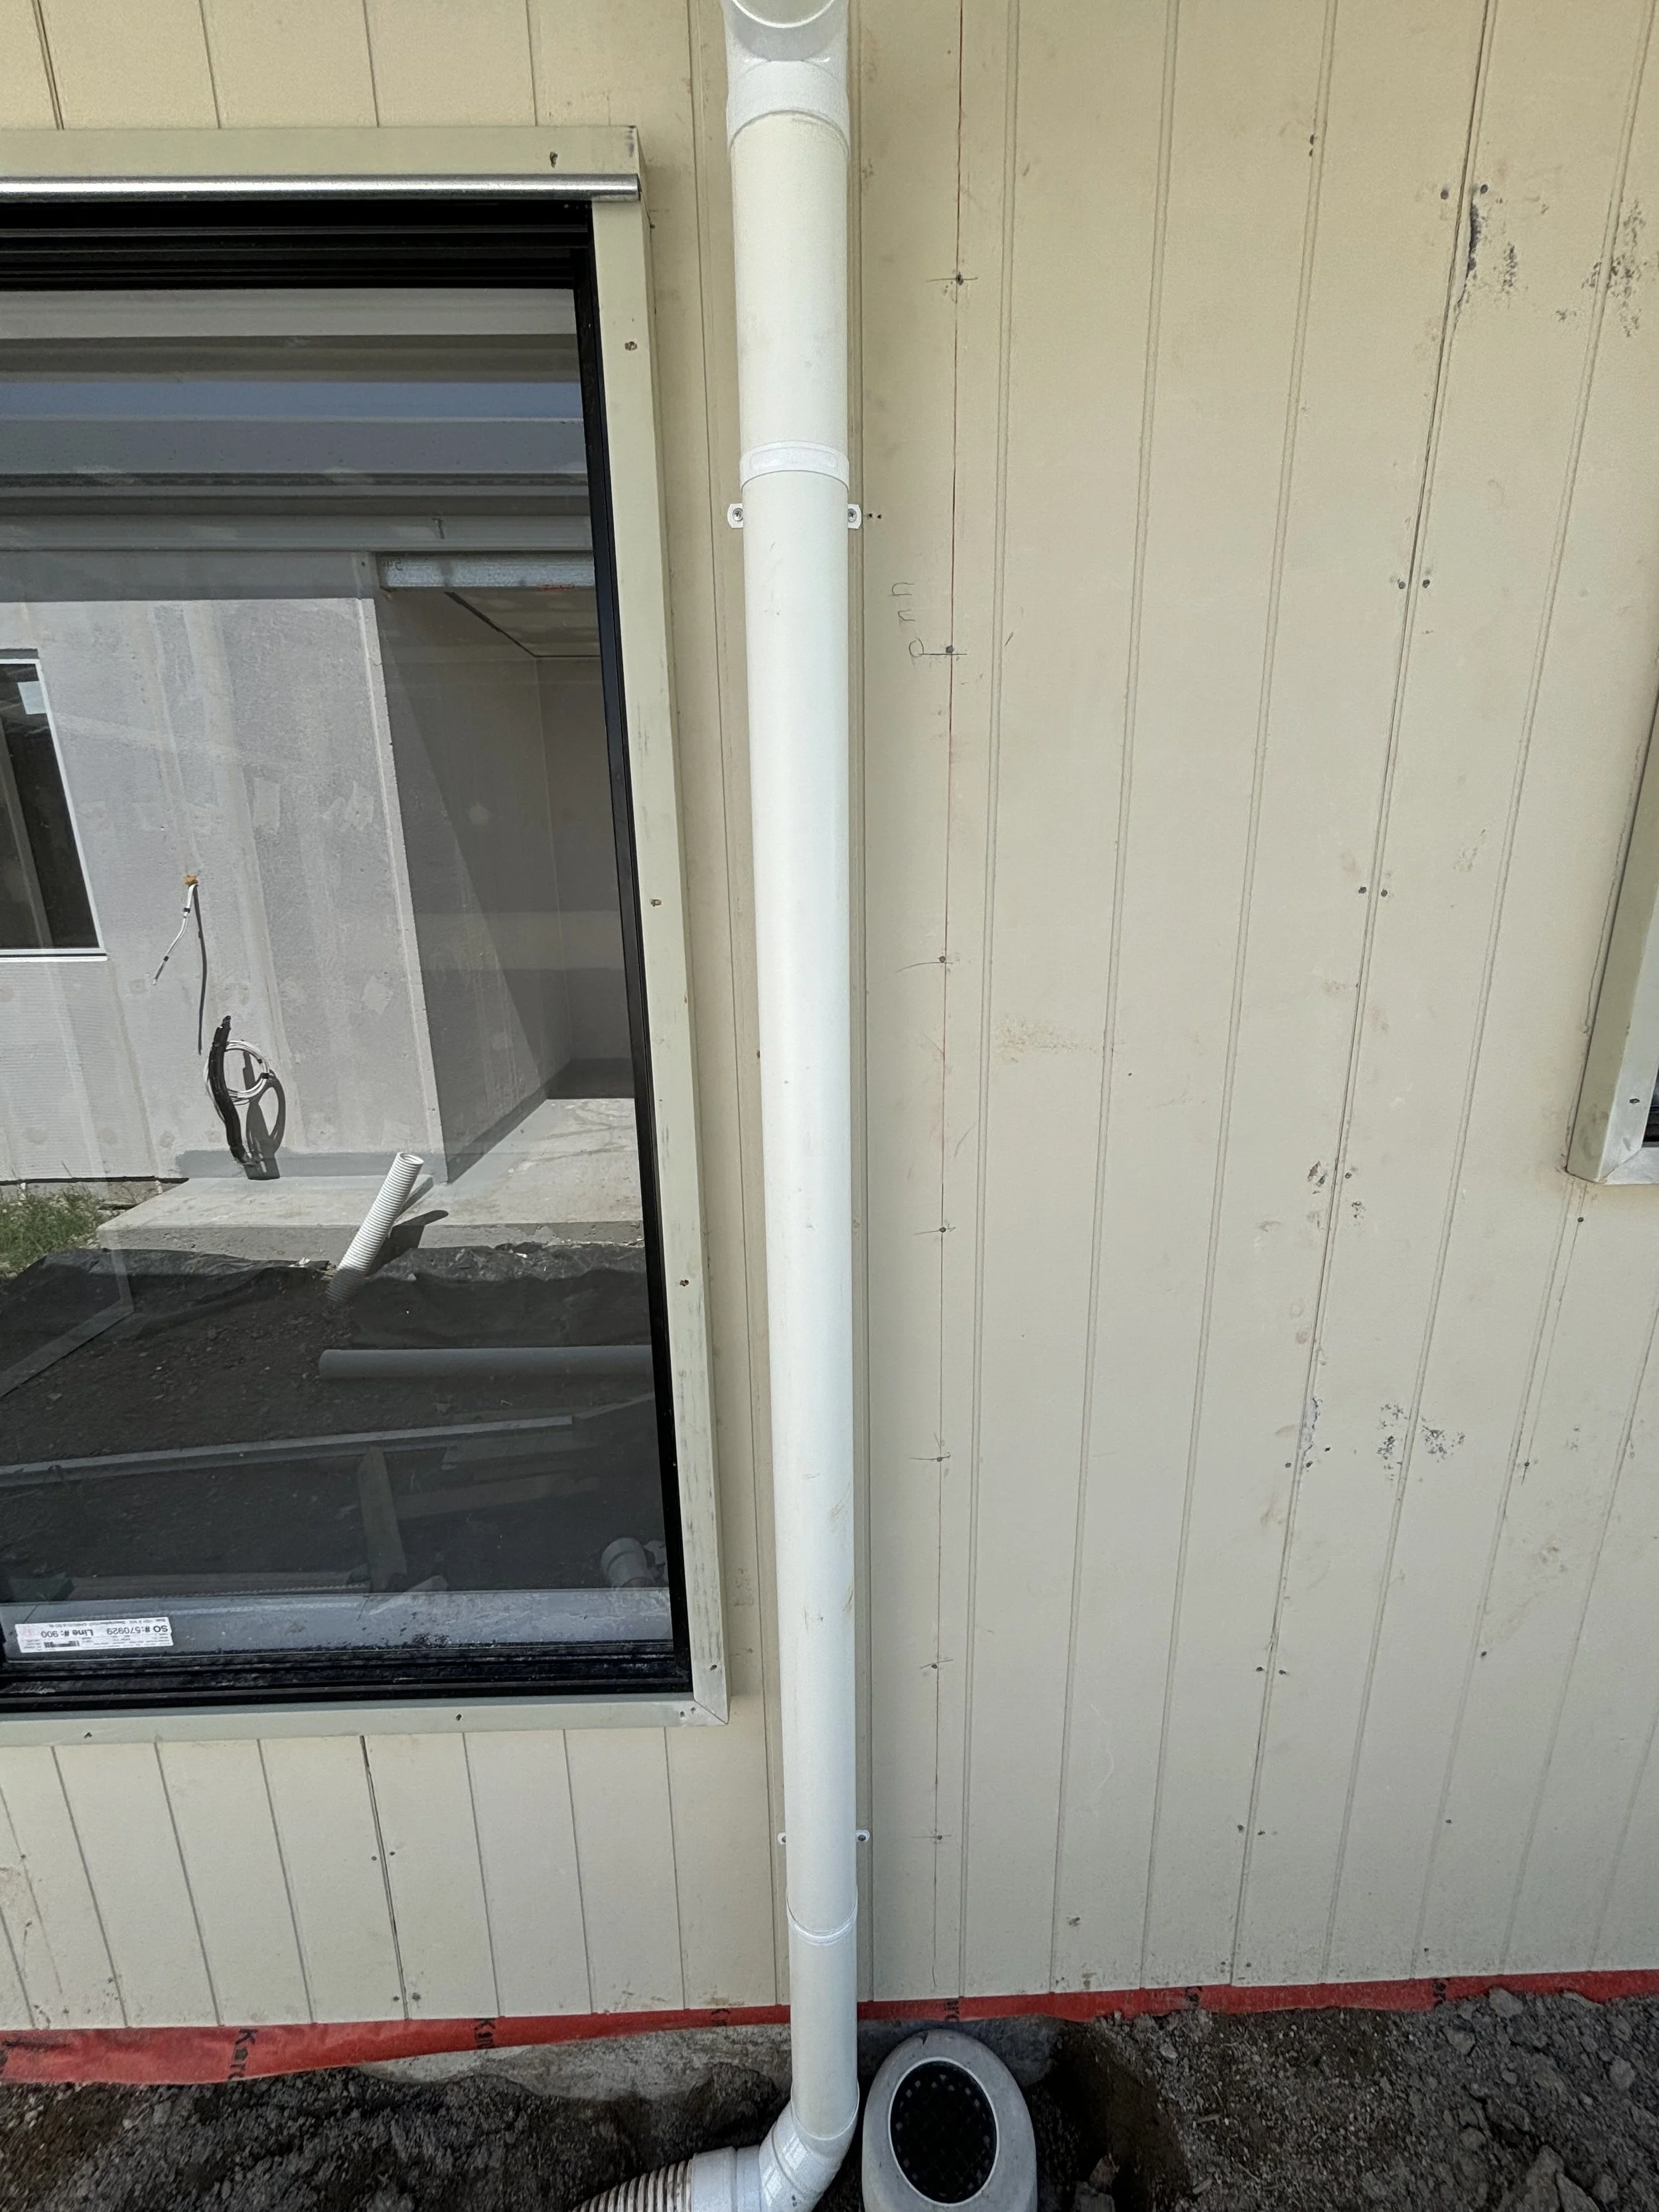
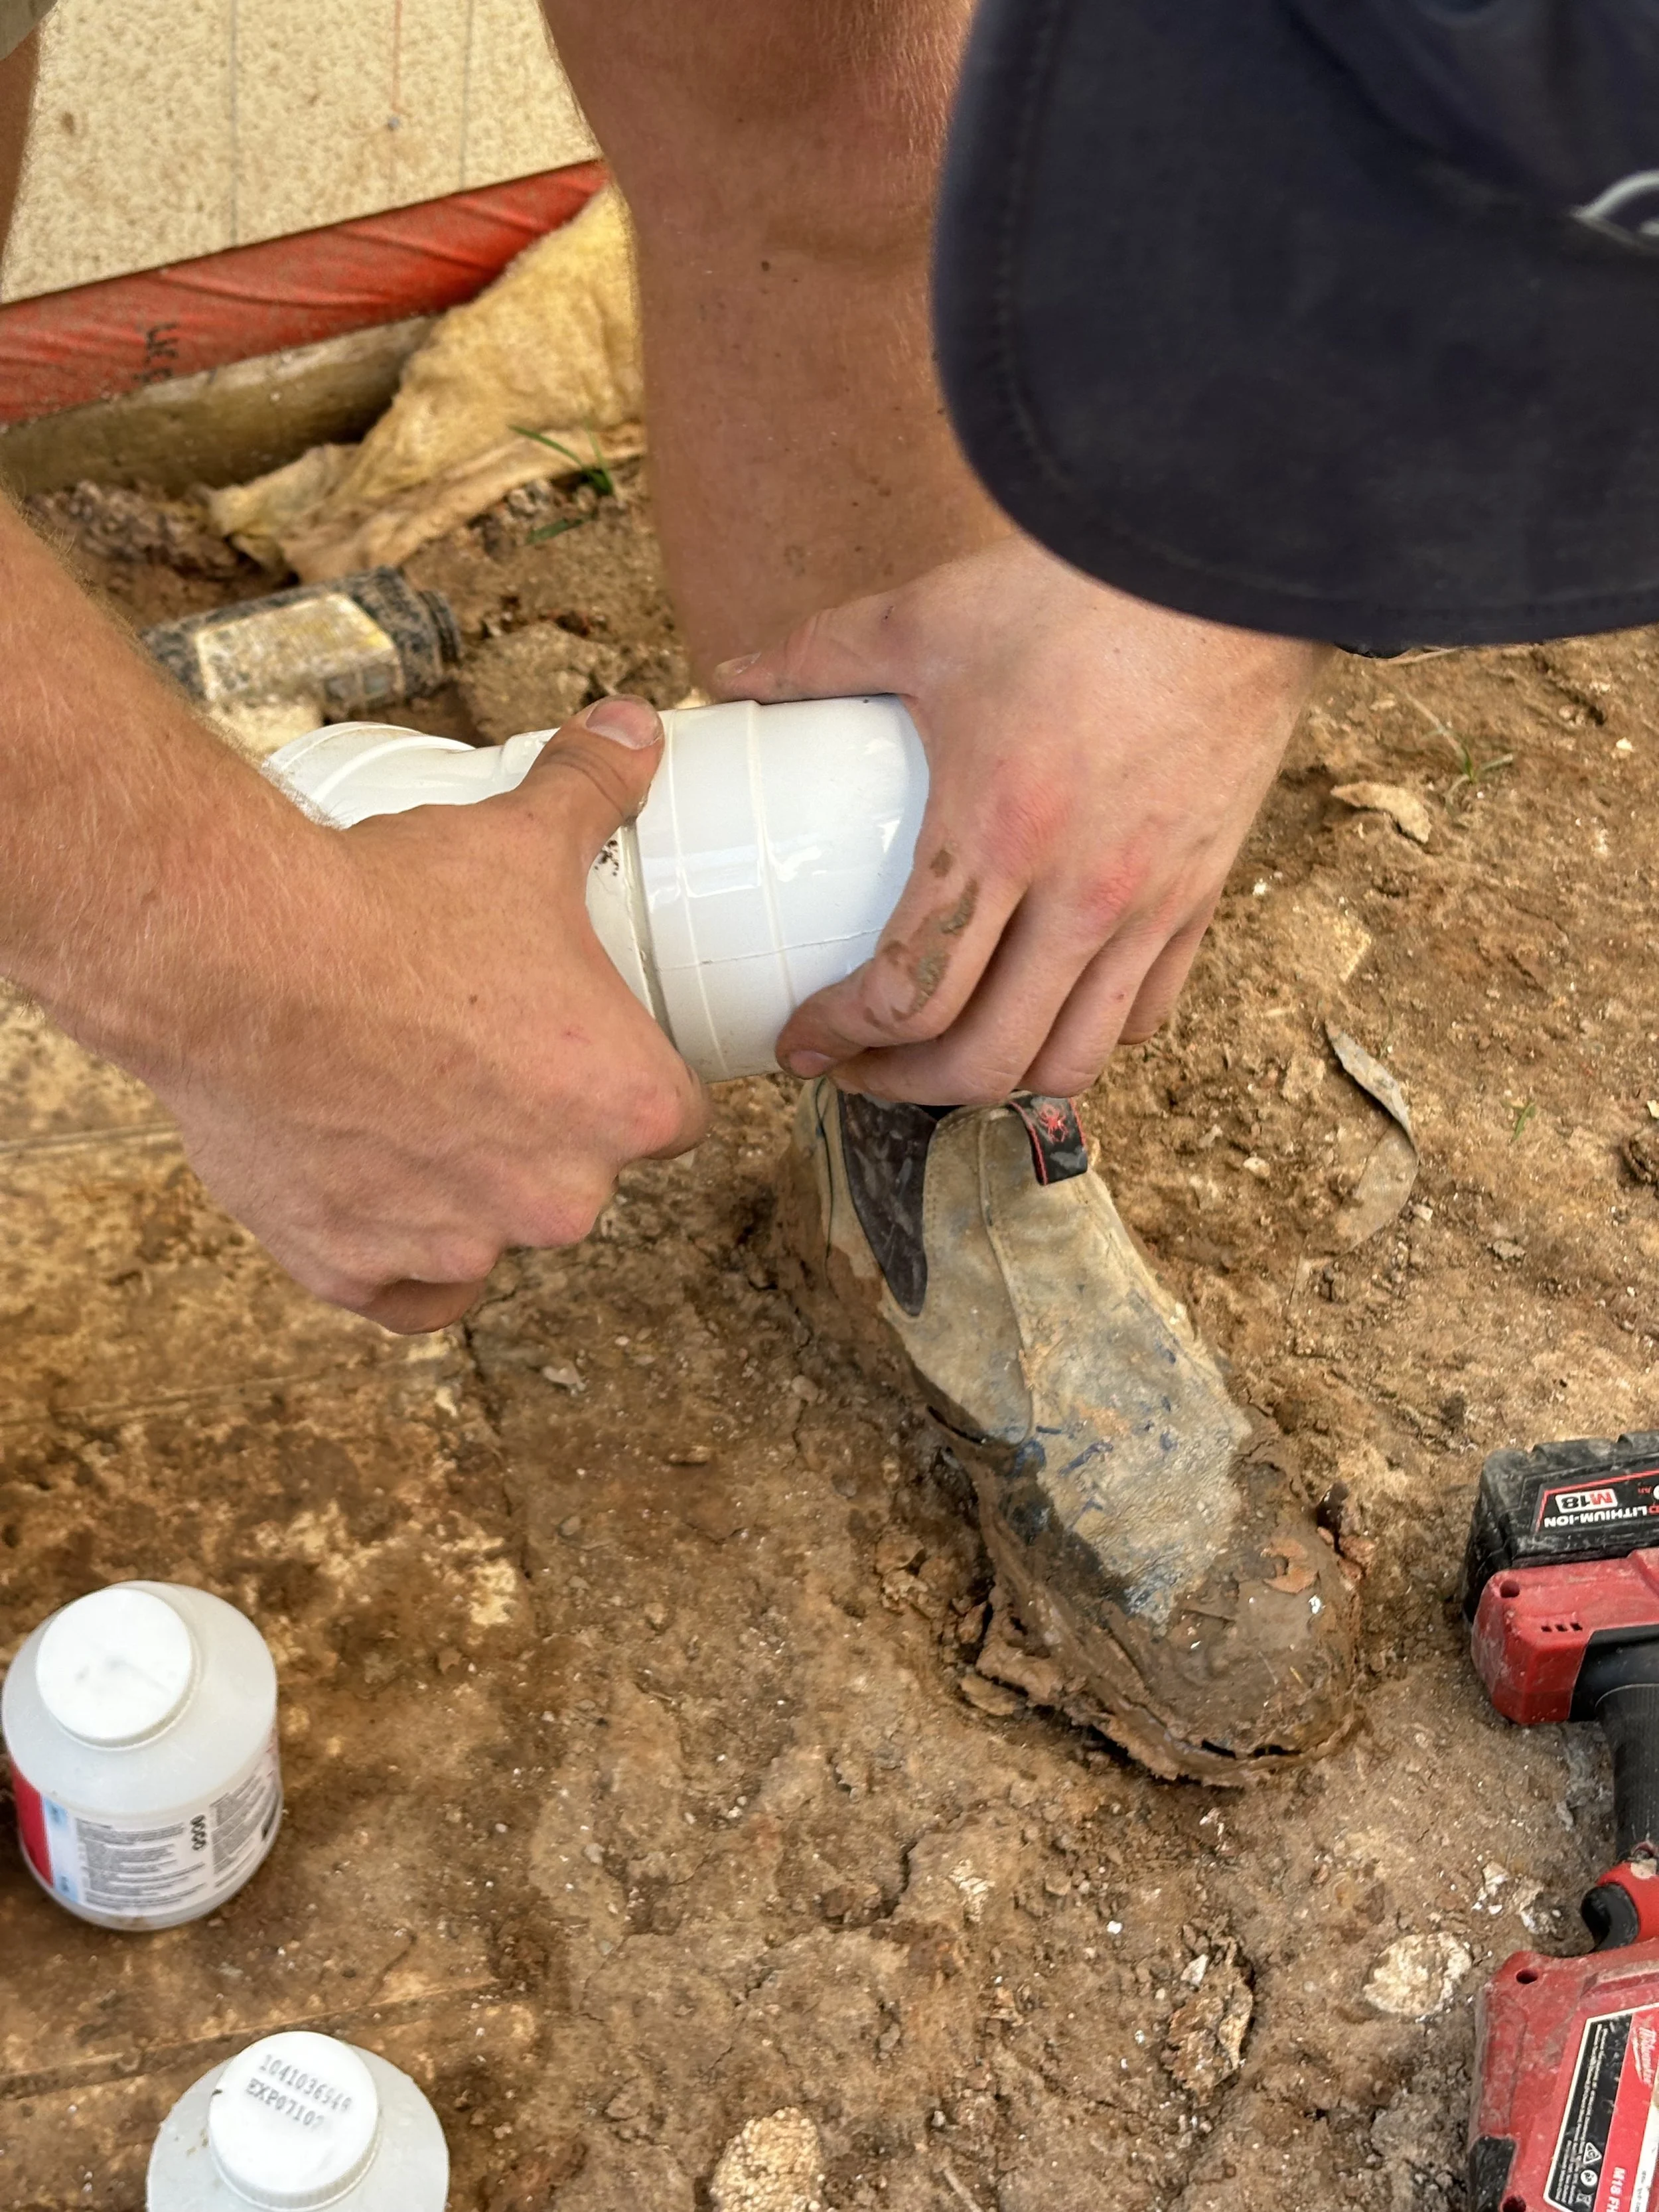
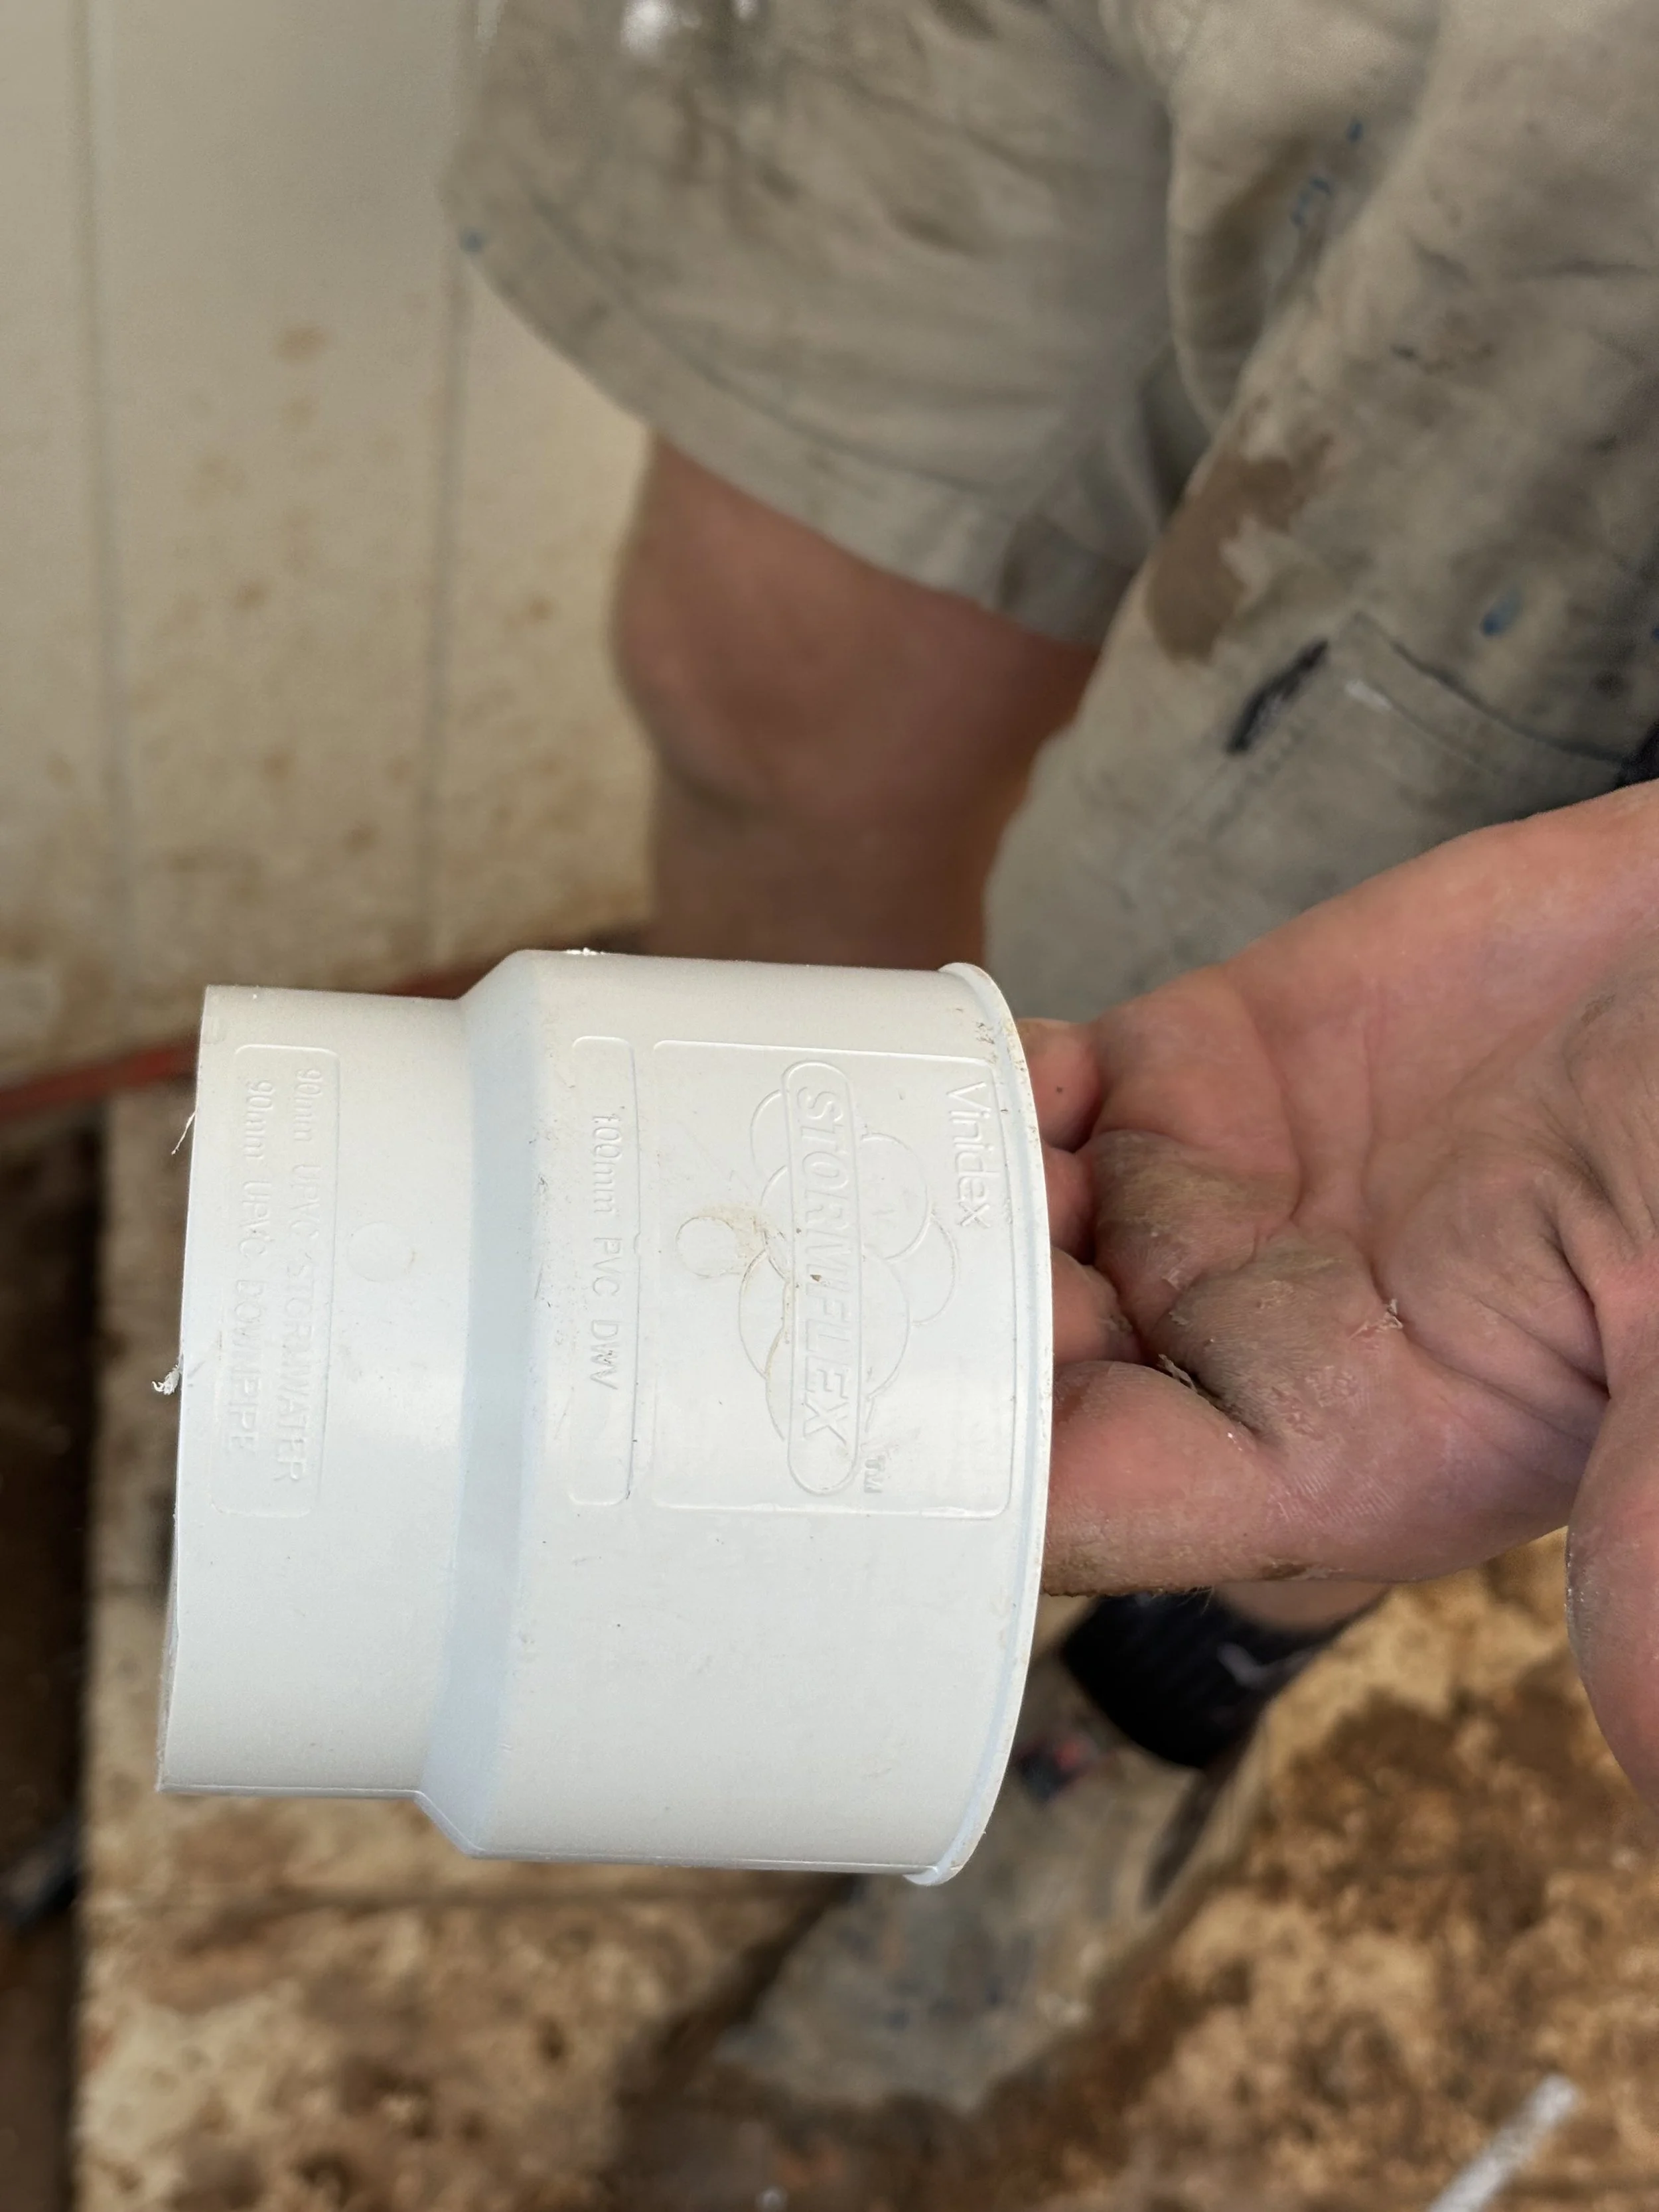
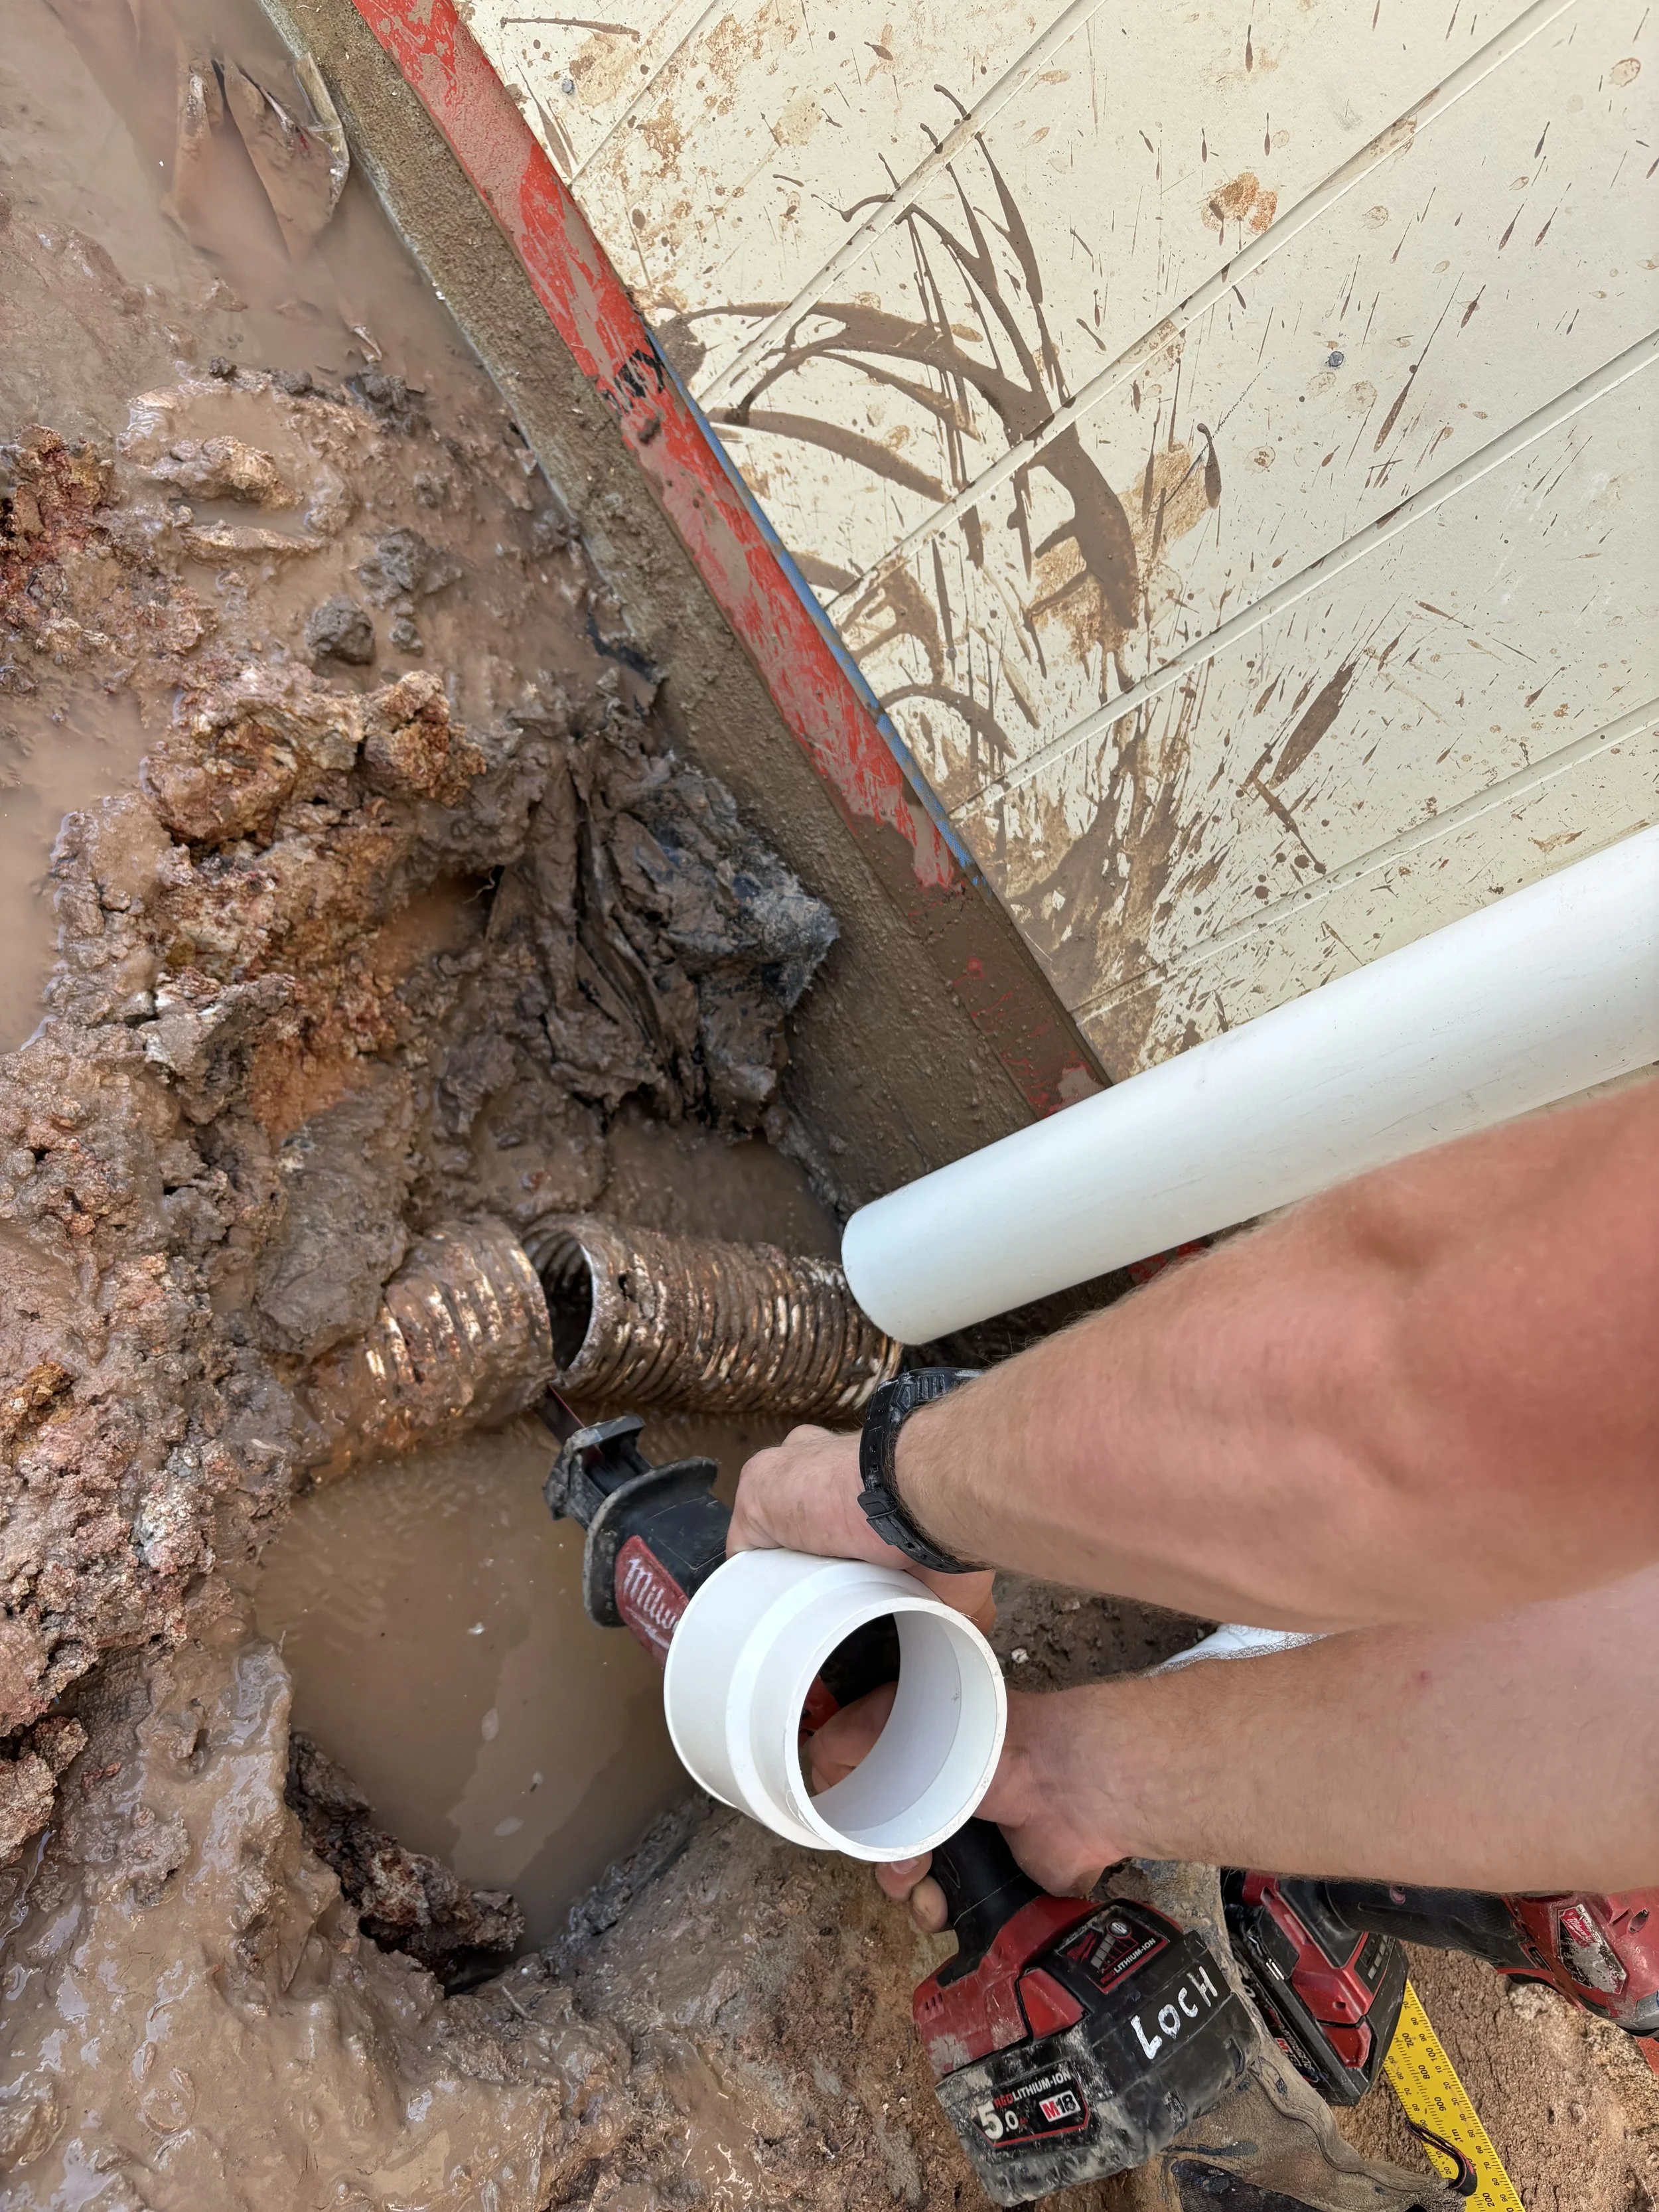
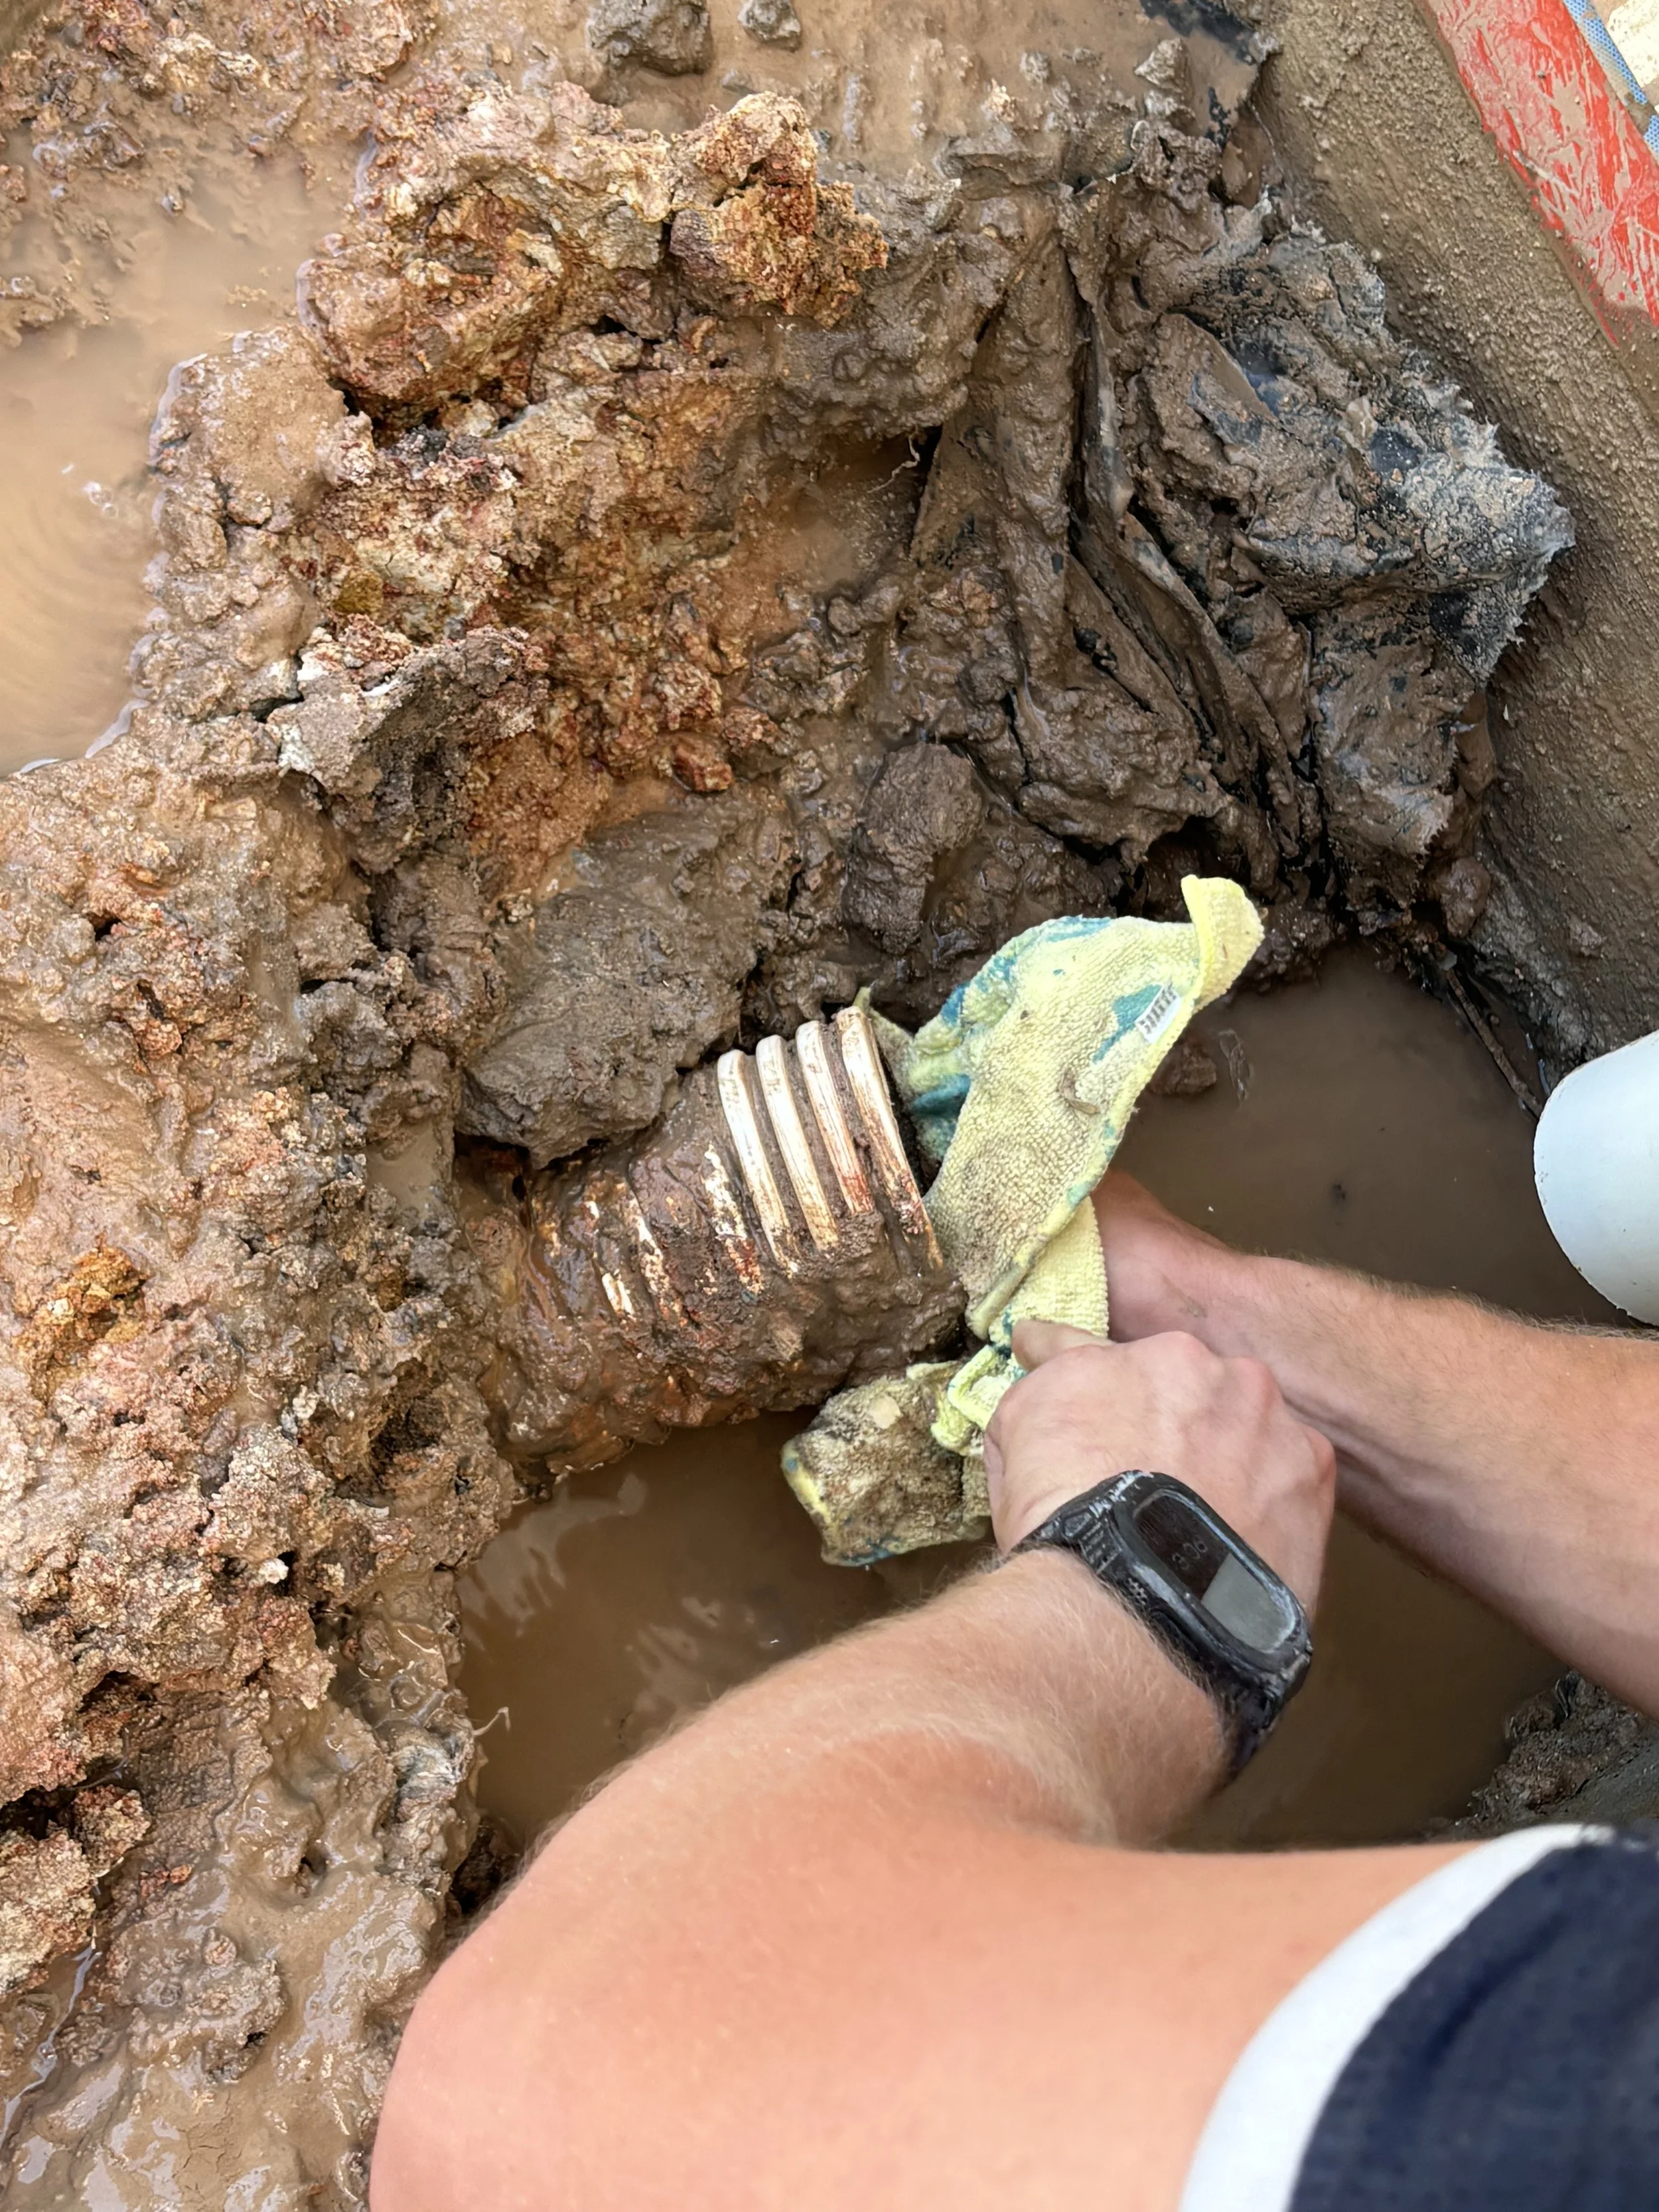
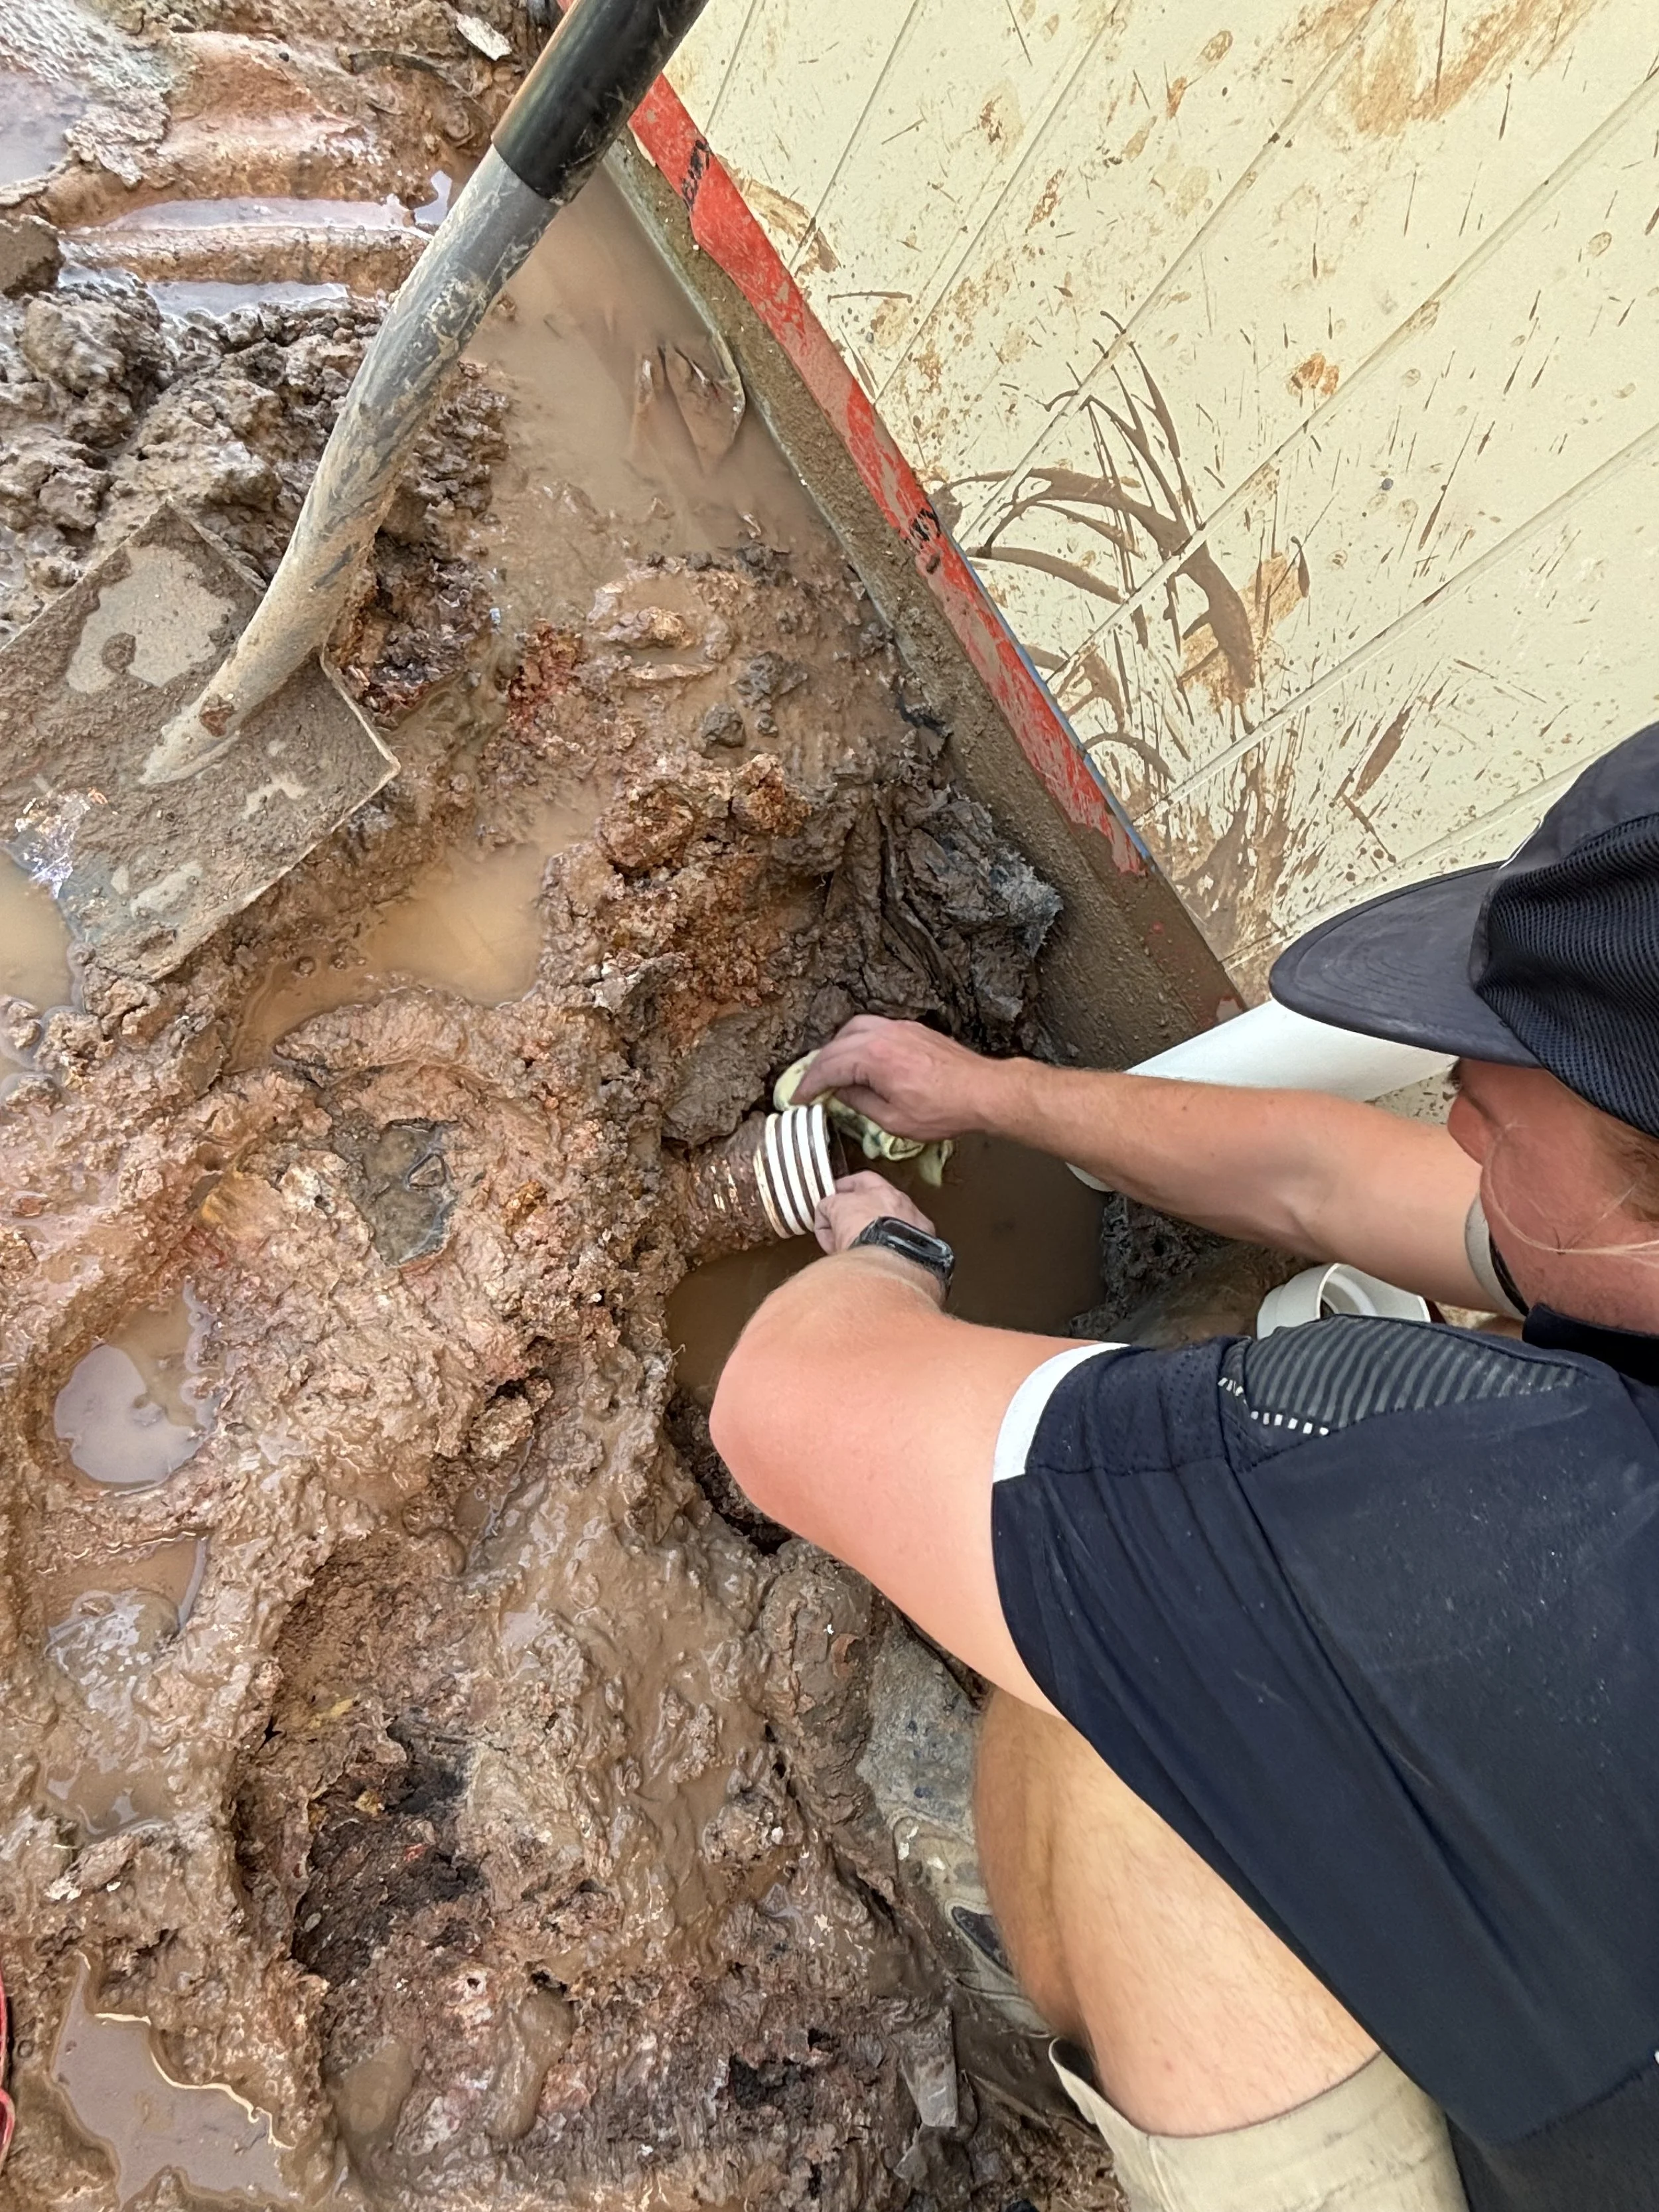
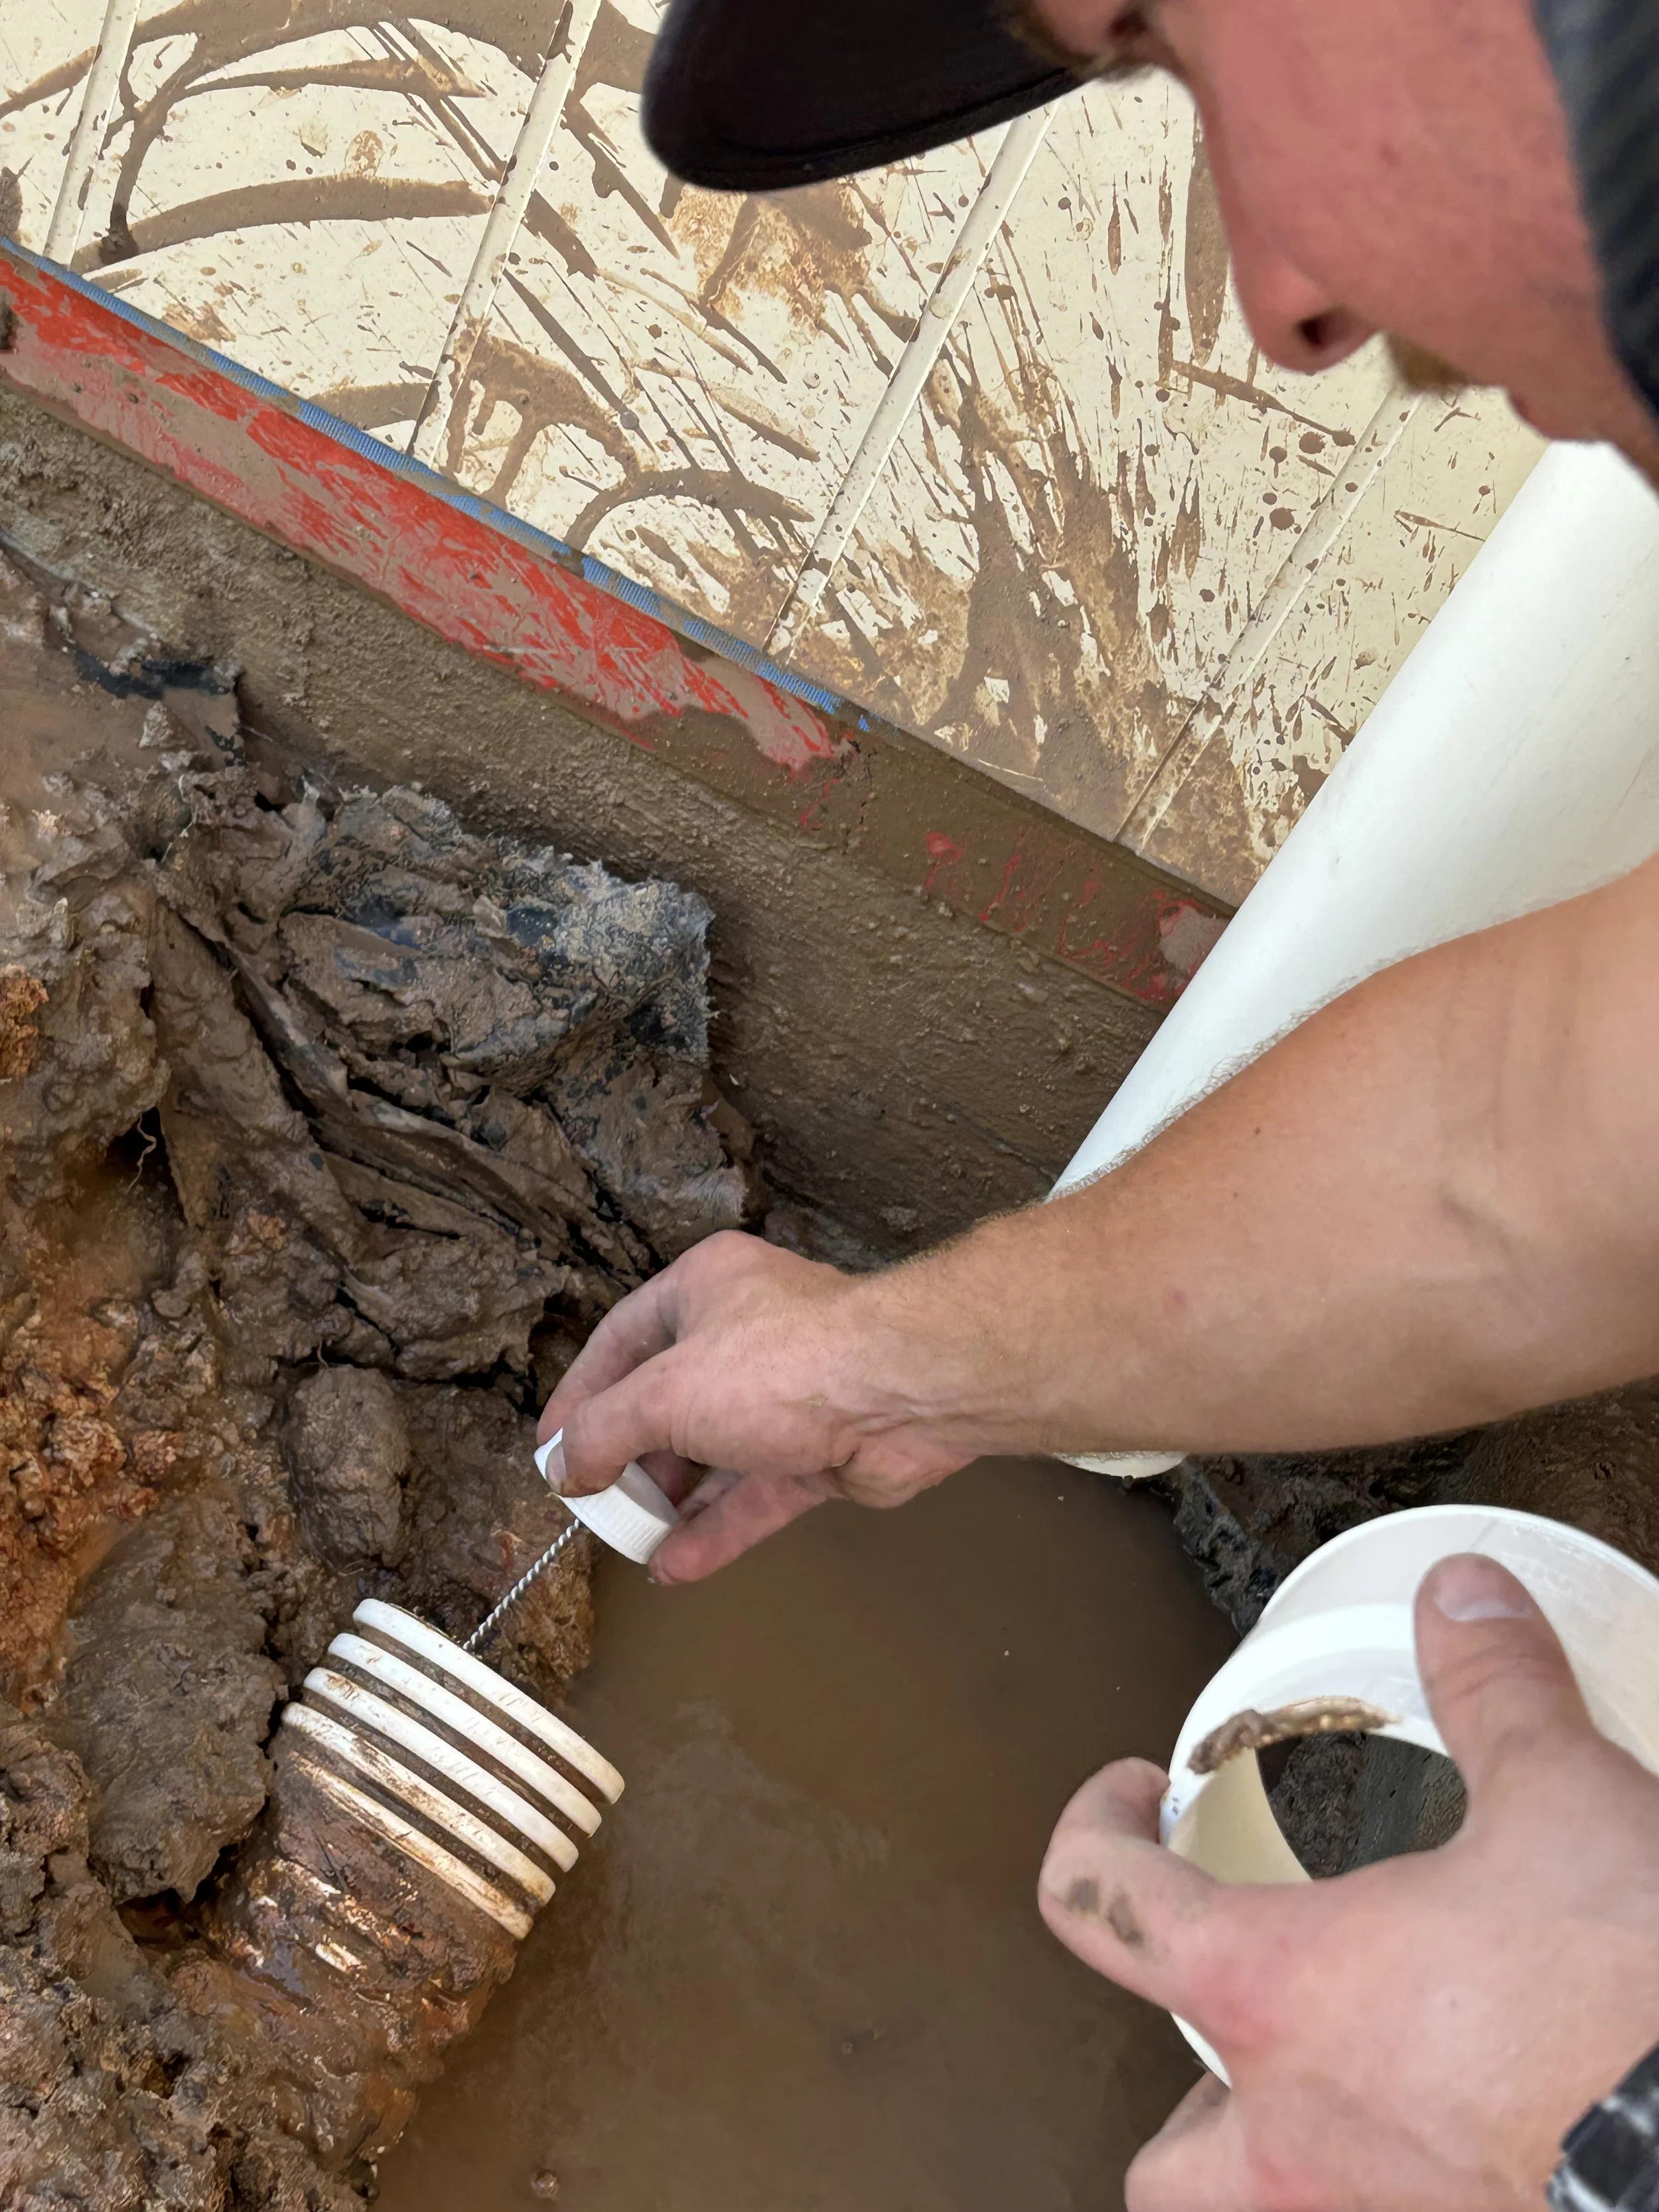
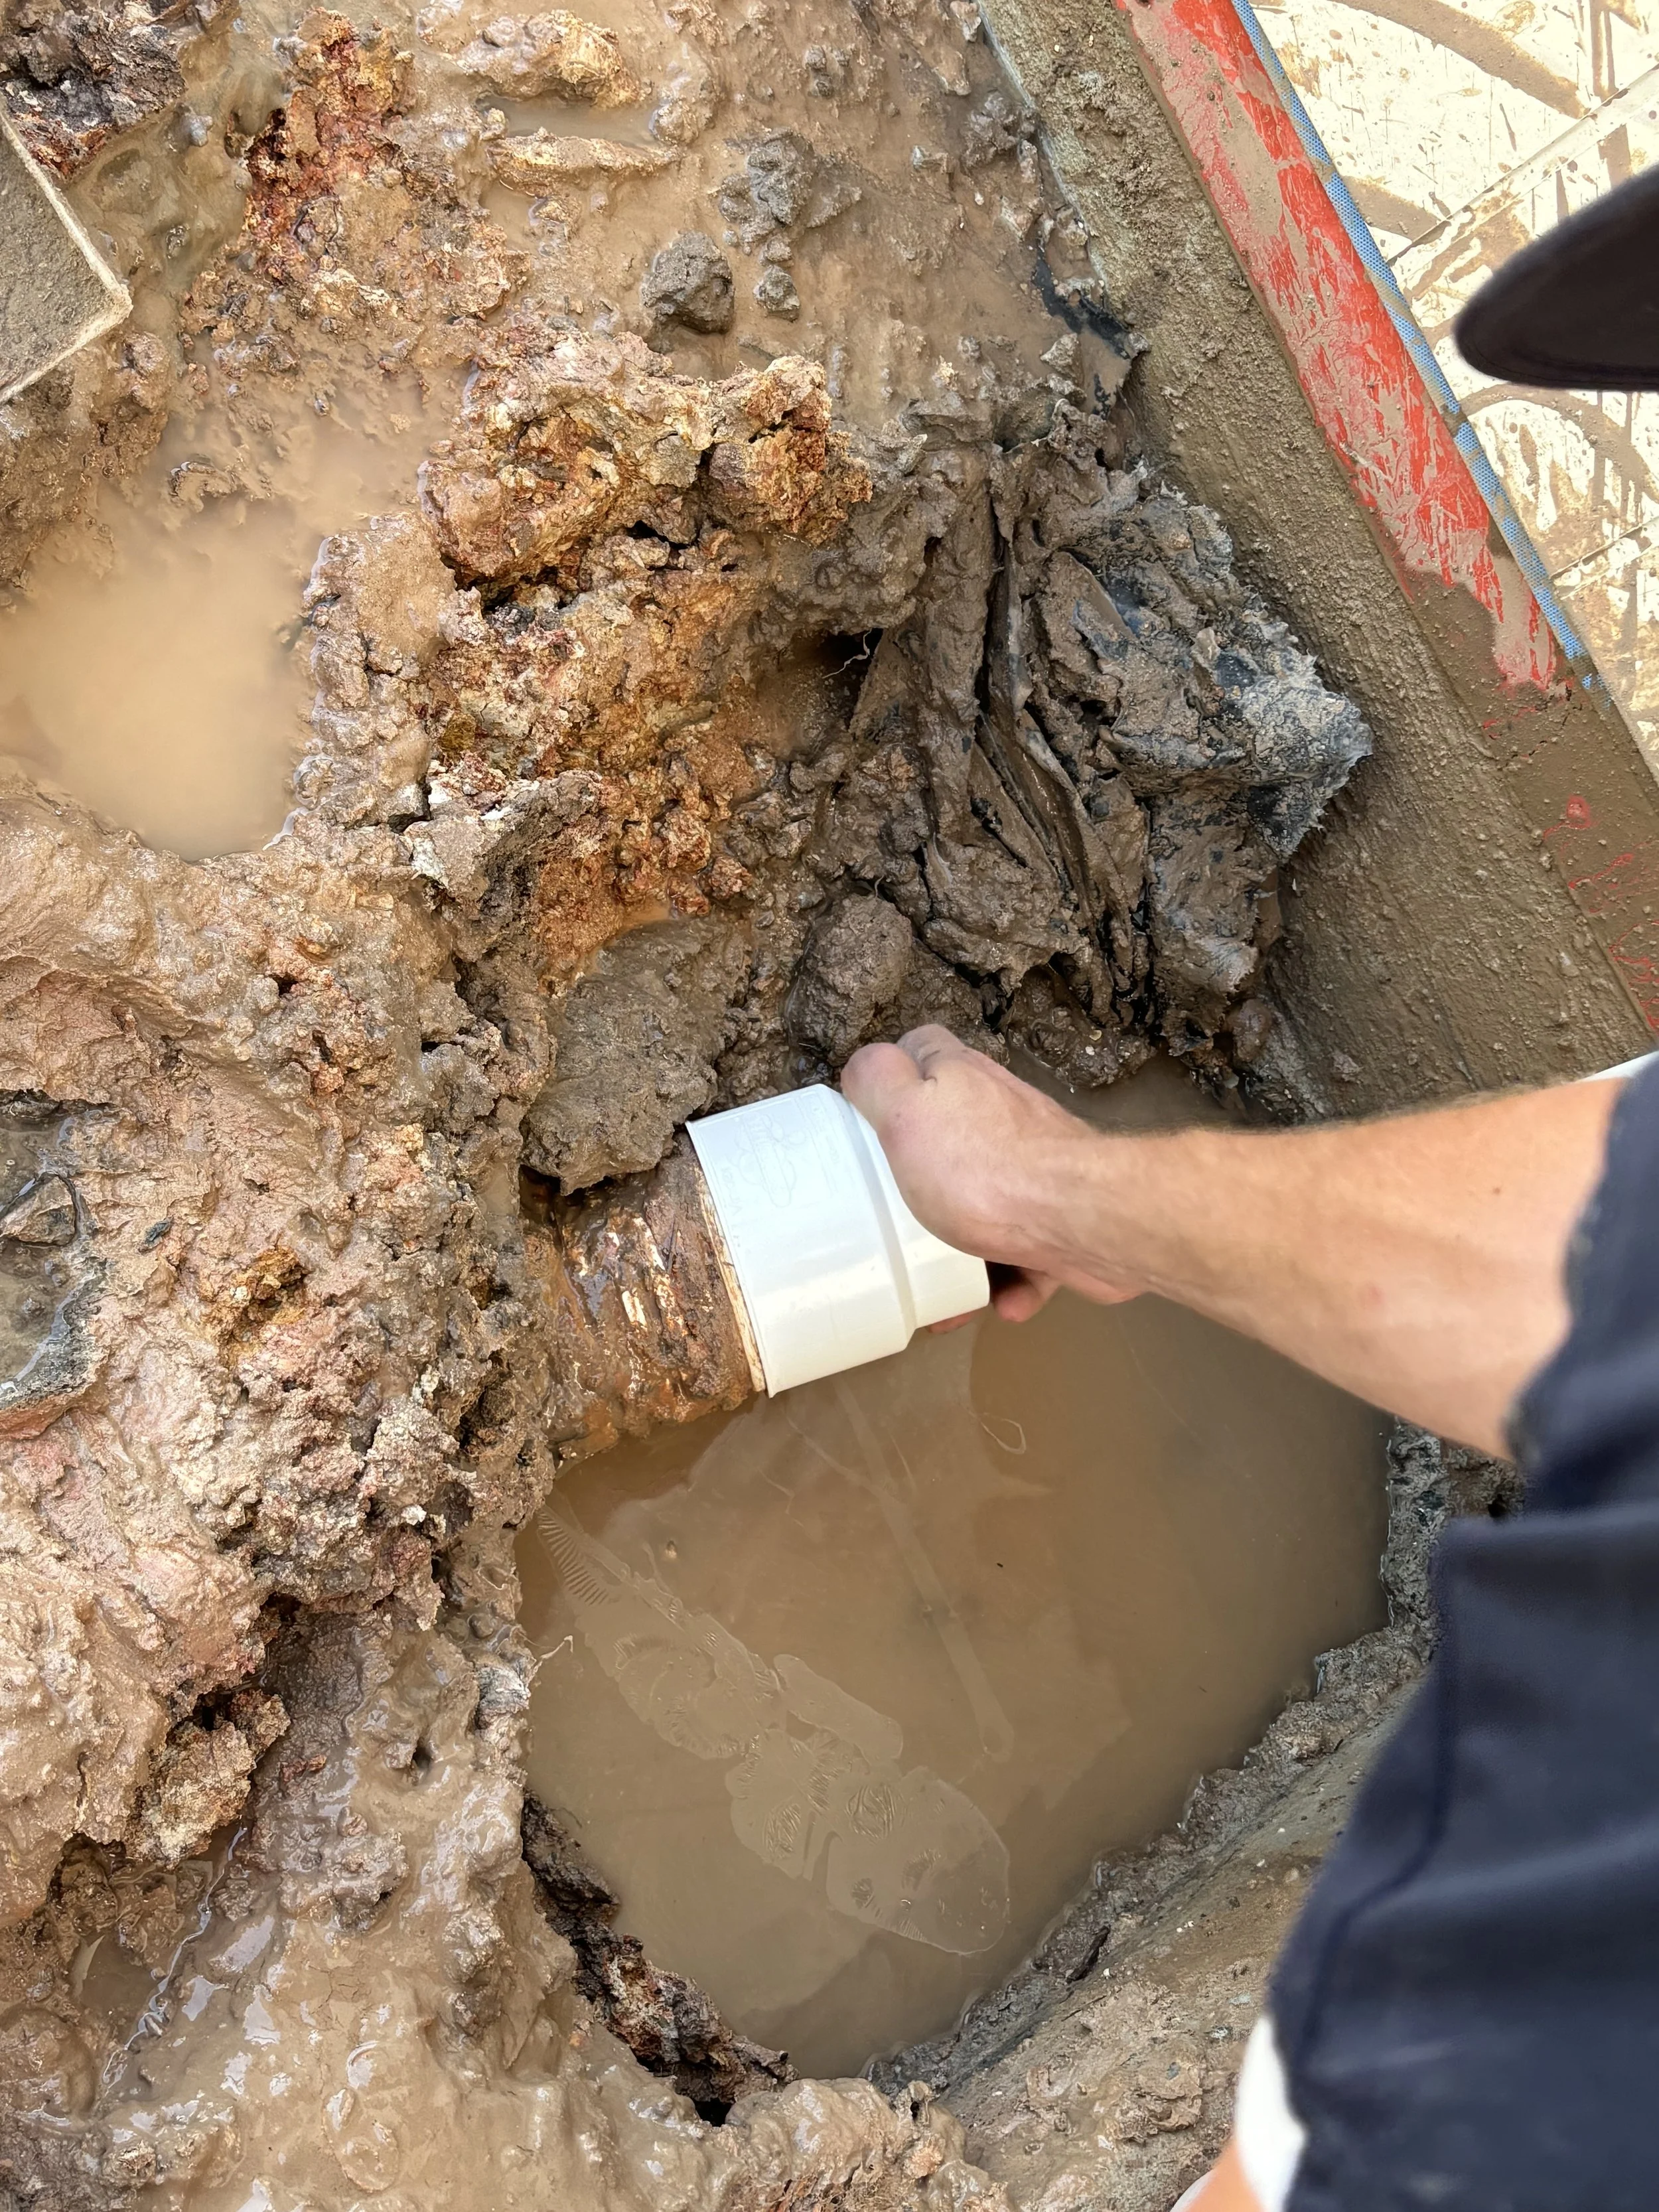
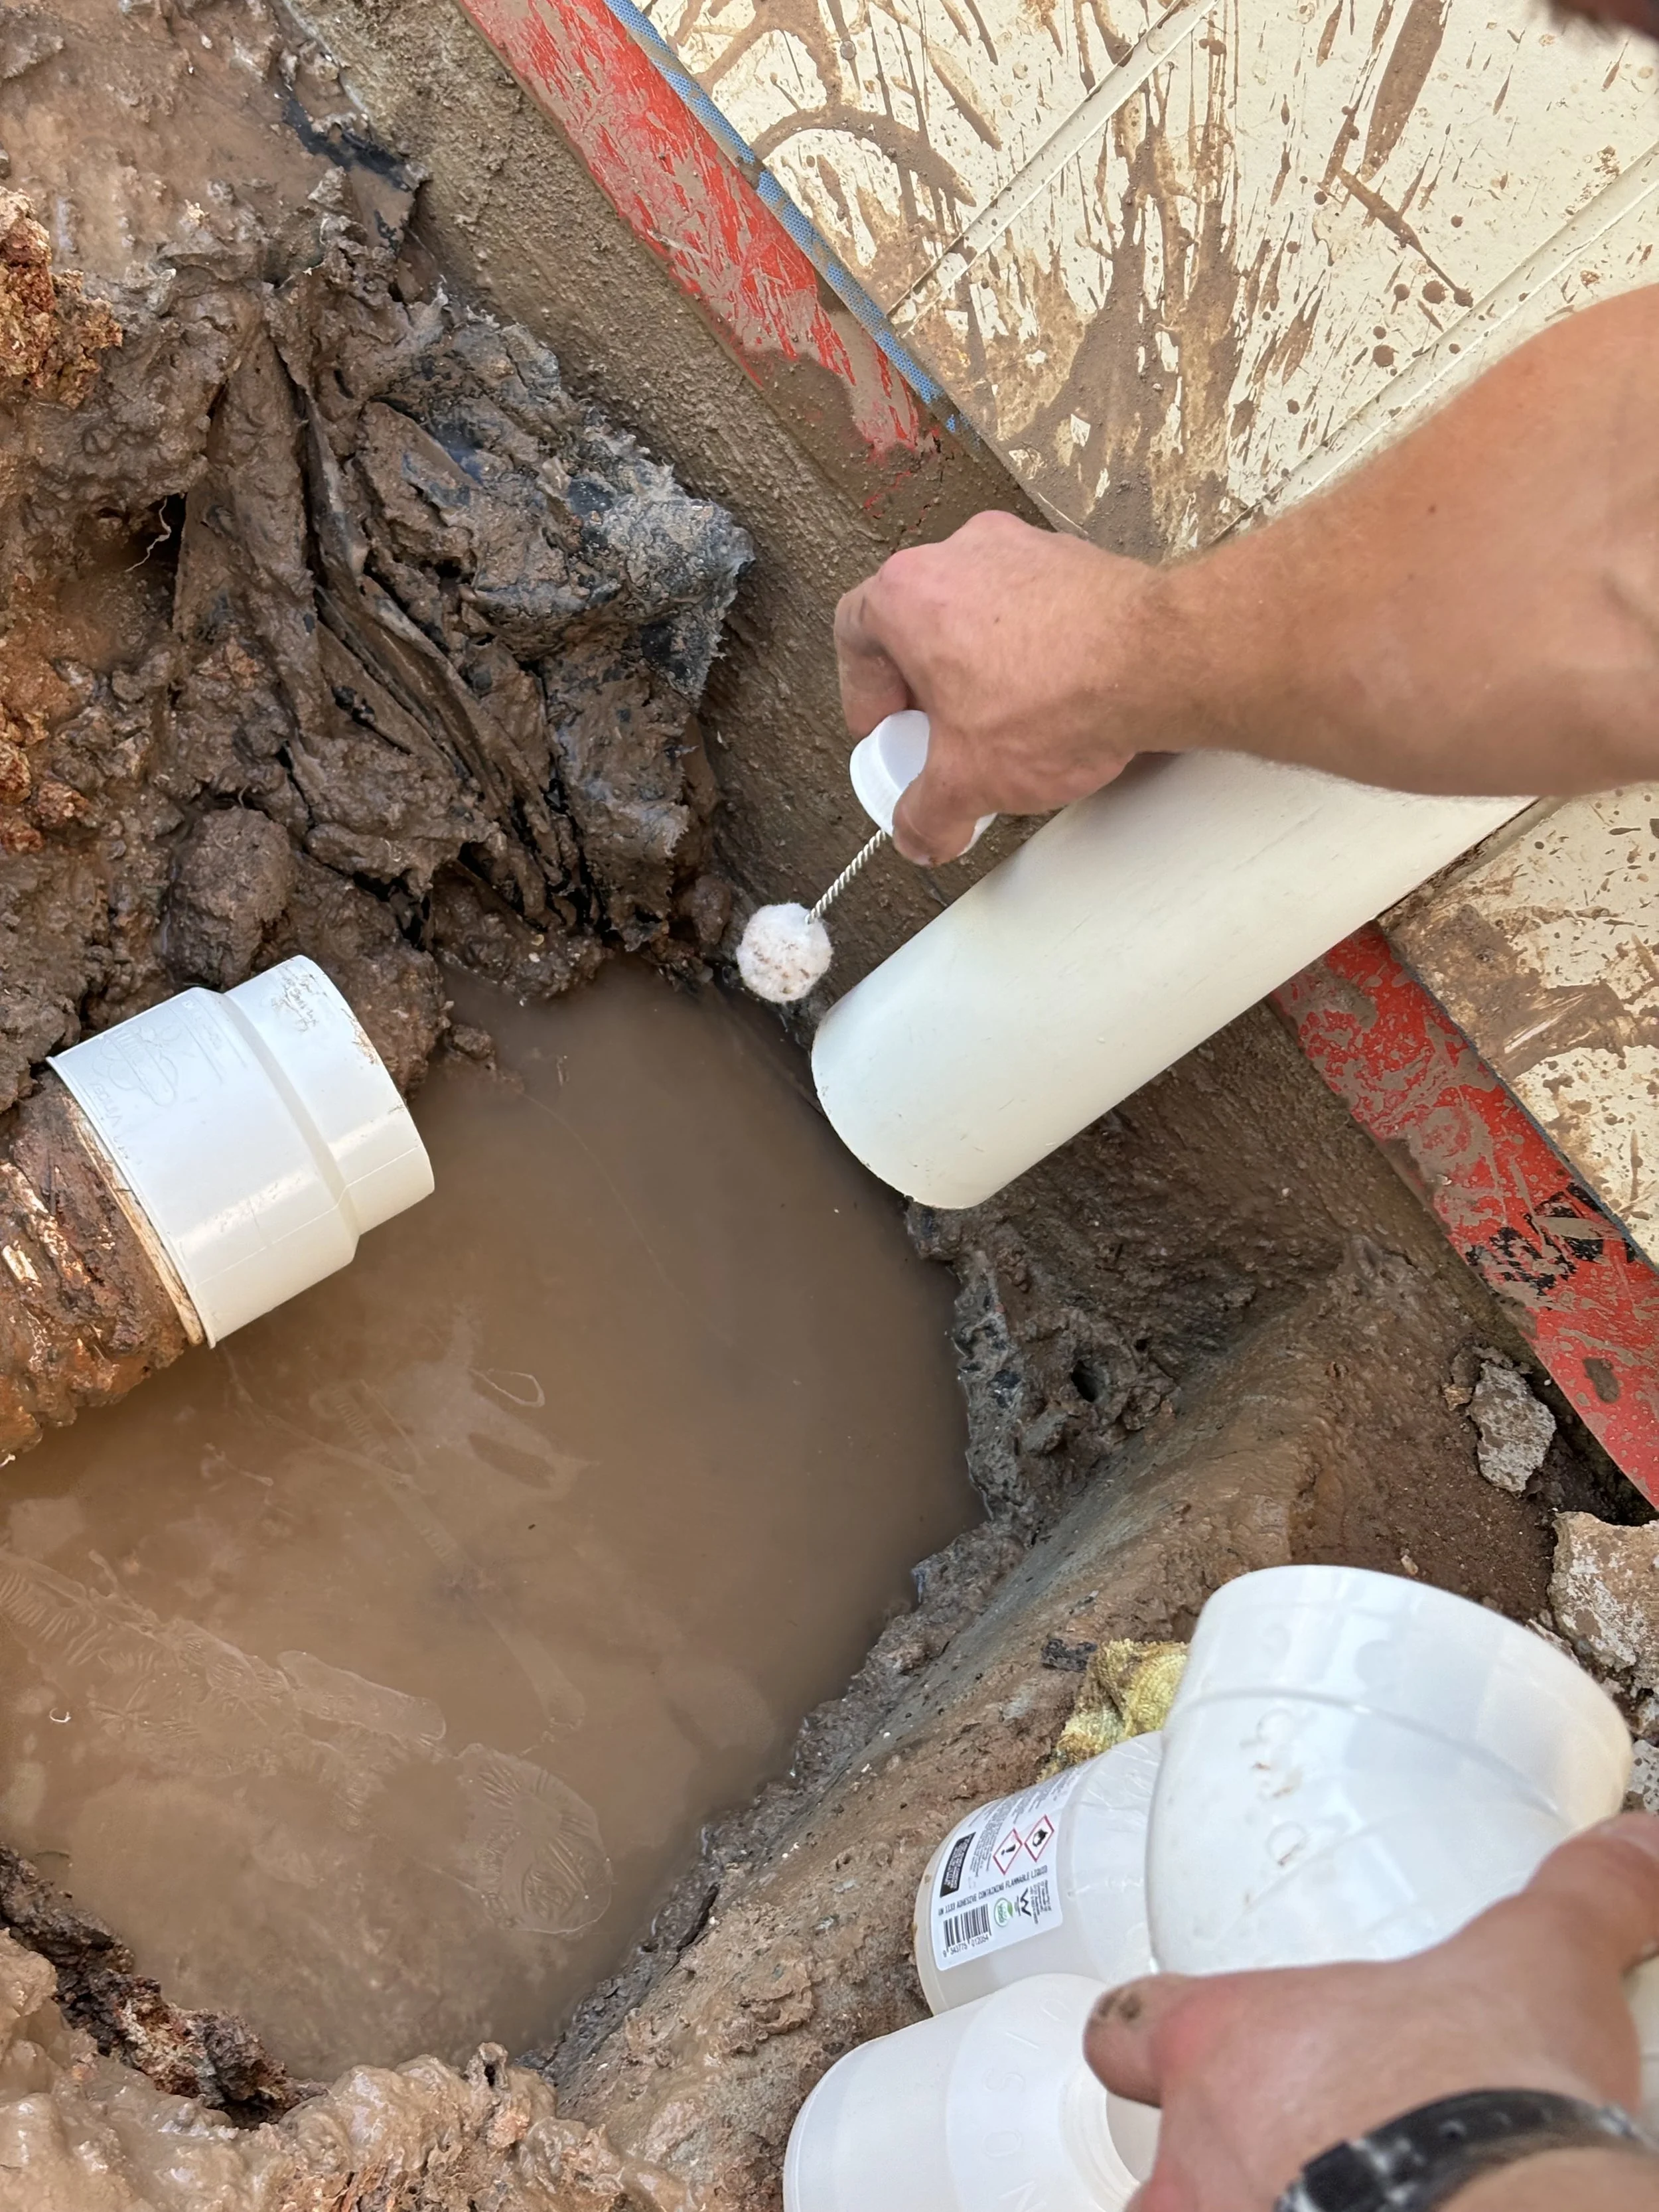
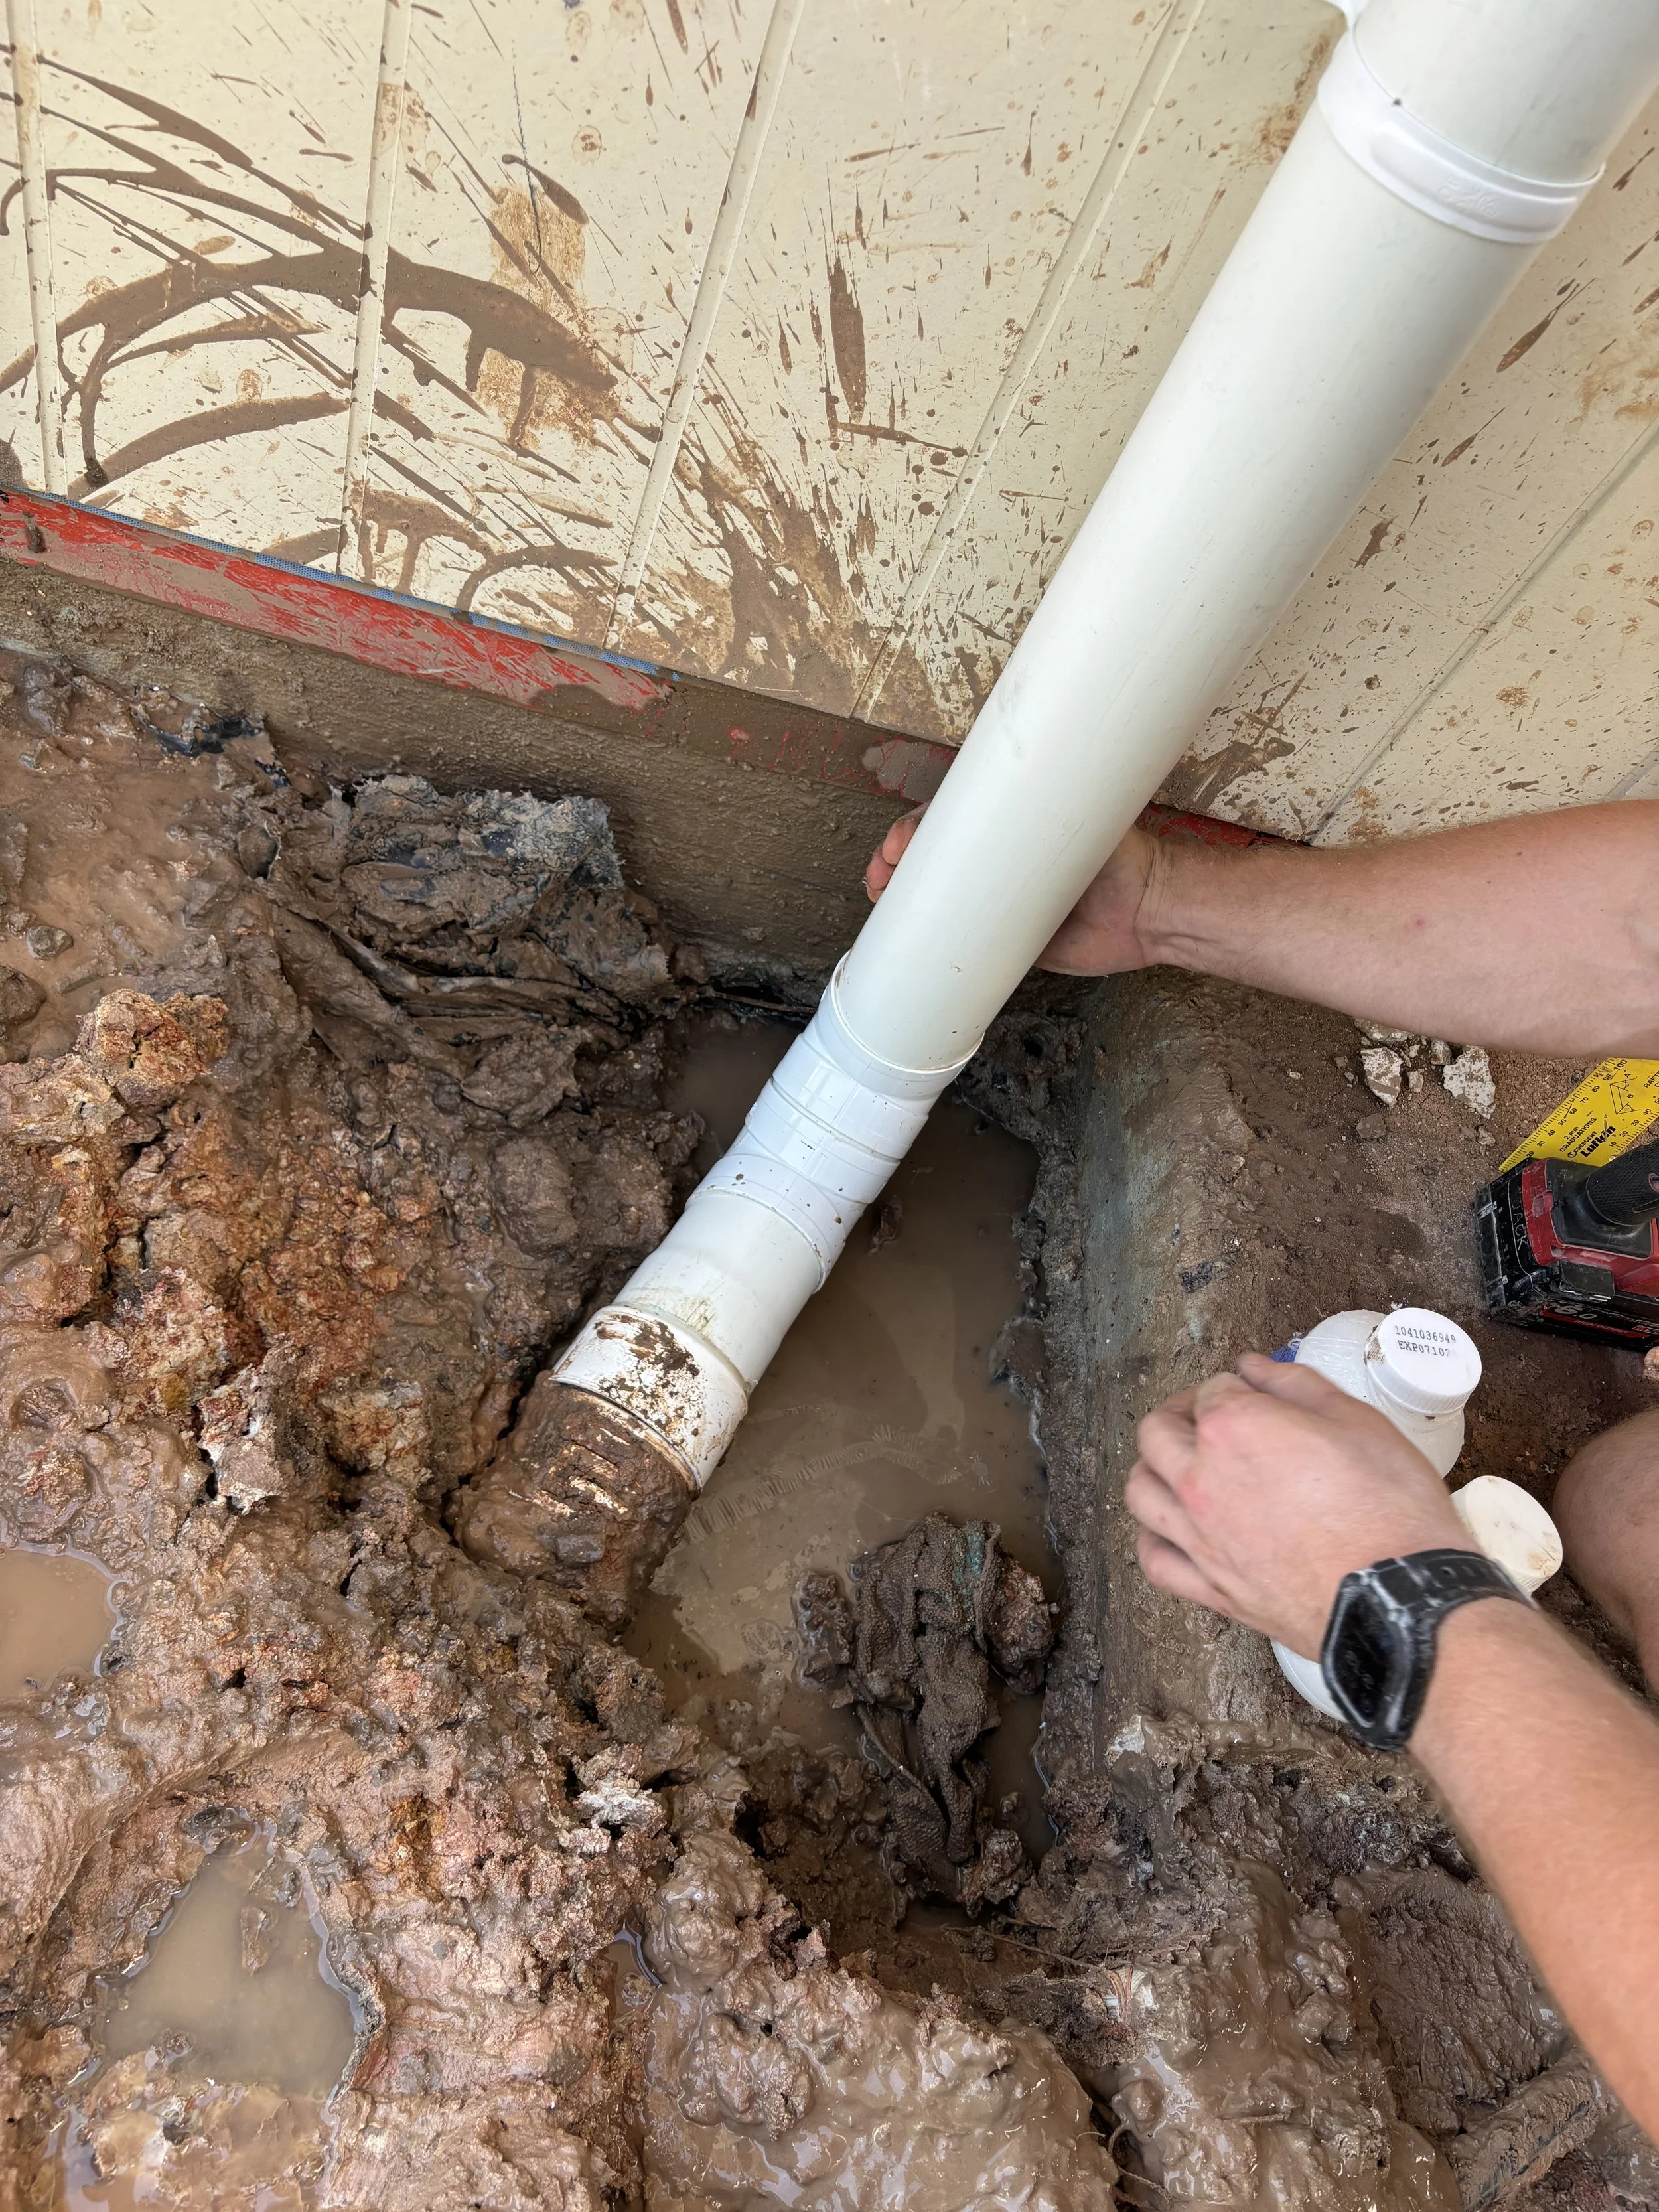
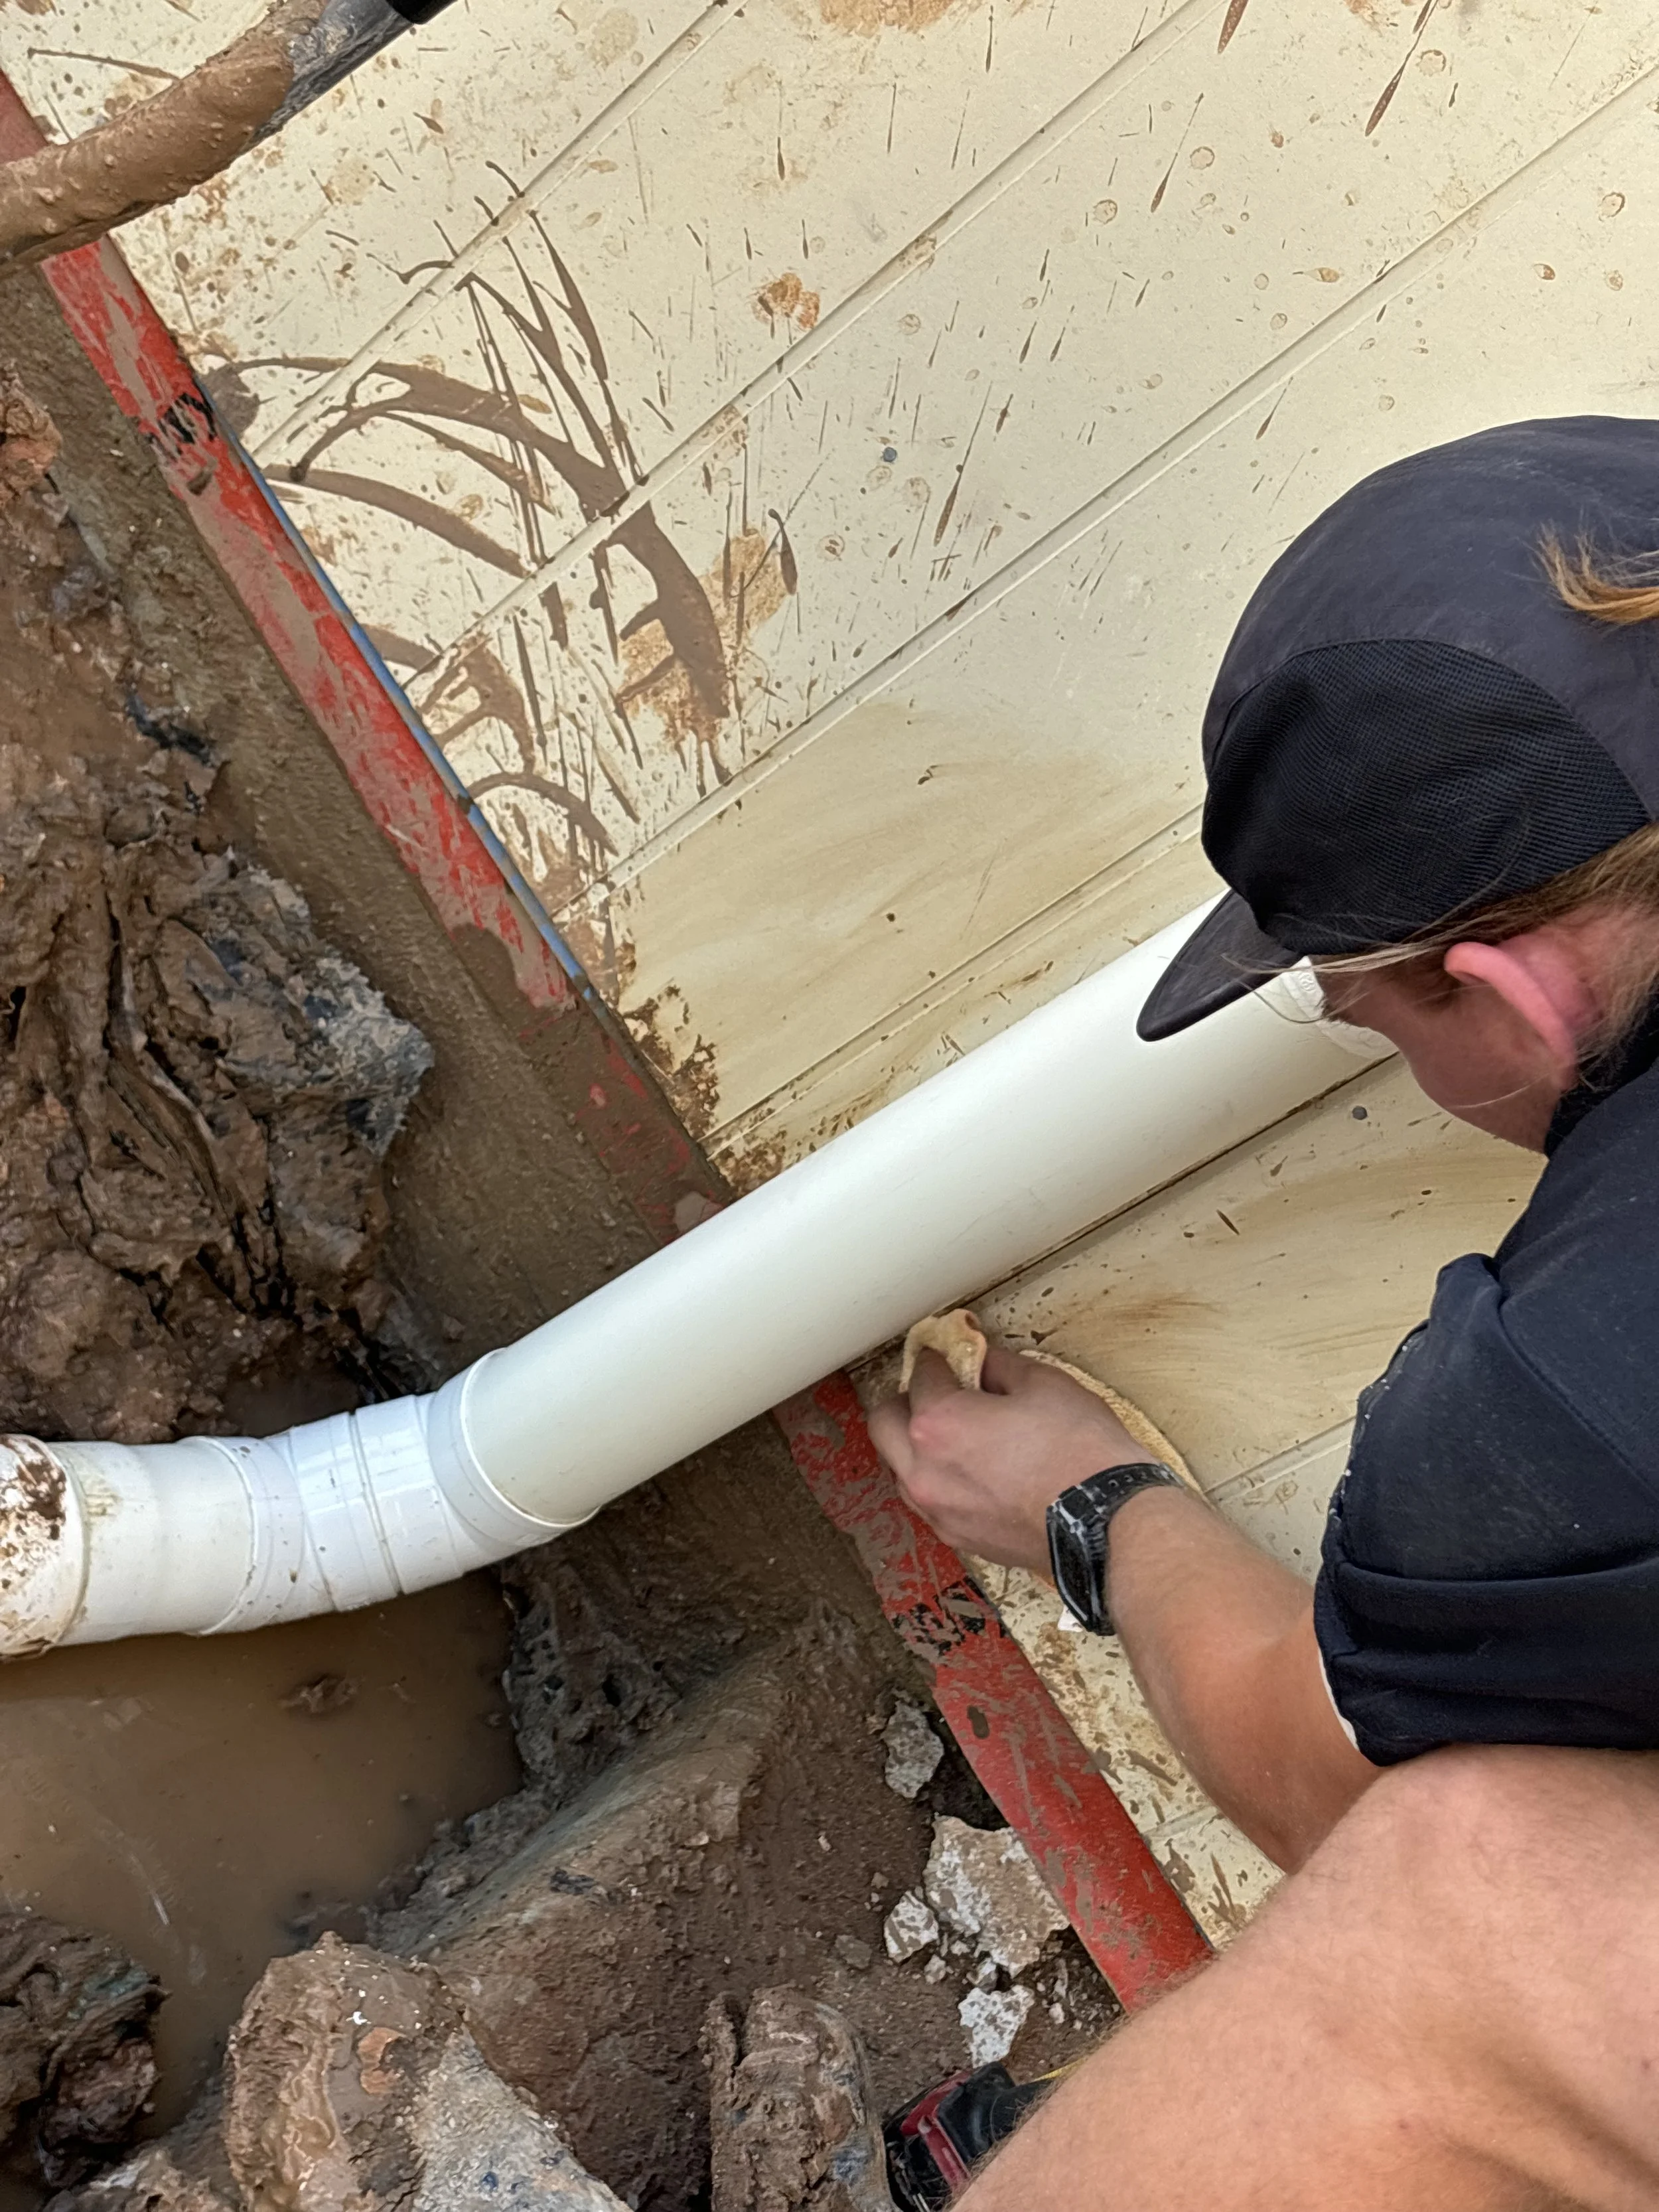
Cut your pipe and bends for the bottom to line up with the stormflex.
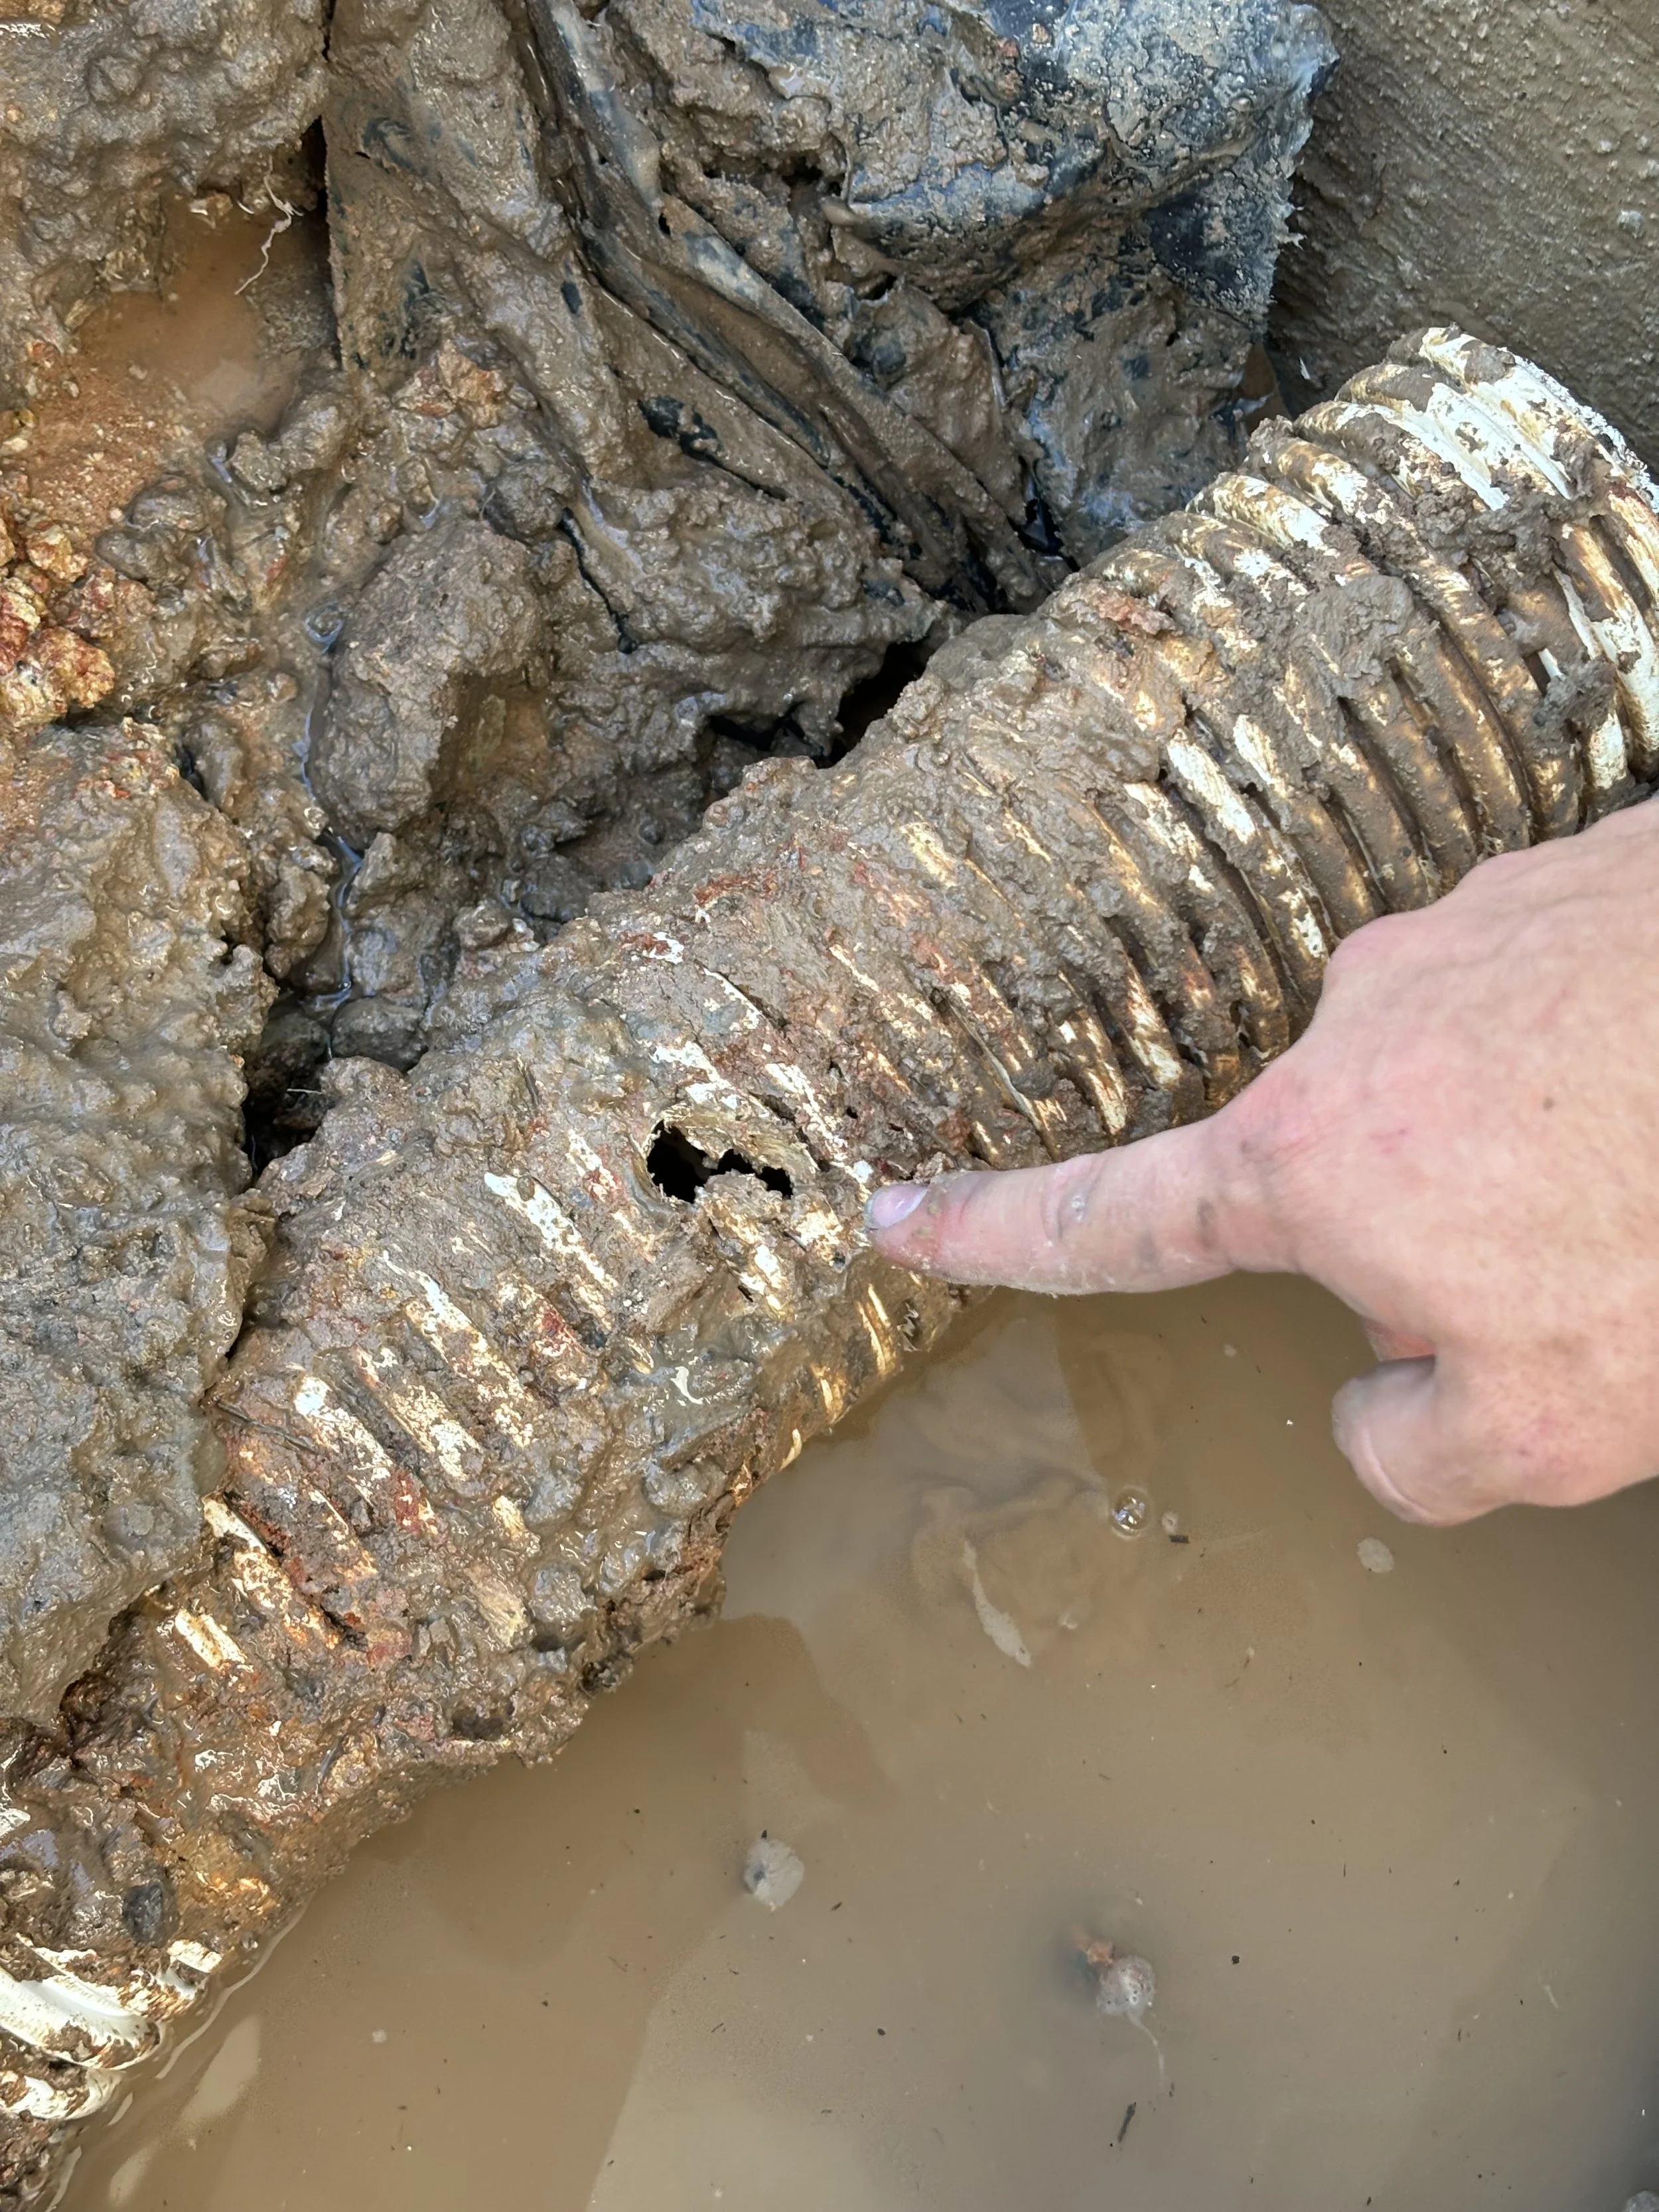
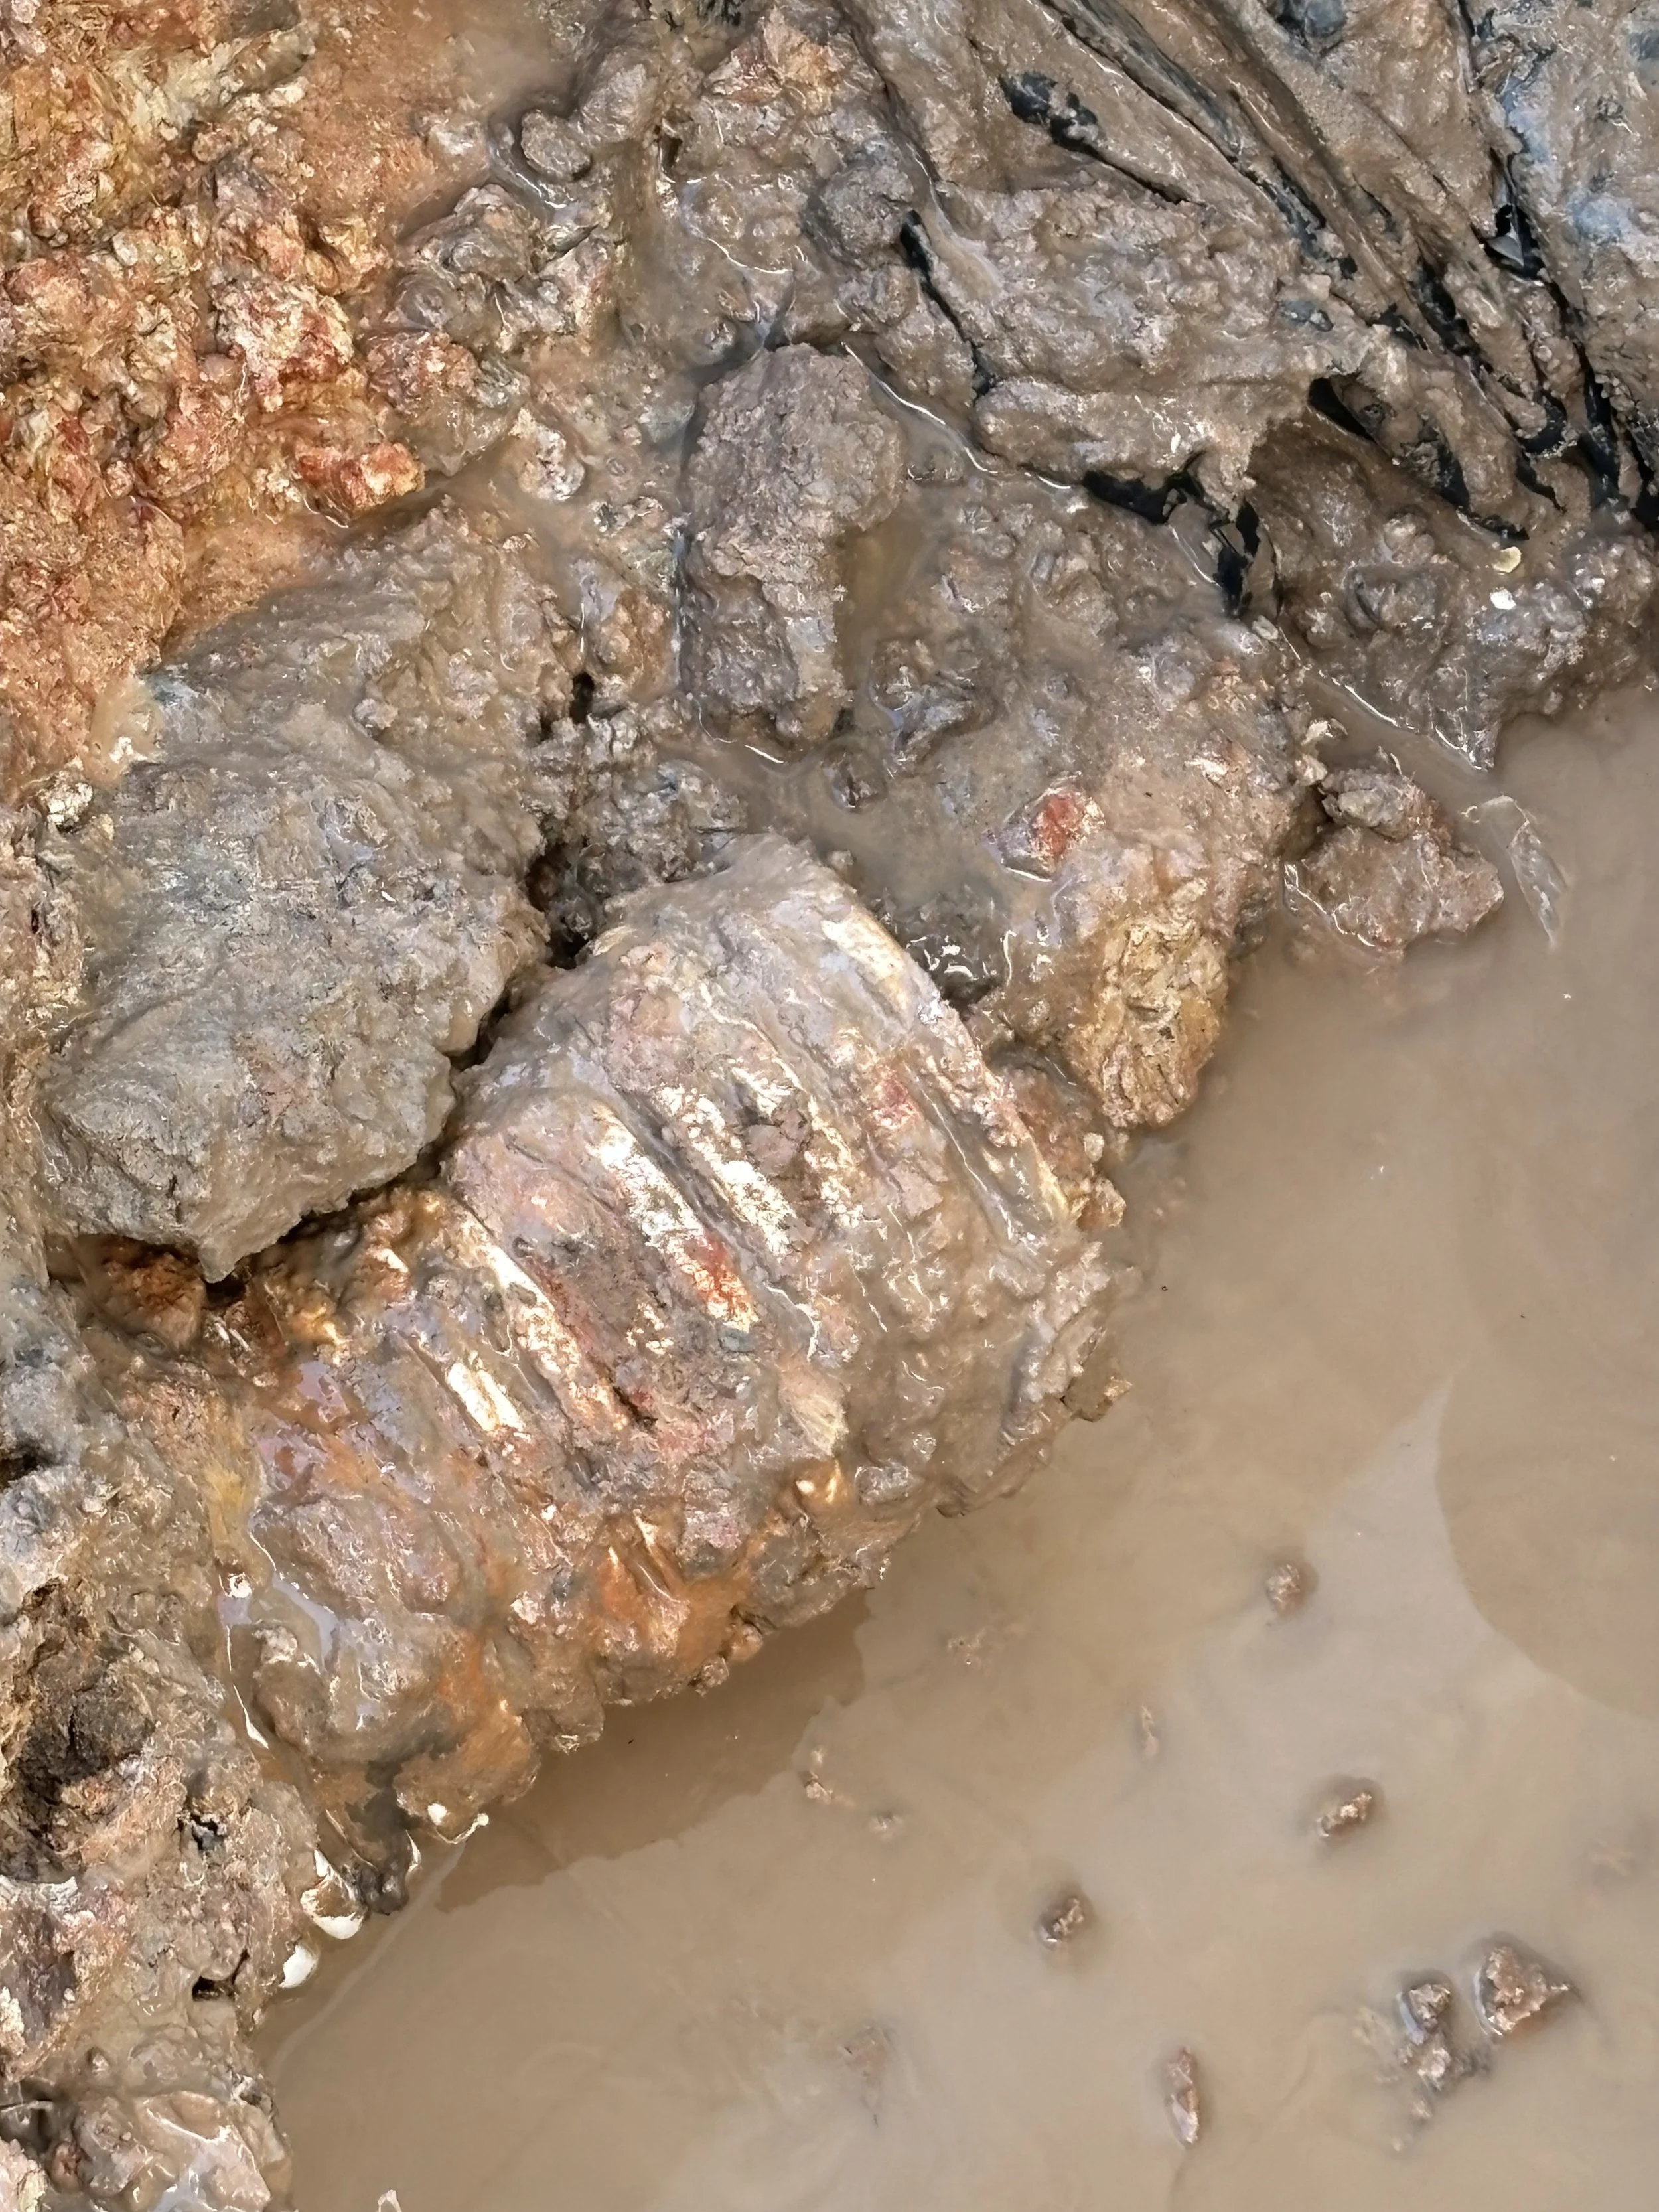
This bit of flex had some damage so make sure to cut out any parts like this.
Make sure all joins are clean and dry before gluing.
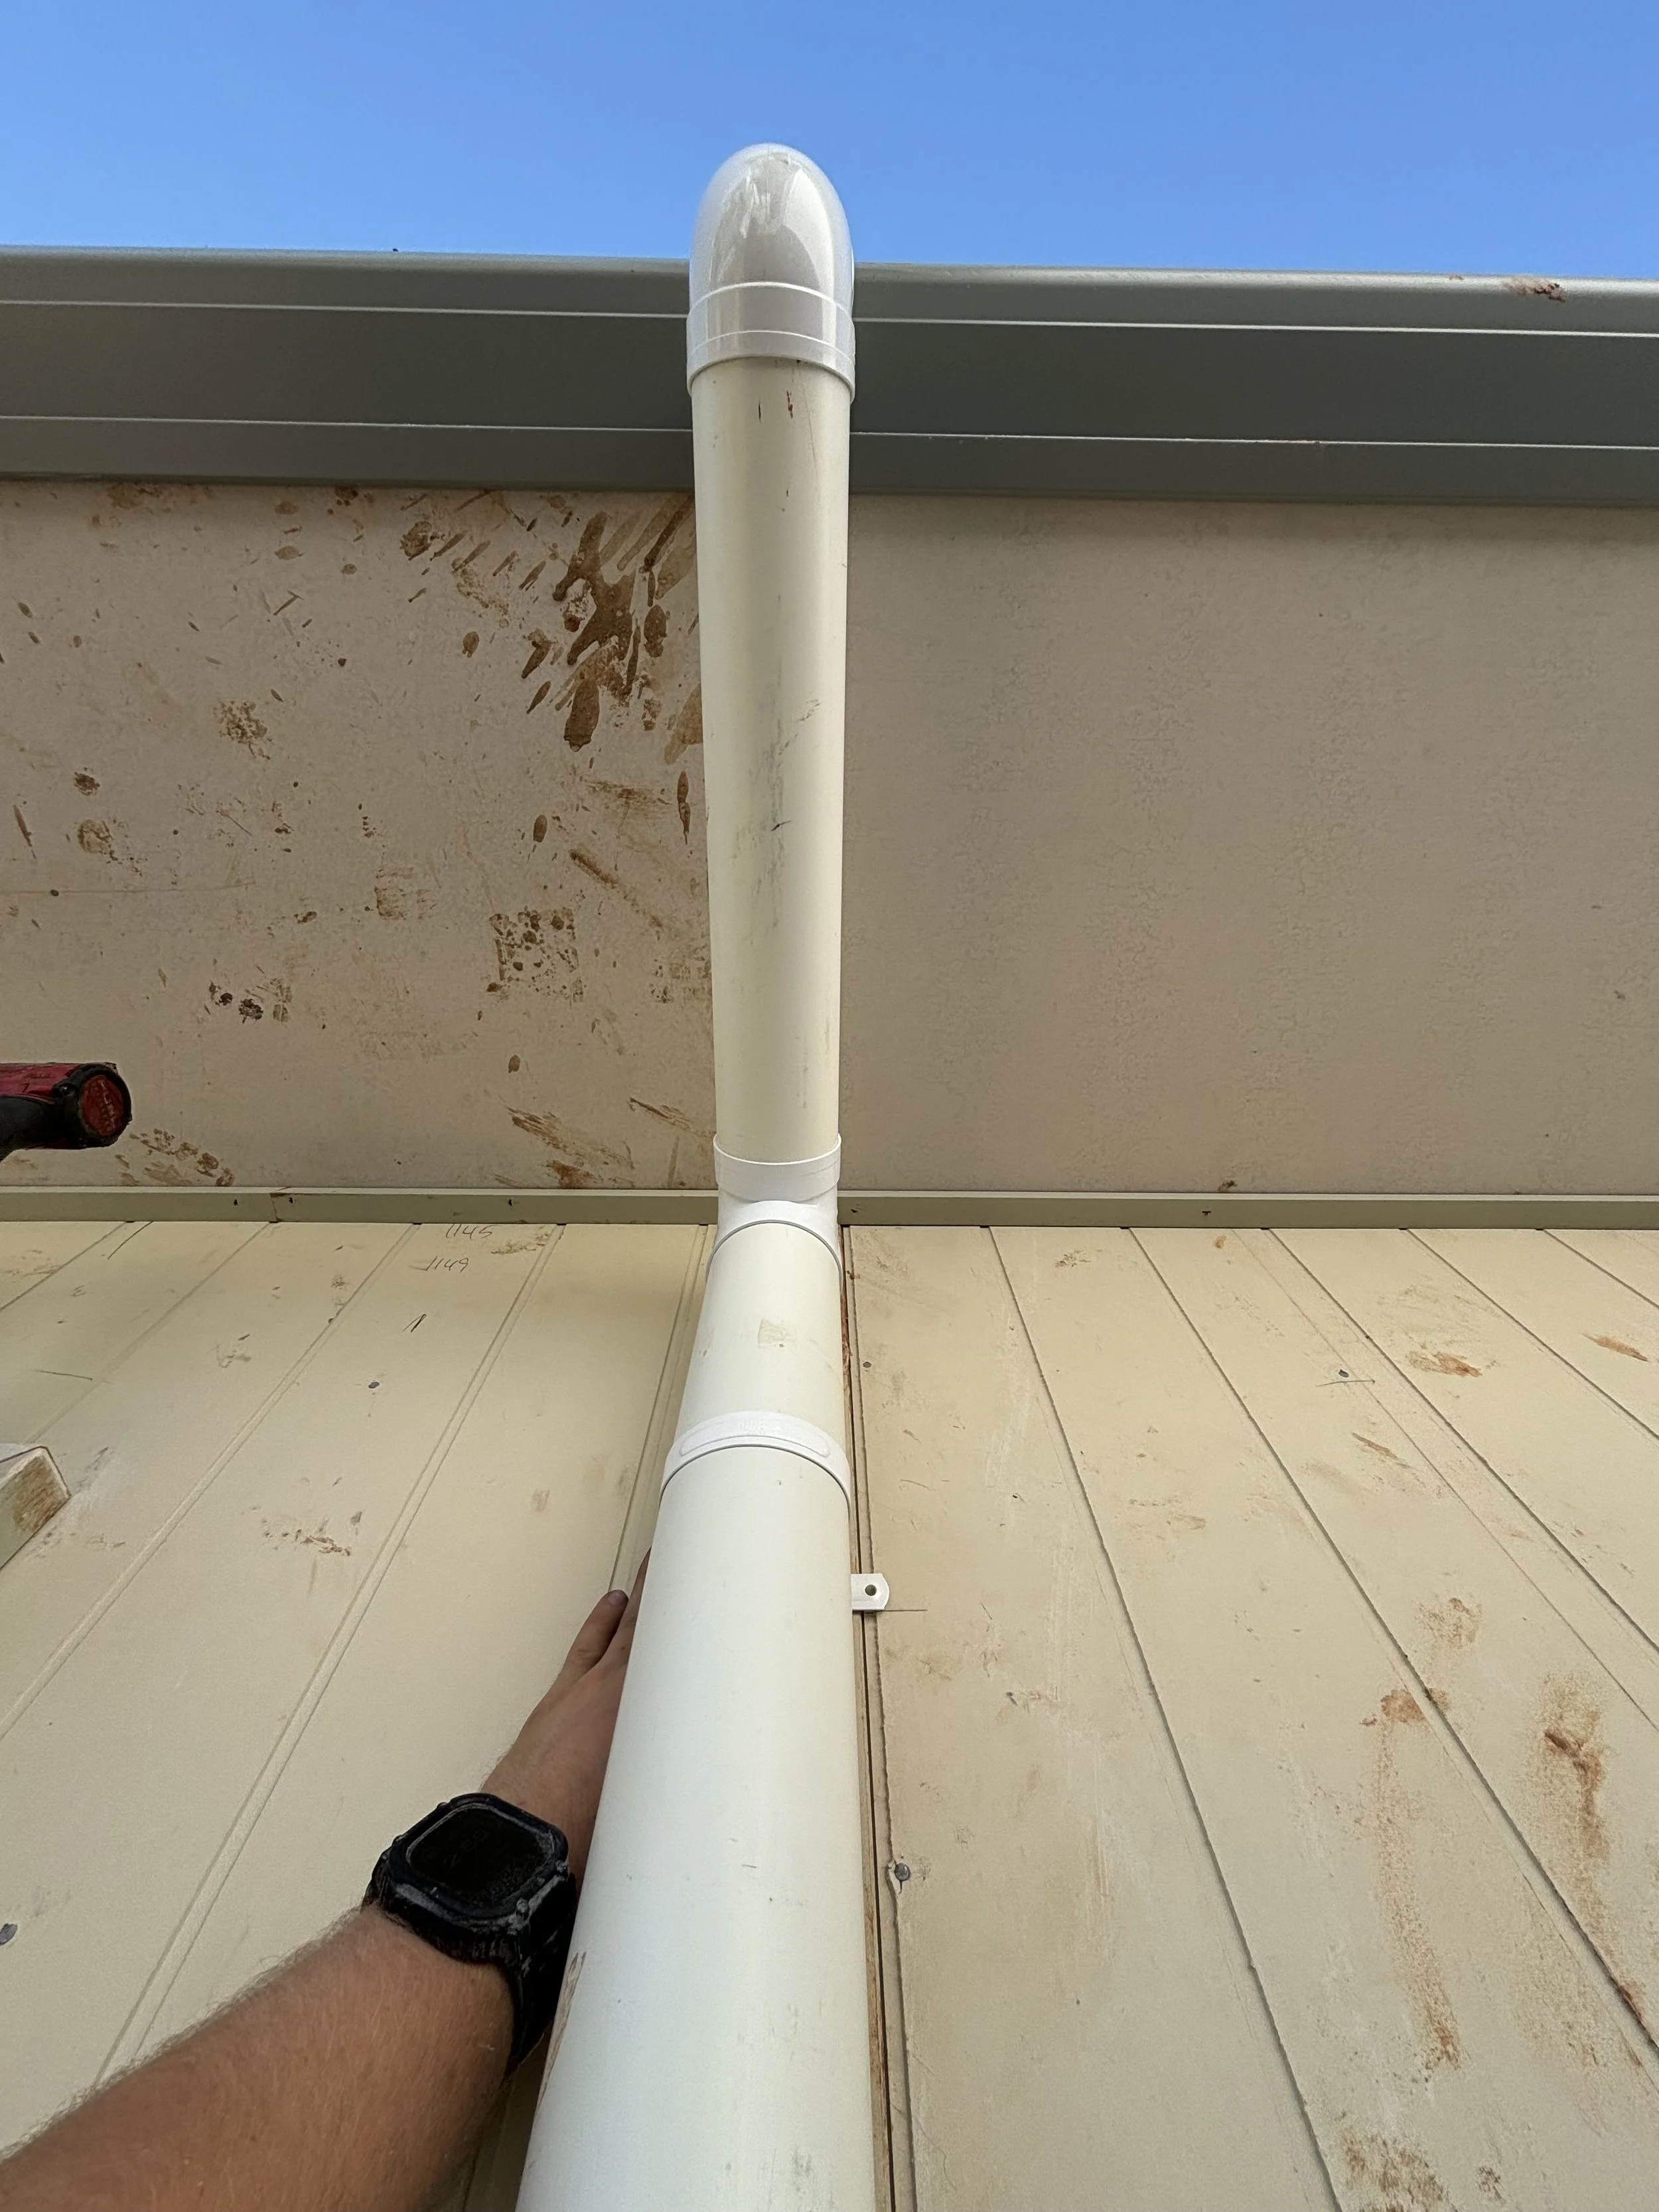
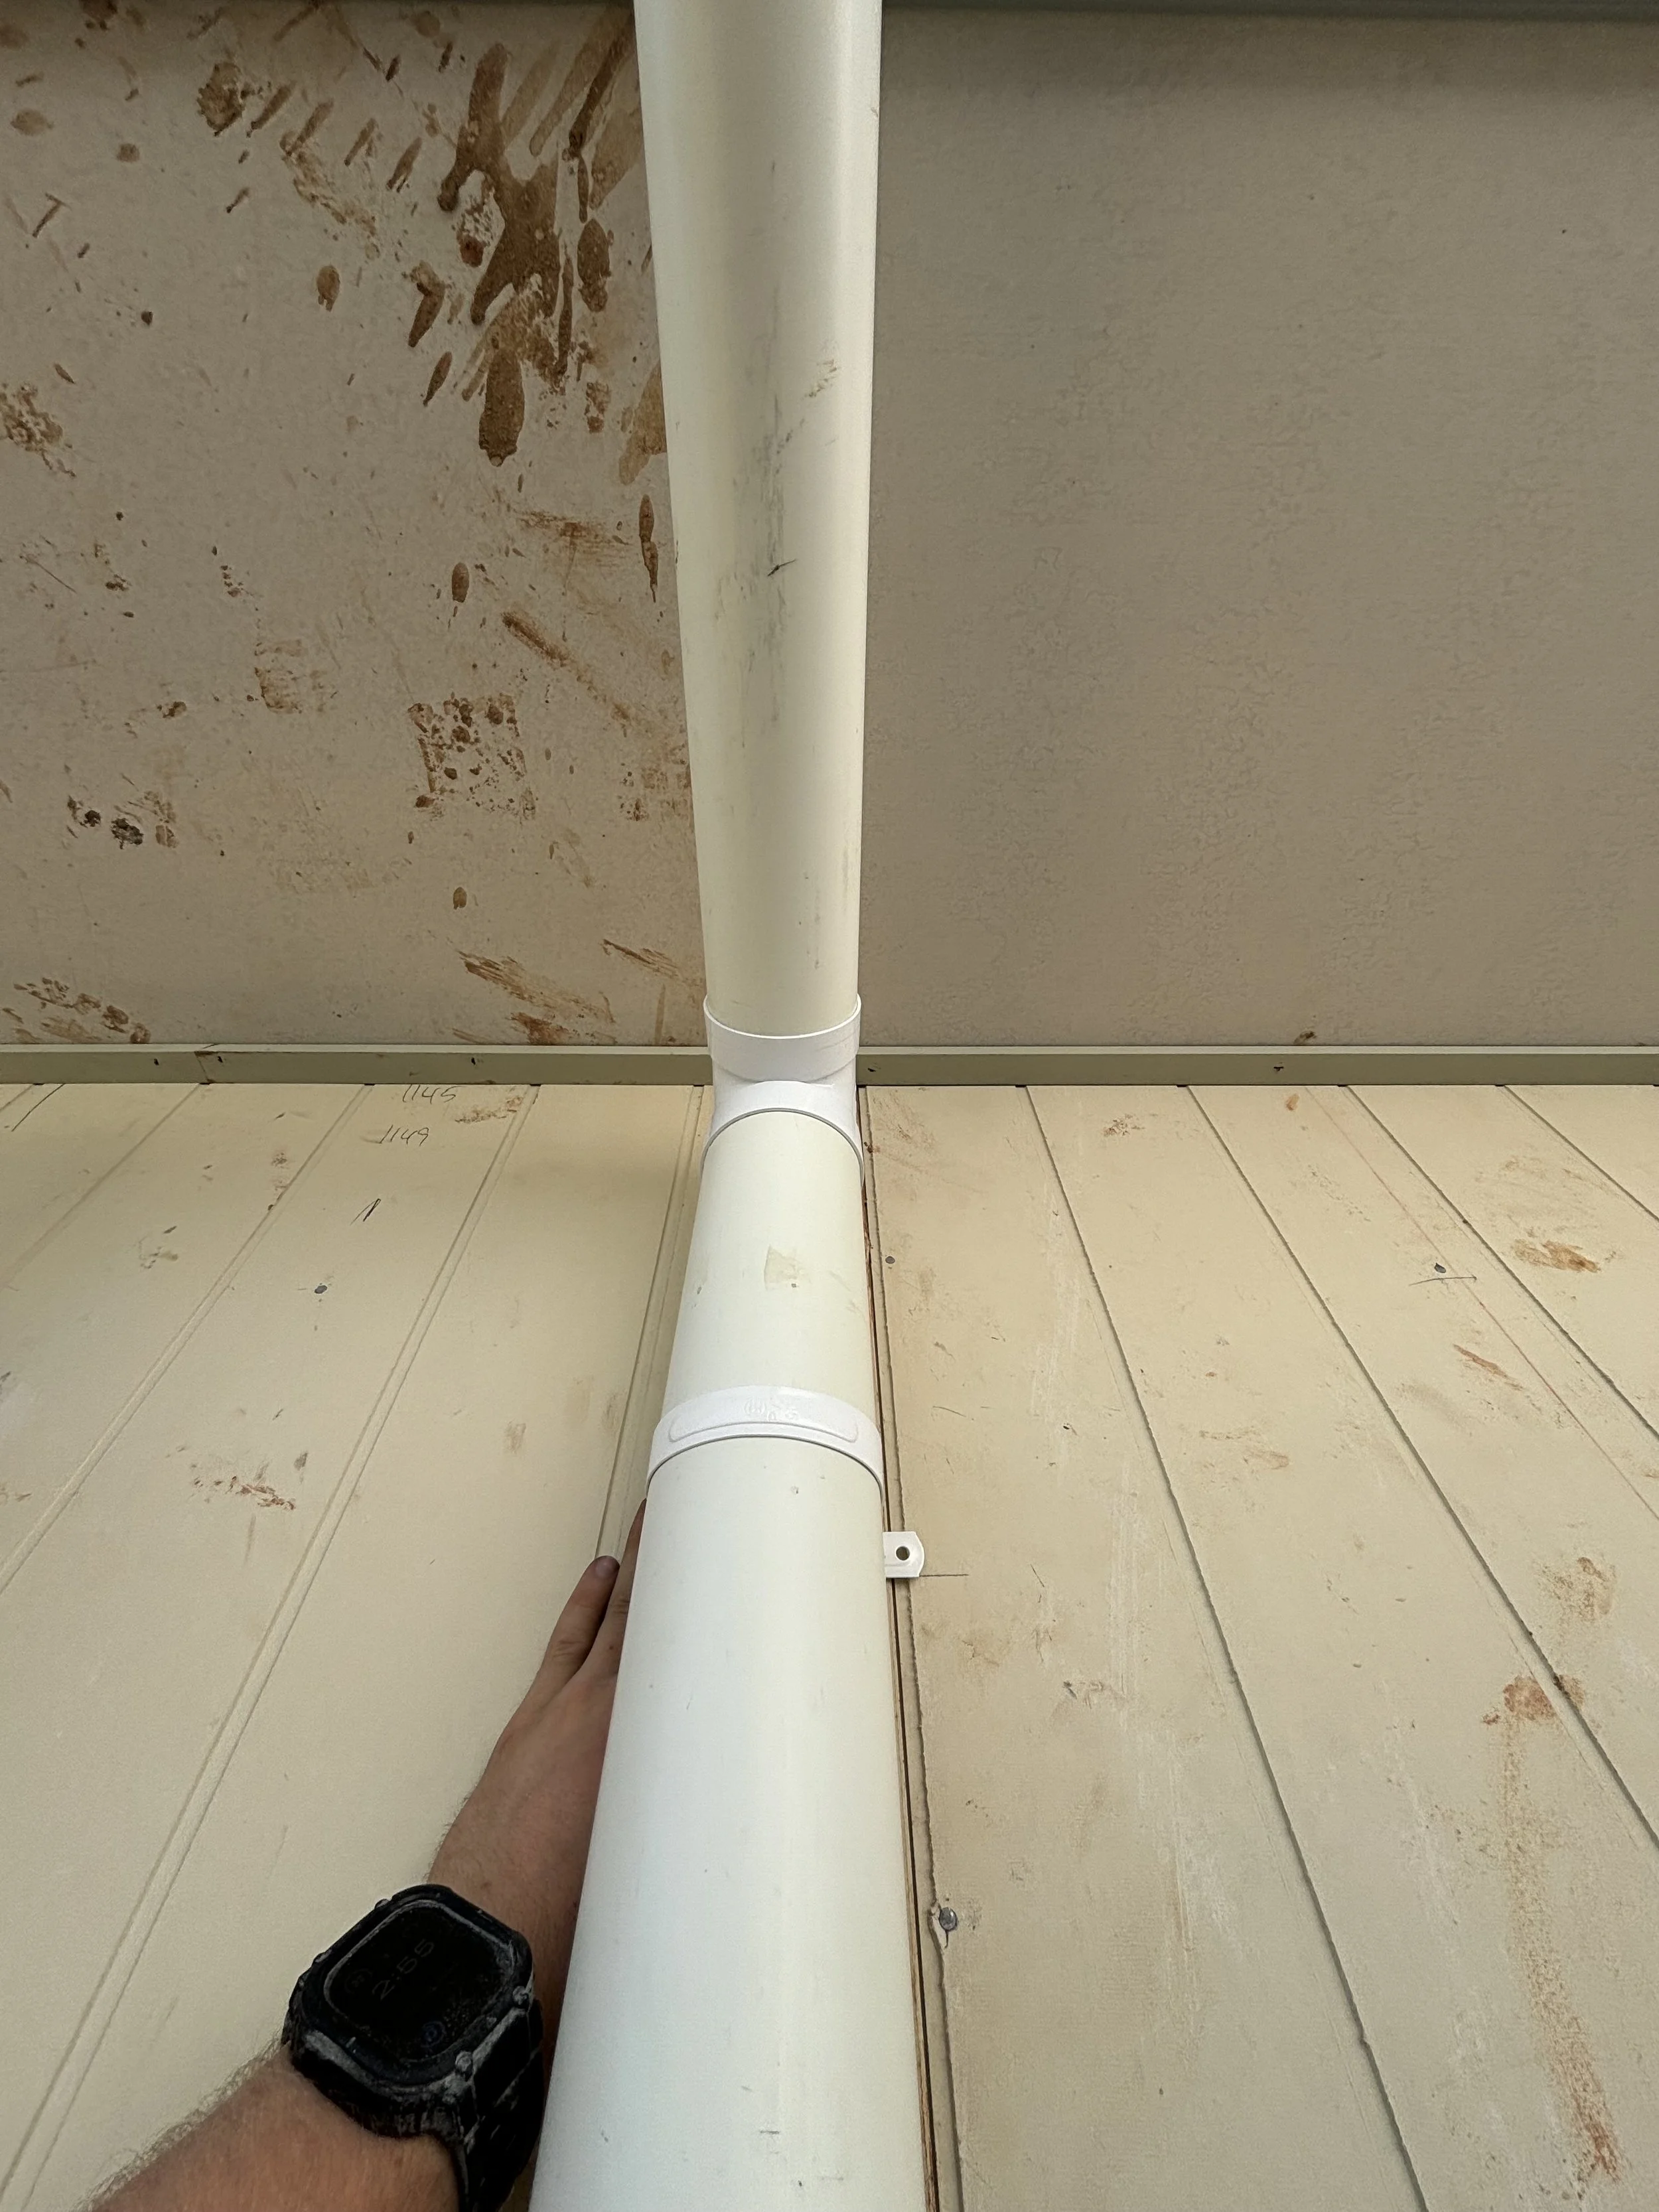
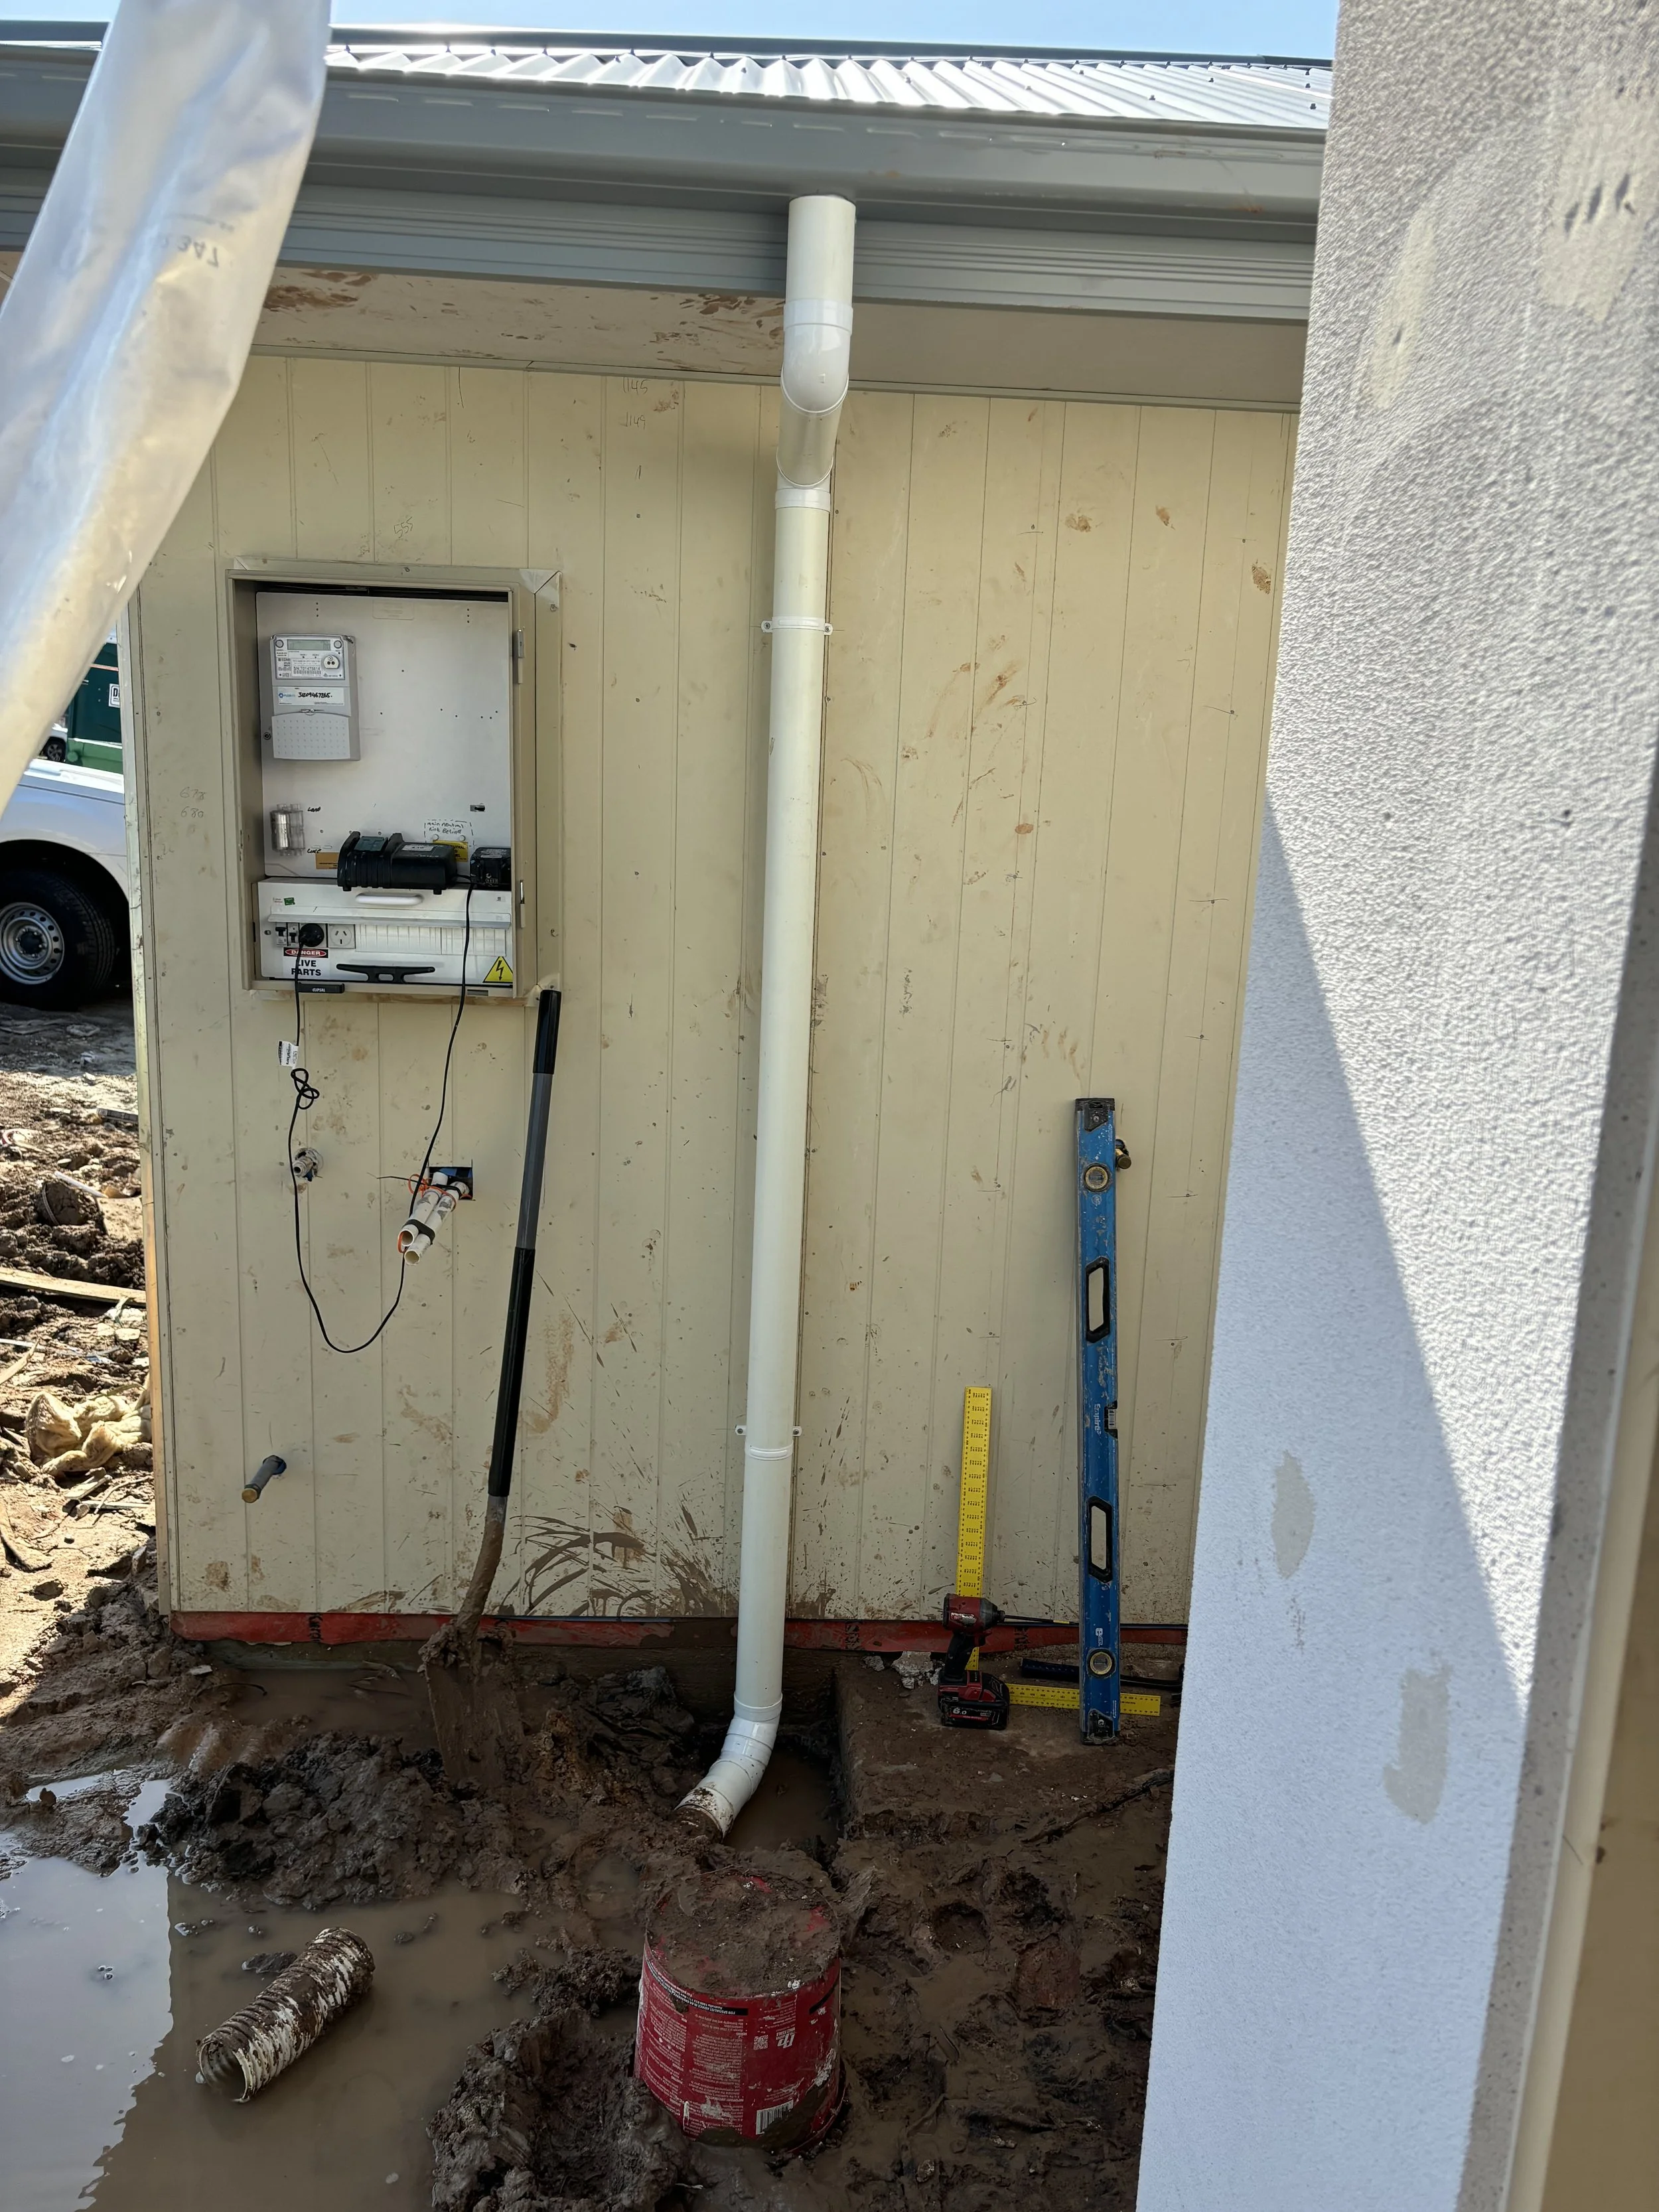
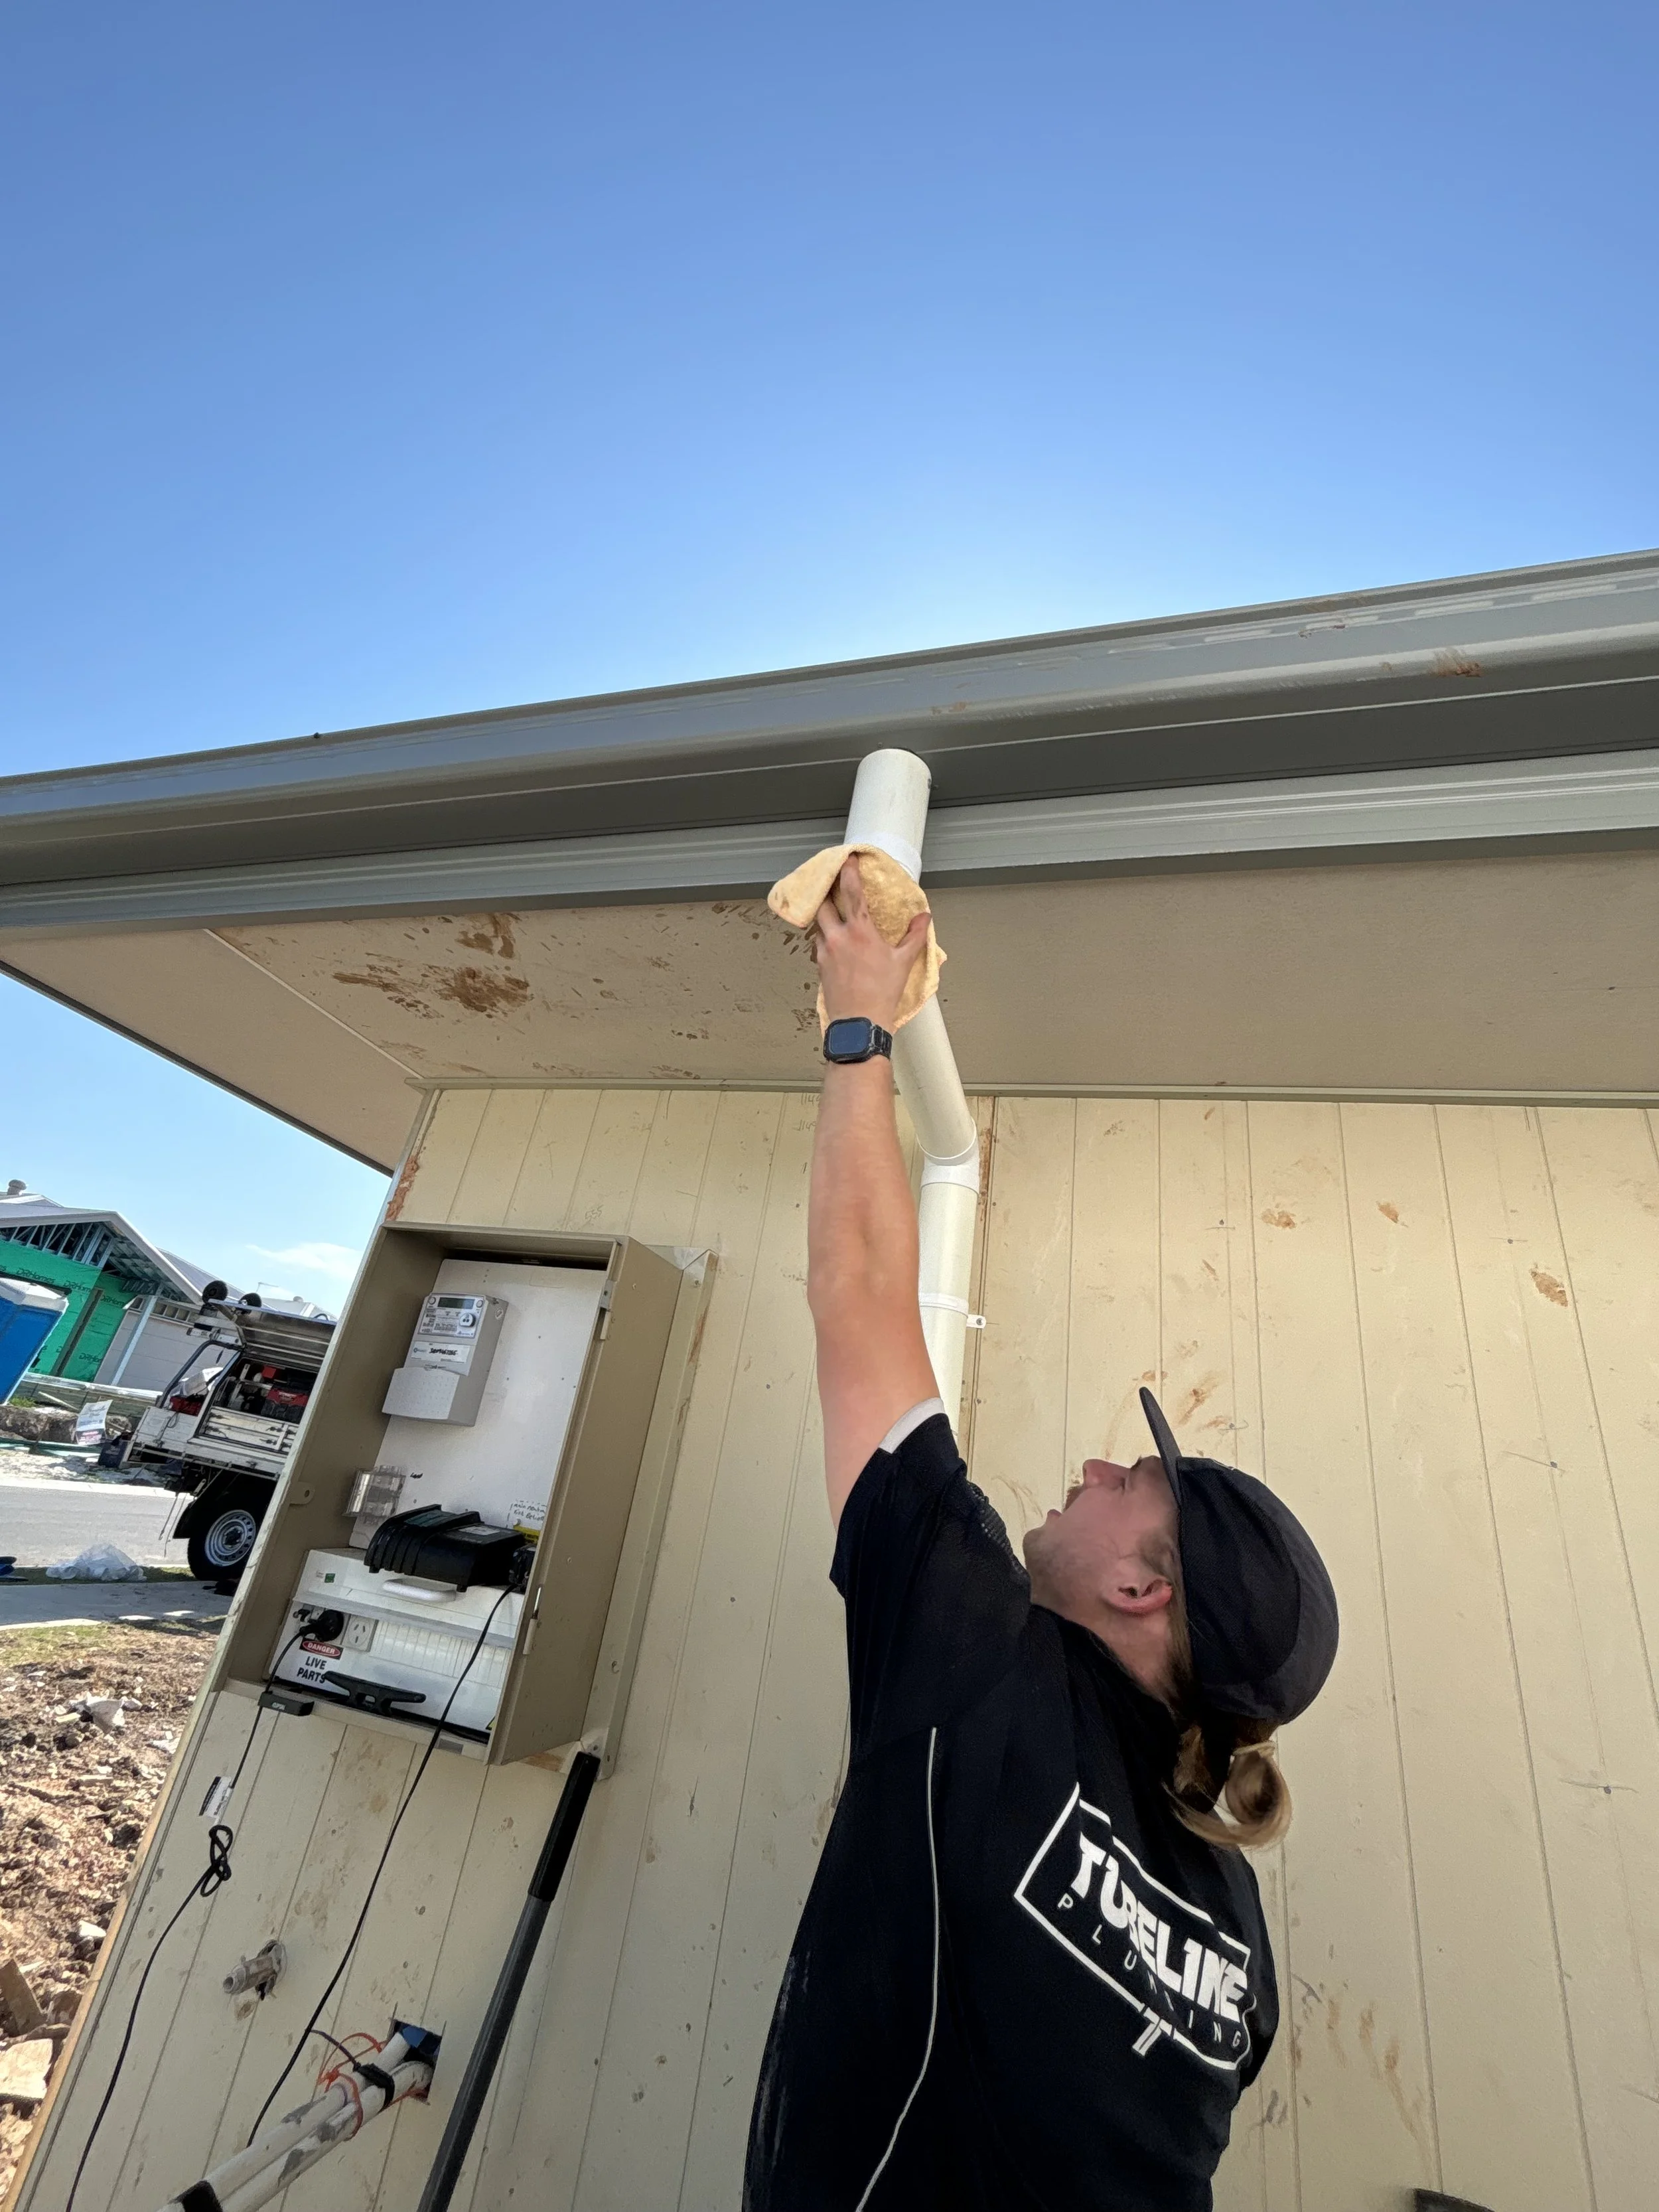
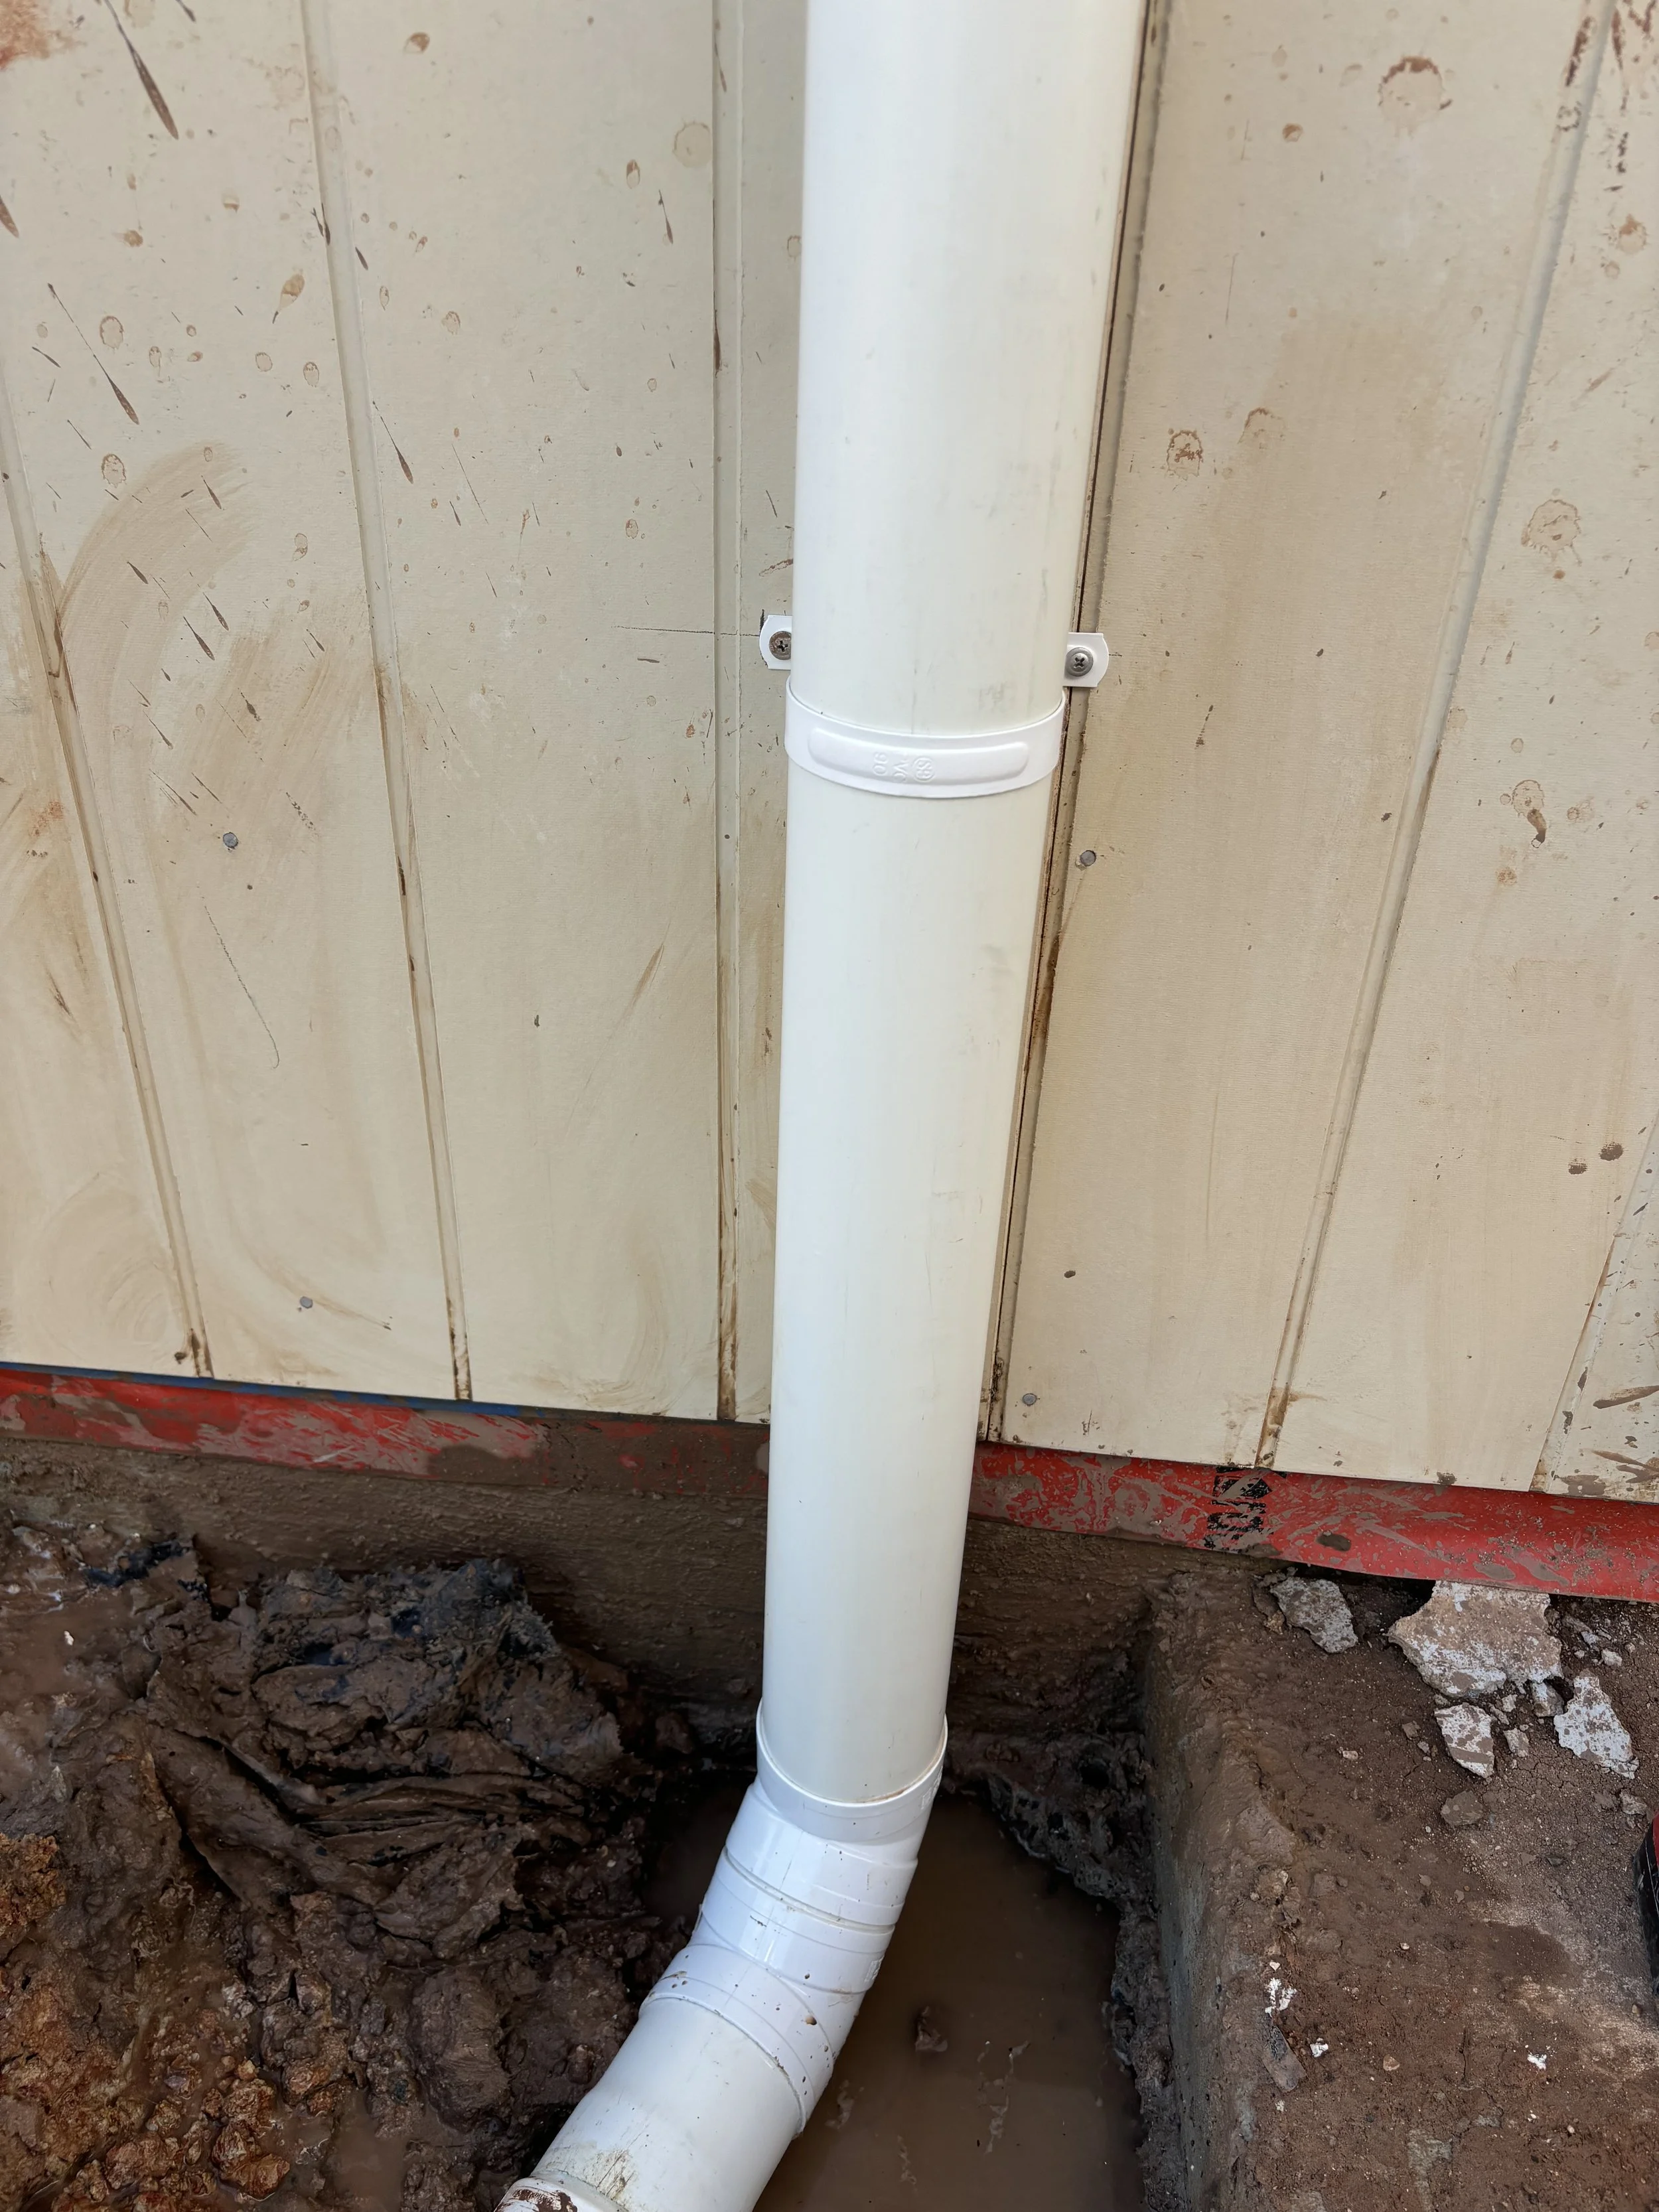
Finished product.
Everything is level.
Dropper at top is level.
Screws and saddles are level.
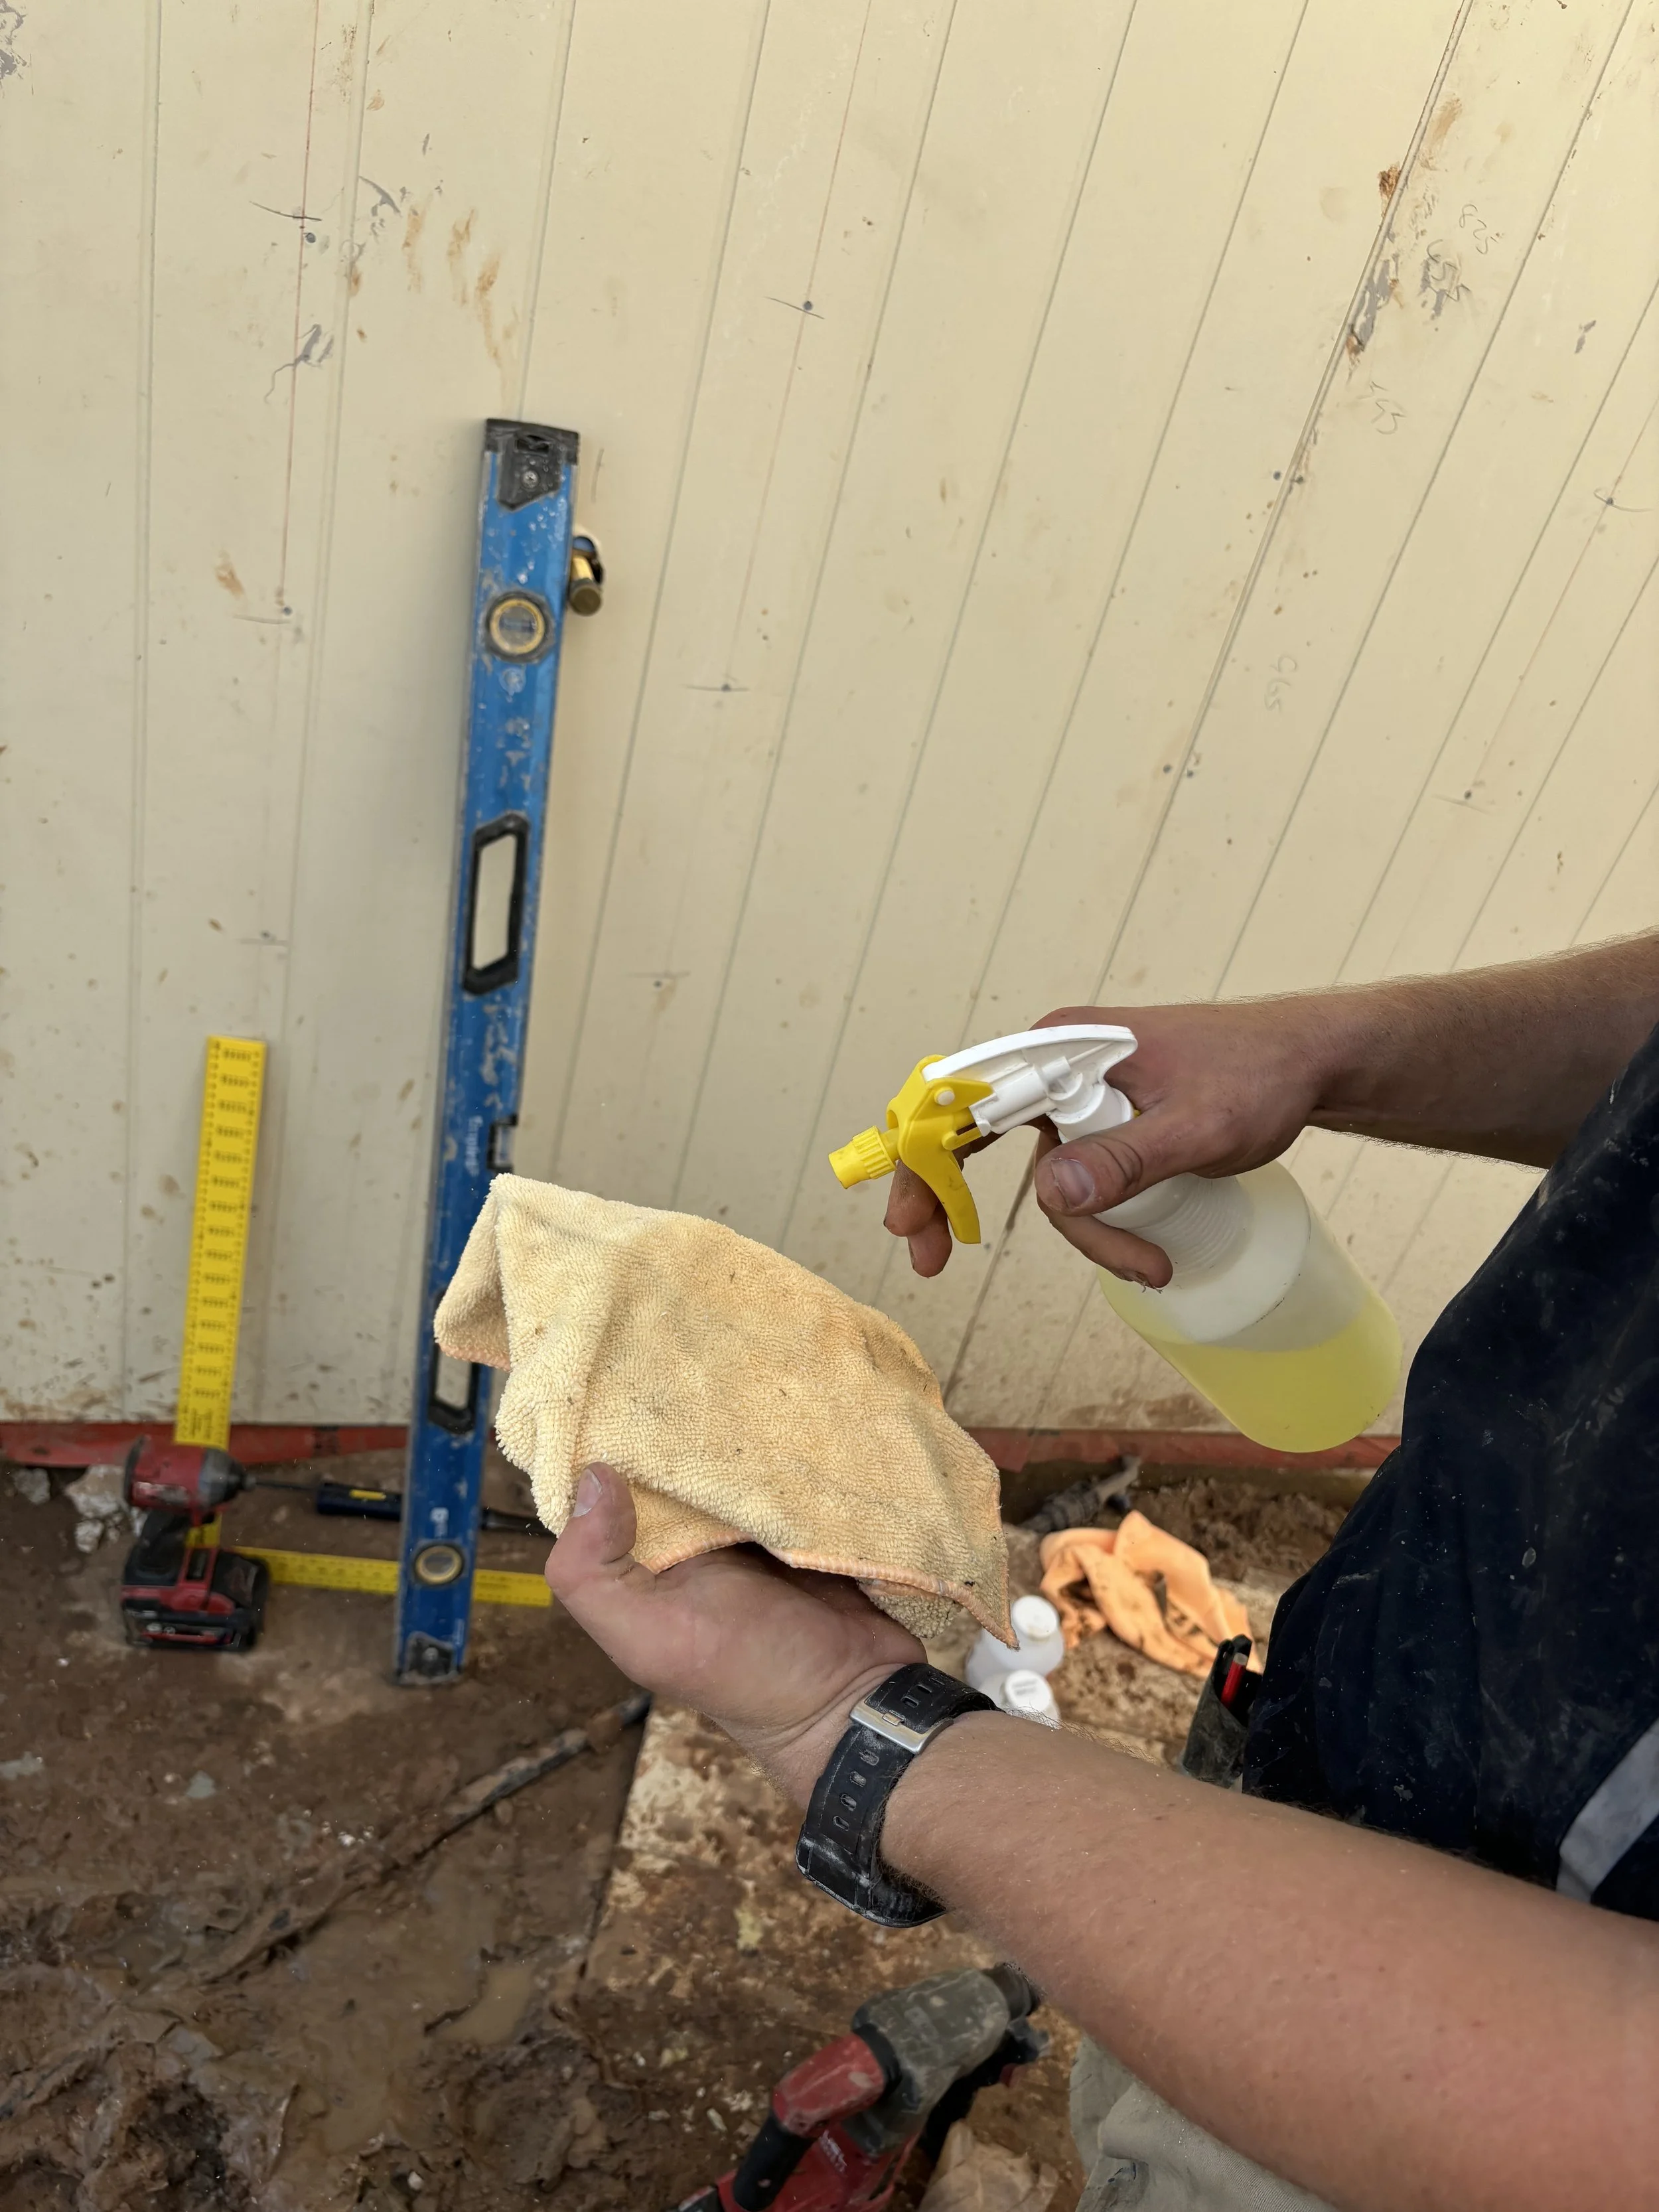
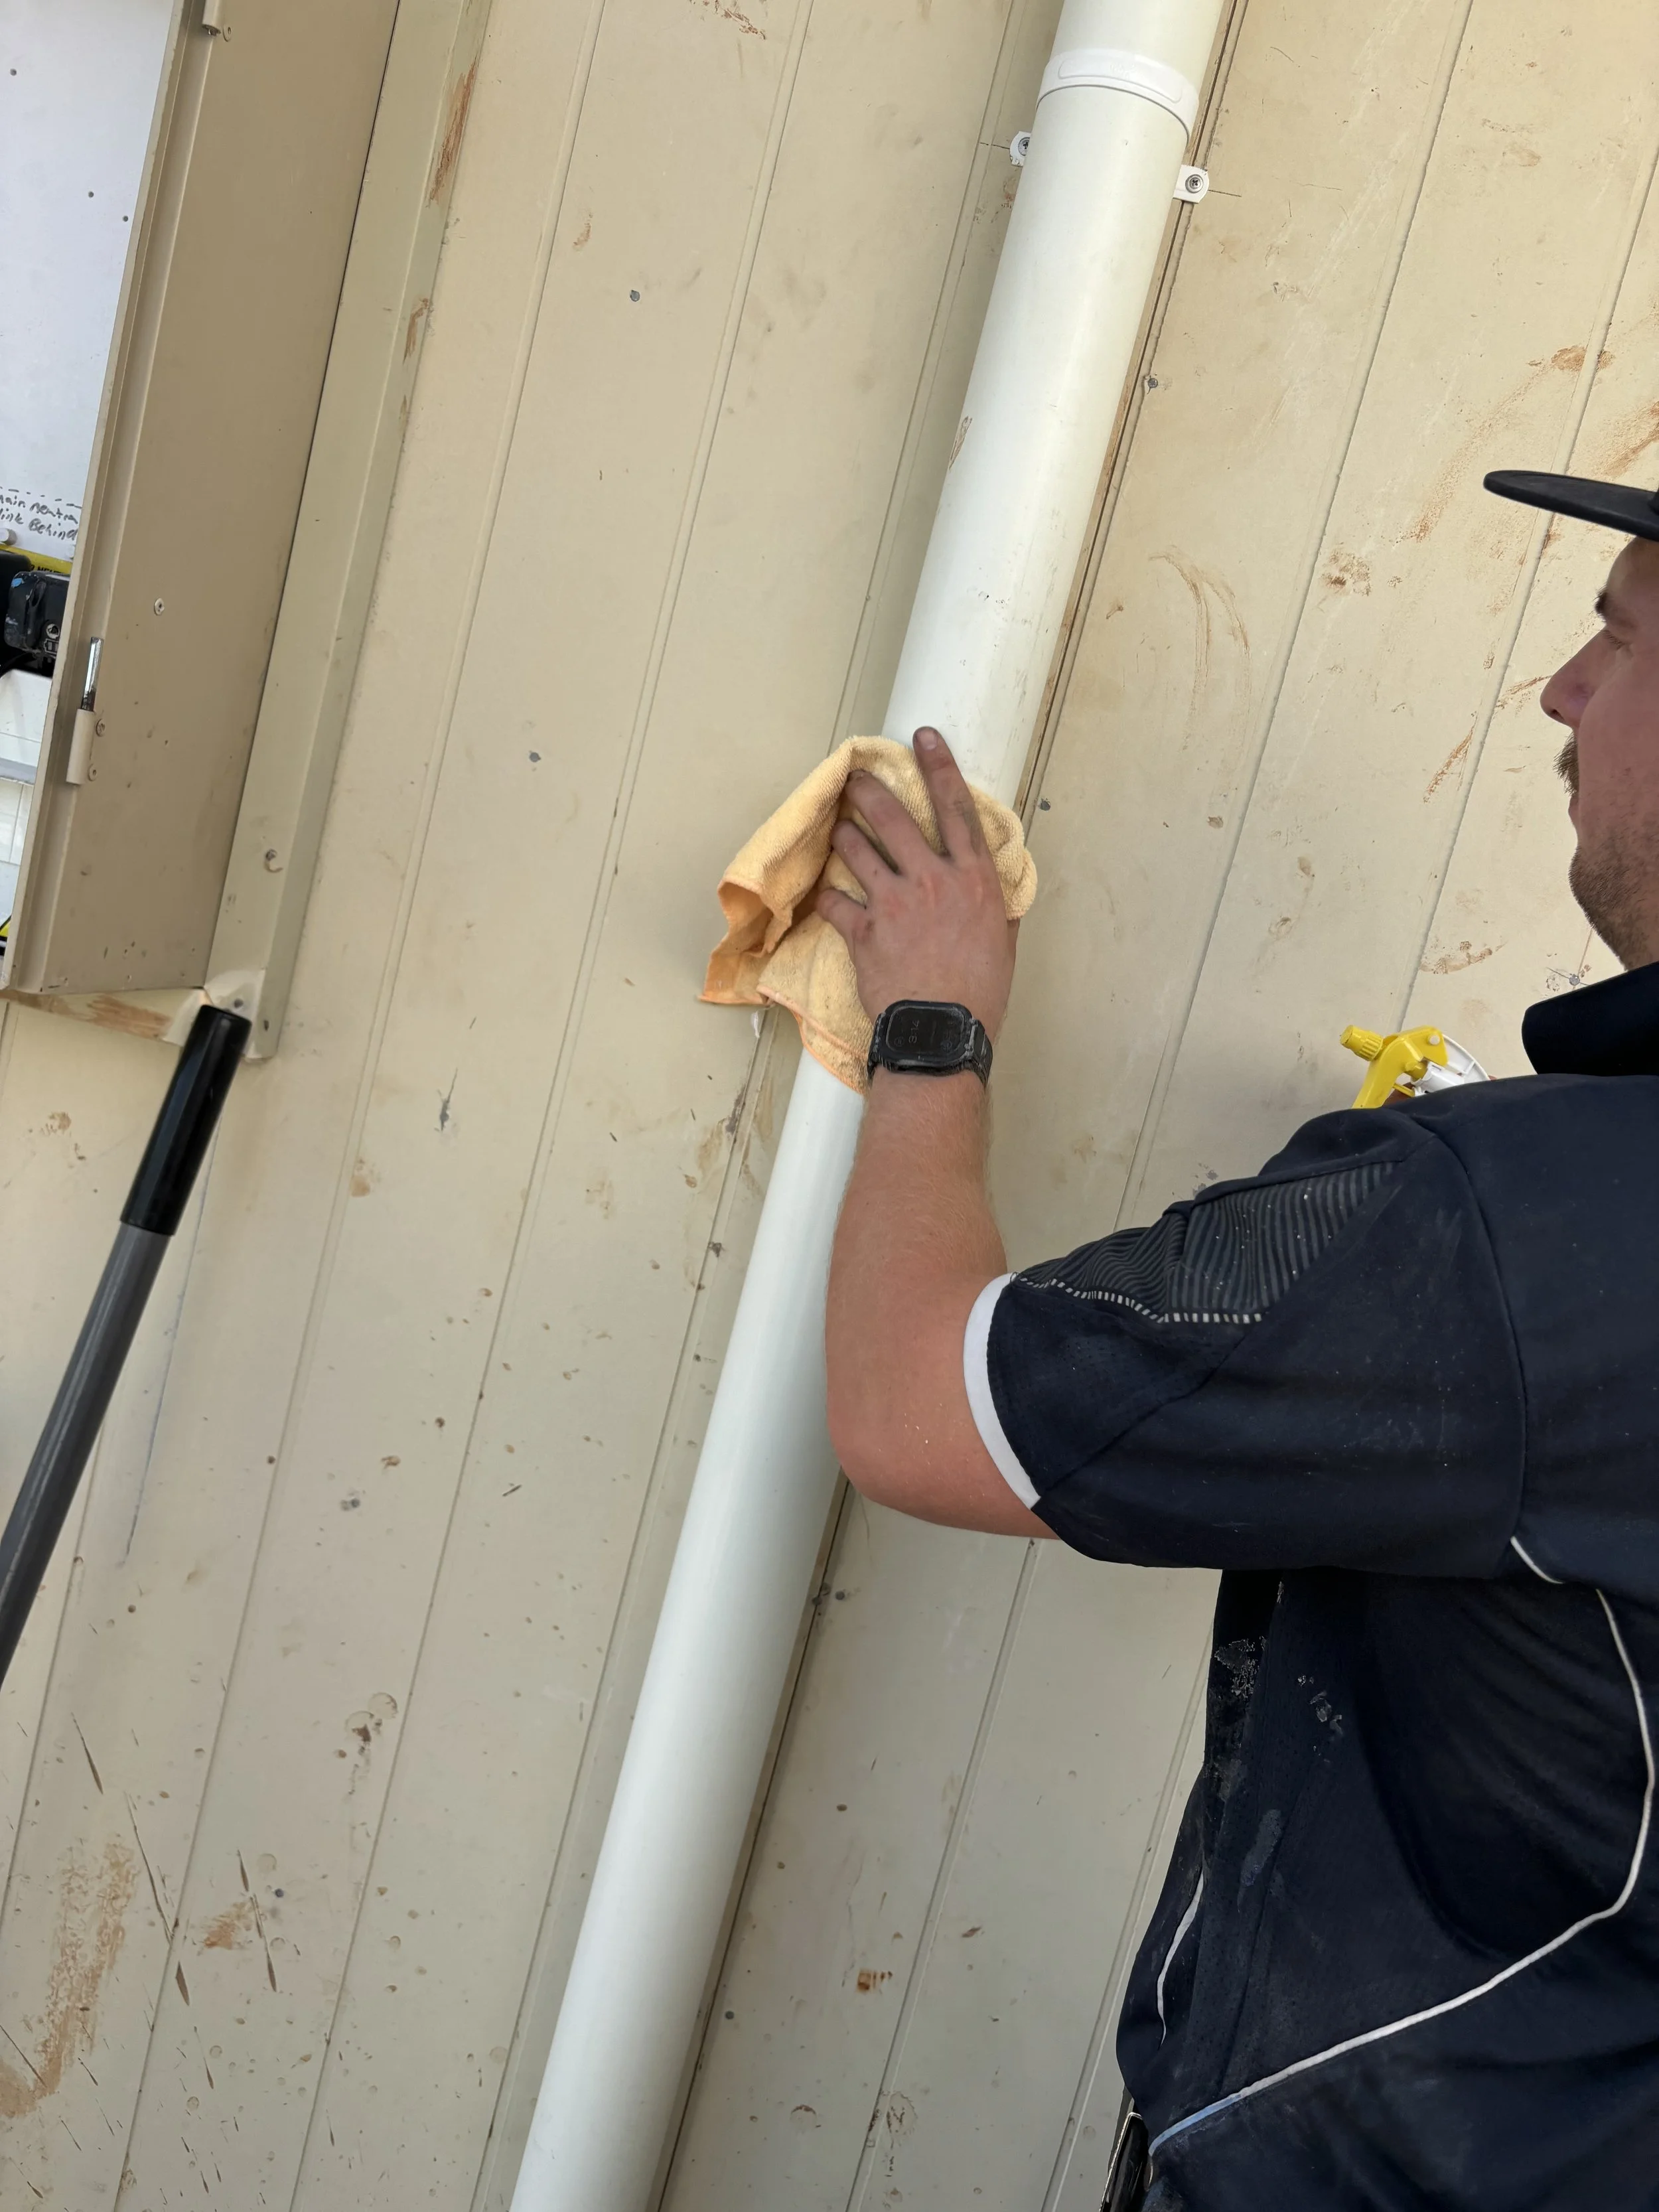
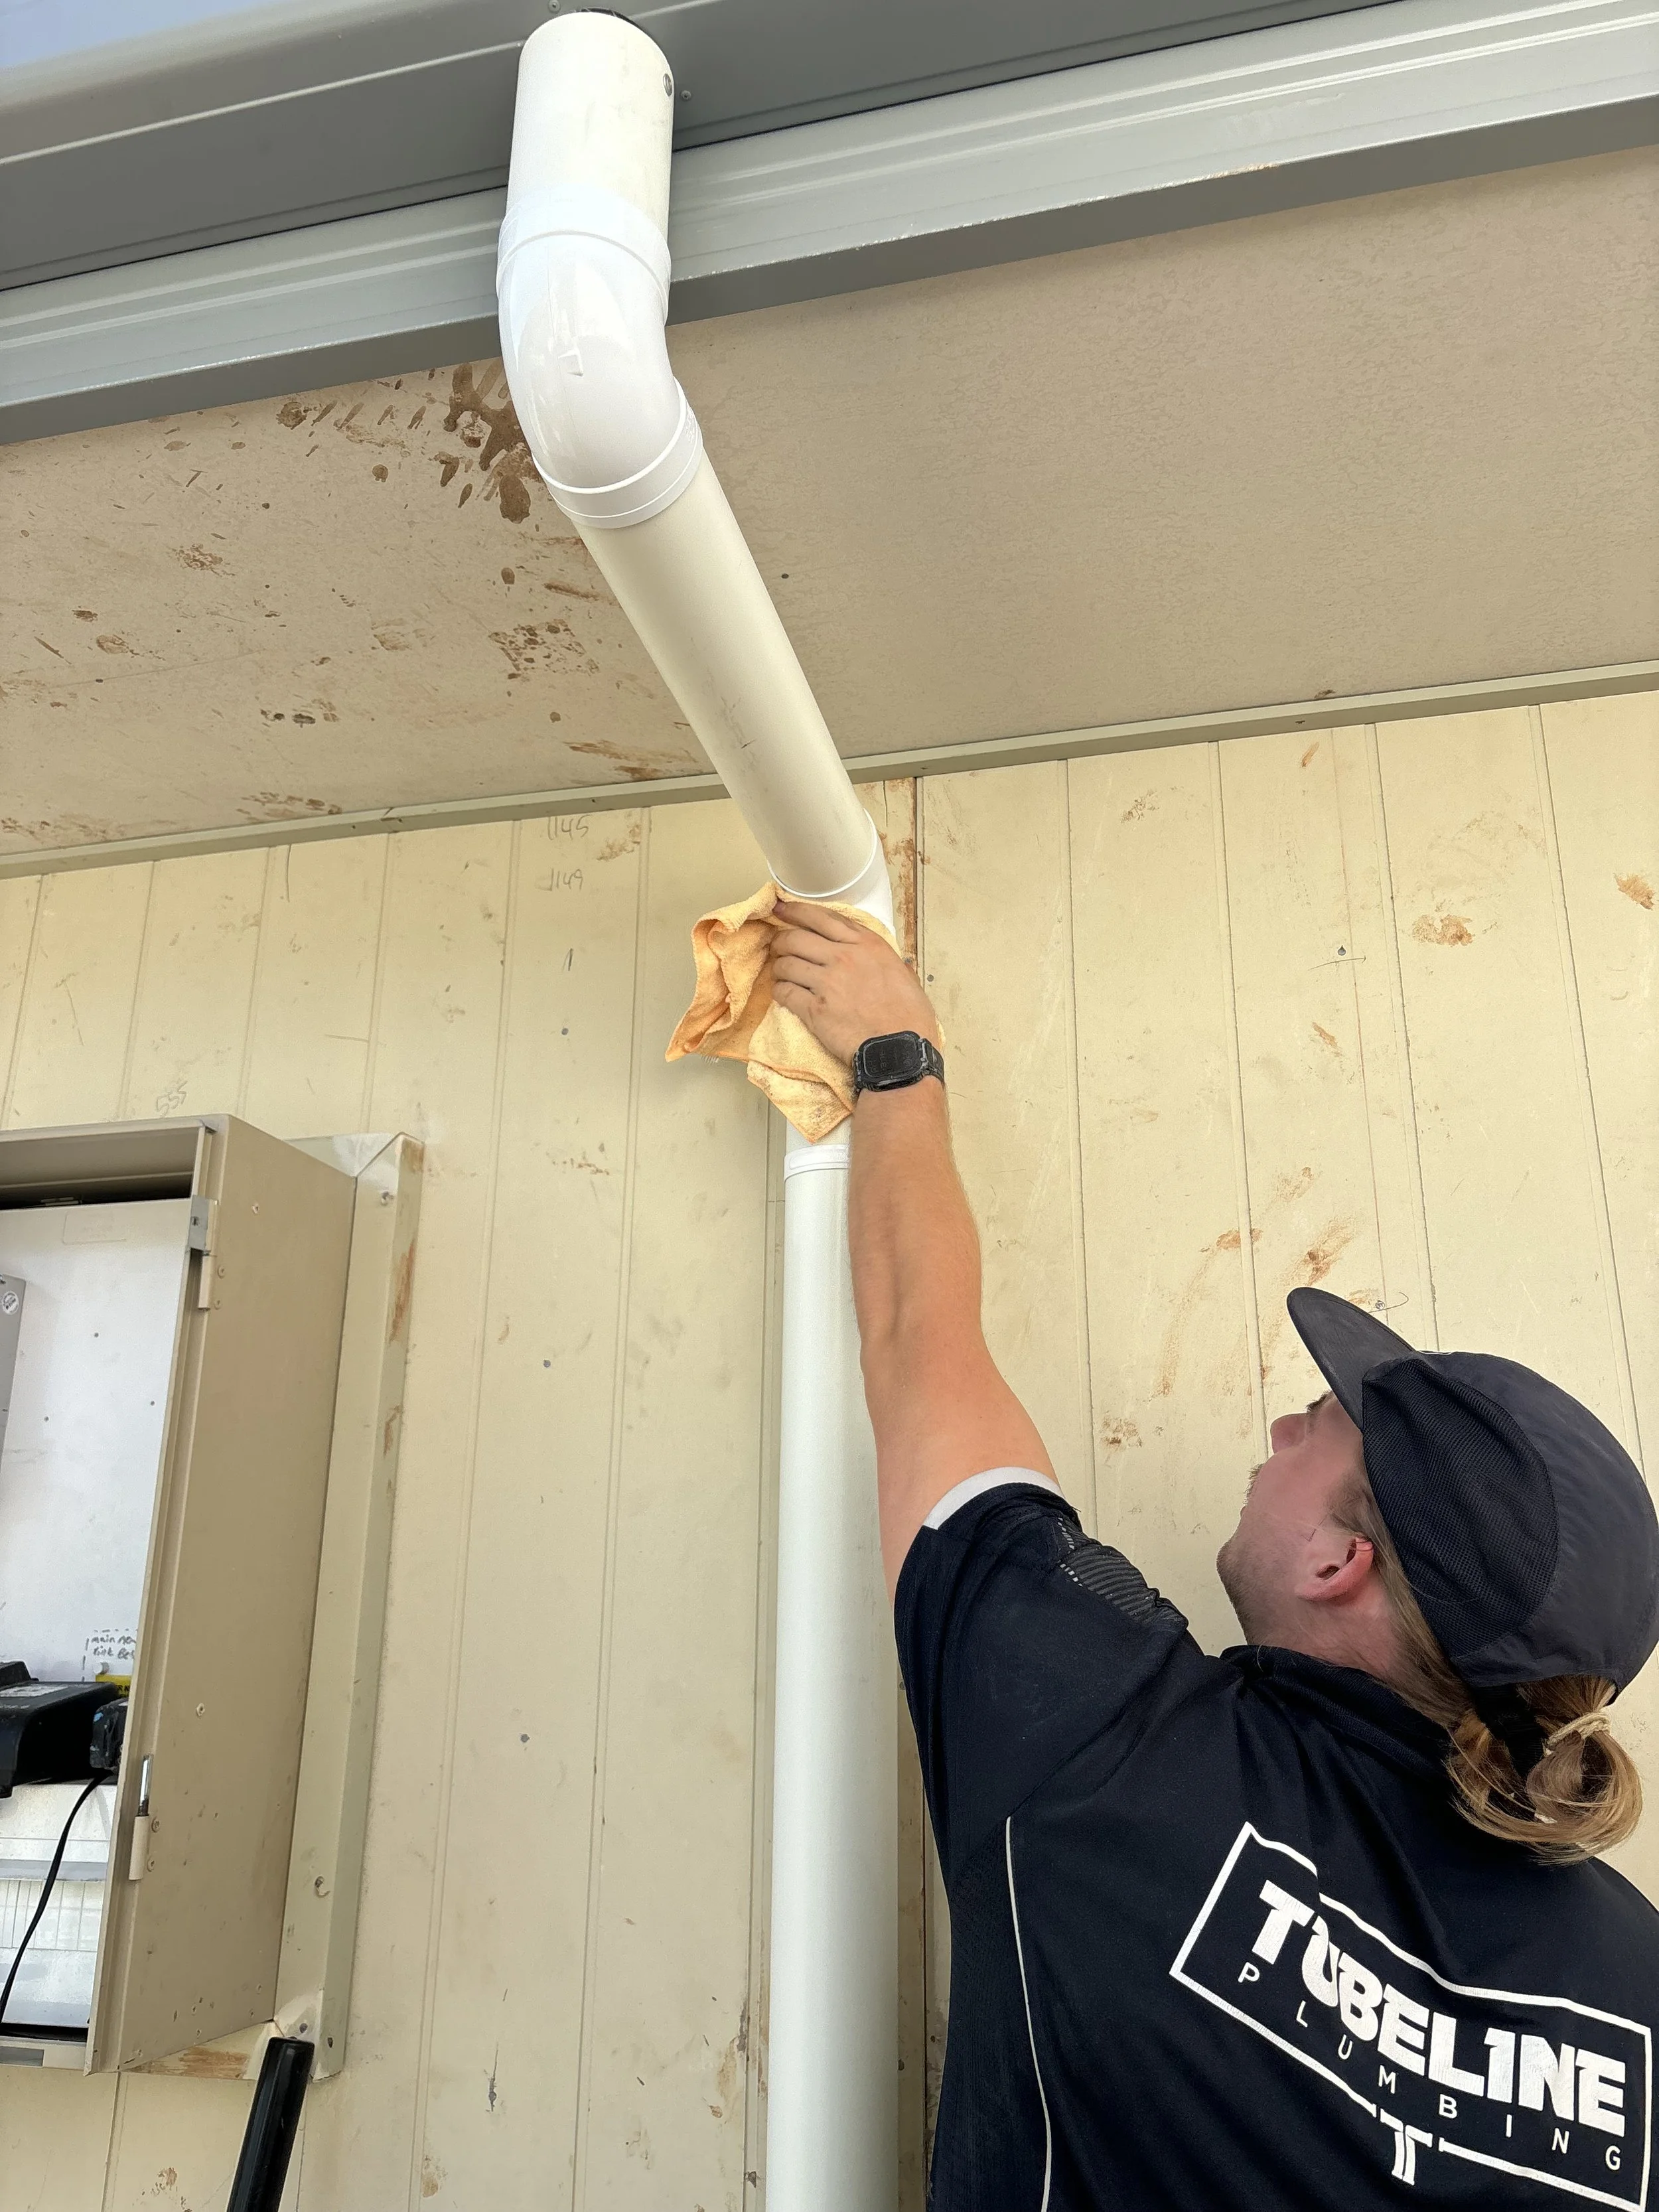
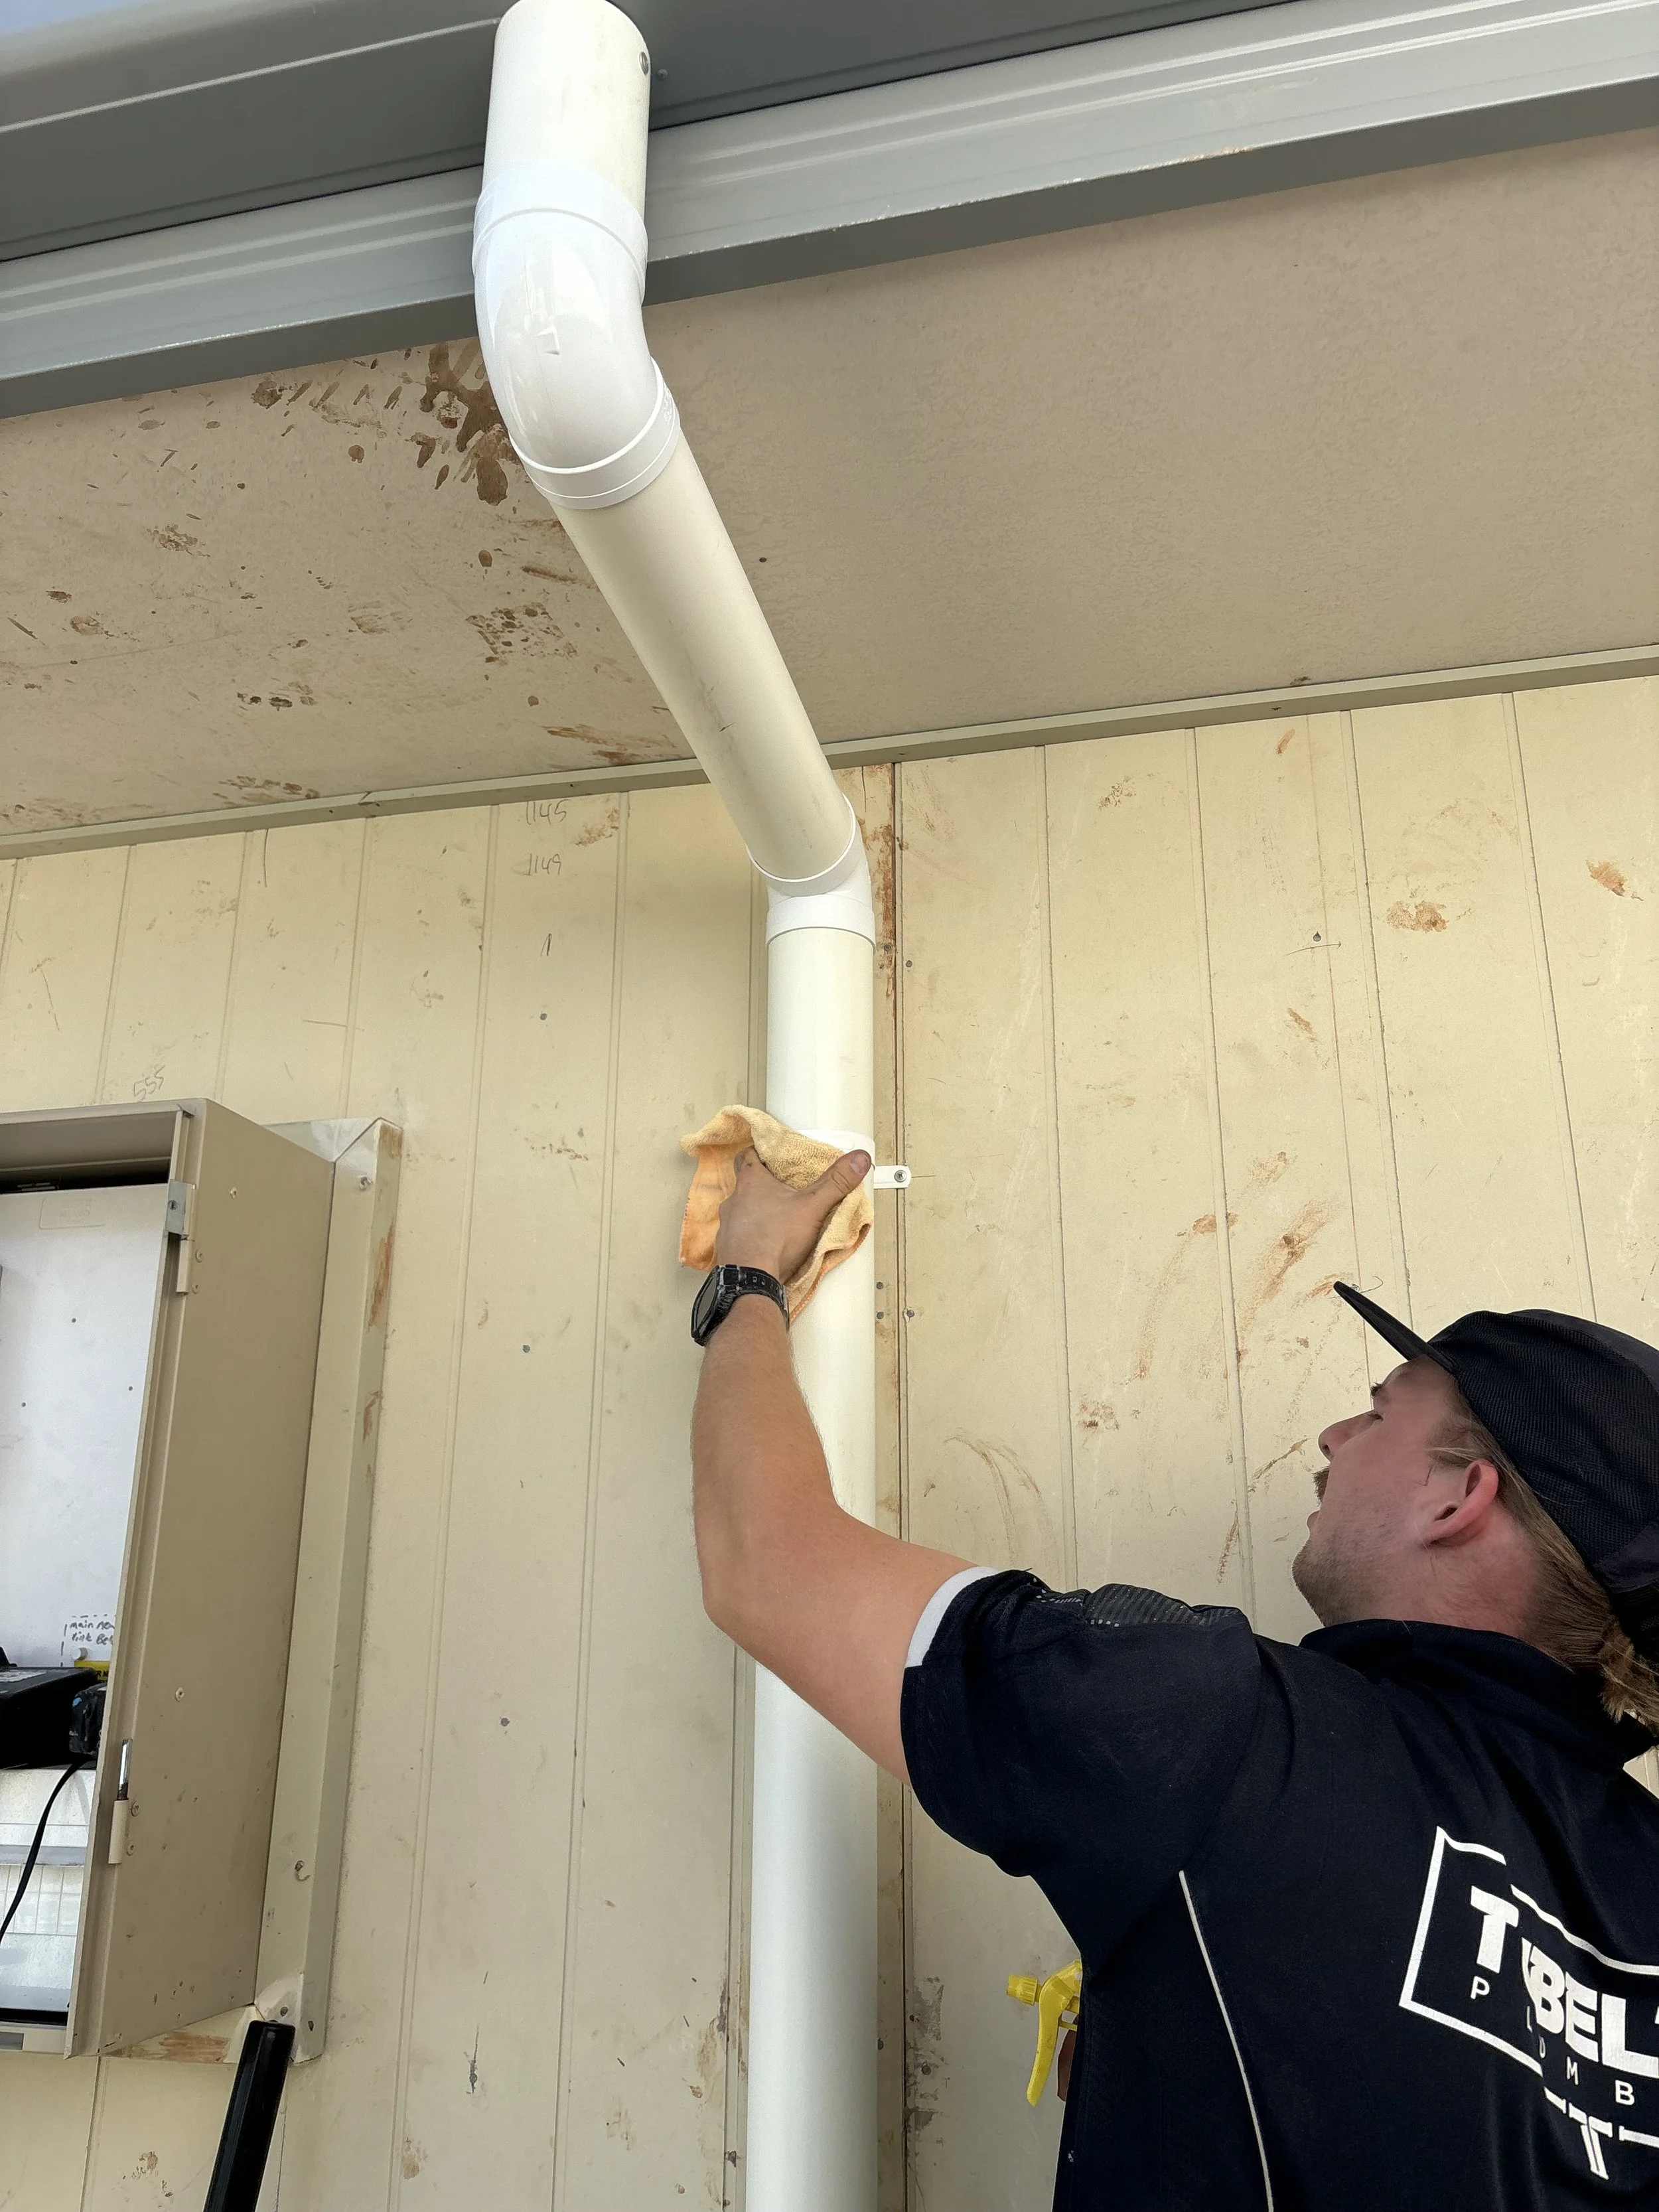
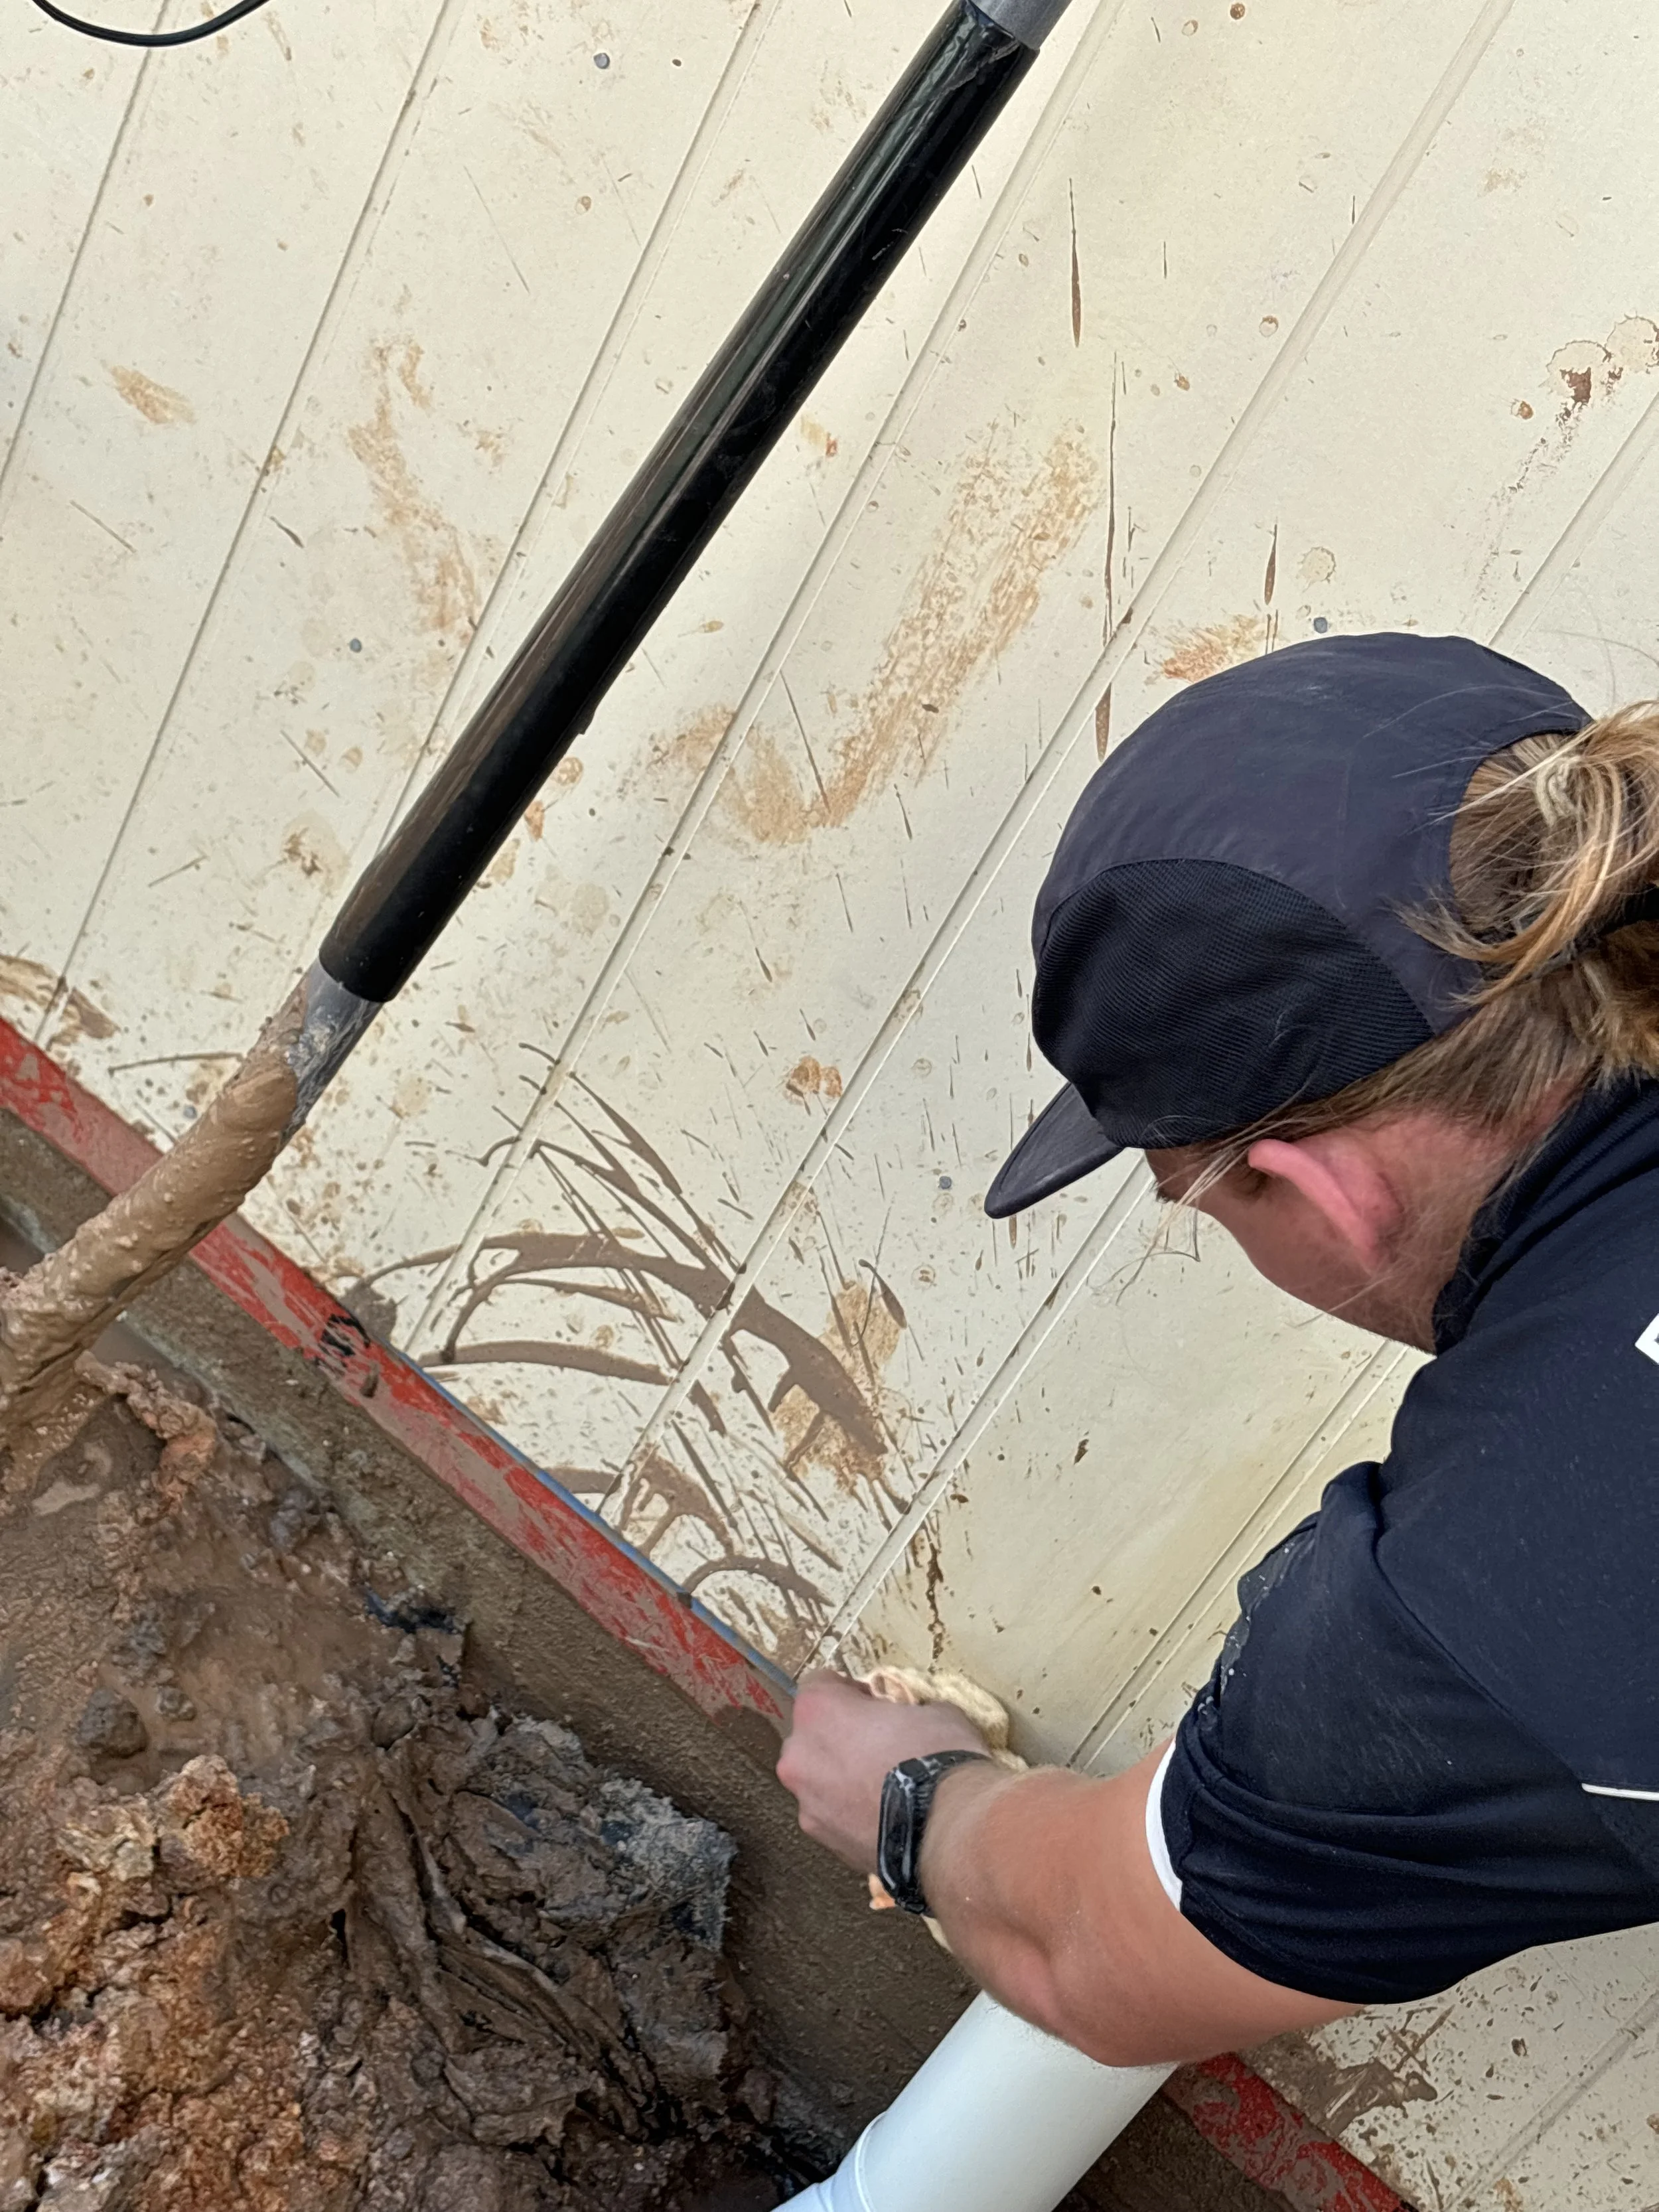
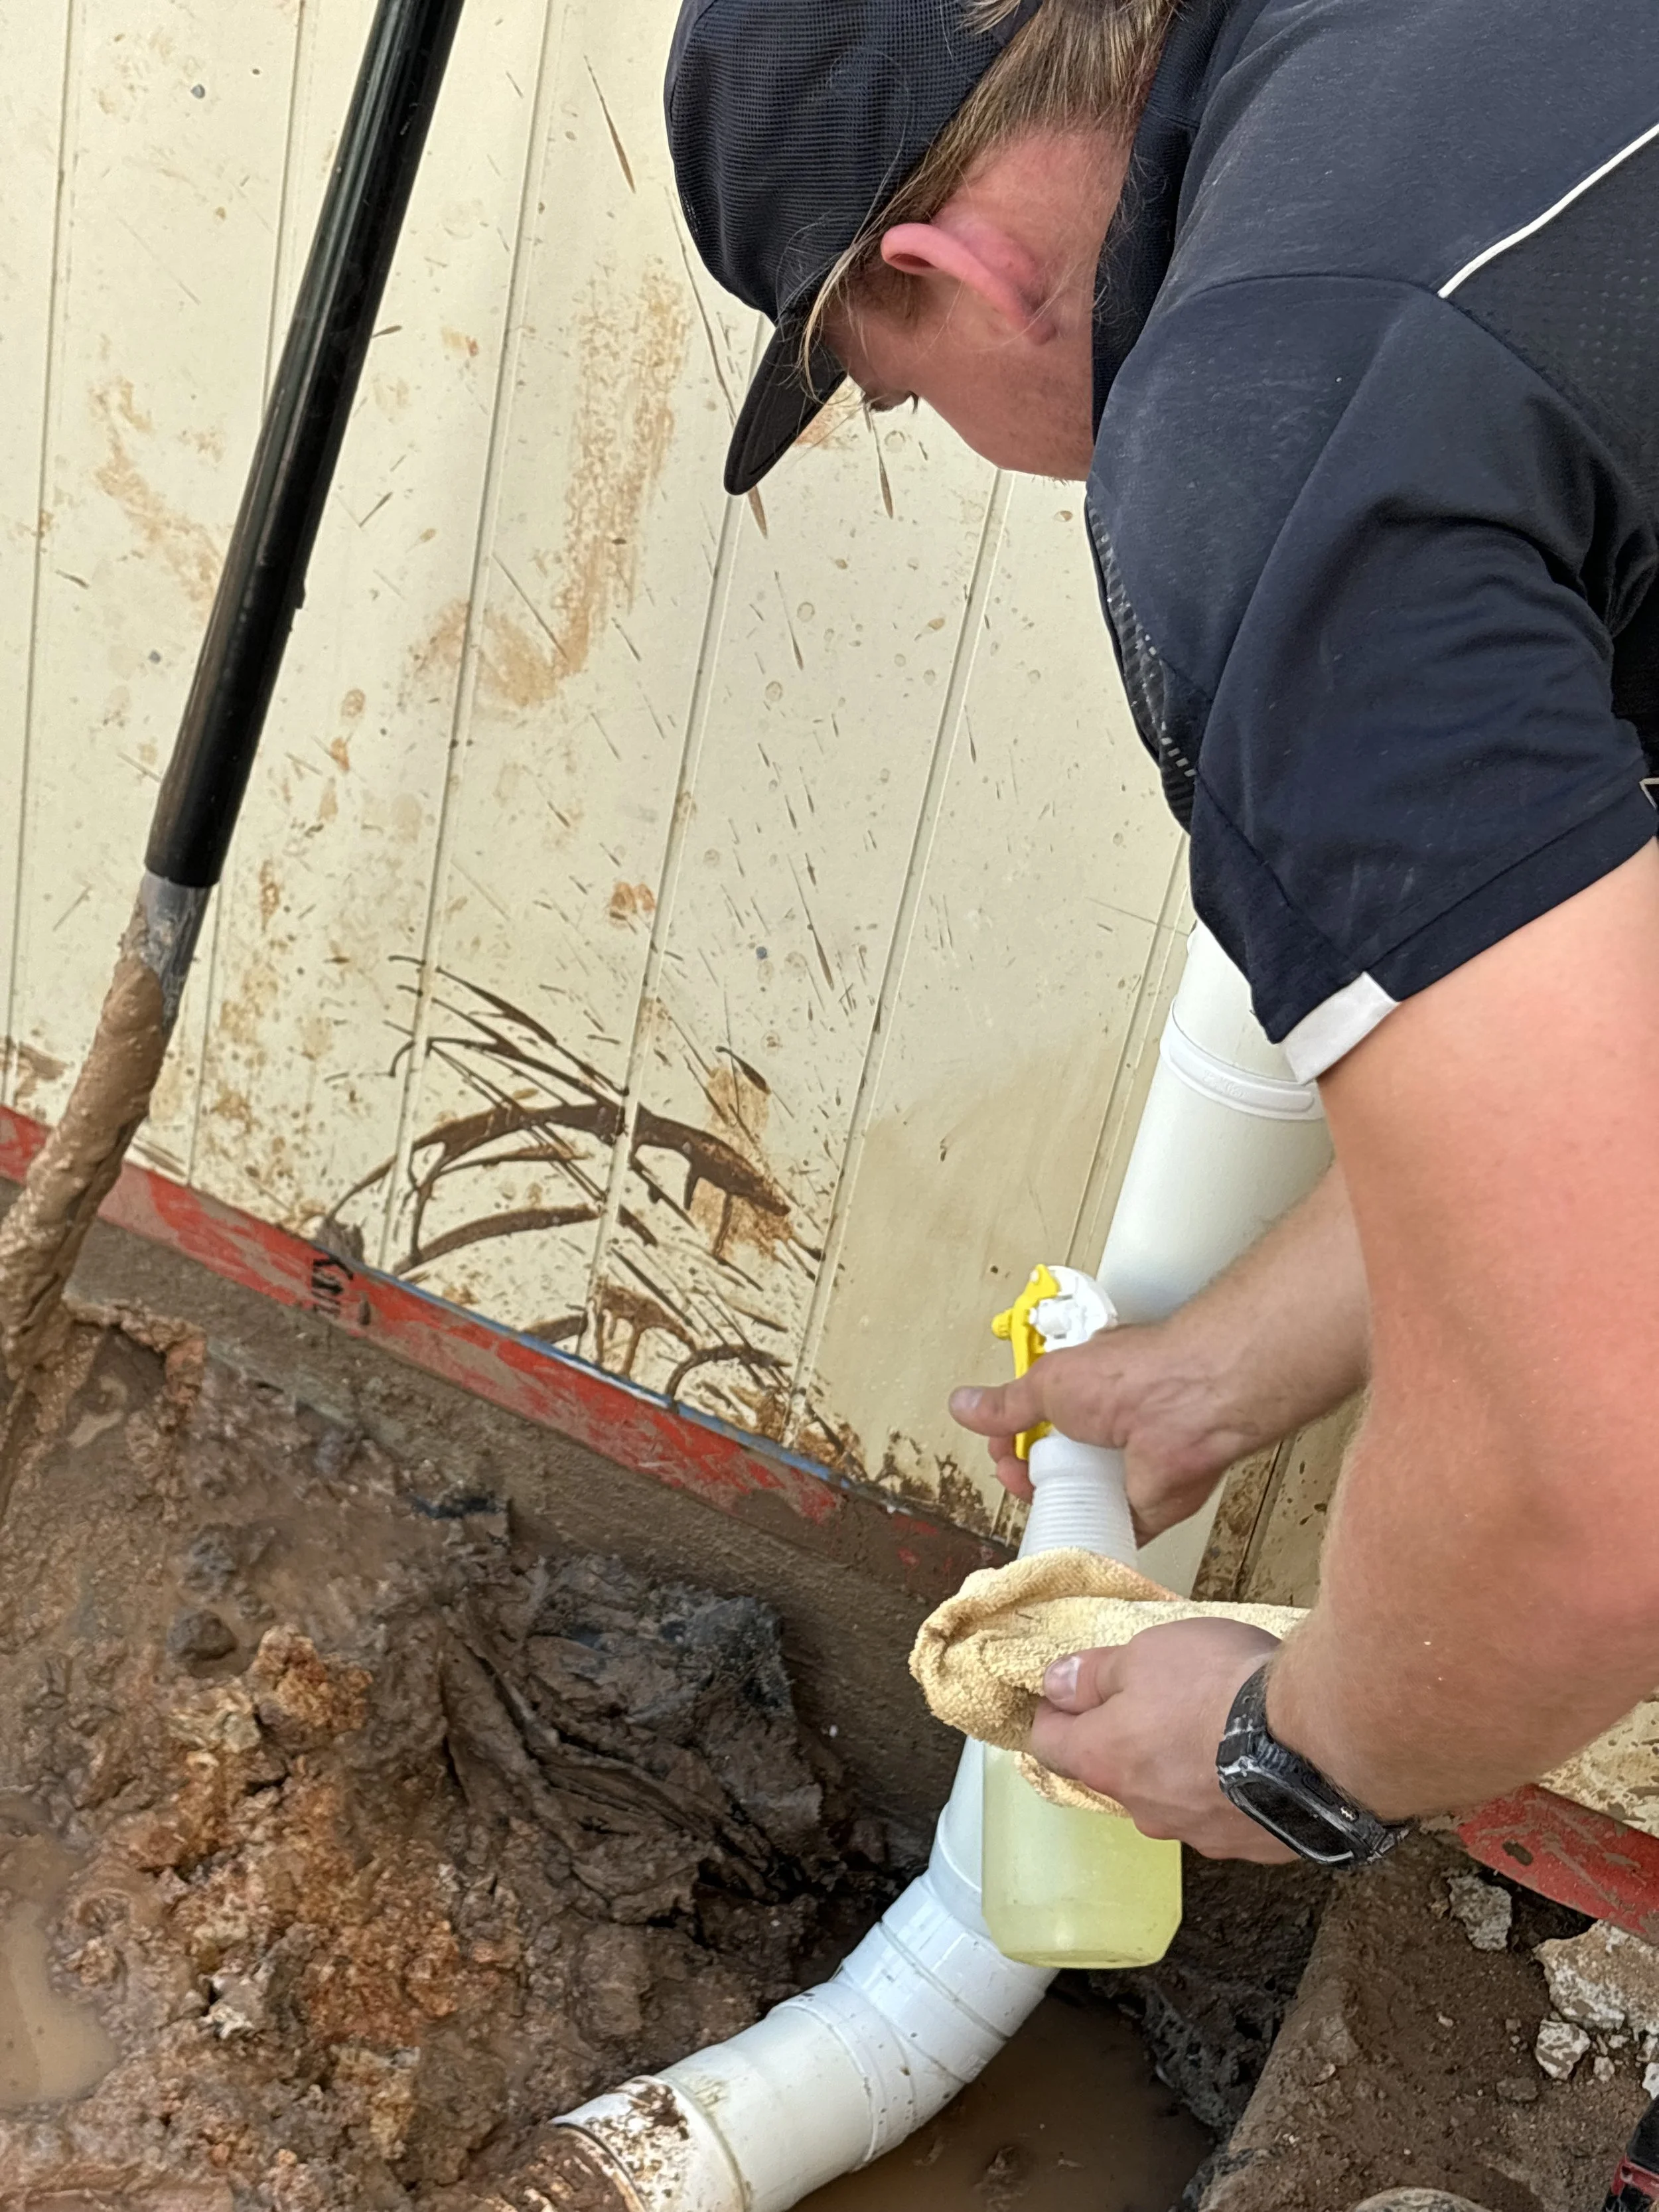
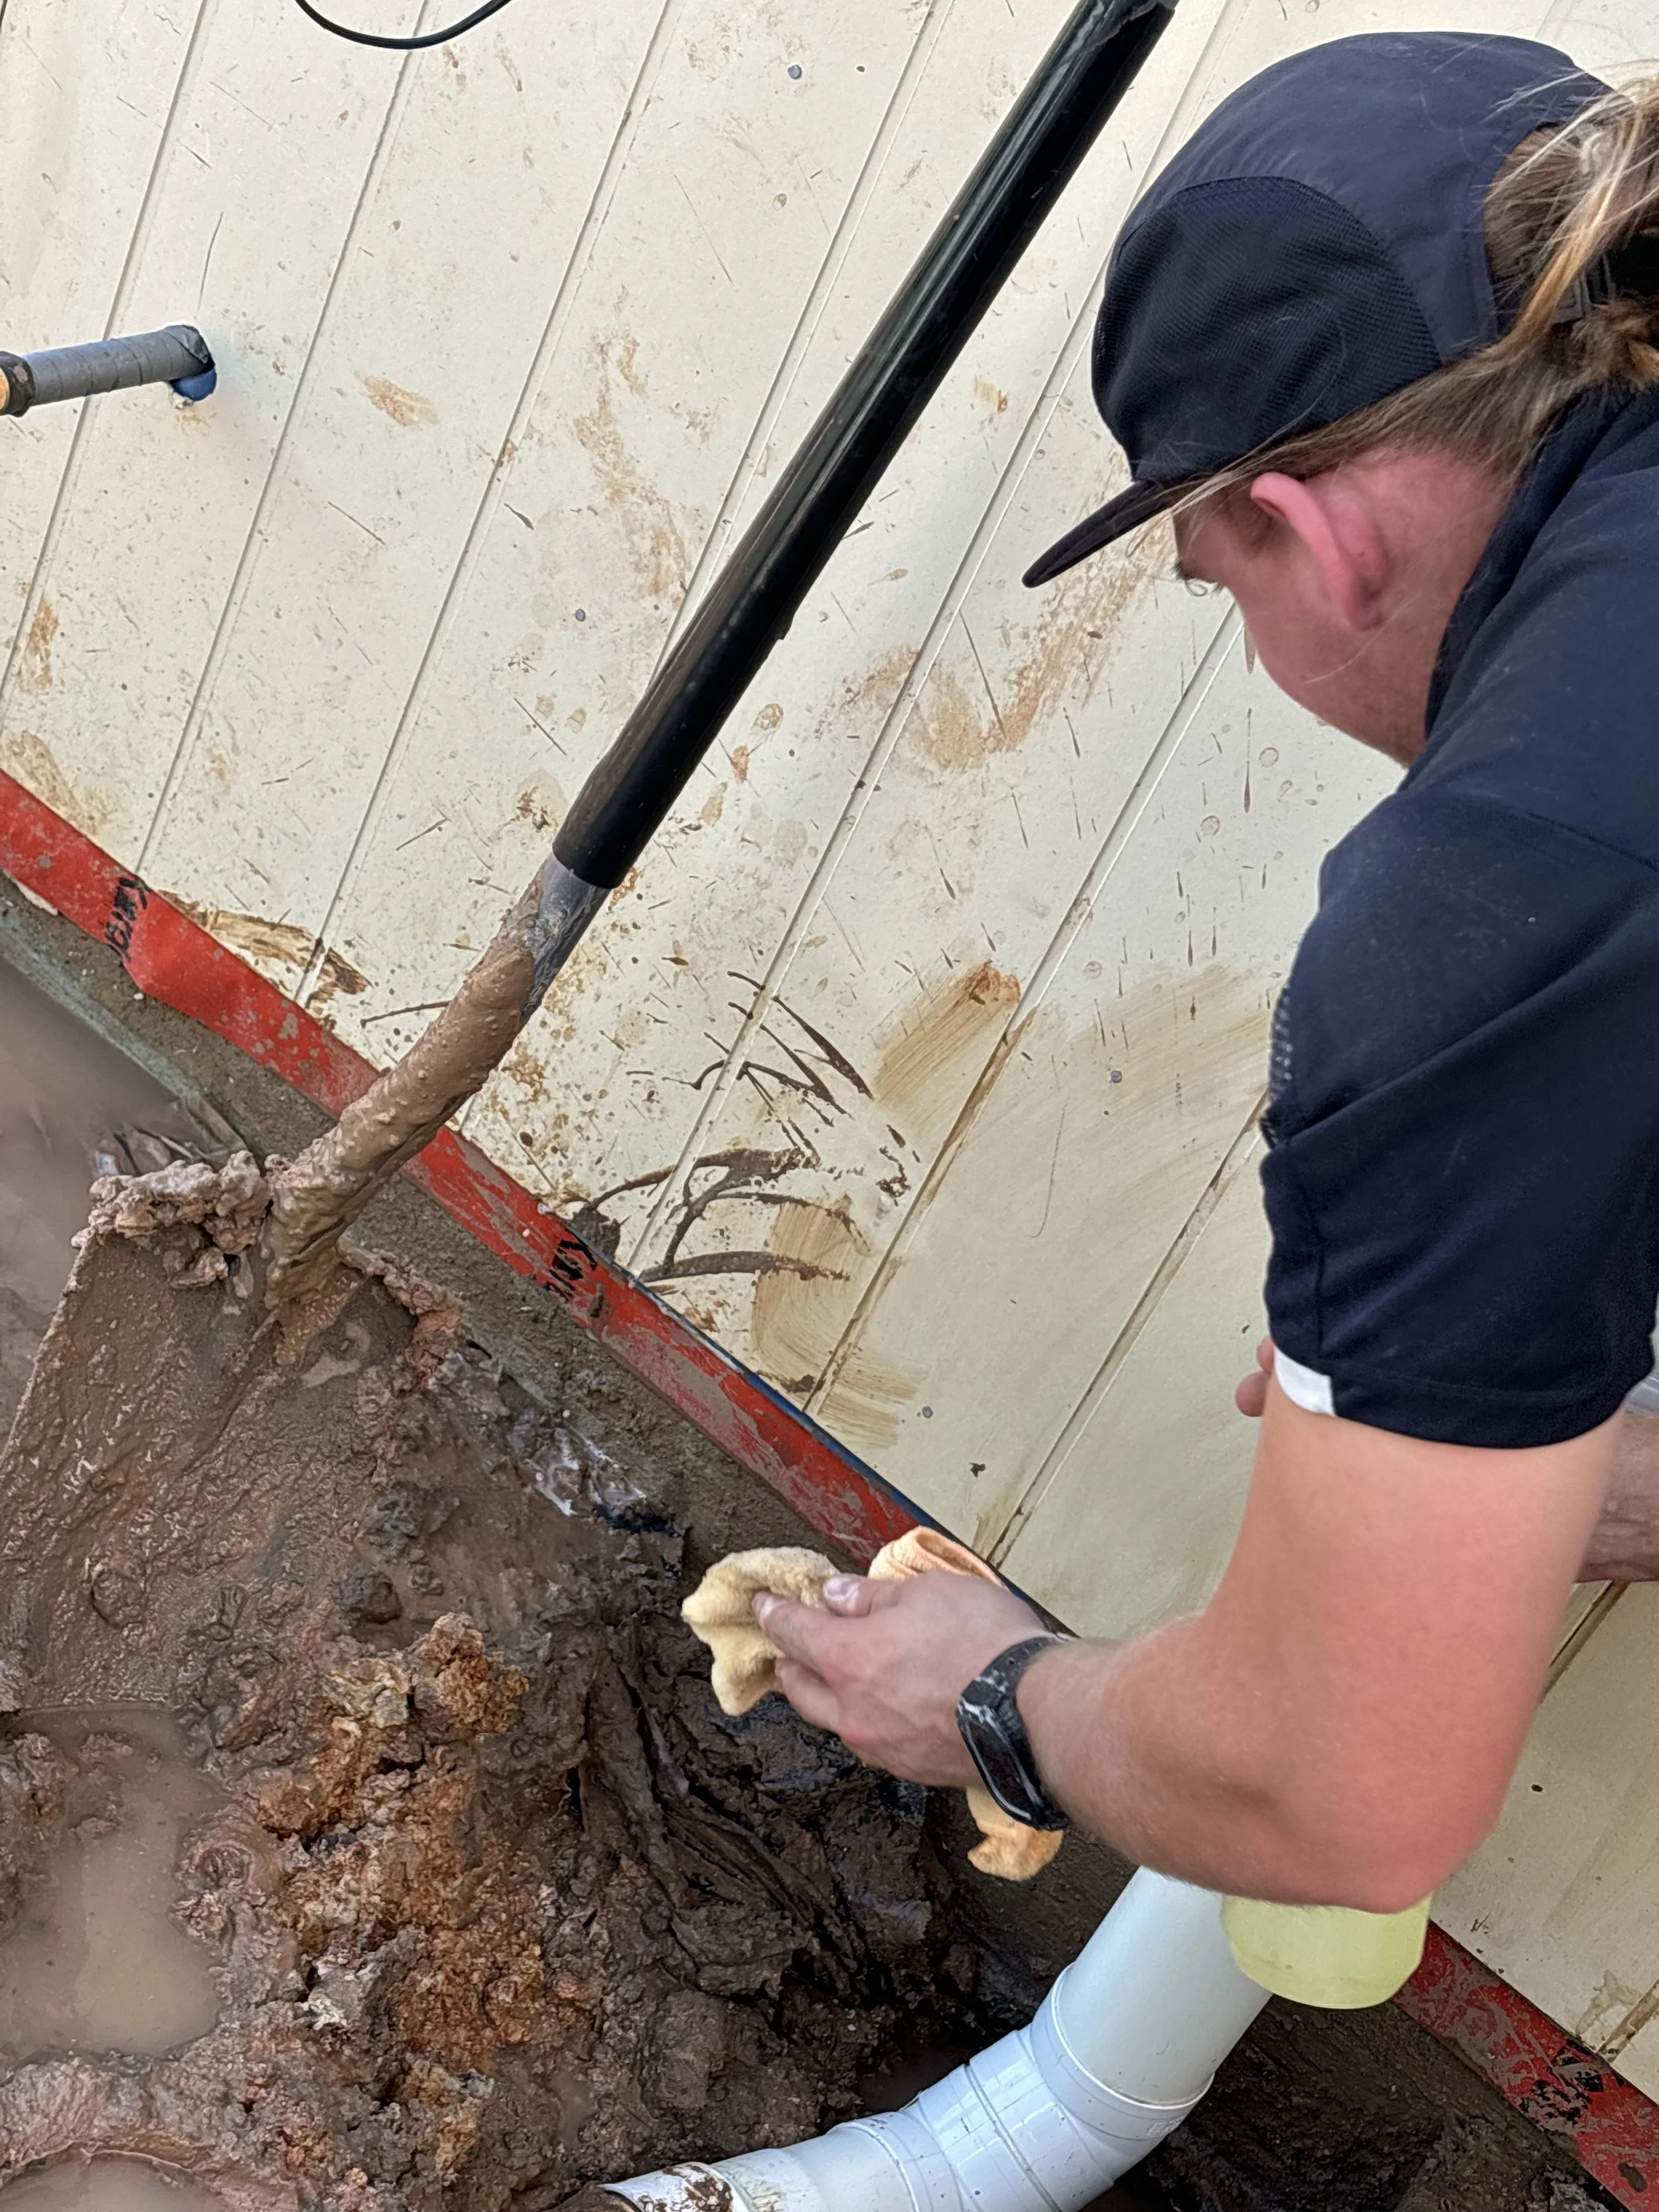
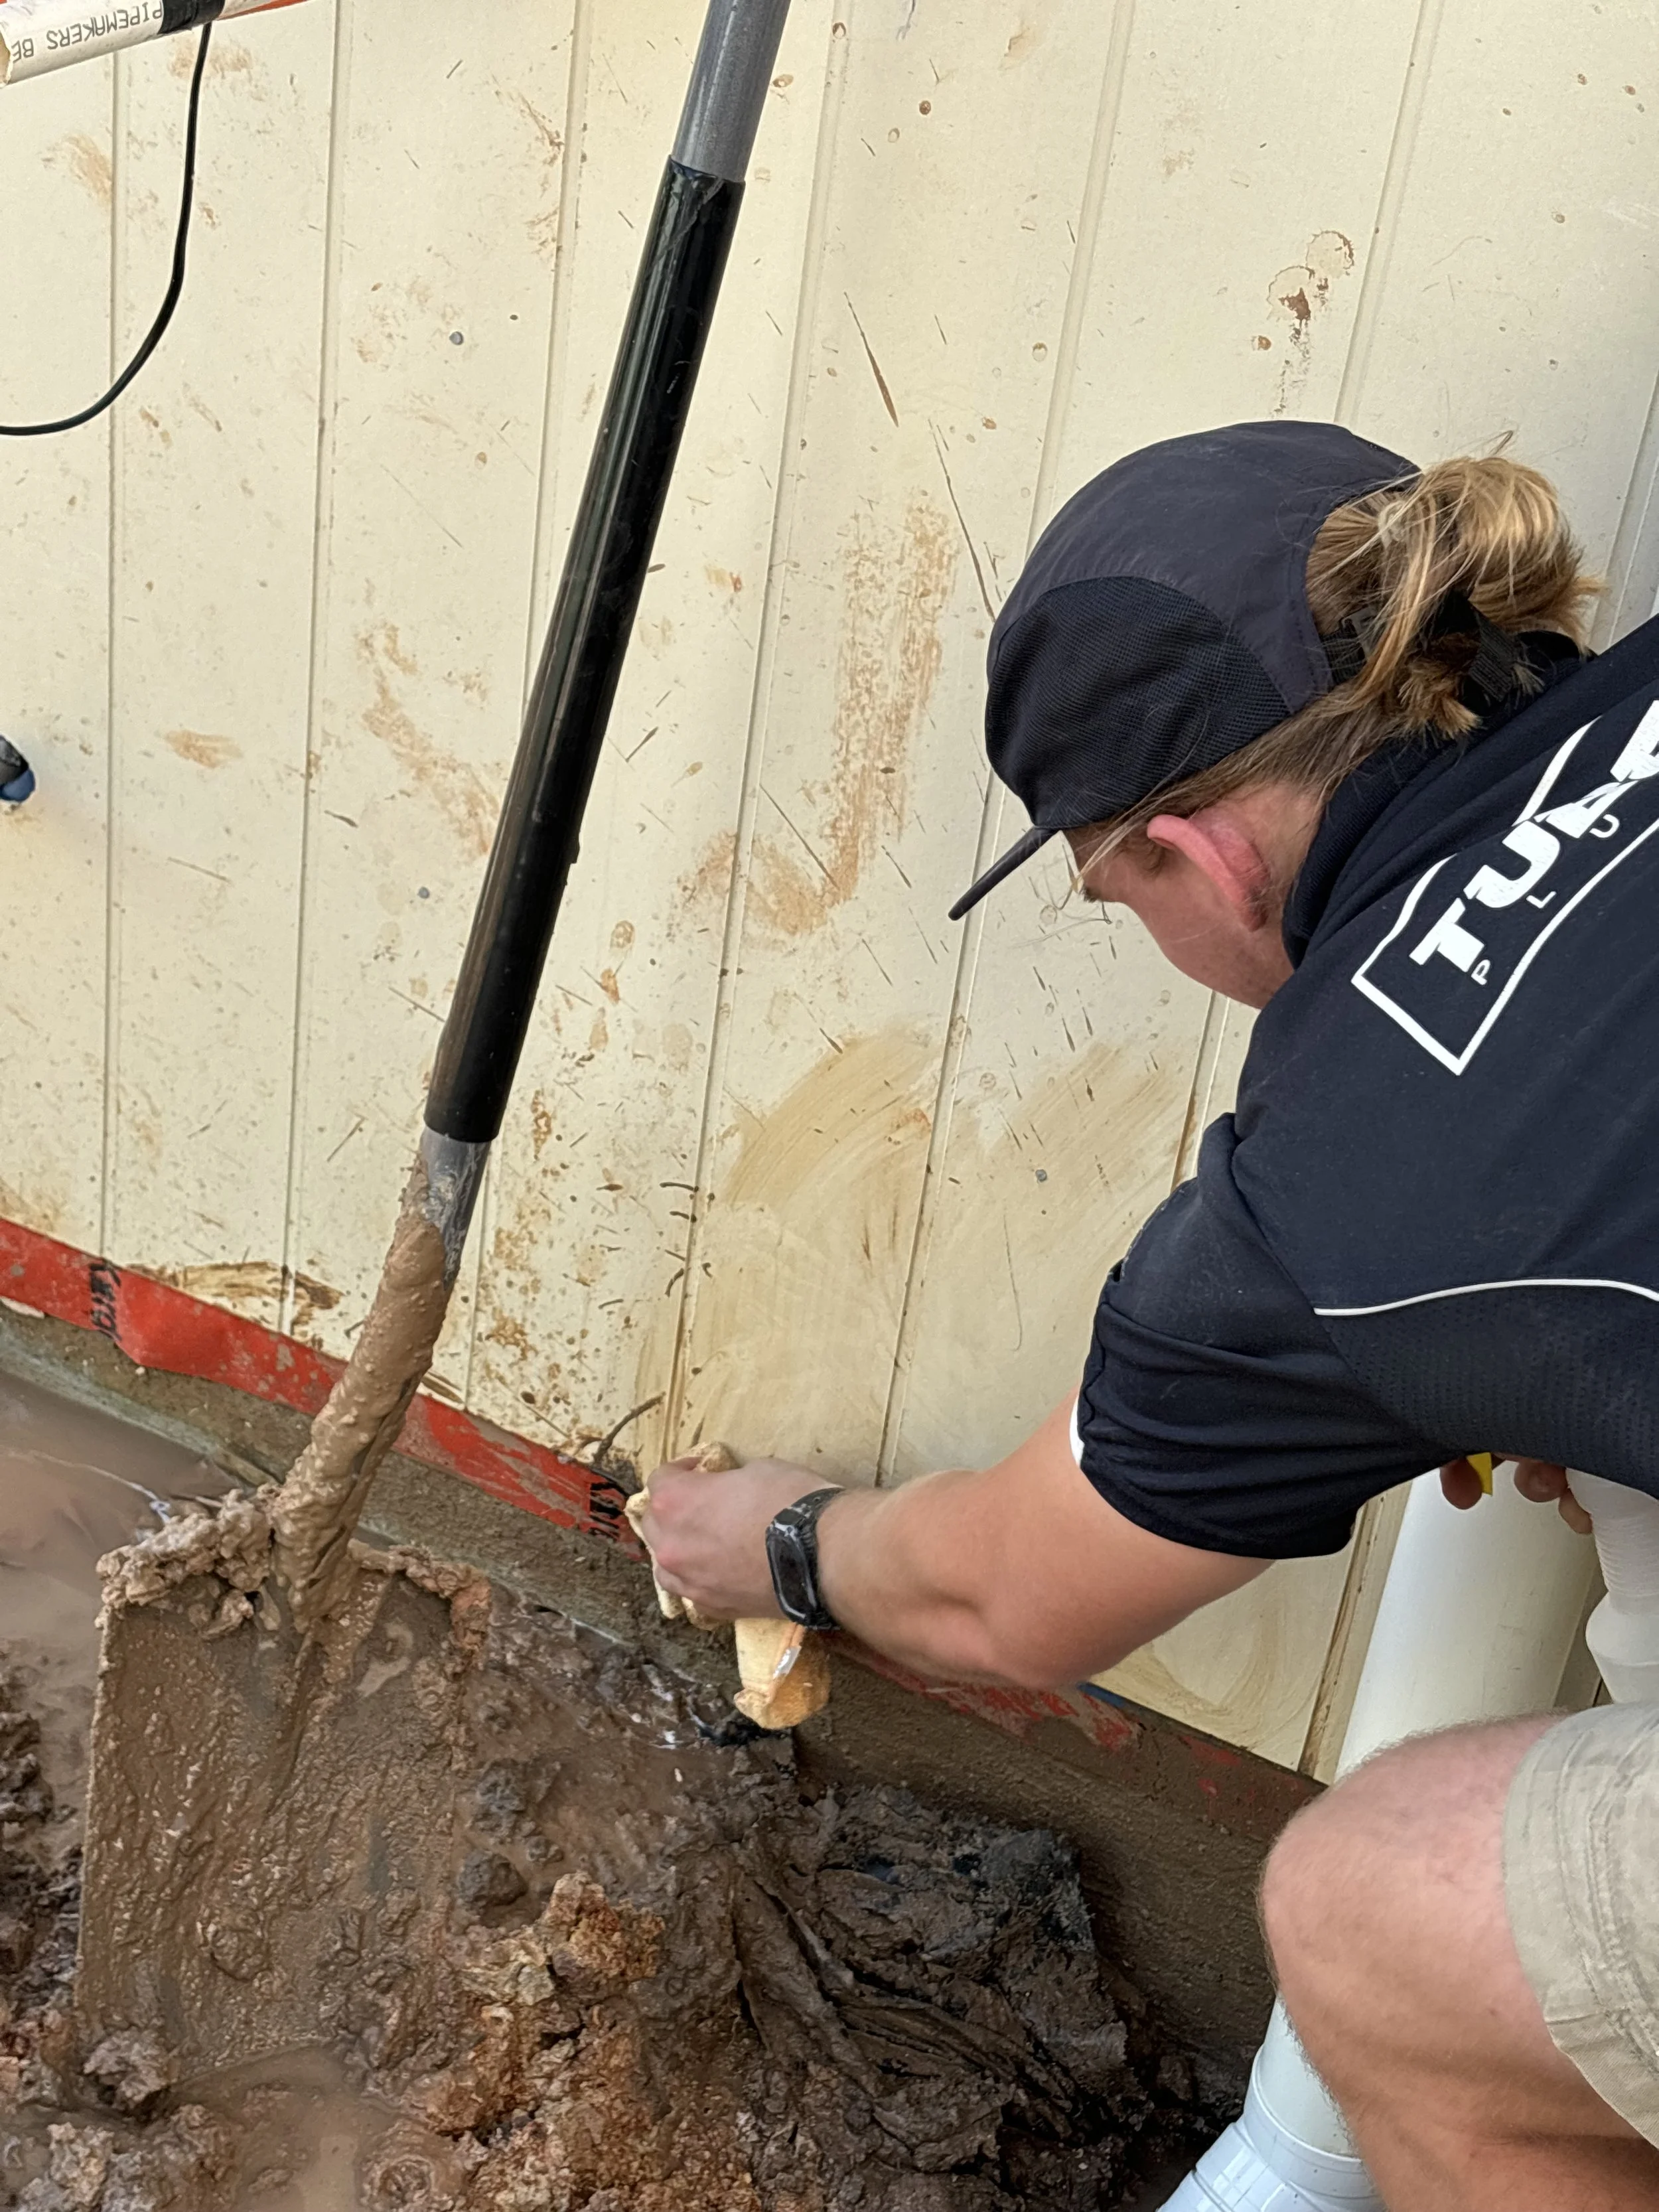
Make sure to clean pipe using soapy spray and rags.
If we make any mess on walls or surrounding surfaces we must clean these up.
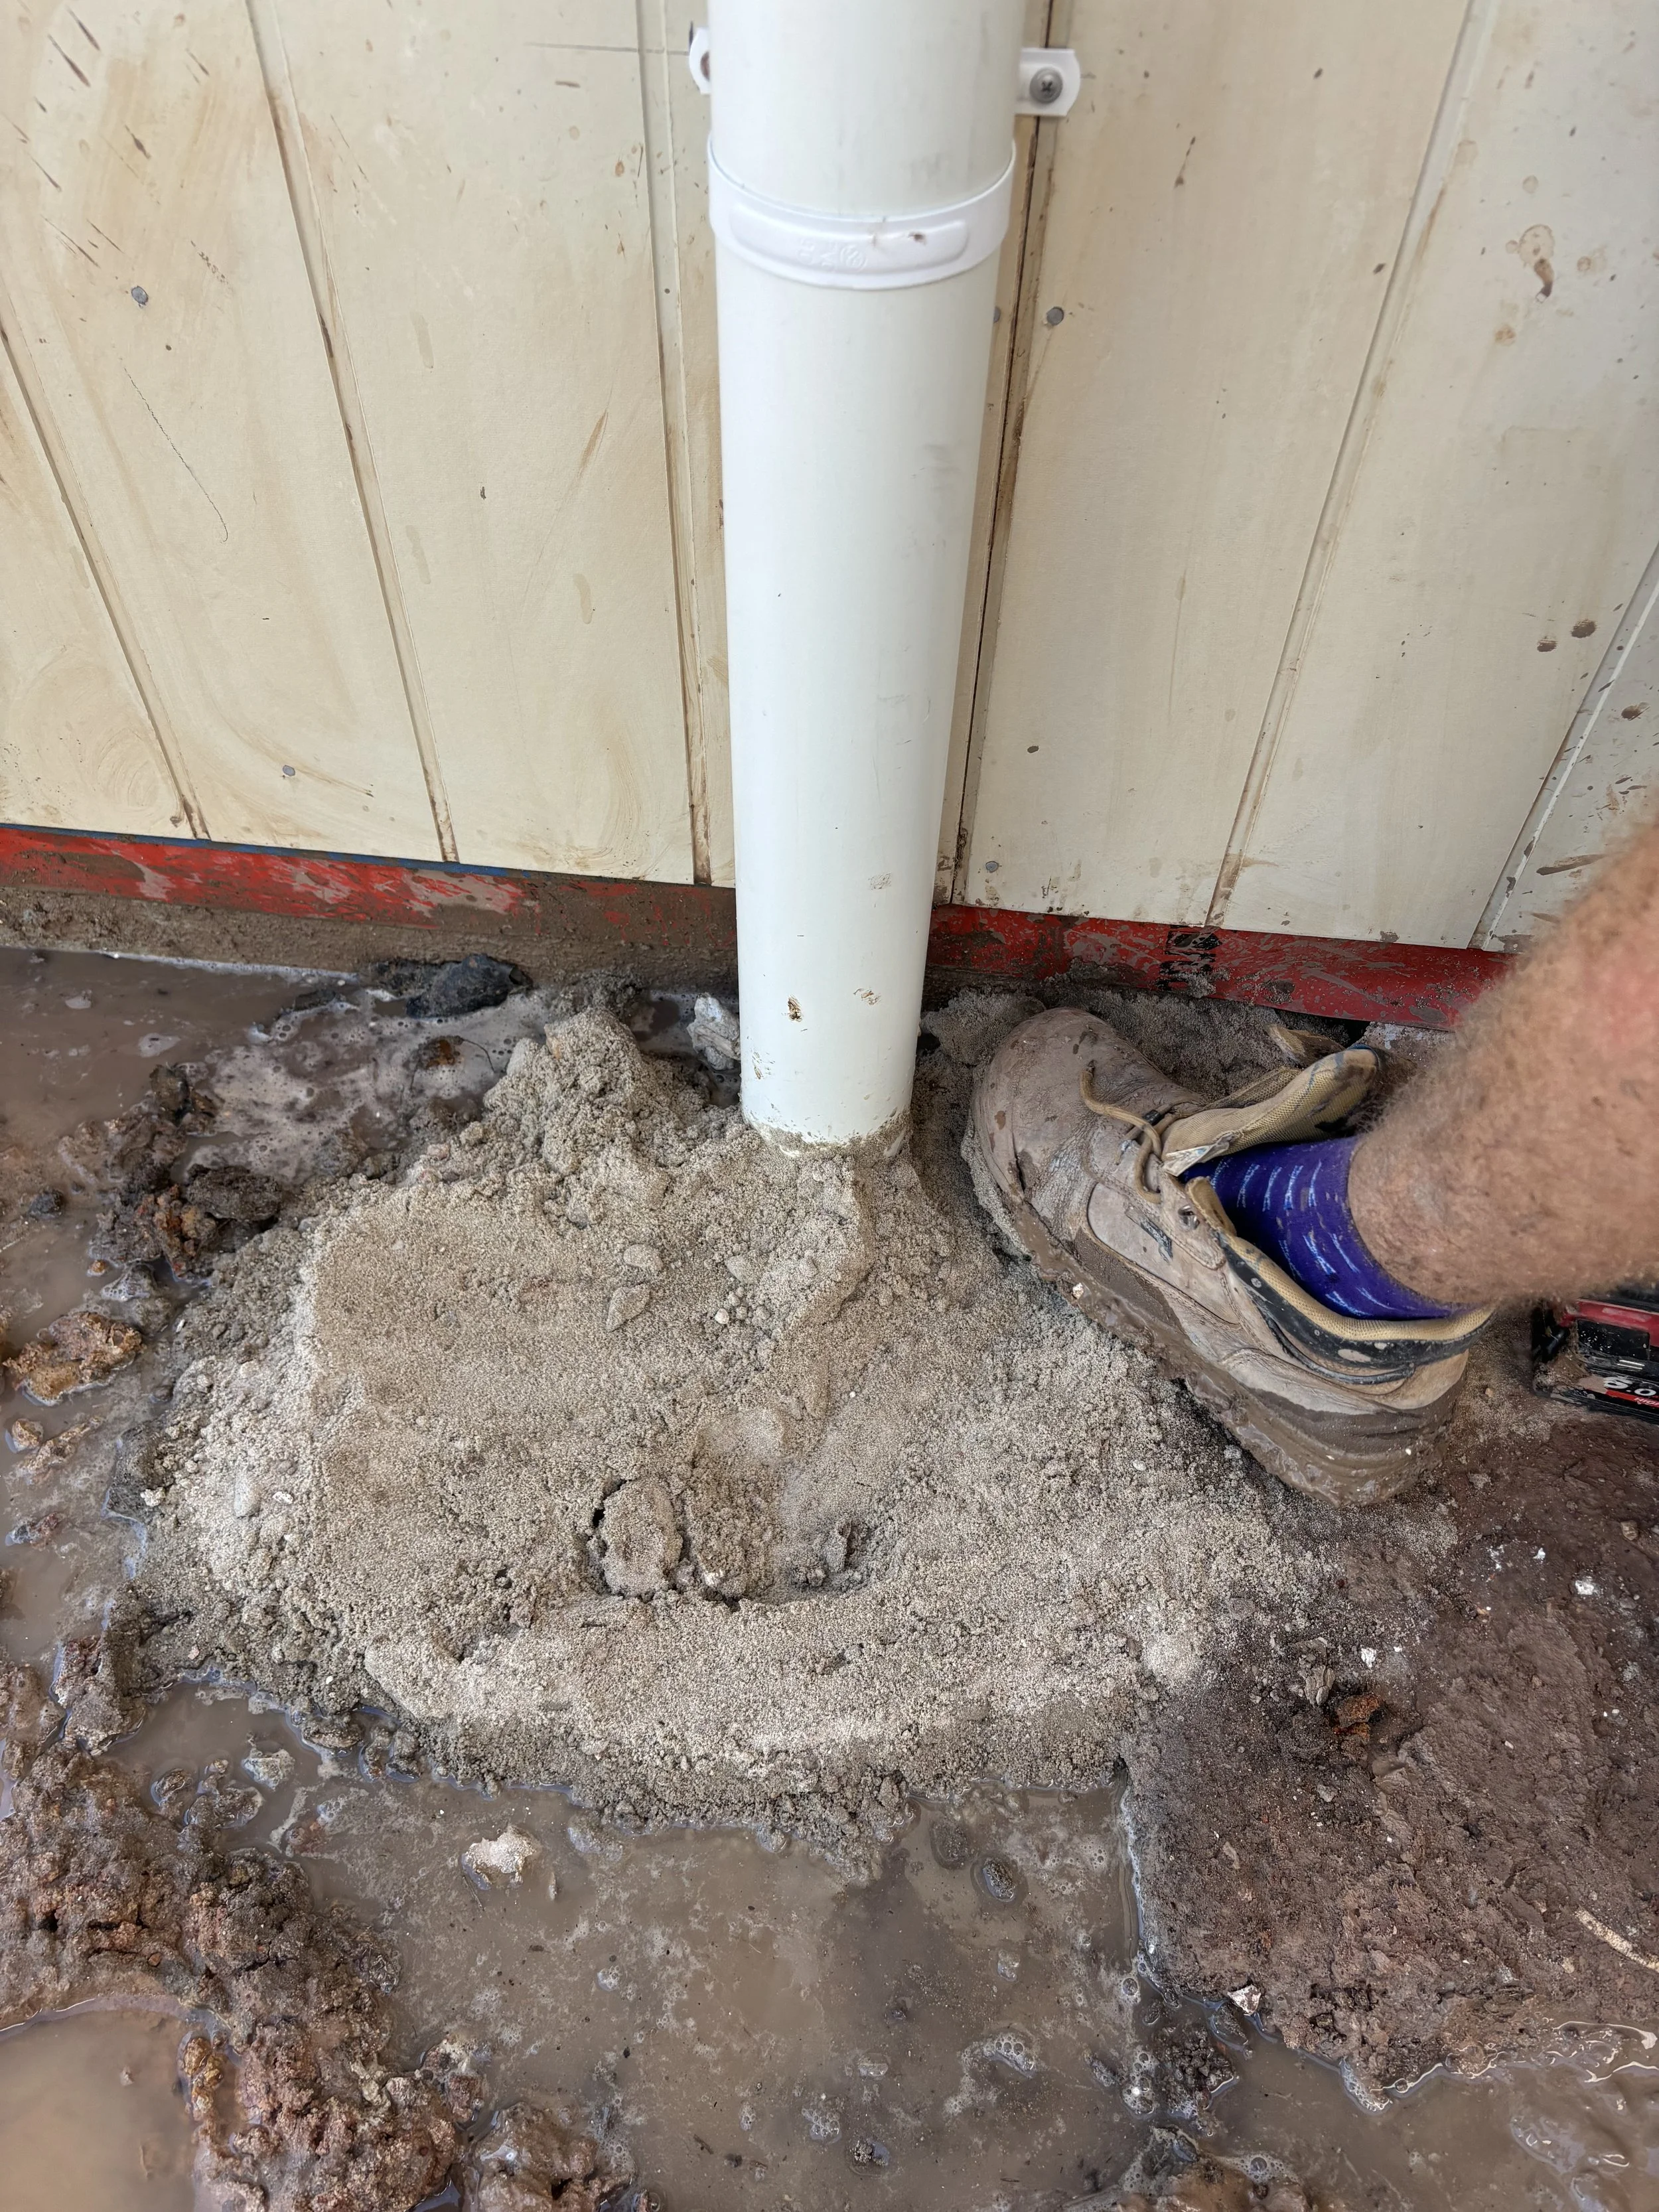
Backfill with dirt or sand that is free from rocks.
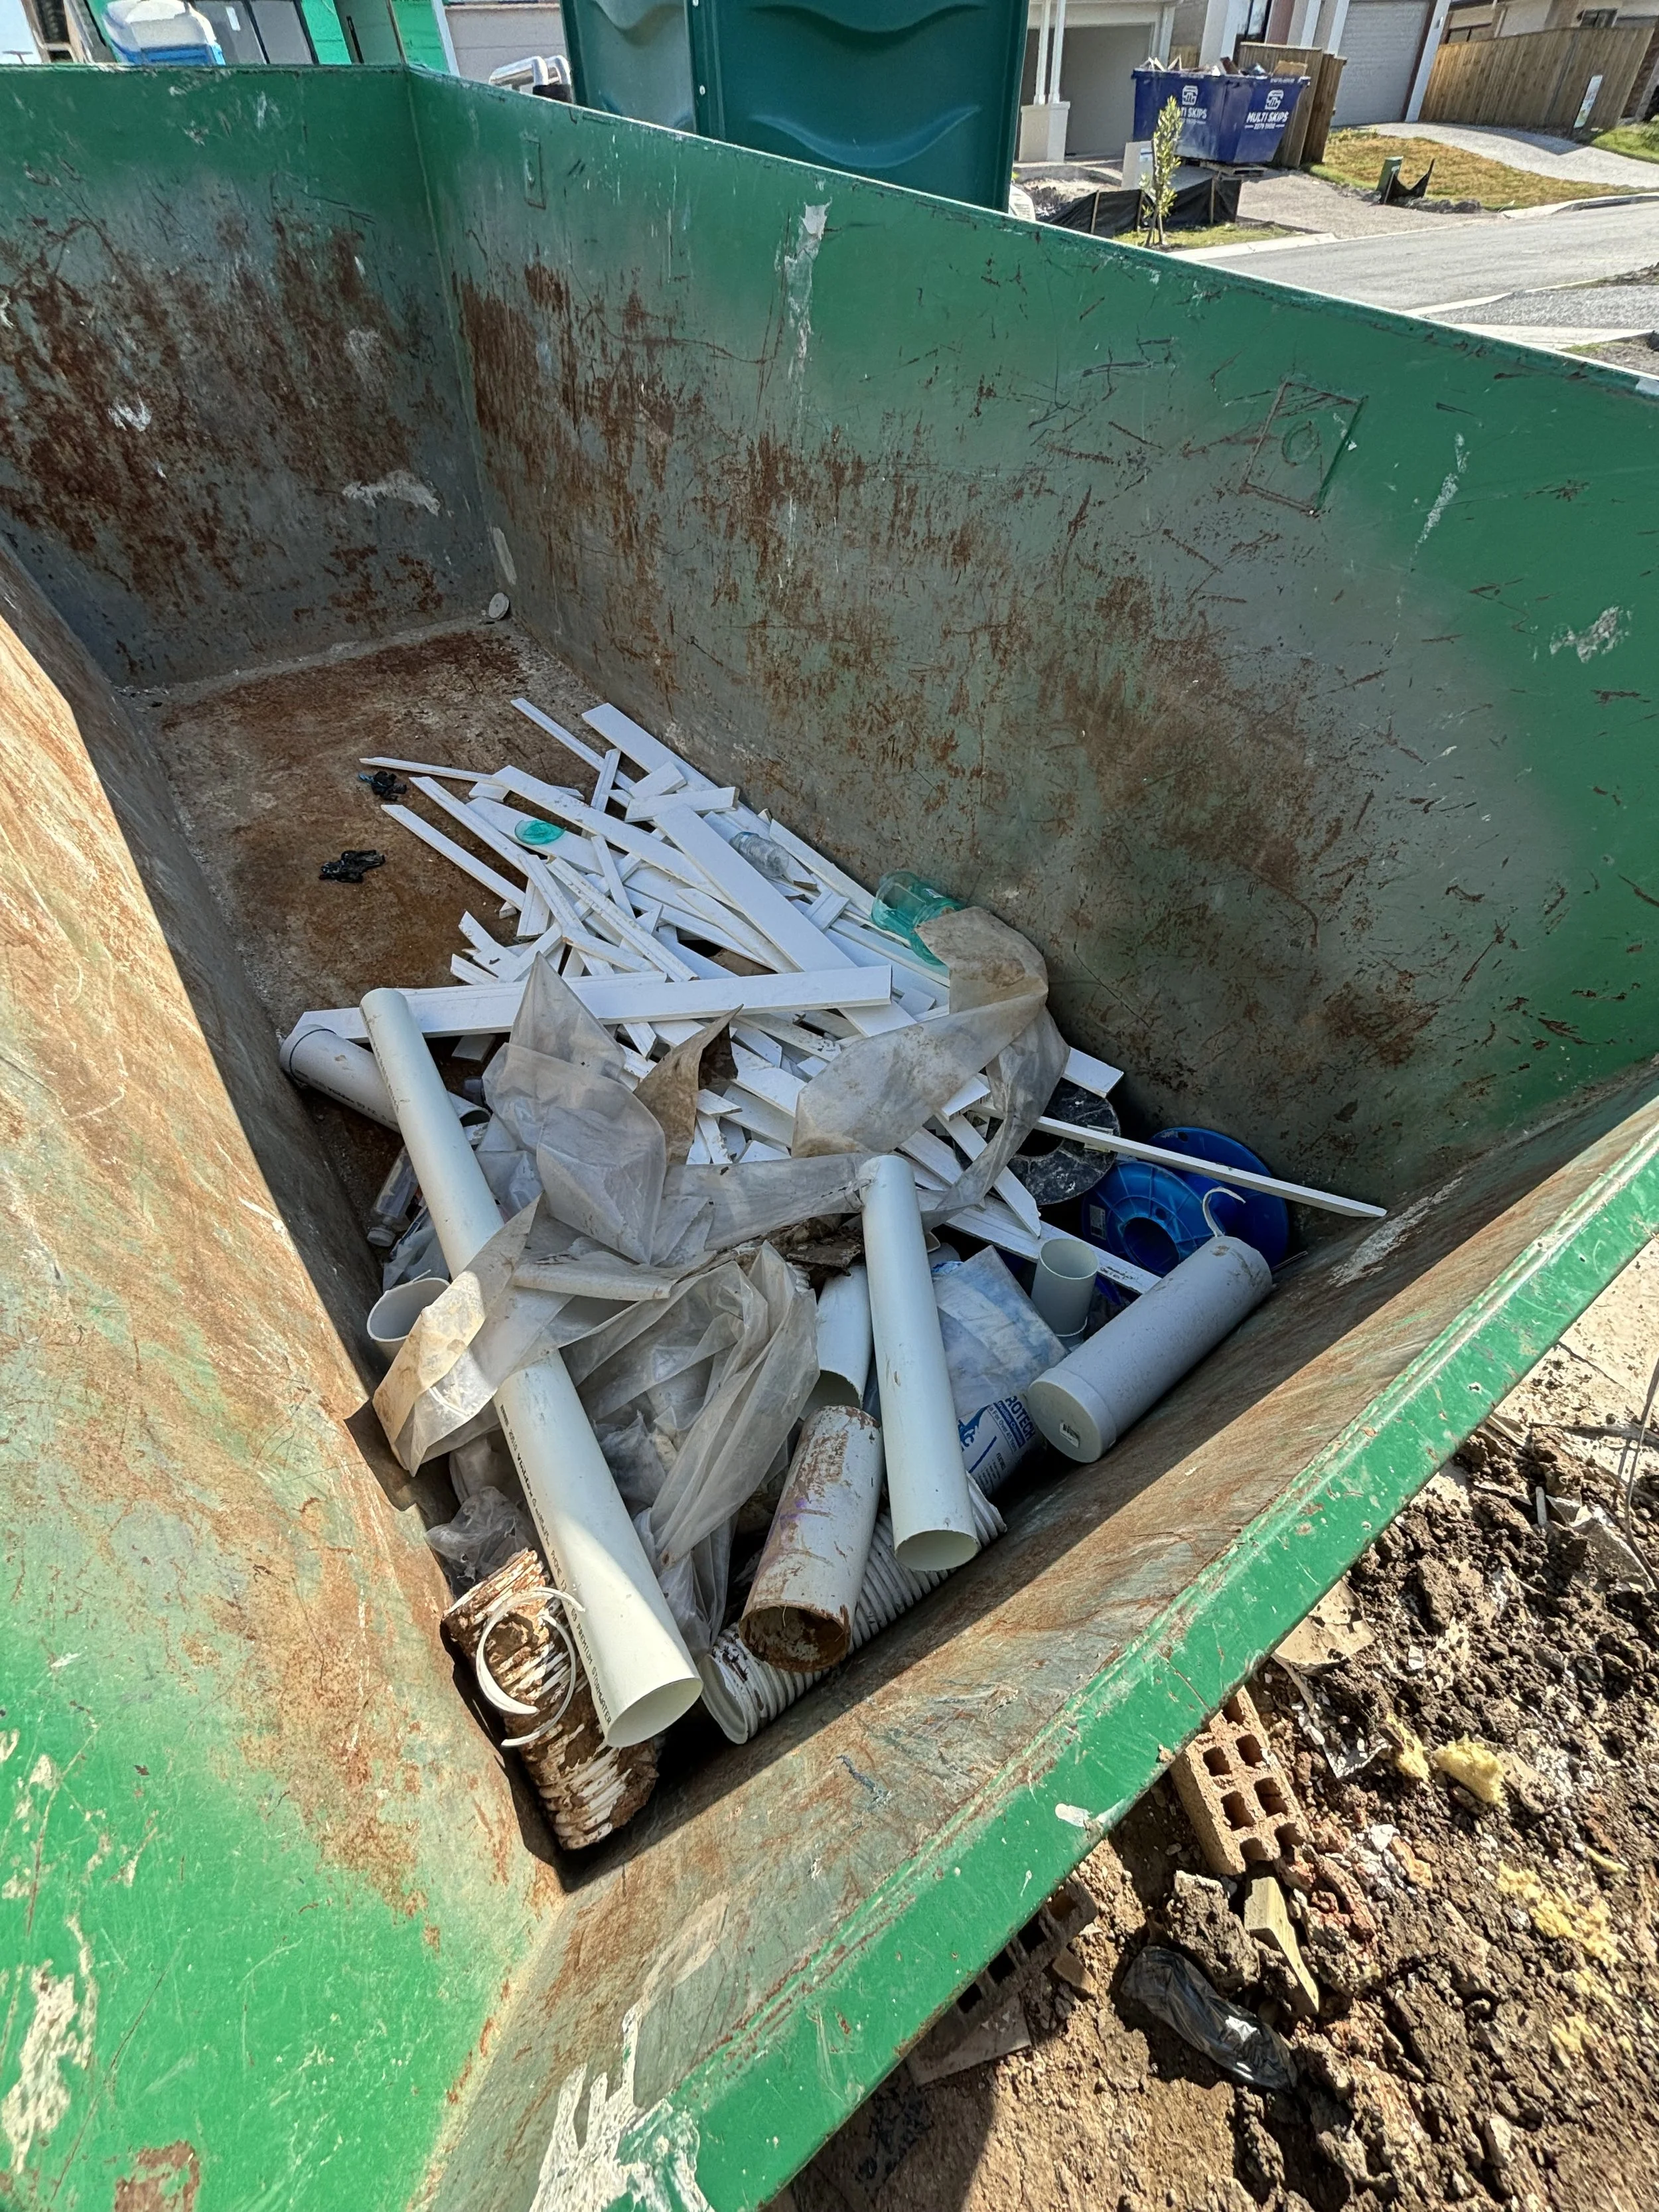
Throw all waste in the skip bin or consolidate into one small pile/box and put with other rubbish on site.
Take photos of all completed work.
IF YOU THINK THAT THERE’S ANY INFO MISSING THAT COULD MAKE THIS EASIER TO FOLLOW JUST CHUCK IT INTO THE MESSAGE BELOW AND WE’LL MAKE SURE WE GET THIS RUNNING AS SMOOTH AS POSSIBLE

